Your Car Hates the Sun: A Pro’s Guide to Preventing Costly Damage
I’ve been a professional detailer for a long time, and if there’s one thing I’ve learned, it’s that the sun is public enemy number one for your car’s finish. It’s relentless. I’ll never forget this one client who brought in a gorgeous, fire-engine red sports car. He’d recently moved to a sun-drenched state and, while loving the weather, had completely overlooked protecting his car. That vibrant red had faded to a sad, chalky pink on the hood and roof. The clear coat was shot, giving it this hazy, milky look that no amount of wax could ever hope to fix. We had to do a full paint correction, which is a seriously intensive and expensive fix. It was a tough pill for him to swallow, but it’s a perfect example for the rest of us.
In this article
- Why the Sun is Your Car’s Worst Enemy
- Your Beginner’s Shopping List for Sun Protection
- Protecting Your Paint: The Ultimate Step-by-Step Guide
- Don’t Forget the Inside! Protecting Your Dashboard and Seats
- Keeping the Mechanicals Healthy in the Heat
- A Simple Maintenance Schedule to Keep You on Track
- Final Thoughts
Honestly, protecting your vehicle from the sun is about so much more than just keeping the paint shiny. It’s about preserving the value, function, and even the safety of your entire car. The sun’s radiation attacks your paint, interior plastics, leather seats, and even your tires. This guide is built on everything I’ve learned in the shop, day in and day out. It’s not about pushing fancy, overpriced products. It’s about understanding the threat and using the right, common-sense techniques to fight back effectively.
Why the Sun is Your Car’s Worst Enemy
So, what are we actually fighting against? It boils down to two types of solar radiation that are constantly bombarding your car: Ultraviolet (UV) and Infrared (IR).
Ultraviolet (UV) Rays: The Silent Fader
Think of UV rays as tiny, invisible bullets that just shred the chemical bonds in your car’s surfaces. They come in a couple of flavors:
- UV-A rays are the sneaky ones. They penetrate deep, going right through the clear coat to bleach the color out of the paint underneath. Inside your car, they’re the reason your seats fade and your dashboard plastic gets brittle and fragile.
- UV-B rays are more powerful but don’t go as deep. They attack the top layer—the clear coat. This is what causes oxidation, that chalky, hazy look you see on neglected cars. Let it go long enough, and the clear coat will start to peel off in sheets. It’s basically a nasty sunburn for your car, and there’s no aloe vera for it.
Infrared (IR) Rays: The Brutal Baker
Infrared is just a fancy word for heat. On a hot day, the inside of a closed car can easily soar past 140°F, and the surface of a dark-colored car can get hot enough to cook on. This intense heat is a huge problem. It causes plastic dashboards to expand and contract until they crack. It literally bakes the life out of vinyl and trim, making them brittle. And under the hood? It breaks down your oil, coolant, and other vital fluids way faster than normal.
You’re not just fighting one thing; you’re fighting a two-front war on every part of your vehicle. That’s why a hodgepodge approach doesn’t work. You need a real plan.
Your Beginner’s Shopping List for Sun Protection
Before we dive into the ‘how-to’, let’s talk about what you’ll actually need. Getting set up isn’t as expensive as you might think, and it’s way cheaper than a new paint job. Here’s a realistic shopping list you can pick up at places like Harbor Freight, Walmart, or online.
- For the Wash: Two 5-gallon buckets (around $10), a set of Grit Guards to trap dirt at the bottom ($20 for a pair), a good pH-neutral car soap ($15), a soft microfiber wash mitt ($10), and a plush microfiber drying towel ($15).
- For Decontamination: A clay bar kit, which usually includes the clay and a lubricating spray, is essential. A good one will set you back about $25.
- For Protection: A quality paint sealant is your best bet for longevity. Expect to pay between $20 and $40 for a bottle that will last you multiple applications.
- Applicators: A pack of foam applicator pads and a stack of clean microfiber towels will run you another $20 or so.
All in, you’re looking at around $135 for a complete kit that will last you a very long time. That’s a pretty small investment to protect an asset worth thousands.
Protecting Your Paint: The Ultimate Step-by-Step Guide
Your car’s paint is its armor. Modern paint is a system: primer, a color base coat, and a protective clear coat on top. Your entire mission is to protect that clear coat. If it fails, the only real fix is an expensive trip to the body shop.
Step 1: The Foundational Wash (45-60 Minutes)
A proper wash is everything. Please, whatever you do, never use dish soap—it strips off any wax or sealant you have. And never, ever wash the car in direct sunlight. The heat dries the soap and water onto the surface, leaving mineral spots that can actually etch your clear coat.
The gold standard is the two-bucket method. It’s simple:
- One bucket has your soapy water. The second bucket is just plain rinse water.
- Dunk your wash mitt in the soap and wash a small section of the car, always starting from the top and working your way down.
- Before getting more soap, rinse the now-dirty mitt in the plain water bucket. Wring it out well.
- Now you can go back to the soap bucket for a clean, grit-free load of suds.
This simple process prevents you from grinding all the dirt you just removed right back into your paint. It’s the number one way to prevent those fine, spiderweb-like scratches. After a final rinse, dry the car completely with a quality drying towel to avoid water spots.
Step 2: Making it Glass-Smooth with a Clay Bar (30-45 Minutes)
After washing, put your hand inside a thin plastic sandwich bag and gently run it over the paint. Does it feel gritty? That’s bonded contamination—stuff like industrial fallout and tree sap that washing can’t remove. A clay bar is how we get the surface perfectly smooth.
A detailing clay bar is a soft, moldable resin. You flatten it in your palm, spray a small area of the car with a clay lubricant, and just glide the bar back and forth. You’ll feel and even hear it picking up the gunk. Oh, and a quick tip: Don’t use soapy water as a lube like some online videos suggest! A dedicated clay lube is far slicker and safer. You can grab a full kit with both the bar and lube for about $25. Once the paint feels as smooth as glass, you’re ready for the next step.
Step 3: Choosing Your Armor: Wax, Sealants, and Ceramic Coatings
This is where people get confused, so let’s break it down. You have three main choices for protecting your now-perfectly-clean paint. This isn’t polishing, by the way—polishing is an abrasive process to remove scratches. This is about adding a sacrificial layer of protection on top of your paint.
- Carnauba Wax: This is the classic choice, known for giving paint a deep, warm glow. It’s beautiful, but its weakness is durability. A layer of wax might only last 4-6 weeks in intense summer heat before it literally just melts away. It’s great for a show car, but not so practical for a daily driver. A good paste wax costs about $15-$30.
- Paint Sealants: This is my recommendation for most people. Sealants are synthetic polymers that are all about durability and protection. They might not have the same warm shine as wax, but a good one will last a solid 4-6 months, offering excellent UV protection. A bottle usually costs $20-$40 and will give you many applications.
- Ceramic Coatings: This is the undisputed king of long-term protection. It’s a liquid that chemically bonds to your paint, curing into a super-hard, glass-like shell. A pro-installed coating can last 2 to 5 years, providing incredible UV resistance and making the car ridiculously easy to clean. The catch? It’s expensive. A professional job can run anywhere from $800 to over $2,500 because the prep work has to be absolutely flawless. Any speck of dust or swirl mark will be locked in for years. I strongly advise against DIY kits for beginners—I’ve fixed a lot of botched jobs, and it’s always more expensive than just getting it done right the first time.
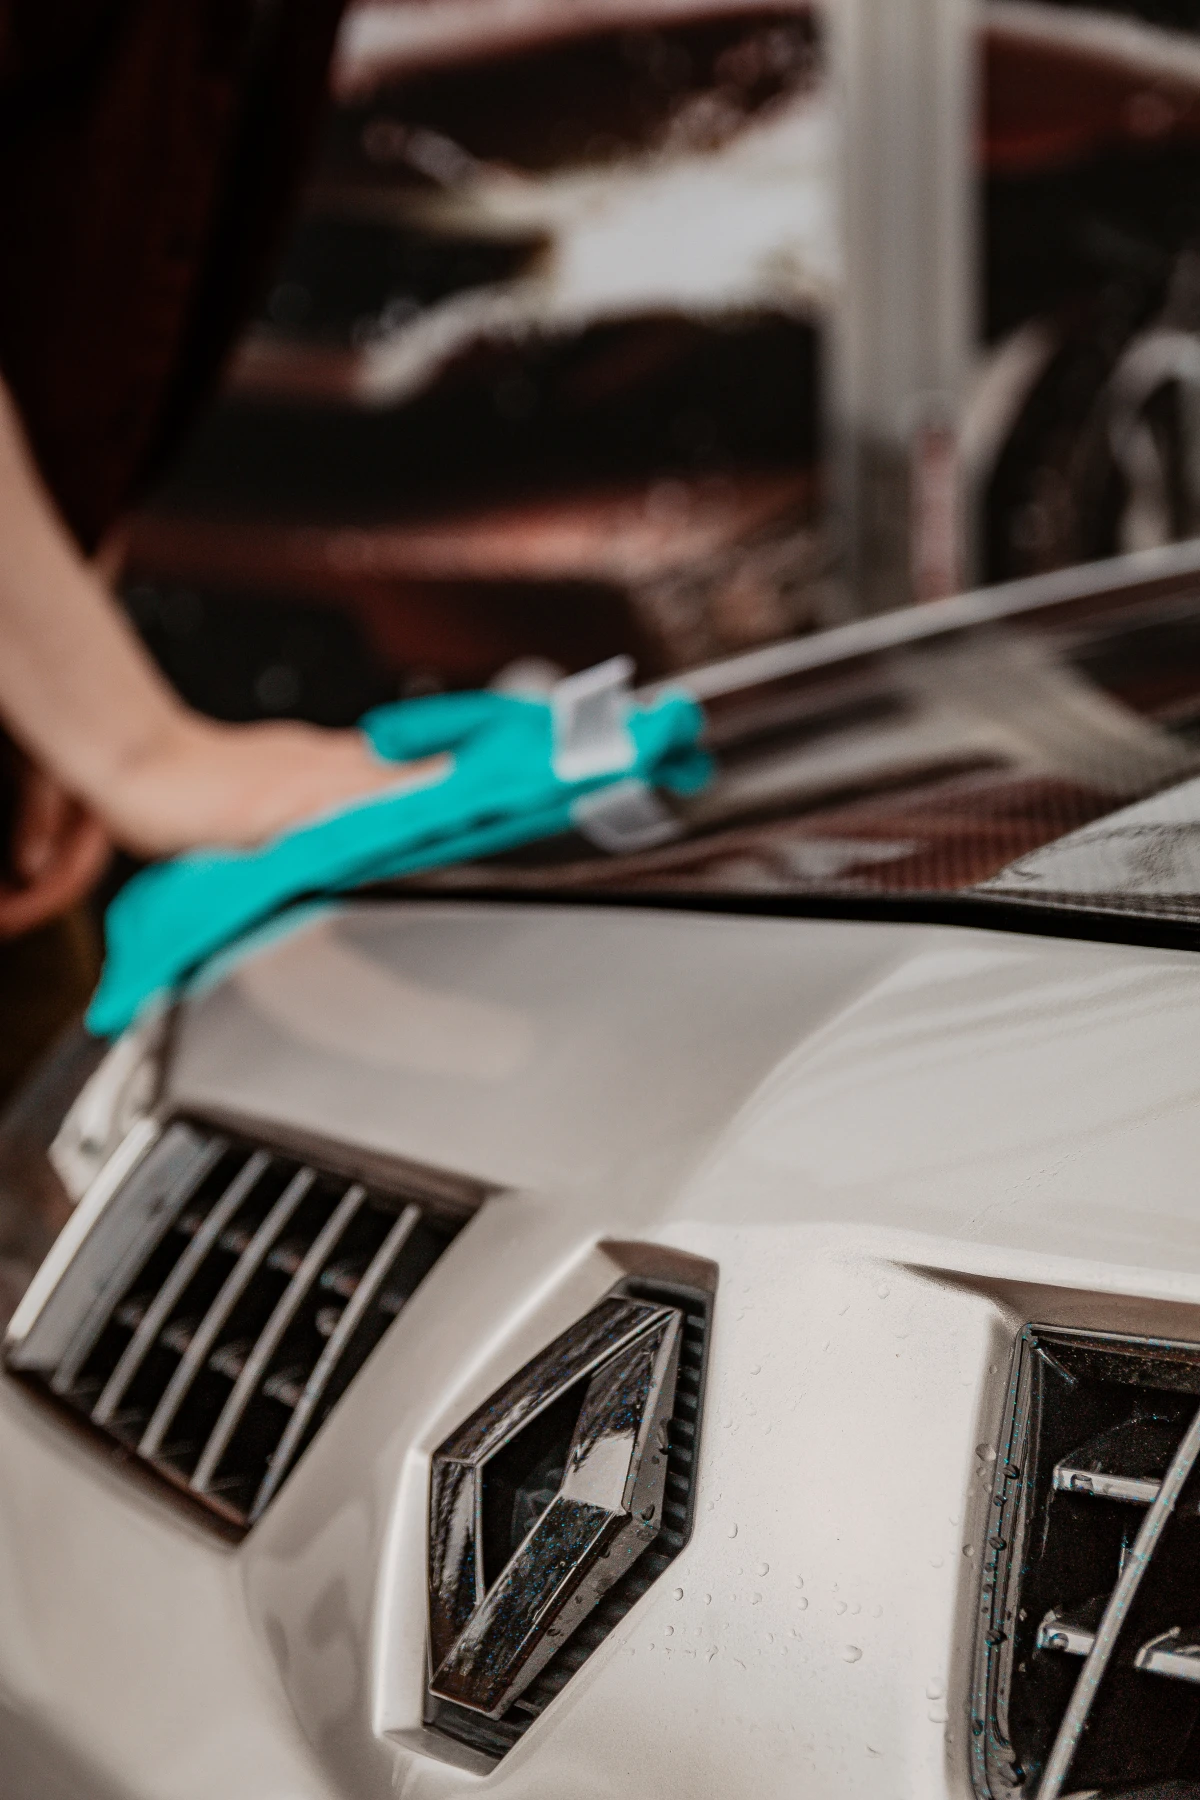
How to Apply a Paint Sealant (The Part Everyone Gets Nervous About)
It’s actually super easy. After you’ve washed and clayed the car, grab your bottle of sealant, a foam applicator pad, and a few clean microfiber towels. Work in the shade on a cool surface.
- Apply a few pea-sized drops of sealant to your applicator pad. A little goes a long way.
- Gently wipe the sealant onto a small panel, like half a door or a quarter of the hood. Apply it in a thin, even layer.
- Let it sit for a few minutes. The directions will give you a time, but a good way to check is the “swipe test.” Gently swipe a finger across the area. If it comes away clean, it’s ready. If it smudges, give it a few more minutes to haze up.
- Using a clean, plush microfiber towel, gently buff the haze off to reveal a slick, shiny surface.
- Try to keep the car dry for the next 12-24 hours while the sealant fully cures. That’s it!
Don’t Forget the Inside! Protecting Your Dashboard and Seats
A cracked dash or faded leather is a real eyesore and can be incredibly expensive to fix. Prevention here is everything.
Quick Win: If you do nothing else, buy a quality, custom-fit sunshade. Forget the cheap, flimsy ones. A good insulated one from a reputable brand will fit your windshield perfectly, block nearly all UV rays, and can drop the interior temperature by a stunning 40°F. It’ll cost you between $50 and $80, and it’s the best money you’ll ever spend on interior protection.
Window Tint: A Smart Investment
Window tint is fantastic, especially in hot climates, but not all tint is the same. The most important number to look for is TSER (Total Solar Energy Rejected). This tells you how much heat the film actually blocks. Cheap films might look dark but do very little for heat. For real performance, you want a ceramic tint. It offers amazing heat rejection without interfering with your phone or GPS signals. Heads up, though: expect to pay around $150-$300 for a cheap job, while a quality ceramic tint for a whole car will likely run you $400-$800. In a hot climate, it’s worth every single penny. Just be sure to check your local laws on tint darkness—a good shop will know the rules.
Dashboard and Trim Care
Step away from those greasy, high-shine interior dressings! Many of them are silicone-based and can actually dry out plastics over time, not to mention the blinding glare they create on your windshield. Instead, use a quality, water-based protectant with UV blockers. From my experience in the shop, products like 303 Aerospace Protectant or Chemical Guys VRP are fantastic. They cost about $15-$20 a bottle and leave a clean, satin finish that looks like it came from the factory.
Keeping the Mechanicals Healthy in the Heat
Sun damage isn’t just skin deep. Extreme heat puts a massive strain on your car’s mechanical bits.
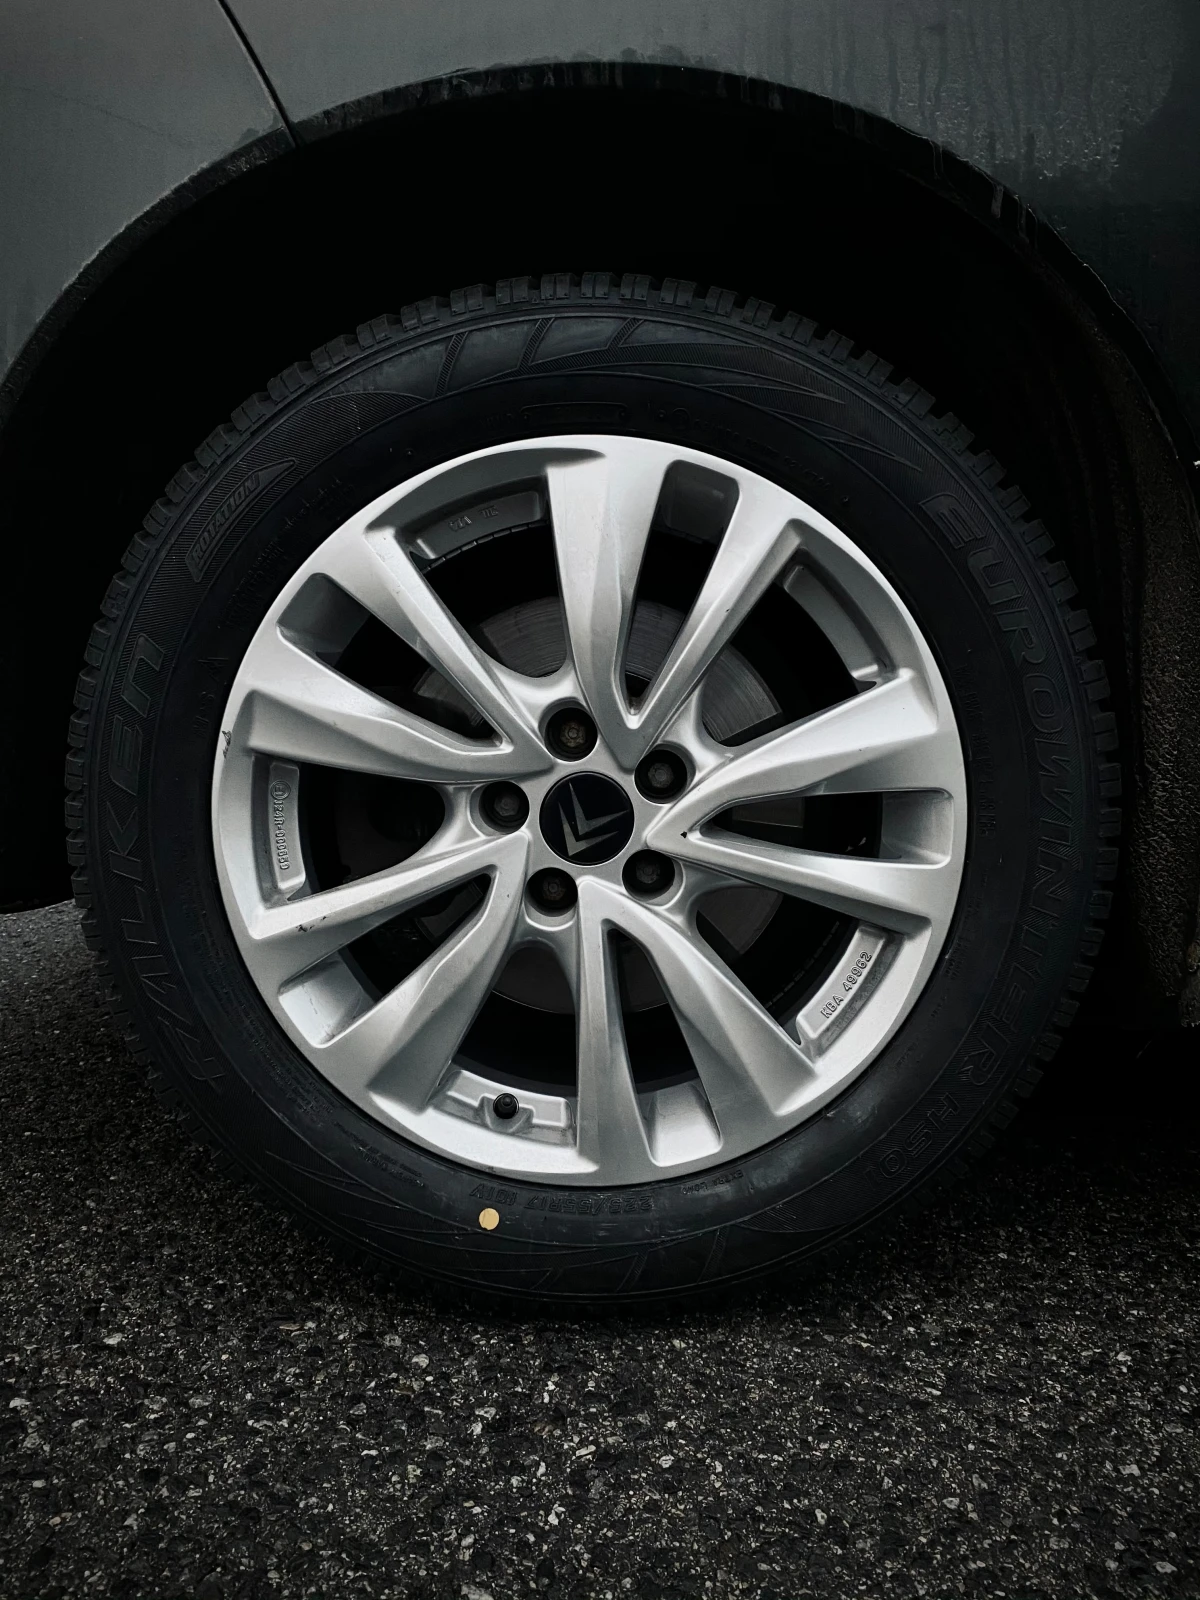
Tires and Battery
Heat expands the air in your tires. As a rule of thumb, for every 10°F rise in temperature, your tire pressure goes up by about 1 PSI. Always check your pressure in the morning when the tires are cold, and use the pressure listed on the sticker inside your driver’s door jamb—not the number on the tire itself! UV also rots the rubber, so use a water-based tire dressing to keep them nourished.
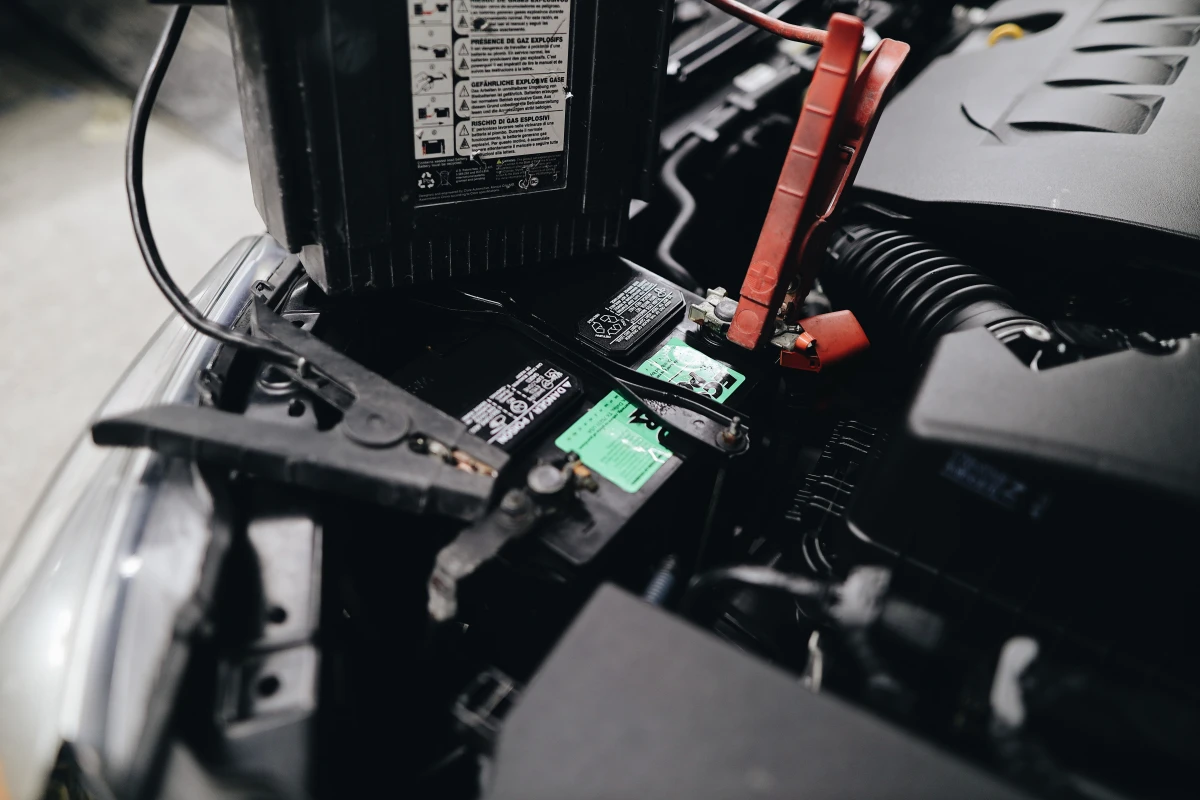
And here’s a fun fact: heat, not cold, is the number one killer of car batteries. The high temperatures under your hood cause the battery fluid to evaporate, leading to a much shorter lifespan. I see way more dead batteries in August than in January. Most auto parts stores will test your battery’s health for free—it’s a smart thing to do before summer really kicks in.
Essential Fluids
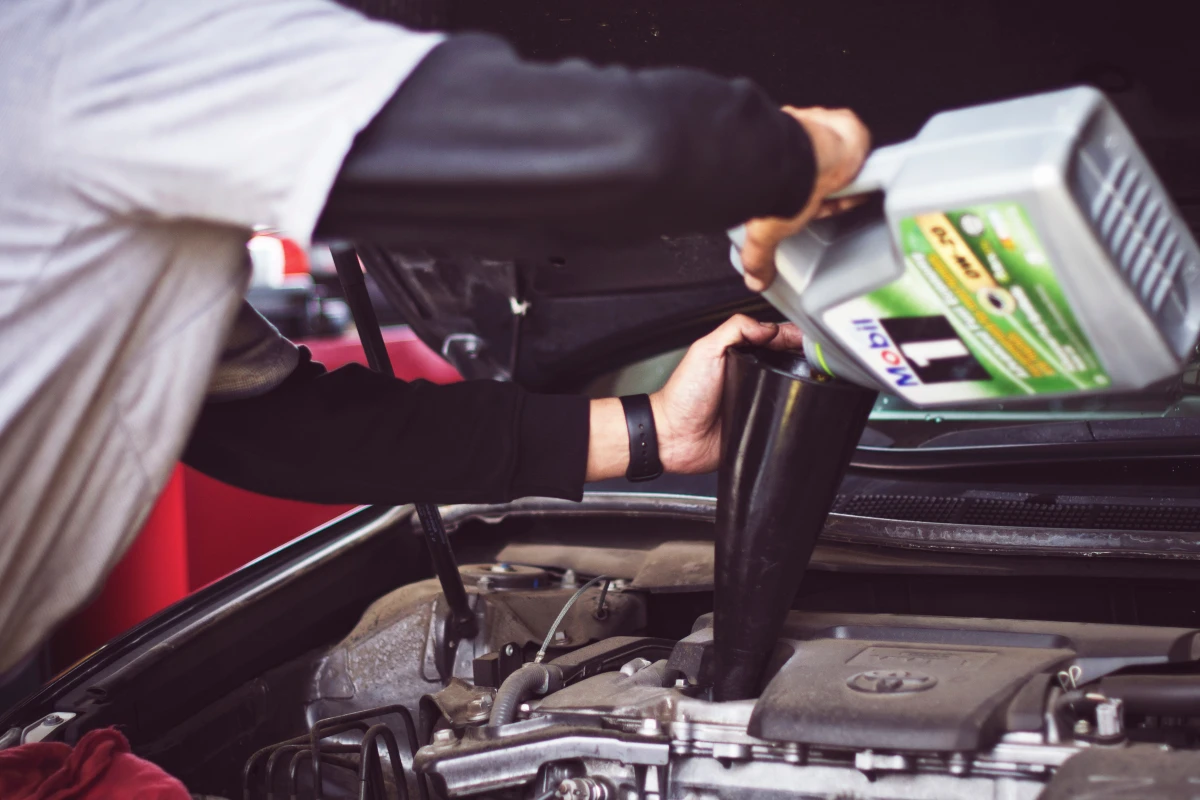
Heat is brutal on all your car’s fluids. Your coolant system, in particular, is working overtime. Make sure it has a proper 50/50 mix of the correct type of coolant for your car (mixing types can cause major problems!). Heat also breaks down your engine oil, so if you live in a very hot climate or do a lot of towing, you might want to consider the severe-duty maintenance schedule in your owner’s manual.
A Simple Maintenance Schedule to Keep You on Track
Putting it all together, here’s a realistic schedule:
- Weekly (2 mins): Check tire pressure when cold.
- Every Two Weeks (45-60 mins): Perform a proper two-bucket wash.
- Monthly (30 mins): Clean the interior and apply a UV protectant to the dash and trim.
- Every 3-4 Months (add 1-2 hours to your wash): Apply a fresh layer of paint sealant. Clean and condition leather seats.
- Every 6-12 Months (add 30-45 mins before sealing): Decontaminate the paint with a clay bar. Get your battery and cooling system checked professionally.
Final Thoughts
At the end of the day, protecting your car from the sun is an ongoing process, not a one-and-done task. But it’s not as daunting as it sounds. By investing a little bit of time and using the right techniques, you really can keep your vehicle looking fantastic and preserve its value for years to come.
And remember to know your limits. A good wash and seal is a perfect weekend project. But for bigger jobs like paint correction or ceramic coating, trust me, a professional has the tools and experience to get it done right the first time. It’s often cheaper than paying them to fix a mistake. Stay safe, stay hydrated, and enjoy your clean, protected ride!


