The Toothpaste Cleaning Trick: An Old Pro’s Guide to What Really Works
I’ve been in the cleaning and restoration game for a long, long time. And in this line of work, you learn to get creative. You see the same stubborn messes day in and day out, and you figure out what works through a whole lot of trial and error. I’ll never forget when one of the old pros I learned from showed me a trick with a tube of basic white toothpaste. He used it on a scuffed-up fiberglass shower that none of our fancy industrial cleaners could fix. And you know what? It worked like a charm.
In this article
That lesson really stuck with me. Toothpaste isn’t some magic eraser for every household problem. To be frank, using it the wrong way can cause some serious, irreversible damage. But when you understand what it actually is, it becomes a fantastic tool for a few very specific jobs.
So, let’s break it down. Think of it as a super-mild abrasive paste. That’s the key. It’s for small-scale, targeted work—not for, say, washing your floors. Today, I’m sharing what I’ve learned from years on the job: why it works, how to use it like a pro, and—most importantly—when to put the tube down and walk away.
So, Why Does This Actually Work?
Before you smear toothpaste on anything that isn’t your teeth, you gotta know what’s inside. Understanding the “why” is what separates a smart fix from a dumb mistake. The cleaning power comes from a few key ingredients in the most basic formulas.
First up are the mild abrasives. These are super-fine mineral powders, like calcium carbonate, that do the actual scrubbing. Imagine them as an incredibly gentle sandpaper, just tough enough to get plaque off of hard tooth enamel. This is what lets toothpaste buff away grime, light oxidation, and surface stains on other materials.
Then you have surfactants, like Sodium Lauryl Sulfate (SLS). These are the cleaning agents that make things foam up. They grab onto both oily dirt and water, lifting grease off a surface so it can be rinsed away.
Finally, there are humectants, like glycerol. These just keep the paste from drying out in the tube and give it that thick consistency. This helps it stay put while you’re scrubbing, which is a big plus.
By the way, here’s a little tidbit for you: The abrasiveness of toothpaste is actually rated on a scale called RDA (Relative Dentin Abrasivity). The cheap, basic pastes we want for cleaning are usually low on this scale, which makes them much safer for these jobs than the aggressive whitening pastes!
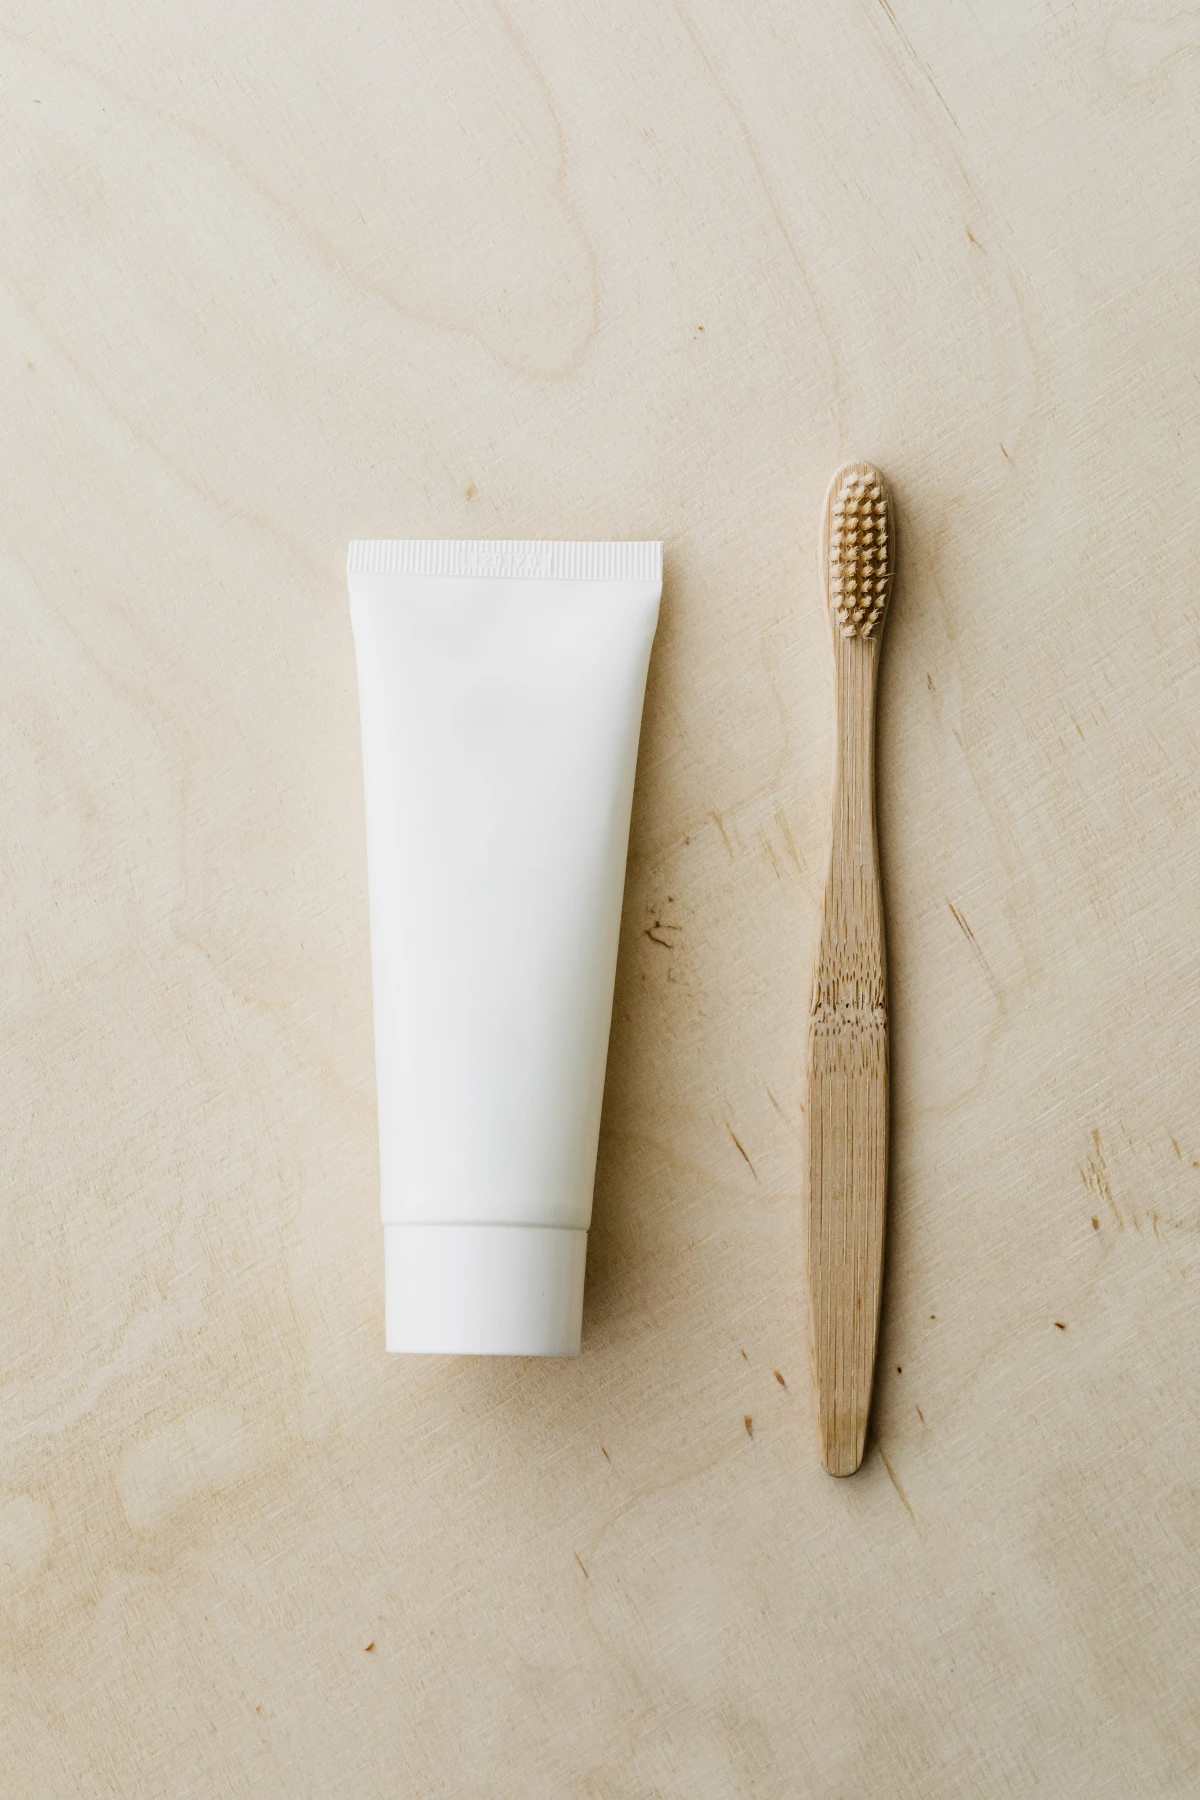
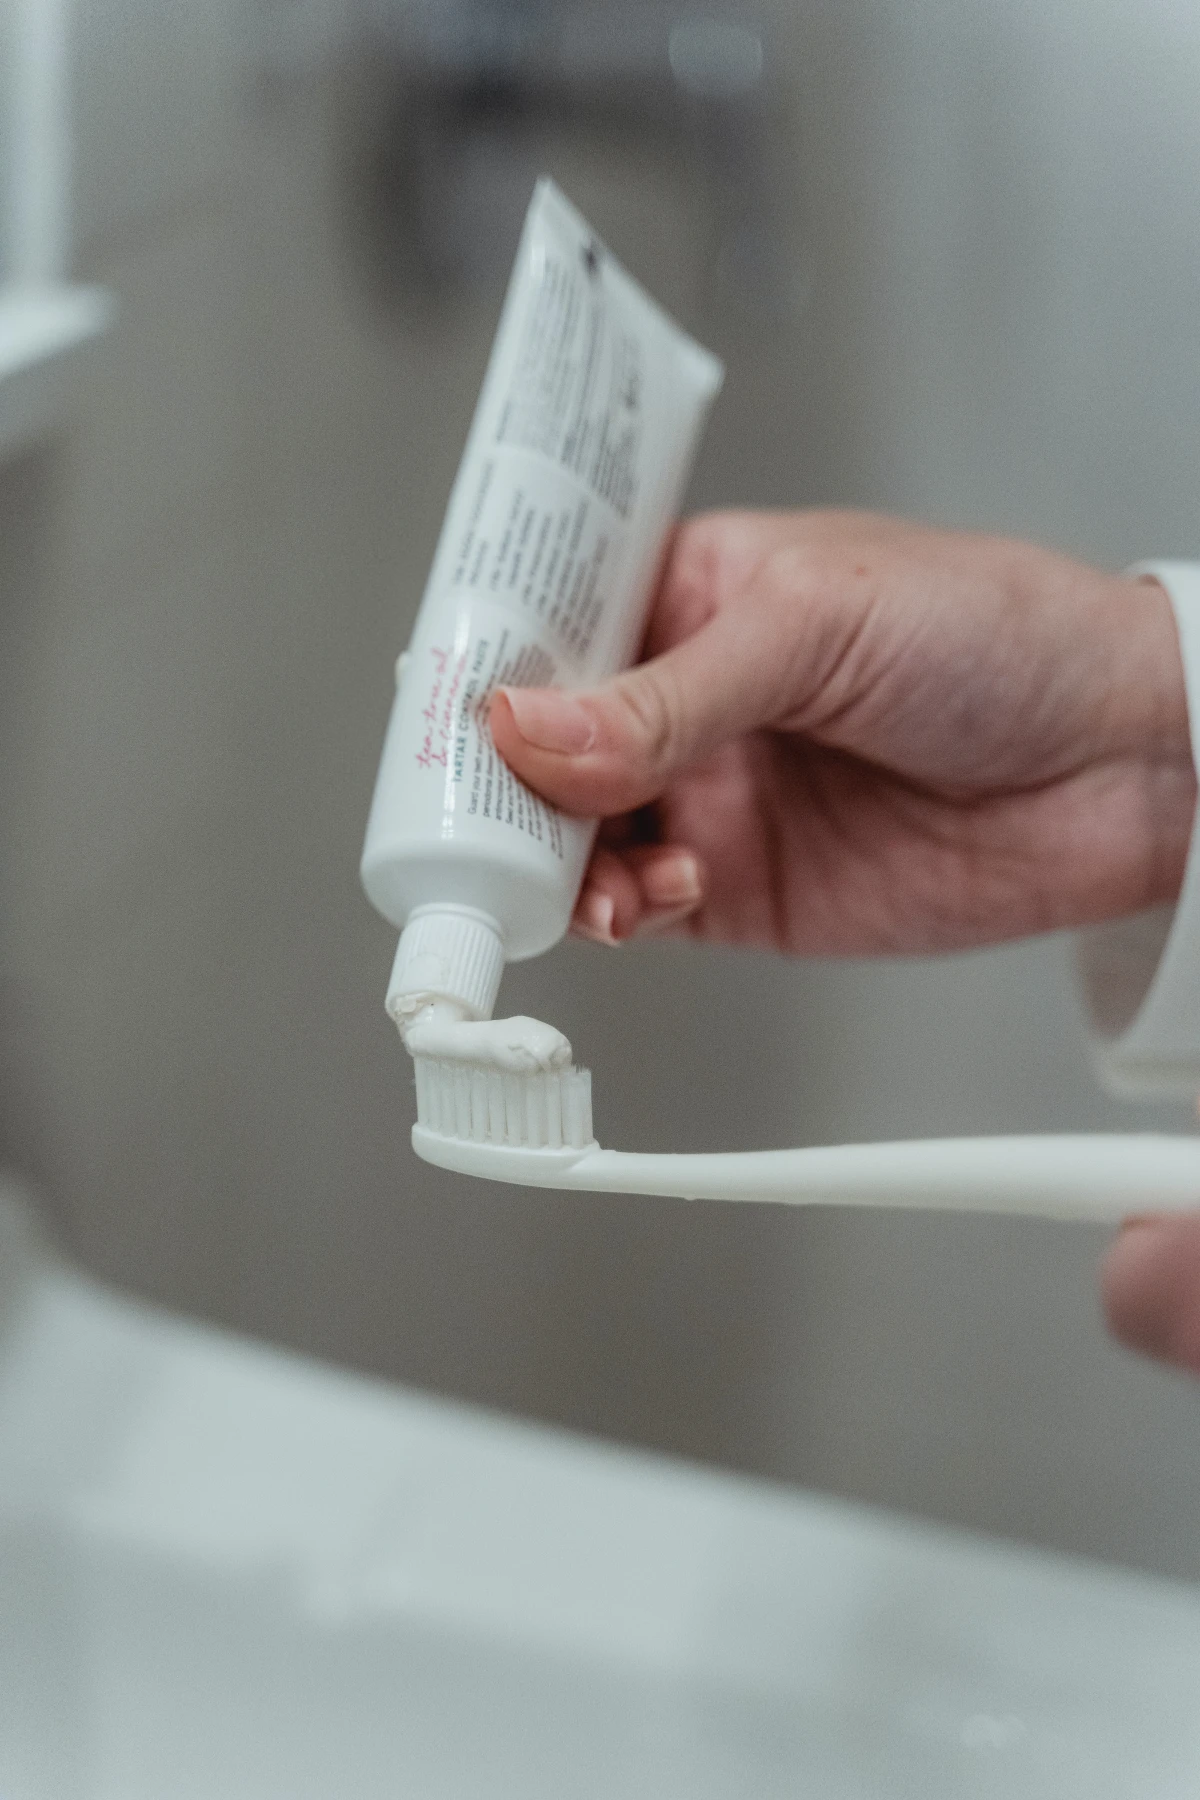
The Only Toothpaste (and Tools) You Need
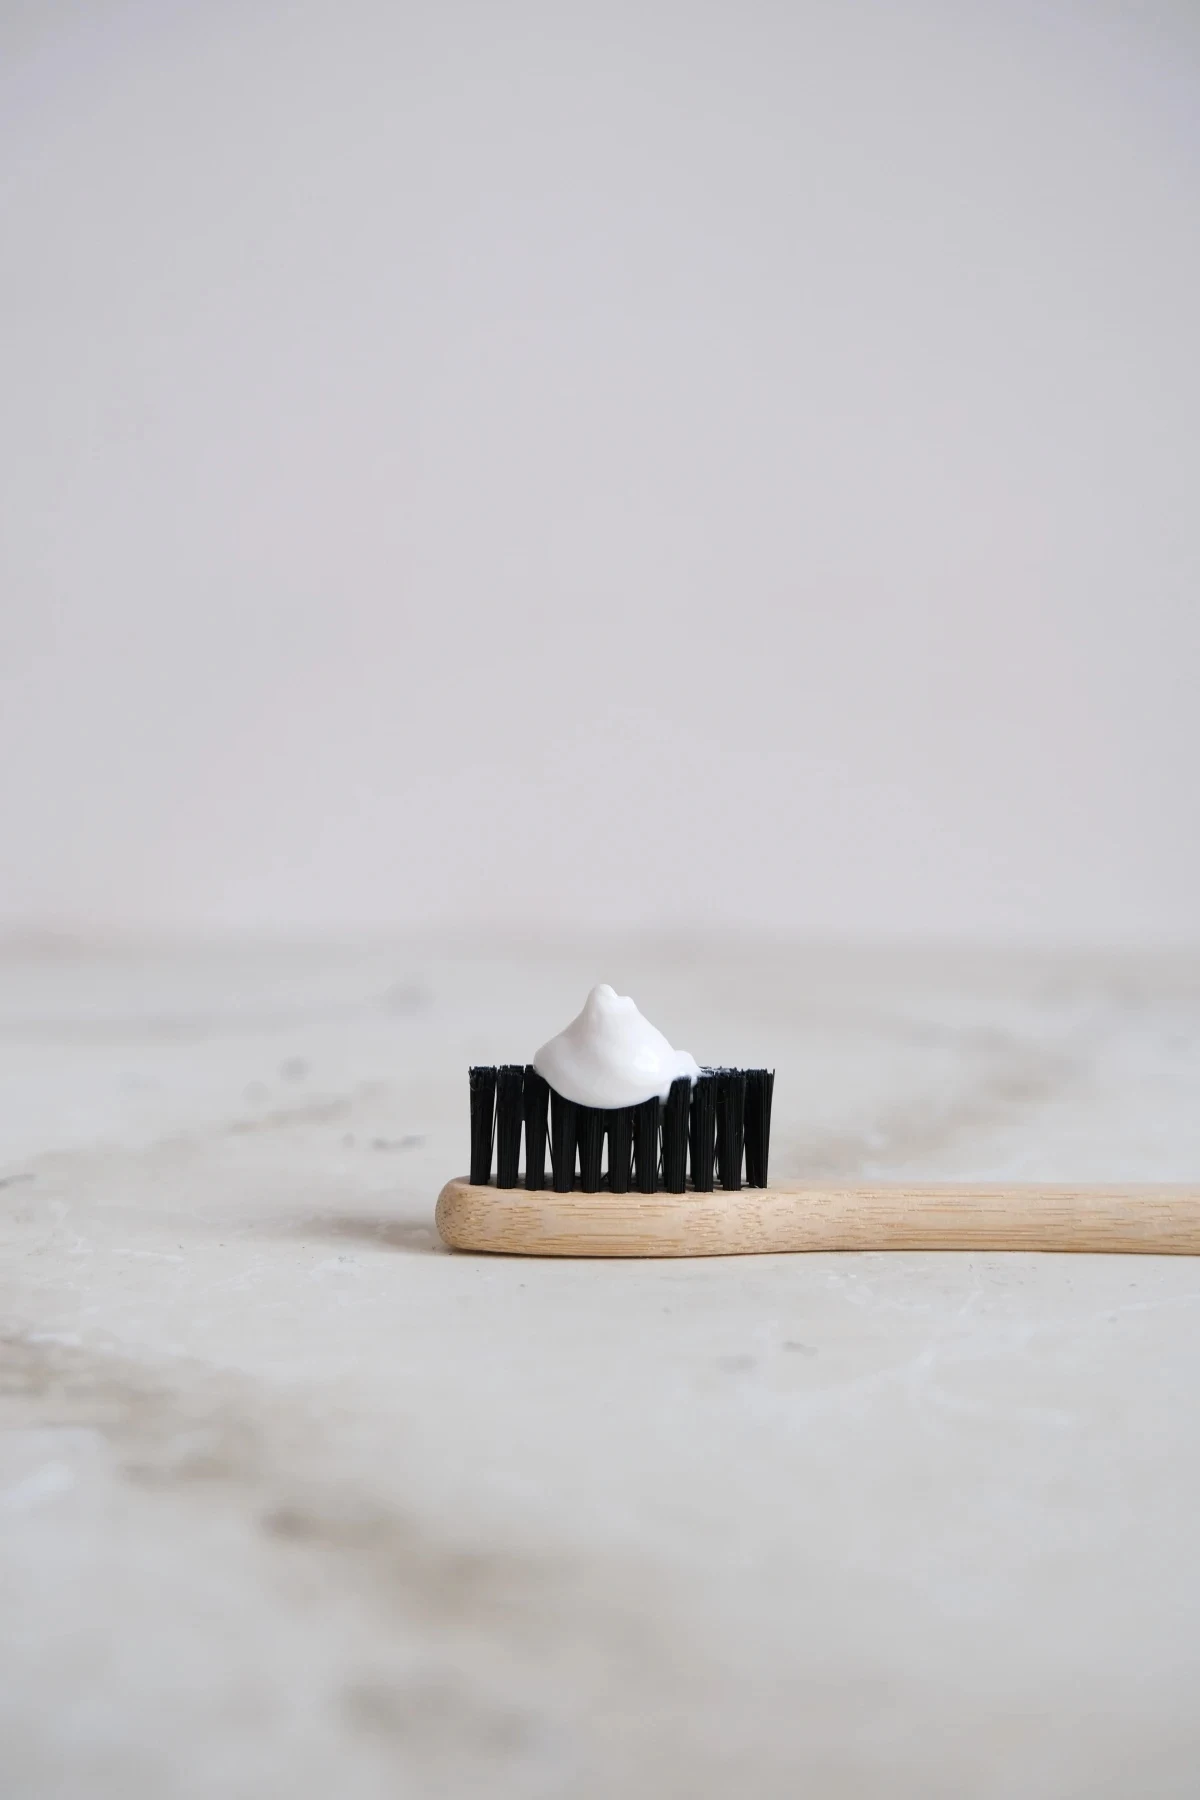
This is the most important rule of all, so listen up. You MUST use a plain, white, non-gel paste. And when I say basic, I mean it. Head to Walmart or the dollar store and grab the cheapest one you can find, usually for a buck or two. That’s your secret weapon.
Here’s what to avoid, no exceptions:
- Gels: They just don’t have the right kind of abrasive particles. They won’t give you the scrubbing power you need.
- Whitening Formulas: These often contain harsher abrasives or chemical bleaching agents that can easily damage or discolor sensitive surfaces.
- Colored or Striped Pastes: The dyes in these can stain porous materials like grout or fabric. You don’t want to trade a scuff for a new blue stain.
- Charcoal Pastes: Just don’t. Charcoal is super abrasive and its dark color is a staining nightmare waiting to happen on pretty much anything.
As for tools, you don’t need much. Your entire kit will probably cost you less than $15.
- Microfiber Cloths: Essential. A multi-pack from Home Depot or Amazon is perfect. They’re gentle and great for buffing.
- Terry Cloth Rags: A simple cotton washcloth works well for tougher jobs where you need a bit more bite.
- A Soft-Bristle Toothbrush: An old one is perfect for getting into tight corners and textures.
- Cotton Swabs: For tiny, precise work.
Quick tip: Always use a clean, damp cloth to apply the paste and a separate clean cloth to wipe it off. You don’t want to grind old dirt back into the surface you’re trying to clean.
The Good List: Where Toothpaste Is Your Best Friend
Alright, let’s get to the good stuff. These are the tried-and-true situations where toothpaste really shines. Remember, technique is everything.
1. Wiping Out Soap Scum on Showers and Sinks
Soap scum is that chalky, tough film that builds up on shower doors and fixtures, especially if you have hard water. It’s a real pain to remove.

How it Works: The gentle abrasives in the paste are perfect for grinding away these stubborn mineral deposits without scratching durable surfaces like fiberglass, acrylic, or porcelain.
The Method (Project Time: 5-10 minutes):
Get a damp terry cloth and squeeze on a line of toothpaste about the length of your finger. Scrub the scum in small, firm circles. You’ll feel it start to break down. Rinse your cloth and wipe the area clean with water, then buff it dry with a microfiber cloth to prevent new water spots. For an entire shower, you’ll want a dedicated bathroom cleaner, but for those stubborn spots, this is my go-to.
Heads up! NEVER use this on natural stone like marble or travertine. The abrasives will etch and permanently dull the polished finish. It’s a mistake you only make once.
2. A Quick Fix for Foggy Headlights
This is the most famous toothpaste hack for a reason. If your car’s headlights are yellow and cloudy, that’s oxidized plastic. Before you start, the headlight might look like it has jaundice. Afterwards, it can look crystal clear, making the car seem five years younger.
How it Works: The toothpaste acts as a fine polishing compound, literally sanding down the pitted, oxidized top layer of the plastic to restore clarity.
The Method (Project Time: 10-15 minutes):
First, wash the headlight with soap and water and dry it completely. Squeeze a good amount of paste onto the lens and use a damp microfiber cloth to scrub with firm pressure. Go in vigorous circles or back-and-forth motions for a solid 3-5 minutes per light. You’ll see a nasty brownish-yellow slurry forming—that’s the oxidation coming off. Wipe it all clean and see the difference.
Okay, let’s be real about this: This is a TEMPORARY fix. I always tell my clients this. You’ve just polished the raw plastic, but the protective UV coating is gone. It will start to yellow again in a few months. To make it last, you MUST apply a UV-resistant sealant. You can grab a kit from an auto parts store (brands like Sylvania or 3M make good ones for about $20). After polishing, just wipe the lens with rubbing alcohol, apply the sealant as directed, and let it cure. Without that last step, you’re just kicking the can down the road.

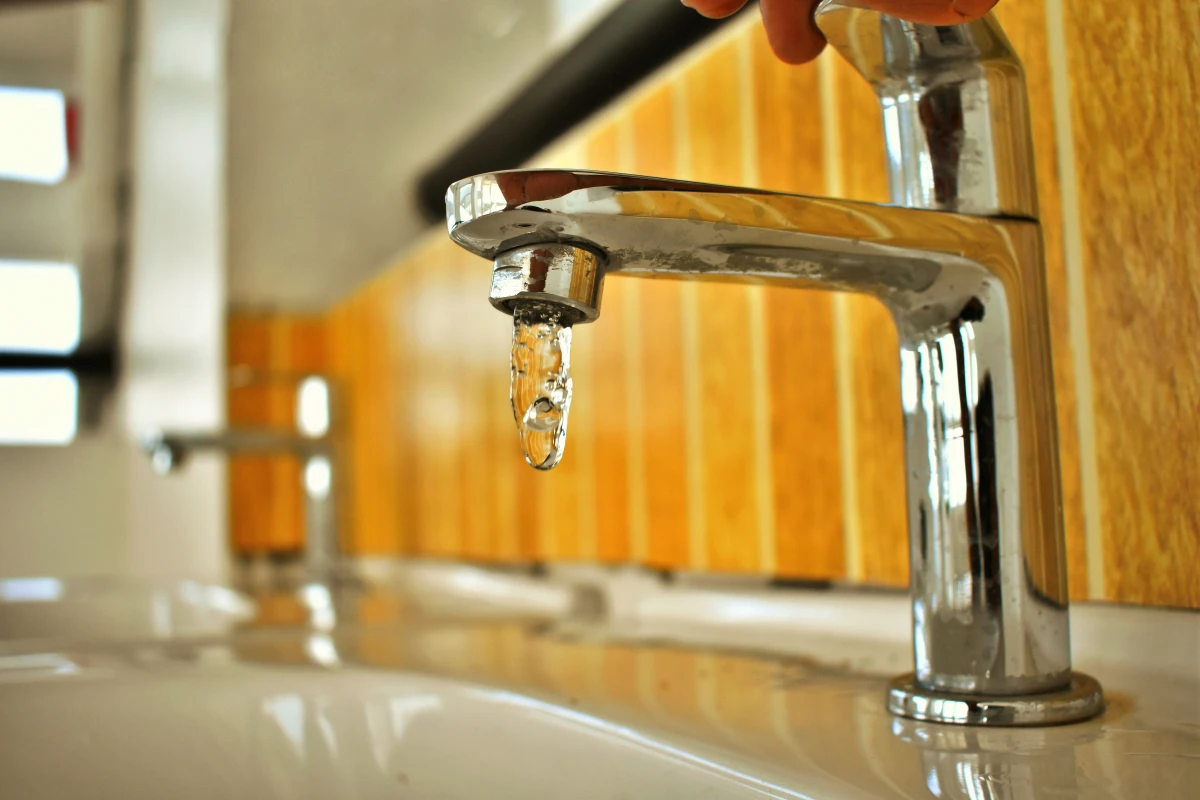
3. Polishing Up Chrome and Stainless Steel
Water spots on a shiny chrome faucet can make a whole bathroom look grimy. Toothpaste buffs them away beautifully.
How it Works: The fine abrasives polish off the mineral deposits without scratching the hard chrome plating.
The Method (Project Time: 2 minutes):
Put a tiny dab of paste—less than a pea-size—on a dry microfiber cloth. Gently rub the fixture, then use a clean, damp part of the cloth to wipe away the residue. Immediately buff dry with another clean cloth for a brilliant shine.
A pro tip to prevent disaster: How do you know if your fixture is solid chrome or just cheap plating? Try the magnet test. A weak magnet won’t stick to solid brass (which is often under chrome), but it might stick to cheaper steel-based metals. If it sticks, be extra gentle or skip this entirely. I’ve seen an assistant scrub right through thin gold plating before, and it was an expensive lesson. This is for hard chrome and solid stainless steel ONLY.
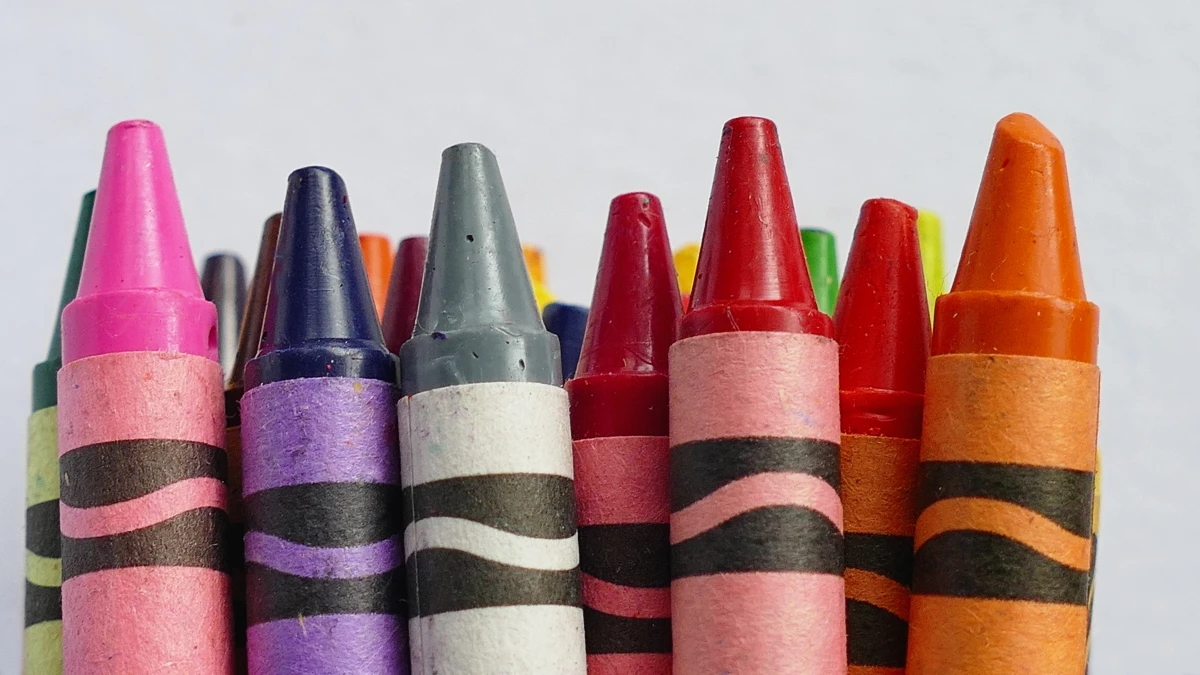
4. Getting Rid of Crayon on Walls (Sometimes)
If you have kids, you know the pain of unexpected wall art. Toothpaste can work, but you have to be careful.
How it Works: The abrasives scrub the crayon wax or marker pigment off the top layer of paint.
The Method (Project Time: 3 minutes):
ALWAYS test this in a hidden spot first, like inside a closet. Dab a tiny bit of paste on the mark and gently rub with your fingertip or a soft, damp cloth. This trick works best on walls with a gloss or semi-gloss finish. If you try this on flat or matte paint, you’ll likely rub the paint finish right off, leaving a shiny patch that looks even worse. On flat paint, it’s a last resort before getting out the touch-up paint.
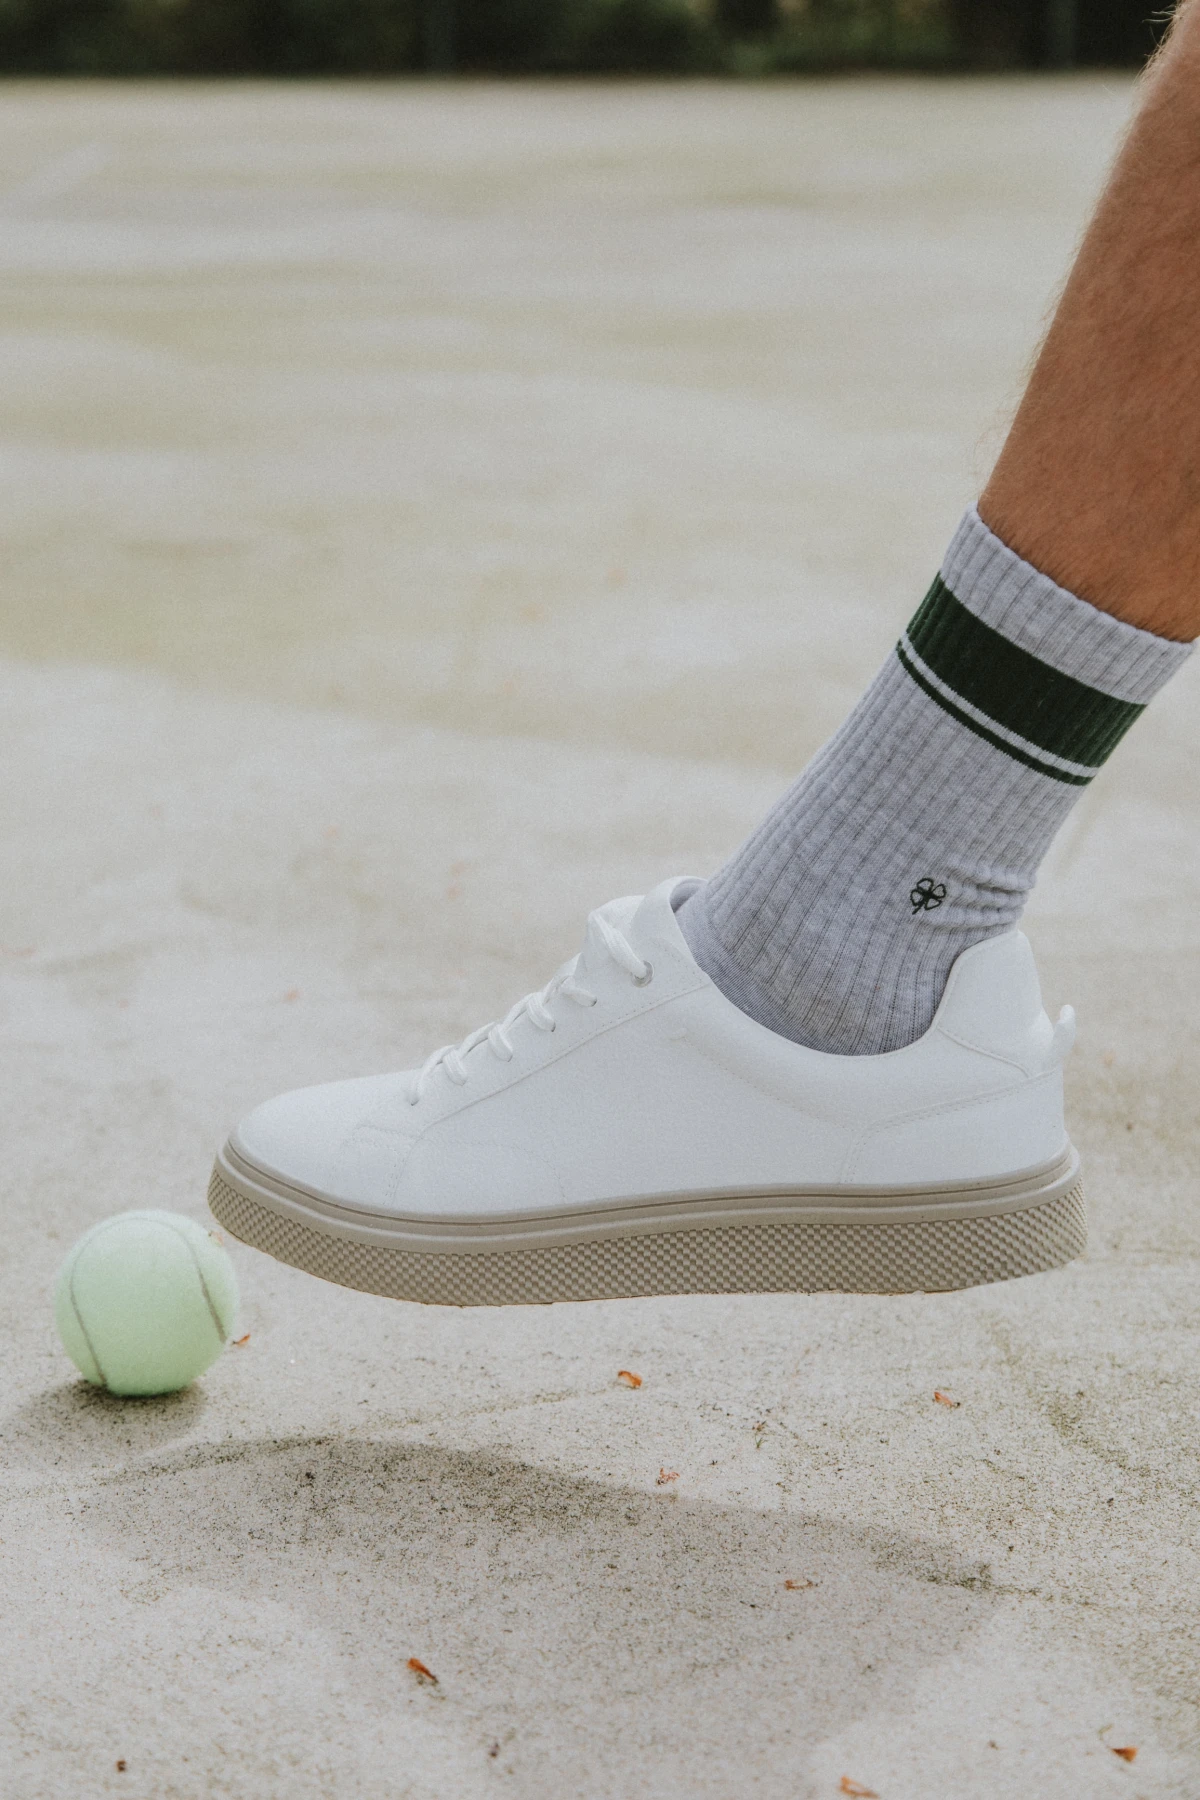
5. Making Sneaker Soles White Again
This is one of my favorite uses. The white rubber or foam soles on sneakers trap dirt like crazy, and this method is cheap and incredibly effective.
How it Works: A toothbrush and the abrasive paste team up to get into all the little textures of the sole, pulling out the grime.
The Method (Project Time: 5-10 minutes per pair):
Wipe off any loose dirt first. Apply a generous glob of toothpaste (about the size of a quarter per shoe) to an old toothbrush and scrub the rubber soles vigorously. You’ll see the foam turn gray as it lifts the dirt. Wipe all the paste off with a damp rag when you’re done. Just be careful not to scrub the canvas or leather parts of the shoe.
Hold On! Read This Before You Ruin Something
Now we get to the uses I see online that make me cringe. These can cause permanent damage if you’re not careful. This is my definitive “don’t you dare” list.
- Natural Stone: I’m saying it again. Marble, granite, limestone. The toothpaste will etch the surface and strip the polished finish. You can’t undo it.
- Wood Furniture: It can strip the varnish and leave a cloudy white residue in the wood grain that’s impossible to get out.
- Jewelry: It’s way too abrasive for soft metals like gold and silver, and it will scratch soft gems like pearls and opals. Plus, the paste gets gunked up in the settings and behind stones, turning into a chalky mess.
- Eyeglasses: Like screens, your glasses have delicate anti-glare and anti-scratch coatings. Toothpaste will sand them right off.
- ALL Modern Screens (The Biggest Warning): This is the most dangerous myth out there. I have personally seen phone and TV screens destroyed by this. Modern screens on your phone, laptop, and TV have special coatings to reduce glare and fingerprints. Toothpaste is an abrasive—it will permanently sand these coatings off, leaving a giant, smudgy, dull spot. A small scratch is nothing compared to the damage you’ll cause trying to “fix” it. Don’t do it. Ever.
A Final Thought…
At the end of the day, toothpaste is a specialist’s tool. It’s a mild abrasive for spot-treating specific stains on specific durable surfaces. Think of it like a Phillips head screwdriver—perfect for one job, totally wrong for another. And always, always remember the golden rule of cleaning and restoration: test your method on a small, hidden spot first.
Knowing how to use a simple product like this is a great skill. But true wisdom isn’t just knowing what to do. It’s knowing what not to do.
Galerie d’inspiration
My toothpaste has whitening crystals and a blue gel swirl. Is it still okay for cleaning?
Absolutely not. For this trick to work safely, you need to avoid fancy formulas. Whitening toothpastes often contain harsher abrasives like hydrated silica or chemical agents that can be too aggressive for household surfaces, potentially causing discoloration or fine scratches on plastics and varnishes. Gel toothpastes lack the specific mineral abrasives that do the gentle buffing. And as for charcoal toothpaste? The particles are often too coarse and can leave behind a grey residue or permanently mar delicate finishes. Stick to the most basic, plain white paste you can find, like a classic Crest Cavity Protection or Colgate. The goal is gentle polishing, not a chemical treatment.


