Grilling Like a Pro: The 5 Mistakes Sabotaging Your Backyard BBQ
I’ve spent countless seasons standing over roaring fires, both in bustling restaurant kitchens and teaching folks just like you in their own backyards. And I’ve learned one simple truth: amazing grilled food has almost nothing to do with secret sauces or complicated recipes. It’s all about nailing a few key techniques.
In this article
Sure, anyone can cook a burger. But consistently getting that juicy, flavorful result with a perfect crust? That’s a different game. It’s the difference between just blasting your food with heat and truly understanding how the fire, your fuel, and the food are all working together. I’ve seen it all—from pricey steaks turned into coasters to flare-ups that nearly singed a guest’s eyebrows off. The good news is, these common blunders are totally fixable.
Forget the fancy gadgets for a minute. Let’s get back to the basics that will make you cook with confidence and control.
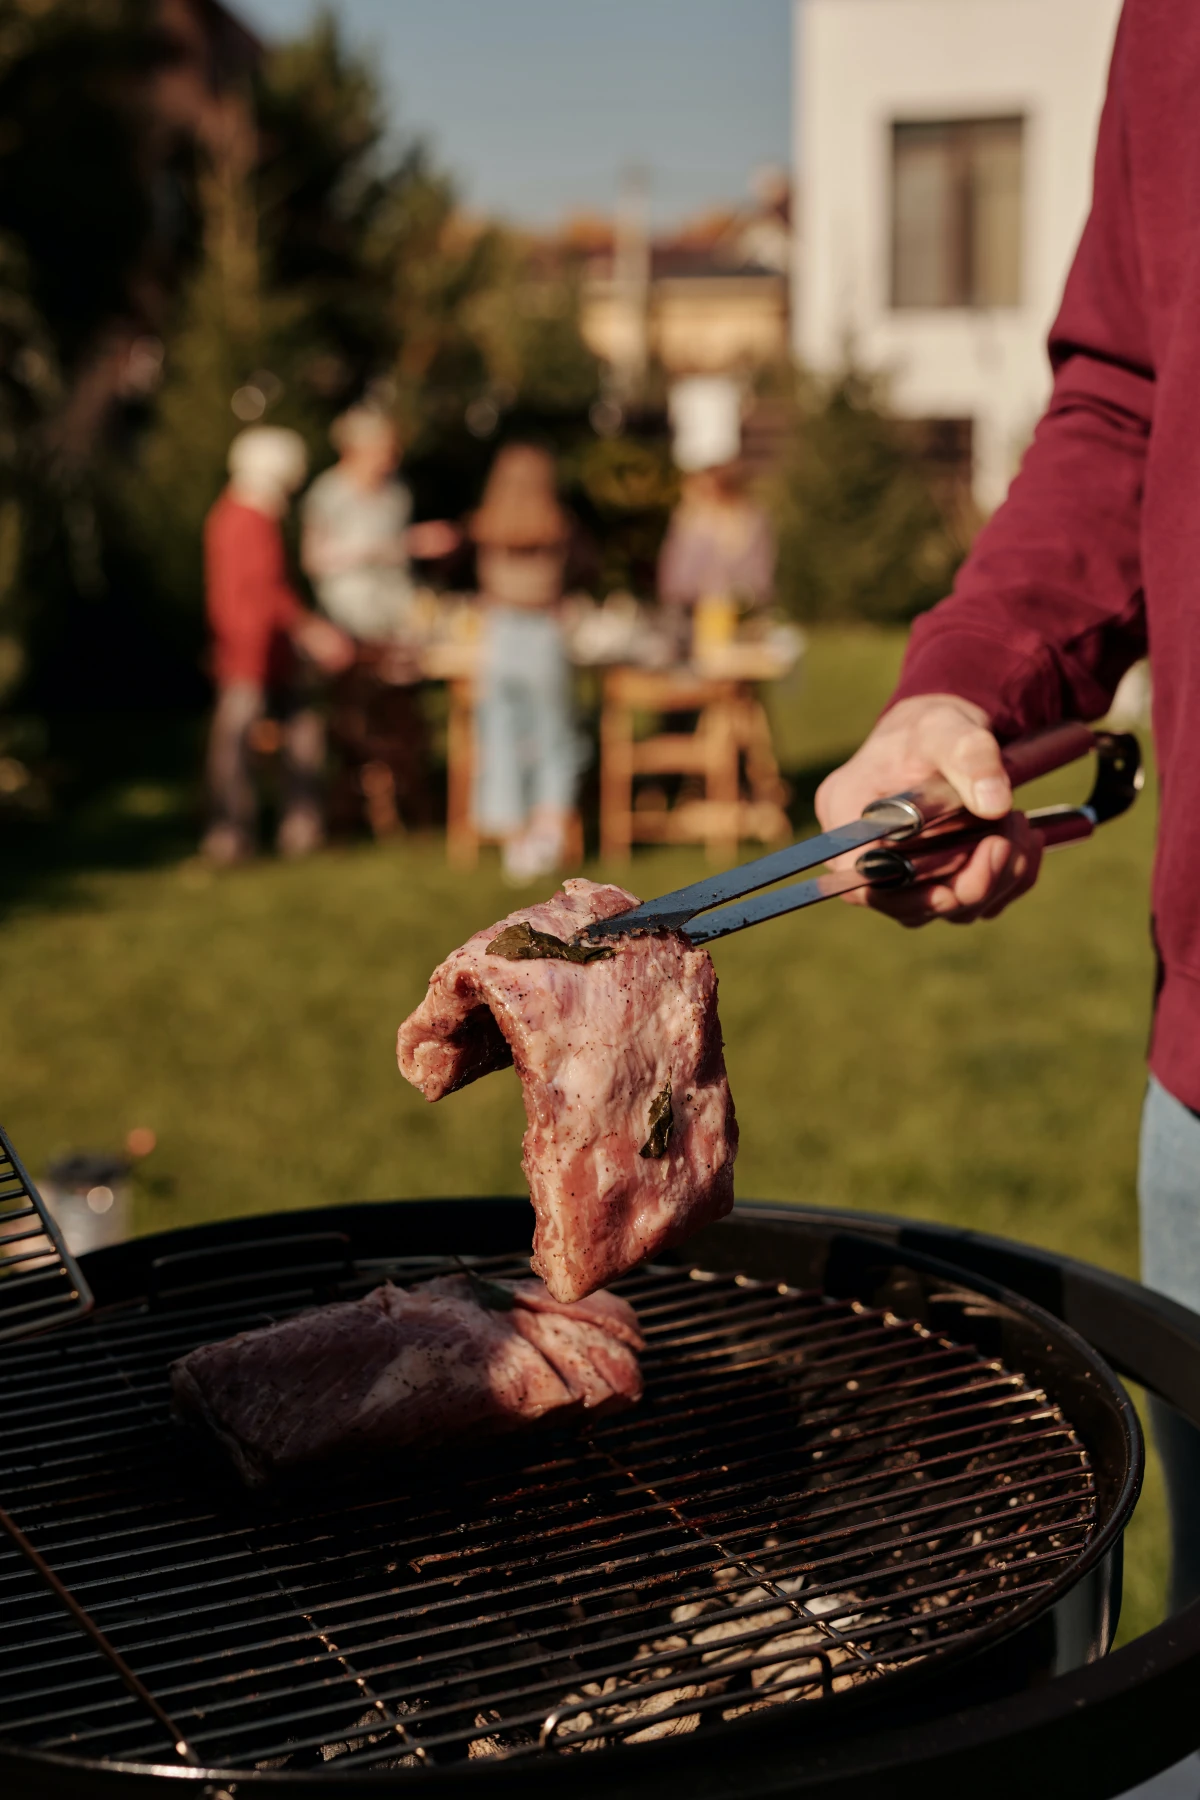
1. Getting Your Temperatures All Wrong
Honestly, the single biggest flaw I see is a basic misunderstanding of heat. People often treat their grill like a stovetop, firing it up and tossing on food immediately. This is actually a double-whammy of mistakes: starting with ice-cold meat and using a grill that isn’t properly preheated.
The Problem with Cold Meat
When you take a thick steak straight from the fridge and slap it on a 500°F grill, you’re setting it up for failure. The outside gets scorched while the inside is still a chilly 38°F. By the time the center finally gets to a perfect medium-rare, the outer layer is a thick, overcooked gray band. It’s just not good. The muscle fibers get shocked and tense up, making the meat tough.
The fix is simple: let your meat rest on the counter for 30 to 60 minutes before grilling. This gives it a head start, so it cooks faster and way more evenly. You get a beautiful crust without sacrificing that perfectly pink center.
Why You MUST Preheat Your Grill
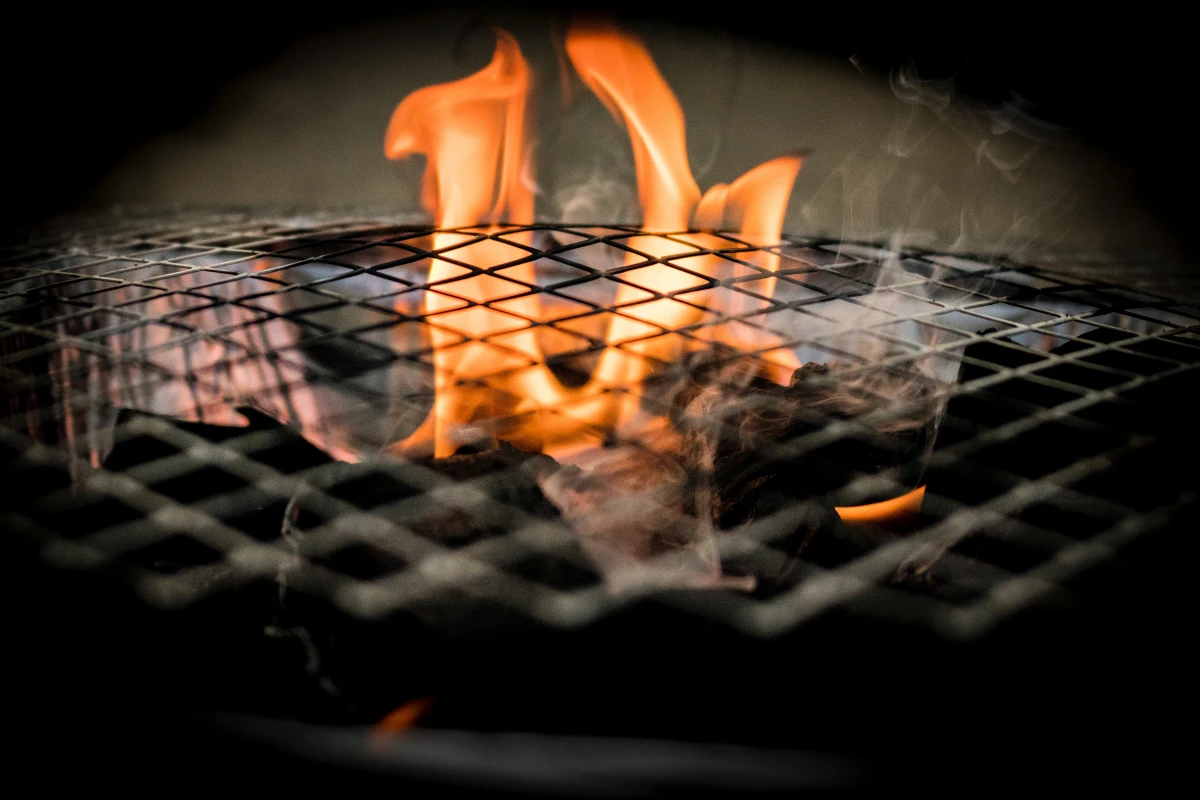
Just as important is getting those grates screaming hot. A properly preheated grill does two critical things: it creates an amazing sear and it prevents food from sticking. That beautiful brown crust and savory flavor? That’s a chemical reaction that only kicks in at temperatures above 300°F. On a cool grate, your food just sort of… steams in its own juices. No crust, no flavor, no fun.

Pro Tip: My rule is 15 minutes, minimum. For a gas grill, close the lid, turn all burners to high, and wait. For a charcoal grill, you need to wait until the coals are covered in a fine layer of white ash. This takes about 20-30 minutes, but it’s non-negotiable for a great result.
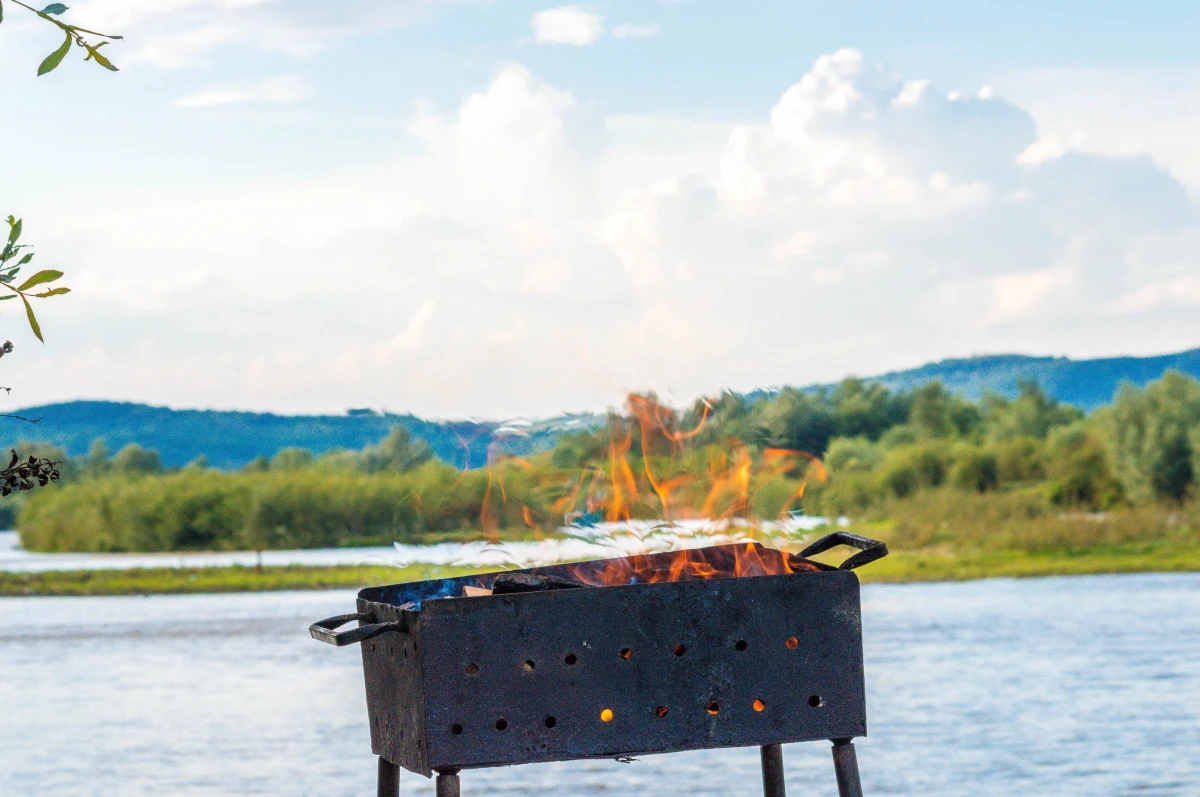
2. The Fuel Fiasco and the Lighter Fluid Trap
For a lot of people, the smell of lighter fluid is the smell of summer. For me, it’s the smell of ruined food. Using a petroleum-based fluid is a shortcut that taints everything you cook with a nasty chemical aftertaste. Your charcoal is porous, and it soaks that stuff right up, releasing it as vapor all over your expensive steak.
There’s a much better way, and it’s called a chimney starter. It’s a simple metal canister that uses natural convection to light charcoal fast and evenly, with zero chemicals. They are a total game-changer and usually cost between $20 and $35 at any hardware store or online. A worthy investment.

How to use a chimney starter:
- Crumple a sheet or two of newspaper in the bottom.
- Fill the top with charcoal. For things like burgers and steaks, a half-full chimney is plenty. For longer cooks like chicken pieces, go ahead and fill it to the top.
- Light the paper and let it sit on your grill’s charcoal grate.
In about 15-20 minutes, you’ll have perfectly lit, white-hot coals ready to go. No off-flavors, just pure heat.
Lump Charcoal vs. Briquettes: What’s the Deal?
Oh yeah, let’s talk about the fuel itself. Standing in the store aisle can be confusing. Here’s the simple breakdown:
- Briquettes are your classic, pillow-shaped coals. They are made from compressed sawdust and additives that help them burn consistently. They’re predictable and generally cheaper, maybe $15-$20 for a large bag. They are great for maintaining a steady temperature for a long cook.
- Lump Charcoal is the more “natural” option. It’s just pieces of real wood that have been charred. It lights faster, burns hotter, and produces less ash than briquettes. It also imparts a more authentic, mild wood-smoke flavor. It’s a bit pricier, often running $25-$40 for a similar-sized bag, and the irregular shapes can lead to less consistent temperatures if you’re not paying attention.
For beginners, briquettes are a solid, reliable choice. Once you’re comfortable, give lump a try—the flavor difference is noticeable!
3. Working on a Dirty, Unprepared Grill
A clean, oiled grate is the foundation of a good cook. My mantra for this is simple, and it has to be done in this exact order: Clean, Hot, Oiled.
First, get the grill hot, then you clean it. The heat helps burn off all the gunk from your last BBQ, making it easy to scrape away with a good grill brush. Heads up! A lot of people are moving to bristle-free brushes these days. They look like coiled metal springs. Why? Because traditional wire brushes can sometimes shed their bristles, and if one ends up in your food, it can be a serious health hazard. A good bristle-free brush might cost you $20, but the peace of mind is priceless.
After it’s clean and still hot, it’s time to oil the grates. Don’t ever use a cooking spray on a hot grill; it’s a flare-up waiting to happen. Instead, pour a little high-smoke-point oil (like canola or grapeseed) into a bowl. Grab a folded paper towel with long tongs, dip it in the oil, and wipe a thin, even layer across the grates. Now you’re ready to cook.
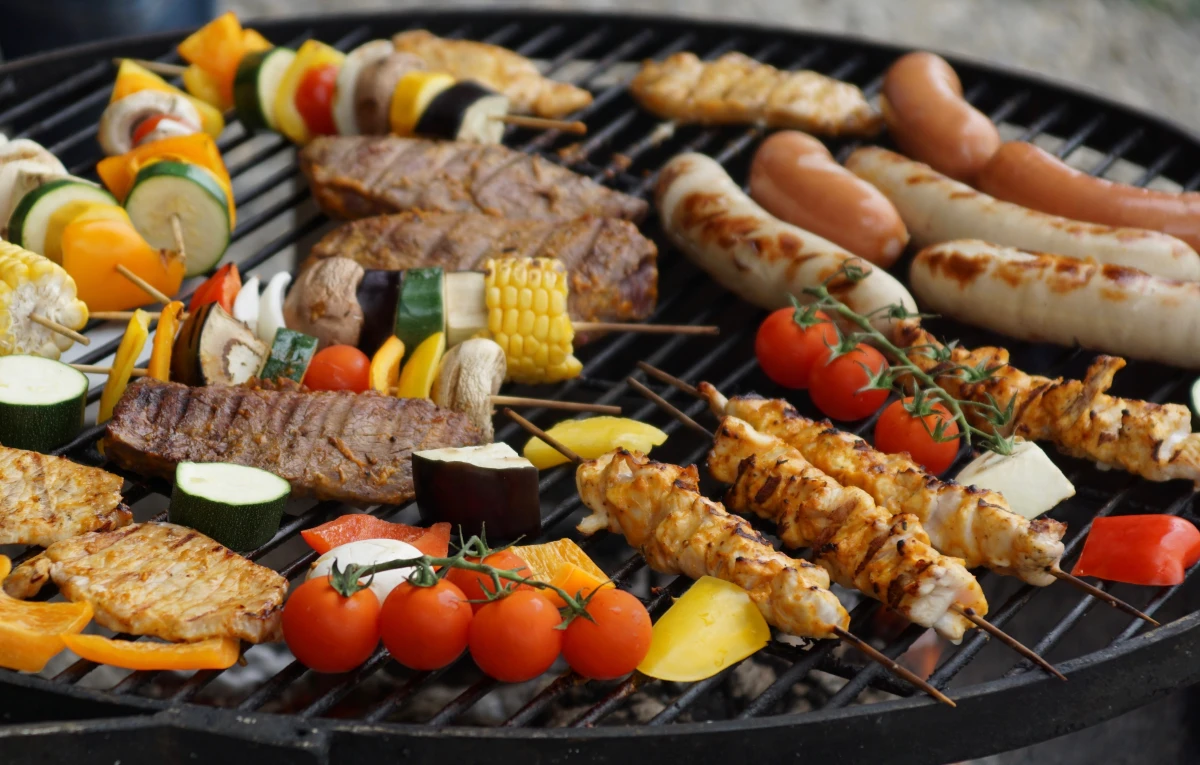
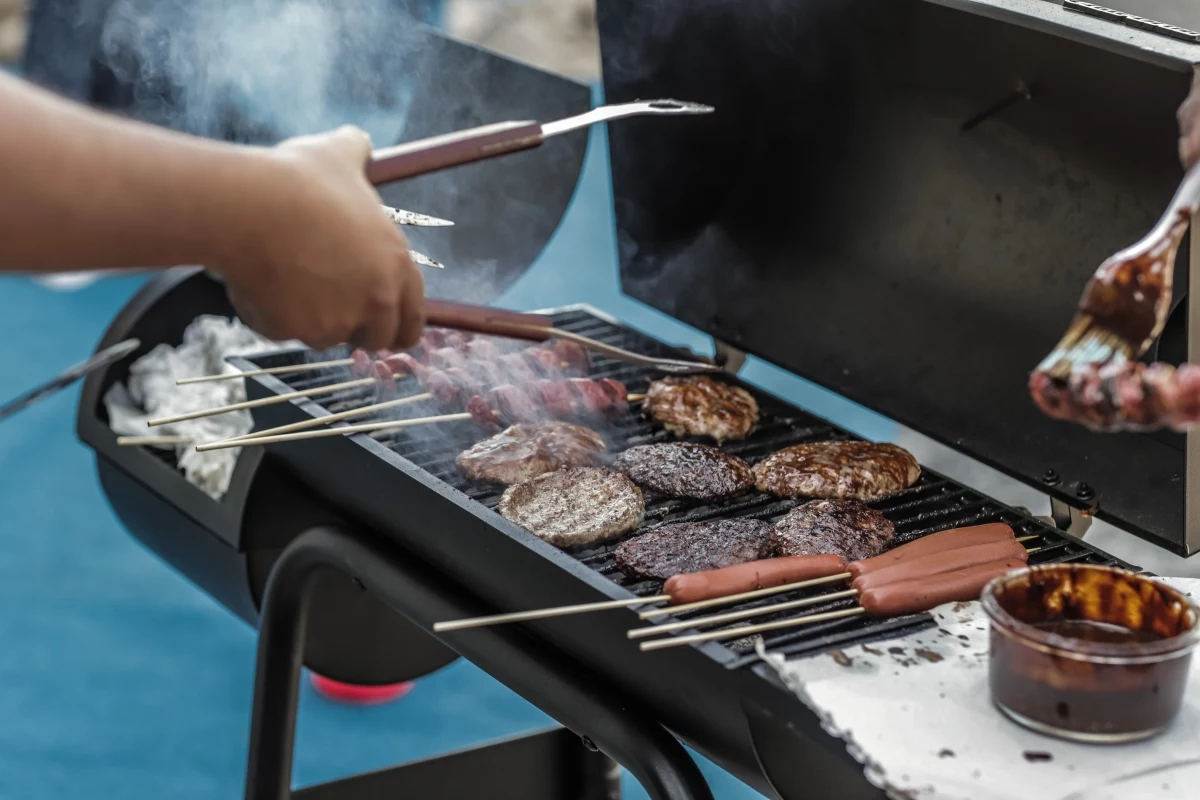
4. Overcrowding the Grill and Getting Impatient
I get it, you’ve got a hungry crowd. But piling every square inch of your grill with food is a massive mistake. It causes the grill’s temperature to plummet, meaning your food steams instead of sears. It also leaves you no escape route for the inevitable flare-ups.
The single most valuable technique here is the two-zone fire. On a charcoal grill, pile all your hot coals to one side. On a gas grill, turn the burners on one side to high and leave the other side off. This creates:
- A Direct Heat Zone: For searing and getting that initial crust.
- An Indirect Heat Zone: A cooler area for finishing the cook without burning the outside. This is also your essential “safe zone” to move food to if a flare-up happens.
Always leave at least 30% of your grill empty as your indirect zone. But what if you have to cook in batches? How do you keep the first round of burgers warm?
Lesser-known trick: Place a wire cooling rack inside a baking sheet. As food comes off the grill, place it on the rack and tent it loosely with foil. You can keep this setup in an oven set to its lowest temperature (usually around 170°F) to keep everything perfect while you finish round two.
And once the food is on… leave it alone! Stop poking, prodding, and flipping it every 30 seconds. And for the love of all that is good, never press down on a burger with a spatula. You’re just squeezing all the delicious juices right into the fire.
5. Skipping the Final, Crucial Step: The Rest
You can do everything else perfectly, but if you slice into a steak the second it comes off the grill, you’ve just undermined all your hard work. You’ll see that tragic puddle of juice escape onto your cutting board, leaving you with a dry piece of meat.
As meat cooks, the muscle fibers tighten and push all the moisture to the center. Resting allows those fibers to relax and reabsorb all that flavor. The result is a ridiculously juicy and tender bite, every time.
Did you know? Resting is so important that the meat continues to cook even after it’s off the heat. This “carryover cooking” can raise the internal temperature by another 5-10 degrees! That’s why pros pull their steaks off the grill just before they hit the target temperature.
For steaks and chops, let them rest for 5-10 minutes. For bigger roasts, give them 20-30 minutes. Just tent them loosely with foil so the crust stays crisp.
Your Quick-Win Challenge: This weekend, just try this one thing. Let your steak rest for 7 minutes before you slice it. See the difference? You just made a better steak. It’s that simple.
A Final Word on Safety & Gear
Grilling involves fire, so let’s be smart. Keep your grill at least 10 feet from your house or any deck railings, and always have it on a stable surface. Keep a fire extinguisher rated for grease fires nearby, just in case.

And please, use separate plates and tongs for raw and cooked meat to avoid cross-contamination. The only way to know for sure if your food is done is with a good instant-read thermometer. Color is not a reliable guide!
Good to know: You don’t have to break the bank. While a top-of-the-line professional thermometer can be pricey, a model like the ThermoPop is fantastic, super-fast, and only costs about $35. It’s one of the best investments you can make to stop guessing and start knowing when your chicken is perfectly cooked (to 165°F) and safe to eat.


