Scratches on Your Hardwood? Don’t Panic, Here’s What to Do
I’ve been working with hardwood floors for a long, long time. And trust me, I’ve seen it all—from those faint, spidery lines a dining chair leaves behind to the kind of deep, heart-stopping gouge that happens when a heavy tool takes a tumble. Early on, I learned a lesson the hard way. A new homeowner called me in a total panic. They’d found a “quick fix” online for a small scratch and ended up turning it into a giant, dull smear on their beautiful new floor. Honestly, it cost them more for me to fix their fix than it would have to just deal with the original scratch.
In this article
That one job taught me the golden rule of floor repair: A good fix starts with a good diagnosis. You can’t possibly fix something if you don’t understand what’s actually broken. Your floor isn’t just a piece of wood; it’s a system with layers—the wood itself, the stain that gives it color, and the protective finish on top. Your first job is to play detective and figure out how deep the damage goes. Only then can you pick the right tool for the job.
First Things First: What Kind of Floor Are You Dealing With?
Before you even think about touching that scratch, you need to know a little about your floor’s makeup. Rushing this part is a recipe for disaster and often leads to much bigger headaches. Most floors in homes today fall into a couple of main categories.
Solid vs. Engineered Wood
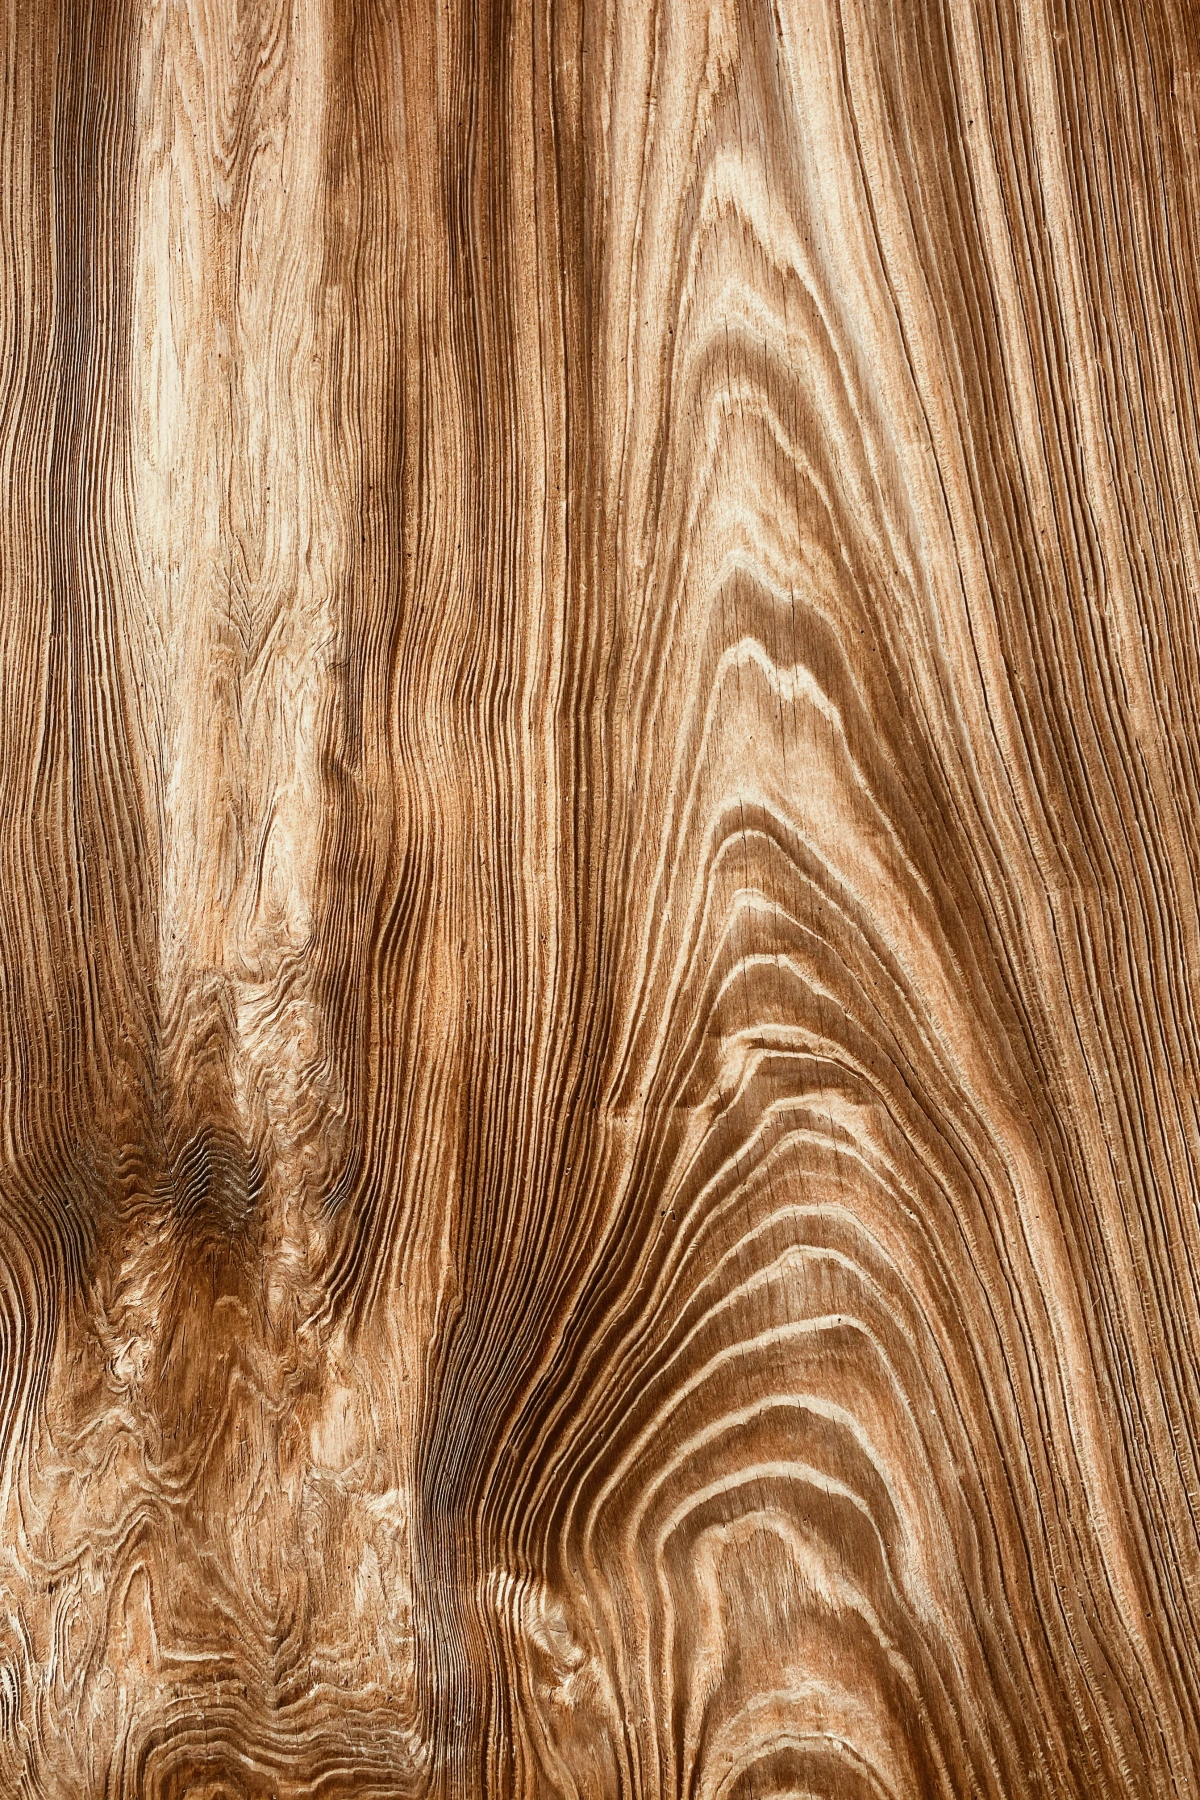
Solid hardwood is exactly what it sounds like: each plank is one solid piece of wood, usually about 3/4 of an inch thick. The big advantage here is its thickness. These floors can be completely sanded down and refinished multiple times, giving them an incredibly long life. If you have a deep gouge in solid wood, you’ve got more material to work with, which is good news.
Engineered hardwood, on the other hand, is a layered sandwich. It has a thin top layer of real hardwood (called the wear layer) glued to a core of high-quality plywood or fiberboard. The thickness of that top layer is everything. High-end engineered floors might have a wear layer you can sand once or twice. But cheaper versions? The wood veneer can be paper-thin. Trying to sand a floor like that will chew right through the hardwood, completely ruining the plank.
Quick Tip: Not sure what you have? Find a floor vent or a transition strip between rooms. You can often see a cross-section of the plank, which will tell you if it’s solid or engineered.
Your Floor’s Finish: The First Line of Defense
Here’s a secret: most scratches aren’t actually in the wood. They’re just in the clear protective coat on top. Figuring out what that finish is can make your repair a whole lot easier.
- The Shiny, Plastic-y Kind (Polyurethane): This is, by far, the most common finish. It’s basically a clear coat of liquid plastic that sits on top of the wood, protecting it. When you scratch polyurethane, it often leaves a distinct white line. The good news? These are often the easiest to fix. To check, find a hidden spot (inside a closet is perfect) and put a drop of water on it. If the water beads up and just sits there, you almost certainly have a surface finish like polyurethane.
- The Natural, Matte-Looking Stuff (Oils & Hardwaxes): Gaining popularity for their beautiful, low-sheen look, these finishes soak into the wood instead of sitting on top. Scratches tend to be less obvious, and repairs are different. You can often spot-fix these by simply cleaning the scratch and reapplying a bit of the original oil, which blends right in. These floors feel more like raw wood and water will slowly soak in instead of beading.
- The Old-School Finishes (Wax & Shellac): If you’re in a much older home, you might have a more traditional wax or shellac finish. These aren’t as durable and are sensitive to water and alcohol. A quick test in a hidden corner: put a drop of denatured alcohol on a rag. If the finish gets sticky or comes off, it’s likely shellac. These require a very different approach to repair.

How to Fix the Scratch: Finding the Right Approach
Okay, you’ve identified your floor and its finish. Now you can figure out how bad the scratch is. I break them down into three levels. The key is to always start with the least aggressive method first. You can always do more, but you can’t undo a repair that went too far.
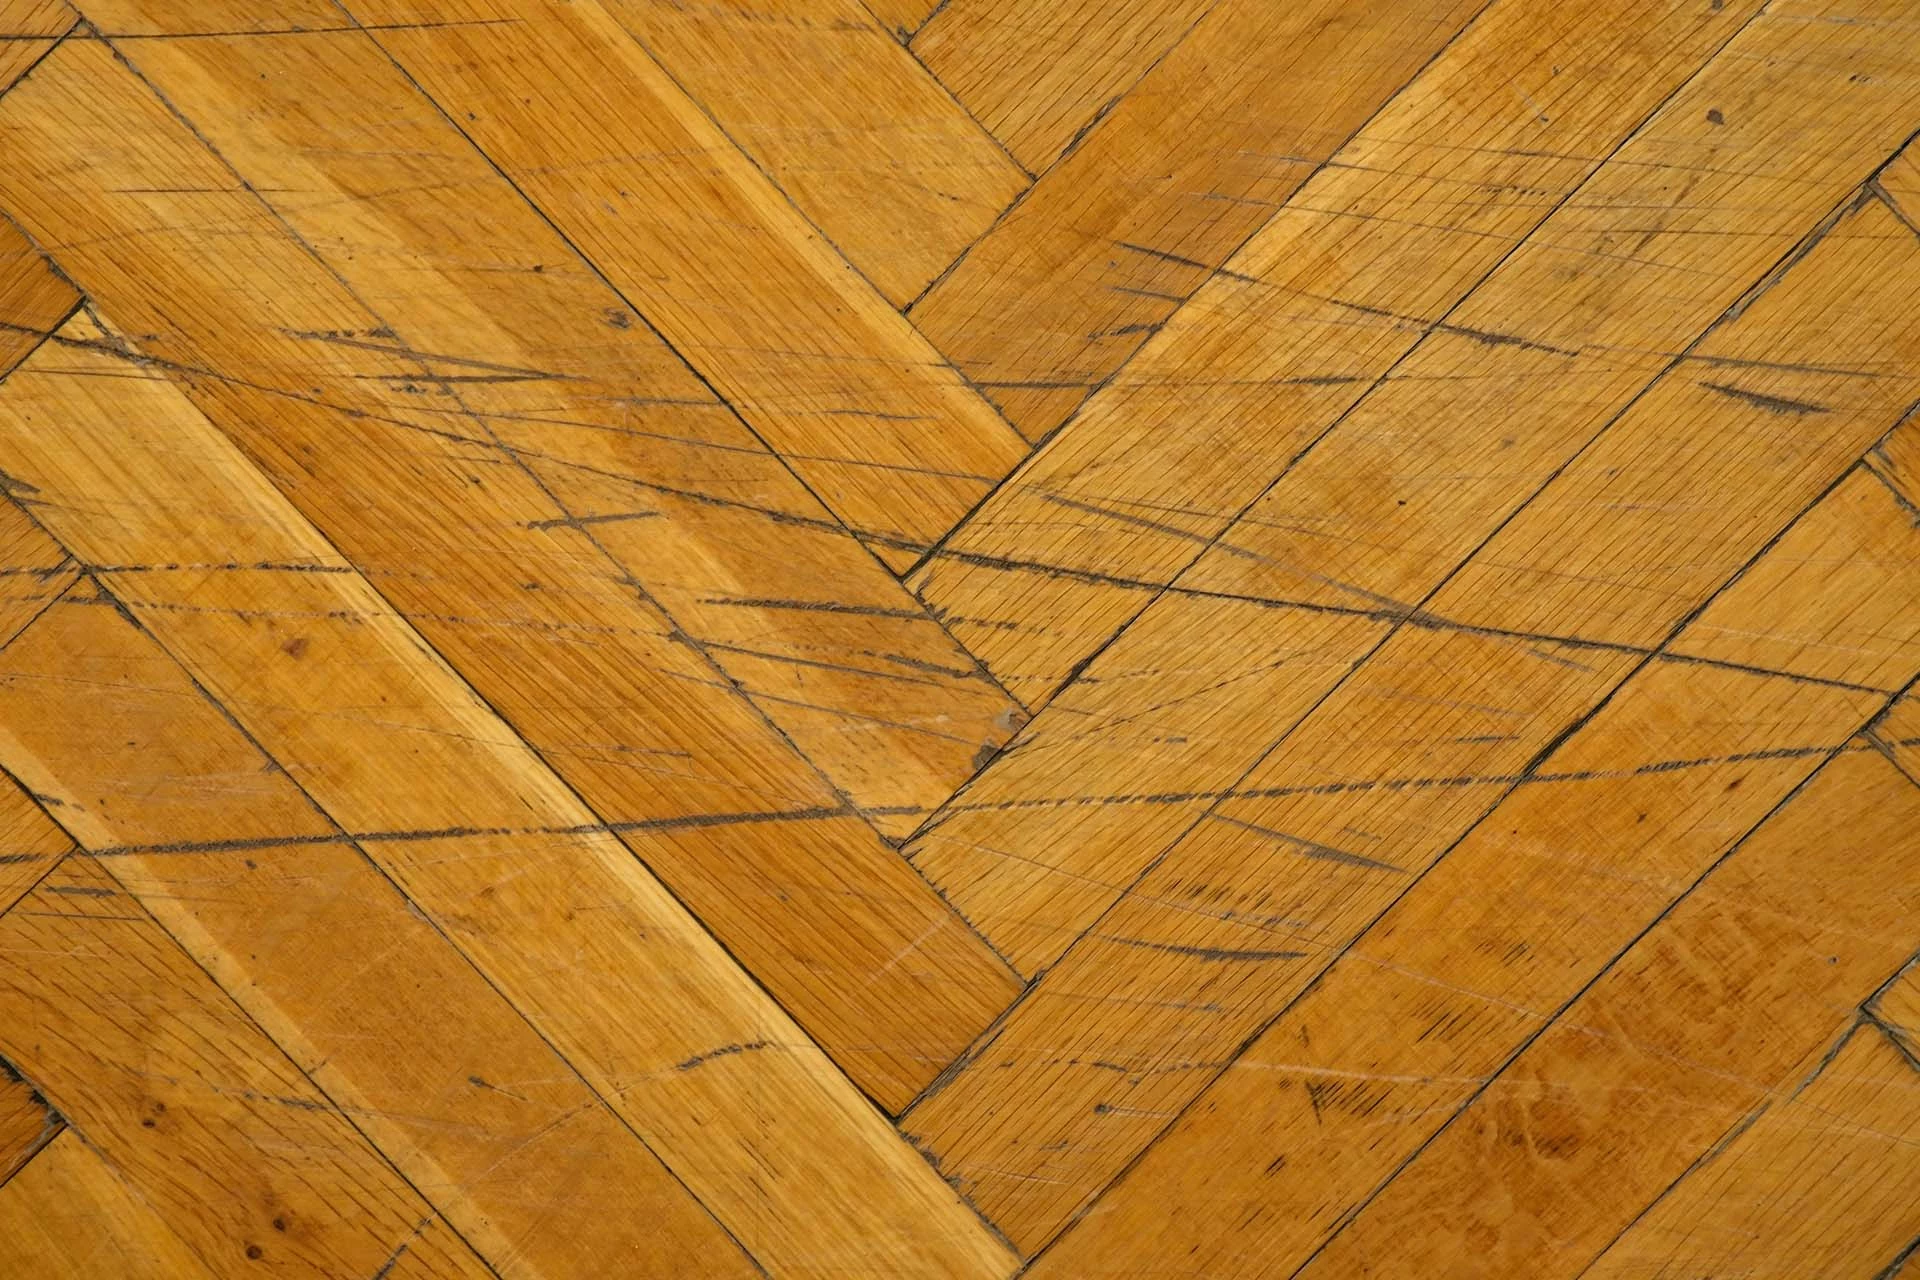
Level 1: Minor Scuffs & Surface Scratches
This is the best-case scenario. The scratch is only in the finish, appearing as a faint white or gray line. The wood underneath is perfectly fine, and you can’t feel a groove with your fingernail.
What to Expect:
• Time Commitment: 5-15 minutes, tops.
• Cost: Potentially free! Or under $20 for a bottle of finish restorer.
First, clean the area well with a pH-neutral hardwood cleaner. For a super light scuff, believe it or not, a clean tennis ball can work wonders. Just rub it firmly over the mark—the friction can often buff it right out.
Try This Right Now: Go find a small scuff on your floor. Grab a clean tennis ball and give it a good rub for 60 seconds. You might just get a little victory and see the mark disappear!
For a more visible white line, a dedicated polyurethane polish or restorer is your best bet. You can find these at most home improvement stores for around $15. Just apply a tiny amount to a soft cloth and rub it along the scratch. This fills in the microscopic gaps and restores the even sheen.
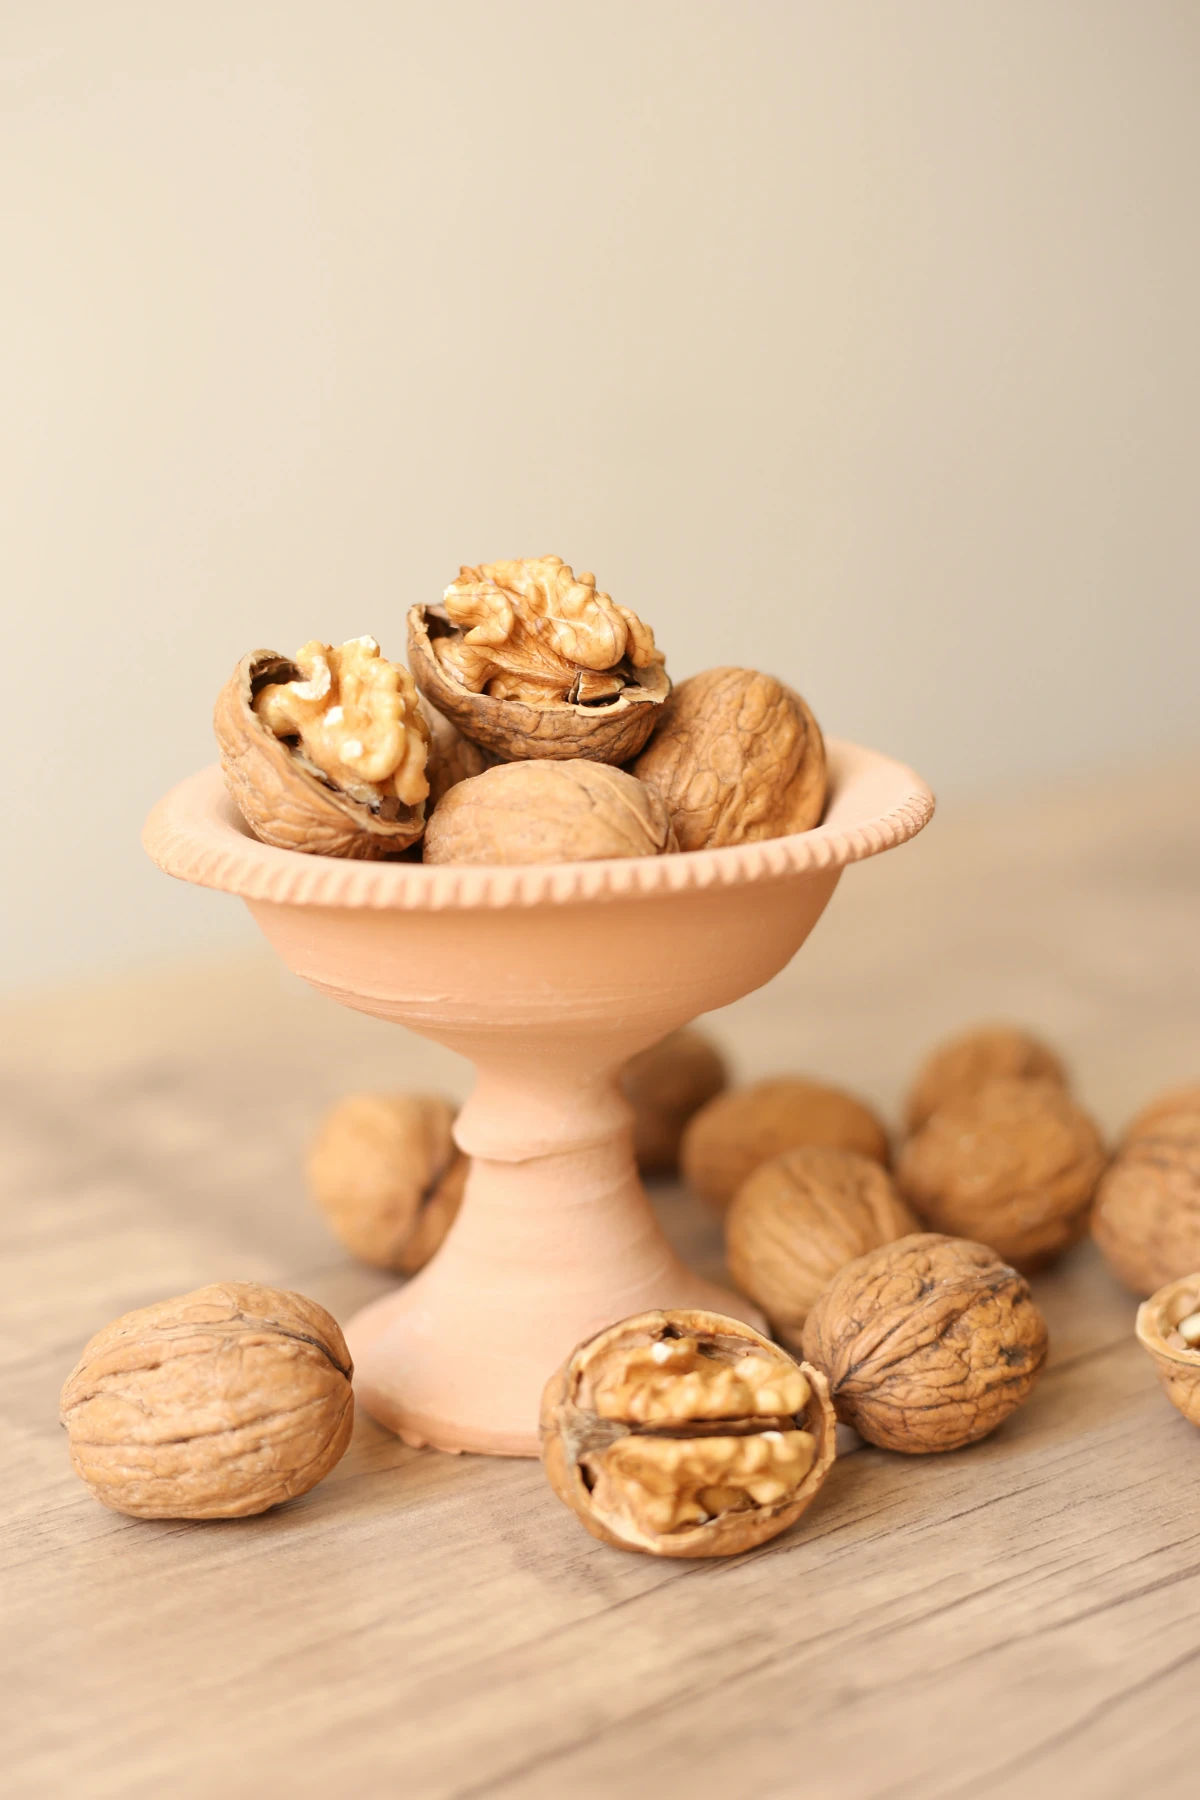
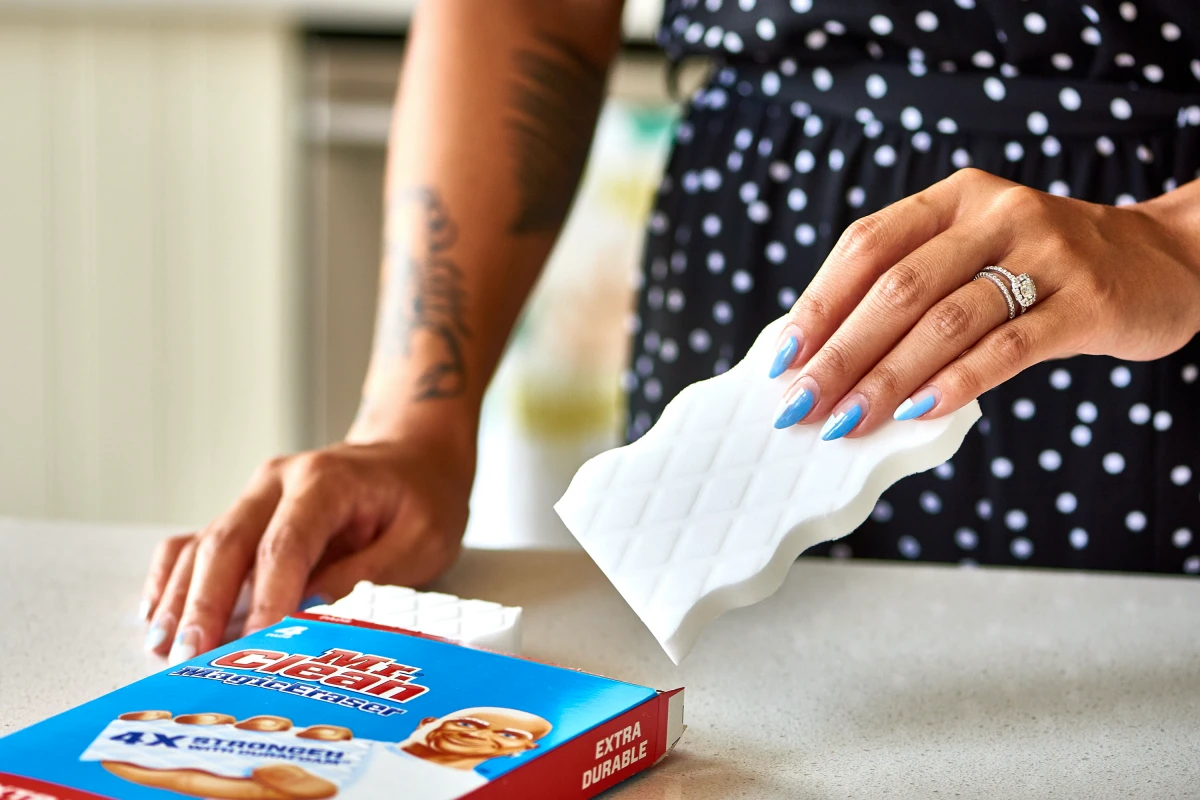
Heads up! You might read about rubbing a walnut on the scratch. And yeah, it kinda works for a minute… the nut oils darken the scratch. But those oils will go rancid and attract dirt, eventually turning your small problem into a dark, grimy line. Also, avoid using a “Magic Eraser.” It’s a micro-abrasive, meaning it works by sanding away a fine layer of your finish. It’ll remove the scratch, but it will leave a dull, hazy spot that’s often more noticeable than the original issue.
Level 2: Scratches That Went Through to the Stain
Here, the damage went through the clear coat and scraped off a bit of the wood’s color. You can see lighter-colored wood inside the scratch and might feel a slight dip with your fingernail.
What to Expect:
• Time Commitment: 30-60 minutes. Patience is key here.
• Cost: About $10-$20 for a couple of stain markers.
• What You’ll Need: Wood stain markers/blending pencils, a few clean, lint-free rags.
The goal is to restore the color. The trick is to do it carefully. First, always test the marker in an inconspicuous area. Your floor’s color changes over time with sun exposure, so the original stain name might not be a perfect match anymore.
Pro Tip: Buy a stain marker that’s a shade lighter and one that’s a shade darker than you think you need. You can alternate tiny dabs of both colors to mimic the natural wood grain for a much more convincing repair.
Gently dab the color only inside the scratch—don’t color outside the lines! Wipe away any excess immediately with a clean cloth. Once the stain is dry, you might want to protect it by dabbing a tiny bit of wipe-on polyurethane just in the scratch with an artist’s brush.
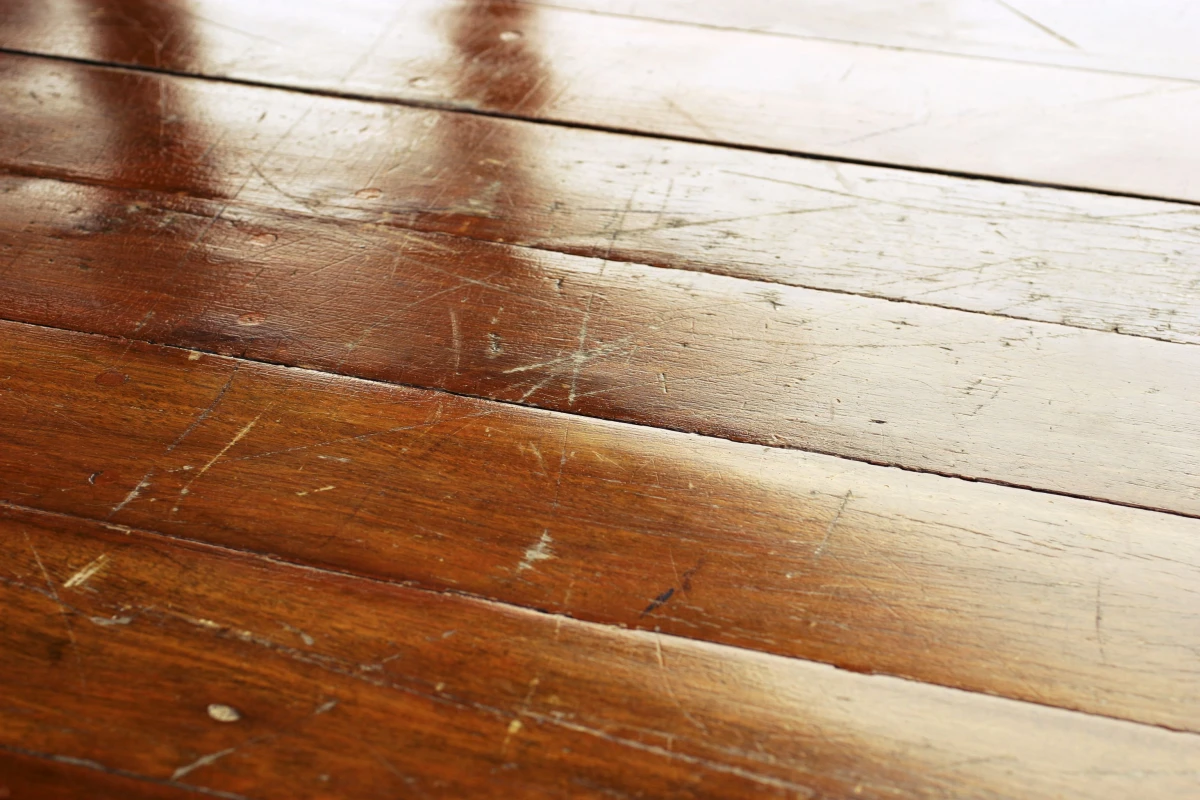
Level 3: Deep Scratches and Gouges
This is the heavy stuff. An object was dropped or dragged, and it crushed or tore the wood fibers. You can easily feel the depth of the scratch with your finger.
What to Expect:
• Time Commitment: 1-2 hours of active work, plus 8-24 hours for the filler to set.
• Cost: Around $15-$30 for putty and a tool.
• What You’ll Need: 2-3 shades of color-matched wood putty (NOT wood filler), a flexible plastic putty knife, mineral spirits, and clean rags.
For this, you need a filler, but it’s crucial you get the right kind. You want Wood Putty, which is a flexible, non-hardening product made for finished floors. Do NOT use wood filler, which is designed for unfinished wood and won’t look right. You’ll probably need to buy a couple of putty colors and mix them on a scrap of cardboard to get a perfect match.

Here’s the process: First, clean all the debris out of the gouge. Then, use a flexible plastic putty knife (metal can cause more scratches!) to press the putty firmly into the gouge, overfilling it slightly. Scrape the knife flat across the surface to level it, and immediately clean up any residue on the surrounding floor with a cloth and a little mineral spirits. Let it set completely before walking on it. For a truly professional, bomb-proof repair, pros use hard wax burn-in sticks, but that involves a heated knife and is definitely not a beginner-friendly project.
When a Spot Repair Isn’t Going to Cut It
Sometimes, the floor is just too worn down. If you have hundreds of little scratches or the finish is worn away in pathways, you need to think bigger.
A Screen and Recoat is like a refresh. A pro lightly scuffs the entire floor’s finish and applies a new top coat. It won’t remove deep gouges, but it makes the whole floor look uniform and shiny again. It’s a great option that’s faster and cheaper than a full refinish. Expect to pay around $1.50 to $2.50 per square foot for this service.
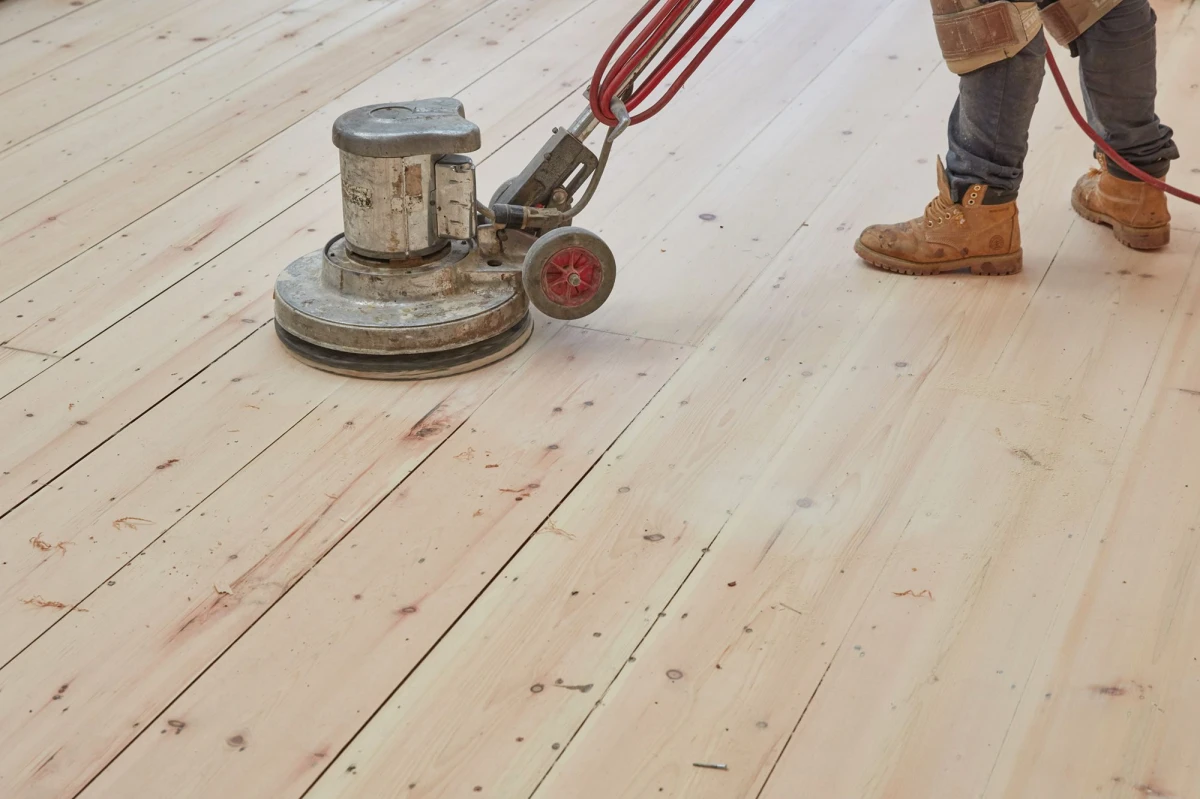
A Full Sand and Refinish is the nuclear option. The pros use heavy machinery to sand the floor down to bare wood, removing every single flaw. Then, they re-stain and refinish it. The floor looks brand new, but it’s a major job. This is a much bigger investment, typically running $4.00 to $7.00 per square foot, and requires you to clear out the room for several days.
And Finally, a Little Prevention…
After all that work, you want to keep your floors looking great, right? This is the easy part.
- Upgrade Your Furniture Pads: Put pads on everything. And I don’t mean the cheap adhesive felt circles that fall off in a week. Spend a few extra bucks at Home Depot or online for the screw-in or tap-in felt pads. They stay put and don’t collect grit that can cause new scratches.
- Use the Right Rugs: Mats at every entrance are non-negotiable for trapping dirt and sand. For area rugs, make sure you use a breathable, non-slip rug pad underneath. A solid rubber-backed mat can trap moisture and discolor your floor’s finish over time.
- Pet Patrol: Keep your dog’s nails trimmed. Their claws can do a surprising amount of damage. Putting down runners along their favorite routes (like from the couch to the door) is also a smart move.
Inspiration:
For the faintest of surface scuffs—the kind that only catch the light—you have two quick options before reaching for more serious products.
The Walnut Trick: For light to medium woods, simply rub a raw walnut over the scratch. The nut’s natural oils and fine texture can gently buff and fill the white line, making it blend seamlessly with the surrounding wood.
The Crayon Fix: For a more color-matched solution, especially on darker or stained floors, a wax repair crayon (like those from Minwax or Fil-Stik) is ideal. Choose a color slightly lighter than your floor, rub it into the scratch, and buff away the excess with a soft cloth. It fills and colors in one step.
A study by the National Wood Flooring Association (NWFA) found that homes with hardwood floors can sell for up to 10% more than identical homes with carpeting.
This value isn’t just about pristine, untouched surfaces. It’s about the inherent warmth, character, and longevity of the material. A few minor scuffs or a subtle scratch from a child’s toy or a pet’s claws don’t necessarily detract from this value; for many, they add to it. These small imperfections are signs of a lived-in, loved home. They tell a story, transforming the floor from a simple building material into a silent chronicle of family life.
The best repair is the one you never have to make. A few strategic defenses can drastically reduce the risk of new scratches on your hardwood.
- Master the Entrance: Implement a two-mat system. Place a coarse, scraping mat outside your door to remove large debris, and a softer, absorbent mat inside to catch fine grit and moisture that can act like sandpaper underfoot.
- Upgrade Your Furniture’s Feet: Ditch those tiny plastic nubs. Invest in high-quality, thick felt pads, like Scotch™ heavy-duty adhesive pads, for every chair, table, and sofa leg. Check and replace them yearly as they can wear down or collect grit.
- Rethink Your Vacuum: If your vacuum has a stiff-bristled beater bar, it could be causing micro-scratches over time. Switch to a model with a dedicated hard-floor head featuring soft bristles, or simply use the suction-only setting.


