Don’t Get Caught in the Cold: The Smart Hiker’s Guide to Fall Gear
I still remember a hike I took in the mountains many years ago. It was one of those perfect October days down in the valley – the sun was warm, the air felt crisp, and the autumn colors were just spectacular. I started up the trail in a cotton t-shirt and a light fleece, feeling on top of the world.
In this article
- Why You Get Cold (And How Your Gear Fights It)
- The Layering System: Your Personal Thermostat
- What About Your Legs? Pants and Rain Pants
- Don’t Forget Your Extremities: Hats, Gloves, and Socks
- Your Connection to the Ground: Footwear and Traction
- My Top 3 Fall Hiking Blunders to Avoid
- The Ultimate Fall Hiking Gear Checklist
- A Final Thought on Mindset
- Inspirational Gallery
But as I climbed higher, everything changed. The temperature plummeted. The wind started to bite. Then a cloud rolled in, bringing a cold, relentless drizzle. My cotton shirt, soaked with sweat and rain, clung to my skin and just sucked the heat right out of me. I started shivering, hard. That day, I learned a crucial lesson about what fall hiking is really about. It’s not just about the pretty colors; it’s about managing rapid, unpredictable change.
Autumn is a season of transition, and that’s both its greatest appeal and its biggest challenge. A beautiful, sunny afternoon can flip to a cold, windy evening with freezing rain in a heartbeat. On the trail, this means you need a gear system that’s just as adaptable. This guide is built on years of experience, figuring out what works and what doesn’t. It’s not about buying the most expensive stuff, but about understanding the why behind staying warm, dry, and safe.
Why You Get Cold (And How Your Gear Fights It)
Before we dive into jackets and boots, let’s get one thing straight: understanding how you lose heat is the key to making smart gear choices. It’s the theory behind the practice.
You lose heat in a few main ways. First, there’s conduction, which is heat loss from direct contact. Think about sitting on a cold rock or, worse, having a wet shirt plastered to your back. This is why a simple foam sitting pad, which you can get for under $20, is one of the best little luxuries you can carry.
Then there’s convection. This is heat loss from moving air or water. Wind is the main culprit here, stripping away the thin layer of warm air your body creates. A good windproof shell is your direct defense against it.
Your body also loses heat through radiation, constantly giving it off like a tiny furnace. Insulating layers, like a puffy jacket, are designed to trap this radiant heat and keep it close to you.
Finally, there’s evaporation. When sweat evaporates, it cools you down—which is great in summer, but dangerous in the fall. If your clothes are soaked with sweat, you’ll get chilled the second you stop moving. Honestly, managing moisture is probably the single most important skill for cold-weather comfort.
The Layering System: Your Personal Thermostat
You’ve probably heard experienced hikers talk about layering. But it’s more than just putting on a few shirts. It’s a dynamic system where you add and remove specific pieces of clothing to perfectly match the weather and how hard you’re working. The goal is simple: stay warm, but never sweaty.
1. The Base Layer: Your Second Skin
This is the layer that sits right against your skin. Its only job is to pull sweat away from your body, a process called wicking. If this layer fails, the rest of your system is useless. You’ll get cold, period.
Materials to look for: You really only have two great options here—merino wool or synthetics (like polyester).
- Merino Wool: This is my personal favorite for most fall conditions. It wicks well but, more importantly, it continues to insulate even when it gets a little damp. It’s also naturally odor-resistant, which is a huge plus on longer trips. A good quality merino top feels incredibly soft. Expect to pay between $50 and $90 for a good one.
- Synthetics: These are the champions of wicking. They pull moisture off you faster than anything and dry in a flash. The main downside? They can get stinky pretty fast. They also don’t insulate as well as wool when they’re wet. But they’re a fantastic budget option, often running from $25 to $50 at places like REI or Decathlon.
Heads up! The #1 Rule: NO COTTON. I can’t say this enough. Cotton is like a sponge. It soaks up moisture and holds it against your skin, leading to massive heat loss. The old saying “cotton kills” isn’t an exaggeration; it’s been a factor in many hypothermia cases. Just leave it at home.
2. The Mid-Layer: Your Portable Heater
This is your warmth layer, designed to trap your body heat. You’ll likely be taking this layer on and off all day. I almost always start a hike with my mid-layer in my pack, only putting it on when I stop for a break or when the temperature really drops.
Let’s talk about Down vs. Synthetic Puffies. This is a common point of confusion, so let’s break it down without a complicated chart.
A down puffy jacket is the undisputed king of warmth for its weight. It’s incredibly light and compresses into a tiny ball in your pack. The major weakness, however, is water. When down gets wet, it clumps together and loses all its insulating power. Because of this, it’s best used as a “static” layer—meaning you only put it on when you stop moving. A decent one will start around $150 and go up from there.
A synthetic puffy jacket, on the other hand, is the all-weather workhorse. It uses synthetic fibers that mimic down’s structure. It’s not quite as light or compressible, but it has a massive advantage: it continues to keep you warm even when it gets damp. This makes it a far more versatile and forgiving choice for unpredictable fall weather. They’re also easier on the wallet, typically ranging from $100 to $250.
Pro-Tip: The Active vs. Static System. This sounds technical, but it’s a simple trick that works wonders. Think of it like this: I carry two mid-layers. My ‘active’ layer is a light fleece, which is very breathable. I might wear this while hiking hard in the cold. My ‘static’ layer is my synthetic puffy jacket. It lives in my pack until the moment I stop for a snack. I immediately throw it on over everything else to trap my heat. When I’m ready to move again, it goes right back in the pack. This simple routine prevents you from ever getting that post-break chill.
3. The Outer Layer: Your Weather Shield
This is your shell, and its job is to protect you from wind and rain. A good shell is the difference between a fun day and a miserable, potentially dangerous one.
You’ll see two main types: hard shells and soft shells.
- A Hard Shell is a fully waterproof and windproof jacket, usually made with a special breathable membrane. This is non-negotiable for rainy climates.
- A Soft Shell is more flexible and breathable but is usually just water-resistant. It’s great for dry, windy days but isn’t a true substitute for a rain jacket.
Quick Tip: Features matter more than brand names. Look for a hard shell with “pit zips” (zippers under the armpits). They are CRITICAL for venting heat while you move. An adjustable hood that can cinch down tight is also a must-have. A reliable rain jacket with these features doesn’t have to break the bank; you can find great options starting around $100. You don’t need the $400 pro-level version to stay dry on a day hike.
What About Your Legs? Pants and Rain Pants
So, we’ve covered your top half, but what about your legs? This is a huge, often-overlooked part of the system.
For most fall conditions, a good pair of synthetic hiking pants is the way to go. Look for something made of nylon or polyester with a bit of stretch. They breathe well, dry quickly if they get damp, and stand up to scrapes from rocks and branches. Many cost between $60 and $100.
What about leggings? They can be comfortable, but most aren’t very durable and offer zero wind or water resistance. If you love hiking in them, consider a pair made from a thicker, more technical fabric and always, always have a pair of rain pants with you.
And that brings us to rain pants. Yes, you need them. They are just as important as your rain jacket. When a cold rain soaks your pants, you’ll lose body heat incredibly fast. Look for a lightweight pair that you can easily pull on over your hiking boots. Full-length side zippers are a fantastic feature that makes this much easier. A basic pair might cost you $50, with fancier, more breathable models costing $100 or more.
Don’t Forget Your Extremities: Hats, Gloves, and Socks
Your hands and head are major sources of heat loss, so keeping them covered is key to staying comfortable.
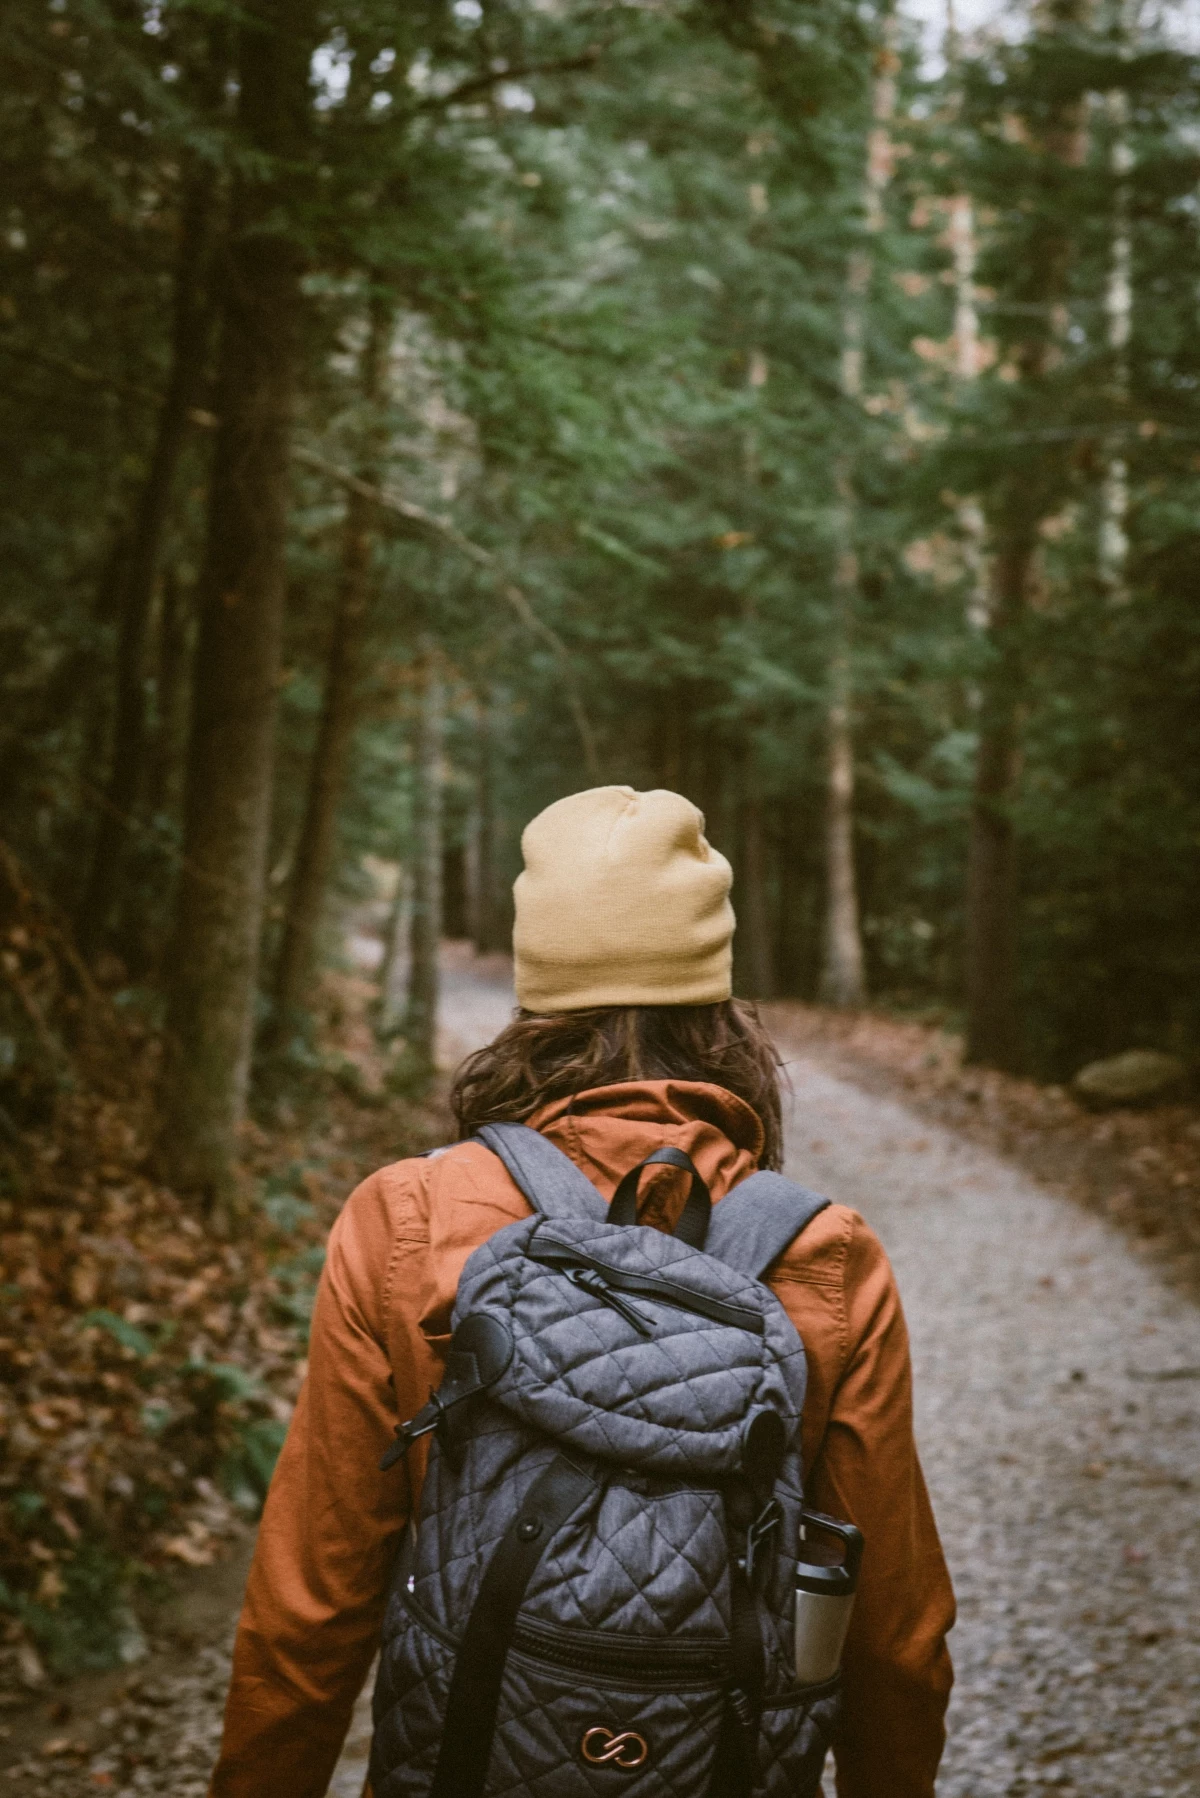
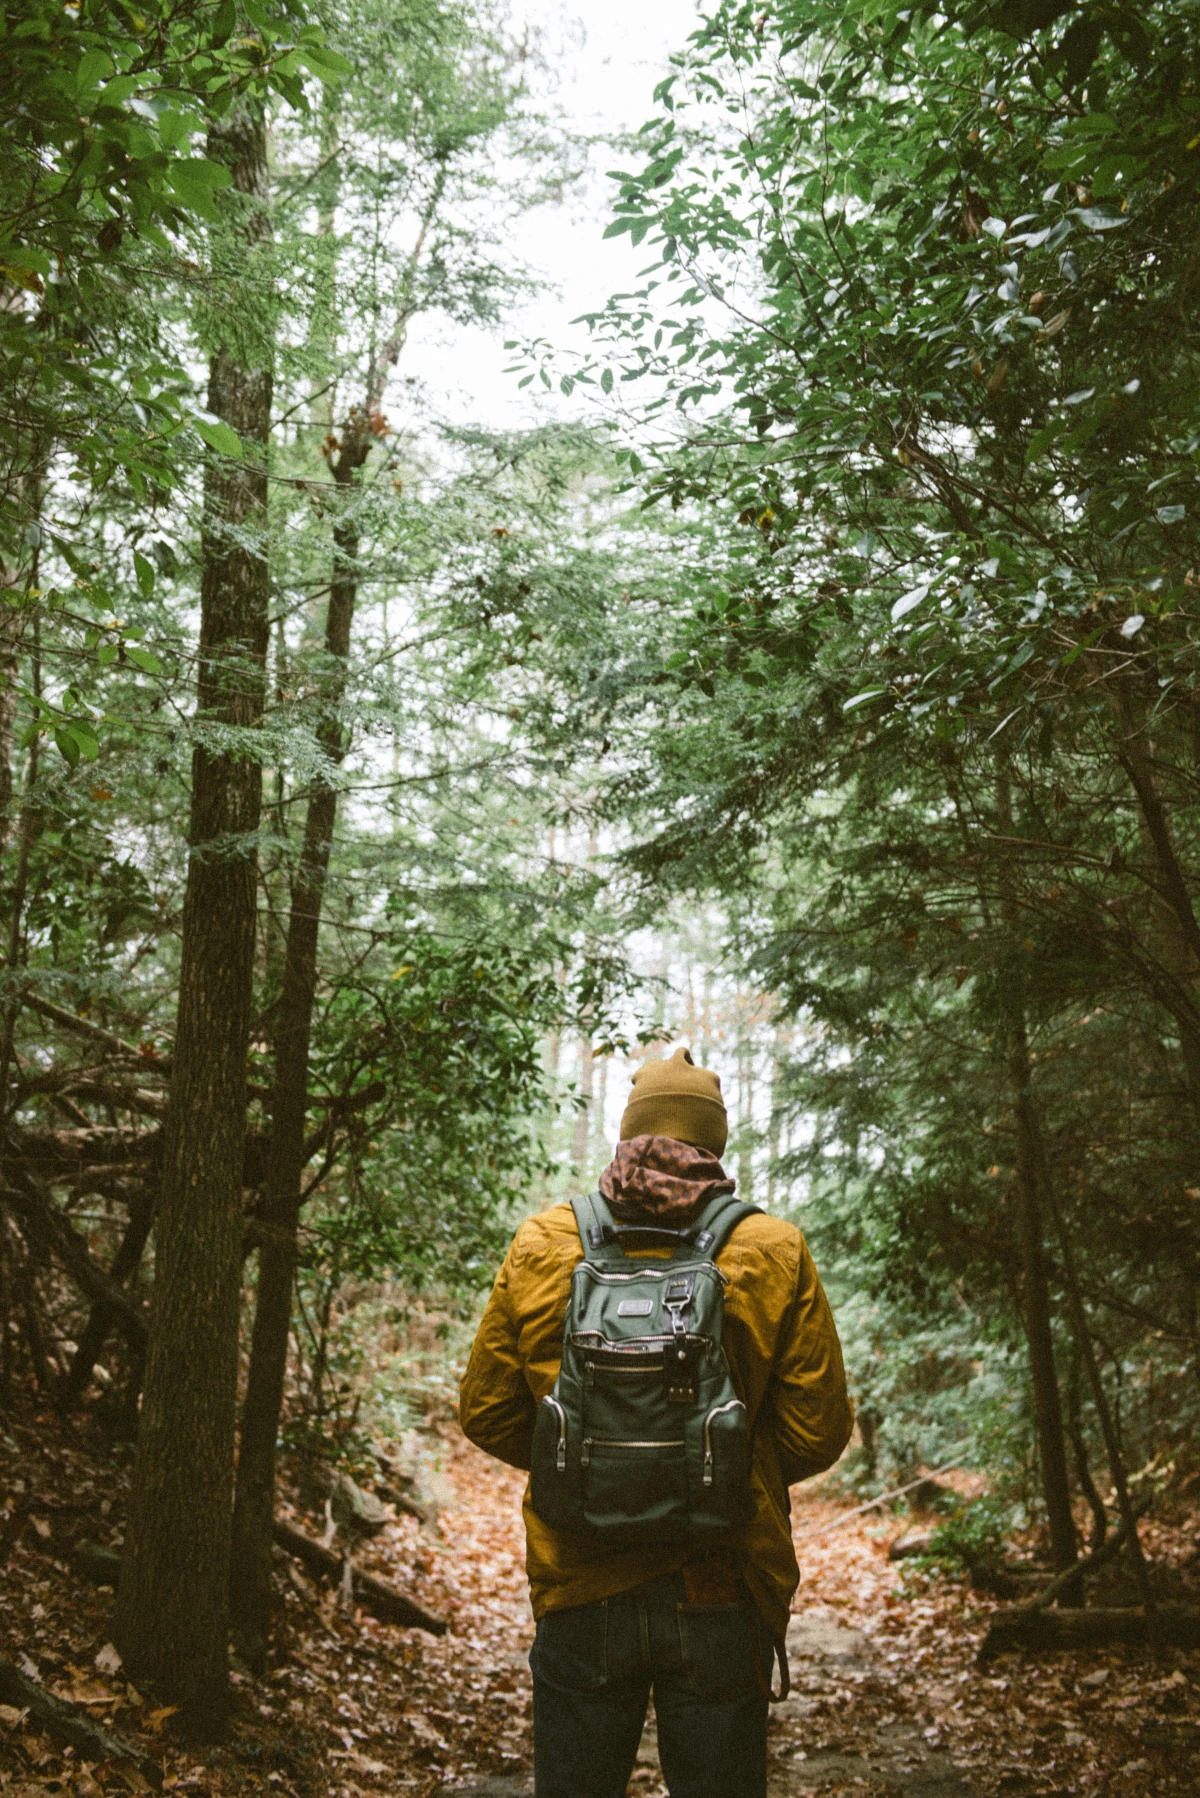
- Hats: I always carry at least two. A light brimmed hat for sun protection, and a warm beanie made of wool or fleece for when it gets cold. The beanie lives in my pack no matter what the forecast says.
- Gloves: A simple pair of fleece or wool gloves is a good start. For really wet and cold conditions, a two-part system is even better: a thin liner glove and a waterproof outer shell mitten. This gives you options and keeps your hands dry, which is essential for dexterity.
- Socks: Remember the “no cotton” rule? It’s extra important for your feet. Wear socks made from merino wool or a quality synthetic blend. And here’s a game-changing tip: always pack a spare pair of dry socks in a waterproof bag. Swapping into dry socks halfway through a cold, wet hike is a massive morale and safety boost. It feels amazing.
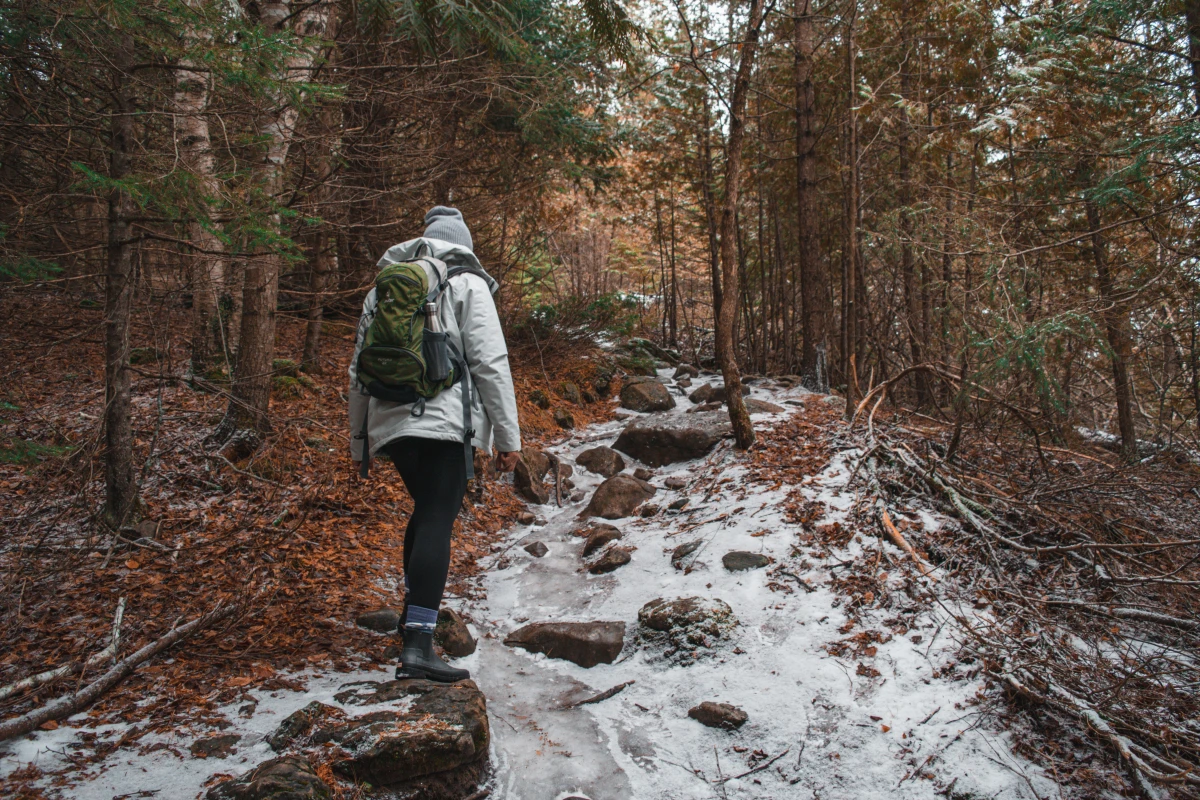
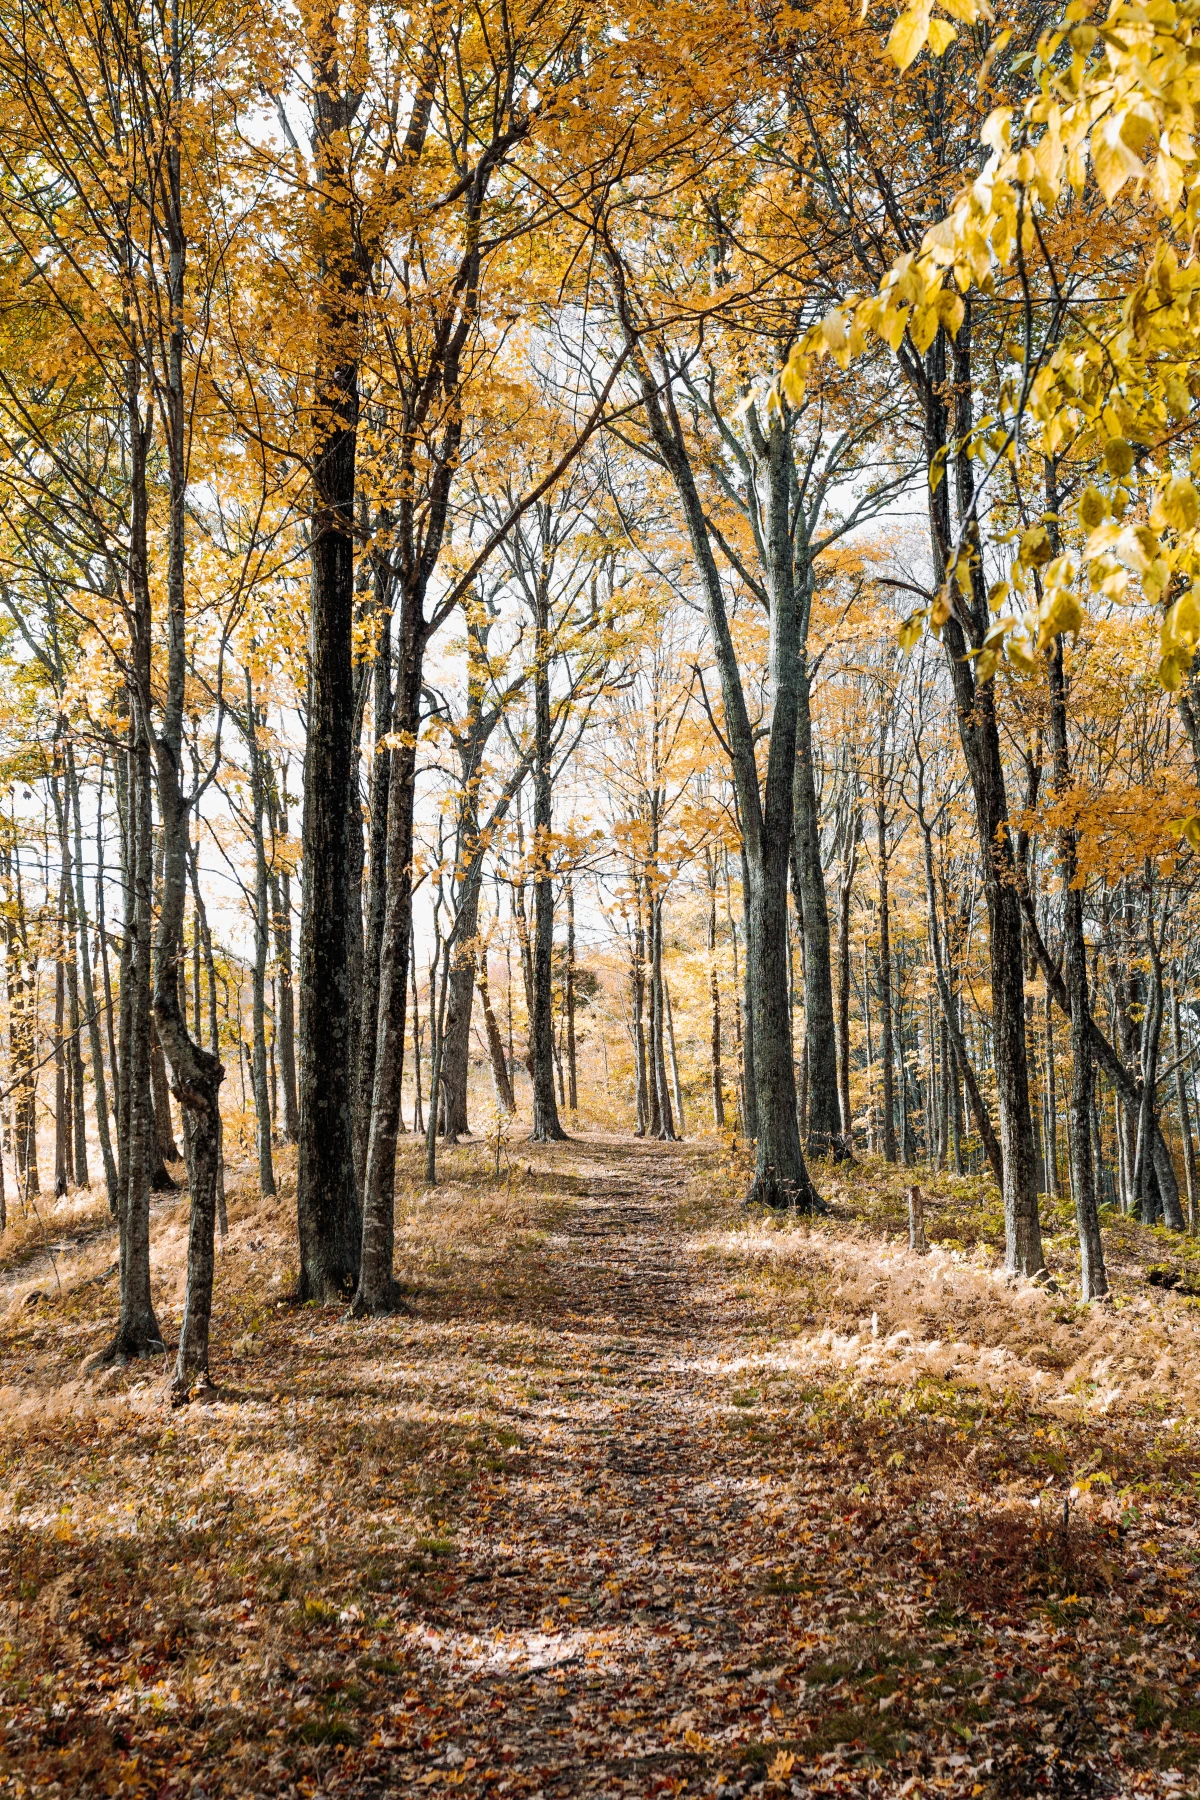
Your Connection to the Ground: Footwear and Traction
Fall trails can be treacherous. They’re often covered in a thick carpet of wet, slippery leaves hiding mud, slick roots, and rocks. Your footwear is your first line of defense.
For most fall hiking, I strongly recommend a pair of waterproof, mid-height hiking boots. The ankle coverage provides support on uneven ground and, crucially, helps keep water and debris from getting inside. Low-cut hiking shoes can be fine for experienced hikers on easy terrain, but they offer less protection.
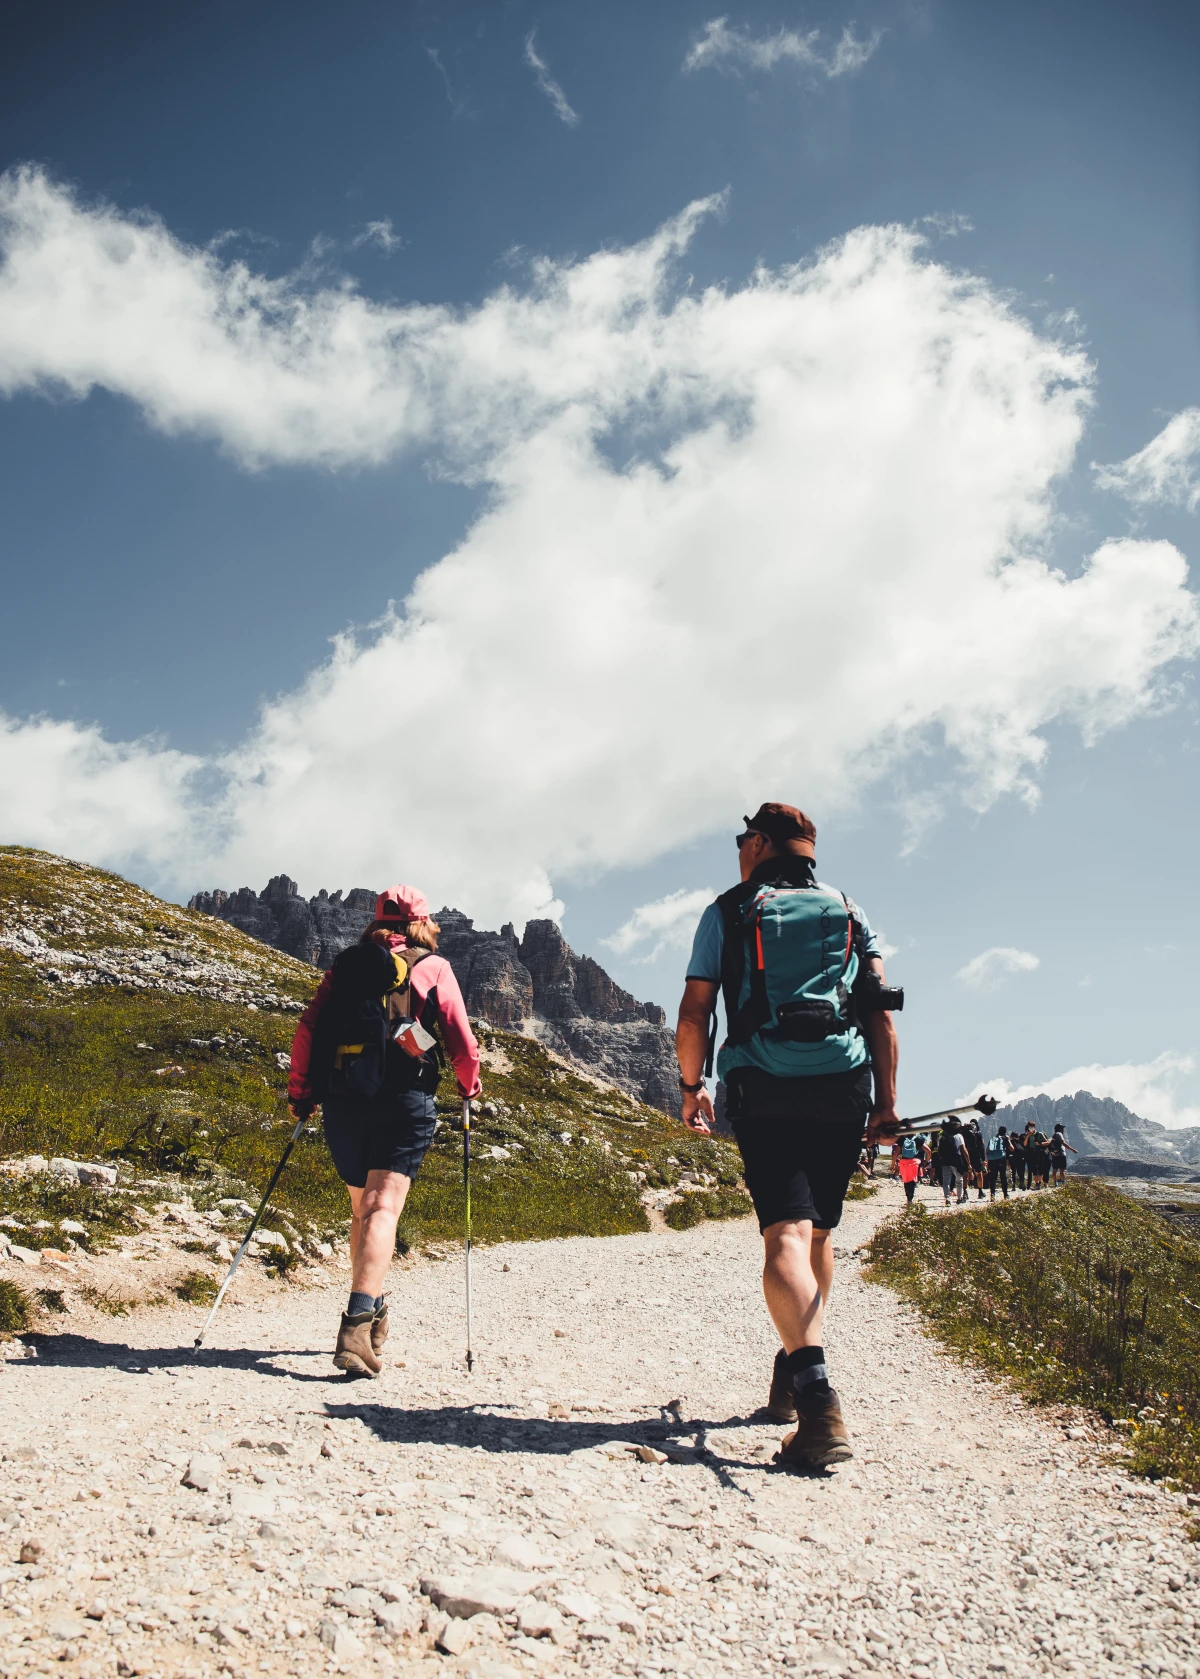
When you’re shopping for boots, pay close attention to the outsole—the rubber on the bottom. You want deep, widely spaced lugs for gripping in the mud. Also, consider bringing a pair of trekking poles. They are an absolute game-changer on slippery downhills and for testing the depth of puddles or mud.
Oh yeah, and when fall starts to lean toward winter, you might encounter ice, especially in shady spots. This is where microspikes become essential. These are flexible chains with small steel spikes that stretch over your boots. They are lightweight, easy to use, and provide incredible traction on ice. If there’s any chance of freezing temps, they are in my pack. They’ve saved my bacon more times than I can count.
My Top 3 Fall Hiking Blunders to Avoid
We all make mistakes, but here are a few common ones I see people make every season. Learn from them!
1. Waiting too long to gear up. The classic error is waiting until it’s already raining to put on your rain jacket. By then, your other layers are damp and you’re already starting to get chilled. Put your shell on the moment you think it might rain.
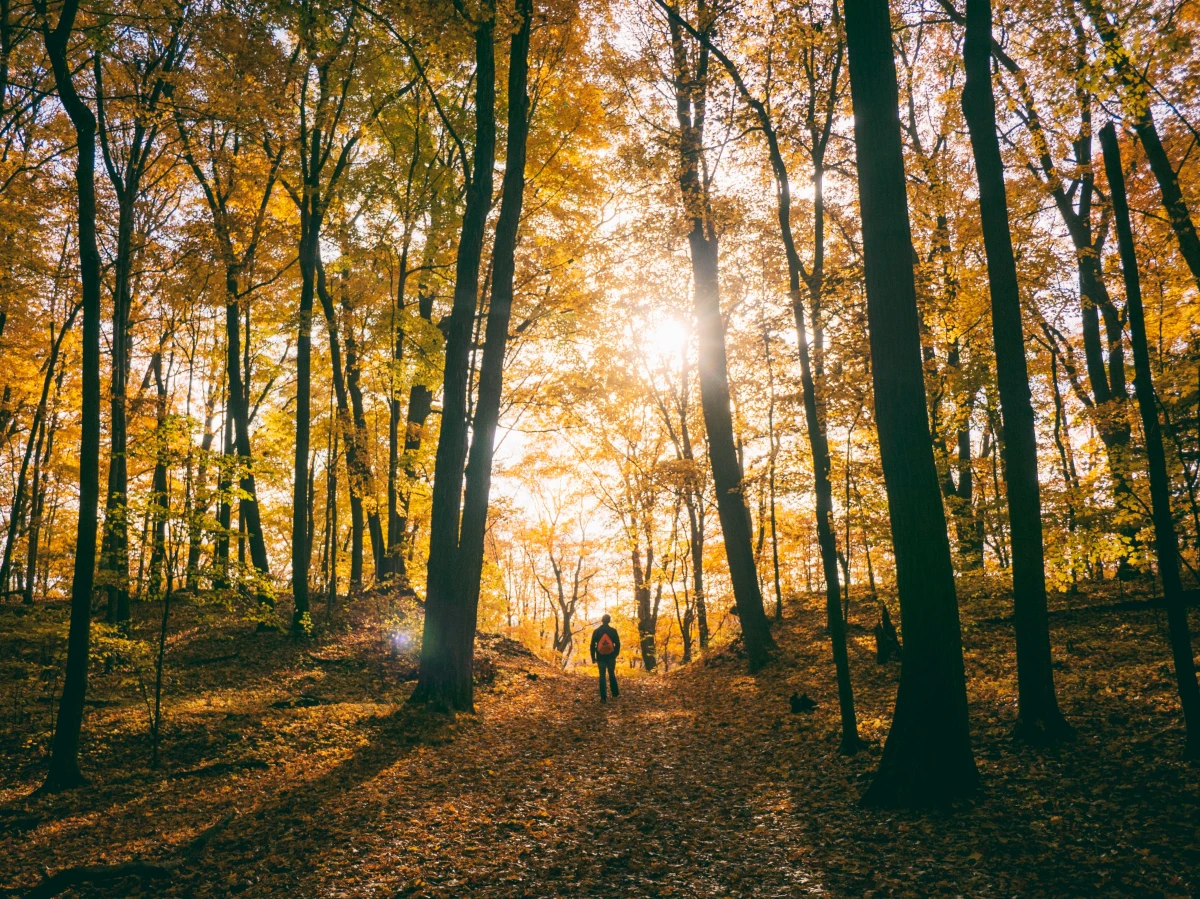
2. Ignoring the sunset time. The days get short, fast. Know what time the sun sets and plan to be back at the car well before then. That means starting your hike earlier than you would in the summer.
3. Forgetting the little comforts. A thermos of hot tea or soup can completely turn a cold lunch break around. And I’ll say it again: that spare pair of dry socks is non-negotiable!
The Ultimate Fall Hiking Gear Checklist
Here’s a quick-glance list of what should be on you or in your pack for a fall day hike. Think of this as your starting point.
Worn & Carried Clothing:
- Wicking Base Layer (Merino or Synthetic)
- Insulating Mid-Layer (Fleece or Puffy Jacket)
- Waterproof/Windproof Hard Shell Jacket
- Hiking Pants (Synthetic)
- Waterproof Rain Pants
- Wool or Synthetic Hiking Socks (+1 spare pair in a dry bag!)
- Waterproof Hiking Boots
- Warm Hat (Beanie)
- Gloves or Mittens
- Brimmed Hat or Sunglasses for sun
The “Ten Essentials” (Fall Edition):
- Navigation: Map & Compass, plus a phone/GPS with downloaded maps and a backup battery.
- Headlamp: Minimum of 300 lumens, with fresh or spare batteries. This is not optional.
- Sun Protection: Sunscreen and sunglasses.
- First-Aid Kit: With extra blister care (like Moleskin) and an emergency blanket.
- Knife or Multi-Tool: Always useful.
- Fire: Lighter, waterproof matches, and a reliable fire starter.
- Emergency Shelter: A lightweight emergency bivy or space blanket.
- Extra Food: More than you think you need. Your body burns extra calories to stay warm.
- Extra Water: A bottle or a reliable filter/purifier.
- Extra Clothes: This is your emergency stash. For me, it’s my puffy jacket, dry socks, and warm hat, all kept in a dry bag.
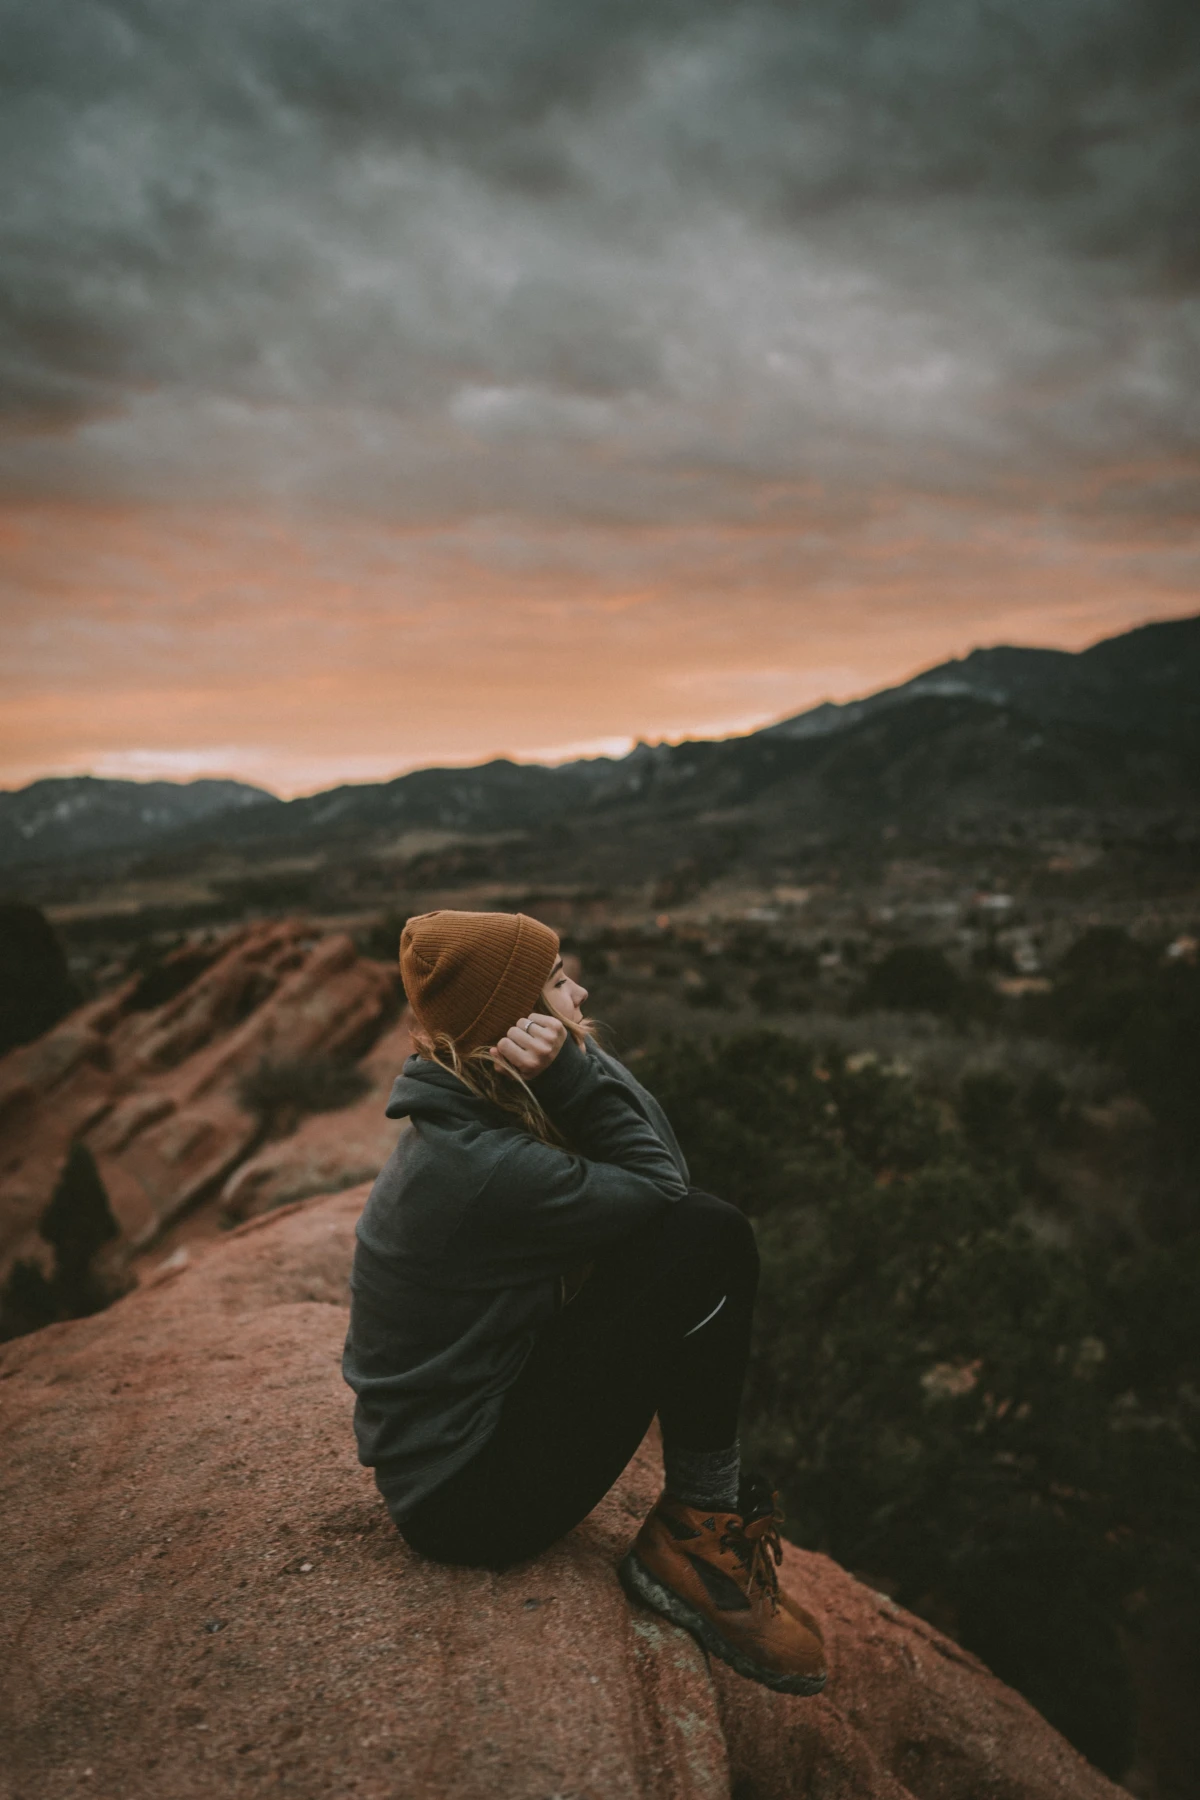
A Final Thought on Mindset
Having the right gear is only half the battle. The other half is using your head. The real goal of any hike is to have a good time and come home safely, not to conquer a summit at all costs.
Learn the early signs of hypothermia—the “umbles” (stumbling, mumbling, fumbling, grumbling). If you or a friend starts showing these signs, stop immediately. Get them into dry, warm layers, give them food, and get out of the wind. Turning around is a sign of experience and good judgment, not failure.
Fall hiking offers some of the most stunning and rewarding days you can have on the trail. By preparing with the right gear and a safety-first mindset, you can enjoy every minute of it with confidence.
Inspirational Gallery
Merino Wool Base Layer: Naturally odor-resistant and stays warm even when damp. It’s the cozy, premium choice for slow-to-moderate paces. Think brands like Smartwool or Icebreaker.
Synthetic Base Layer: Wicks sweat and dries incredibly fast, making it ideal for high-exertion hikes. It’s more durable and often more affordable. Patagonia’s Capilene is a classic example.
Your choice depends on your hiking style and metabolism, but both far outperform cotton.
More than 75% of a hiker’s body heat can be lost through their head and neck in cold, windy conditions.
This is why a simple beanie or a versatile Buff is not just an accessory, but a critical piece of your temperature regulation system. It’s the lightest, most effective way to instantly trap heat when the temperature drops unexpectedly on the trail.
Beyond the obvious jacket and layers, these small items make a huge difference in fall:
- A pair of dry, wool hiking socks in a zip-top bag. Swapping these on mid-hike is a game-changer for morale and blister prevention.
- A headlamp, even for a day hike. Autumn days are shorter, and an unexpected delay can leave you hiking in the dark. The Petzl Tikkina is a reliable, no-fuss option.
- A high-energy snack bar reserved only for when you start to feel cold or tired. The extra calories are fuel for your internal furnace.
But my trail runners are so comfortable. Do I really need waterproof boots?
For dry, well-maintained trails on a clear day, you might be fine. But fall conditions are unpredictable. One cold stream crossing or an unexpected downpour can soak non-waterproof shoes, leading to dangerously cold feet. A waterproof-breathable boot with a Gore-Tex membrane, like the Salomon X Ultra 4 Mid, provides a crucial barrier against mud, puddles, and rain, offering peace of mind that’s worth the extra weight.
The fatal oversight: focusing only on your core and forgetting your extremities. Your body prioritizes keeping your vital organs warm, so your hands and feet are the first to suffer. A pair of lightweight fleece or merino gloves and a warm hat should be in your pack on every single fall hike, even if the day starts out sunny and warm. They are non-negotiable safety items.
- Keeps you dry from rain and snow.
- Prevents your insulation from getting wet and useless.
- Reduces the dangerous chilling effect of the wind.
The secret? A quality waterproof-breathable shell jacket. Look for technologies like Gore-Tex or brand-specific alternatives like Patagonia’s H2No. They are engineered with microscopic pores large enough to let sweat vapor out, but too small for water droplets to get in. This is the key to avoiding that clammy, ‘boil-in-the-bag’ feeling during exertion.
You don’t need to spend a fortune to be well-equipped. While premium brands offer incredible technology, excellent and reliable gear is more accessible than ever. Look to retailer house brands like the REI Co-op line in the US or the Forclaz and Quechua lines from Decathlon in Europe. They often provide 80% of the performance for a fraction of the price, making them a smart choice for building a solid, budget-friendly fall hiking kit.
A small, insulated thermos can maintain a liquid’s temperature above 60°C (140°F) for over 6 hours.
This isn’t just a luxury; it’s a strategic tool. Pausing on a windy ridge and pouring a cup of hot tea or soup instantly warms you from the inside out, boosts morale, and helps rehydrate. A small 0.5L thermos from a brand like Stanley or Thermos is a lightweight addition that pays huge dividends in comfort and safety.
Is your trusty rain jacket starting to ‘wet out’ and feel clammy? Over time, dirt and oils clog the fabric’s pores and wear away the water-repellent coating. You don’t need a new jacket, just a refresh.
- First, wash it with a specialized technical cleaner like Nikwax Tech Wash to remove residue without harming the membrane.
- Then, while it’s still damp, apply a spray-on or wash-in re-proofer, such as Granger’s Performance Repel Plus, to restore its factory-level water-shedding ability.


