The Real Way to Press Roses So They Don’t Turn Brown
I’ve been working with flowers for a long, long time, and if there’s one thing I’ve learned, it’s that we all want to freeze a perfect moment. That wedding bouquet, a single rose from an anniversary, a bloom from a special garden… pressing seems like the perfect way to do it. But let’s be honest, most people are pretty disappointed with their first try. They end up with brown, crunchy petals or, even worse, a moldy mess inside their favorite heavy book. I’ve seen it happen more times than I can count in my workshops.
In this article
In fact, I once had a student who tried to press a gorgeous rose that was still sparkling with morning dew. A week later, we opened the press to find a little moldy science experiment! It’s the perfect example of why this process is more than just squishing a flower. It’s why I always, always stress that your flowers must be perfectly dry to the touch before you begin.

The goal isn’t just to flatten a rose. It’s to preserve its soul—its color, its delicate form. And that takes a bit more know-how than just hope. I’m going to walk you through the method that pros use, a process built on understanding how a flower really works. This is how you get roses you’ll actually want to frame.
So, What’s Actually Happening in the Press?
Before we even think about touching a petal, let’s get into what we’re trying to accomplish here. At its core, pressing is just slow, careful dehydration. We’re gently escorting water out of the plant’s cells. When you do it right, the cell walls stay mostly intact, which is how you keep that velvety texture and shape. Rush it, and those walls collapse into a brown mush.
Think about it: a fresh rose petal is mostly water, somewhere around 80-95%. Our job is to coax that water out and into something absorbent, like blotting paper. The dry paper pulls moisture from the wet flower through capillary action, just like a paper towel soaking up a spill. That’s why the layers in a press are so important. Corrugated cardboard provides little air channels that let the moisture escape from the blotting paper. Without that airflow, the paper gets soaked, the process stalls, and you’re on the fast track to mold city.
Keeping That Gorgeous Color
What about the color? A rose’s brilliant reds and pinks come from pigments called anthocyanins. These guys are sensitive. Their biggest enemies are light and oxygen, which cause them to break down. It’s the same reason a poster fades in a sunny window.
By pressing the roses in the dark and under pressure, we shield those pigments from light and limit their oxygen exposure. This is why a properly pressed rose looks so much more vibrant than one that’s just air-dried. But heads up: no organic color lasts forever. Our job is to slow that inevitable fade way, way down.
The Right Tools for the Job
Using the right tools is what separates a frustrating hobby attempt from a stunning professional result. You don’t need to spend a fortune, but you do need the right gear. Here’s my go-to kit.
First, Choose Your Roses Wisely
Success really does start with picking the right flower. Not all roses are great candidates for pressing.

Variety is Key: Look for roses that have flatter faces and fewer, thinner petals. Many modern hybrid teas and floribundas work beautifully. Those big, dense, cabbage-like garden roses are incredibly tough to press whole because they hold way too much water and almost always turn brown before they dry. For those, your best bet is to press the individual petals.
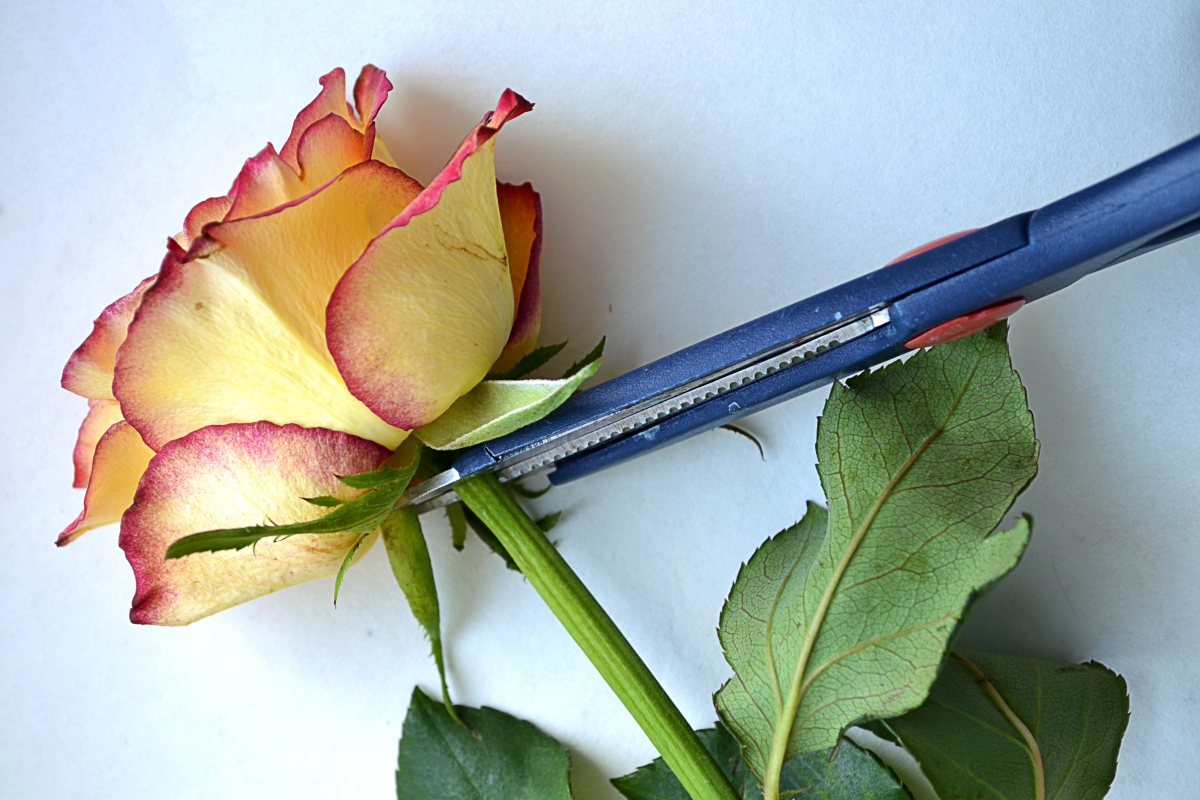
The Perfect Moment: I always harvest my flowers in the mid-morning, right after the dew has evaporated but before the hot sun makes them sleepy. You want a rose that has just fully opened. Its color is at its peak, but the petals are still firm. A tight bud won’t open in the press, and an old rose will just fall apart.
Condition, Condition, Condition: Look for perfect specimens. No blemishes, no brown spots, no bug nibbles. Any tiny flaw will look ten times bigger once it’s pressed.
The Press Itself: Two Paths to Success
Okay, let’s talk about the actual press. You have two main options here, and both work great if you do them right.
The Book Method (The Beginner’s Friend): Yes, you can absolutely use heavy books! This is how most of us start. The key is to protect both the book and the flower. You’ll still create a
Galerie d’inspiration

The color of a rose is not static. Anthocyanins, the pigments responsible for deep reds and pinks, are highly reactive and will degrade when exposed to light and oxygen, a process called photo-oxidation.
In practical terms, this means even the most perfectly pressed rose will eventually fade if not protected. For framed art, this is why museum-grade UV-protective glass is the gold standard. For smaller crafts, a light coat of a UV-resistant spray, like Krylon’s UV-Resistant Clear Coating, can significantly extend the life of that precious color.
Not all roses are created equal for pressing. The best candidates are those that are just fully opened, or even a day before their peak bloom. Look for flowers with a flatter profile, like old garden roses or floribundas. Densely packed, high-centered hybrid tea roses are much harder to press without their central petals turning brown from trapped moisture.

How can I use my pressed roses in a modern way?
Think beyond the traditional frame. Arrange delicate petals and small buds in a clear phone case, setting them with a thin layer of resin. Embed them into the wax of homemade candles for a botanical touch. Or, for a truly personal project, use PVA glue to affix them to high-quality cotton paper, creating unique stationery or greeting cards. The key is to seal them from air and moisture to preserve their beauty.
When pressing, the paper you use is as important as the press itself. Your goal is to find something highly absorbent and, crucially, acid-free to prevent yellowing over time.
- Blotting Paper: The professional’s choice, found in art supply stores. It’s thick and made for absorption.
- Parchment Paper: A great, accessible alternative from your kitchen. It’s non-stick and won’t pull at delicate petals.
- Watercolor Paper: A heavier, textured option that can work in a pinch, but ensure it’s unused.
The secret? Always place a layer of absorbent paper directly against the flower, then a piece of cardboard for airflow, and repeat.

The Book Method: A classic for a reason, but often done wrong. Use a heavy, non-glossy-paged book you don’t mind potentially staining. The key is to create a pressing ‘sandwich’ inside: place a sheet of plain paper, then your absorbent parchment or blotting paper, arrange the rose, cover with another absorbent sheet, another plain sheet, and then close the book. Add more heavy books on top for even pressure.
A Commercial Press: Consists of two wooden boards tightened with bolts. This method provides more even and consistent pressure than books, leading to flatter, more uniform results. It’s a worthy investment if you plan on pressing flowers regularly.
For beginners, the book method is fine; for enthusiasts seeking perfection, a dedicated press is superior.
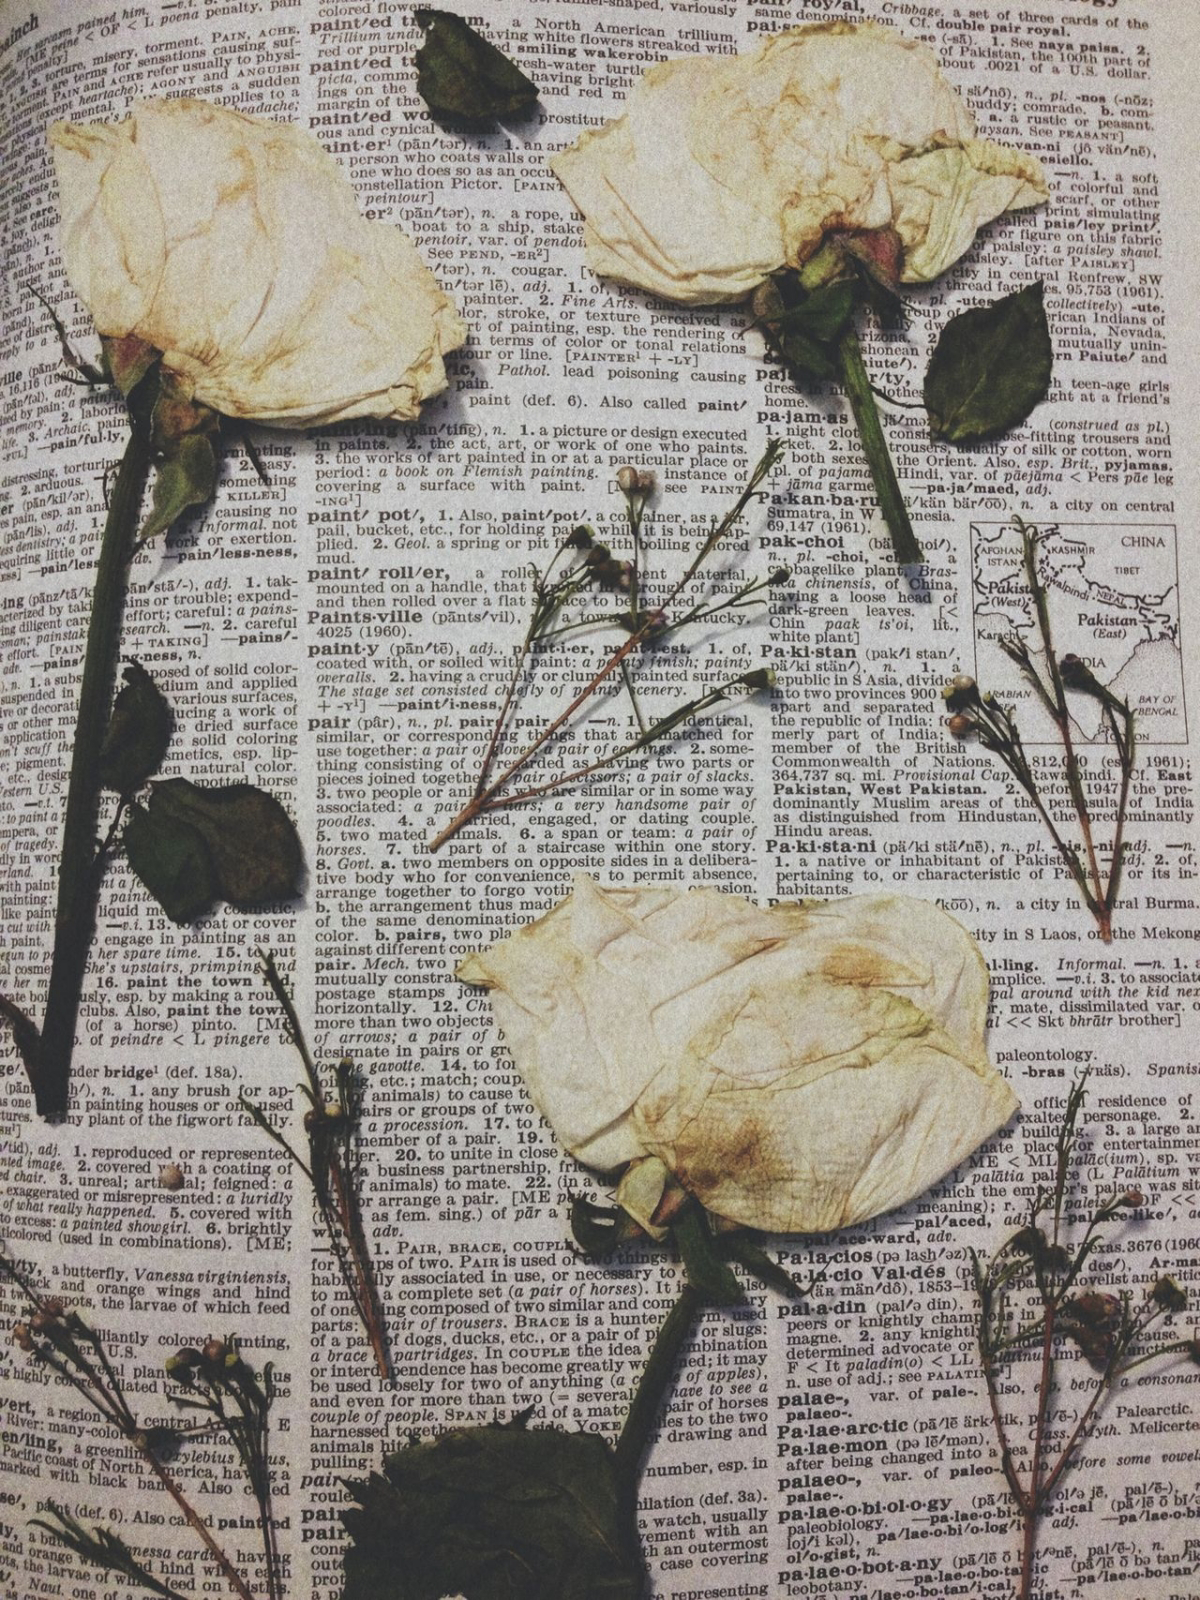
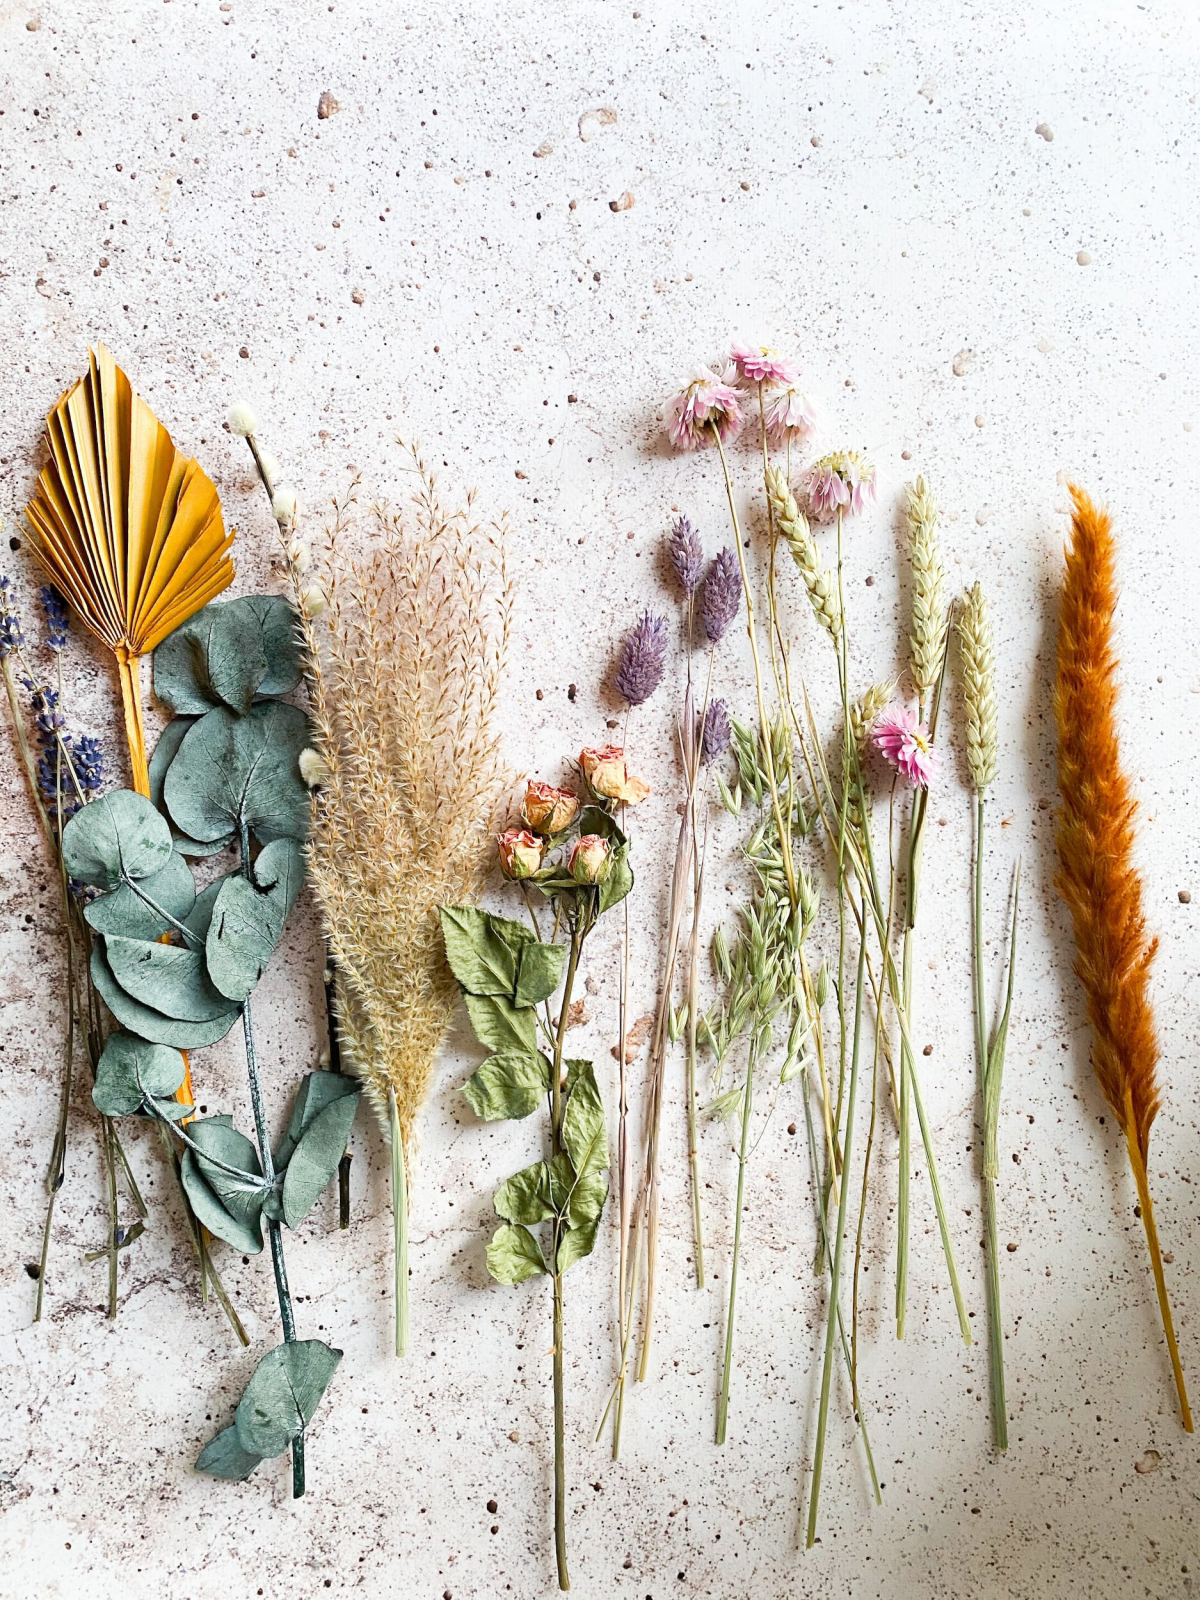
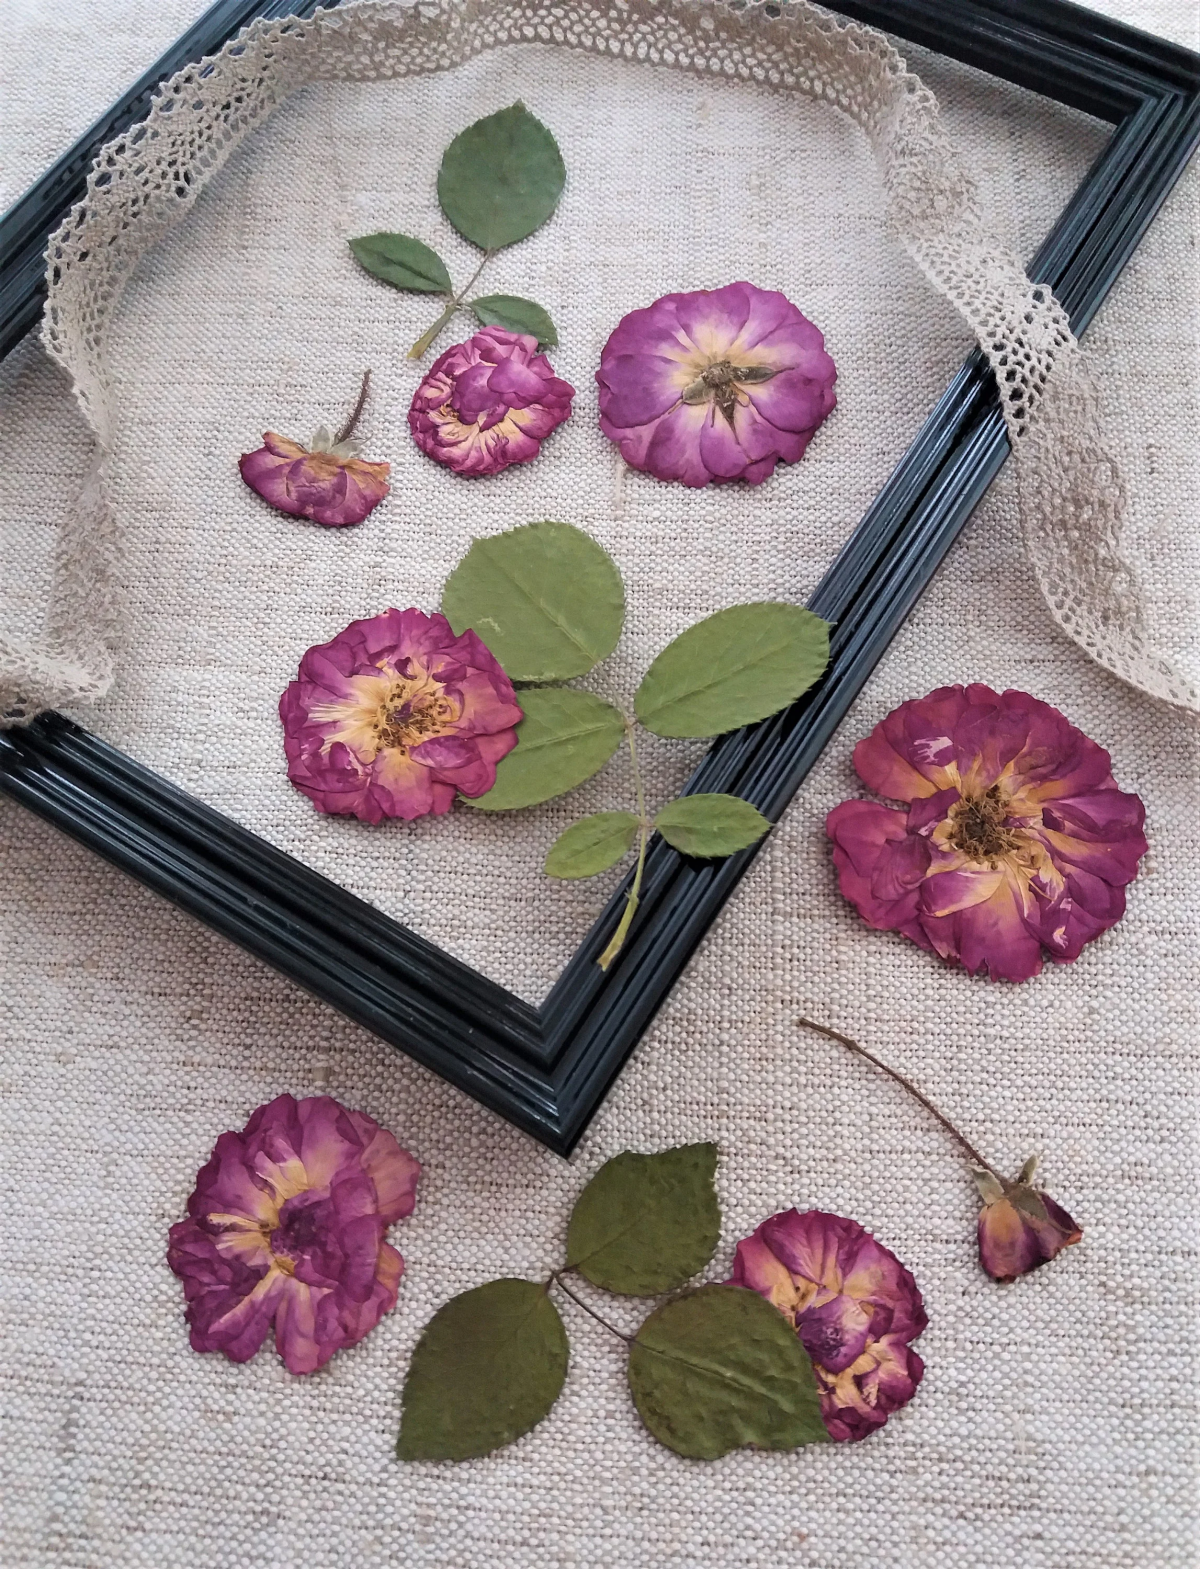
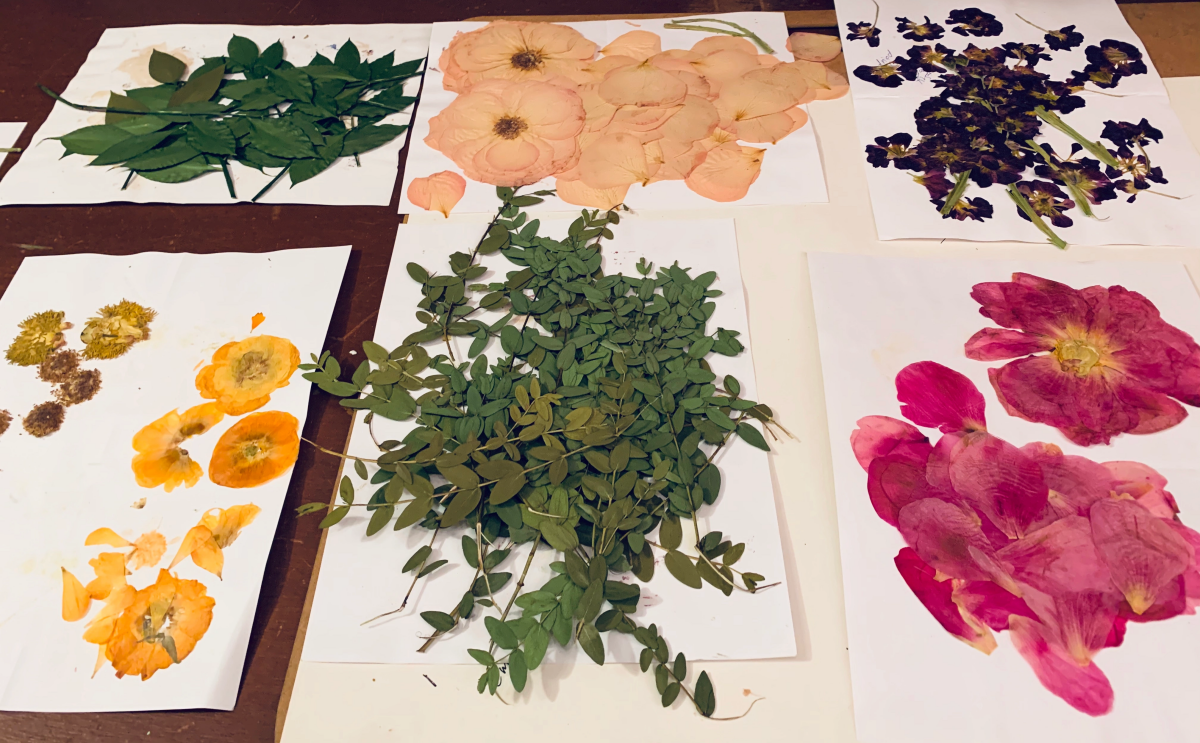
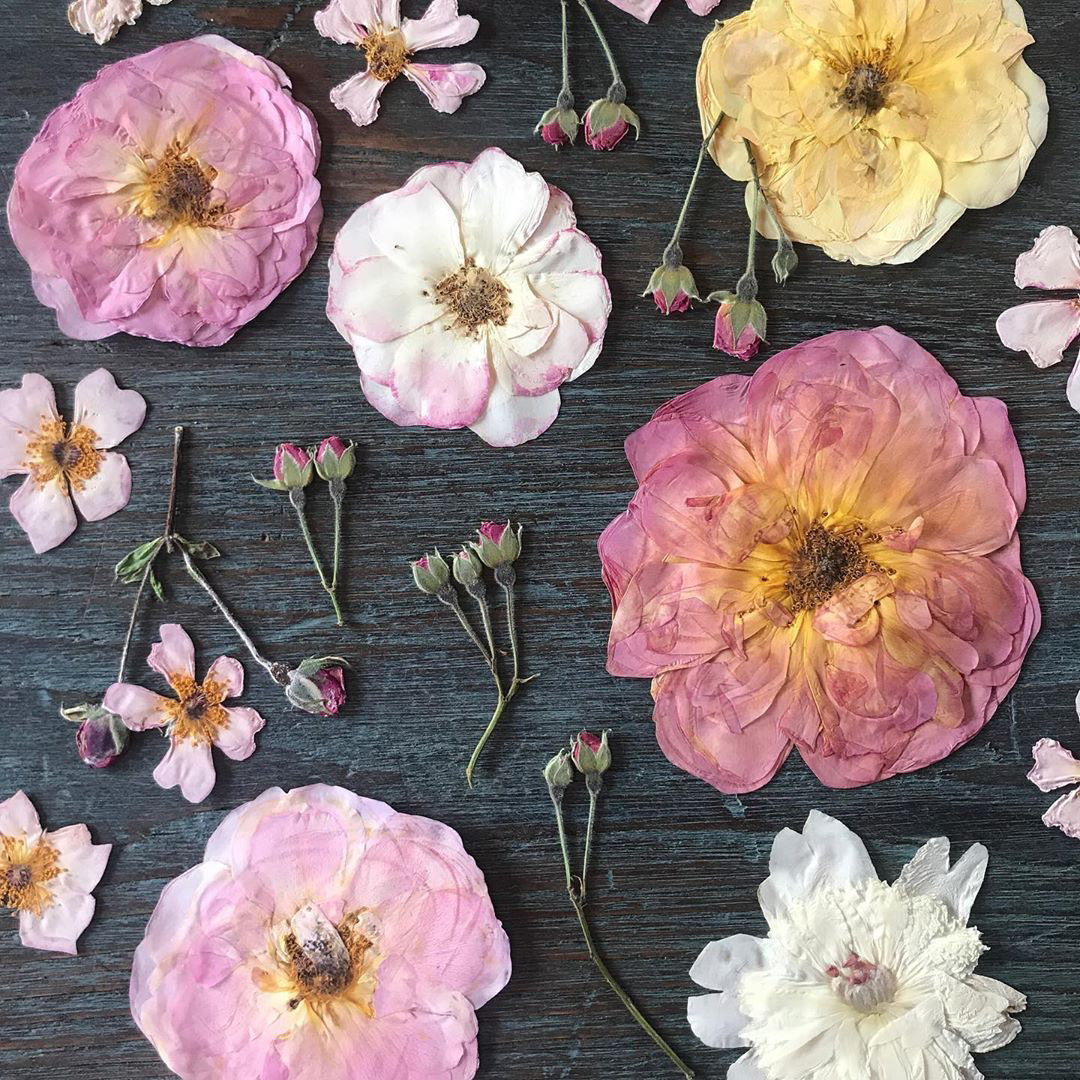
Embrace the beautiful, inevitable color shift that occurs during pressing and drying. A vibrant scarlet rose will not stay fire-engine red. Instead, it will settle into a deep, velvety burgundy or a rich claret, evoking a sense of history and nostalgia. Bright yellow and orange roses tend to hold their color remarkably well, while pure white roses often age to a lovely antique cream or ivory. Understanding this from the start turns the process from a fight against nature into a collaboration with it.
- Preserves flowers in minutes, not weeks.
- Often results in better color retention due to the speed of dehydration.
- Ideal for last-minute gifts or impatient crafters.
The secret? A microwave flower press. These devices, like the popular Microfleur, consist of two ceramic plates and felt pads. The microwave heats the pads, which quickly press and dry the flower, locking in its color before it has a chance to oxidize and turn brown.
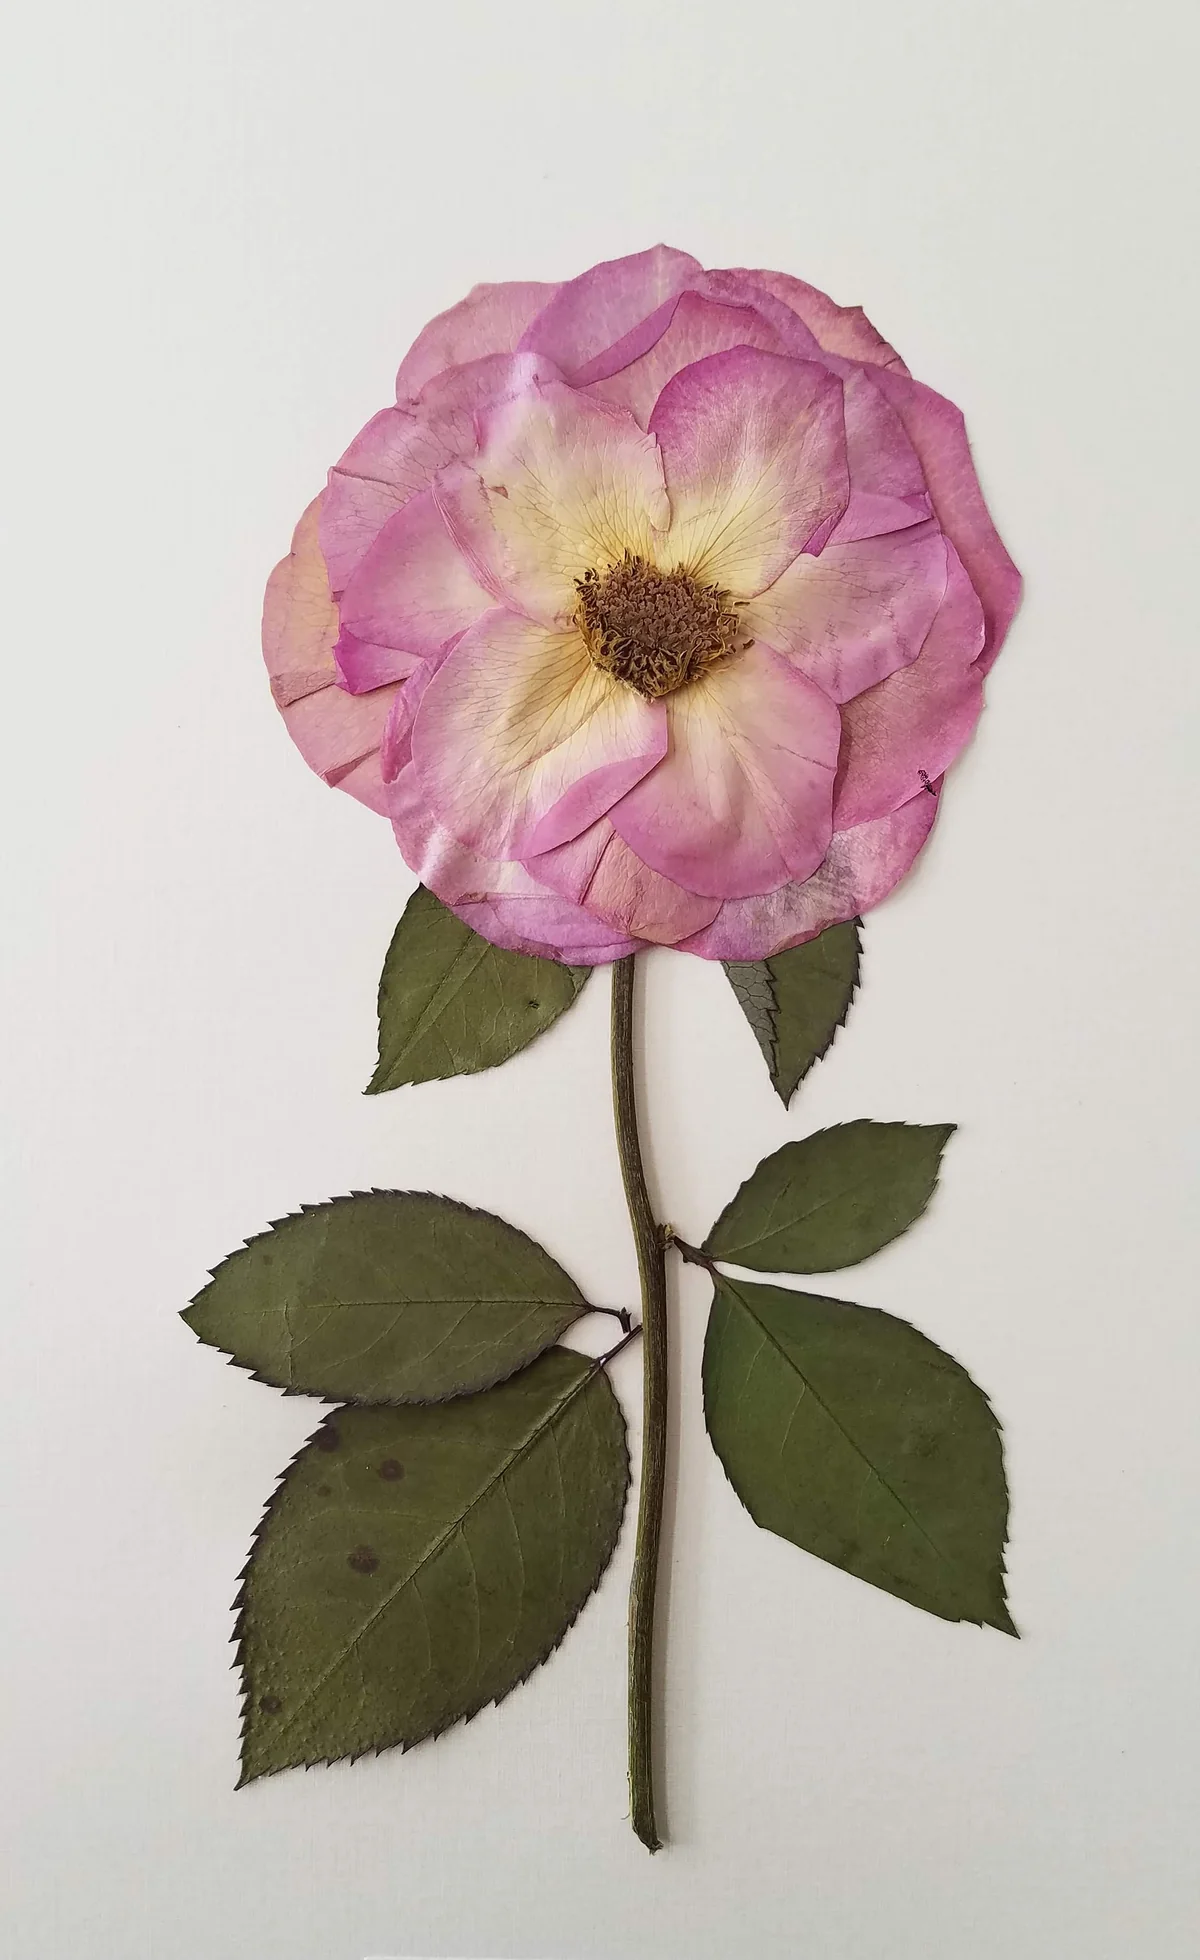
A common mistake: Forgetting to prepare the rose itself. For a perfectly flat press, especially with a thicker rose, it’s often best to deconstruct it slightly. You can press the entire flower head, but for a guaranteed beautiful result, consider pressing some petals individually alongside the main bloom. This gives you delicate, translucent elements to arrange around the main flower in your final composition, adding a professional touch and ensuring every part is perfectly preserved.
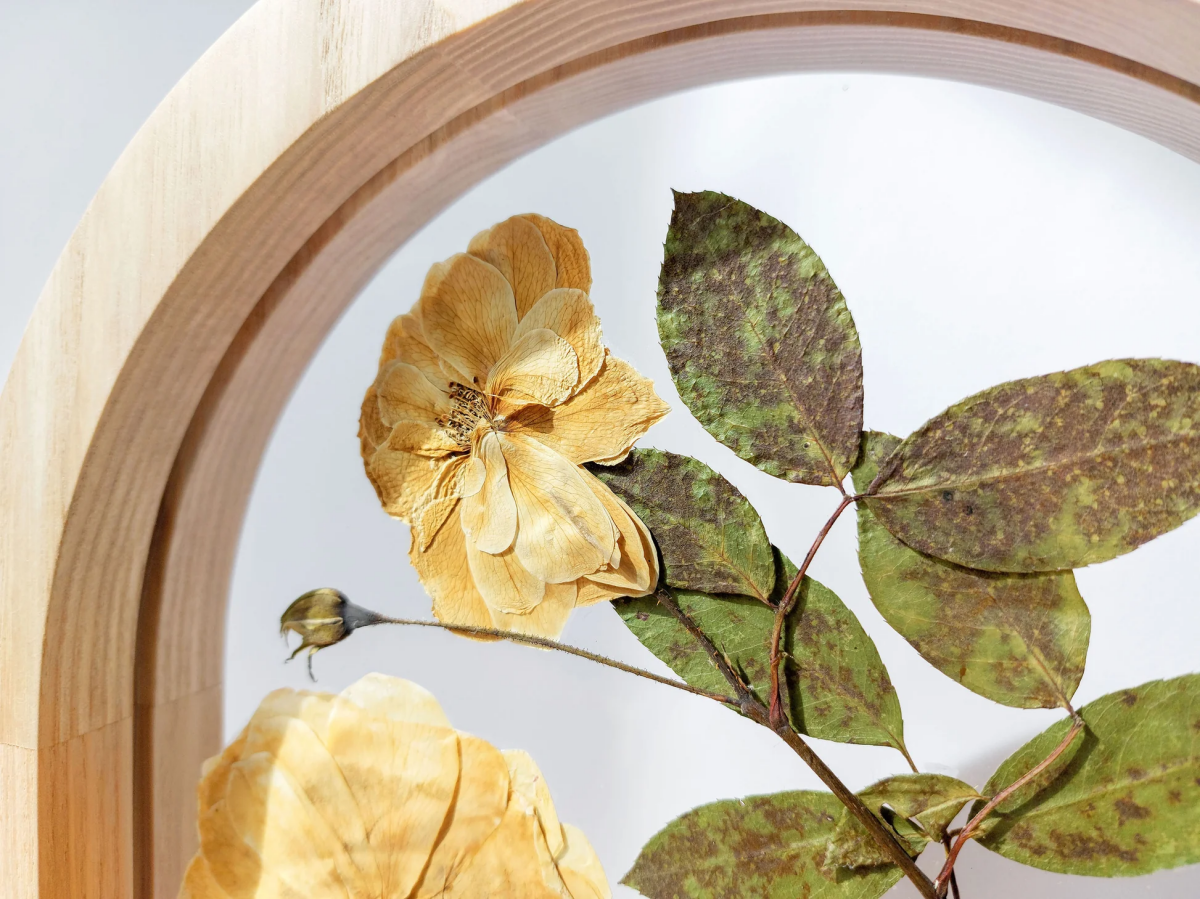
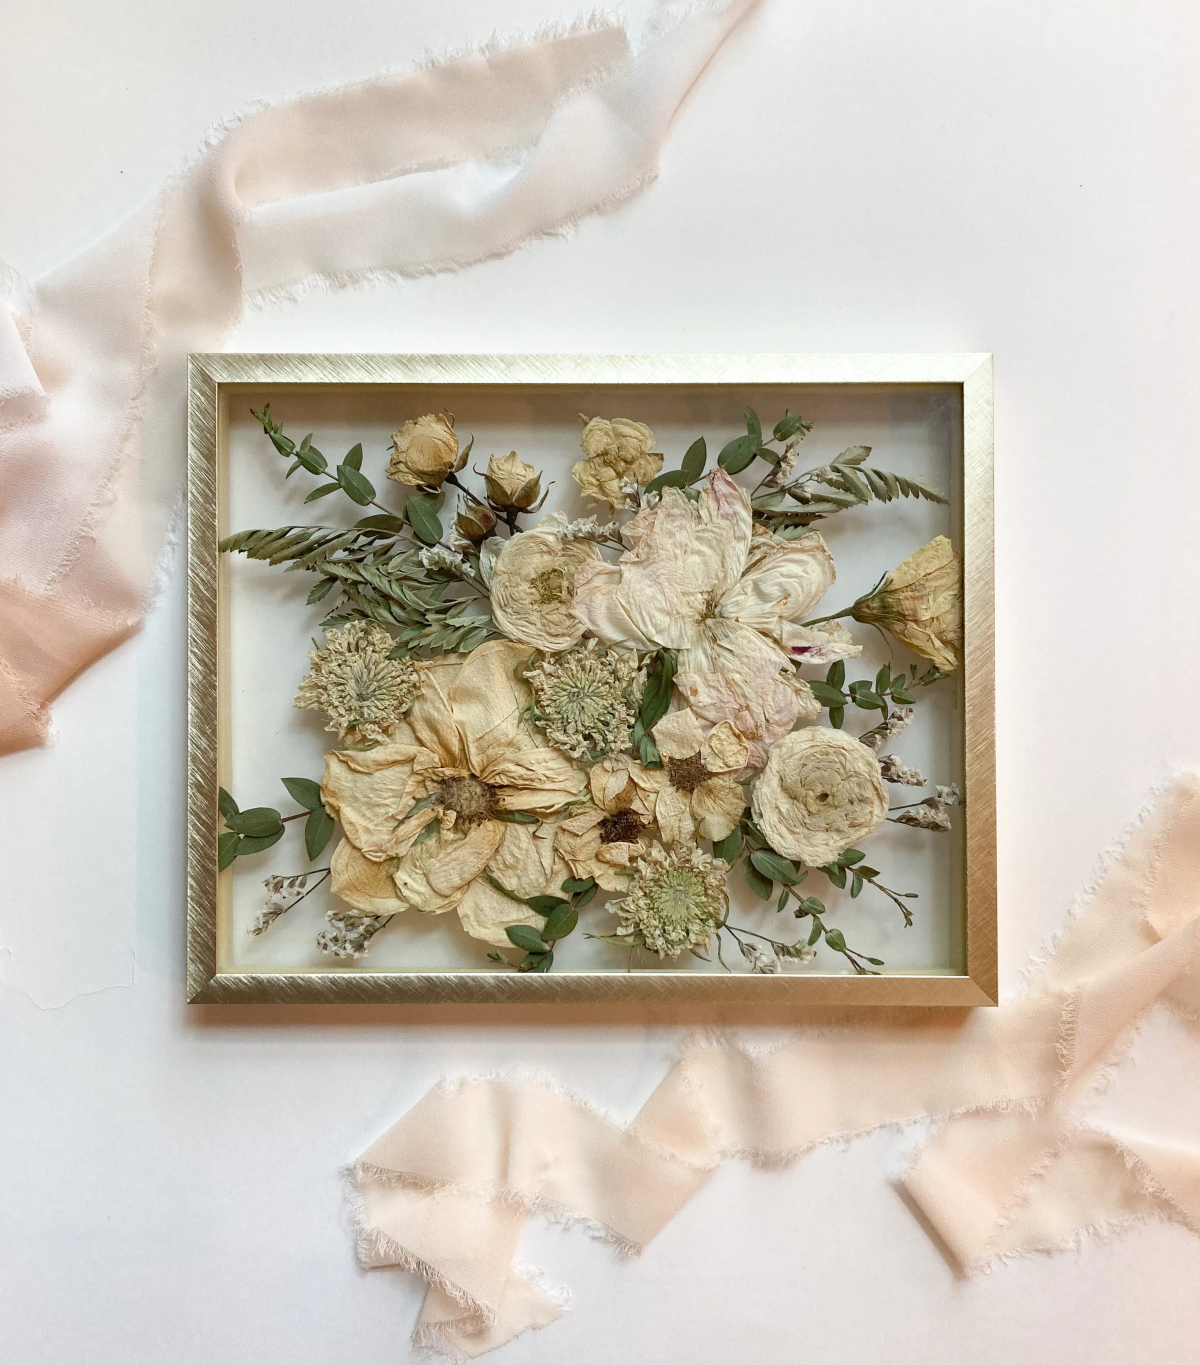
Creating a ‘floating’ display in a double-glass frame is a stunning way to showcase your work. The transparency highlights the delicate, paper-thin quality of the pressed rose.
- First, carefully clean both panes of glass to remove any smudges or dust.
- Lay one pane of glass on your work surface. Using tweezers, arrange your pressed rose, individual petals, and perhaps a stem or leaf on the glass.
- Once you are happy with the composition, carefully place the second pane of glass on top, being careful not to shift your design.
- Secure the two panes back into the frame. The pressure will hold everything perfectly in place.


