My Complete Guide to Perfectly Pressed Flowers (Without Ruining Them)
I think I was about eight years old when I pressed my first flower. It was a tiny wild violet I found near my grandfather’s workshop, and I tucked it inside his massive, heavy dictionary. Honestly, I completely forgot about it for months. When I stumbled upon it again, it was this perfect, paper-thin shadow of itself, transformed into a dusty, deep purple I’d never seen before. That little flower sparked a passion that’s lasted a lifetime, taking me from old books to custom-built presses and commissioned artwork.
In this article
So, this isn’t just about squashing flowers flat. It’s about really understanding them. I want to walk you through the techniques I’ve picked up over years of trial and error (and believe me, there has been a lot of error) so you can create beautiful pieces and skip the disappointment of opening a book to find a brown, moldy mess.
What’s Actually Happening to Your Flowers?
To get great results, it helps to know what’s going on when you press a flower. You’re not just flattening it; you’re performing a controlled dehydration. The whole goal is to pull the water out as quickly and gently as possible to lock in the flower’s shape and color. When you get the ‘why’ behind each step, the ‘how’ makes so much more sense.
A fresh flower is mostly water. That water keeps its petals firm and stems straight. When you sandwich it between layers of absorbent paper, the dry paper naturally starts wicking that moisture away. This is why your choice of paper is so critical—a good blotting paper is like a high-tech sponge. At the same time, the pressure from a press or heavy books holds everything flat, preventing the petals from curling as they dry. Uneven pressure is a classic rookie mistake, causing some parts to dry slower than others, which is a recipe for rot.
Why Colors Go Weird (And How to Stop It)
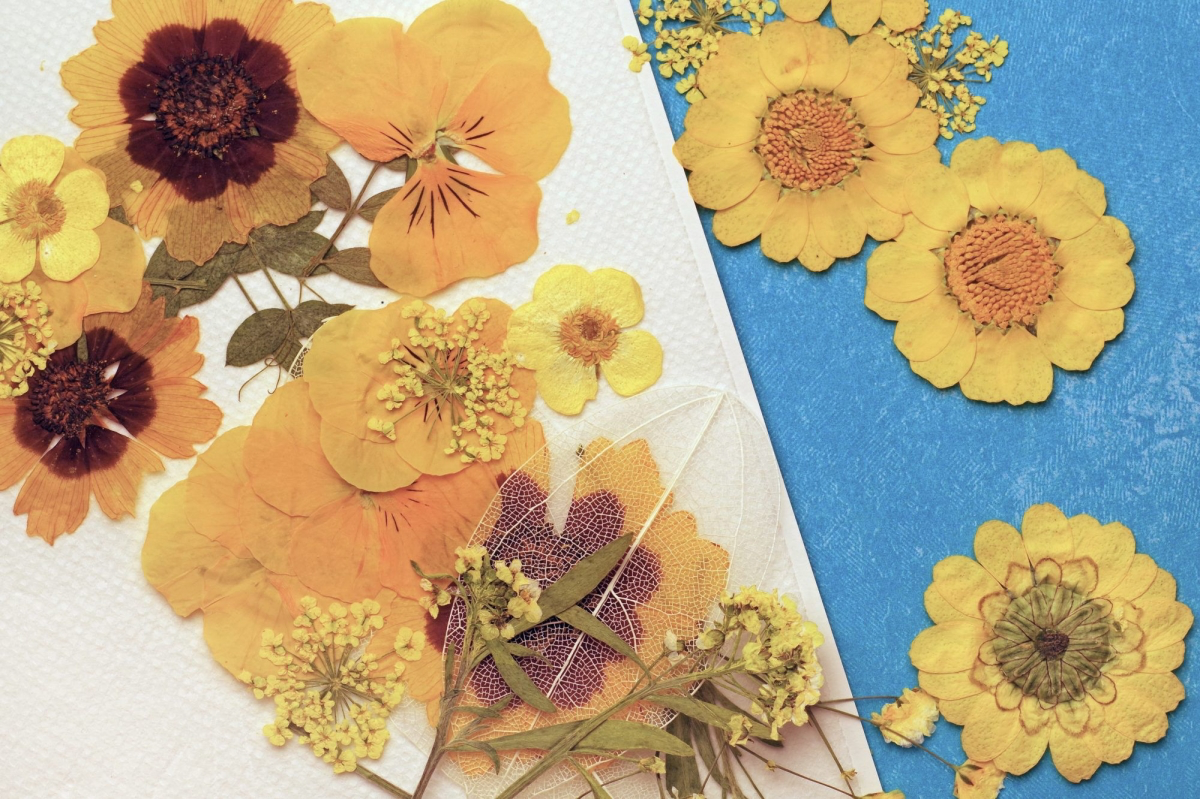
A flower’s vibrant color comes from natural pigments. Some are pretty stable, like the yellows and oranges you see in marigolds. Others, especially the reds, purples, and blues, are notoriously fragile. They can be broken down by light, oxygen, and even the flower’s own internal enzymes.
Here’s the breakdown:
- Light & Oxygen: Too much exposure to either will cause fading and browning. This is why you always press flowers in a dark place and why a fast drying process is your best friend—it limits oxygen exposure while the flower is vulnerable.
- Enzymes: When you pick a flower, it doesn’t just die instantly. Its internal processes keep chugging along, breaking down cells and pigments. Pressing it quickly stops this process in its tracks.
Heads up! Reds and blues are the trickiest. Their color often depends on the pH level inside the plant’s cells. As the flower dries, that pH can change, turning a beautiful crimson or vibrant blue into a dull, disappointing gray. It’s not always your fault; it’s just science.
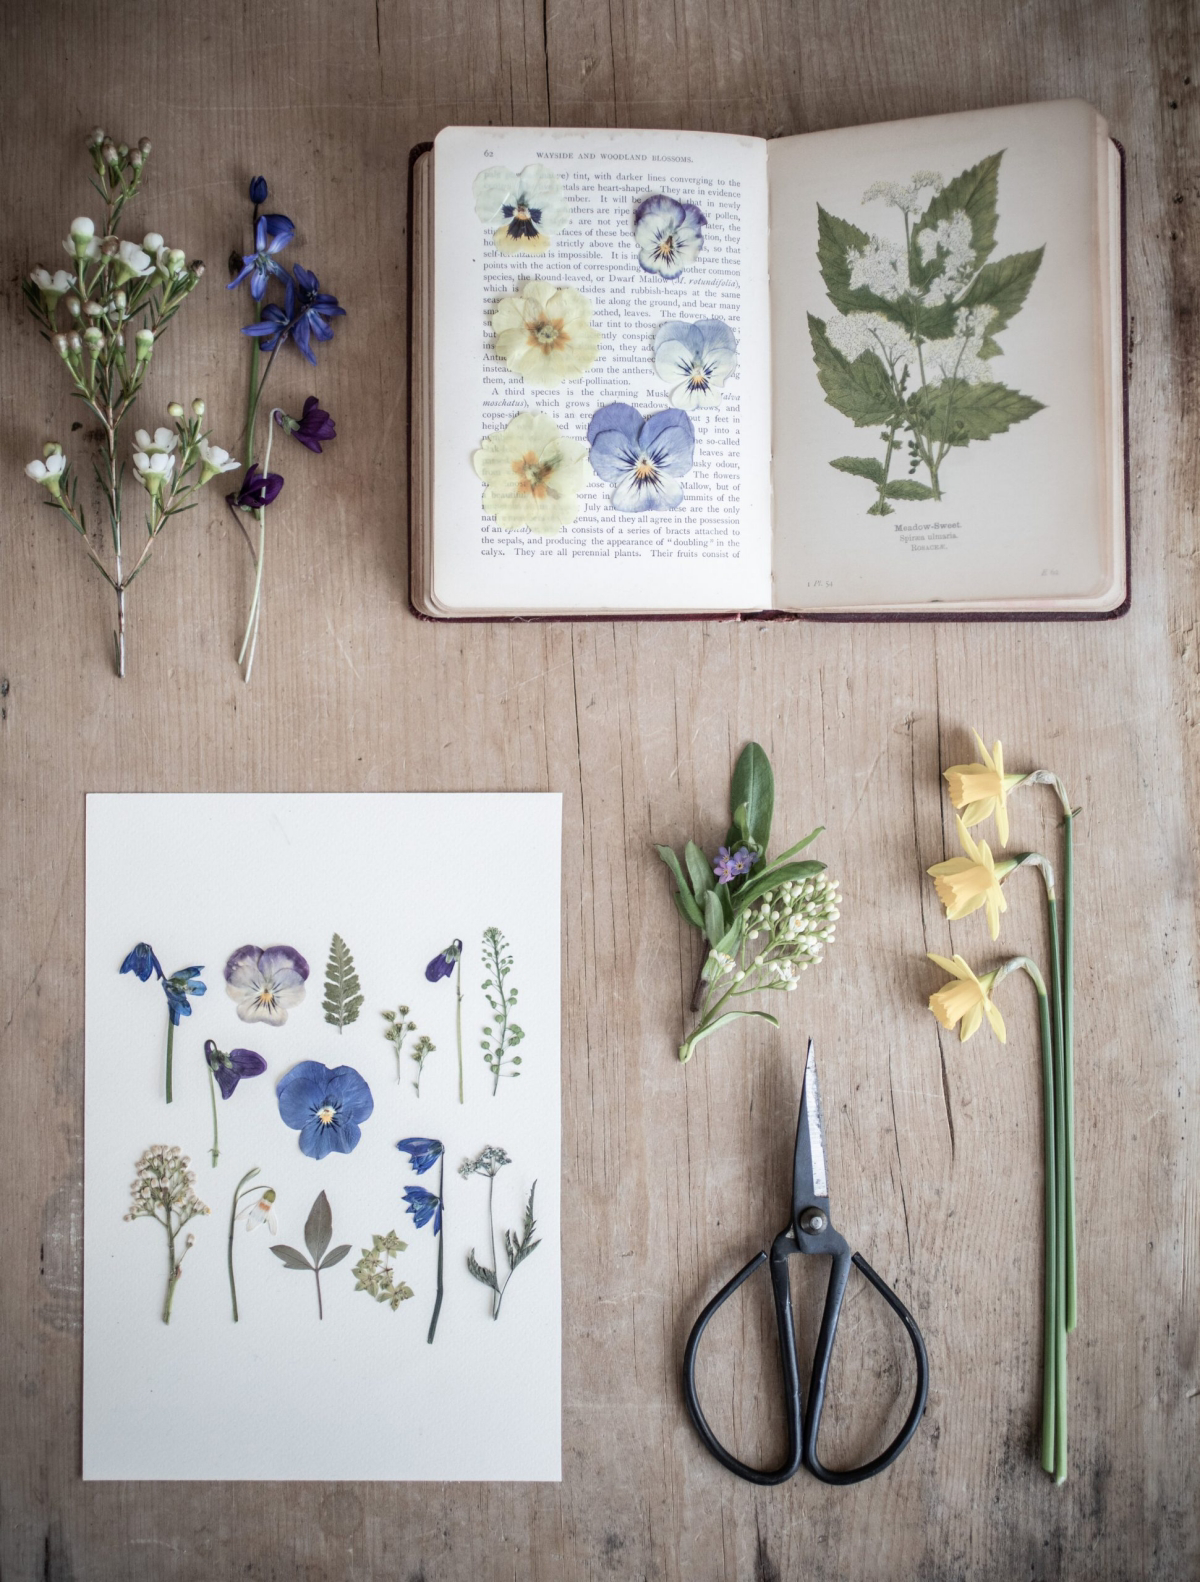
The Best Flowers to Press (And the Ones to Avoid at First)
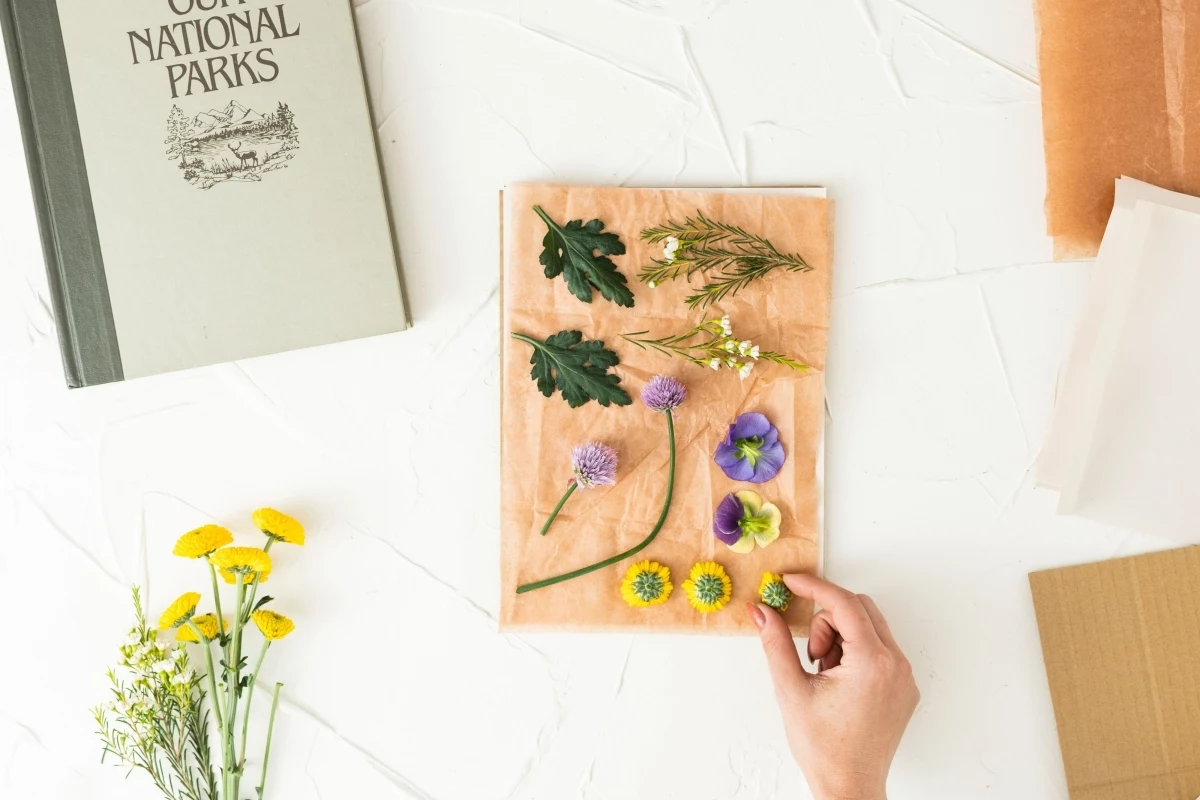
Your finished piece will only be as good as the fresh flower you start with. Seriously, this first step is everything. I’ve learned that the best time to pick flowers is mid-morning, after the dew has evaporated but before the afternoon heat sets in. Look for blooms that are at their peak or just about to open.
For beginners, I always recommend starting with flowers that are naturally flat and not too fleshy. You’ll get great results and a nice confidence boost!
- Easiest Flowers for Beginners: Violets, pansies, cosmos, forget-me-nots, single-petal flowers, and most ferns or leaves. They press beautifully with very little fuss.
- Challenging (But Worth It) Flowers: Things like multi-layered roses and thick flowers like zinnias can be tough. The trick is to slice them in half vertically before pressing. For hydrangeas, don’t try to press the whole head; snip off and press the individual florets. And white flowers? They are notorious for browning, so you need to be extra quick with your drying process.
My Go-To Pressing Methods, from Simple to Pro
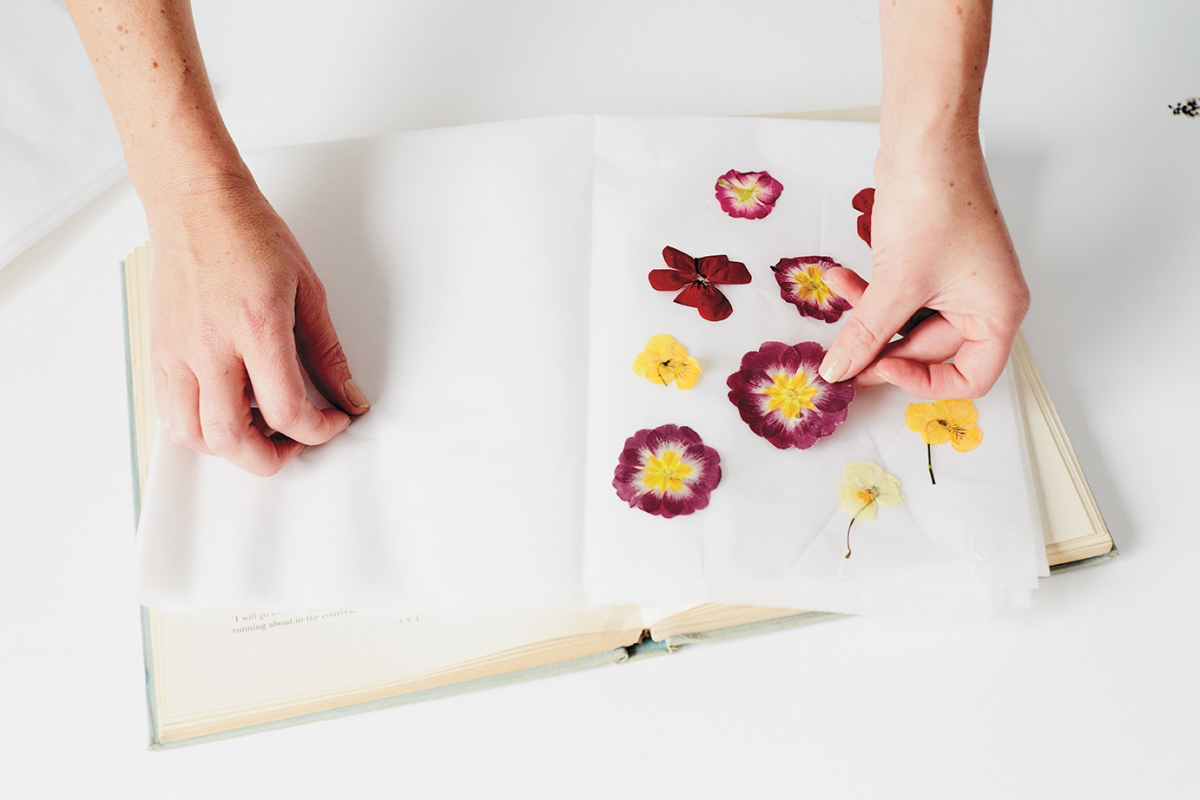
Method 1: The Classic Book Press
This is where we all start, and it works! But please, don’t use a book you love—the moisture can warp the pages forever. Old phone books or dictionaries are perfect. And avoid glossy pages; they don’t absorb moisture and can stick to the petals.
- Create a Flower Sandwich: Never put a flower directly on the book page. The ink can transfer, and it’ll stick. Instead, layer it: a piece of cardboard, a sheet of blotting paper, your flower, another sheet of blotting paper, and one more piece of cardboard.
- The Right Paper is a Game-Changer: I can’t stress this enough: do not use paper towels. Trust me, I learned this the hard way. I once ruined a perfect columbine because it came out with the waffle-print of a quilted paper towel permanently embossed on its petals. So frustrating! Use proper botanical blotting paper. A pack costs about $10-$15 online, and it’s smooth, absorbent, and acid-free, which prevents discoloration over time. In a pinch, plain coffee filters work okay.
- Load the Book & Wait: Place your ‘sandwich’ inside the book, leaving at least a half-inch of pages between pressings. Stack a few more heavy books or a couple of bricks on top. Store it in a warm, dry, dark place (a closet is great, a damp basement is not). For the first week, change the blotting paper every couple of days. After that, once a week is fine. It’ll take anywhere from two to six weeks.
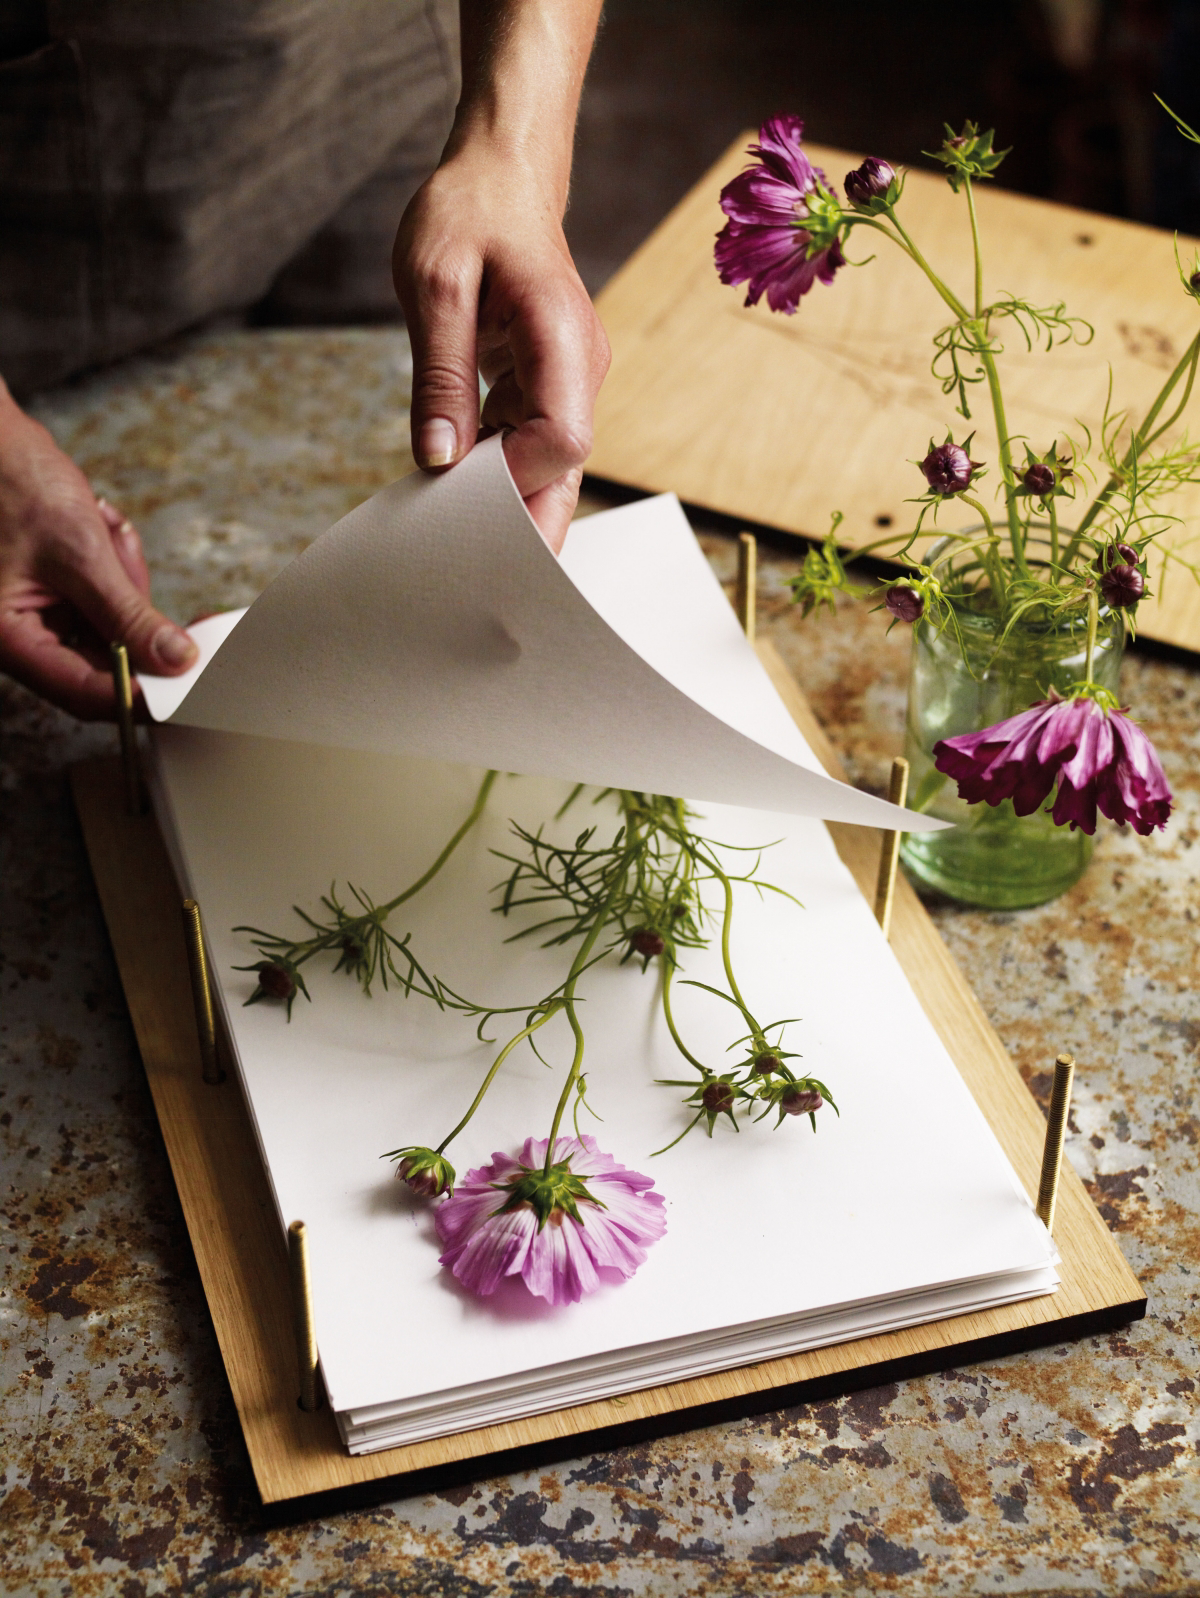
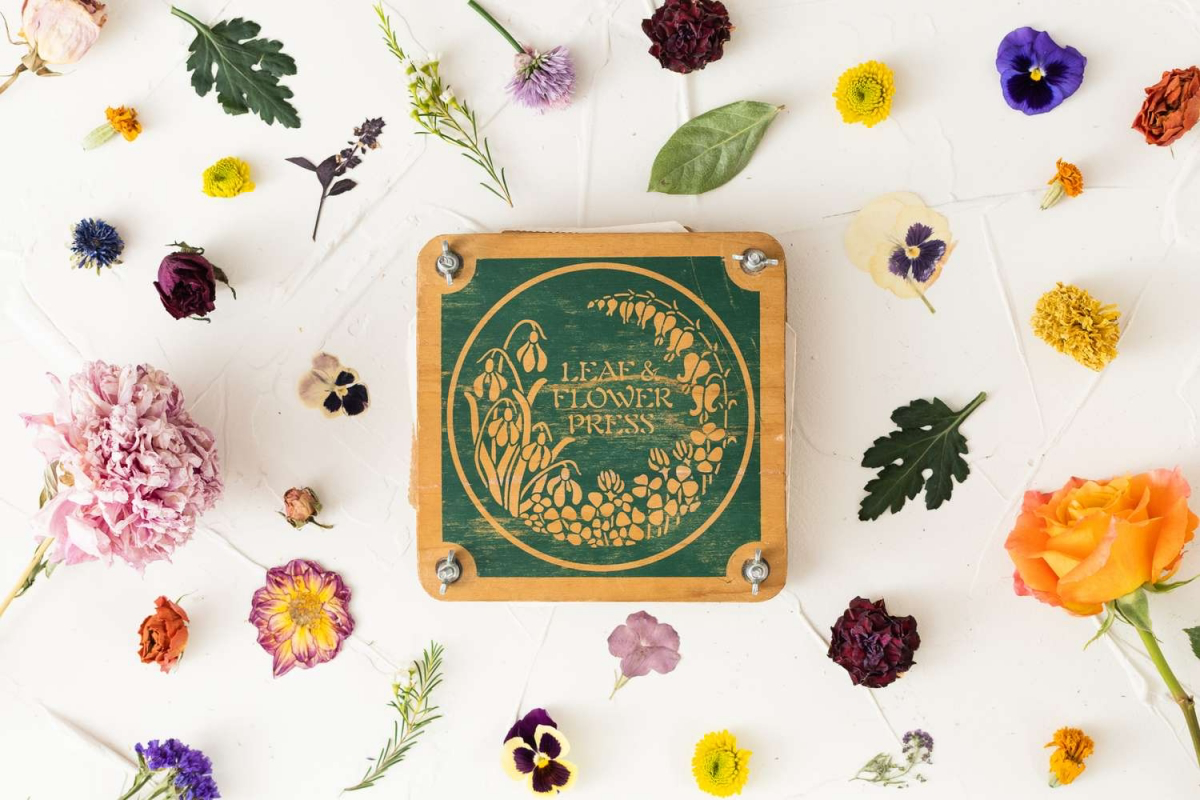
Method 2: The Professional Flower Press
This is my everyday tool. It’s basically two wooden boards tightened together with bolts and wing nuts. The big advantage is that it provides perfectly even pressure, which a book just can’t guarantee.
You build the same stack of cardboard and blotting paper layers inside. The corrugated cardboard is key here—those little air channels help speed up drying and fight off mold. A good wooden press will run you about $30-$50 on a site like Etsy, but you can also DIY one for under $20 with some scrap wood and bolts from a hardware store.
Quick tip: Tighten the wing nuts as much as you can by hand. After 24 hours, go back and give them another half-turn. The flowers will have compressed, and this keeps the pressure on. A dedicated press can cut your drying time down to one to three weeks.
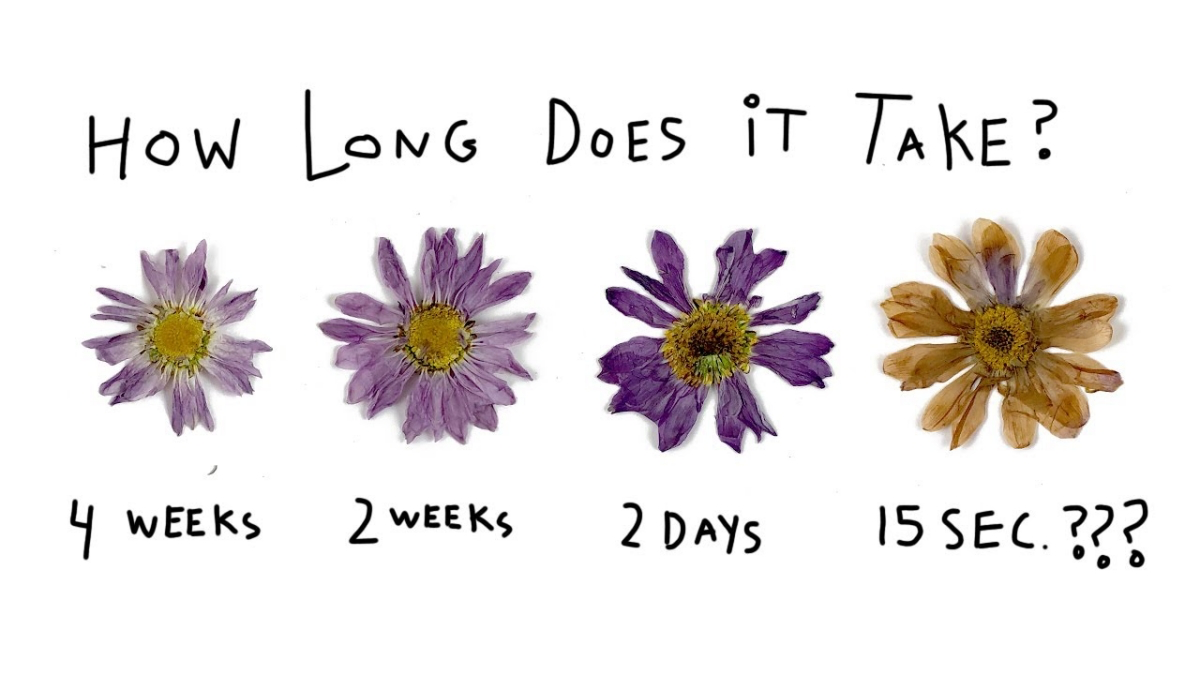
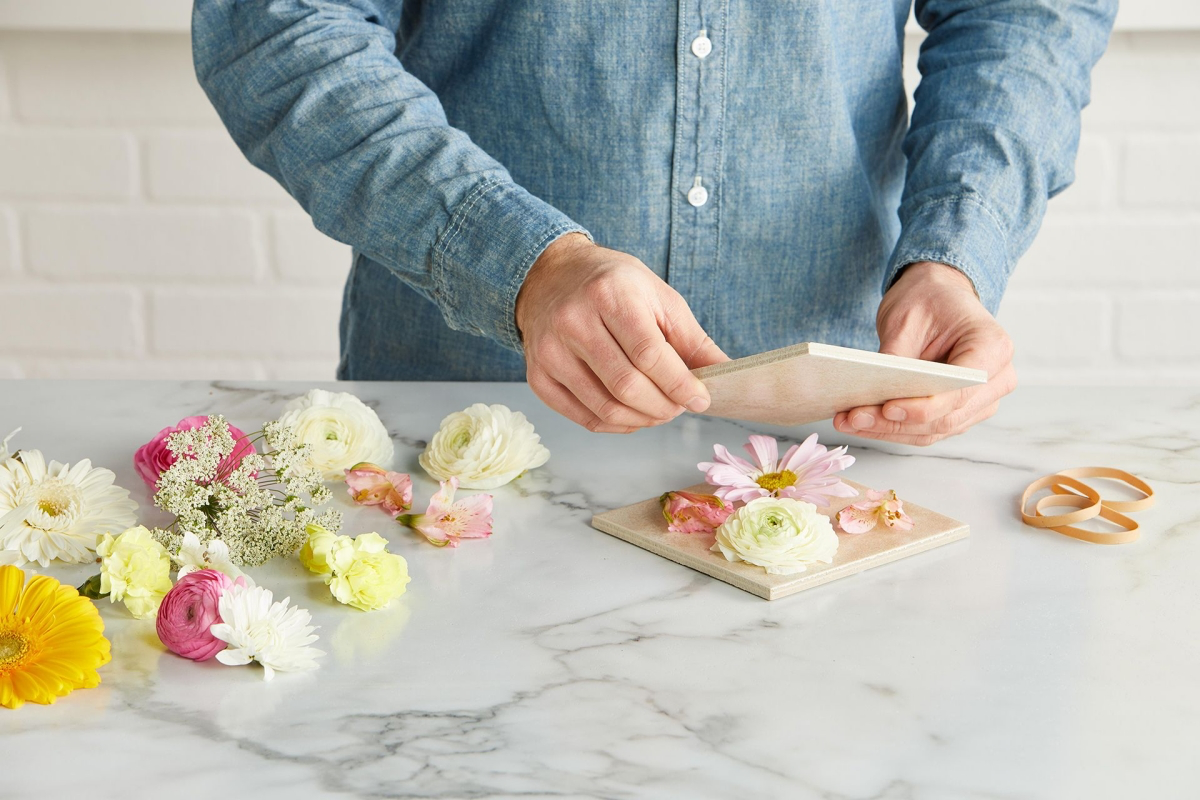
Method 3: The Microwave Press (Fast, But Risky)
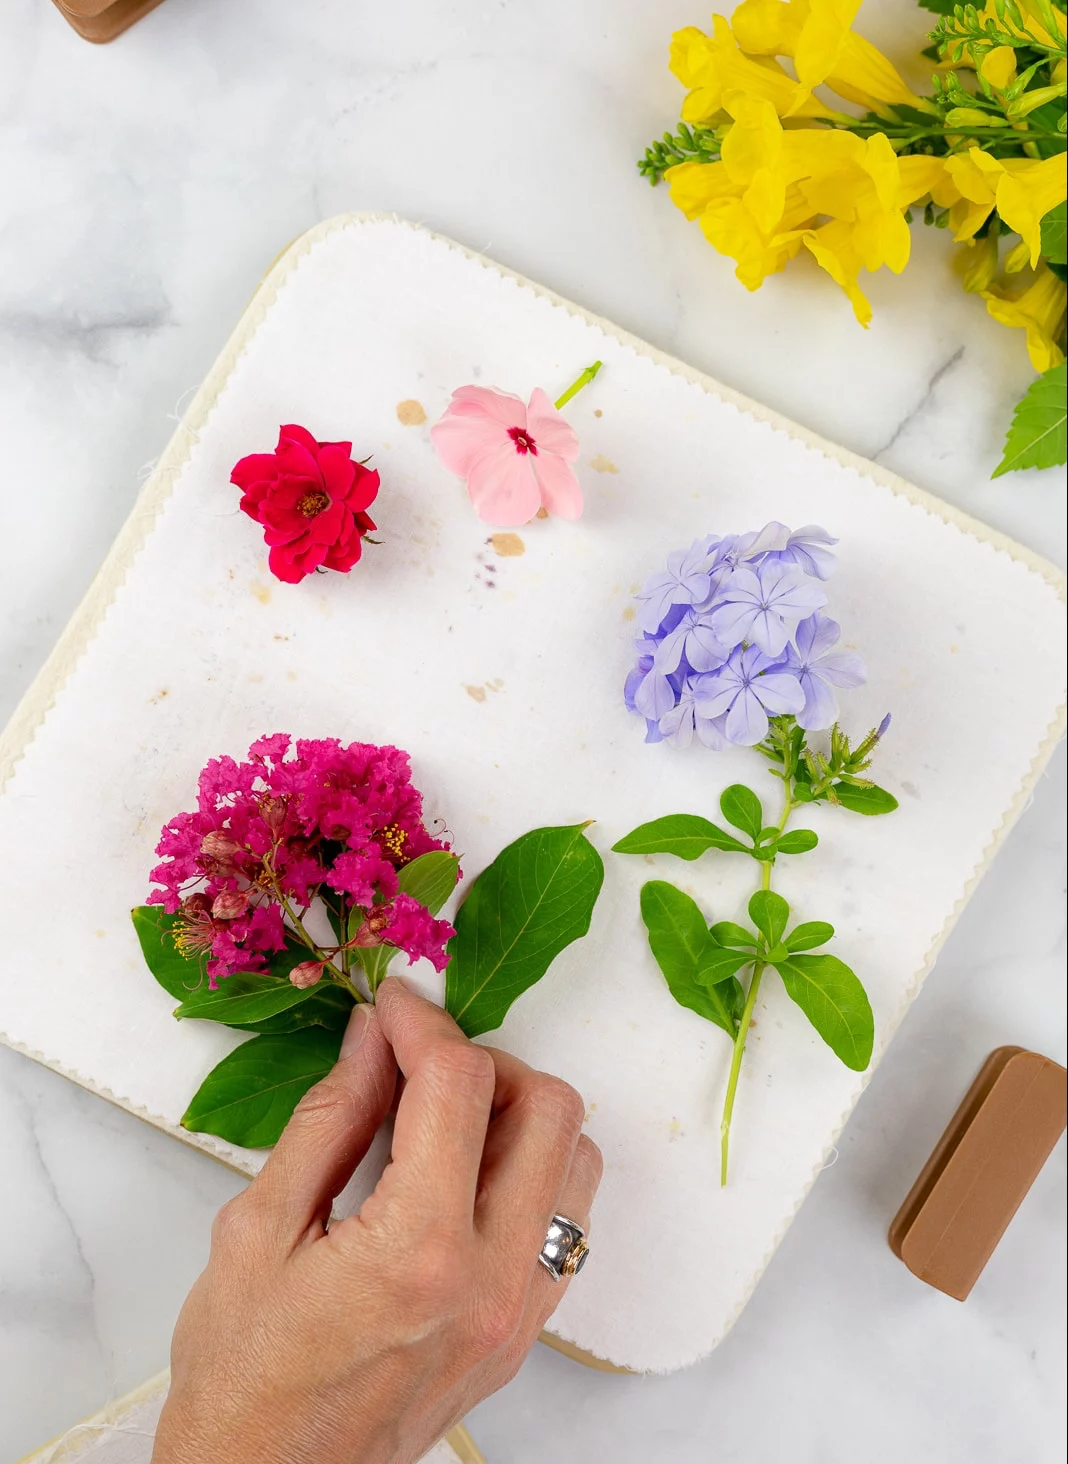
I only use the microwave when I’m on a tight deadline. It’s incredibly fast but also incredibly easy to scorch your flowers into brown, brittle crisps. You need a special microwave press, which is usually two ceramic tiles you clip together.
The secret is low power and short bursts. For a pansy, I’d start with 30 seconds at 50% power, let it cool completely for a minute, then maybe try another 20 seconds. You have to learn the feel of it. After each burst, check the flower. If it feels papery, it’s done. A microwaved flower is never truly finished when it comes out, though. I immediately transfer it to a book or traditional press with fresh paper for at least 48 hours to remove the last bit of moisture.
Help! What Went Wrong? A Quick Troubleshooting Guide
Even with experience, things go wrong. Here are the most common issues and how to fix them:
- Problem: My flowers turned brown or black.
Solution: This usually means they dried too slowly. Next time, try changing your blotting paper more frequently (especially in the first few days) or move your press to a warmer, less humid spot. If you’re pressing a thick flower, remember to slice it first. - Problem: My flowers are moldy!
Solution: Mold means too much moisture and not enough air circulation. Make sure your flowers were completely dry when you picked them (no dew or rain). Using corrugated cardboard in your press helps a ton. - Problem: My flower has weird lines or patterns on it.
Solution: Ah, the paper towel problem! This means you used a paper with a texture. Always use smooth blotting paper, parchment, or coffee filters to ensure a silky finish.
Okay, It’s Pressed… Now Don’t Break It!
You’ve patiently waited weeks, and you have a gorgeous, paper-thin flower. The final step is handling it without it crumbling into dust.
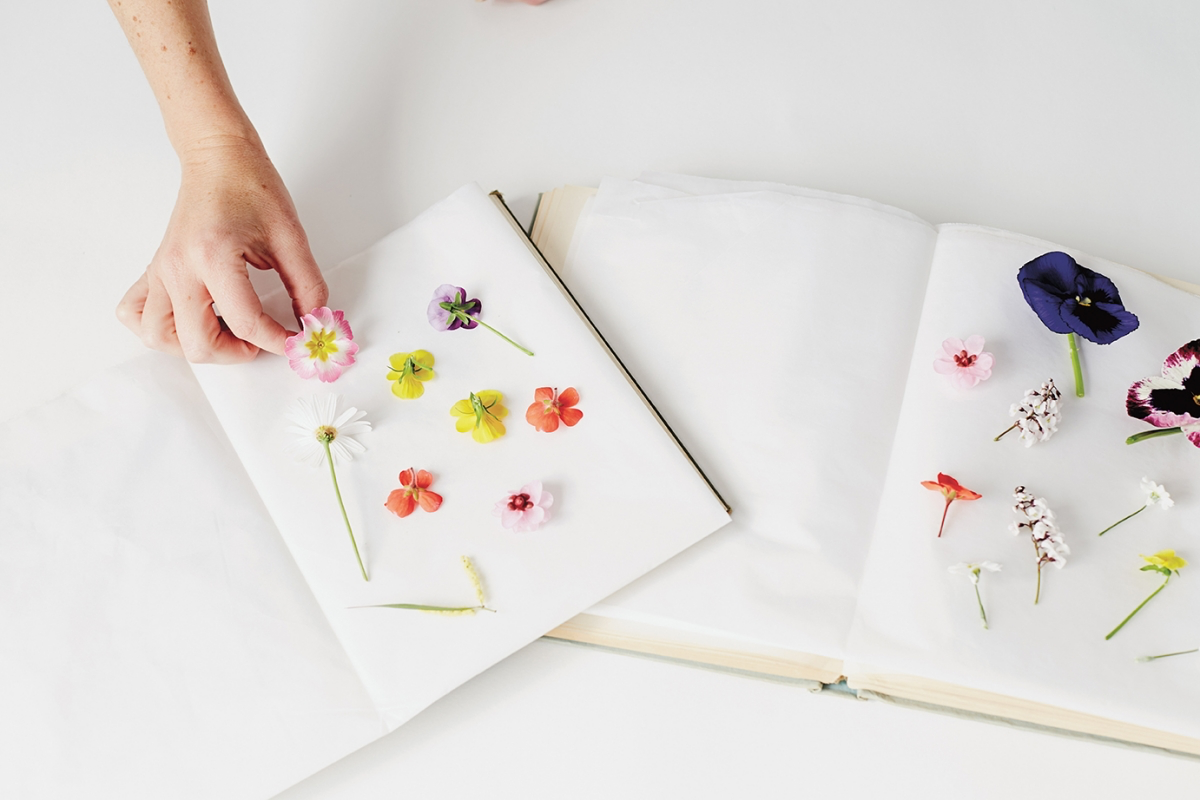
My number one tool for this is a good pair of tweezers. Trying to pick up delicate petals with your fingers is just asking for heartbreak. Gently lift them with tweezers and place them where you want them to go.
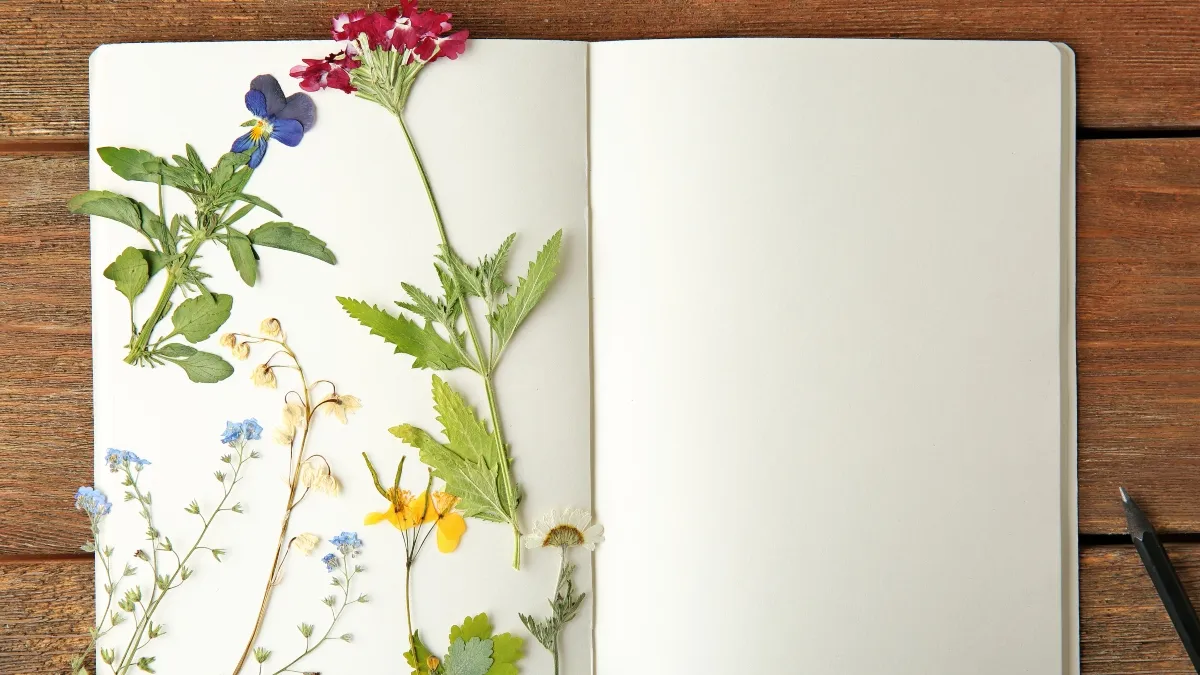
So what can you do with them? The possibilities are endless! You can arrange them in a floating glass frame (look for ones with UV-protective glass to prevent fading) or use a tiny dab of PVA glue to attach them to handmade cards, gift tags, or journal pages. Just remember to be gentle and take your time. You’ve earned it!
Galerie d’inspiration
Choosing the right flower is half the battle, especially for your first press. Some are simply more cooperative than others!
- Start with these: Pansies, violas, cosmos, and ferns are naturally flat and have low water content, making them ideal for beginners. Single-petal flowers are always a good bet.
- Be cautious with these: Thick, water-rich flowers like roses, tulips, and lilies are challenging. They hold too much moisture, often turning brown or molding before they dry completely.
The trick for bulky flowers: Don’t be afraid to perform a little ‘flower surgery’ before pressing. For denser blooms like hellebores or small ranunculus, carefully use a craft knife to slice the flower in half lengthwise. This removes bulk and allows the center to dry as quickly as the petals, preventing that dreaded brown, rotten core.
The oldest preserved floral herbarium, created by botanist Gherardo Cibo, dates back to 1532. Its pages prove that with the right technique, pressed botanicals can outlast a human lifetime.
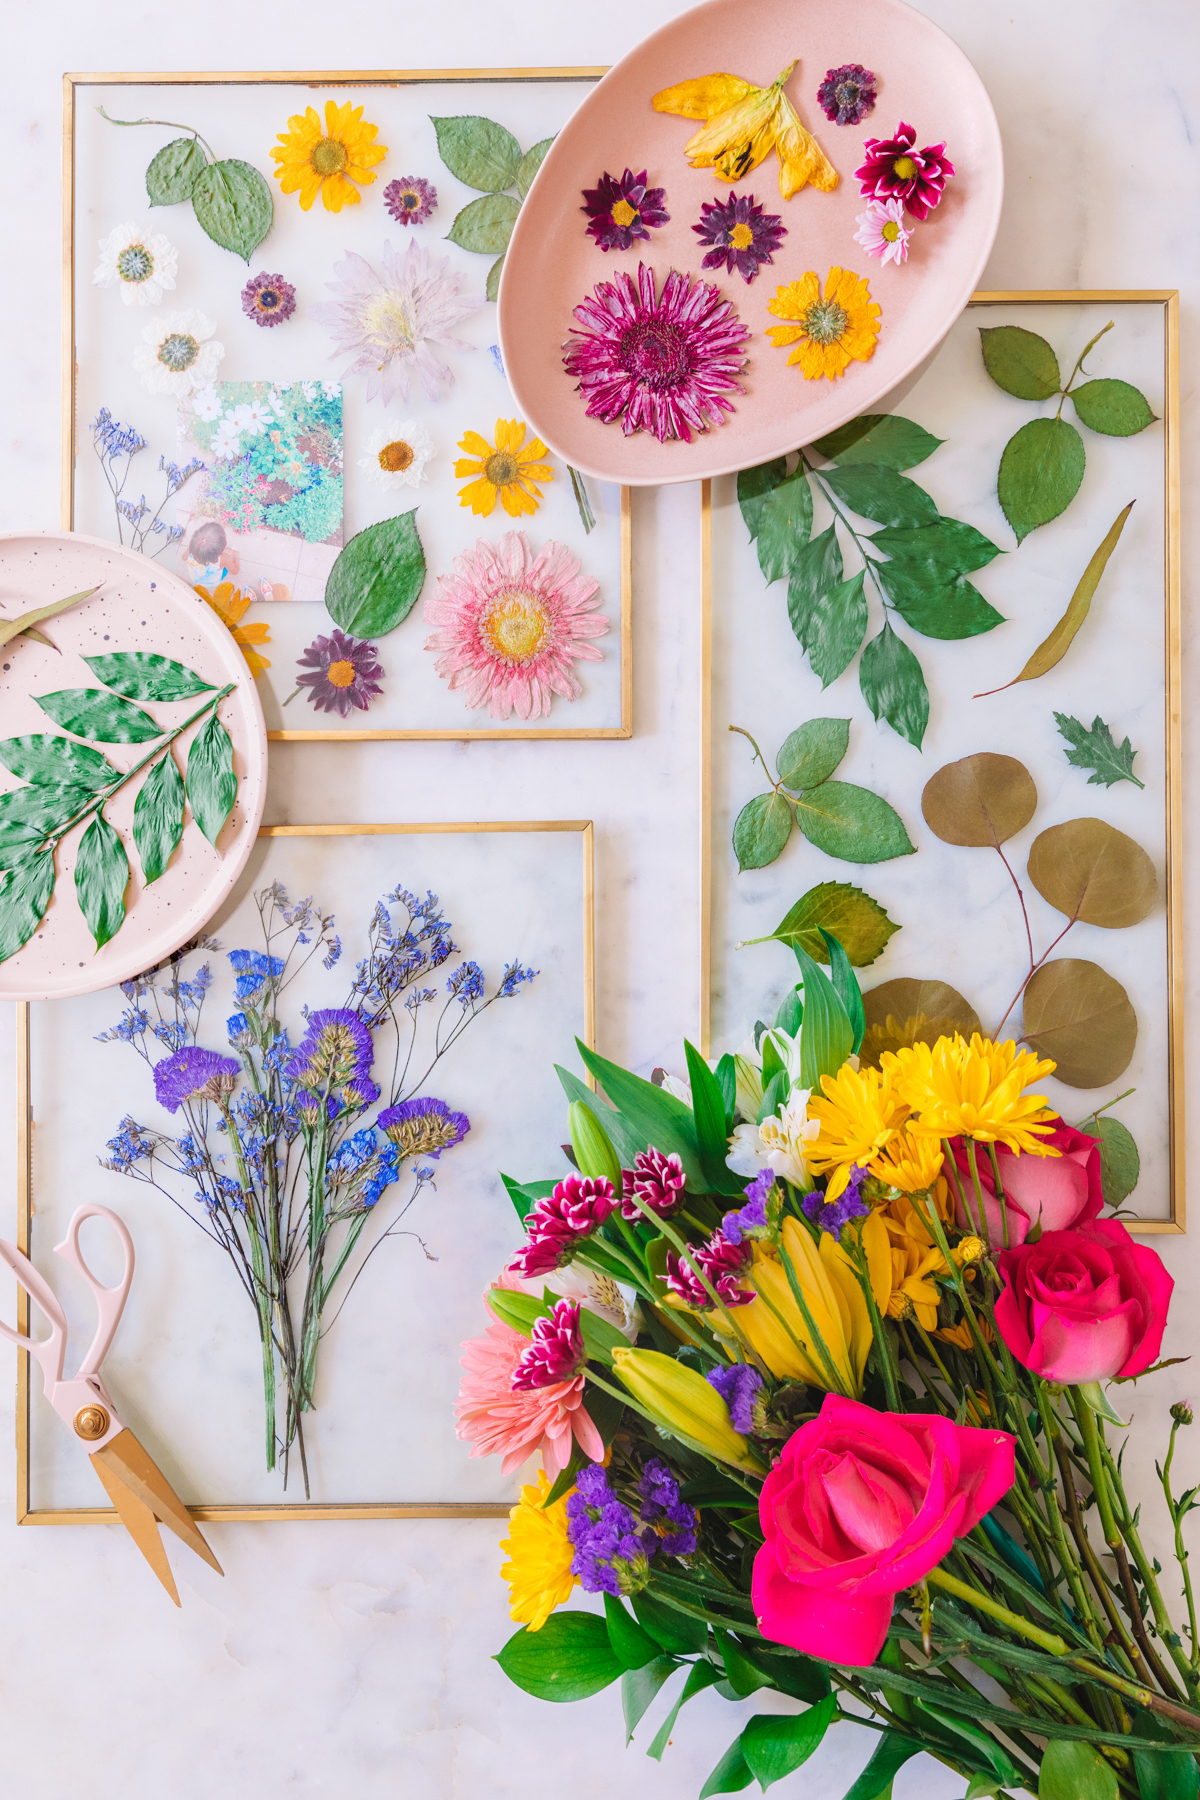
Your flowers are pressed and perfect… now what?
Go beyond the simple frame! Your delicate creations are perfect for embedding in resin projects. Try making custom coasters, jewelry pendants, or even a clear phone case. For a simpler craft, use a gentle adhesive like Mod Podge to decorate candles, journals, or light switch plates. The key is to seal your work with an archival varnish or UV-resistant resin to protect the colors from fading over time.
- Keep vibrant, true-to-life colors.
- Prevent delicate petals from becoming translucent.
- Achieve a crisp, paper-like texture without brittleness.
The secret? A pre-treatment bath. For notoriously tricky reds and purples, briefly dip the fresh flowers in a solution of one part isopropyl alcohol to three parts water before pressing. This helps to ‘fix’ the fragile pigments before they have a chance to degrade.
Blotting Paper: The professional standard. It’s highly absorbent and designed specifically for this task, wicking moisture away quickly and evenly.
Cold-Press Watercolor Paper: A fantastic, high-end alternative. The slight texture of paper like Arches 140 lb cold press allows for air circulation, and its acid-free nature helps preserve color beautifully.
While more expensive, watercolor paper often yields more vibrant, less browned results, especially for delicate flowers.


