So You Want to Start a Lifestyle Podcast? Here’s How to Actually Get Listeners.
I’ve been in the podcasting world for a long, long time, and I’ve seen countless shows come and go. The ‘lifestyle’ genre is especially popular because, let’s be honest, it feels easy and personal. But it’s also a graveyard of failed projects.
In this article
So many creators get a decent microphone, feel a surge of passion, and hit record. A couple of months later? Crickets. They quietly stop publishing, feeling totally frustrated that nobody’s tuning in. And you know what? The problem is rarely bad audio or a lack of passion. It’s the lack of a clear, focused purpose.
Here’s the secret: a ‘lifestyle’ podcast isn’t really a show about your life. It’s a show that helps someone else improve theirs. Once you get that, everything else clicks into place. This isn’t about chasing quick hacks or follower counts. It’s about the craft of building something that truly connects.
First Things First: Nail Your Big Idea
Let’s be real, ‘lifestyle’ is way too broad. It’s a starting point, not your show’s identity. I’ve watched promising podcasts fizzle out because their concept was just “two friends chatting about life.” That might work if you’re already famous, but for the rest of us, it’s not enough to draw people in. Your potential listeners are always subconsciously asking, “What’s in it for me?”
A super simple framework I always recommend is the ‘I help’ statement. Just fill in these blanks:
I help [a specific type of person] to [achieve a specific goal or feeling].
See the difference?
- Vague Idea: A podcast about being a new dad.
- Focused Concept: I help first-time dads get through the first six months of parenthood without completely losing their minds.
- Vague Idea: A podcast about healthy living.
- Focused Concept: I help busy office workers make healthy, 15-minute meals so they can stop living on takeout.
This focus doesn’t box you in; it sets you free. It’s the filter for every decision you make—from the topics you cover to the guests you invite. Before you even think about buying gear, spend a solid afternoon on this. Seriously, grab a notebook and do it now.
Your turn! Write down your ‘I help’ statement. Don’t overthink it. Just get a first draft on paper. This one sentence is the most important foundation for your entire show.

Let’s Talk Gear: Sound Matters More Than You Think
Bad audio is exhausting. If someone has to strain to hear you over buzzing, echoes, or street noise, their brain gets tired. They won’t consciously think, “The audio compression is off.” They’ll just feel irritated and click away to something else. That’s why a decent audio setup isn’t a luxury; it’s basic respect for your listener’s time.
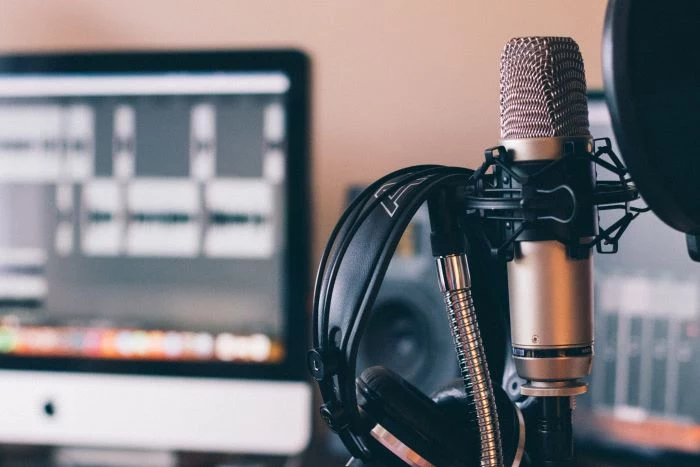
Your First Big Purchase: The Microphone
The mic is the heart of your operation, and your choice really depends on your recording space.
You’ve basically got two main options. First, there are Dynamic Mics. Think of the classic radio DJ microphone. These guys are fantastic at rejecting background noise because they only pick up what’s directly in front of them. If you’re recording in a spare bedroom with an echo, a noisy air conditioner, or a barking dog next door, a dynamic mic is your new best friend. The downside is you need to stay pretty close to it (about 3-5 inches), and the sound can be less crisp.
Then you have Condenser Mics. These are the super-sensitive microphones you see in pro music studios. They capture a beautiful, rich, and detailed sound, making your voice sound incredibly clear. The catch? They capture everything. The hum of your fridge, your voice bouncing off the walls, the garbage truck two blocks away… all of it. To use a condenser mic well, you need a quiet, well-treated room.
So, what does this actually cost? You don’t have to break the bank.
- The Scrappy Starter Kit (~$150): You can get a fantastic all-in-one mic that has both USB and XLR outputs (like an Audio-Technica ATR2100x-USB), a cheap pop filter, and a little desk stand. This is perfect if you’re just testing the waters and want good-enough quality without a big investment.
- The ‘I’m Serious’ Kit (~$350): This is where you get a workhorse dynamic mic like the Rode PodMic (around $99) and pair it with a simple audio interface like a Focusrite Scarlett Solo (about $120). Add an XLR cable and a boom arm, and you have a setup that will last you for years.
By the way, that separate audio interface in the ‘serious’ kit is a big deal. It gives you way more control over your sound and helps eliminate the electronic noise that can sometimes creep in from your computer’s internal components. It’s a clear upgrade path.
The Cheapest and Best Audio Upgrade: Tame Your Room
You do NOT need a professional studio. One of the best home setups I ever heard came from a podcaster recording in her walk-in closet. Why? It was small and full of clothes—soft surfaces that absorb sound.
That bouncing sound is called reverb, and it screams ‘amateur.’ To see how bad your room is, stand in the middle and clap your hands loudly. Hear a sharp, ringing echo? You’ve got work to do. But it’s easy! Drape heavy blankets over some chairs. Put pillows in the corners of the room. If you have a hardwood floor, a thick rug will make a world of difference. Your goal is to make the room sound ‘dead’ so the mic only hears your voice.
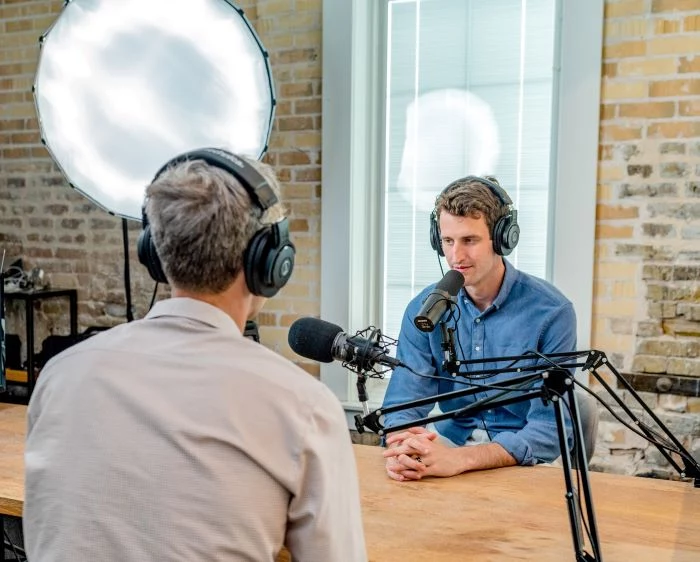
Planning an Episode That People Actually Finish
Just hitting ‘record’ and riffing is a recipe for a rambling, boring episode. The most engaging podcasts, even the ones that sound like a casual chat, are built on a solid structure. The listener feels it as a clear, easy-to-follow conversation.

And a quick heads-up on a common pitfall: consistency. A bi-weekly podcast that comes out like clockwork is a million times better than a weekly one that’s always late or skipping weeks. Plan ahead and maybe even record a few episodes in a batch. That way, you’ll have a buffer for when life gets crazy.
The Simple Four-Part Episode Blueprint
I’ve found this simple structure works for almost any topic. It’s all about respecting the listener’s journey.
- The Hook (First 60 seconds): Start with a bold question, a surprising fact, or a quick, relatable story. Immediately tell the listener what they’ll get out of this episode. Make a promise.
- The Main Content (The Body): Deliver on that promise. Break your topic into 2-4 key points. Use little verbal signposts like, “Okay, so the first thing to remember is…” and later, “Now, let’s talk about the second piece of the puzzle…” This helps people stay on track, especially if they’re multitasking.
- The Summary (The Recap): People get distracted. Before you sign off, do a quick recap. “So today, we covered A, B, and C.” This hammers home the value you provided and helps the key points stick.
- The Call to Action (The Outro): Give your listener ONE thing to do next. Not five. Just one. “If this episode helped you, share it with one friend who needs it.” Or, “To grab the checklist I mentioned, head over to my website at…” Be specific.
I remember working on a show about simple living. The host was brilliant, but his episodes were all over the place. We implemented this four-part structure, and almost overnight, his average listen-through rate jumped by 30%. The content didn’t change, but it became so much easier to digest.
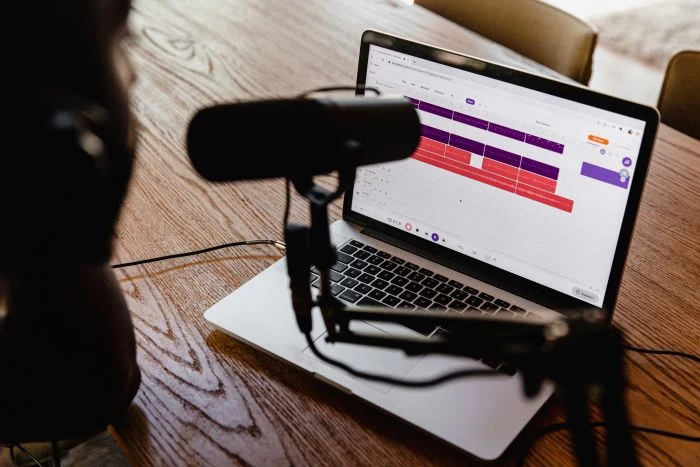
The Nitty-Gritty: Recording and Editing
The technical side can feel a little daunting, but a few basic techniques will put you miles ahead of most beginners. When it comes to editing, be prepared to invest some time. For a beginner, a 30-minute episode can easily take 2-4 hours to edit properly. You’ll get faster, I promise!
Your Editing Software
This is your Digital Audio Workstation, or DAW. There are great options for every budget.
- Free and Powerful: Audacity is the old-school workhorse; it’s free and can do pretty much anything, but its interface can be a bit clunky. If you’re on a Mac, GarageBand is surprisingly capable and much more user-friendly.
- AI-Powered and Fast: A service called Descript has really changed the game. It transcribes your audio, and you edit the recording by just editing the text. It’s an amazingly fast way to assemble an episode.
- The Pro Stuff: Tools like Adobe Audition or Hindenburg Journalist are the industry standard, offering advanced features for noise reduction and mixing. You probably don’t need them to start, but it’s good to know they exist.
The ‘Boring’ Stuff That Makes You Look Like a Pro
It’s the little details that separate the hobbies from the serious projects.
Show Notes and Transcripts
Show notes are the text that goes with your episode. At a minimum, write a short paragraph describing what it’s about and include links to anything you mentioned. Even better? Provide a full text transcript of your episode.
Honestly, a transcript is a triple-win. It makes your show accessible to the hearing-impaired, it makes every single word you say searchable on Google (hello, new listeners!), and it gives you a mountain of content you can repurpose for social media posts, blog articles, and newsletters.
Launch, Distribution, and Staying Out of Trouble
Getting your show on platforms like Apple Podcasts and Spotify is easier than you think. You upload your audio files and show info to a podcast host (like Libsyn, Buzzsprout, or Transistor.fm). They give you a special link called an RSS feed. You submit that ONE link to all the directories, and you’re done. From then on, every new episode you upload to your host automatically shows up everywhere.
Quick tip: Have 3-5 episodes ready to go on launch day. It gives new listeners something to binge and helps get them hooked.
The Legal Stuff You Can’t Ignore
Okay, deep breath. Everyone wants to skip this part, but please don’t. (And for the record, this isn’t official legal advice—for that, you need a real lawyer.)
- Music: You absolutely cannot use that cool pop song you like for your intro. Licensing commercial music is insanely expensive. Instead, use a royalty-free music service. Expect to pay around $15-$30 a month for a subscription to a platform like Epidemic Sound or Artlist. It’s worth every penny.
- Guest Releases: If you have guests, always, always have them sign a simple guest release form before you record. It’s a document saying they give you permission to use their voice and that you own the final recording. You can find basic templates on legal document websites, but having a lawyer review it once is a smart move. This little piece of paper can save you from a massive headache later.
- Disclosures: If you get a sponsor or use an affiliate link, you have to tell your audience. It’s required by law in many places (like the FTC in the US) and, more importantly, it builds trust.
Building a podcast that truly connects with people is a craft. It’s a mix of passion, technique, and a genuine desire to serve an audience. It takes more work than it looks, but the reward is building a community around your voice. Focus on helping a specific group of people, respect their time with good quality, and just keep showing up. Do that, and you’ll be well on your way.


