The Real Secret to Flawless Chrome Nails (It’s Not a Polish!)
I’ve been working with nails for a long time—long enough to see countless trends pop up, fade away, and sometimes, surprisingly, come back again. But honestly, few have had the staying power and pure ‘wow’ factor of the chrome finish. You’ve probably seen it everywhere online, often called the “glazed donut nail.” It’s that stunning, liquid-metal shine that seems to glow from within.
In this article
So many clients come into the salon with a photo, thinking it’s just a special bottle of polish. They’re always surprised when I pull out my kit and explain that it’s actually a whole technique. It’s a multi-step process involving specific gel products and an ultra-fine, magical-looking powder.
And let me tell you, getting that flawless, mirror-like surface took some practice. I’ll never forget the first time I tried it and used a regular, tacky top coat by mistake. I ended up with a clumpy, glittery disaster that I had to completely file off. That’s when I learned that the term ‘no-wipe’ isn’t a suggestion—it’s the golden rule! This guide is built on all those lessons, so you can skip the frustration and get straight to the good part.

Let’s Geek Out: How This Actually Works
To get a great result, it really helps to understand what’s happening on a microscopic level. It’s not magic; it’s just a cool mix of chemistry and physics. The whole trick relies on creating a perfectly smooth, non-porous surface for a special powder to bond with.
That powder is the real star of the show. And no, it’s not glitter. High-quality chrome powder is made of microscopic flakes of metal or glass coated in metal. These flakes are incredibly thin and flat. When you rub them onto the right surface, they flatten out and tile themselves together, kind of like fish scales. This creates a continuous, smooth layer that reflects light perfectly, giving you that incredible mirror shine. If the particles were chunky or round like in a shimmer powder, the light would scatter, and you’d just get sparkle instead of sheen.
The chemistry part comes from the gel polish—specifically, the no-wipe top coat. When you cure a standard gel top coat, a sticky film forms on top. It’s called the inhibition layer. It’s basically a tiny bit of uncured gel that oxygen in the air kept from fully hardening. This layer is a nightmare for chrome. If you rub powder on it, you just get a clumpy mess.
A “no-wipe” top coat, however, has a different chemical makeup that allows it to cure completely hard and slick, with no sticky residue. This is the perfect canvas. It’s just grippy enough for the tiny chrome particles to grab onto and burnish into, but smooth enough that they lay flat. The timing of the cure is everything, though. Under-cure it, and it’s still a bit tacky. Over-cure it, and it becomes too glassy, and the powder won’t stick at all. We’ll get into that timing sweet spot later.
Your Chrome Nail Toolkit: Getting the Right Stuff
Using the right tools isn’t optional here; it’s the difference between a professional finish and a frustrating afternoon. Investing in quality supplies will save you time and give you a result you’re actually happy with. Here’s what you’ll need.
The DIY Starter Kit Shopping List
You can get a solid beginner setup without breaking the bank. All in, you’re probably looking at around $75 to $120 for everything you need to get started.
- A Decent LED Lamp (48w or higher): This is non-negotiable. An underpowered lamp is the #1 cause of gel that peels or, worse, potential skin allergies. For at-home use, brands like SUNUV on Amazon are popular and reliable, usually costing between $25 and $50.
- Nail Files and Buffers: Grab a 180-grit file for shaping and a 100/180-grit buffer for smoothing. You’ll also want a gentle, fine-grit sponge buffer (around 220/280 grit) for the final prep stage.
- Cuticle Tools: A metal cuticle pusher and a pair of nippers are essential for clean prep.
- A Clean Dust Brush: Any firm, clean brush to sweep away dust. A fluffy makeup brush you dedicate to nails works great.
- Powder Applicator: I personally love a little silicone tool because it doesn’t waste powder. But the disposable eyeshadow sponges that come with most chrome powders work just fine. In a pinch, your gloved fingertip is actually one of the best tools for the job!
Gels and Chemicals to Grab
- Nail Dehydrator & Primer: These are your adhesion insurance. A dehydrator removes oil, and an acid-free primer (if you’re prone to lifting) acts like double-sided tape for your base coat.
- Gel Base Coat: The foundation for everything.
- Gel Color: Black is the classic choice for a true silver mirror. A sheer milky white or pale pink will give you that trendy “glazed” look.
- No-Wipe Gel Top Coat: The most important player! It MUST say “no-wipe” on the bottle. I recommend having a dedicated bottle just for chrome to avoid getting any glitter or debris in it. You can find good ones for $10-$20 from brands at Sally Beauty or online.
- Chrome Powder: Quality matters here. Cheaper powders can be gritty. Pro-level brands like Daily Charme or others on specialty nail sites offer incredibly fine powders for about $8-$15 a pot, which will last you forever.

The Step-by-Step Method for a Perfect Finish
Alright, let’s do this. Plan for about 1.5 to 2 hours for your first full set—don’t rush! We’ll work on one hand at a time. The key is to be clean, precise, and patient.
Quick Tip for Beginners: Feeling nervous? Practice on a single press-on nail first! It’s a fantastic way to nail the technique without the pressure of messing up your own hand.
Step 1: Flawless Prep (15-20 mins)
The secret to a manicure that lasts 3+ weeks is all in the prep. Seriously.
- Shape & Prep: Shape your nails with a 180-grit file. Gently push back your cuticles and only nip any non-living tissue.
- Buff the Surface: Lightly buff the shine off your entire nail plate with a fine-grit buffer. You’re just creating a little texture for the gel to grip.
- Cleanse Like a Pro: Scrub the nail plate with a lint-free wipe soaked in 99% isopropyl alcohol. This removes every trace of dust and oil.
- Dehydrate and Prime: Swipe on a coat of dehydrator. If you use primer, apply it sparingly just to the natural nail.
Step 2: Building Your Base Color (20-30 mins)
- Apply Base Coat: Brush on a thin, even layer of gel base coat. Be sure to “cap the free edge” by running the brush along the very tip of the nail to seal it. Cure in your lamp for 60 seconds.
- Apply Gel Color: Apply your chosen gel color in a thin coat (thick coats cure poorly). Cap the free edge again. Cure for 30-60 seconds, depending on the color’s pigment (darker colors need more time).
- Apply Second Coat: Add a second thin coat for full coverage, cap the edge, and cure again.
Step 3: The All-Important No-Wipe Top Coat
Pay attention, because this is the step that makes or breaks the whole look.
- Apply No-Wipe Top Coat: Apply a thin, smooth layer. Make sure it’s perfect, as any lumps will show. Cap the free edge.
- The Decisive Cure: This is where you need to know your lamp. The goal is a “flash cure.” For a typical 48w lamp, the sweet spot is often around 30 seconds. A full 60-second cure can make the surface too hard for the powder to stick.
Heads up! Find your lamp’s sweet spot: Grab some plastic nail swatch sticks. Paint them and do this top coat step, but cure one for 20s, one for 30s, and one for 40s. Test the powder on each one to see which gives you the best mirror effect. Write that time down—it’s your magic number!
Step 4: Making the Magic Happen (Burnishing the Powder)
Work quickly while the nail is still a little warm from the lamp.
- Apply the Powder: Dip your applicator into the powder—you need a tiny amount. A little goes a very long way.
- Burnish, Don’t Scrub: Gently but firmly rub the powder onto the nail. You’ll see it transform from dusty to a solid mirror right before your eyes. Get the sides and tip really well.
- Check Your Work: It should look like a flawless sheet of metal. If you see a speck or a dull patch, you can often fix it by burnishing a tiny bit more powder onto that spot.
Step 5: Sealing for a Long-Lasting Finish
Unsealed chrome is prone to chipping. This two-step sealing process is my go-to for making it last.
- Dust It Off: Use a very soft, clean brush to gently dust away all loose powder from the nail and skin.
- The First Seal (The Pro Trick): Apply a layer of gel base coat. Yes, base coat! It’s more flexible than a top coat and sticks to the chrome surface much better, preventing chips. Cap that free edge thoroughly and cure for a full 60 seconds.
- The Final Top Coat: Now apply your no-wipe top coat over the cured base coat for that hard, scratch-resistant shine. Cap the free edge one last time and cure for 60 seconds.
- Finishing Touch: Admire your work! Then, apply a good cuticle oil to rehydrate the skin around your nails.
Troubleshooting the Common Hiccups
Even pros run into issues. Here are the most common ones and how to fix them.
- Problem: My finish is patchy or glittery, not a mirror.
Cause: Almost always an issue with the top coat cure. It was either still tacky (under-cured) or you accidentally used a regular top coat. Dust on the nail is another culprit.
Solution: Wipe the nail with alcohol to remove the messed-up chrome. Gently buff the surface, then re-apply your no-wipe top coat and cure it again, adjusting your time. - Problem: The powder won’t stick at all.
Cause: You over-cured the no-wipe top coat. The surface is too hard and glassy.
Solution: Easy fix. Lightly buff the shiny top coat with a fine buffer, wipe with alcohol, re-apply the no-wipe top coat, and cure for a shorter time. The powder should stick perfectly now. - Problem: My chrome is chipping at the tips after a few days.
Cause: The free edge wasn’t capped properly during the sealing steps.
Solution: This one is all about prevention. You have to be super mindful of running your brush along the nail’s edge with every single sealing coat—the base coat seal and the final top coat.
Playing with Color and Style
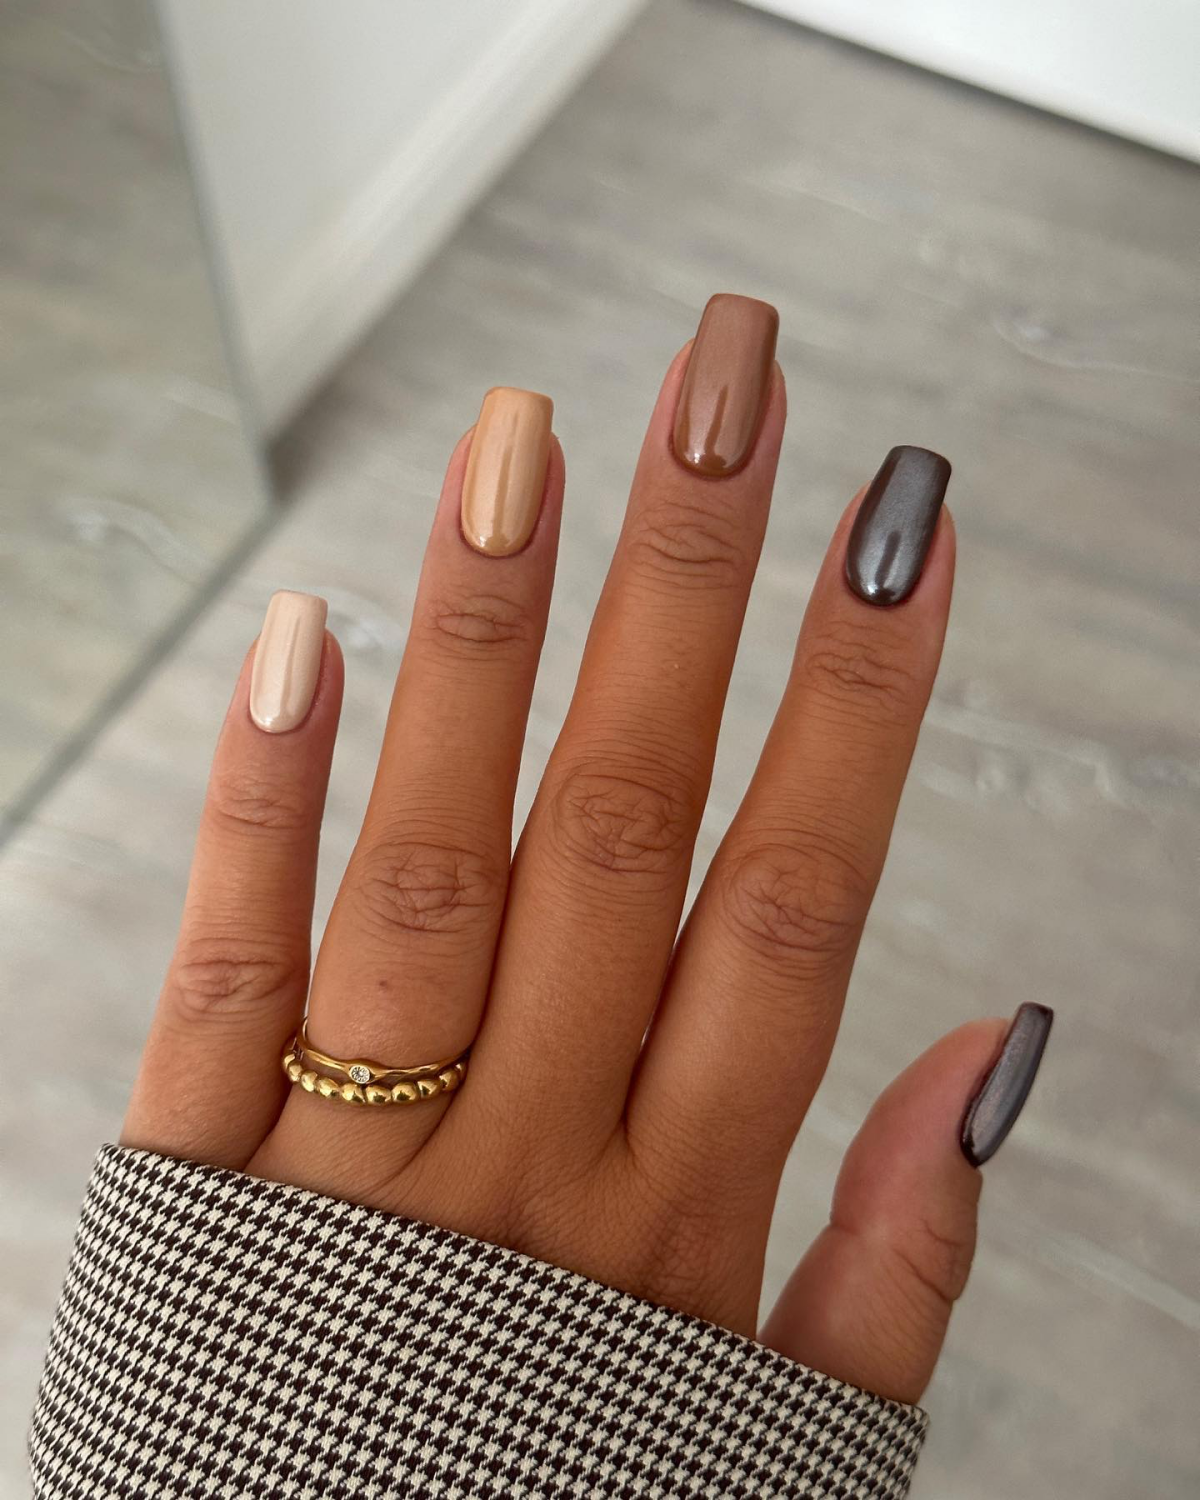
Once you’ve got the basic technique down, you can have so much fun with this. Changing the base color completely changes the final look. For example:
- Black Base + Silver Chrome = The classic, true silver mirror.
- Sheer White Base + White Chrome = The famous “glazed donut” effect.
- Hot Pink Base + Silver Chrome = A futuristic, metallic Barbie pink.
- Dark Blue Base + Silver Chrome = A deep, metallic sapphire look.
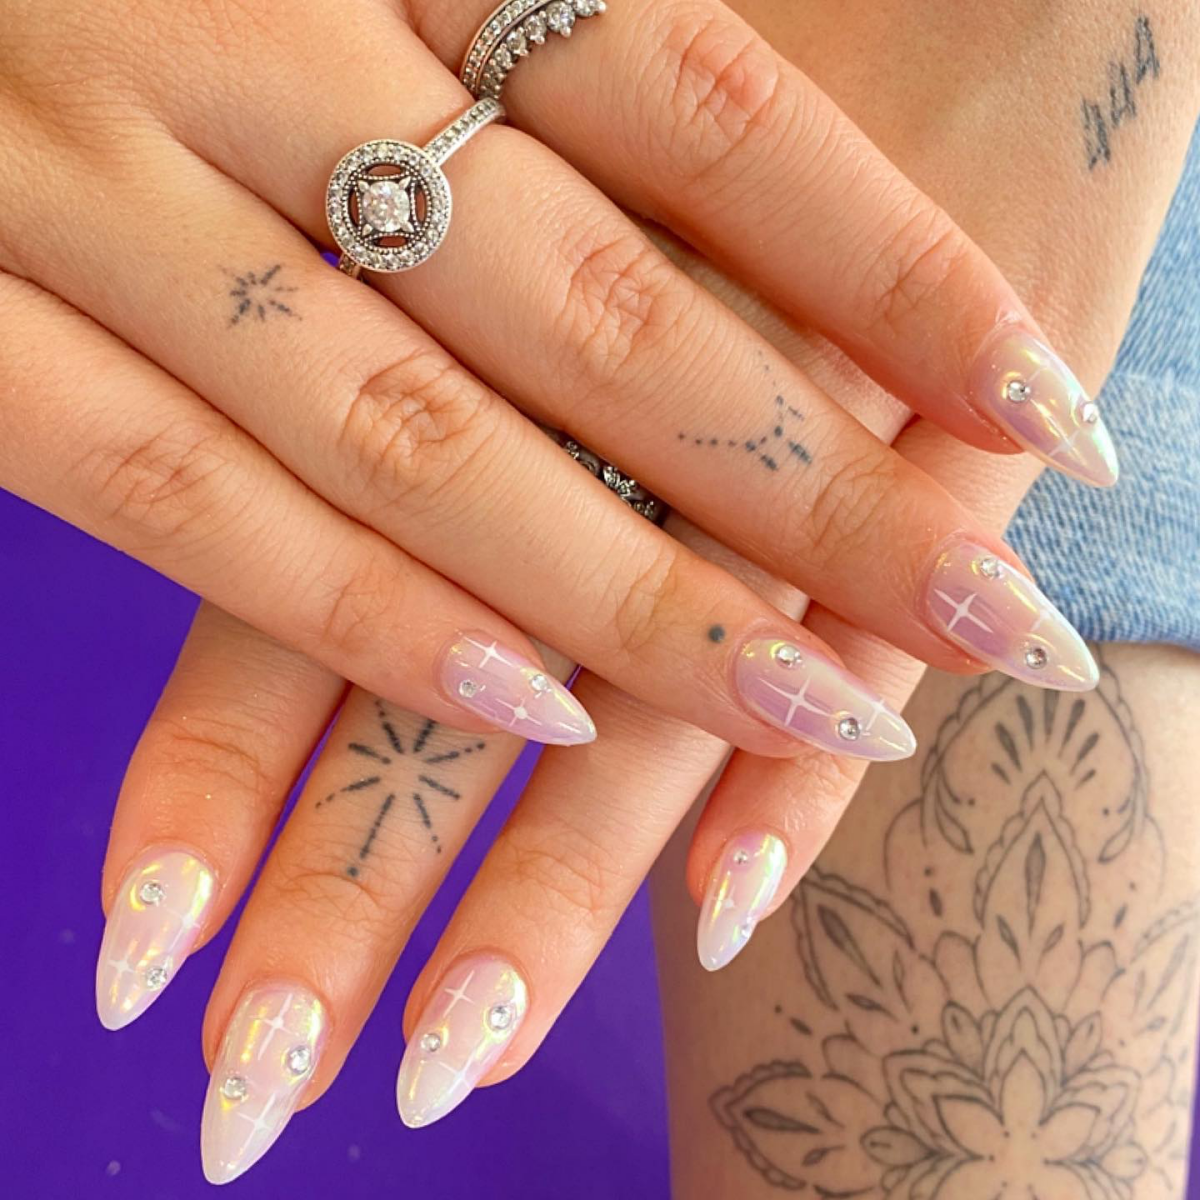
Experimentation is everything! The possibilities are endless. Around the world, you’ll see nail artists using chrome in incredible ways, from subtle ombré fades to bold, graphic designs. It’s a testament to how versatile one little pot of powder can be.
A Quick Word on Safety
Whether you’re doing this at home or in a salon, safety should always come first.
Gel allergies are a real and growing problem, often caused by uncured gel touching the skin repeatedly. That’s why working cleanly, avoiding skin contact, and using a good lamp for a full cure are so important. Also, that chrome powder is an ultra-fine particle, so it’s a good idea to wear a simple dust mask while you’re working with it and cleaning up.

And please, never, ever peel or pry off your gel manicure! You’ll tear off layers of your natural nail with it. The correct way is to file off the top coat and soak with an acetone-based remover until the gel softens enough to be gently pushed off. Taking care of your nails is just as important as making them look amazing.
Galerie d’inspiration

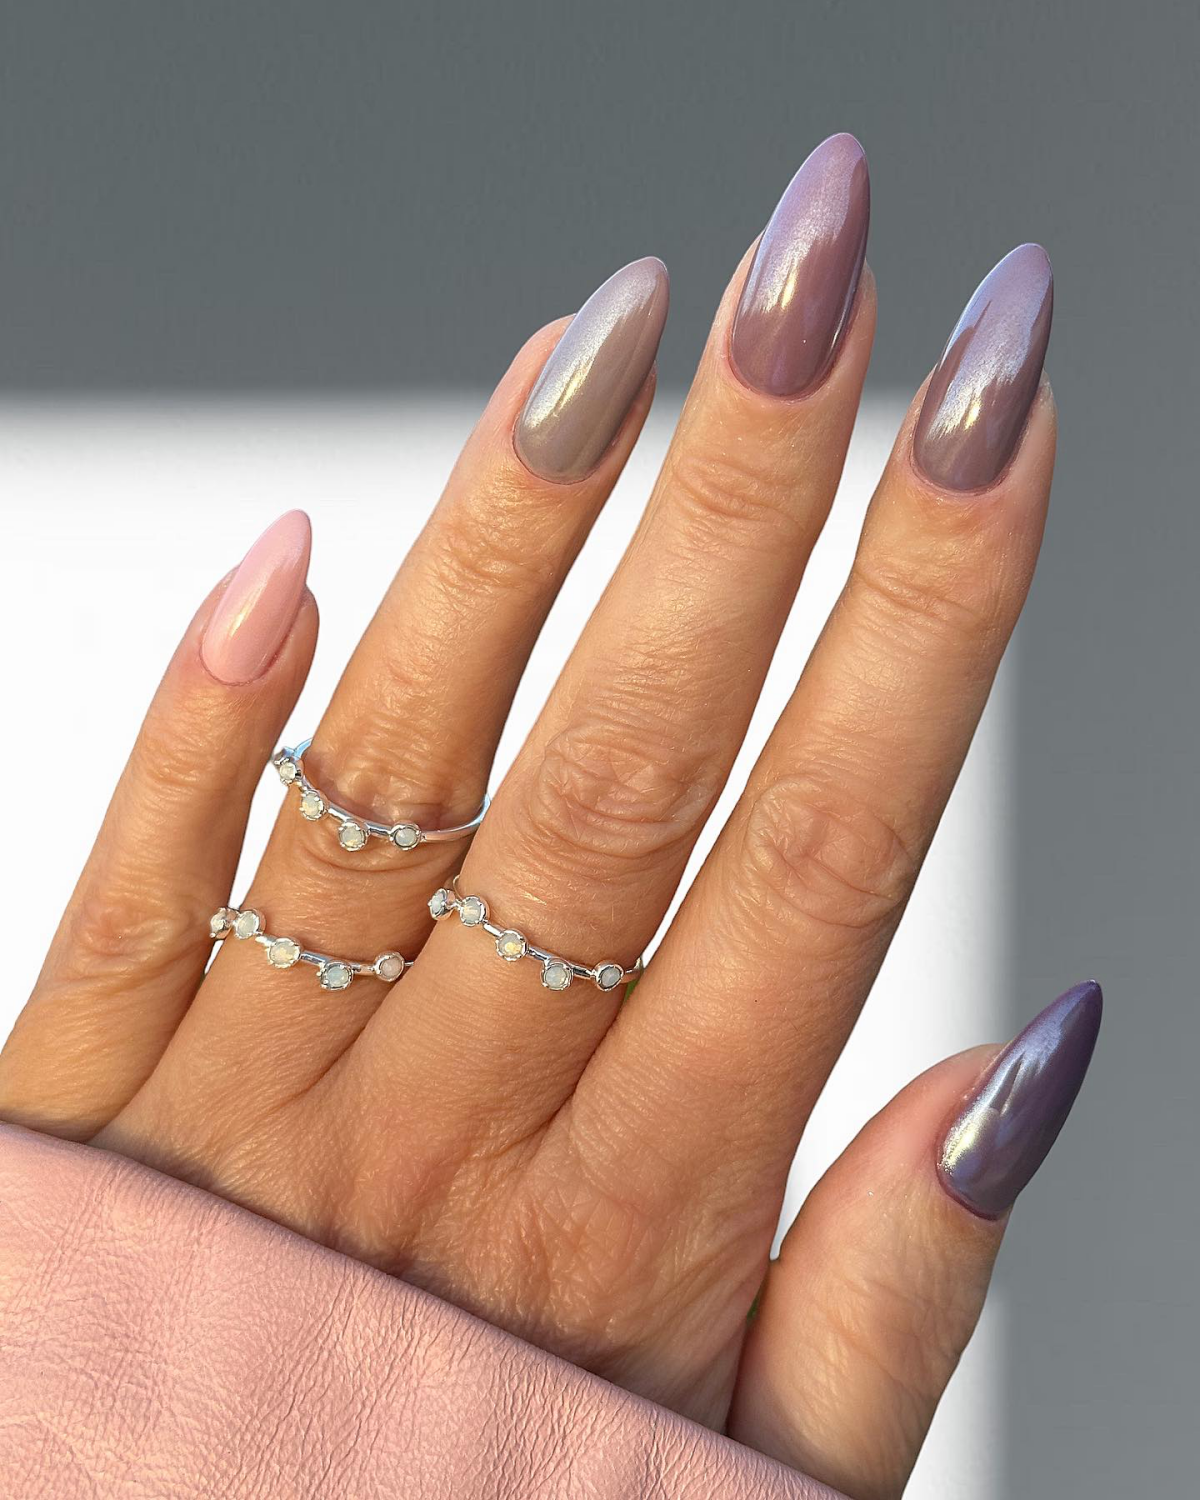
Classic Silver Chrome: This is your go-to for that true liquid-metal, mirror-like finish. When applied over a black gel base, it delivers an intense, flawless reflection reminiscent of polished sterling silver. It’s bold and futuristic.
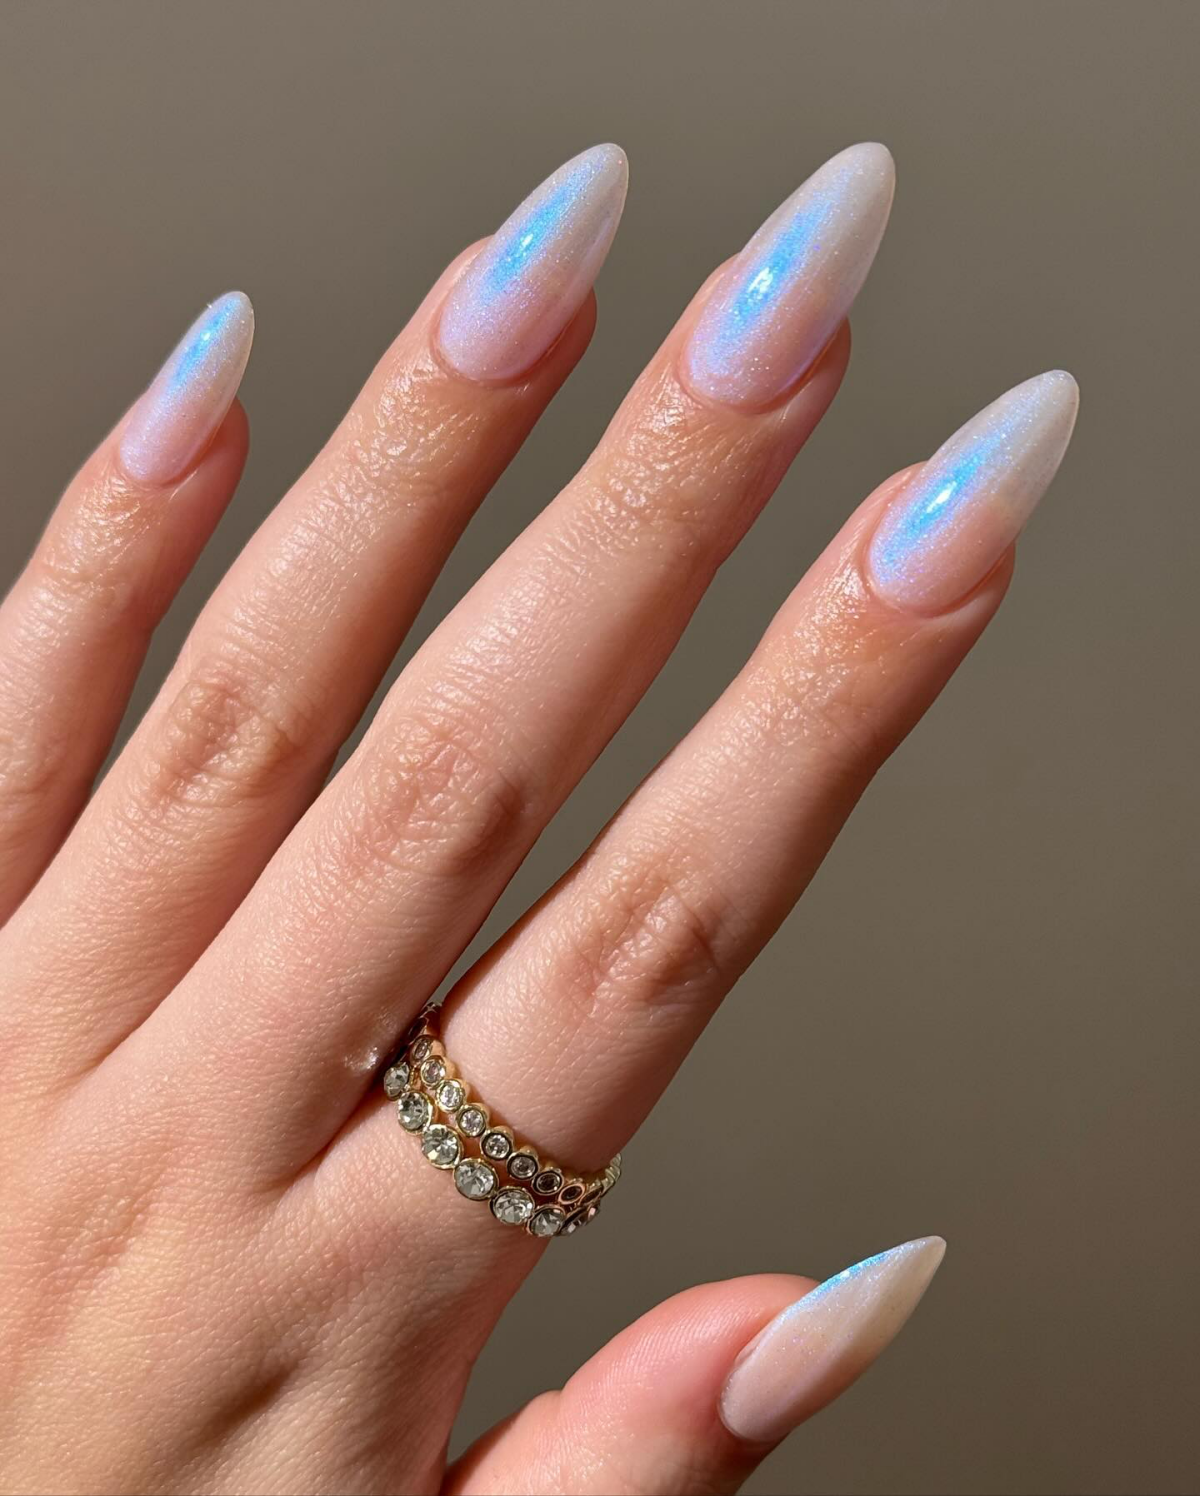
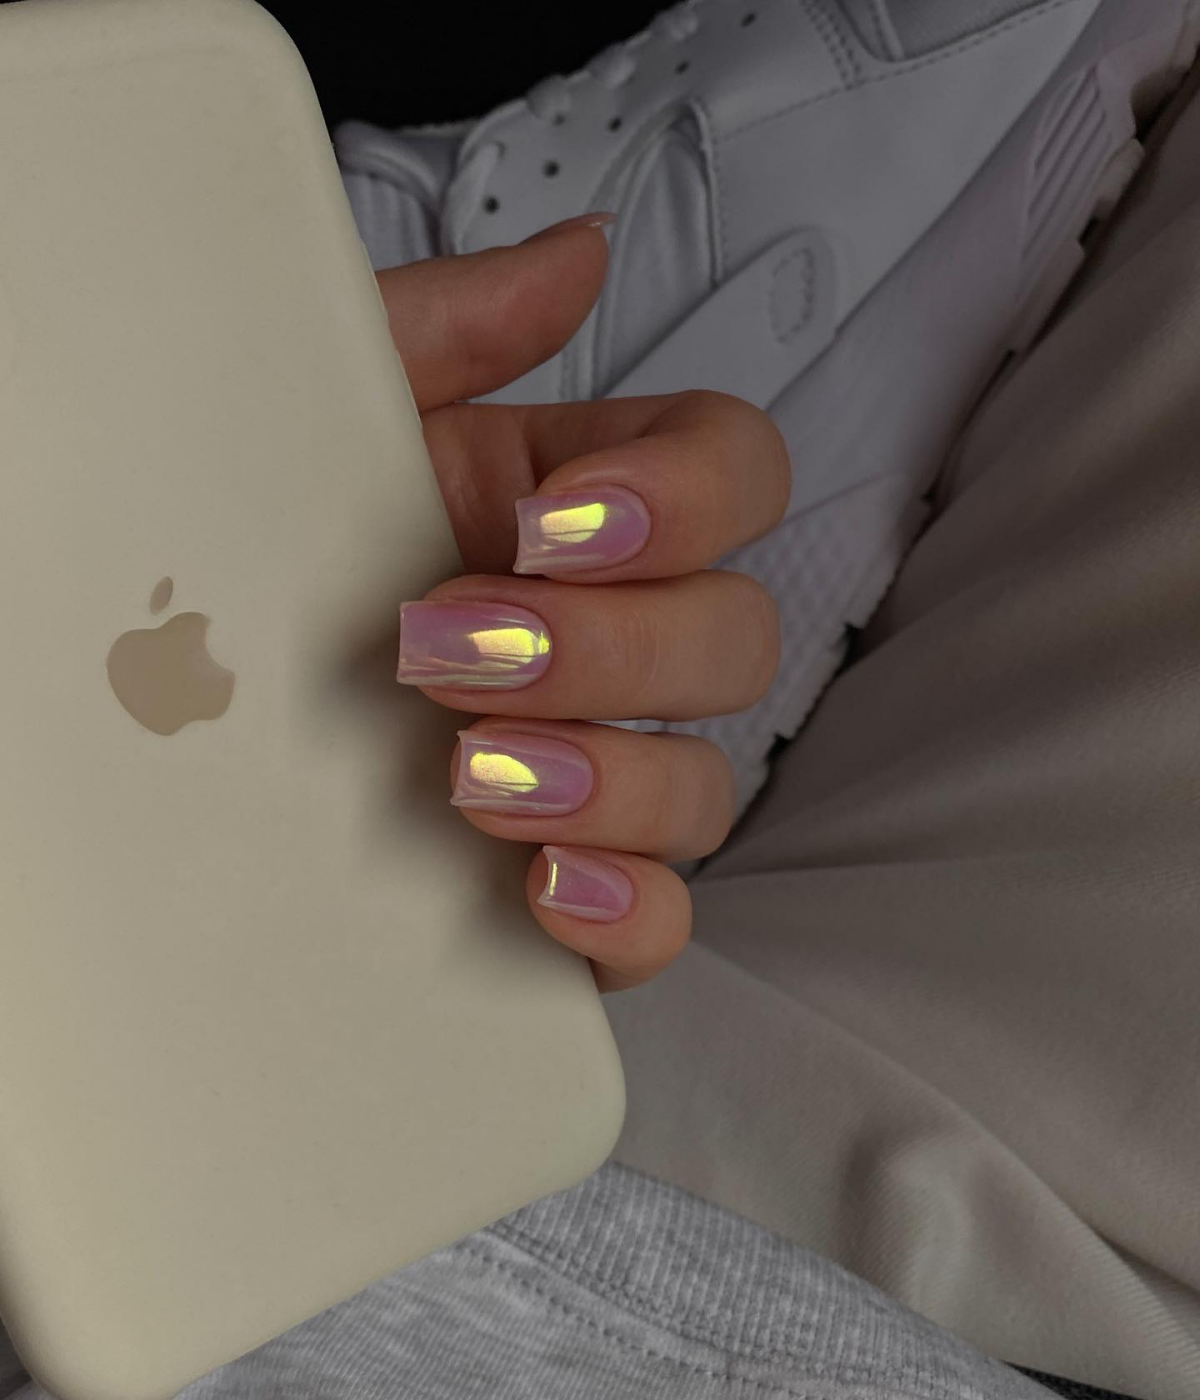
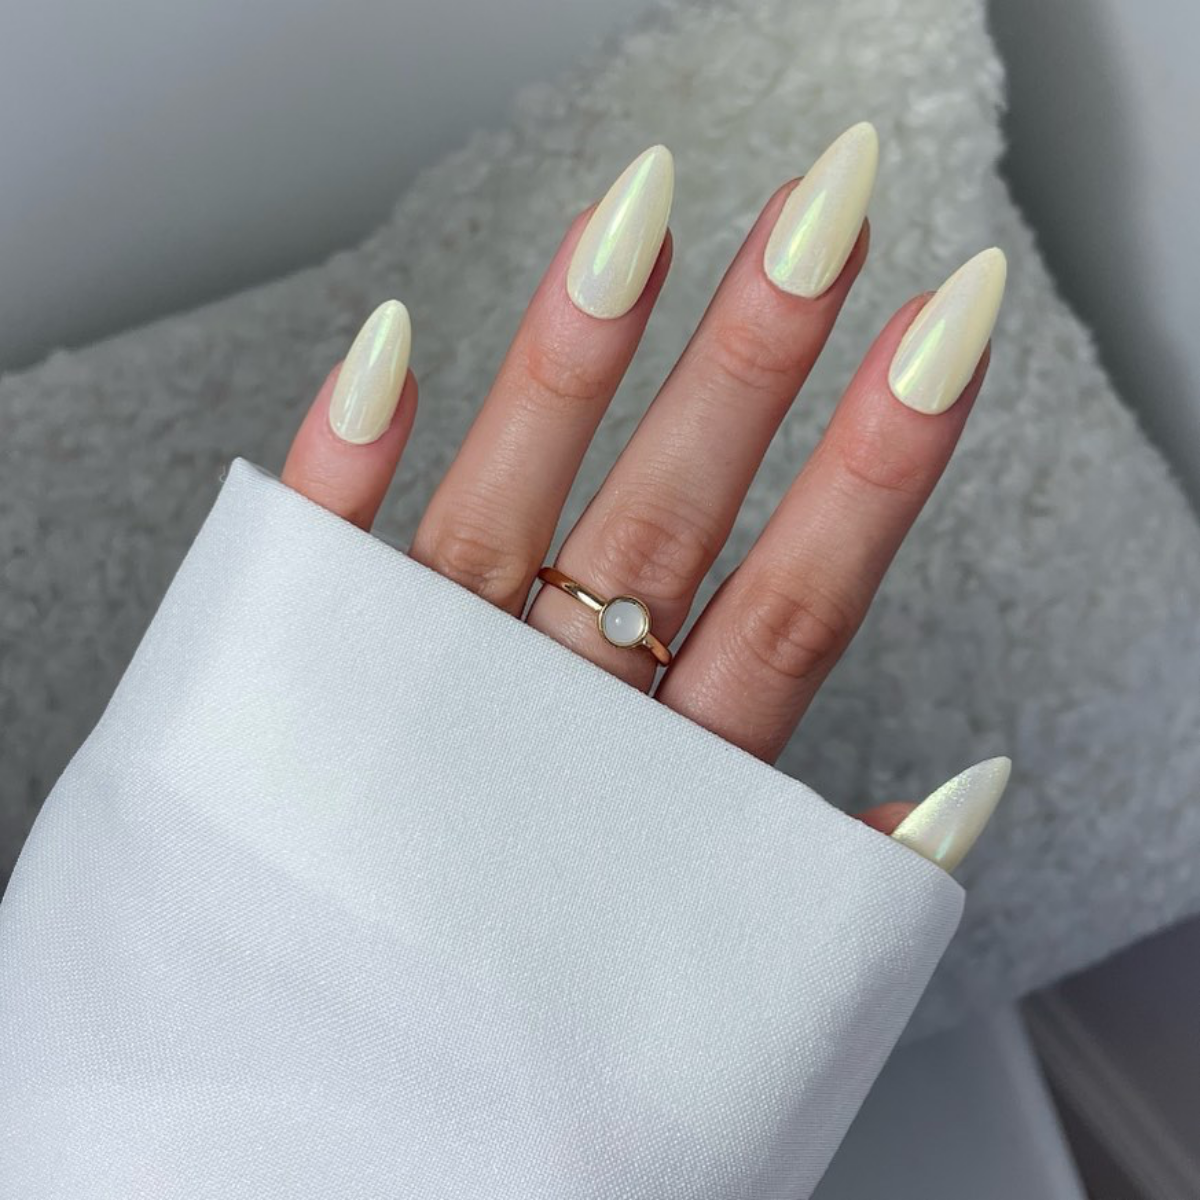
Pearl/Opal Chrome: This is the secret to the
Help! My chrome finish looks more like fine glitter than a smooth mirror. What went wrong?
This is a super common frustration, and it usually comes down to timing. The no-wipe top coat needs to be cured *just right*. If it’s under-cured, it remains slightly tacky, and the powder clumps. If it’s over-cured, the surface becomes too hard and glassy for the powder to adhere properly. The sweet spot is often 30-60 seconds in a quality LED lamp, but experiment with yours. Start with less time and add 10-second increments. Another culprit? Using too much powder. A tiny amount is all you need—gently burnish it in, don’t just pat it on!

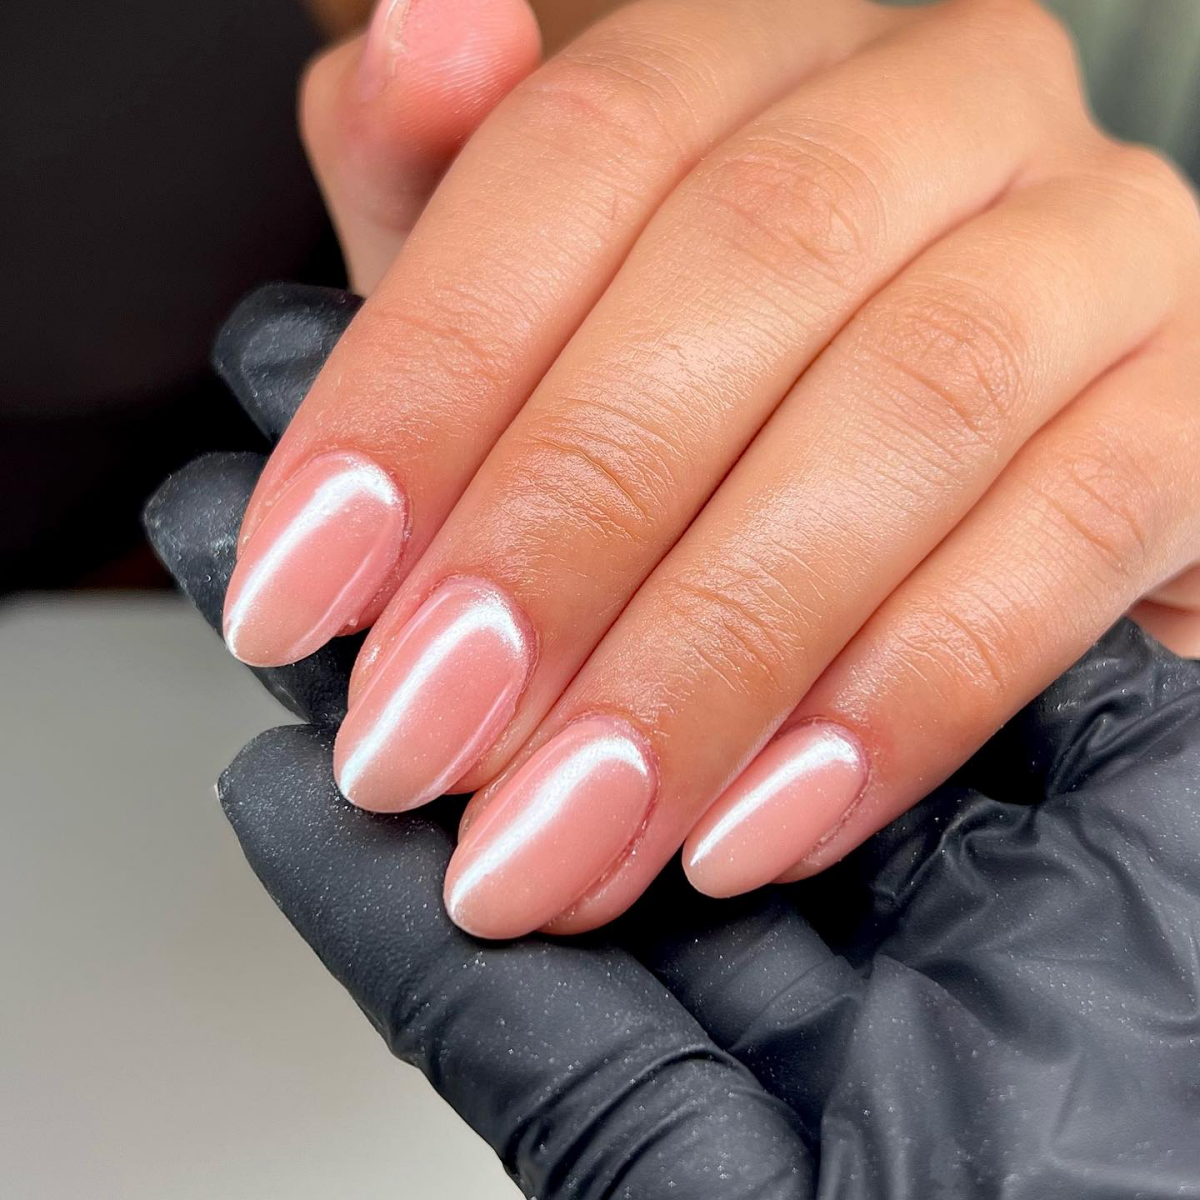
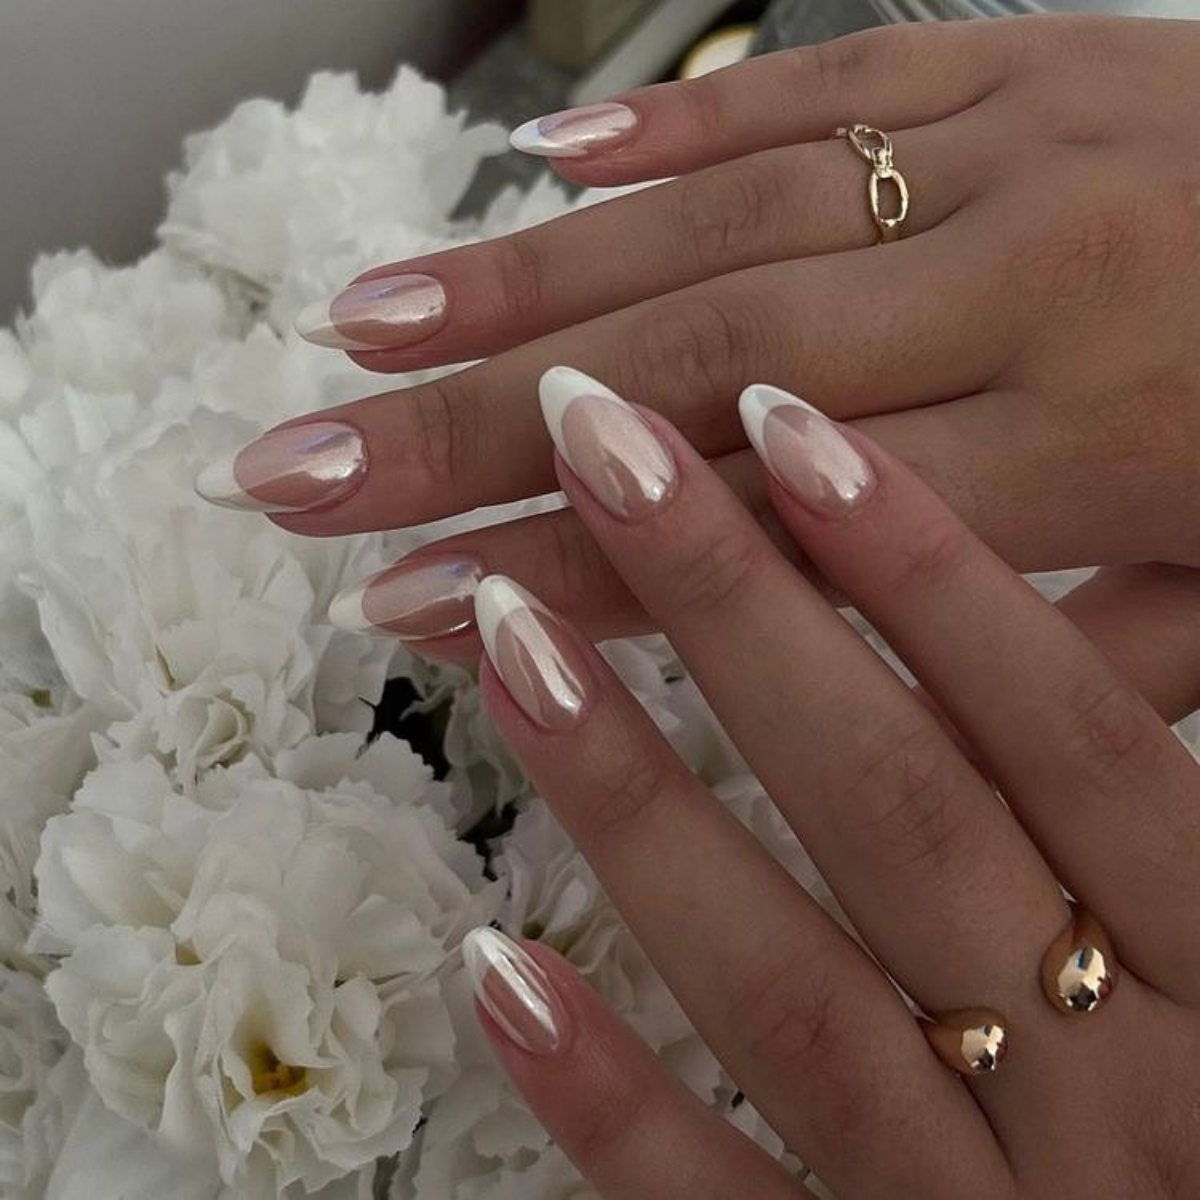
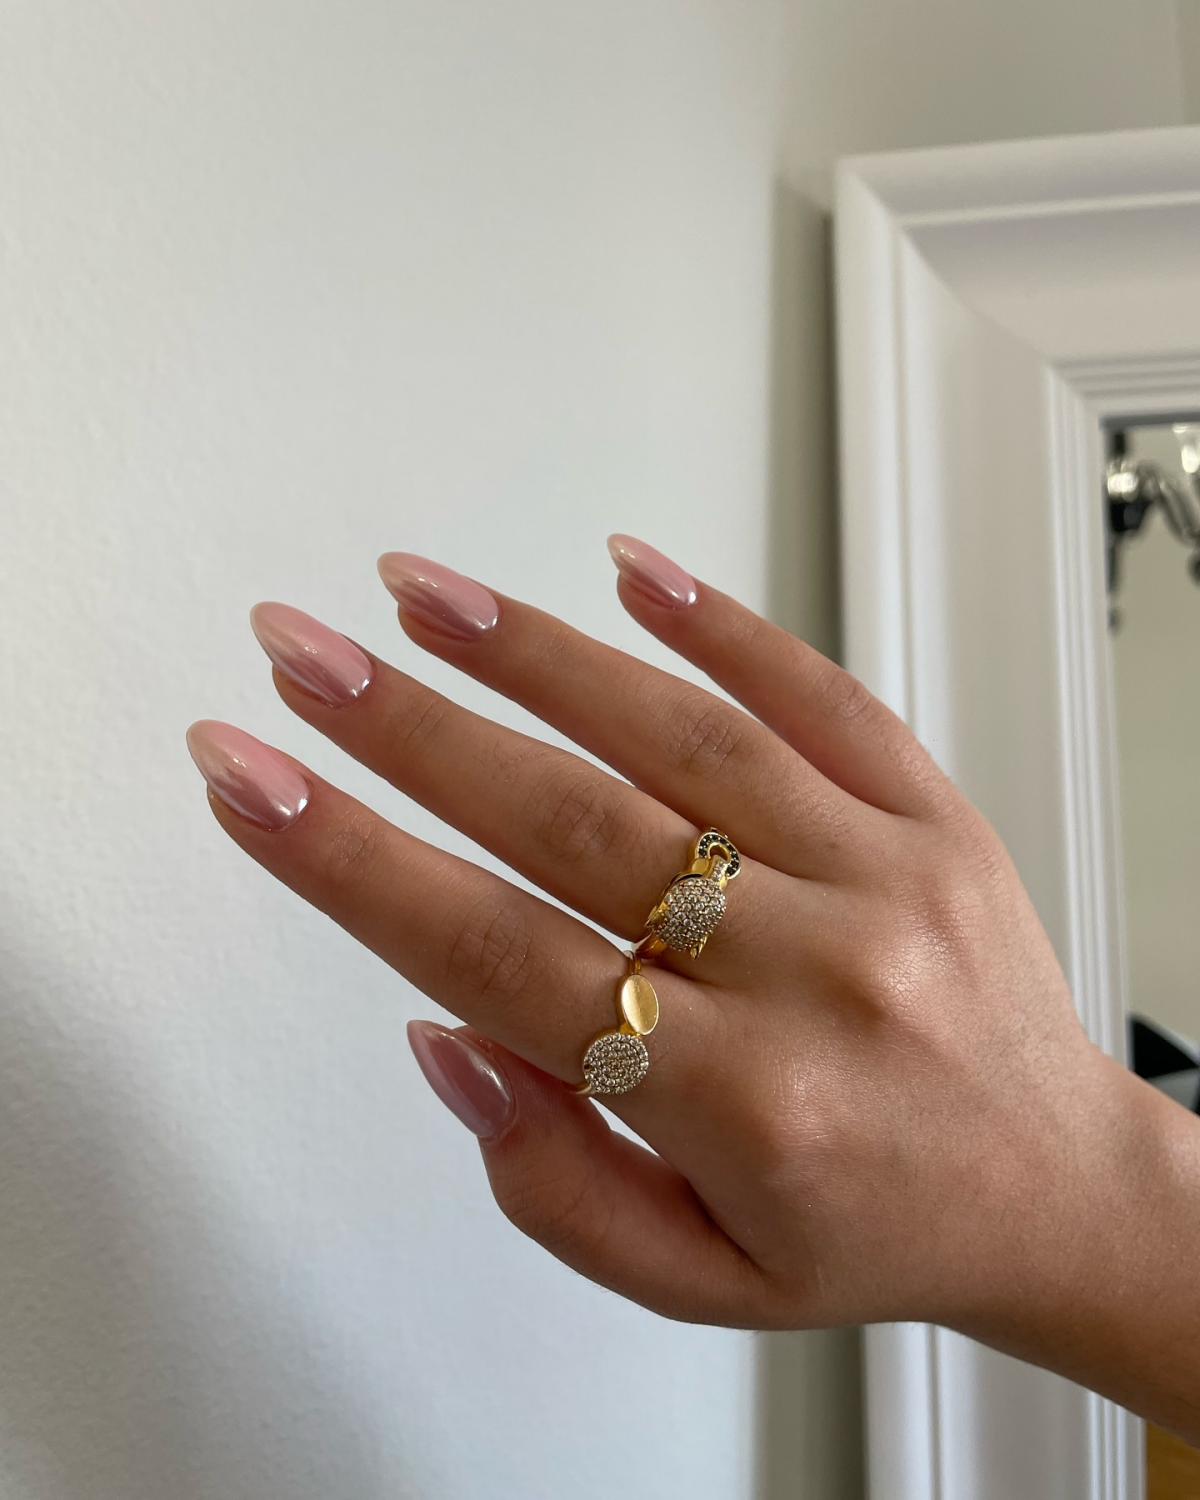
The base color is everything: The shade you apply *before* the powder isn’t just a background; it’s a filter that completely transforms the final effect. A jet-black base will give you that stark, true-mirror look. A deep navy or burgundy creates a rich, oil-slick dimension. For the popular soft-focus glazed effect, stick to sheer whites, milky pinks, or nude tones.
- Maximizes adhesion by applying a gel bonder or primer before your base coat.
- Ensures full coverage by


