Your Ultimate Guide to the Perfect Dutch Braid (That Actually Lasts)
I get it. You see those gorgeous, bold braids that pop right off the head and think, “There’s no way I can do that.” It looks complicated, your arms get tired just thinking about it, and your first attempt probably ended in a lumpy mess. But I’m here to tell you that the Dutch braid isn’t magic—it’s mechanics.
In this article
Honestly, once you understand the “why” behind each step, it all clicks into place. This isn’t about having nimble fingers; it’s about solid prep work and understanding one simple rule. We’re going to break it down, step-by-step, so you can finally nail this look, whether you’re aiming for a sleek single braid or those classic double braids for a festival.
So, Why Does a Dutch Braid ‘Pop’?
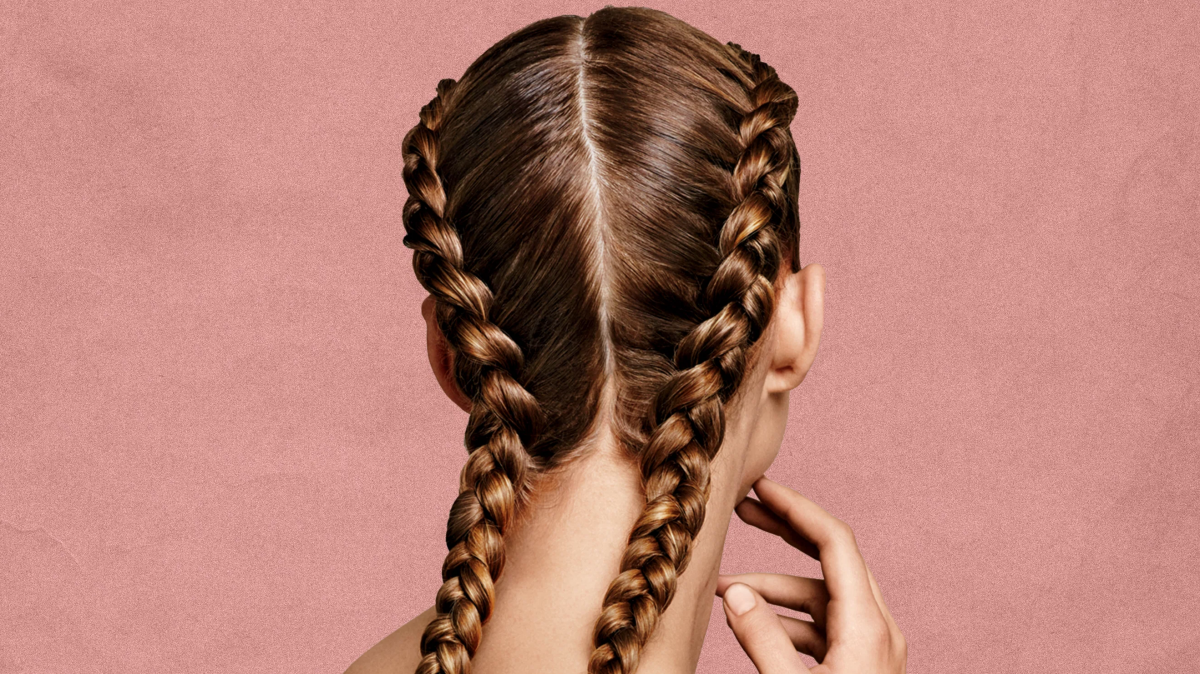
Let’s get right to the core of it. The Dutch braid is often called an “inside-out” or “inverted” braid for a reason. It has a close cousin, the French braid, where you cross the side strands over the middle strand. That’s what weaves the hair flat against the scalp.
A Dutch braid does the exact opposite.
You cross the side strands under the middle strand. That’s it. That one tiny change in direction is what forces the plait to sit on top of the hair, giving it that stunning, 3D effect that stands out. It’s all about going under instead of over.
The Real Secret: Tension and Hair Type
The key to a clean braid that doesn’t fall apart in an hour is consistent tension. And no, I don’t mean a painful, scalp-pulling headache. Think of it more like knitting—you need a firm, steady tautness to keep every stitch locked in. Too loose, and it unravels; too tight, and it puckers (and hurts!).
By the way, your hair’s natural texture plays a massive role in this. Knowing what you’re working with from the start is half the battle:
- Fine, Silky Hair: Okay, let’s be real, this is the toughest type to braid. The strands are so smooth they just want to slide apart. For you, product isn’t optional—it’s essential for getting some grip. A good texturizing powder or even a bit of dry shampoo can be a game-changer.
- Coarse or Textured Hair: You’ve got a built-in advantage! The natural texture of your hair creates friction, helping the strands lock together easily. You can often get away with less product and still have a super secure braid.
- Curly Hair: The natural bends in curly hair also provide fantastic grip. The main challenge here is managing frizz. Make sure your hair is well-moisturized with a good curl definer before you start to keep things smooth.
Getting Ready: This is 80% of the Work
In a professional setting, the actual braiding is the quickest part of the job. The real work—the stuff that guarantees a polished, lasting style—happens before you even think about making the first cross. Rushing your prep is the number one mistake people make at home.
The Perfect Starting Canvas
You’ll hear a lot of debate about braiding on clean versus slightly dirty hair. Here’s the deal: Day-two hair is often ideal because your natural oils provide a bit of grit and hold. However, if your hair gets super oily, it can become too slippery.
Freshly washed, bone-dry hair is fine, but it can be fluffy and prone to flyaways. If you’re starting with clean hair, you’ll need to add a product to fake that day-two texture.
Heads up! Never, ever braid on wet hair. It’s in its most fragile state and can easily stretch and break under tension. Plus, trapping moisture against your scalp for hours is a bad idea for scalp health. This is a fundamental rule for a reason.

Your Braid-Building Starter Kit
You don’t need a ton of fancy equipment. Getting the right basics will make your life so much easier and won’t break the bank. You can build a solid starter kit for under $20.
- A Rat-Tail Comb: This is non-negotiable. The long, pointy tail is for creating those perfectly straight, clean parts. You can find one for $2-$5 at Sally Beauty or on Amazon.
- Sectioning Clips: To keep loose hair out of your way. A pack of simple duckbill or alligator clips costs around $5. This is key to preventing stray hairs from getting pulled into your braid.
- The Right Product: This is for grip and taming flyaways. For incredible, all-day hold, a tub of Got2b Glued Spiking Gel is about $6 and works wonders. For a softer, more matte finish, a pomade like Old Spice’s Forge Molding Putty is around $8.
- Small, Clear Elastics: For a clean finish. To avoid breaking your hair when you take them out, just snip them carefully with a small pair of scissors instead of trying to pull them off.
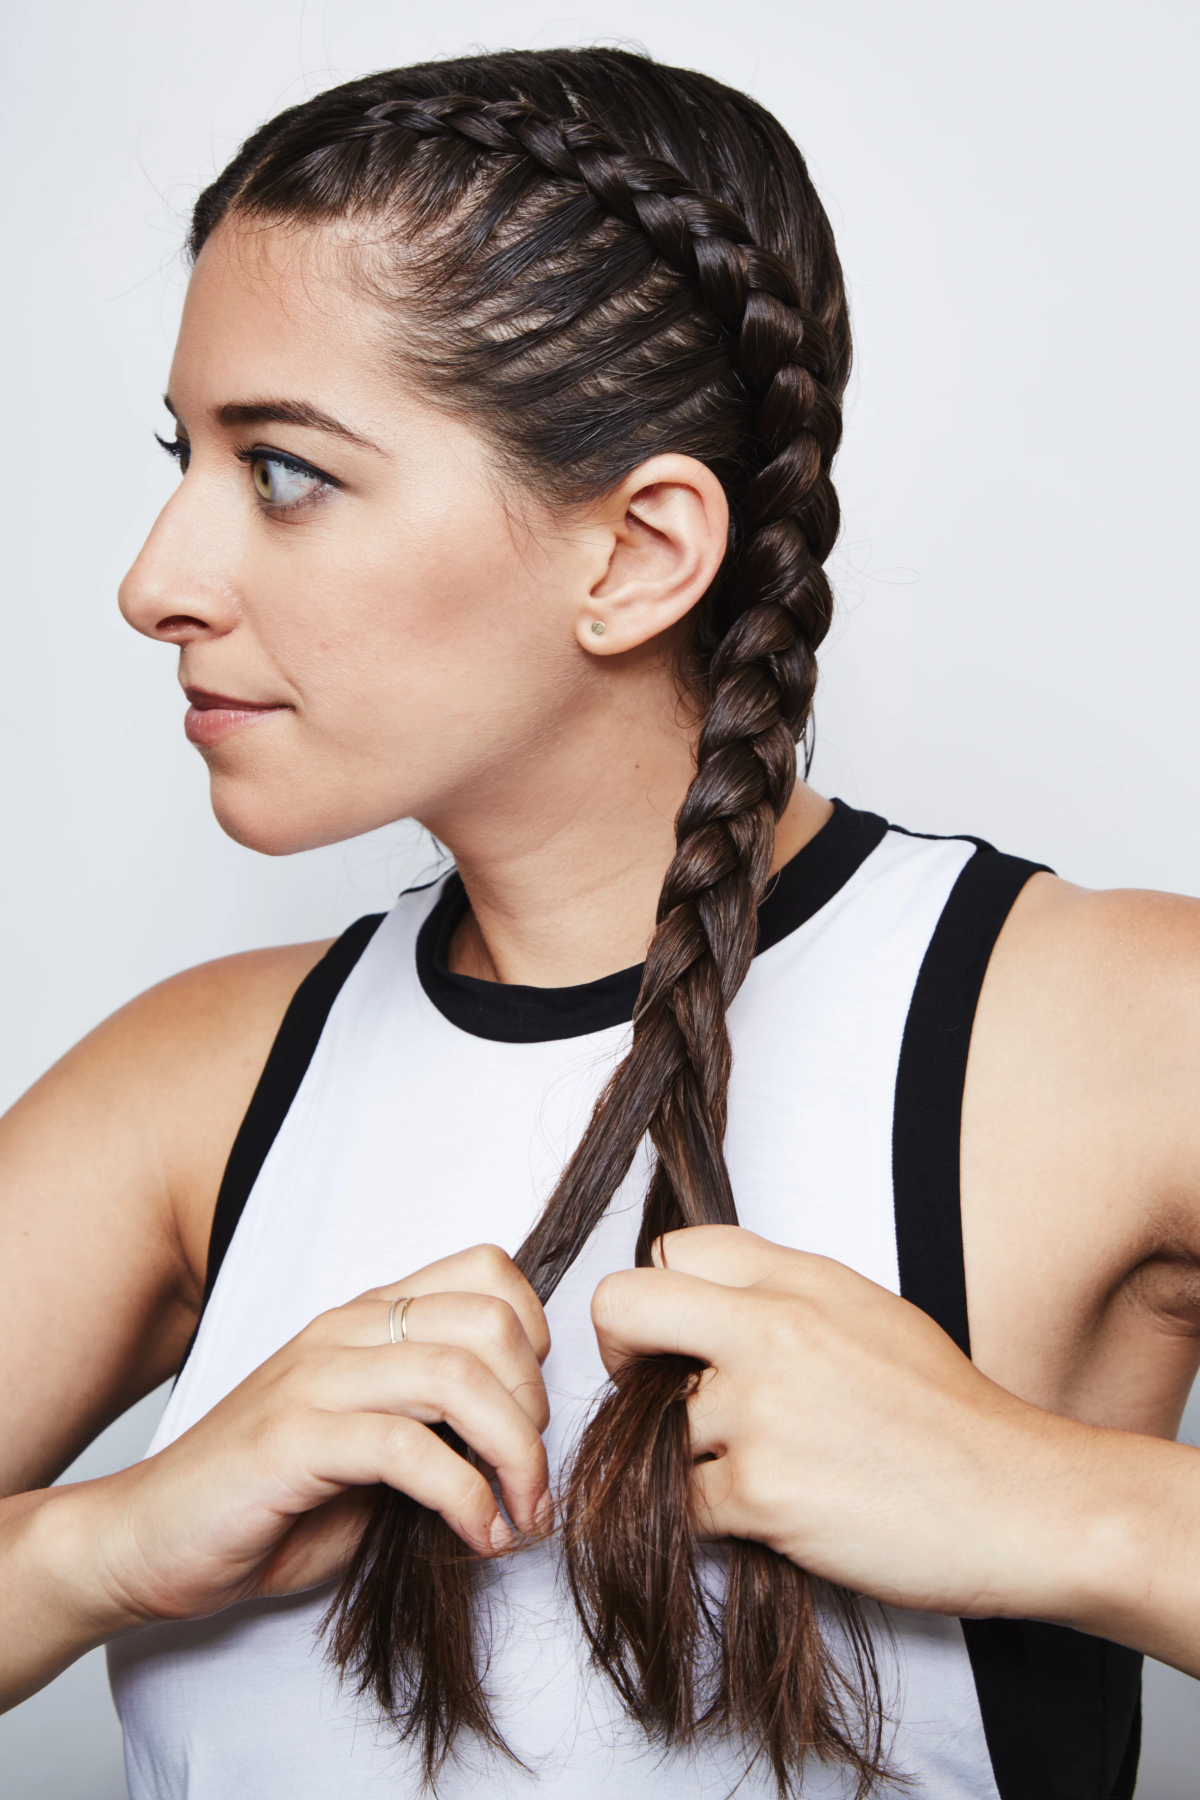
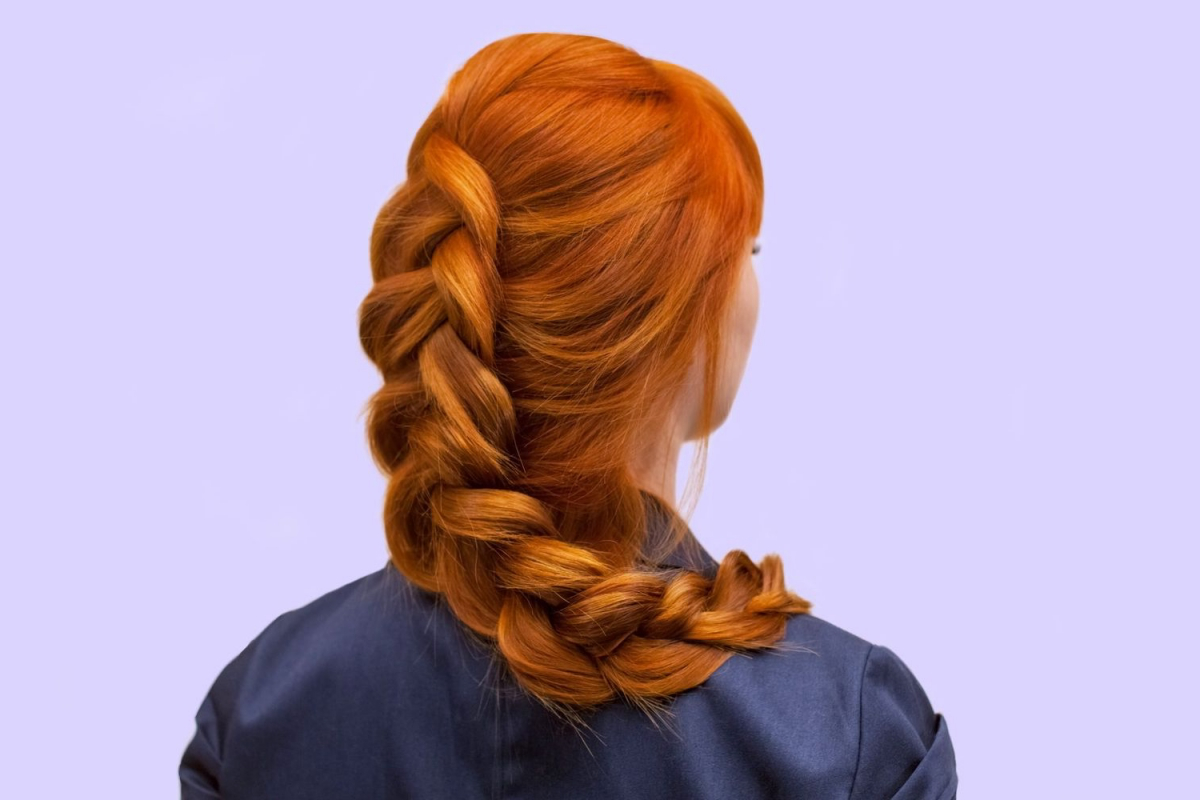
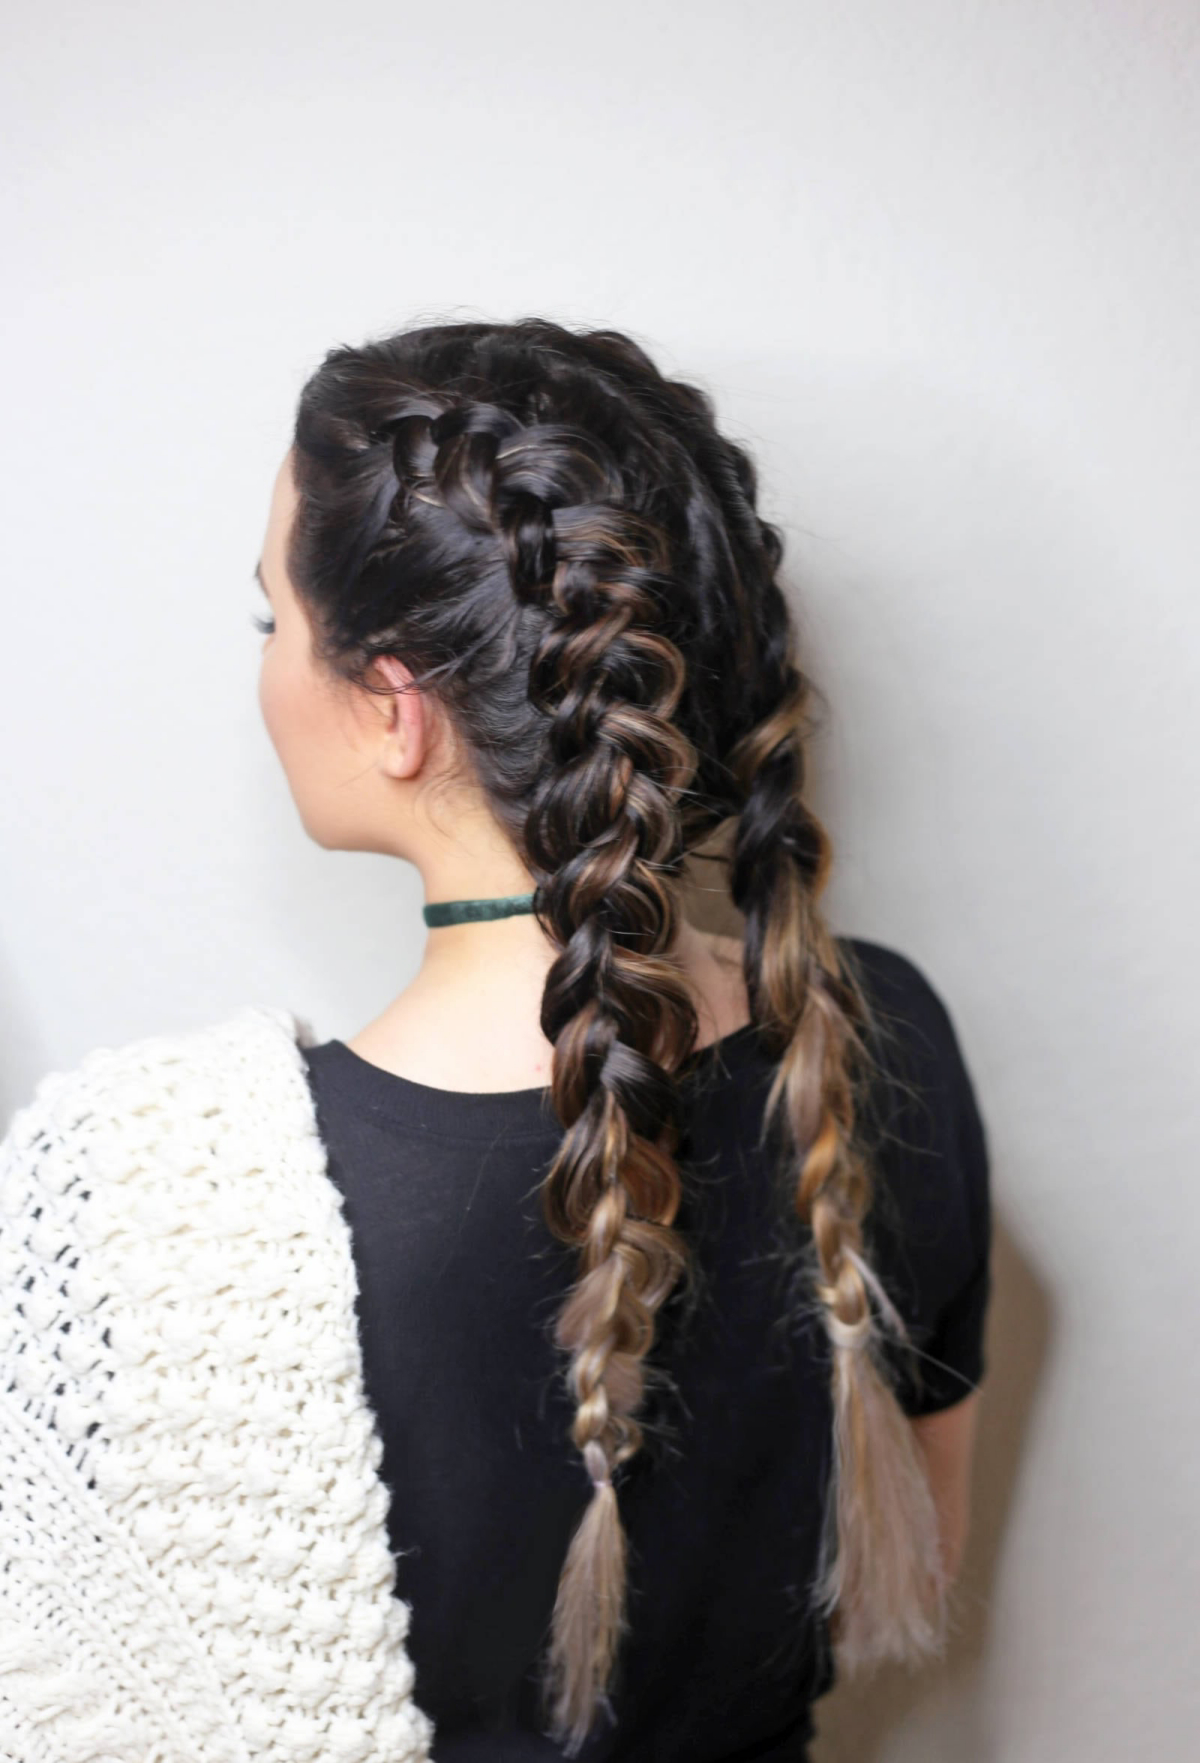
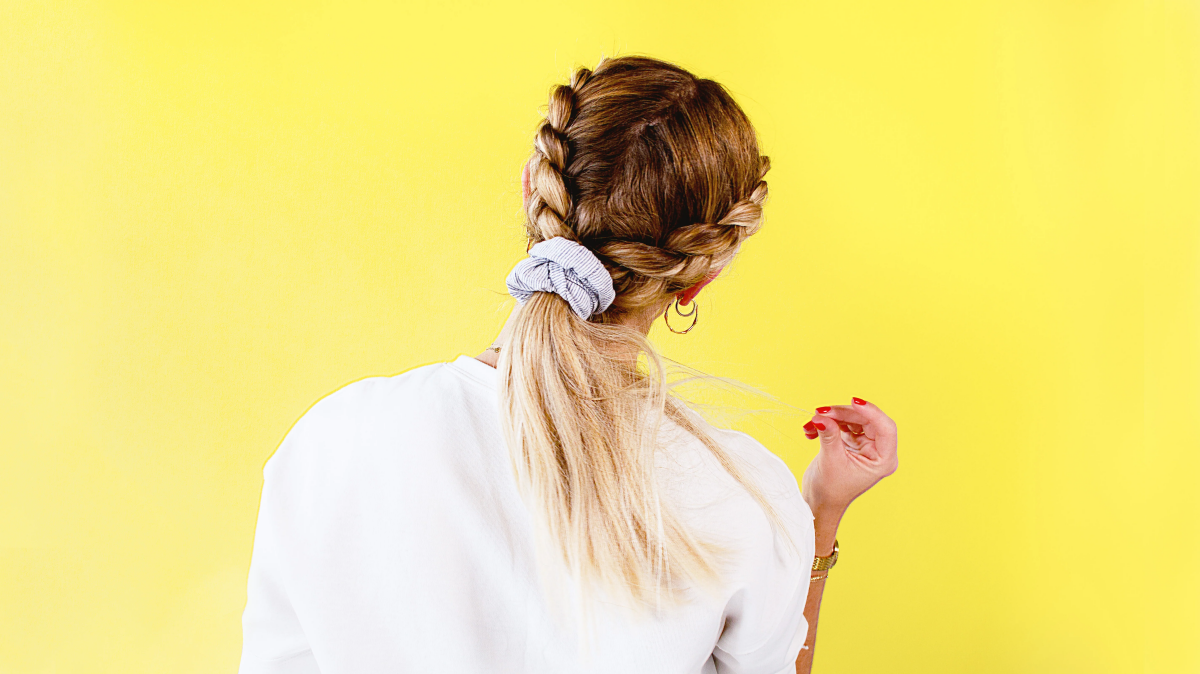
How to Do the Braid: A Step-by-Step Guide
Alright, let’s do this. Find a comfy spot in front of a mirror. (Pro tip: having a second mirror to see the back of your head is a total game-changer). We’ll build a classic single Dutch braid down the back.
Step 1: Create Your Anchor Section
At your front hairline, use your rat-tail comb to part out a small, clean triangle of hair. This is your starting point. A smaller section will create a more tapered look; a larger one will be bold from the get-go.
Step 2: Lock in the First Stitch
Split that anchor section into three equal strands: Left, Middle, and Right. Now, start the underhand pattern:
- Take the Right strand and cross it UNDER the Middle strand. The Right strand is now your new Middle strand.
- Take the Left strand and cross it UNDER the new Middle strand. The Left strand is now in the center.
Do this one more time without adding any new hair. This creates a stable base and locks the braid in place before you start adding more hair. So many tutorials skip this, but it makes a huge difference!
Step 3: Add Hair (The Hand-Off Maneuver)
Okay, here’s the part where everyone’s brain short-circuits and hands get tangled. How do you hold three strands while grabbing new hair? Let’s break down the hand-off.
- First, you’re going to add hair to the left side. To do this, temporarily pinch the Middle and Right strands together between your left thumb and index finger. This frees up your entire right hand!
- With your newly free right index finger, pick up a clean, small section of loose hair from the right side of your head.
- Join this new hair with the Right strand in your hand. Make sure it’s smoothed down.
- Now, cross that entire thickened Right strand UNDER the Middle strand.
- Let’s repeat on the other side. Pinch the Middle and Left strands in your right hand. Your left hand is now free.
- Use your left index finger to grab a new section from the left side.
- Join it with the Left strand, and then cross that entire thickened strand UNDER the Middle one.
That’s the whole motion! The key to a uniform braid is to grab new sections of hair that are roughly the same size each time.
Step 4: Keep It Close and Consistent
As you work down your head, try to keep your hands close to your scalp. The farther your hands drift away, the looser and messier the braid will become. It should feel secure, but if your scalp is screaming in protest, it’s too tight. A good braid doesn’t require pain.
Step 5: Finish It Off
Once you reach the nape of your neck and have incorporated all the loose hair, just continue the simple underhand braid (right under middle, left under middle) all the way down. Secure the end with one of your small elastics.
Feeling Overwhelmed? Try This 5-Minute Drill
If you’re getting frustrated, stop. Don’t even try to finish the whole braid. Just sit down and practice the first three inches. The only goal is to build the muscle memory for the “add hair, cross under” motion. Do that a few times, then walk away. You’ll be amazed at how much easier it feels tomorrow.

Common Problems and How to Fix Them
Trust me, everyone runs into the same issues when they’re learning. Here are the most common ones.
“My arms are so tired!”
This is a real physical challenge! Don’t try to be a hero and stand in front of the mirror. Sit down and, if you can, prop your elbows on a table or vanity while you work. It takes the strain off your shoulders. And be patient with yourself! Your first attempt might take a solid 45 minutes of frustration. That’s totally normal. After a few days of practice, you’ll likely get it down to 15-20 minutes.
“My braid looks lumpy and uneven.”
This is almost always caused by messy sections. Slow down and use your rat-tail comb to draw a clean line for every single piece of hair you add. It feels tedious, but this discipline is what creates that flawless look.
“I have weird bumps and loops at the top.”
This is a tension issue. Before you cross a section under the middle, give it a gentle tug downward (in the direction the braid is going). This removes any slack from the previous stitch. Also, make sure the new hair you’re adding is smoothed flat against your head before you merge it.
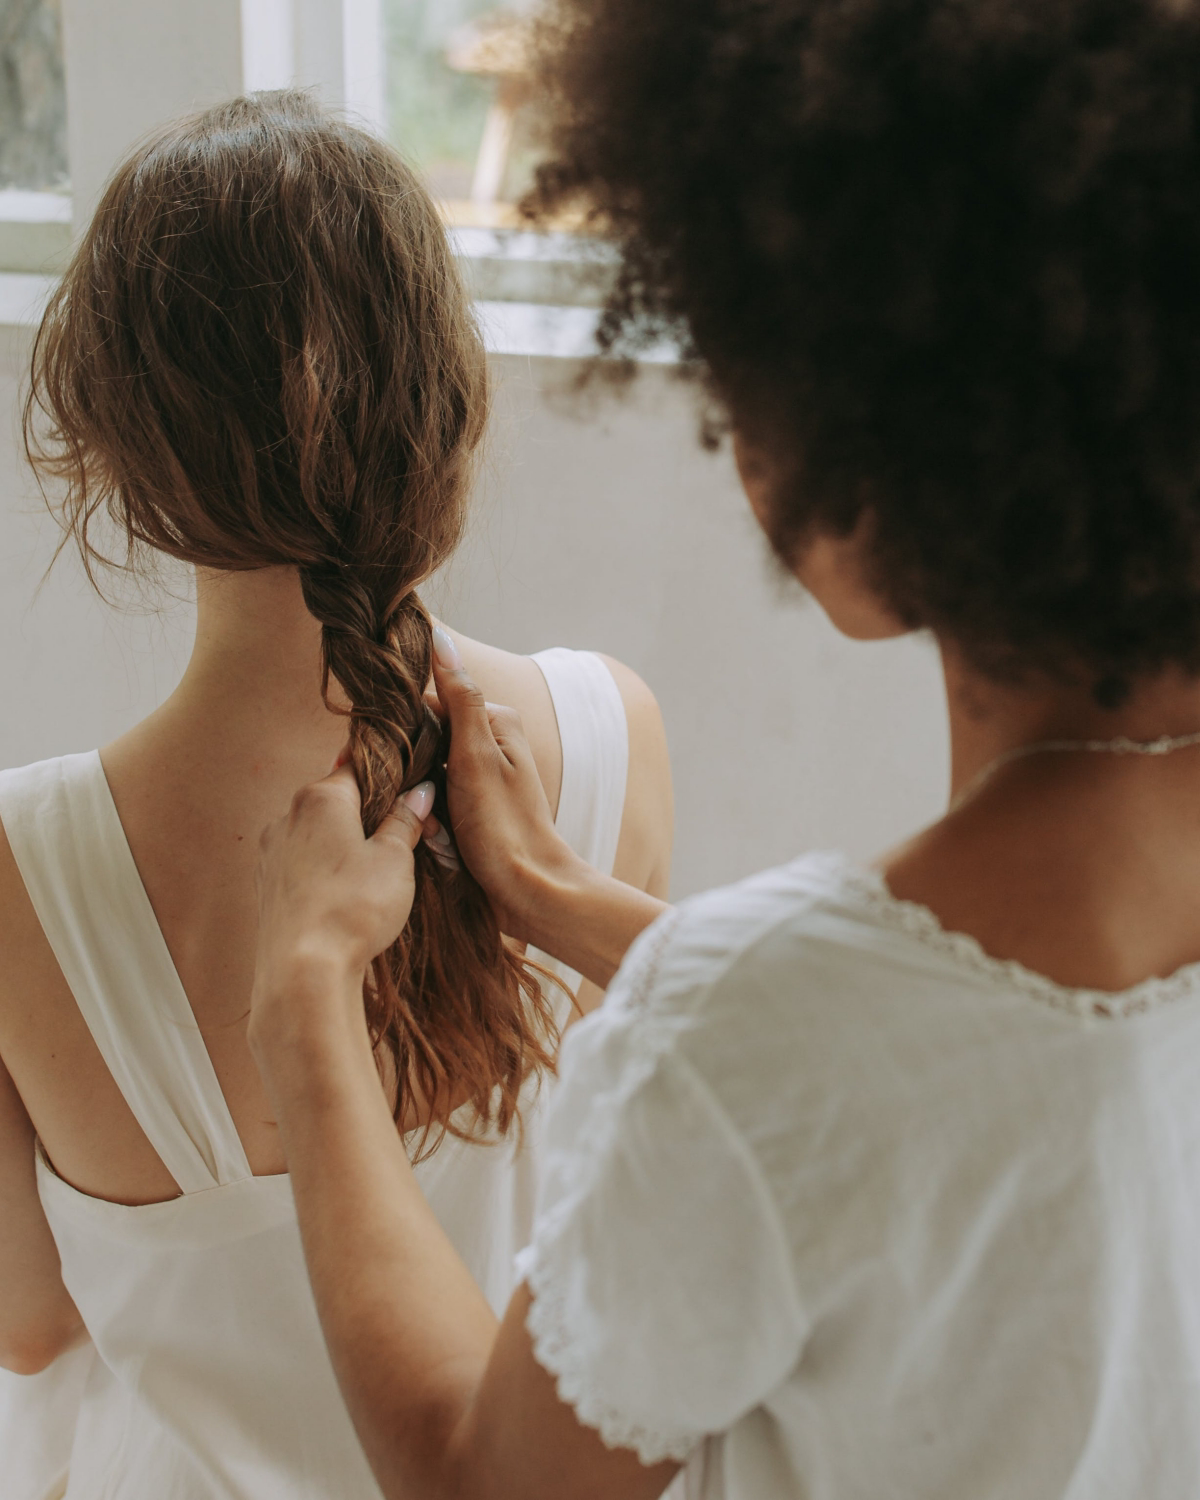
Making Your Braid Even Better
Once you’ve mastered the basic braid, you can start playing with it.
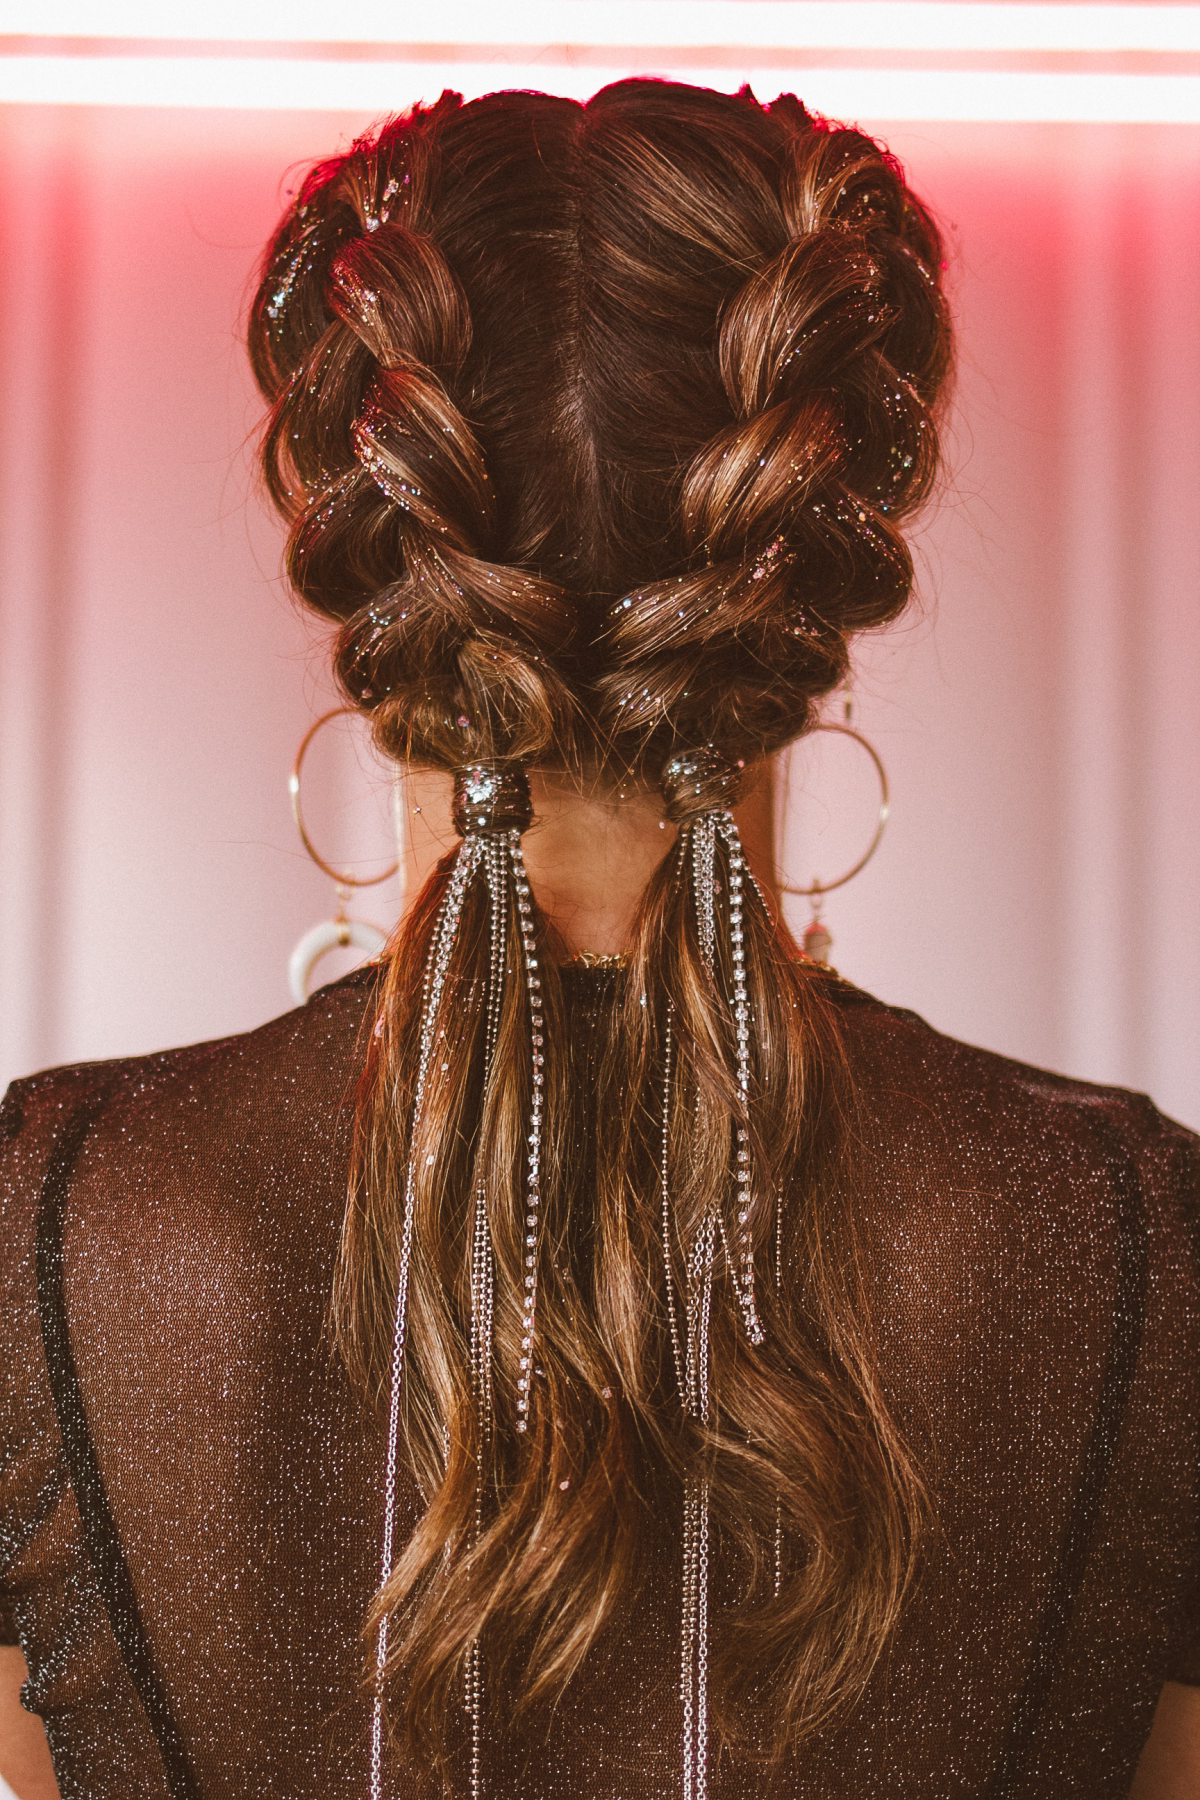
“Pancaking” for a Thicker, Fuller Braid
This is how you get that soft, romantic, bohemian vibe. But there’s a trick to it. Once the braid is done and secured, start at the bottom and work your way up. Gently pull on the outermost edges of each stitch. A quick tip: use the pads of your thumb and index finger, not your nails, to gently pinch and wiggle the edges. You can always pull more, but you can’t un-pull it!
Oh, and do this before you go wild with hairspray. Trying to pull apart a crunchy, hairsprayed braid will just lead to frizz.
A Word on Cultural Context
While many people know this style simply as a “Dutch” braid, it’s really important to remember that underhand braiding is a foundational technique in countless cultures around the globe. It’s especially significant in African and Afro-diasporic communities, where it forms the basis for intricate and culturally rich cornrow styles. Appreciating the deep history of the craft is just as important as learning the technique itself.
The Most Important Advice: Scalp and Hair Health
A great hairstyle should never, ever come at the cost of your hair’s health. Please take this part seriously.
Warning: Traction Alopecia
This is hair loss caused by constant, repetitive pulling on the hair follicles. If a braid is causing you a headache, feels painfully tight, or you see little red bumps forming around your hairline, it is too tight. Period. If you’re doing it yourself, ease up. If you’re at a salon, you must speak up. A true professional will listen and adjust their tension immediately. Your hairline will thank you.
A simple Dutch braid like this is best taken out after a day or two to give your scalp a rest. For longer-term protective styles with extensions, make sure you’re still cleansing your scalp to avoid buildup and irritation. Your well-being is always more important than a hairstyle.
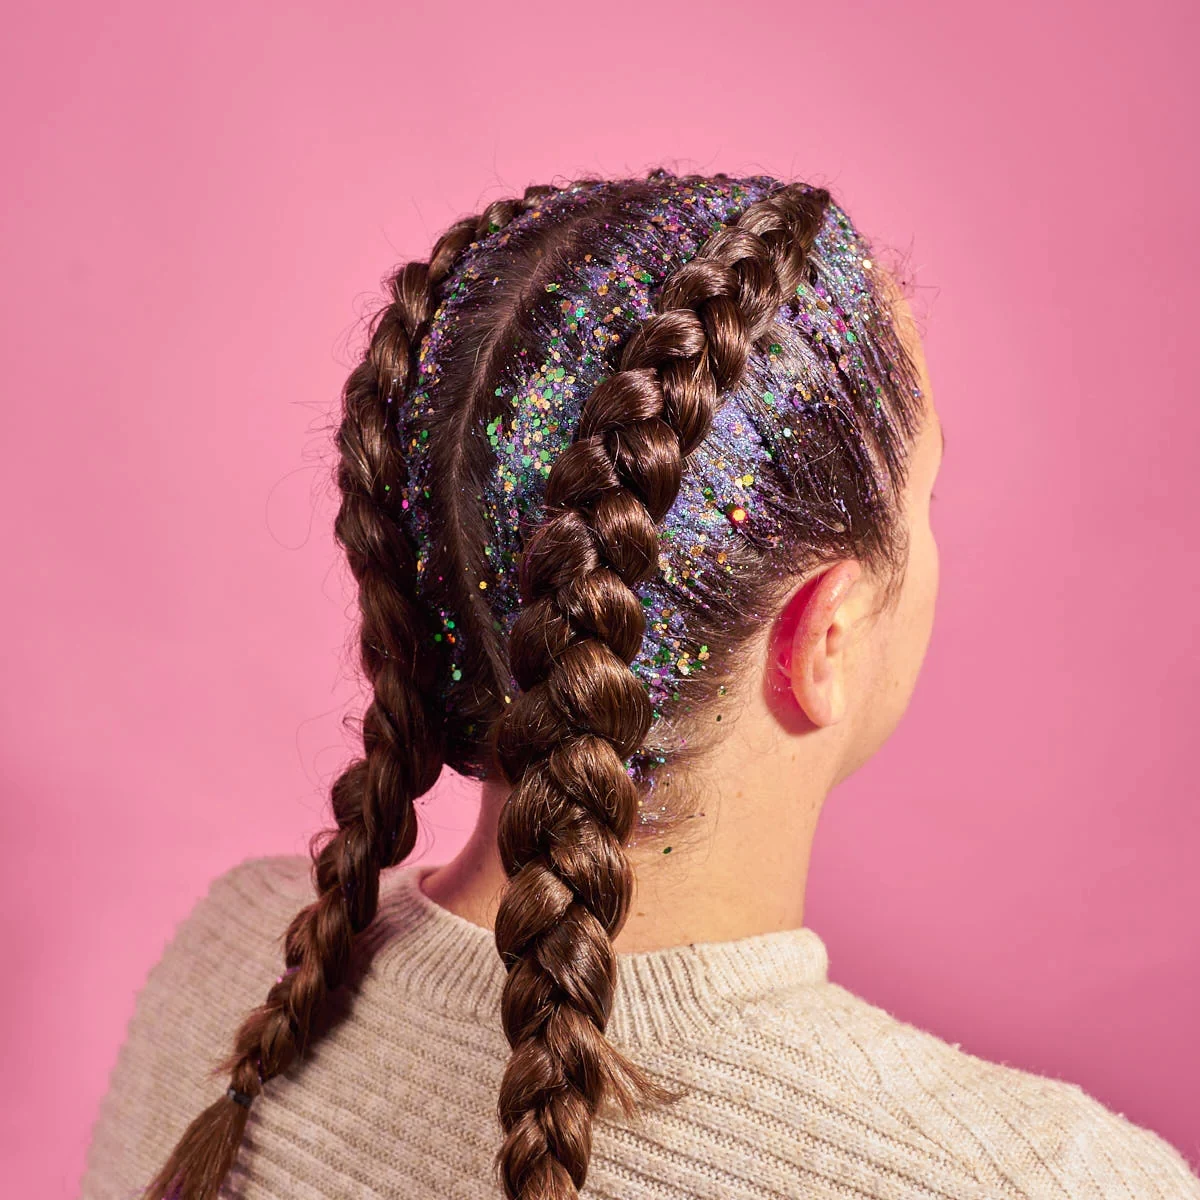
Galerie d’inspiration
How do you get that perfectly clean, no-frizz finish?
It’s all about the right finishing product for the job. A light-hold hairspray is good, but for true control, you need something with more targeted power. A wax stick, like the TIGI Bed Head Hair Stick, is a stylist’s secret weapon. You can glide it directly over the top of the braid to instantly tame flyaways without making the rest of your hair greasy or stiff. For baby hairs along the hairline, apply a small amount to an edge brush or a clean mascara wand for precise application.


