Stop Making Flimsy Photo Keychains: Here’s How to Do It Right
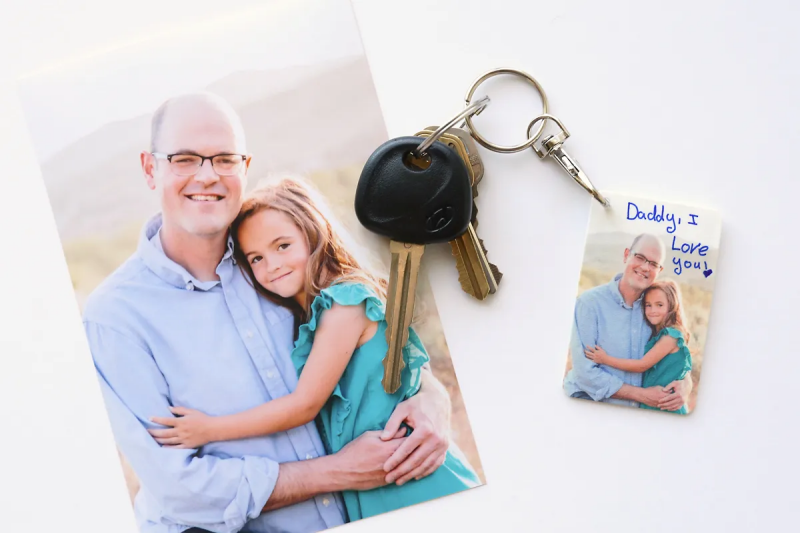
I made my first photo keychain a long time ago. It was for my mom, with a picture of her first grandkid. You know the drill: I printed the photo on regular paper, hacked it out with kitchen scissors, and popped it into one of those cheap plastic cases from the craft store. It looked okay… for about a week.
In this article
Then, reality hit. The sun faded the picture. Moisture snuck in and made the ink bleed into a sad, blurry mess. The plastic clasp gave up the ghost within a month. The heartfelt gift I’d been so proud of ended up being a disappointment. It was a tough lesson, but honestly, a super valuable one. It taught me there’s a massive difference between a quick craft and a durable, lasting keepsake.
A well-made photo keychain is more than just a picture holder. It’s a little piece of a memory that gets to go through life with someone. It’s tossed into purses, jangled against keys, and exposed to everything. To survive all that, it needs to be built with intention, using the right stuff. This guide is basically everything I’ve learned from years of trial-and-error, running a small craft business, and teaching workshops. We’ll cover it all, from the dead-simple methods to the really pro-looking resin techniques, so you can make something that will look amazing for years to come.

The Foundation: It All Starts with Your Materials
Let’s be real: the quality of your keychain is decided before you even glue anything together. Your choice of the keychain body, the photo paper, and the sealant will make or break the final product. Rushing this part is the #1 mistake I see people make.
1. The Keychain Body (The Blank)
This is the skeleton of your project. There are three main types, and each has its own vibe and set of challenges. Choosing the right one depends on the look you want and the effort you’re willing to put in.
Metal Trays (or Bezels)
These are the shallow metal pendants that give you that classic, professional look. But heads up, not all metal is created equal. Most of the super cheap multi-packs you find are a zinc alloy. They’re fine for a quick gift, costing maybe $0.50 a piece, but the silver or gold-colored plating can wear off with heavy use. For something that’s truly built to last, I always recommend hunting down stainless steel bezels. They won’t tarnish and are way more rugged. When I’m buying for my own projects, I specifically look for 304-grade stainless steel. You can find these on sites like Etsy or from specialty resin craft suppliers, and they typically run about $1 to $3 per piece, but the quality jump is massive.
Wood Blanks
Wood gives off such a warm, natural feel. You’ll see them in birch, cherry, and all sorts of other beautiful types. The biggest challenge with wood? It’s porous. If you just slap a photo onto raw wood, the moisture from your glue will seep in and cause weird discoloration and warping. You absolutely have to seal it first. A thin coat of clear acrylic sealer or even Mod Podge on all sides does the trick. Let it dry completely, and you’ll have a perfect, non-porous surface ready for your photo.
Acrylic Blanks
For a clean, modern look, you can’t beat clear acrylic. They’re super lightweight and come in a million shapes. Here’s a pro tip: always go for cast acrylic over extruded. Extruded acrylic is cheaper, but it scratches if you so much as look at it funny—not great for something living with a set of keys. Most acrylic blanks ship with a protective paper or plastic film on both sides. Do yourself a favor and leave that film on for as long as possible while you work to avoid fingerprints and scratches.
2. The Image (The Whole Point!)
The photo is obviously the star of the show, so how you print and prep it is critical.
Paper Choice is Key
Please, I’m begging you, do not use standard office copy paper. It’s way too thin, and inkjet ink will bleed the second any glue or resin touches it. I learned this the hard way and ruined an entire batch of photos at once. A nightmare. Instead, use a quality glossy or semi-gloss photo paper. I aim for a paper weight of at least 180 GSM (grams per square meter). It provides a sturdy base and rich color. For an even more bulletproof option, you can find waterproof photo paper online specifically made for resin crafts.
A quick sizing hack: Getting the photo the perfect size for your bezel can be maddening. Here’s a trick I use. Place your bezel on a piece of paper next to a ruler and take a picture with your phone. Upload that image into a free design tool like Canva. Scale the image until the ruler in the photo is life-sized on your screen. Then, just drag your keychain photo on top and resize it to fit the bezel perfectly. Print that, and you’ll have the exact size every time.
Printing and Sealing
If you have the option, a laser printer is your best friend here. Laser toner is basically a dry powder that gets melted onto the paper, so it’s naturally water-resistant. If you only have an inkjet, no worries! Just make sure you let the print dry completely—I’m talking a few hours, or even overnight—before you touch it.
And this next step is NOT optional: you must seal your paper photo. A couple of thin coats of a spray sealer or a brush-on sealer like Mod Podge is perfect. Make sure to seal the front, the back, and even the tiny cut edges. This creates a waterproof barrier that stops ink from running and paper from getting discolored. Let it dry completely before moving on.
Let’s Build It: Pro Assembly Techniques
Okay, with all your parts prepped, it’s time for the fun part. We’ll start with a super easy method and then move on to the more advanced (but totally worth it) resin finish.
Method 1: The Glue and Glass Cabochon (Beginner-Friendly)
This is a classic, nearly foolproof way to get a gorgeous result. A cabochon is just a polished glass dome that sits on top of your photo, making it pop while protecting it. It gives the keychain a nice, weighty, high-quality feel.
- Estimated Startup Cost: Around $25-$40 for all the supplies.
- Project Time: 20-30 minutes of active work, plus a 24-hour cure time.
For this, you’ll need your metal bezel, your sealed photo, a matching glass cabochon (they usually sell these for about $0.50 each), and a clear dimensional adhesive. A popular choice is Judikins Diamond Glaze, which you can get on Amazon or at craft stores for about $7 a bottle. It works as both the glue and the top coat.
- First, make sure your metal bezel is spotless. A quick wipe with a rubbing alcohol pad is perfect.
- Squeeze a thin, even layer of the dimensional glaze into the bezel. Don’t go crazy; you just need enough to stick the photo down.
- Carefully place your sealed photo inside, pressing from the center outwards to push out any air bubbles.
- Now, put a good-sized drop of the glaze right in the center of the photo. The idea is to use enough that when you add the glass, the glaze spreads to the edges all on its own.
- This is the critical move. Hold the glass cabochon by its edges. Place one edge down first, then slowly lower the rest into place. This “rolling” motion is the secret to pushing air out instead of trapping it.
- Let it sit completely flat and undisturbed for at least 24 hours to fully cure. Don’t touch it!
Method 2: The Resin-Sealed Keychain (Next-Level Results)
Resin gives you that ultra-durable, glossy, professional finish you see on high-end custom keychains. It’s a bit more involved, and safety is a huge deal, but the results are stunning. There are two main types you’ll use: two-part epoxy and UV resin.
Safety First. No, Really.
Before you even think about opening a bottle of resin, let’s talk safety. I cannot stress this enough. Liquid resins are chemicals, and you need to respect them. Please, work in a well-ventilated area—open a window or have a fan going. Always wear nitrile gloves (latex can break down from the resin). And wear safety glasses. A splash of resin in your eye is a trip to the emergency room.
Using UV Resin (The Fast-Track Method)
- Estimated Startup Cost: About $40-$60, mainly for the resin and a UV lamp.
- Project Time: 15 minutes of active work, with a cure time of just 2-3 minutes under a lamp.
UV resin is amazing for beginners because it cures in minutes under a UV lamp. A good starter bottle from a brand like ‘Let’s Resin’ on Amazon will run you about $15-$20, and a basic 36-watt UV lamp is another $20-$25. It’s an investment that pays off in speed.
Quick tip: Did you know you can also use direct, bright sunlight to cure UV resin? It takes longer, maybe 10-20 minutes on a clear day, but it’s a great hack if you want to try it out before buying a lamp!
The process is simple: Glue your sealed photo into your bezel and let it dry. Apply a very thin “seal coat” of UV resin and cure it under the lamp for 60 seconds. Then, add a more generous “doming coat,” let it self-level, and use a quick pass of a heat gun or a lighter to pop any surface bubbles. Cure that for 2-3 minutes, and you’re done!
Using Two-Part Epoxy Resin (The Workhorse)
Epoxy is more economical for making a lot of keychains at once, but it requires patience as it takes 24-72 hours to cure. The key here is a perfect mix and a clean environment.
You’ll measure the two parts (resin and hardener) exactly according to the instructions—using a small digital kitchen scale for measuring by weight is more accurate than by volume. Stir slowly but thoroughly for at least 3 full minutes, scraping the sides and bottom of your mixing cup. Then, pour it over your photo, pop the bubbles with heat, and cover the whole thing with a cardboard box to protect it from dust while it cures.
Heads up! My epoxy is still sticky! This almost always means one of two things: your 1:1 ratio was off, or you didn’t stir long enough. In my early days, I ruined an entire batch of coasters this way. You can sometimes save it by pouring a new, properly mixed thin layer over the top. But sometimes, you just have to chalk it up to a learning experience. We’ve all been there!
Finishing Touches and Final Checks
A beautiful keychain charm can be let down by cheap hardware. The final assembly is just as important as everything else. Always opt for stainless steel hardware—split rings and clasps—that won’t tarnish or break. And learn how to open a jump ring properly: use two pairs of pliers to twist it open sideways. Never pull it apart!
Before calling it done, I do a quick quality check: Is the surface perfectly smooth? Is the resin crystal clear? Is the hardware secure? A little attention to detail here makes all the difference between something that looks homemade and something that looks handmade.
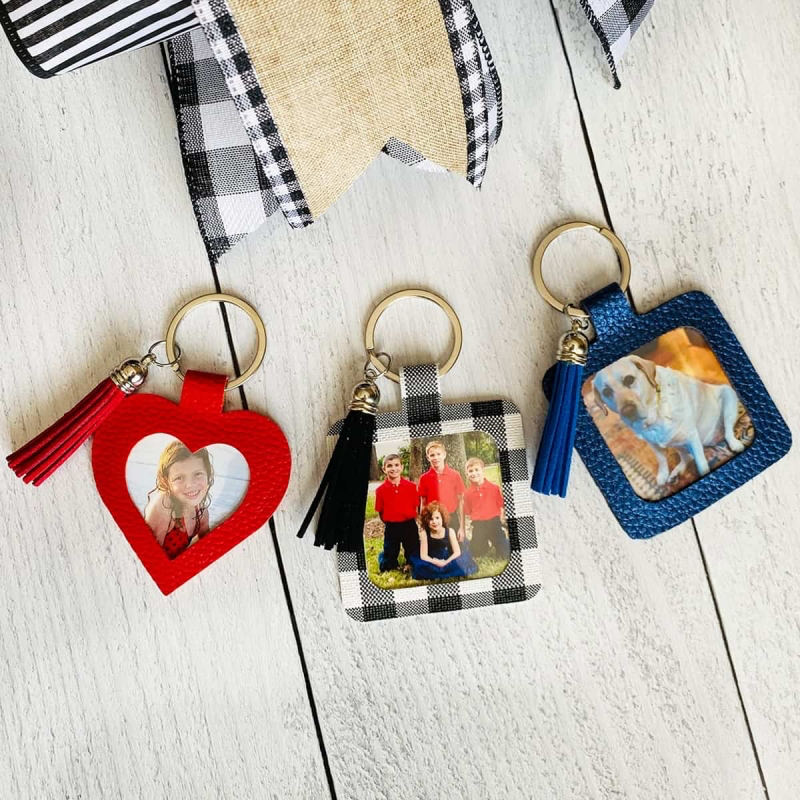
Inspirational Gallery with Photos
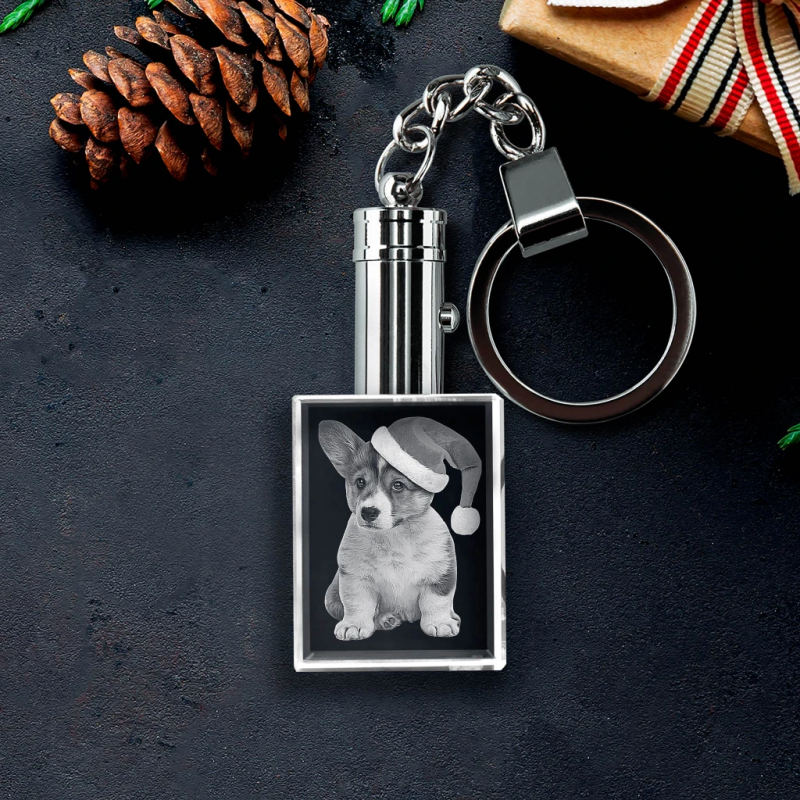
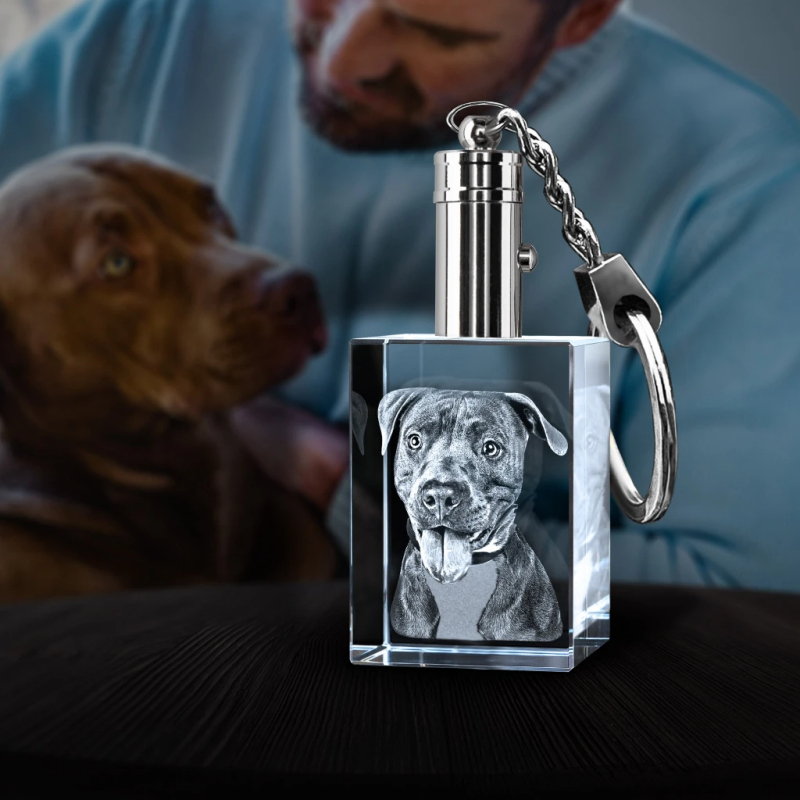
When selecting your photo, think small. A tight crop on a face or a clear shot of a beloved pet works much better than a busy group photo. High-contrast images, where the subject stands out clearly from the background, have the most impact when shrunk down to keychain size. Sometimes, converting a photo to black and white can add a timeless, classic feel.
The one step you must not skip: Always, always seal your paper photo with a clear sealant *before* embedding it in resin. A couple of thin coats of a decoupage glue like Mod Podge on both the front and back (allowing each to dry) creates an impermeable barrier. Skipping this will cause the resin to seep into the paper, creating dark, transparent-looking splotches that will ruin your project.
Is your photo looking dull or splotchy after applying glue?
The paper itself is likely the culprit. Standard or cheap photo paper is too porous and absorbs the glue, causing discoloration. Before placing your photo in the bezel, seal both the front and back with a thin layer of a clear-drying sealant. Let it dry completely. This creates a barrier that keeps your image pristine and bright.
- For vibrant, crisp images, print on high-quality matte or luster photo paper, not standard copy paper.
- Set your printer to its highest quality or
UV Resin: Cures in minutes under a UV lamp, providing a rock-hard, glass-like finish that’s extremely durable and waterproof. Brands like LET’S RESIN offer great starter kits. Ideal for a truly professional look.
Dimensional Glaze (like Mod Podge Dimensional Magic): Air-dries over 24 hours to create a pretty, domed effect. It’s easier for beginners but is less scratch-resistant than resin and can yellow over time if not a UV-stable formula.
Did you know? The ultraviolet radiation in sunlight is the primary culprit for fading photos, as it chemically breaks down the dye molecules that create the image. This is why a UV-resistant sealant or resin is non-negotiable for a keychain that lives outside a purse.
- It adds a deeply personal layer that a photo alone can’t capture.
- It transforms a simple craft into a bespoke piece of jewelry.
- It shows an extra level of thought and care.
The secret? Look beyond the photo. Use a fine-tip permanent marker like a Sakura Pigma Micron to write a date or initial on the back of the sealed photo before the final pour. Or, add a tiny birthstone charm or a metal-stamped initial to the keychain’s split ring for a perfect finishing touch.
According to consumer habit studies, the average person handles their keys more than 10 times a day.
That’s over 3,650 jingles, drops, and tosses per year! This is why the hardware matters as much as the photo’s seal. Don’t pair your beautifully crafted resin piece with a flimsy jump ring. Always opt for stainless steel split rings (the kind that spiral) and a sturdy lobster clasp for a secure attachment that won’t fail.


