The Ultimate Guide to Freezing Bacon (So It Tastes Just as Good as Fresh)
I learned a hard lesson working the line in a crazy-busy breakfast spot. Every Saturday, we’d fly through 50 pounds of bacon before noon. Waste was simply not an option, because any overcooked batch or prepped-too-many-slices came directly out of our razor-thin margins. That’s where I learned, out of pure necessity, the right and wrong ways to handle bacon. It wasn’t just about chucking it in the freezer; it was a whole system to protect its flavor and texture.
In this article
- Why Your Freezing Technique Actually Matters
- How to Freeze Raw Bacon Like a Pro
- Yes, You Can Freeze Cooked Bacon (and It’s a Game-Changer)
- A Quick Word on Different Bacon Styles
- The Right Way to Thaw (and What to Avoid)
- Troubleshooting Common Bacon Freezing Problems
- Final Tips for Bacon Success
- Galerie d’inspiration
And guess what? The same methods we used in that commercial kitchen work perfectly at home. Freezing bacon is easy, but doing it right is a skill. It’s the difference between having delicious, ready-to-use bacon and a sad, frosty block of flavorless meat. This is about more than saving a few leftover slices. It’s about stocking up when you find that amazing, thick-cut stuff on sale, cutting down on food waste, and honestly, just making your life a whole lot easier.
Why Your Freezing Technique Actually Matters
To get this right, you have to know what’s happening inside the bacon when it freezes. It’s not magic, it’s just physics. Bacon is a mix of fat, muscle, and water. When that water freezes, it forms ice crystals. The entire goal here is to keep those ice crystals as small as humanly possible.
When you freeze bacon slowly (like just tossing the whole package in the freezer), large, jagged ice crystals form. Think of them as tiny daggers that pierce and shred the muscle fibers. Later, when you thaw it, all the moisture leaks out of those ruptured cells. That’s why slowly frozen meat often gets a dry, spongy texture. Fast freezing, on the other hand, creates tons of tiny little crystals that cause way less damage. We’ll use this principle in what’s called “flash freezing.”
The other enemy is freezer burn. You’ve seen it—that gross, gray, leathery patch on frozen food. That’s not mold; it’s basically dehydration. Air is the culprit. Any air left in the package will literally pull the moisture right out of the bacon’s surface. And with bacon, there’s a double-whammy: fat oxidation. The fat that makes bacon so good can go rancid when it’s exposed to air, even in the cold. This is why getting your bacon into an airtight package is completely non-negotiable.

How to Freeze Raw Bacon Like a Pro
In a pro kitchen, we need speed and perfect portion control. These methods give you that same convenience at home, so you can grab exactly what you need, when you need it.
Method 1: The Parchment Method (Best for Slices)
This is my go-to for standard bacon strips. It keeps every slice separate and ready to cook.
What You’ll Need:
- A baking sheet (or a large plate if your freezer is small)
- Parchment paper (not wax paper!)
- Good quality freezer bags or a vacuum sealer
By the way, you don’t need to spend a fortune. A big roll of parchment paper is usually under $10 at any grocery store. A box of quality Ziploc-style freezer bags might be $10-$15. If you’re serious about this and want to prevent freezer burn for months, a vacuum sealer is a fantastic investment. You can find basic models for around $60, with fancier ones going up from there.
Here’s the process:
- Flash Freeze the Slices. Line your baking sheet with parchment paper. Lay the bacon slices in a single layer, making sure they don’t overlap. If you have a lot, you can stack them—just put a sheet of parchment between each layer. Heads up! If a full baking sheet is too big for your freezer, a large dinner plate or a flat casserole dish works perfectly.
- The Big Chill. Stick the sheet in the coldest part of your freezer, uncovered, for 1 to 2 hours. This quick freeze is what creates those tiny, texture-preserving ice crystals.
- Package It Up. Once the slices are frozen solid, they won’t stick together anymore. Stack them up and slide them into a heavy-duty freezer bag or vacuum-seal bag. If you’re using a regular bag, try the water displacement trick to get all the air out: seal the bag almost shut, then slowly lower it into a pot of water. The pressure forces the air out. Seal it completely just before the opening goes under water.
- Label It! Use a marker to write “Bacon” and the date on the bag. This prevents mystery meat syndrome later on.
Method 2: The Roll-Up (Best for Portion Control)
This one’s genius if you often just need a slice or two to crumble over a salad or wrap a filet. Simply take each slice of raw bacon and roll it up into a tight little pinwheel. Place these on a parchment-lined sheet, flash freeze them until solid, and then toss them all into a freezer bag. You can grab one or two at a time without any fuss.
Yes, You Can Freeze Cooked Bacon (and It’s a Game-Changer)
Freezing cooked bacon is an incredible time-saver. The key, however, is to cook it properly for freezing.
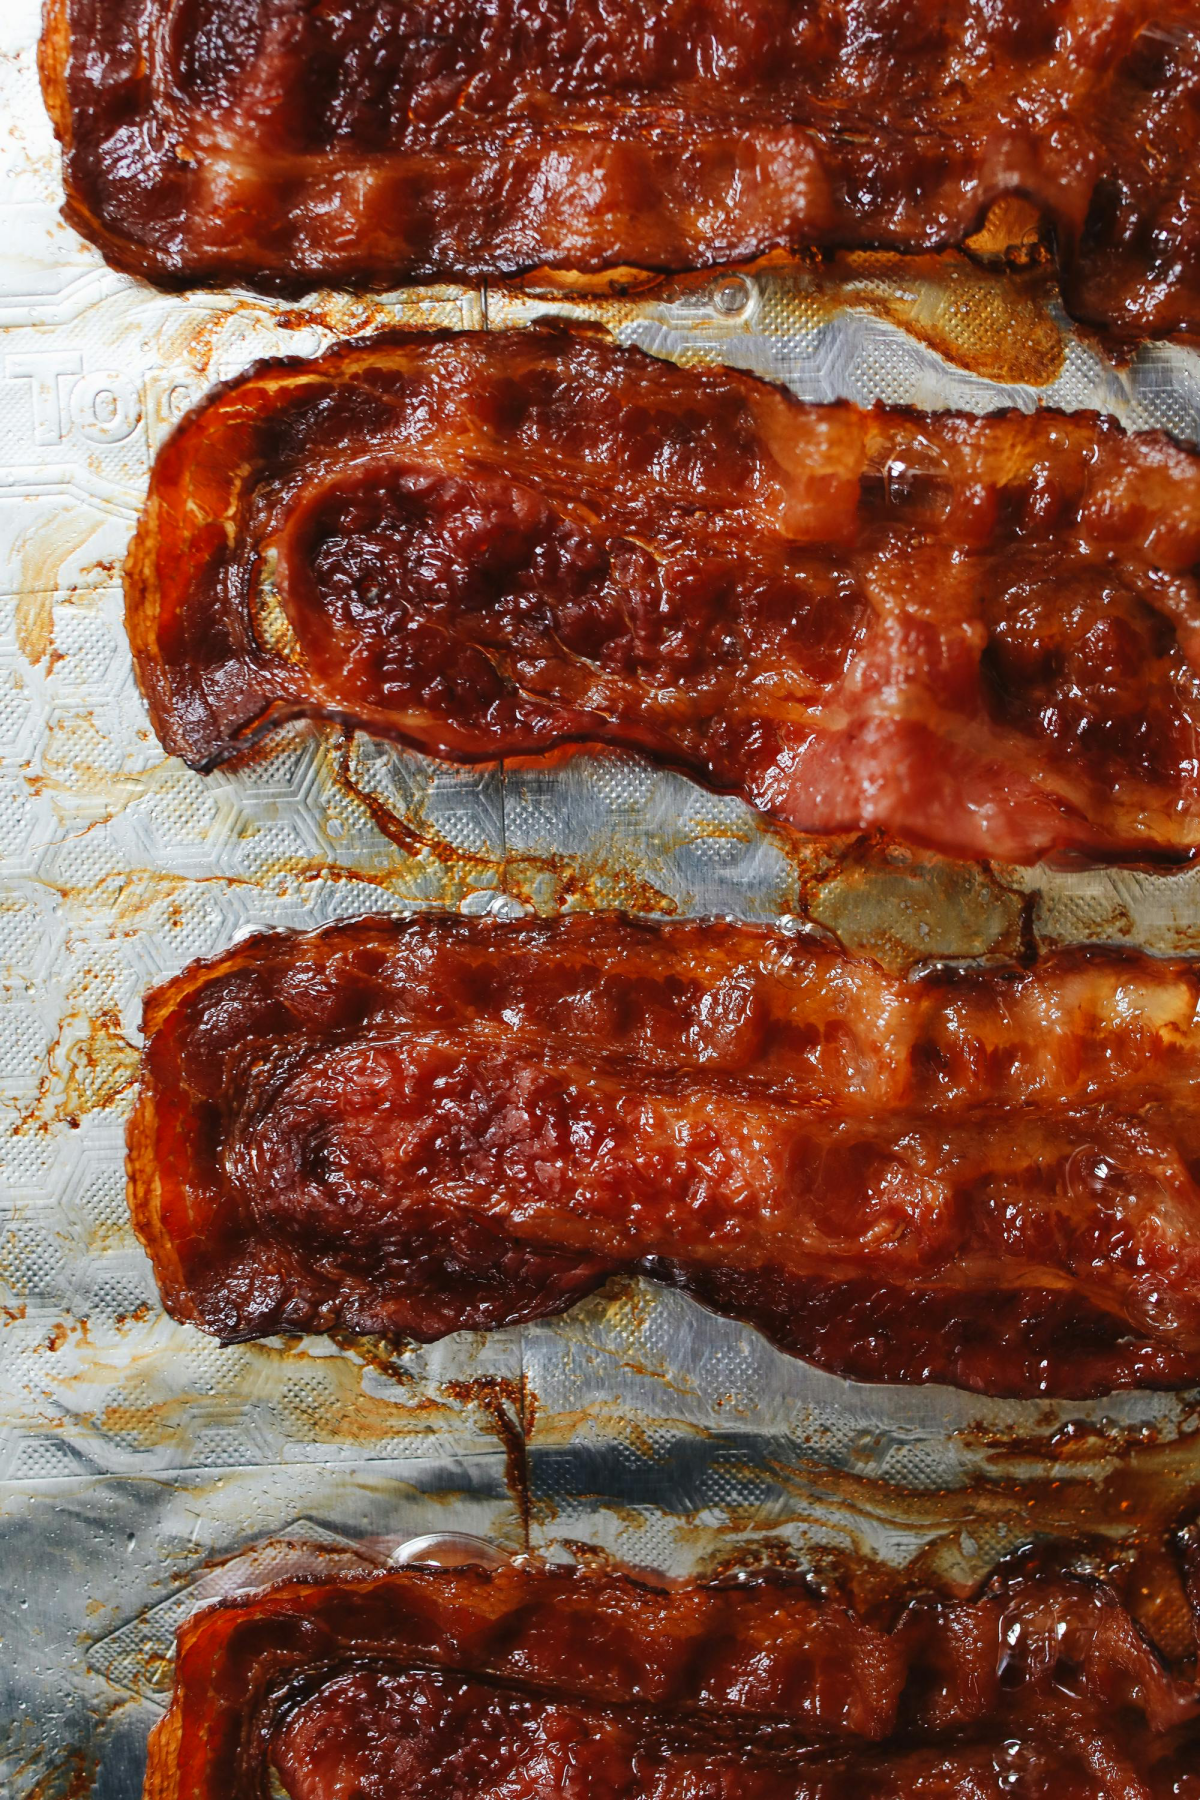
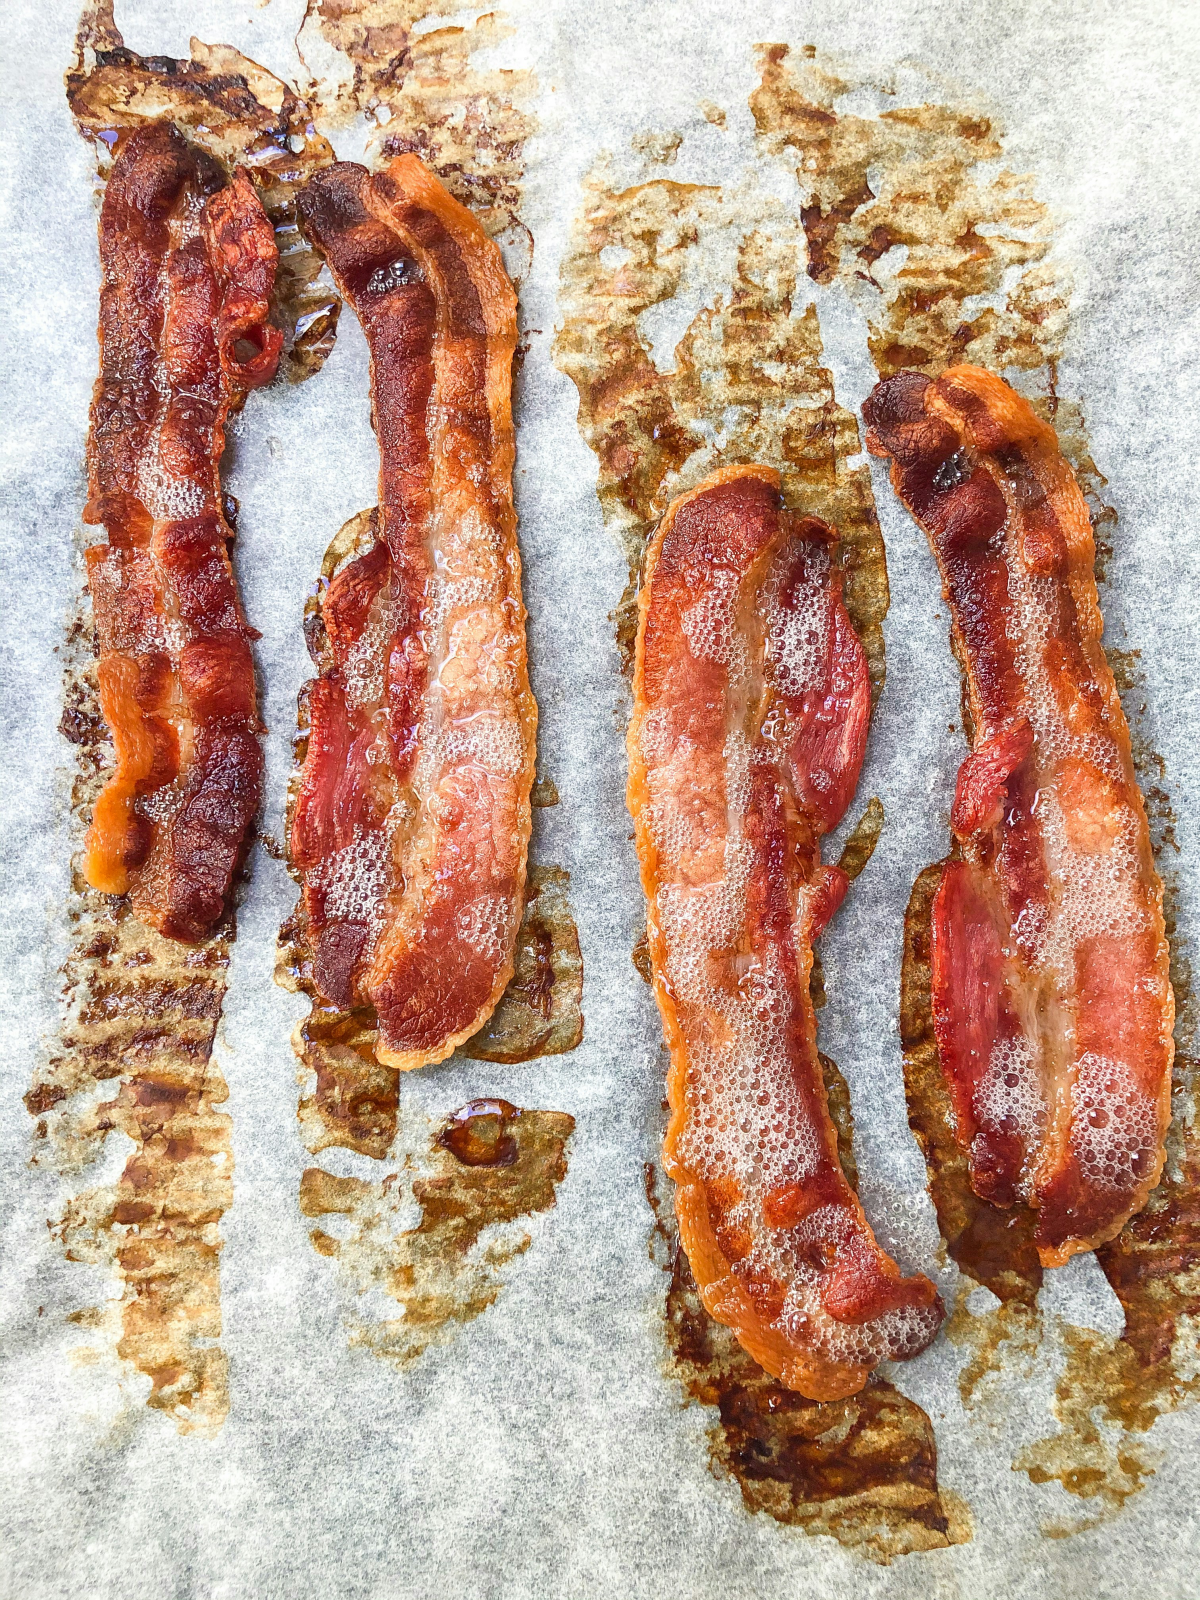
You don’t want to cook it until it’s perfectly crispy. If you do, it’ll just get dry and brittle when you reheat it. Instead, you want to cook it until the fat has rendered out but the meat is still pliable. The visual cue you’re looking for is when the fat looks rendered and a bit translucent, but the meat itself can still bend easily without snapping like a cracker.
Baking is best for this. Lay the bacon on a wire rack over a baking sheet and bake at 400°F (200°C) for 10-15 minutes. Watch it closely! Then, drain the slices on paper towels, blotting them to remove as much grease as possible. Let them cool completely before flash-freezing them on a parchment-lined sheet for about an hour. Once firm, stack them with little squares of parchment in between and store them in an airtight freezer bag.
Your 5-Minute Bacon Win: Want to try this right now? Cook 4 slices of bacon until they’re floppy-cooked, blot ’em super dry, and freeze them on a plate. Tomorrow morning, reheat them in a pan for the fastest, easiest breakfast ever.
A Quick Word on Different Bacon Styles
Not all bacon is created equal, and the cut definitely affects how it freezes.
- Streaky Bacon (American-style): This is the classic from the pork belly. Its high fat content means it’s super susceptible to going rancid from air exposure. For this type, vacuum sealing is by far your best bet.
- Back Bacon (Rashers): Popular in the UK and Ireland, this is a much leaner cut from the loin. Because it’s so lean, it’s more prone to drying out. Airtight packaging is crucial to prevent a tough, leathery texture.
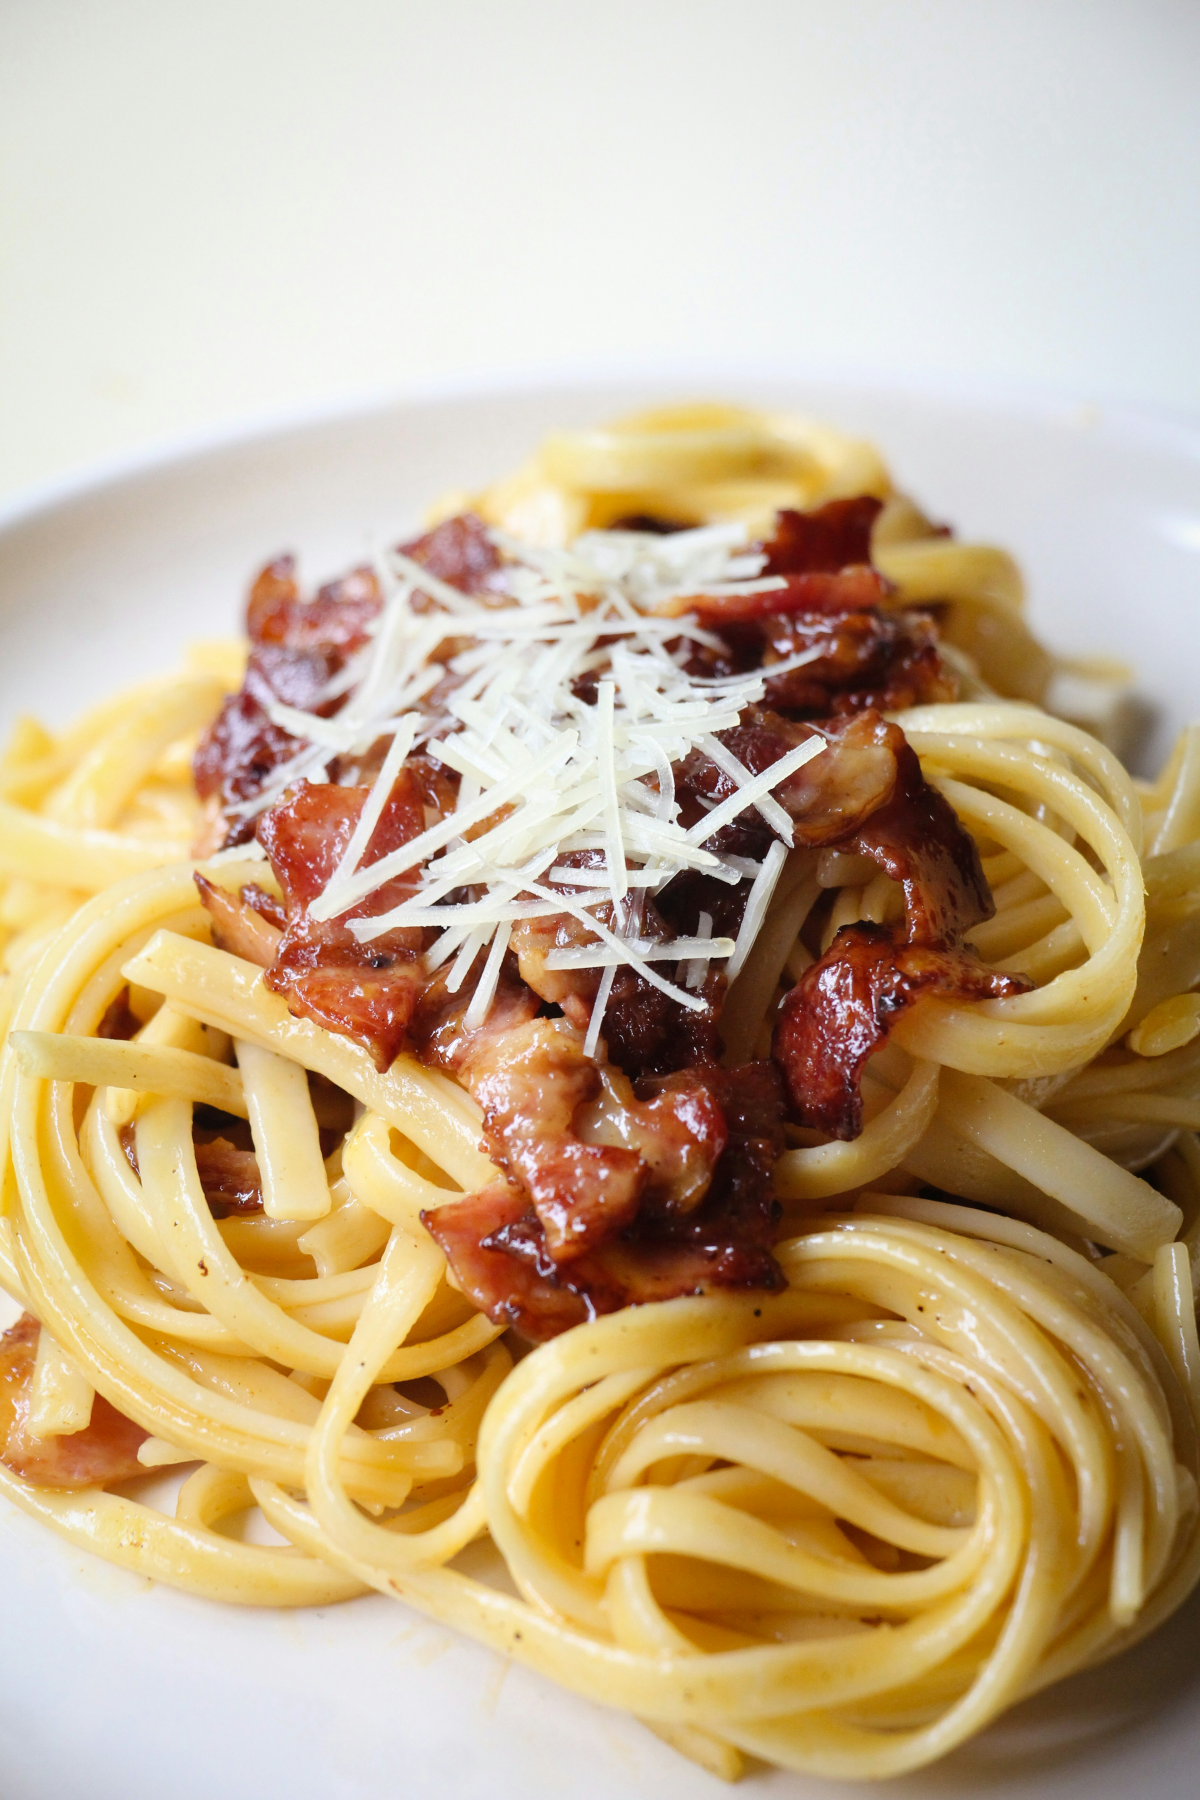
- Pancetta: This Italian-style bacon is often sold in a roll or a slab. I suggest freezing it in small, usable chunks (like a 4-ounce piece). Wrap it tightly in plastic wrap first, then put it in a freezer bag. That way you can thaw just what you need for a pasta sauce.
The Right Way to Thaw (and What to Avoid)
Thawing is just as critical as freezing. Doing it wrong can wreck the texture and even be unsafe.
So what’s the best approach? Here’s a quick rundown:
- The Gold Standard: The Refrigerator. This is the safest and highest-quality method, period. It’s slow—plan on a full 24 hours for a one-pound package—but the gentle, even thaw helps the bacon retain its moisture. Put the bag on a plate to catch any drips.
- The Faster, Safe Option: A Cold Water Bath. If you’re in a hurry, this works well. Keep the bacon in its leak-proof bag and submerge it in a bowl of cold tap water. The key is to change the water every 30 minutes to keep it safely chilled. It should thaw in 1-2 hours. You absolutely must cook the bacon immediately after thawing this way.
- The Last Resort: The Microwave. Honestly? I’d avoid this. Microwaves create hot spots, starting to cook the bacon while other parts are still frozen. The result is almost always a rubbery, unpleasant texture. If you are in an absolute bind, use the defrost setting and cook it immediately.
And a huge no-no: NEVER thaw bacon on the kitchen counter. The surface warms up to the temperature “danger zone” where bacteria thrive, while the inside is still frozen solid. Just don’t do it.
Troubleshooting Common Bacon Freezing Problems
- Problem: My bacon tastes stale or “like the freezer.”
Cause: That’s fat oxidation from too much air in the bag. You can’t fix the flavor, sadly. Next time, be obsessive about removing air. This is where a vacuum sealer really shines. - Problem: It’s covered in white, dry patches.
Cause: Classic freezer burn, another victim of air exposure. It’s safe to eat, but the texture in those spots will be tough. You can trim them off, but prevention is the best cure. - Problem: All my slices are frozen into one solid brick.
Cause: You skipped the flash-freezing step! To fix it, you can thaw the whole block in the fridge. Or, let it sit on the counter for 5-10 minutes (just until you can start to peel them apart) and then immediately repackage and refreeze the ones you don’t need. - Problem: My bacon is stuck to the paper!
Cause: Ah, you probably used wax paper instead of parchment. Wax paper’s coating can stick to frozen food. Always, always use silicone-coated parchment paper for a guaranteed non-stick release.
Final Tips for Bacon Success
Don’t forget to save that rendered bacon fat! Let it cool, strain it through a fine-mesh sieve, and freeze it. An ice cube tray is perfect for this, creating little flavor bombs for frying eggs or sautéing veggies. No ice cube tray? No problem. Pour the cooled fat into a small, freezer-safe jar. It stays soft enough to scoop out a spoonful as needed.
How long does it last? For raw bacon, aim to use it within 2-3 months for the best quality, though a vacuum-sealed package can push that to 4 months. For cooked bacon, 2-3 months is the sweet spot. And please, never refreeze raw bacon that has been thawed. Once it’s thawed, you either cook it or toss it. You can, however, freeze the cooked bacon afterward.
One last thing: the flimsy plastic wrap your bacon comes in is not good enough for long-term freezing. It’s not airtight. Take the extra five minutes to repackage it properly. It’s a simple step that makes all the difference between disappointment and deliciousness.
Galerie d’inspiration
Already cooked a whole package? Don’t let the leftovers go limp in the fridge. Freezing cooked bacon is your ticket to instant meal upgrades.
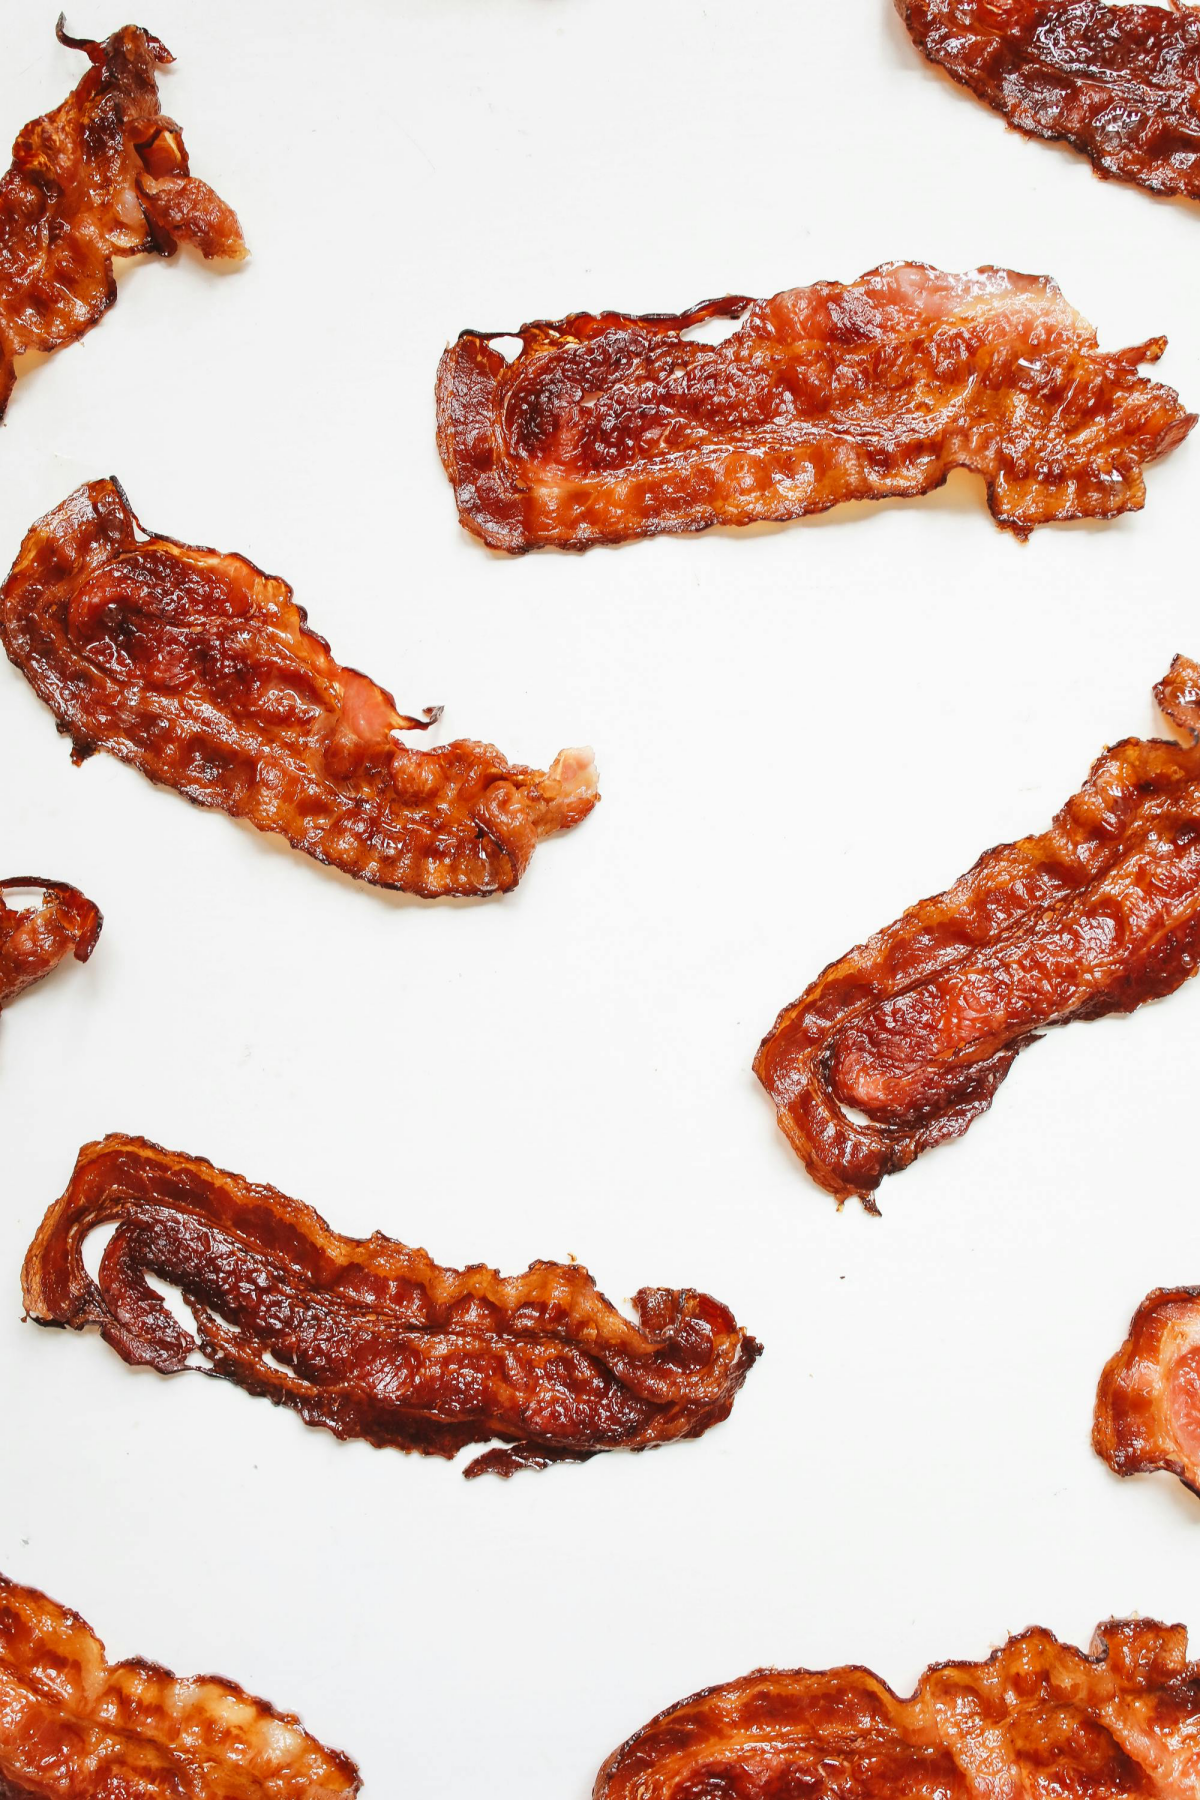
For Whole Slices: Perfect for that lightning-fast BLT or burger topping. Lay your cooked, drained, and completely cooled slices on a parchment-lined baking sheet. Flash freeze for about an hour, then stack them in a heavy-duty freezer bag like a Ziploc Endurables Pouch. They won’t stick together, and you can grab exactly what you need.
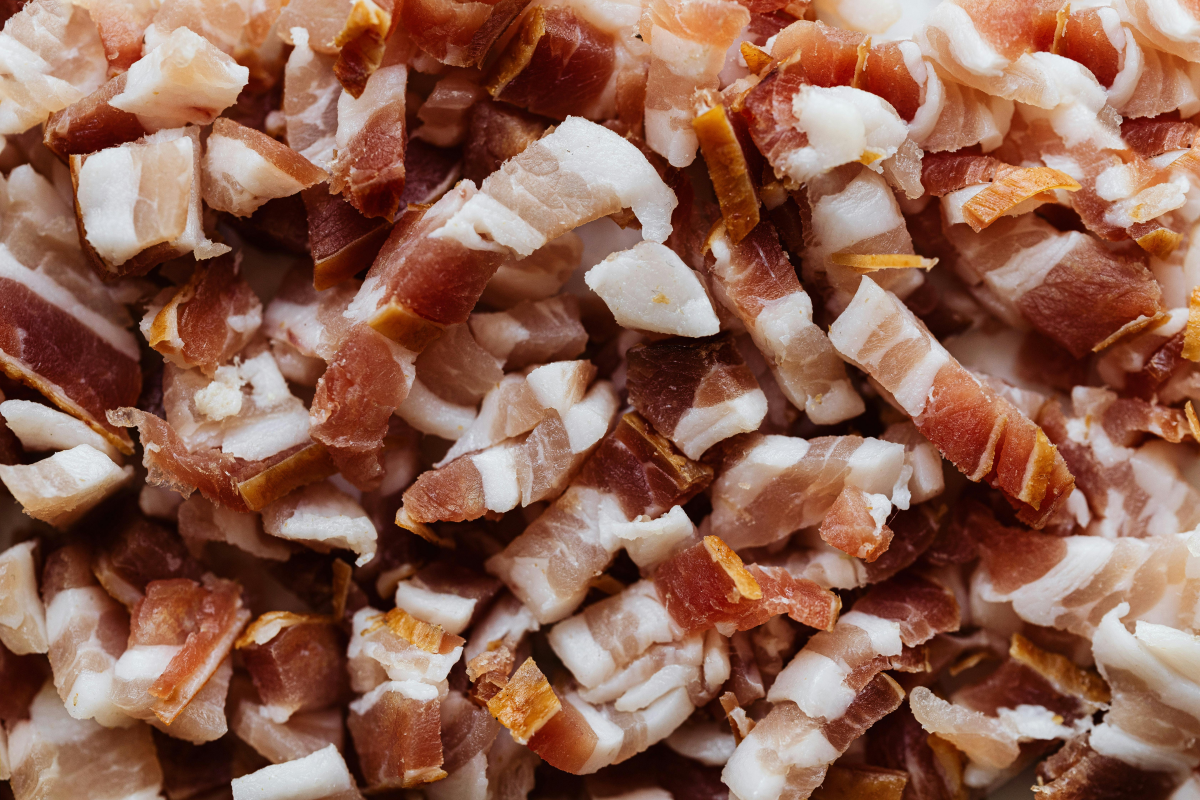
For Bacon Bits: The ultimate shortcut. Crumble or finely chop your cooked bacon and pack it into a small, airtight freezer container. These are ready to be sprinkled directly from frozen onto soups, salads, or into your morning scrambled eggs for an immediate savory kick.