Those Annoying Water Rings on Wood? Here’s How to Actually Fix Them
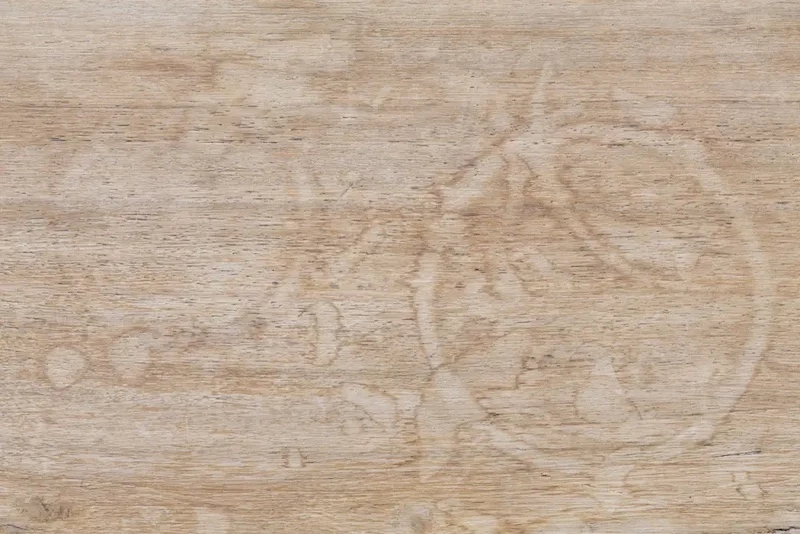
In all my years restoring furniture, the one thing that lands on my workbench more than anything else is the dreaded water stain. You know the one—that cloudy white ring on the coffee table or the ugly dark spot on the dining room sideboard. The story is almost always the same: a sweaty glass left without a coaster, or a houseplant that decided to leak.
In this article
Most people immediately think they’ve ruined the wood for good, but here’s the secret: most of the time, the wood itself is perfectly fine. The real problem is in the protective finish on top of it. Honestly, just understanding that one difference is what separates a successful fix from a very expensive mistake.
Before you grab some weird home remedy you saw online or, heaven forbid, a piece of sandpaper, it’s critical to know what you’re dealing with. Let’s walk through how the pros assess and treat these stains, from the easy fixes to the more involved restorations.

First Off, What Kind of Stain Are We Talking About?
Water stains really come in two flavors, and they are worlds apart in terms of what they mean for your furniture. Getting this right is everything.
White, Cloudy Stains (The Good News!)
If you see a white, hazy, or cloudy ring, you can breathe a sigh of relief. This is often called a “blush,” and it means moisture is simply trapped inside the finish layer (like the lacquer or varnish). It hasn’t reached the wood yet. The cloudiness is just a trick of the light caused by tiny water droplets stuck in the finish. Your job here is to gently coax that moisture out. This is usually a very fixable, low-stress problem.
Dark or Black Stains (Okay, The Not-So-Good News)
A dark or black stain is a more serious issue. This means water has punched all the way through the finish and has soaked directly into the wood fibers. The dark color is a bad sign; it could be mildew starting to form, or a chemical reaction where tannins in the wood (especially oak) have reacted with the water. If there was any metal involved, like from the bottom of a can, it can create a deep, inky black stain. Fixing this means you’re no longer just dealing with the finish—you have to treat the wood itself. It’s a bigger job, for sure.
Before You Do Anything, Identify the Finish
Hold on! Before you try any repair, you have to know what kind of finish you’re working with. Using the wrong chemical on the wrong finish can turn a simple job into a sticky, gummy nightmare that has to be completely stripped. I’ve seen it happen, and it’s not pretty.
Just do a couple of quick tests on a hidden spot—the underside of the table, an inside leg, or the back of the piece are all perfect.
- The Alcohol Test: Grab some denatured alcohol (you can find this for about $10 at any hardware store). Put a single drop on your hidden spot and wait 30 seconds. If the finish gets soft or sticky, you’ve got shellac. This was a common finish on older, traditional furniture.
- The Lacquer Thinner Test: If the alcohol did nothing, try a drop of lacquer thinner next. A small can of this is also available at the hardware store for around $10-15. Heads up, this stuff is potent, so be careful. If this drop softens or starts to dissolve the finish, you have lacquer.
- If Nothing Happens: If neither solvent does a thing, you likely have a modern, durable finish like polyurethane or a tough varnish. It could also be an older oil or wax finish, which often looks more natural and low-sheen.
Knowing your finish type is the single most important piece of info you can have. It guides every single decision you make next.
How to Fix White Water Stains (The Blush)
When you’re dealing with a white stain, always, ALWAYS start with the gentlest method first. You can escalate if you need to, but you can’t undo damage from going in too aggressively. This is usually a 30-minute project if you have the materials on hand.
Method 1: The Oil & Gentle Rub
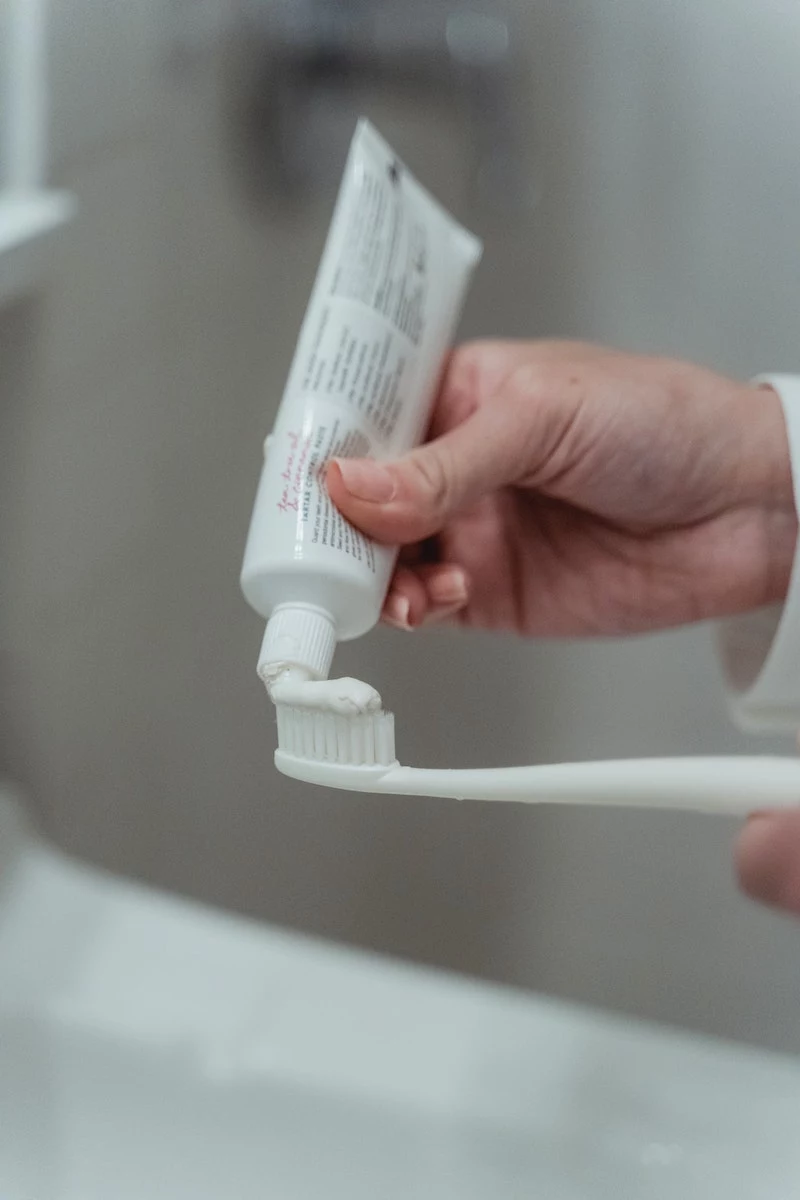
You’ve probably heard about using mayonnaise or toothpaste. The reason they sometimes work is that they combine a mild oil with a very fine abrasive. But they’re unpredictable. A pro uses a more controlled approach.
Here’s what you’ll need:
- Mineral Oil: The kind you find in the pharmacy aisle for about $5. Or a specific “lemon oil” furniture polish.
- A Mild Abrasive: The best choice is rottenstone powder, which is an ultra-fine polisher. You can find it online or at a specialty woodworking store like Rockler or Woodcraft for about $10-15 a bag.
- A Soft Cloth: An old, clean 100% cotton t-shirt is perfect because it’s soft and lint-free. A microfiber cloth works well, too.
- Mineral Spirits: For cleanup. About $8 at the hardware store.
Quick Tip: Mineral oil and mineral spirits are NOT the same thing! This is a super common mistake. The oil is for polishing and conditioning; the spirits is a solvent used for cleanup. Don’t mix them up.
Here’s the technique: Pour a little mineral oil onto a saucer and sprinkle in some rottenstone to make a thin, smooth paste. Dip your cloth in and gently rub the paste on the white ring, always moving with the wood grain. Use light pressure. Check every 20 seconds or so by wiping the area clean. Once the stain is gone, wipe off all the oily residue with a separate cloth dampened with mineral spirits, then buff dry.
Method 2: The Heat Trick
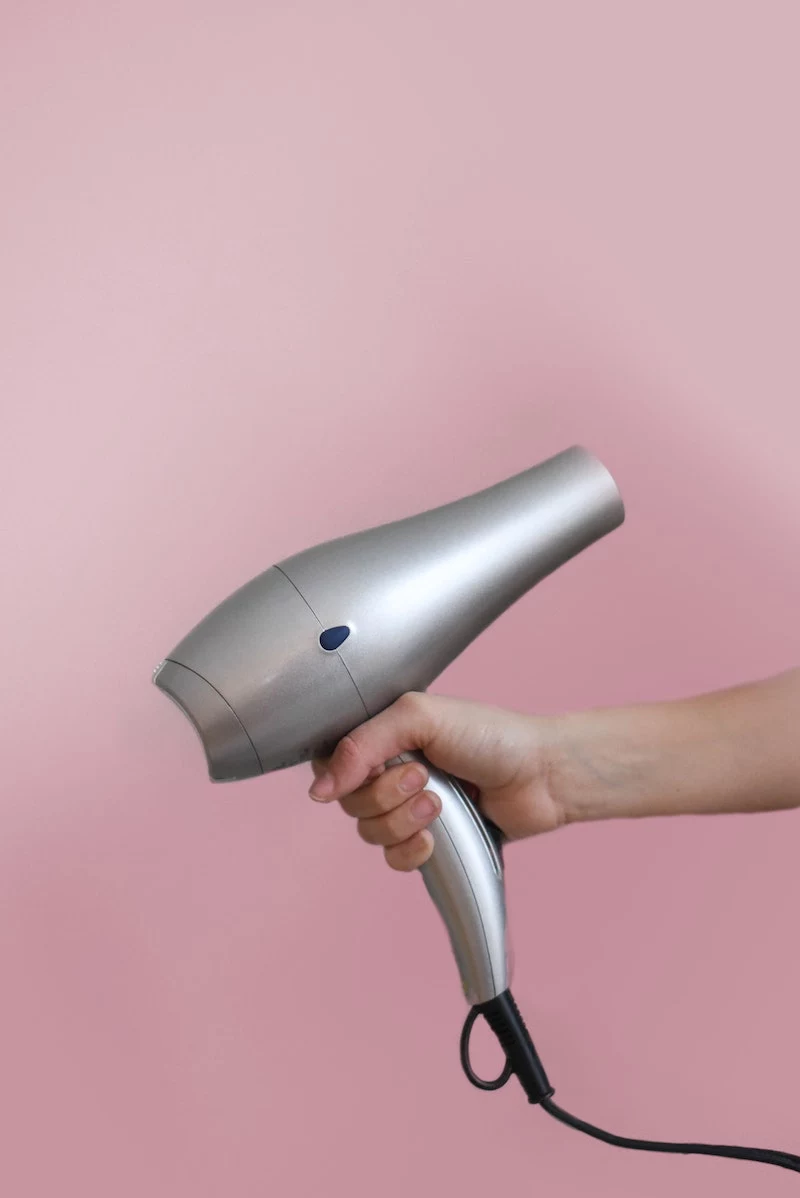
This method works by gently warming the finish, which lets the trapped moisture escape. You can use a hairdryer or an iron, but they are risky. A heat gun on its lowest setting is what the pros use because the heat is more consistent.
I’ll never forget the first time I used a heat gun on a vintage veneer piece. I got a little too close and saw the veneer start to form a tiny bubble. My heart stopped. That’s why I’m telling you: keep it moving and stay at least 6-8 inches away!
Hold the heat gun on low, keep it moving in slow sweeps over the stain, and watch closely. The white haze should literally disappear before your eyes in under a minute. As soon as it’s gone, stop and let it cool.
Tackling Dark Water Stains
Okay, this is where the conversation gets real. When a client brings me a piece with a dark stain, I’m up front with them: this is no longer a simple repair, it’s a restoration project. To do it right, a pro would likely charge anywhere from $200 to over $800, depending on the size of the piece and the value.
The only way to fix it is to strip the finish, treat the stained wood, and then refinish the entire surface to make it match. This is a weekend project, at least.
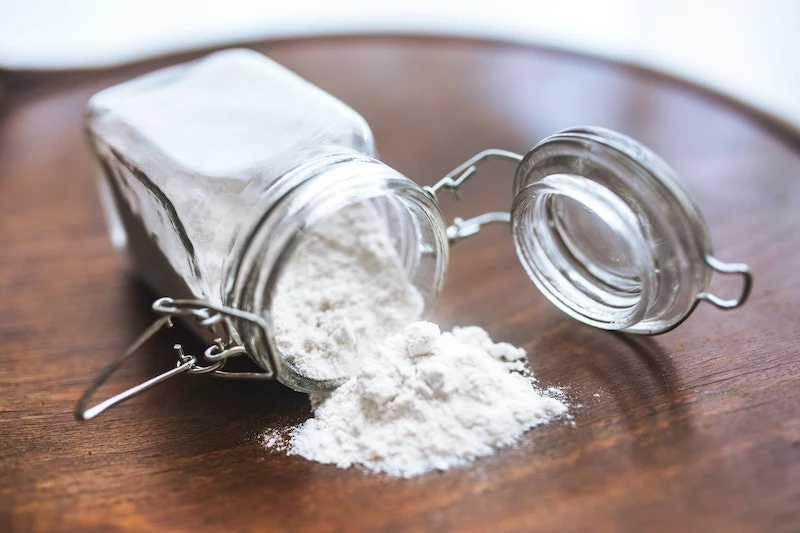
The industry standard for this is oxalic acid, which is sold as “wood bleach.” It comes as a white powder you mix with hot water. You can find it online or at some paint supply stores for about $15-20 a container.
SAFETY FIRST: Let’s be very clear—oxalic acid is a poison. It’s toxic if ingested and can cause serious skin and eye irritation. Always use nitrile gloves, safety goggles, and work in a well-ventilated area. This is a serious chemical.
The process involves:
- Chemically stripping the old finish from the entire surface.
- Applying the oxalic acid solution to the dark stain on the bare wood.
- Letting it dry completely, which can take hours. You often need to do this a few times.
- Neutralizing the acid with a baking soda and water solution.
- Letting the wood dry for at least a full day before you can even think about sanding and applying a new finish.
The biggest challenge? The bleached spot will be lighter than the rest of the wood. This is why you almost always have to sand and refinish the whole tabletop to get a beautiful, uniform look.
The Best Fix is Always Prevention
A little care goes a long, long way. Use good, absorbent coasters. Wipe up spills the second they happen. Easy.
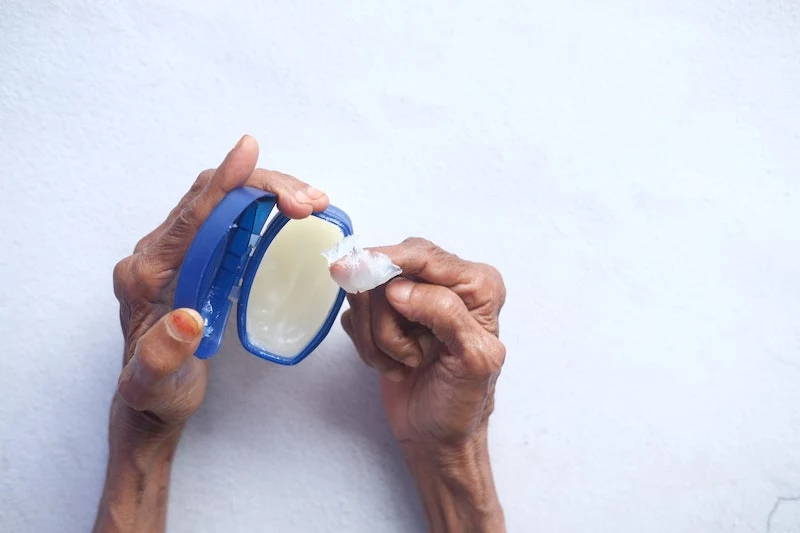
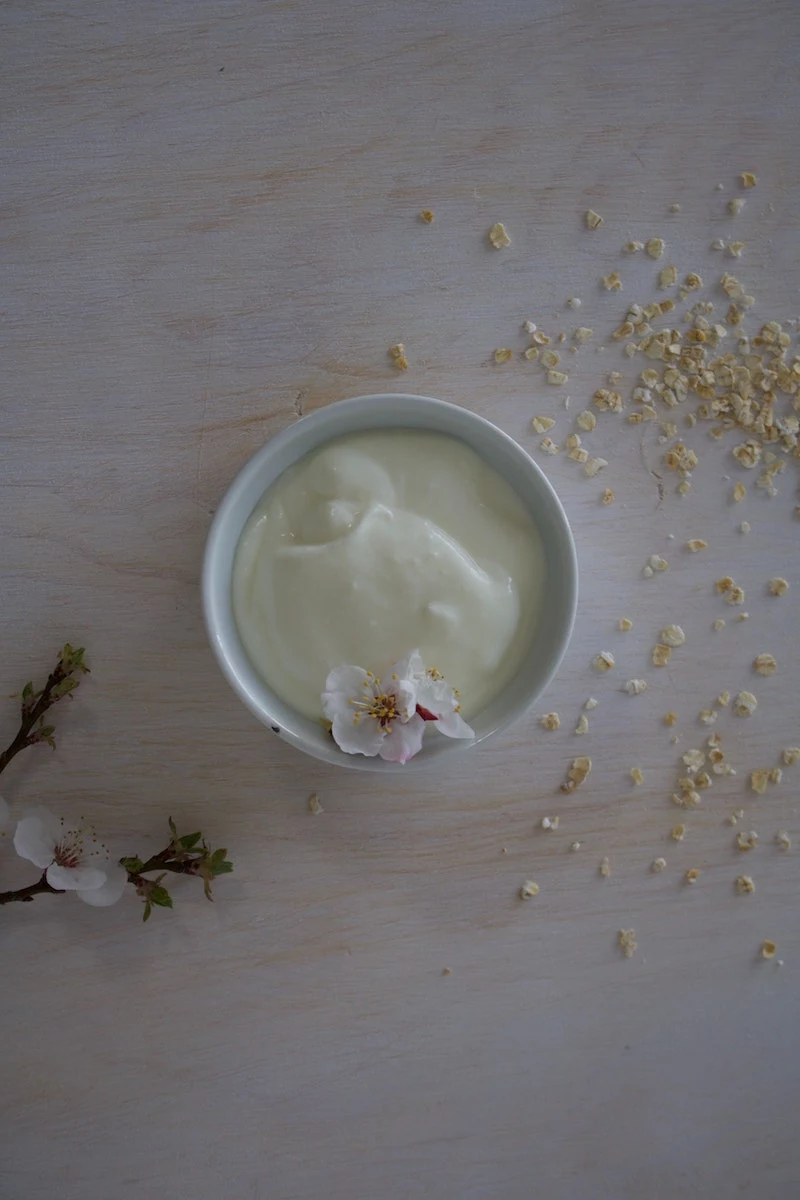
By the way, one of the best things you can do for your furniture is to apply a quality paste wax once or twice a year. I’ve always had good luck with common brands you can find at most home centers, like Minwax Paste Finishing Wax. It adds a sacrificial layer of protection. This gives you a few extra minutes to wipe up a spill before moisture can cause trouble.
Know When to Fold ‘Em and Call a Pro
I’m all for empowering people to care for their things, but it’s just as important to know your limits. You should seriously consider calling in a professional if:
- The piece is a valuable antique or has huge sentimental meaning.
- The stain is dark, black, or covers a big area.
- You even suspect the furniture is veneered. It is incredibly easy to sand right through that thin layer of wood, permanently ruining it.
- You’ve tried the gentle methods on a white stain and nothing is working.
- You aren’t comfortable or equipped to safely handle chemicals like oxalic acid.
There’s no shame in it. A good restorer can make a repair that is virtually invisible. Sometimes, the cheapest option is to have it done right the first time.
Inspirational Gallery with Photos
The Mayonnaise Myth: Does slathering mayonnaise on a white water ring actually work? Sort of, but it’s a risky fix. The oil and vinegar in the mayonnaise can sometimes penetrate the finish and displace the trapped moisture, making the white blush disappear. However, you risk leaving a new, greasy stain in its place. A safer bet is a dedicated product like Howard Restor-A-Finish, which is designed to solve the problem without introducing new ones.
The dark, almost black, stain you see on oak furniture is often a chemical reaction. The tannins naturally present in the oak wood react with water and trace amounts of iron, creating a permanent-looking iron tannate—essentially a natural ink.
When a spill happens, your first instinct is your most important tool. Blot immediately—don’t wipe. Wiping smears the moisture across a larger surface area, increasing the chance of it finding a weak spot in the finish. A quick, gentle blot with an absorbent microfiber cloth lifts the liquid straight up, often preventing a stain from ever forming.
Choosing the right finish for a high-traffic surface like a dining table can make all the difference. Consider a modern hardwax-oil.
- Traditional Polyurethane: Forms a plastic-like film on top of the wood. It’s very durable, but if it gets scratched or stained, you often have to refinish the entire surface. Spot repairs are nearly impossible to blend in.
- Hardwax-Oil (like Osmo Polyx-Oil or Rubio Monocoat): Penetrates the wood fibers and hardens from within. This finish feels more natural and, crucially, is much easier to spot-repair. A light sanding and a fresh dab of oil on the affected area is often all you need.
Sometimes, a dark stain has penetrated too deeply to be removed without aggressive sanding that would ruin the piece. Instead of seeing it as a flaw, consider it an opportunity for creative concealment. A bespoke leather blotter on a desk, a beautiful ceramic tray on a sideboard, or even a custom wood inlay can turn a permanent mark into a deliberate, stylish feature.
For ultimate protection: Look into two-part, catalyzing oil finishes. Unlike traditional oils, these products (such as Rubio Monocoat 2C Oil Plus) have an accelerator that creates a rapid and robust molecular bond with the wood’s surface cellulose. The result is an incredibly water-resistant and durable finish that maintains the natural look and feel of the wood. It’s the go-to choice for many high-end furniture makers and restorers working on restaurant tables and bar tops for a reason.
- Resist trapping moisture underneath.
- Absorb condensation effectively.
- Won’t scratch delicate finishes.
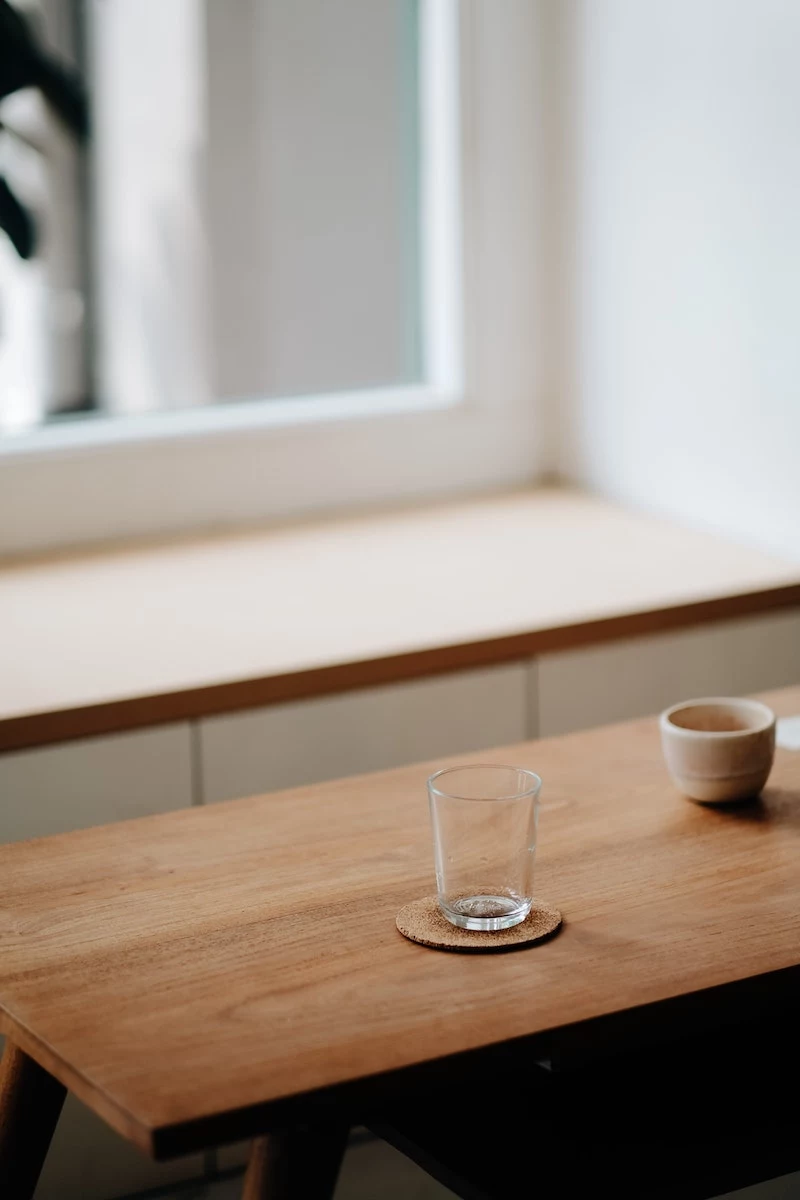
The secret to a truly effective coaster? The right material. Avoid coasters made of glazed ceramic or metal, as condensation can pool on top and run off onto the table. Instead, opt for materials like thick felt, cork, or unglazed sandstone. They absorb moisture and protect the wood finish beneath.
Wood furniture is most stable in a relative humidity of 45-55%.
This isn’t just an abstract number. When indoor air is too dry, the wood shrinks and the finish can become brittle and crack, creating tiny fissures for moisture to enter. Conversely, high humidity can swell the wood and weaken the finish. Maintaining a stable environment with a humidifier or dehumidifier is one of the best long-term strategies to prevent all kinds of furniture damage, including water stains.
There’s a subtle but important difference between damage and patina. A water ring is damage—an unwelcome accident that mars the finish. Patina, however, is the gentle story of a piece’s life, written in the soft scuffs, burnished edges, and subtle color shifts from years of use and sunlight. Learning to embrace the latter while preventing the former is the key to living with and loving wooden furniture.
What if the stain is gone but the sheen is dull?
After successfully removing a white ring, you might notice the spot has a different gloss level than the surrounding area. To fix this, use a super-fine abrasive. A product like a Liberon 0000 Steel Wool pad, used with extreme gentleness and lubricated with a bit of wax polish, can be lightly buffed in the direction of the grain to knock back an overly glossy spot or, with more pressure, bring a bit more shine to a dull one.


