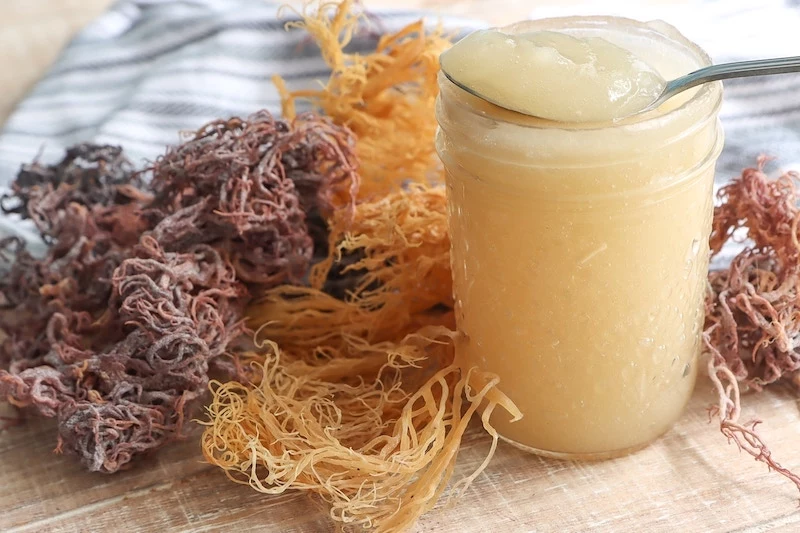
The Real Deal on Sea Moss Gel: A No-Nonsense Guide to Making It at Home
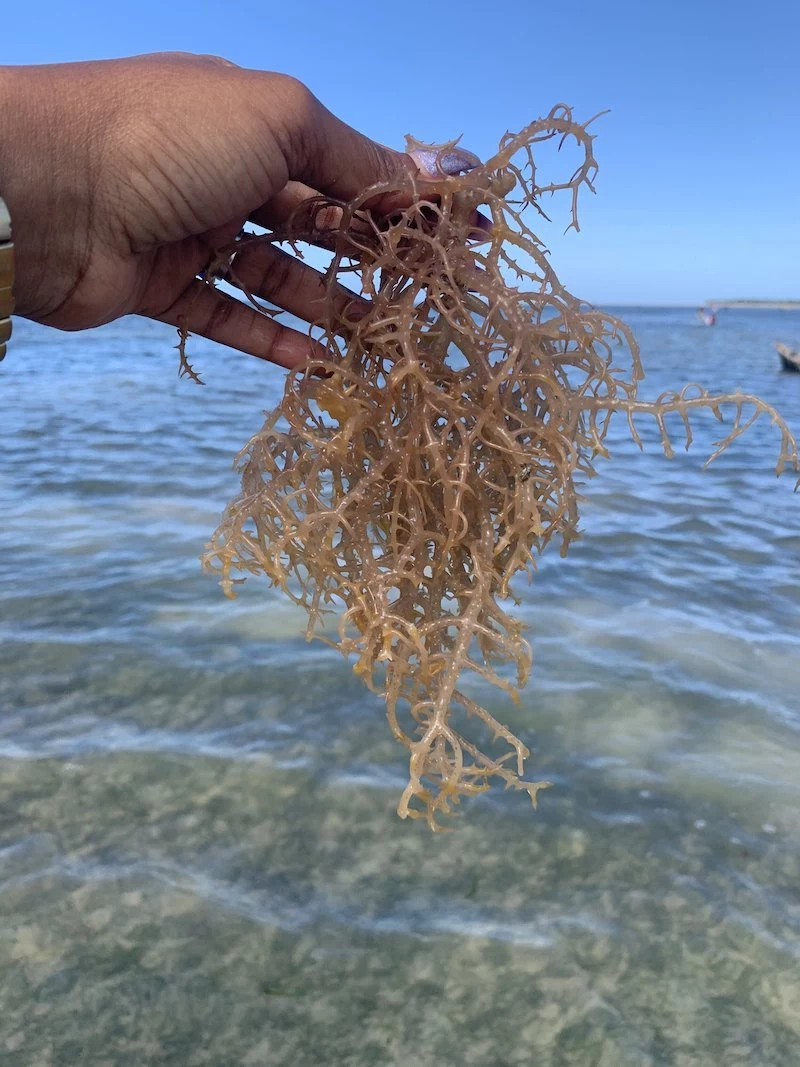
I’ve been working with botanicals for a long, long time. My whole world revolves around sourcing quality herbs and seaweeds for small shops and teaching folks how to use them right. I’ll never forget the first time I got my hands on true, wild-harvested sea moss. It wasn’t the pristine, pale-gold stuff you see all over Instagram. It was a deep purplish-red, stiff with sea salt, and it smelled exactly like the cold, rocky Atlantic coast it came from. It was real, and it taught me a lesson that has stuck with me ever since: the quality of what you start with changes everything.
In this article
Sea moss is having a major moment, and you’ve probably heard all sorts of wild claims about it. My goal here isn’t to add to that noise. Instead, I want to walk you through the practical, time-tested method for making incredible sea moss gel right in your own kitchen. This is about skill, not some magic trick.
So, let’s get into how to pick the good stuff, how to prep it like a pro, and how to spot the fakes.
First Things First: What Are You Actually Buying?
Before you even think about soaking, you need to know what you’re working with. Sea moss isn’t really a moss; it’s a type of red algae. Its superpower comes from a natural gelling agent called carrageenan. This is what lets a small, dry handful of seaweed absorb a ton of water and turn into a big jar of thick, useful gel.
You’ll often hear that sea moss has 92 of the 102 minerals our bodies need. While it’s definitely packed with nutrients, let’s be real: that number isn’t a guarantee. The exact mineral profile depends entirely on where it grew—the specific water, the season, the tides. Moss from the cold North Atlantic will be different from moss harvested in a warm Caribbean bay. Just think of it as a seriously nutrient-dense food, not a standardized multivitamin.
The Good, The Bad, and The Fake: Choosing Your Sea Moss
Honestly, the biggest mistake most people make is buying cheap, low-quality sea moss. Your source is everything, both for nutrients and for safety. There are a couple of main types you’ll find, plus one you should run away from.
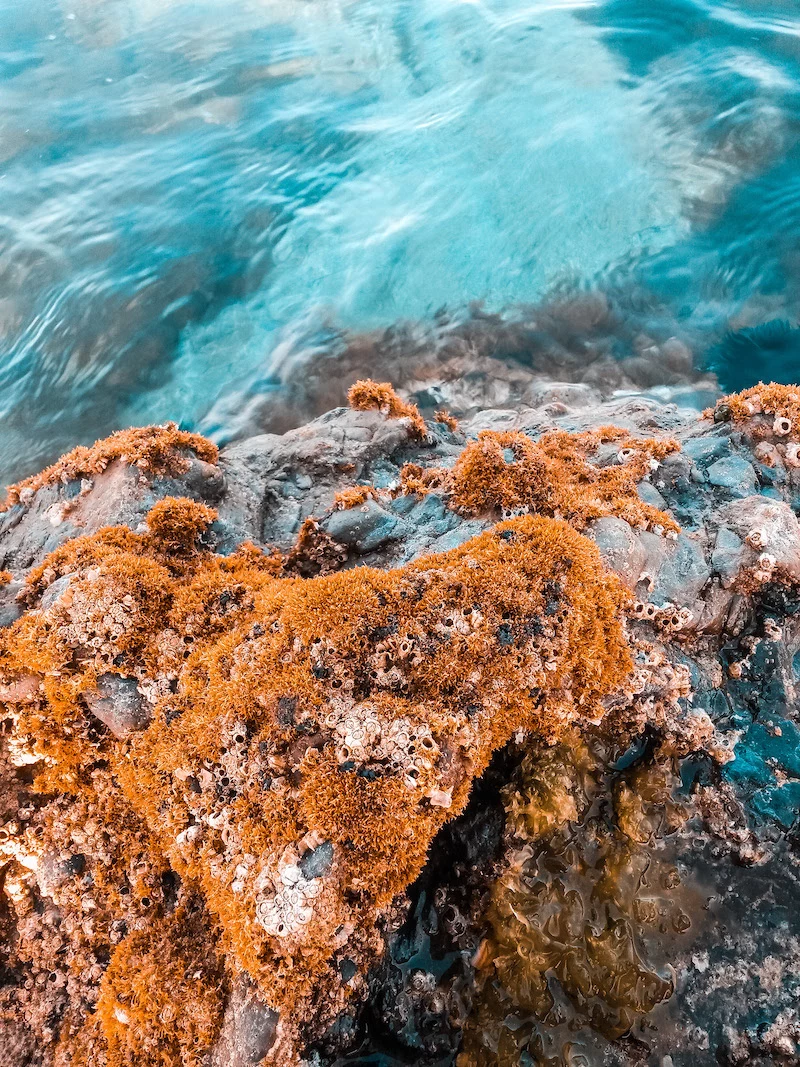
True Atlantic Moss
This is the classic stuff, traditionally used along the cold, rugged coasts of the North Atlantic. It’s a bit harder to find and definitely pricier, but for good reason.
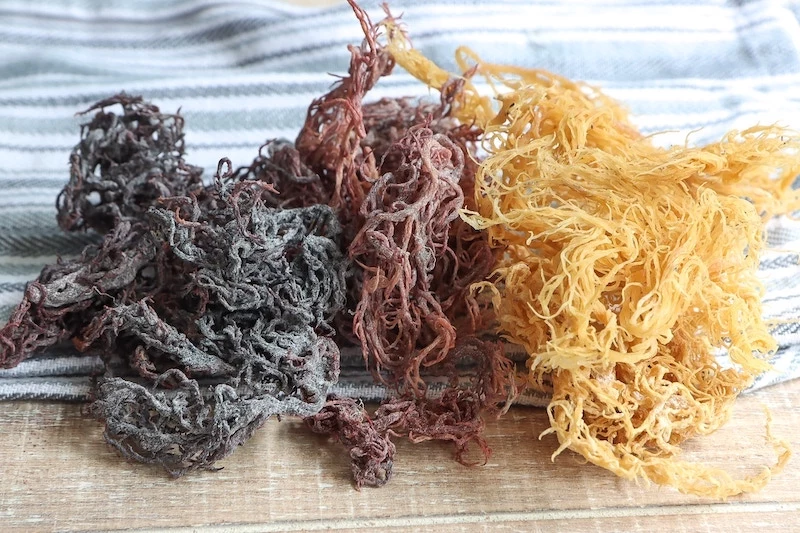
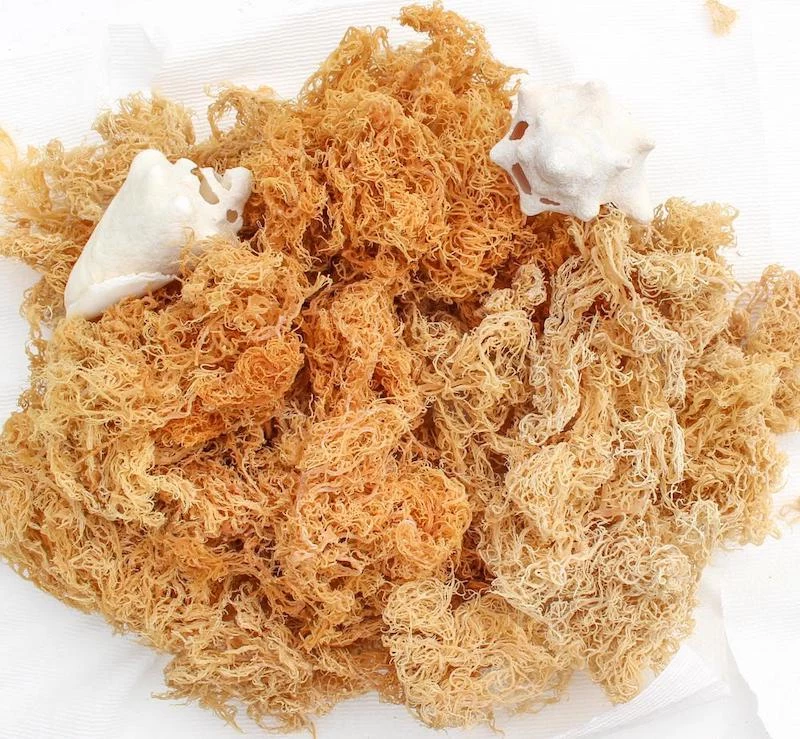
- What it looks like: It has flat, fan-like fronds and the color is usually a deep reddish-purple or dark brown. It almost never looks golden or white when it’s raw and dry.
- The Vibe: It smells strongly of the ocean—salty and briny. The gel it makes is incredibly dense and has a more noticeable (but not bad!) marine flavor.
- The Cost: For the real deal, expect to pay around $25 to $40 for a 4oz bag from a reputable online supplier that specializes in wild-harvested seaweeds.
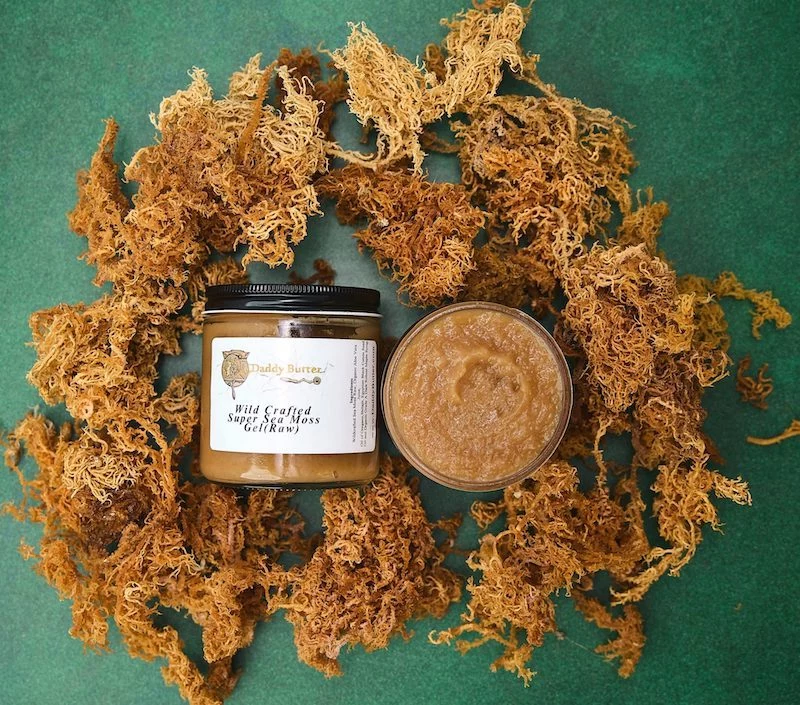
Caribbean Sea Moss
This is the most common type you’ll see online, often grown in warmer waters. It’s a great product when it’s from a good source, but it’s just… different.
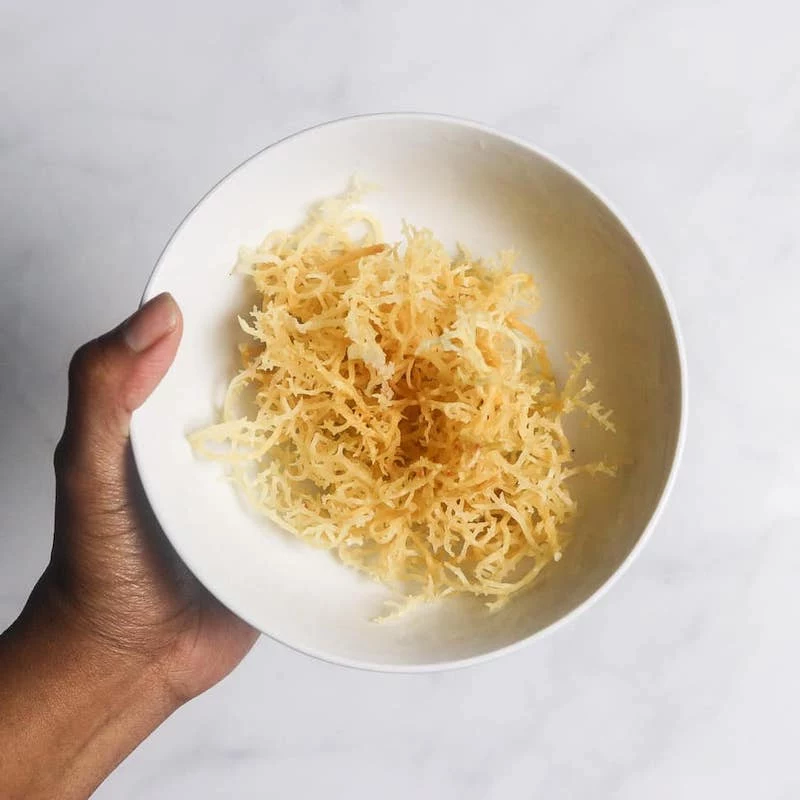
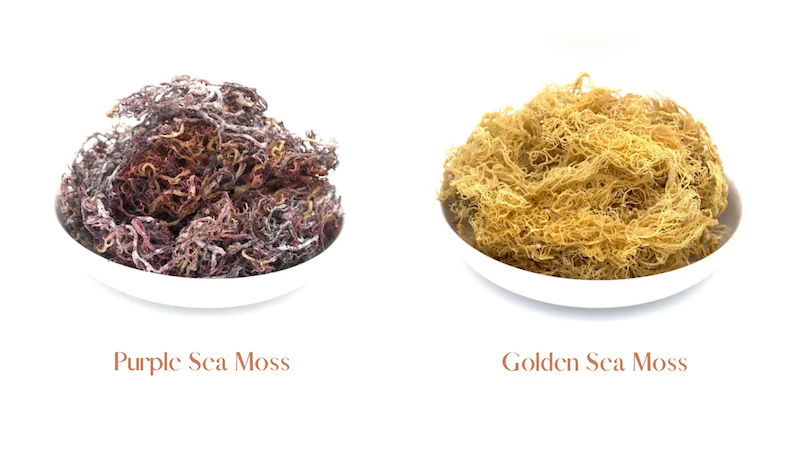
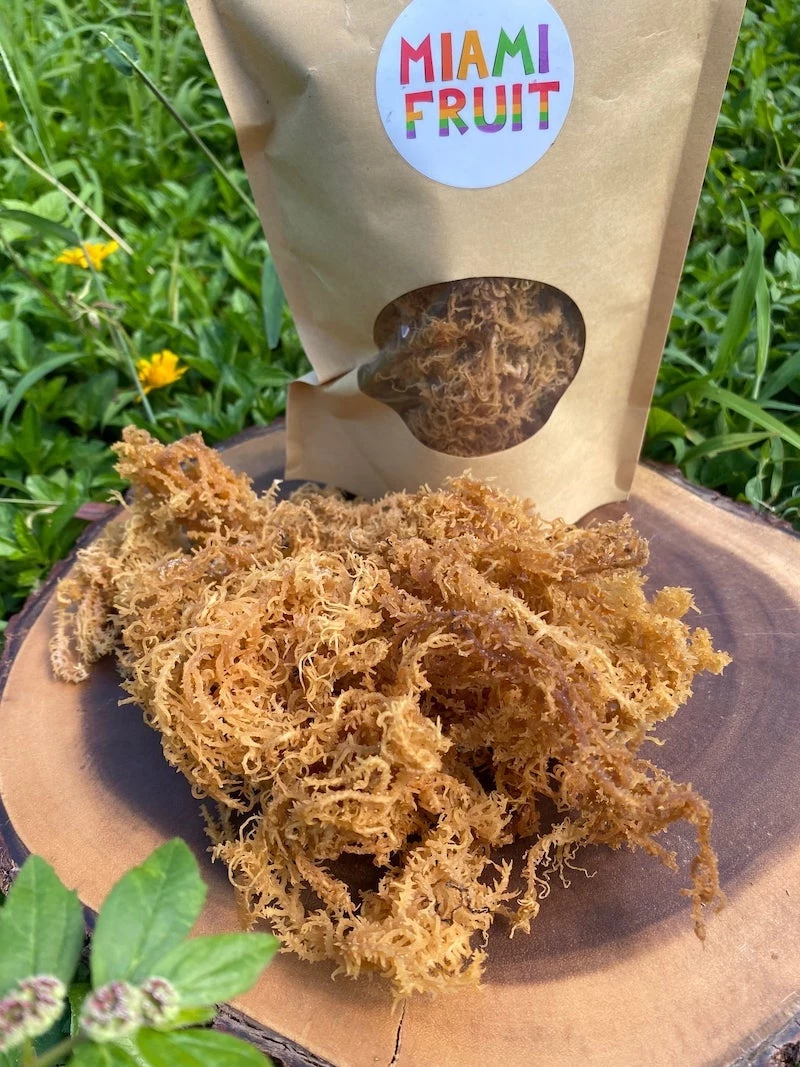
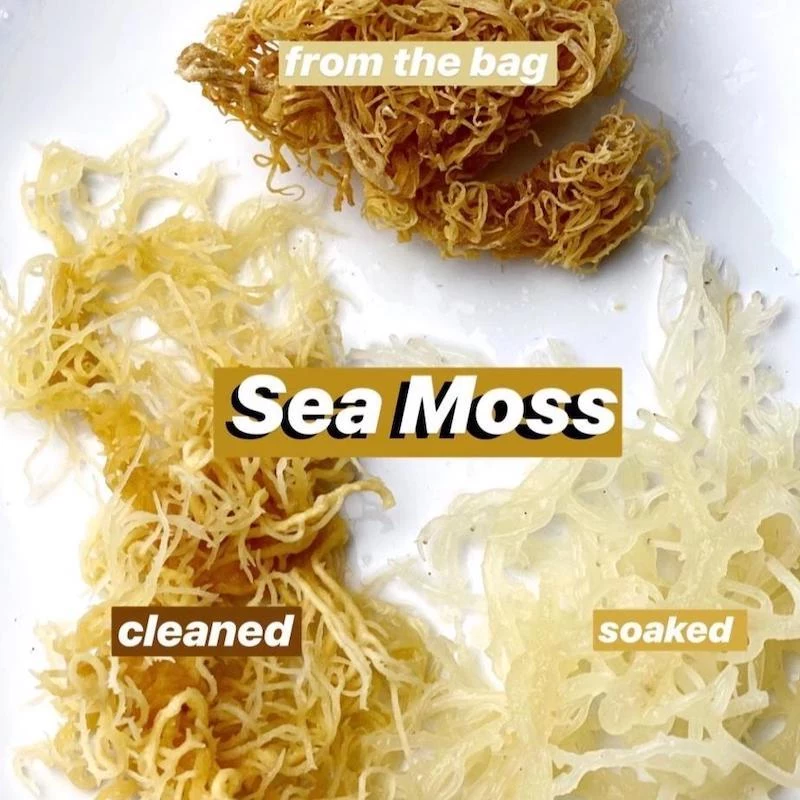
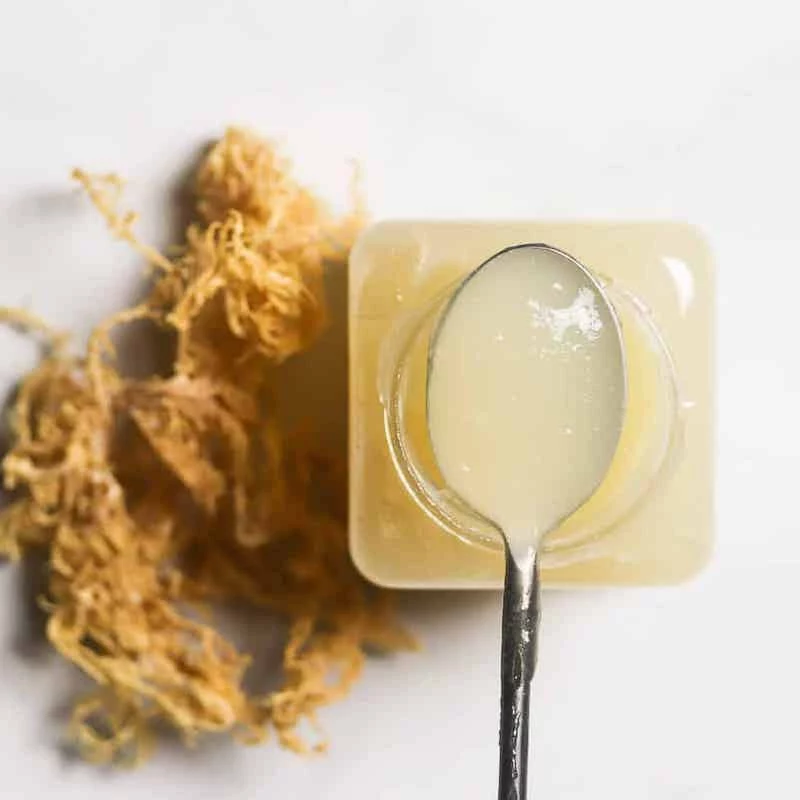
- What it looks like: It looks more like thin, stringy “noodles.” The popular golden color isn’t natural—it happens when it’s sun-dried (and sun-bleached). Some sellers offer a purple version, which was dried in the shade and holds onto more of its original goodness.
- The Vibe: It has a much milder sea scent. The gel is usually lighter in color and flavor, which a lot of people actually prefer for mixing into smoothies.
- The Cost: It’s more affordable, usually running from $15 to $25 for a 4oz bag. It’s a solid choice if you’re on a budget.
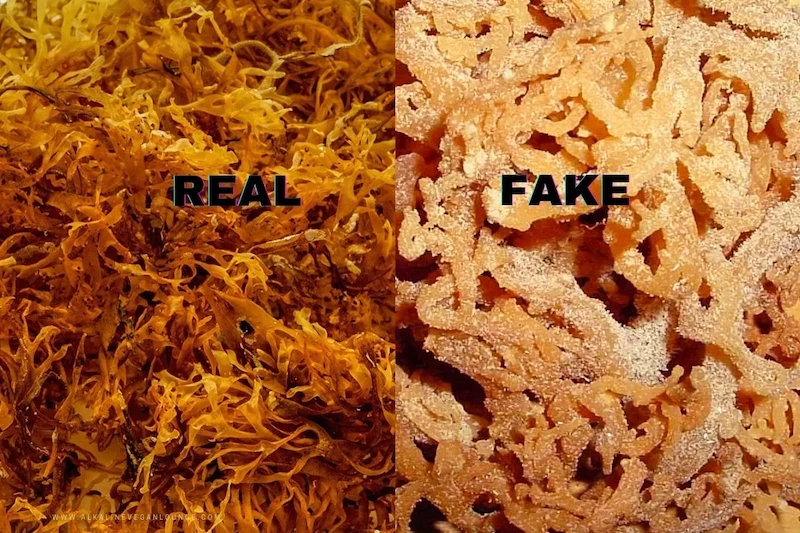
Heads Up: Avoid Pool-Grown Moss at All Costs
There’s a third type you absolutely must avoid: pool-grown moss. This is “farmed” in artificial saltwater pools, often with added chemicals to speed up growth. I once got a sample from a new supplier, and it was a joke. It had a weird chemical smell under the salt, and all the strands were perfectly identical. Red flag! It also had a coarse, sharp salt caked on it that didn’t feel like natural sea salt at all.
Pool-grown moss is a nutrient-poor imposter. To protect yourself, always ask the seller a few direct questions. A good one is, “Can you confirm this is 100% wild-harvested from the ocean?” Even better, ask, “Do you have a certificate of analysis for heavy metals?” A reputable seller won’t even flinch at that question. If you see sea moss for a price that seems too good to be true (like $5 a bag), it’s almost certainly the fake pool stuff.
The Step-by-Step Method for Perfect, Smooth Gel
Alright, let’s make some gel. The key here is patience. Don’t rush the steps! We’ll start with about 1 ounce (roughly 28 grams) of dried sea moss. It doesn’t look like much, but you’ll be shocked at how much gel it makes.
By the way, before we start, here’s your super simple shopping list: your dried sea moss, a gallon of spring or filtered water (about $1 at the grocery store), a blender, and a few clean glass jars.
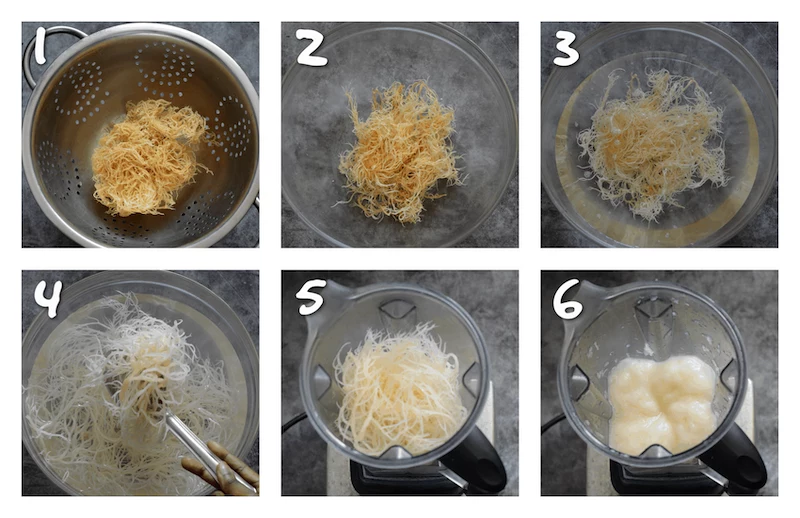
Step 1: Inspect and Rinse (The Dry Pass)
Spread your dry moss on a plate and just look at it. Since it’s a wild product, you might find tiny shells, a bit of sand, or other little ocean treasures. This is a good sign! It means it came from the actual sea. Pick out any debris, then give it a quick rinse in a colander with cool water to wash off the surface salt.
Step 2: The All-Important Soak
This is the step that separates mediocre gel from amazing gel. Soaking doesn’t just rehydrate; it deep cleans the moss.
- Water is Key: Use spring water or filtered water. Please, do not use tap water! The chlorine and other stuff in city water can give your gel a weird taste and make it spoil faster. This is a common mistake that ruins a perfectly good batch.
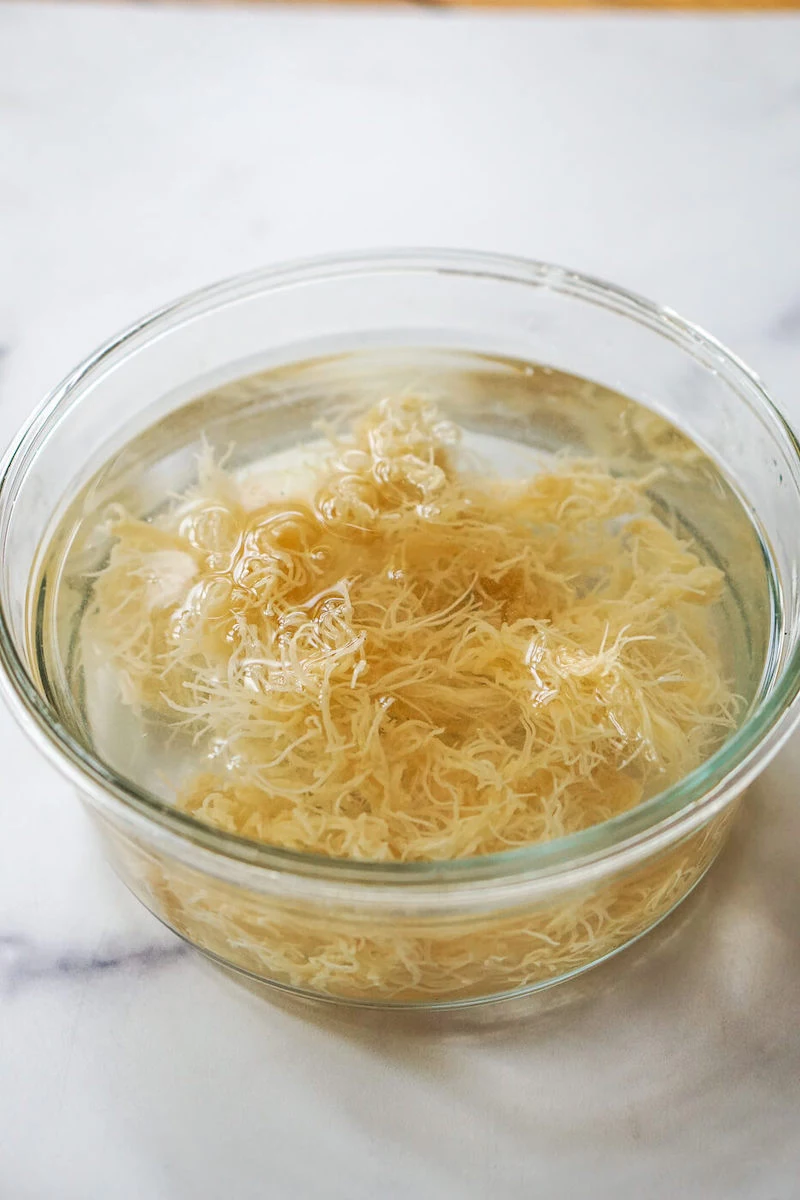
- Give it a Bath: Put the rinsed moss in a big glass bowl and cover it completely with your good water. It’s going to expand a ton—that 1-ounce handful will swell up to look like about 3 cups of slippery, translucent noodles—so make sure the bowl is large enough.
- Let it Sit: Cover the bowl with a cloth and let it soak on the counter for at least 12 hours. Honestly, 24 hours is even better. You’ll notice the water gets a bit cloudy and jelly-like. That’s a good thing.
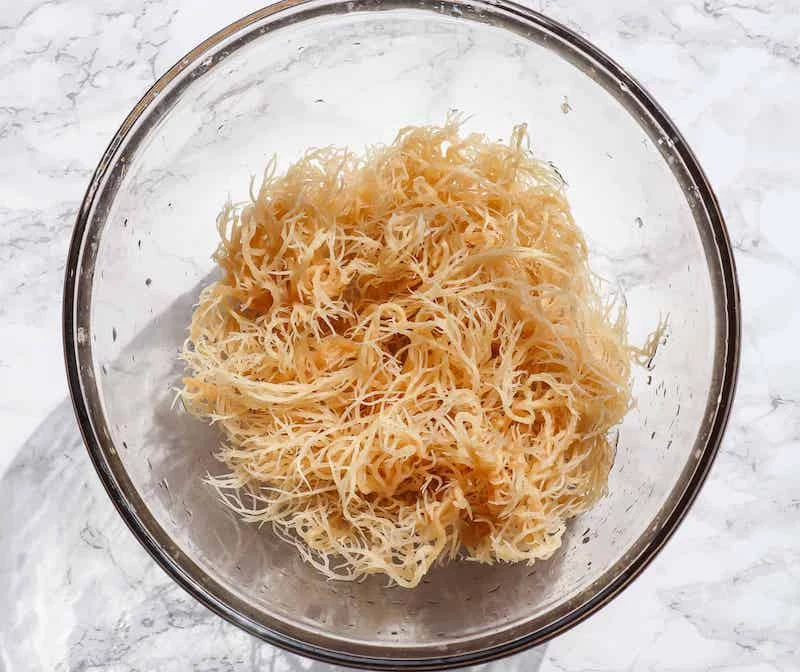
- Final Rinse: After the long soak, pour everything into a colander, discarding the soaking water. Give the now-plump sea moss one last, really good rinse with fresh spring or filtered water.
Step 3: Blend It Smooth
Time to turn that seaweed into creamy gel. A high-speed blender is your best friend here, as it will give you a perfectly smooth texture. A standard blender can work, too; you just might need to blend for an extra minute or two.
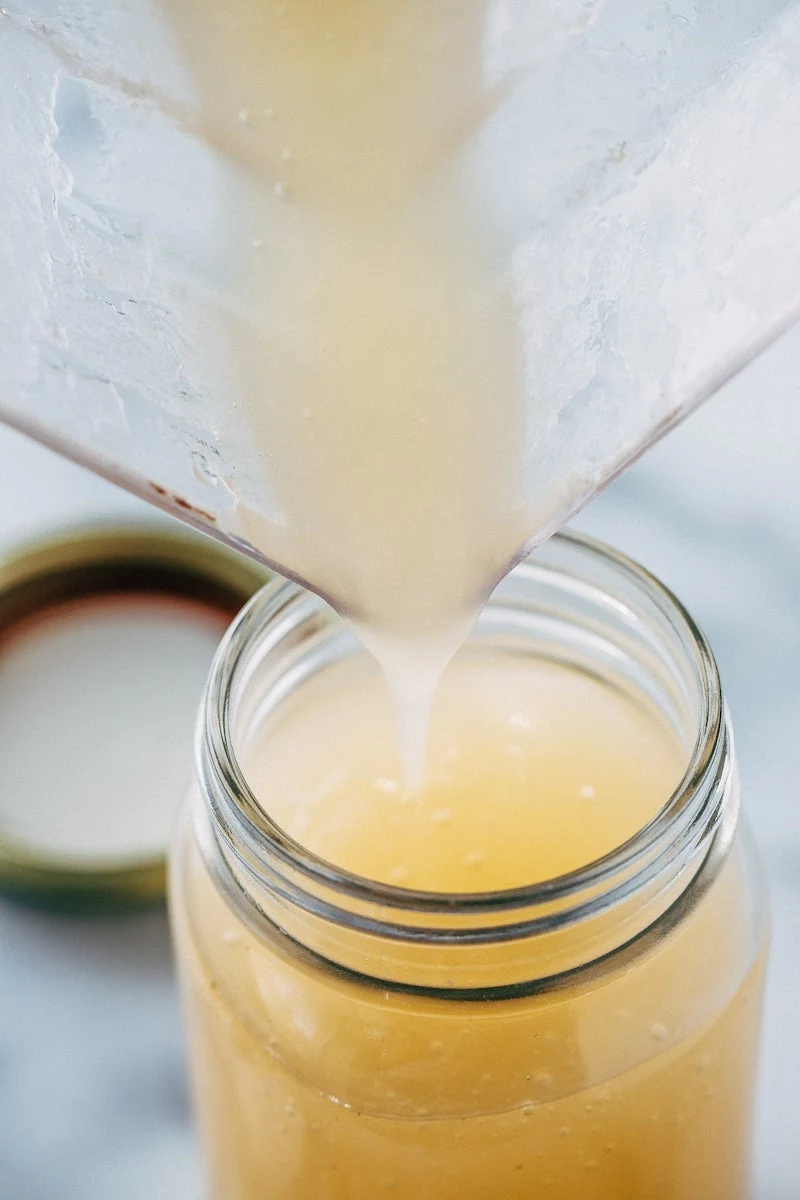
A good starting point for your water ratio is about 1 to 1.5. For every 1 cup of soaked moss, add 1.5 cups of fresh spring water to the blender. Start on low, then crank it to high and let it go for 2-3 minutes, until it’s completely smooth and creamy, like a thick milkshake. It will thicken up A LOT in the fridge, so don’t worry if it seems a little thin now.
Quick tip: If your gel feels gritty, you probably didn’t soak it long enough or your blender isn’t quite powerful enough. You can save it! Just pour the gel through a fine-mesh sieve to strain out the tough bits.

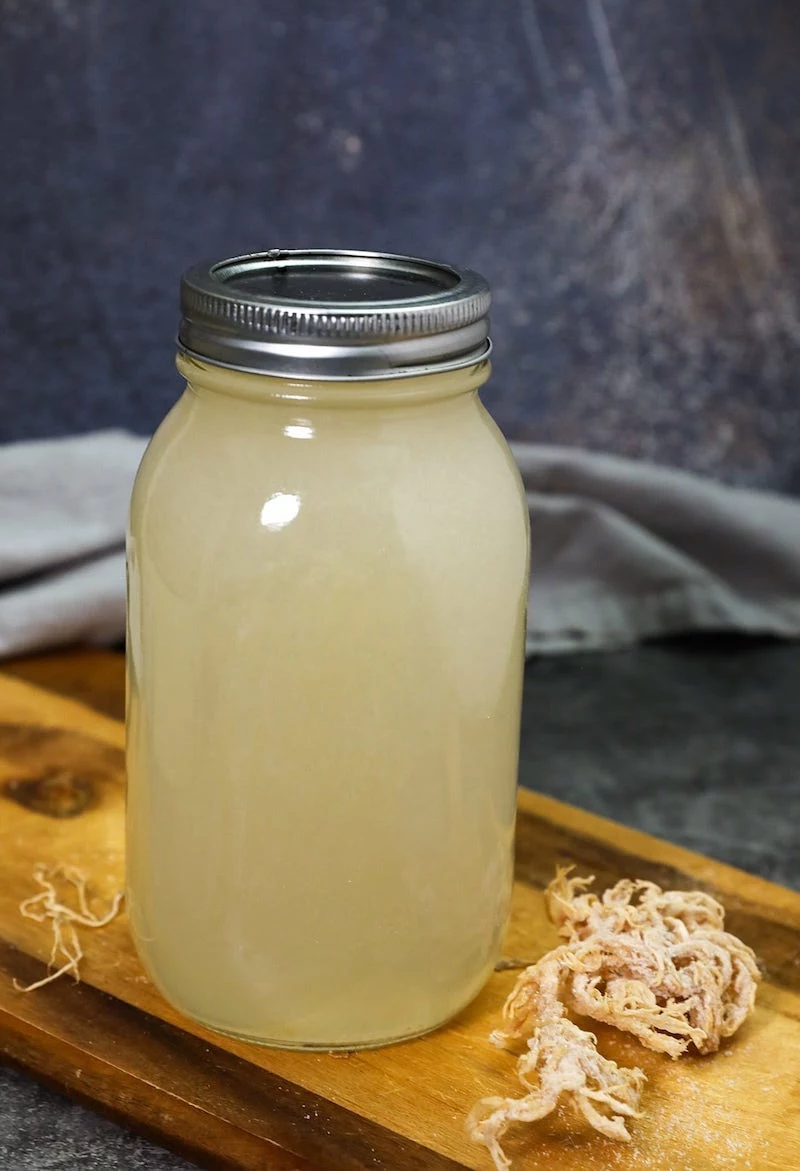
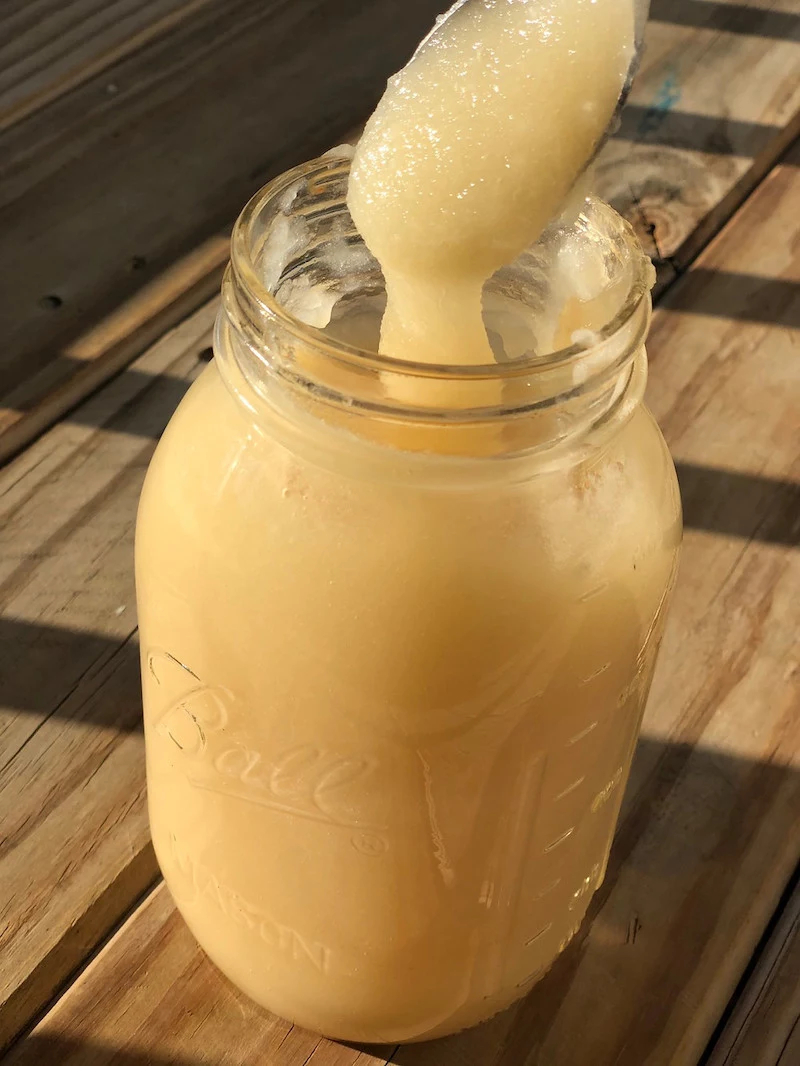
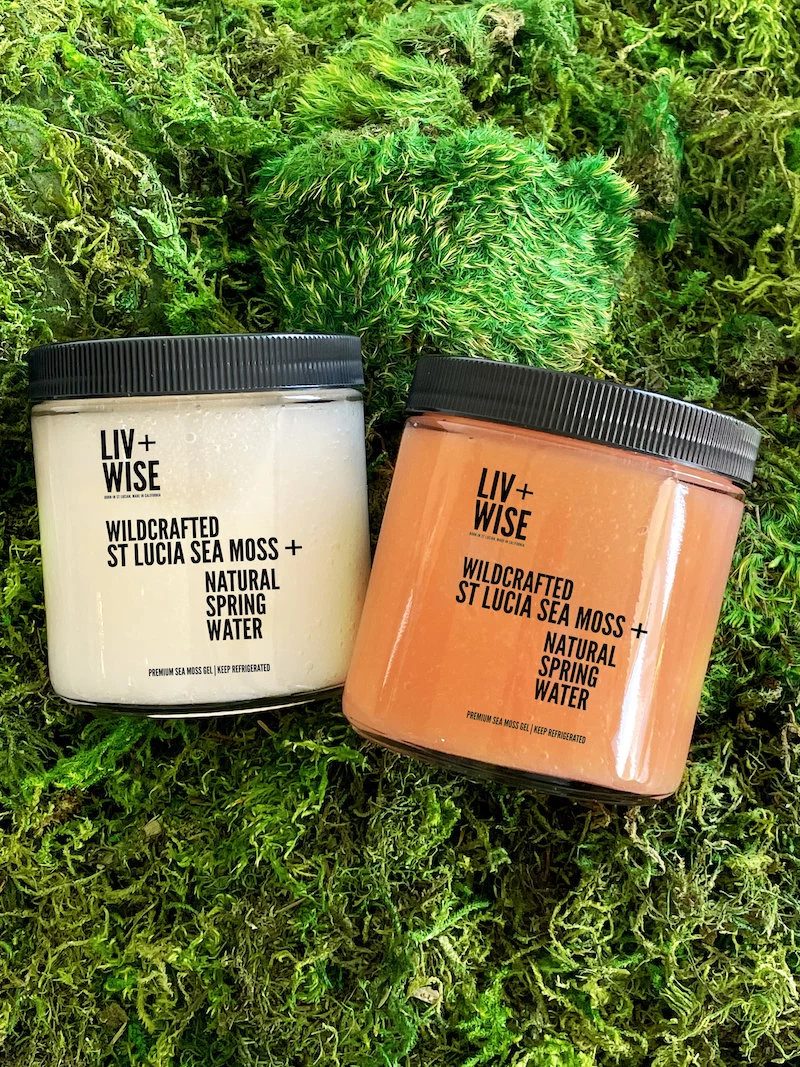
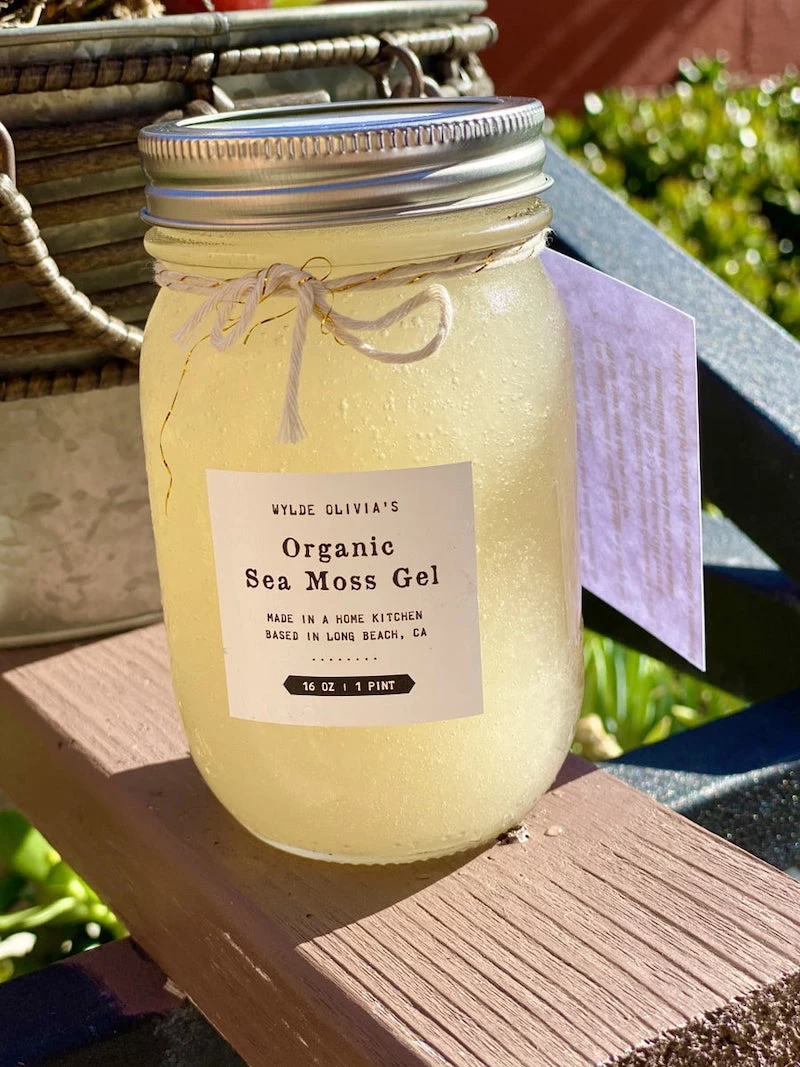
Step 4: Storing Your Liquid Gold
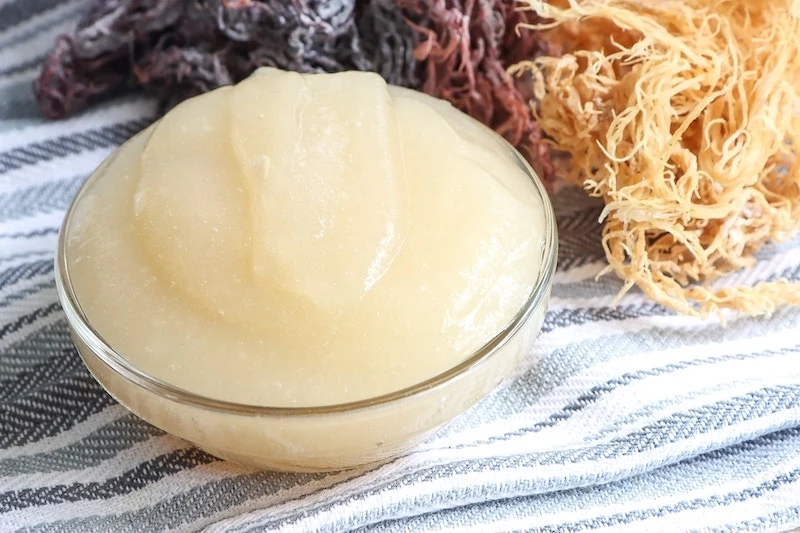
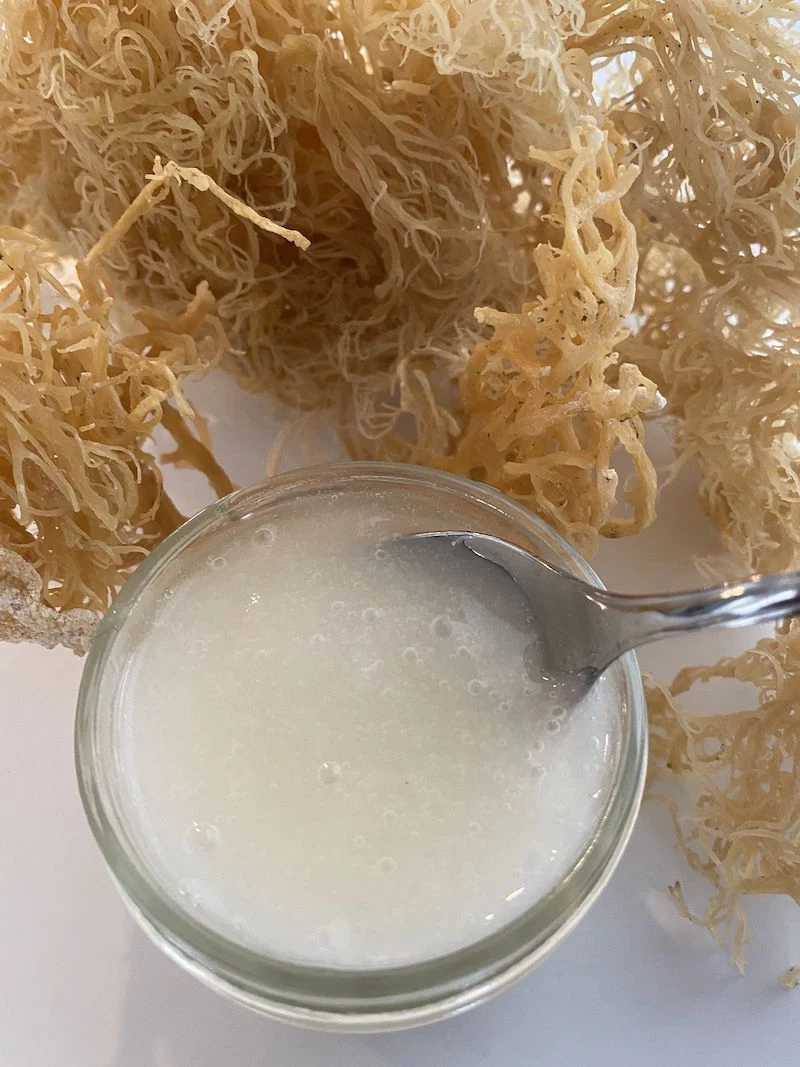
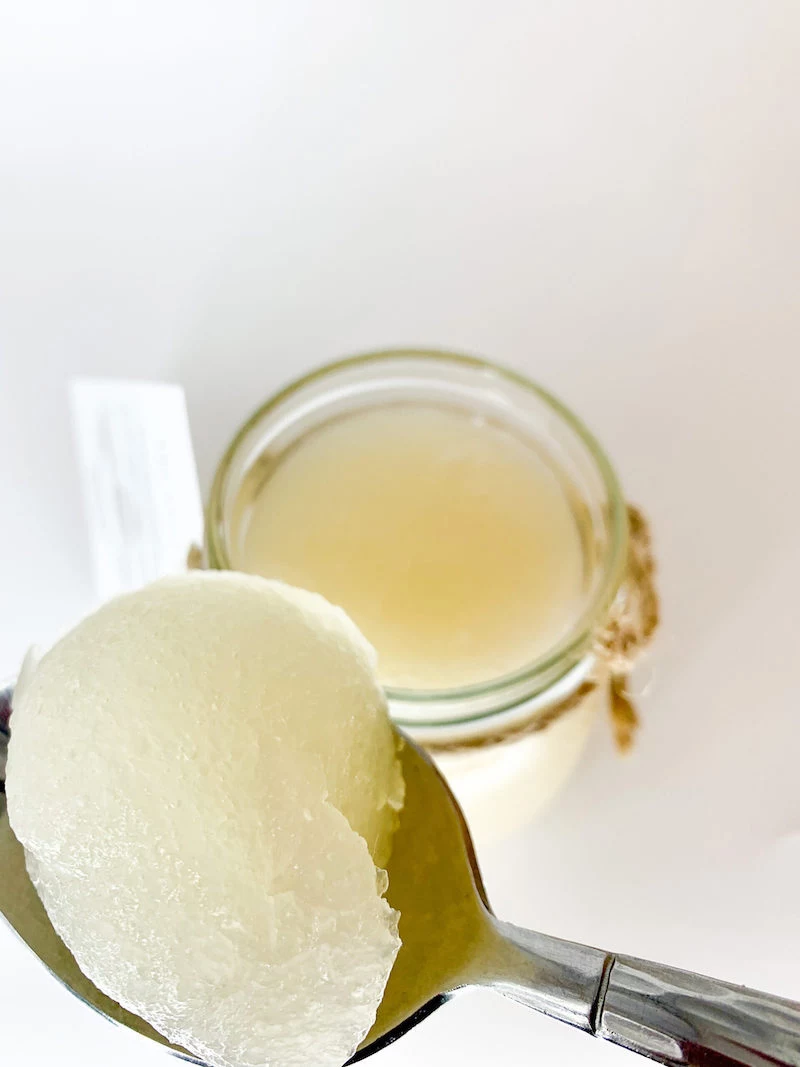
Pour your beautiful gel into clean, airtight glass jars (mason jars are perfect for this). Leave about an inch of space at the top. Seal them up and pop them straight into the fridge. It needs at least 4-6 hours to chill and set, but overnight is ideal. It should be firm, like a thick jelly.
It’ll last for about 2 to 3 weeks in the fridge. But always trust your senses. Look for a pinkish or greyish film on the surface, or any visible mold. If it smells sour or overly fishy, it’s time to toss it.
Pro tip for long-term storage: Sea moss gel freezes like a dream. Pour the fresh gel into silicone ice cube trays. Once frozen solid, pop the cubes into a freezer bag. They’ll last for 3-4 months and give you perfect, ready-to-use portions.
How to Use It (And How Much)
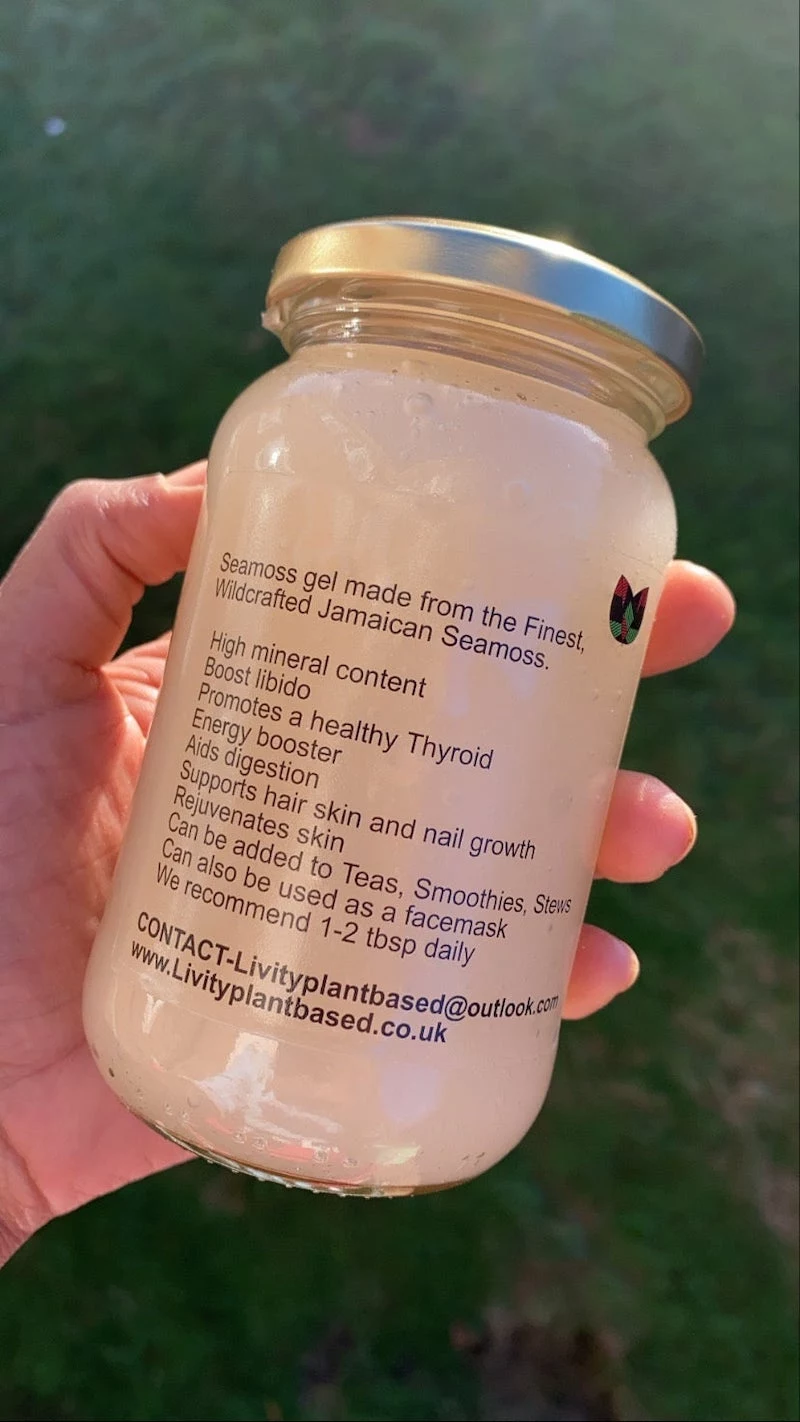
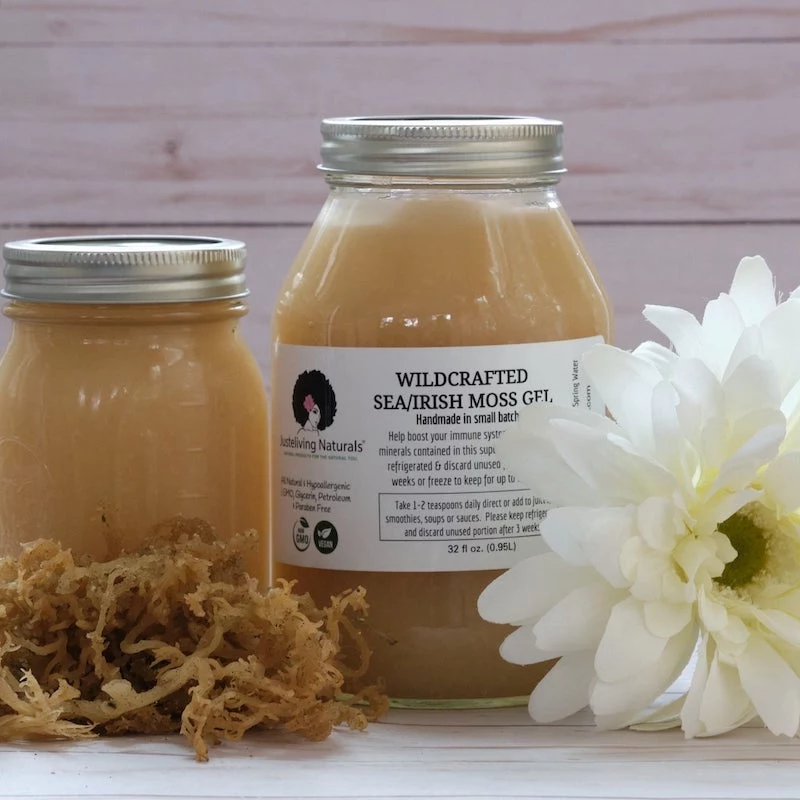
Some people buy pre-made gel, which is fine if you’re short on time. But making it yourself means you control the quality, you know there are no preservatives, and it’s way more cost-effective. Plus, it’s fun!
For Your Body
When you’re starting out, go slow. Begin with just 1 teaspoon a day to let your body adjust. You can work your way up to 1-2 tablespoons daily. It’s mostly tasteless, so it’s super easy to use.
- Smoothie Secret: Add a tablespoon to your smoothie for an incredible creamy texture.
- Thickener: Stir it into soups, stews, or sauces to give them more body without changing the flavor.
For Your Skin
The gel is amazing for skin because it helps pull moisture in. It makes for a simple, soothing face mask. Just apply a thin layer to clean skin, let it dry for 15-20 minutes (it’ll feel tight!), and then rinse with cool water. For a little extra boost, mix it with a teaspoon of raw honey first. As with any new skincare product, do a small patch test on your wrist first to make sure your skin loves it.
A Crucial Word on Safety
Natural doesn’t automatically mean it’s safe for everyone. This is really important.
The Iodine Issue
Seaweed is one of nature’s richest sources of iodine, which is critical for your thyroid. But—and this is a big but—too much iodine is dangerous. It can cause or worsen thyroid conditions. The amount of iodine in sea moss varies wildly from batch to batch.
If you have ANY thyroid condition, known or suspected, you absolutely must talk to your doctor before even thinking about using sea moss. This is non-negotiable.
Heavy Metals
Seaweeds absorb minerals from the water they live in. If that water is polluted, they can also absorb nasty stuff like heavy metals. This is another huge reason why buying from a reputable, transparent source who harvests from clean waters is so critical.
When in doubt, always chat with a healthcare provider, registered dietitian, or a qualified herbalist before adding something this potent to your routine. This is especially true if you are pregnant, nursing, taking medications, or have a chronic health issue. Enjoy the process and the amazing product you’ve made!
Inspirational Gallery
The Blender Secret: To achieve that perfectly smooth, commercial-grade texture, a high-speed blender is your best friend. Models from brands like Vitamix or Blendtec are powerful enough to completely pulverize the seaweed fibers, resulting in a silky gel with no gritty bits. A standard blender will work, but you may need to blend for longer and strain the gel through a fine-mesh sieve afterward for a similar result.
A study in the journal Marine Drugs highlighted that red seaweeds like Chondrus crispus are a significant source of dietary fiber and polysaccharides, which act as prebiotics, feeding the beneficial bacteria in your gut.
Does the color of the sea moss matter?
Absolutely. While ‘gold’ sea moss is popular, don’t shy away from purple, red, or greenish varieties. These deeper colors often indicate a higher concentration of certain phytonutrients and antioxidants, much like the difference between green and red grapes. The color is a direct result of the specific environment where it grew, including light exposure and mineral content. A varied color batch is often a sign of authentic, wild-harvested sourcing.
- Boosts the creaminess of plant-based milks
- Acts as a binder in vegan burgers
- Thickens homemade salad dressings
- Adds nutrients to broths and soups
The key? Sea moss gel is a versatile culinary tool that goes far beyond the morning smoothie.
For extended life, spoon your freshly made sea moss gel into silicone ice cube trays and freeze. Once solid, pop the cubes into a freezer bag. This allows you to grab a single, pre-portioned serving for your daily smoothie without worrying about the entire batch spoiling in the fridge. They’ll last for up to 3-4 months in the freezer.
A Taste of the Ocean: If you find the subtle marine flavor of sea moss overpowering, a generous squeeze of fresh lime or lemon juice during the soaking and blending process works wonders. The acidity neutralizes much of the “sea” taste and adds a bright, fresh note to the final gel.
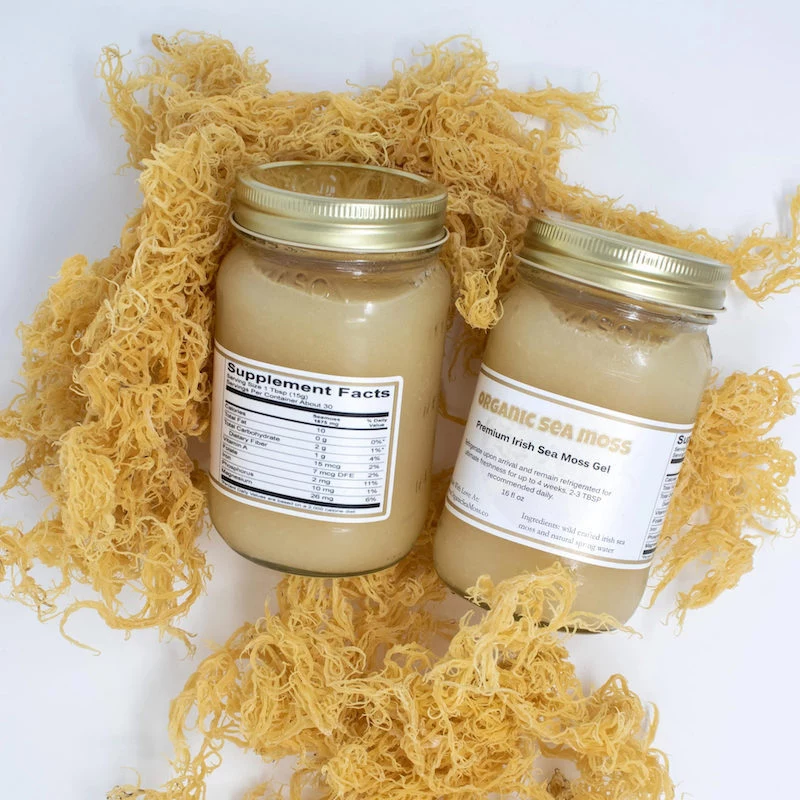
One of the most common mistakes is not cleaning the raw moss thoroughly enough. Remember, this is a wild ocean product. Take the time to meticulously pick through the rehydrated moss, removing any trapped sand, tiny shells, or other sea debris. Your final gel will thank you for it.
Gold Sea Moss (Gracilaria): Typically sourced from warmer Caribbean waters. It’s faster-growing, more widely available, and generally has a milder taste.
Irish Moss (Chondrus Crispus): Harvested from the cold, rocky coasts of the North Atlantic. It’s darker, often purplish-red, and is known for creating a slightly firmer, more potent gel.
While both are excellent, many purists seek out Chondrus Crispus for its traditional roots and nutrient density.
Historically, Irish Moss was a source of sustenance during the Irish Potato Famine of the 19th century. It was boiled with milk and sugar to create a nourishing pudding when other food sources were scarce.
This history grounds sea moss not as a modern trend, but as a traditional survival food, valued for its ability to provide vital nutrients in tough times.
What’s the ideal water-to-moss ratio?
Start with a 1:4 ratio by volume—one part soaked, expanded sea moss to four parts fresh water for blending. For instance, if your soaked moss fills one cup, use four cups of water. You can always add more water if you prefer a thinner gel, but it’s much harder to thicken a gel that’s too watery. This starting ratio consistently produces a firm, spoonable gel.
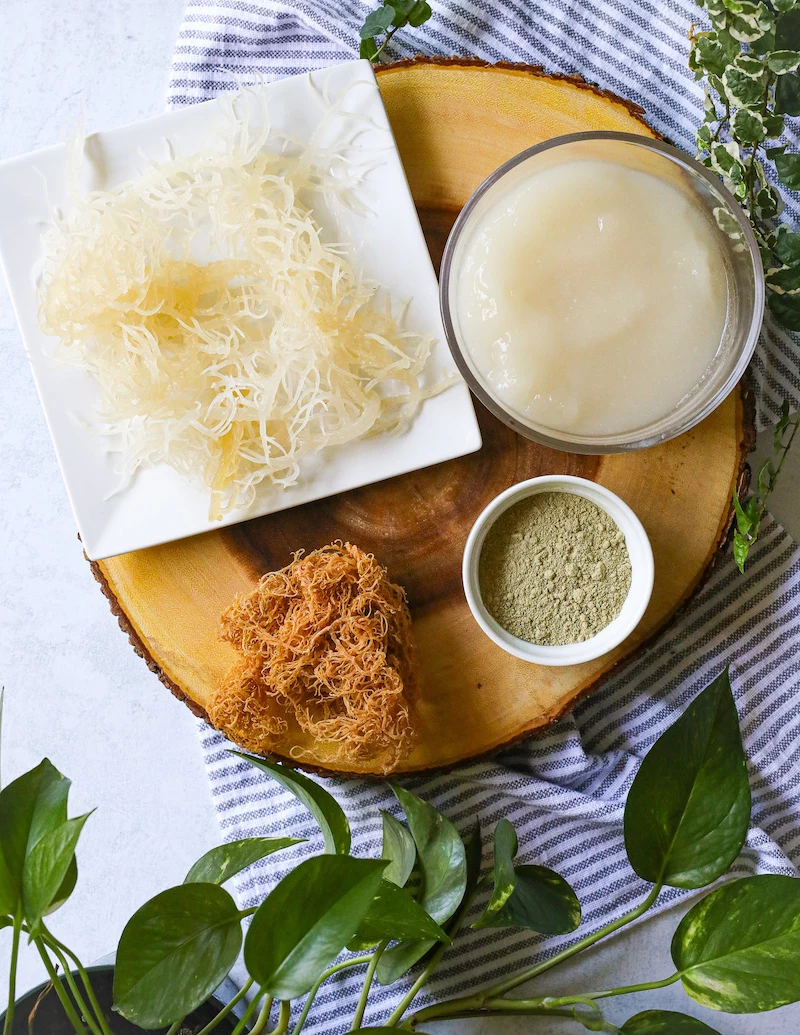
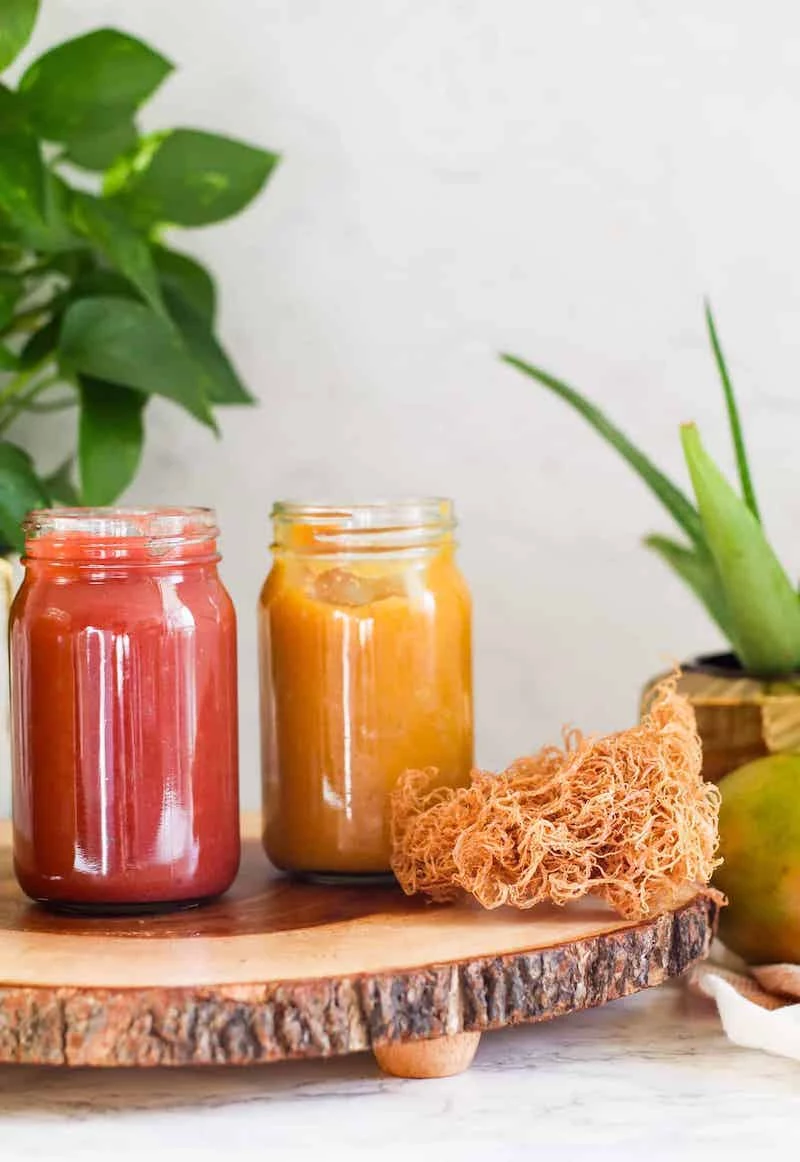
Elevate your gel by infusing it with other powerful botanicals. Add these directly to the blender with your soaked moss and water:
- Elderberries: For an immune-boosting, deep purple gel.
- Fresh Ginger & Turmeric: For an anti-inflammatory kick. Be sure to add a pinch of black pepper to activate the curcumin in the turmeric.
- Bladderwrack: Another seaweed often paired with sea moss to provide a broader spectrum of minerals, particularly iodine.
The Dr. Sebi Connection: The recent surge in sea moss popularity is largely tied to the teachings of the late herbalist Dr. Sebi. He promoted it as a core component of his alkaline diet, claiming its mineral content could help restore the body’s health. While some of his broader claims are debated, his championing of sea moss undeniably brought this ancient seaweed back into the modern wellness spotlight.
- A sour or overly fishy smell.
- A watery layer separating from the gel.
- Any signs of pink or grey mold on the surface.
Fresh sea moss gel should smell faintly of the ocean and have a consistent, thick texture. Trust your senses—if it seems off, it’s best to discard it.

Don’t throw away the soak water! After you’ve cleaned and rinsed your moss, the water it soaked in is full of dissolved minerals. Instead of pouring it down the drain, use this nutrient-rich water for your houseplants. They will thrive on the trace elements from the sea.

The ‘gel’ in sea moss comes from its high concentration of carrageenan, a natural polysaccharide. Don’t confuse it with the chemically degraded carrageenan sometimes used as a food additive; in its whole-food form from sea moss, it functions as a soluble fiber.
In the Caribbean, especially Jamaica, a sweetened, spiced
DIY Face Mask: Thanks to its gelatinous nature and mineral content (including sulfur, known for its antimicrobial properties), sea moss gel makes a fantastic hydrating and calming face mask. Simply apply a thin layer of the pure gel to clean skin, let it dry for 15-20 minutes until it feels tight, and then rinse off with cool water for a soft, refreshed complexion.
The Soak Time Debate: While some recipes say to soak for 4-6 hours, many traditionalists advocate for a longer soak of 12-24 hours in the refrigerator. This extended time allows the moss to fully hydrate and soften, making it easier to blend into a perfectly smooth gel and potentially making its nutrients more bioavailable.
- Makes smoothies incredibly thick and creamy.
- Gives puddings and desserts a rich, dairy-free body.
- Adds a silky mouthfeel to soups without using flour or cornstarch.
The secret is its natural carrageenan, which creates a luxurious texture that transforms any dish it’s added to.
Is making your own sea moss gel cost-effective?
Absolutely. A single 4-ounce package of quality raw, dried sea moss, which might cost between $20-$30 from a reputable source like ‘Irish Sea Moss’ or ‘Atlantis Sea Moss’, can yield over 100 ounces of gel. Compare that to buying pre-made gel, which often sells for $25-$35 for just a 16-ounce jar. The initial investment in the raw product pays for itself very quickly.
For an extra mineral boost, use spring or high-quality filtered water for both soaking and blending your sea moss. Tap water can contain chlorine and other chemicals that you don’t necessarily want in your final gel. Using pure water ensures the final product is as clean and beneficial as possible.
Don’t boil it! A common shortcut is to boil the sea moss to make it gel faster. This high heat can destroy some of the delicate vitamins and enzymes that you’re trying to preserve. The cold-soak and blend method, while it takes longer, is the best way to maintain the full nutritional integrity of the seaweed.


