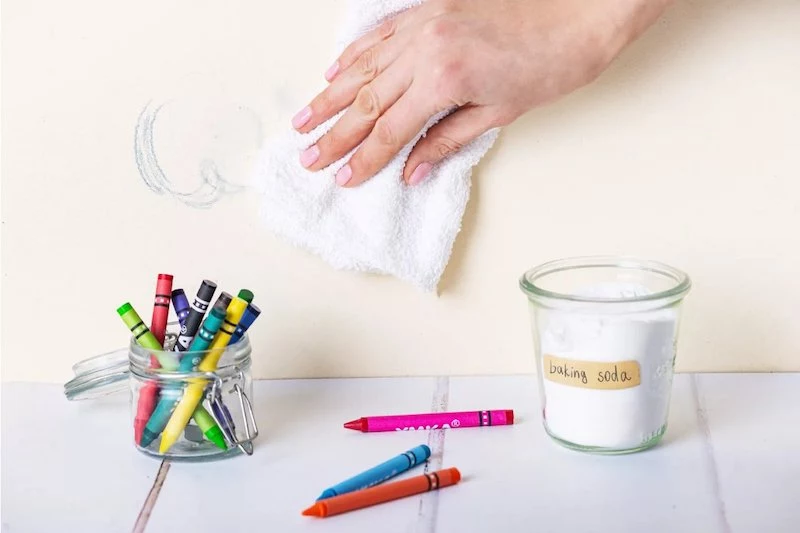
Forget the Gimmicks: How a Pro *Really* Cleans with Baking Soda
I’ve spent a long time in the professional cleaning world, and I’ve seen every miracle product you can imagine. Most of them promise the world but deliver a cloud of chemical fumes and so-so results. But through it all, one simple, dirt-cheap powder has always been in my toolbox: plain old baking soda.
In this article
Honestly, clients are often surprised to see a simple box of it sitting next to my high-end equipment. They think of it as a quaint folk remedy, something their grandma might have used. They’re not wrong, but they’re missing the bigger picture. Baking soda is a powerhouse if you know how to use it right.
Its cleaning power isn’t a myth; it’s just simple, reliable chemistry. I didn’t learn this stuff from a viral video. I learned it from old-school mentors, from chemists on big restoration jobs, and from years of trial and error on real-life grime. So let’s get into it. This is the pro guide to getting the most out of this kitchen staple—and how to avoid the common mistakes that can actually damage your stuff.
First, Let’s Get the Basics Right
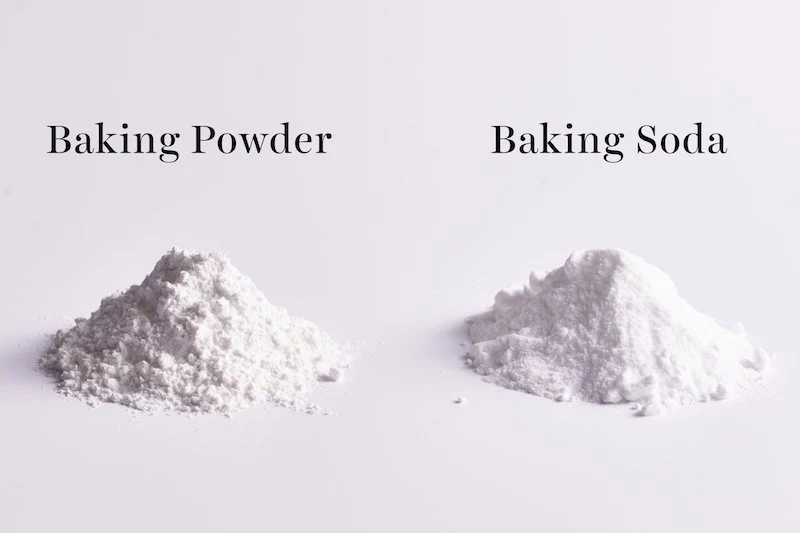
Before we dive in, let’s clear up a super common question: what’s the difference between baking soda and baking powder for cleaning? Easy. Use baking soda. Baking powder is just baking soda with added acids (like cream of tartar). You don’t need or want those extra ingredients for cleaning, so stick to the classic box of sodium bicarbonate.
Now, why does it work so well? It comes down to three things:
- It’s a Gentle Scrubber. Baking soda crystals are fine but have an angular shape that gives them just enough grit to physically scrub away gunk like soap scum and dried food. It’s softer than most commercial scouring powders, so it can clean many surfaces without scratching them.
- It Breaks Down Grease. Most kitchen grease and grime is acidic. Baking soda is mildly alkaline, so when it meets that acidic mess, it chemically neutralizes it. This reaction does a ton of the work for you, breaking down sticky oils so they can be wiped away with less elbow grease.
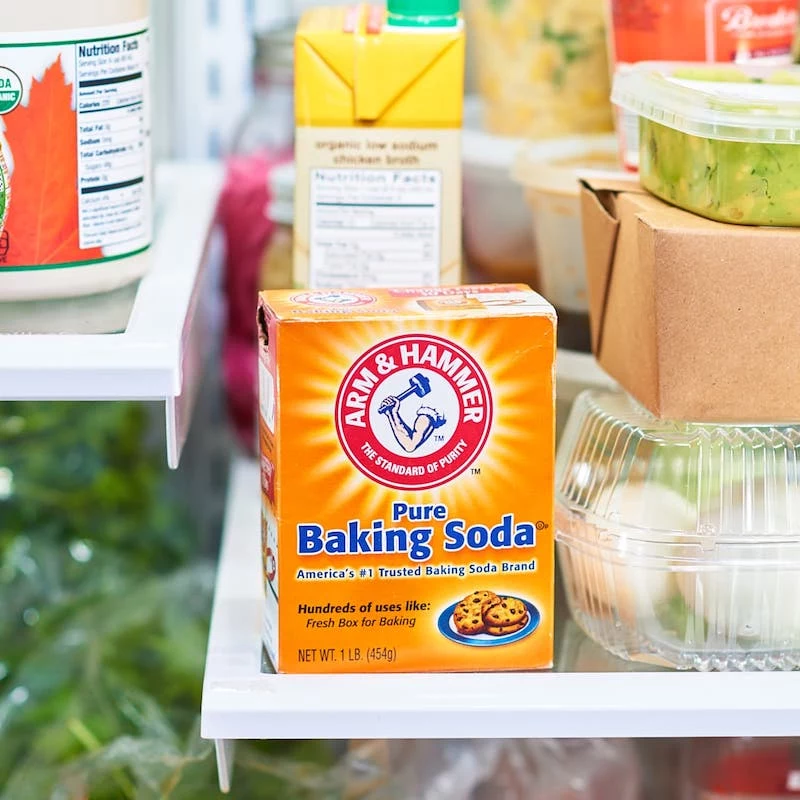
- It Doesn’t Just Mask Odors—It Erases Them. Bad smells from things like sour milk or sweat are often caused by strong acids. The alkaline nature of baking soda reacts with and neutralizes these odor-causing acids, literally destroying the smell instead of just covering it up. That’s why a box in the fridge actually works!
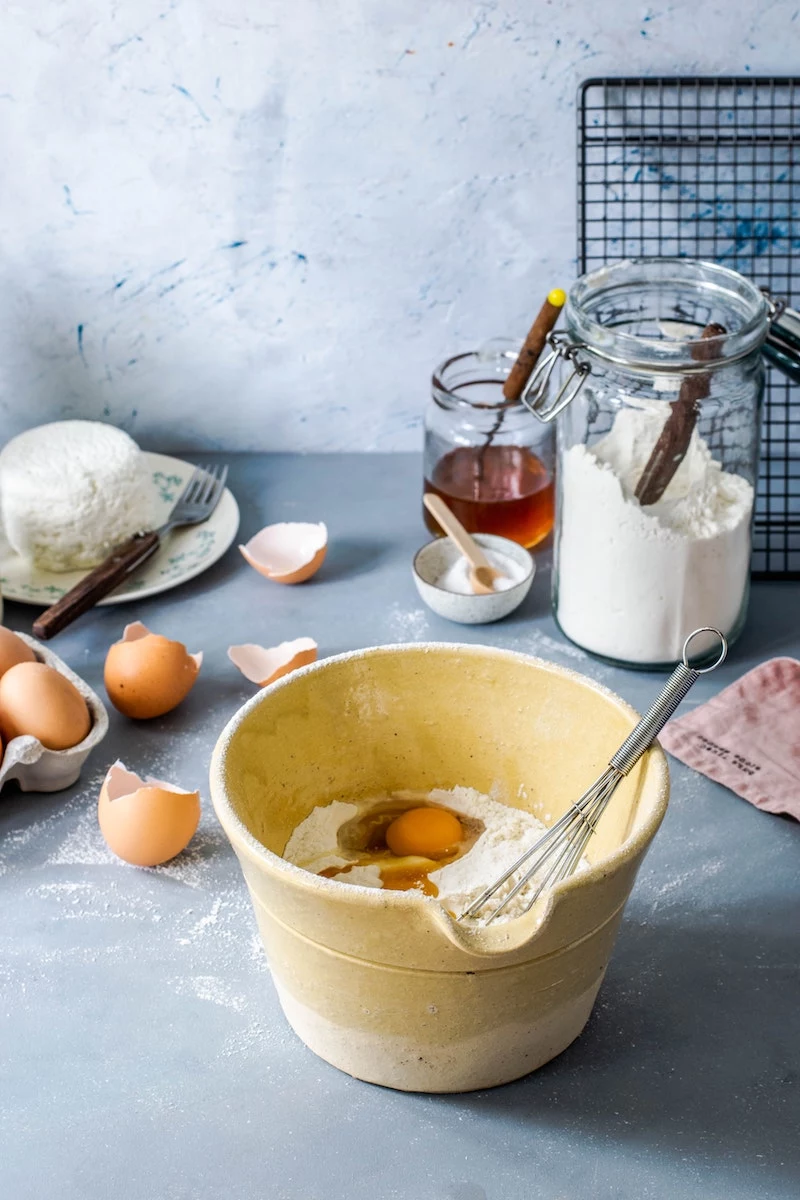
My Go-To Baking Soda Toolkit
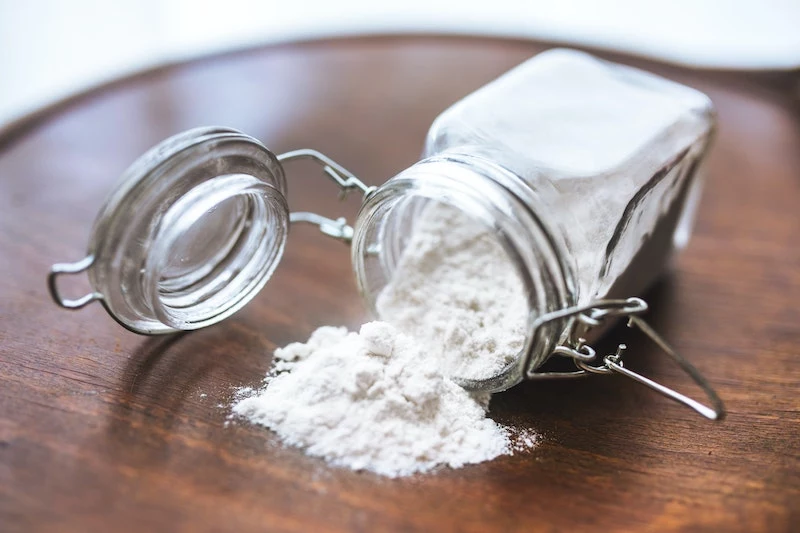
Success starts with having the right gear. My kit is simple and cheap. For the baking soda itself, the standard box from any grocery store is perfect. I buy it in bulk, but it’s the same stuff. Just make sure to store it in a sealed container to keep it dry and clump-free.
Here’s what I use with it:
- A few mixing bowls
- A stack of microfiber cloths (they’re essential for trapping residue)
- Non-scratch scrub sponges
- A soft-bristle brush (an old toothbrush is perfect for grout)
- A cheap plastic or silicone scraper for lifting off paste
- A spray bottle for water or vinegar rinses

The Critical List: Where to Use It and Where to Avoid It
Okay, this is important. Baking soda is safe, but it’s not safe for everything. Being a pro means knowing your tool’s limitations. I learned this the hard way years ago when I had a new assistant use a baking soda paste on a client’s aluminum patio set. It caused a chemical reaction that left permanent dark stains. It was a costly and embarrassing lesson.
So, here’s a quick rundown.
Go for it! Baking soda is great for:
- Stainless steel sinks and appliances
- Ceramic and porcelain tubs, tiles, and toilets
- Inside the oven (not the heating elements!)
- Freshening drains and garbage disposals
- Deodorizing carpets and upholstery
- Most countertops like laminate and solid surface
Heads up! NEVER use baking soda on:
- Aluminum: It will cause oxidation and discoloration. Period.
- Natural Stone like Marble or Quartzite: Even a quick scrub can etch and dull the polished surface. I once did this myself early in my career and had to call a stone pro to fix my mistake. Trust me on this one.
- Sealed Granite: It can wear down the sealant over time, making your expensive countertop vulnerable to future stains.
- Wood Floors: It will strip the finish and leave a hazy, dull film that’s a pain to remove.
- Fiberglass: Use with extreme caution. Some finishes can be scratched, so always test in a hidden spot first.
And a quick safety note on mixing: It’s fine to mix baking soda with vinegar, dish soap, or hydrogen peroxide. But if you have vinegar out for a cleaning job, make sure your bottle of bleach is nowhere in sight. Mixing vinegar and bleach creates toxic chlorine gas. My rule is simple: if vinegar is in play, bleach stays away.

Pro-Level Kitchen Cleaning
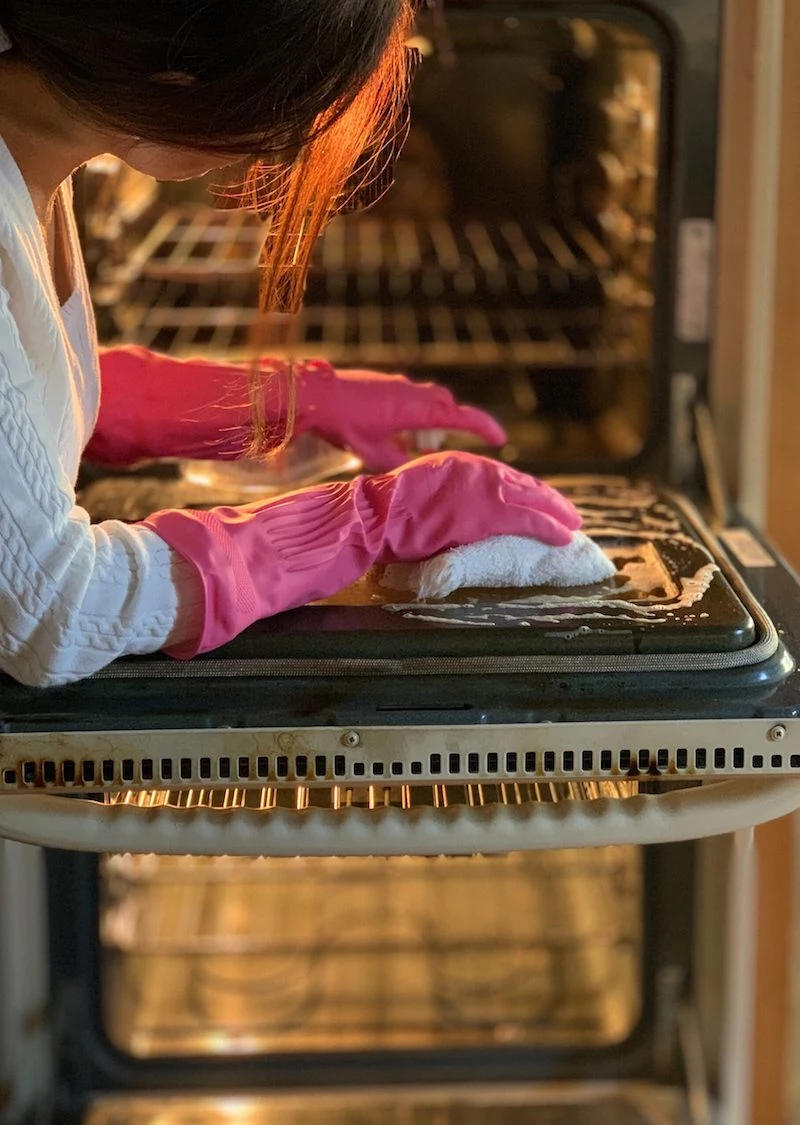
The No-Scrub Oven Deep Clean
This is the job everyone dreads, but my method is mostly just waiting. It turns baked-on, impossible grease into a sludge you can just wipe away.
- Prep: Pull out the oven racks and use a plastic scraper to knock off any big, loose chunks of burnt food.
- Make the Paste: Mix about 1 cup of baking soda with 1/3 cup of water. You’re looking for a thick, spreadable paste, kind of like frosting.
- Apply: Slather that paste all over the inside of the cool oven—the bottom, sides, and back wall. Lay it on thick on the grimiest spots. Oh, and do not apply it to the heating elements. They’re fragile and the paste can damage them; just wipe them gently with a damp cloth once they’re completely cool.
- The Magic Step: Wait. This is the most important part. Close the oven door and let it sit for at least 12 hours, or overnight. The alkalinity needs that time to work. Rushing this is why most people fail.
- Wipe Out: The next morning, the paste will be dry and brown. Grab a damp microfiber cloth and a plastic scraper. The grease will have softened into a sludge that wipes away with almost zero effort. It’s incredibly satisfying.
- Final Rinse: You’ll see a white film left over. That’s just soda residue. Lightly spritz the surface with plain white vinegar in a spray bottle. It will foam a little as it neutralizes the baking soda. Wipe it all down one last time with a clean, damp cloth.
By the way, think about the savings here. A 1lb box of baking soda costs maybe $1.50, and you’ll use half of it. A can of fume-filled commercial oven cleaner can be $8-$10. You’re saving money and your lungs.
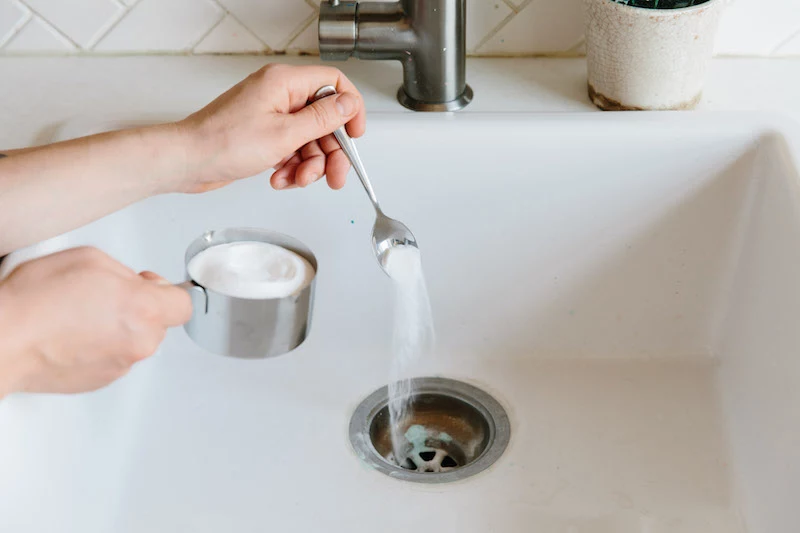
Quick Win: The 15-Minute Drain Freshen-Up
Got a slow-moving, smelly kitchen drain? You can freshen it up in less time than it takes to drink your coffee. Just pour about half a cup of baking soda down the drain, follow it with a cup of white vinegar, and let the fizzing reaction do its thing for about 15 minutes. The bubbling helps loosen minor gunk. Finish by carefully pouring a kettle of hot water down the drain. Do this monthly to keep things fresh. (Note: this is for maintenance, not for a serious clog—that’s a job for a plumber!)
Tackling the Bathroom
Soap scum and grout grime are no match for baking soda, which is great because you don’t want to be spraying harsh chemicals in a small, poorly ventilated bathroom.
For grimy grout lines, I make a thick paste. The standard is 3 parts baking soda to 1 part water. But for extra whitening power on white grout, I’ll swap the water for hydrogen peroxide (3 parts soda, 1 part peroxide). A bottle of peroxide is just a couple of bucks and works wonders. Slather the paste on the grout, let it sit for at least an hour, then scrub with a stiff brush and wipe clean.
For soap scum on tubs and showers, a runnier slurry (more water, less soda) works best. Wipe it on, let it sit for 20 minutes to soften the scum, then scrub with a non-scratch sponge and rinse well.
Handy Uses Around the House
Beyond the obvious, here are a few other tricks I rely on.
Deodorizing Carpets: For an even sprinkle, put the baking soda in a clean, empty parmesan cheese shaker or use a fine-mesh sieve. It prevents clumps and gives you way better coverage. A light dusting is all you need. Let it sit for a few hours (longer is better!), then vacuum it up thoroughly. A quick tip: make sure your vacuum’s filter is clean before you start, as the fine powder can clog it.
Tarnished Silver: This is my favorite science experiment. Line a bowl with aluminum foil, shiny side up. Place your everyday sterling silver items inside, making sure they touch the foil. Sprinkle in a few tablespoons of baking soda and pour in enough boiling water to cover everything. You’ll smell a faint sulfur scent—that’s the tarnish leaving the silver and moving to the foil. After a few minutes, carefully remove the silver, rinse it, and buff it dry. Quick disclaimer: Do not do this on antique silver with a deliberate patina (the dark stuff in the crevices). A good rule of thumb: if it’s Grandma’s fancy tea set that’s meant to look old, don’t touch it. If it’s your everyday silverware that’s just supposed to be shiny, go for it.

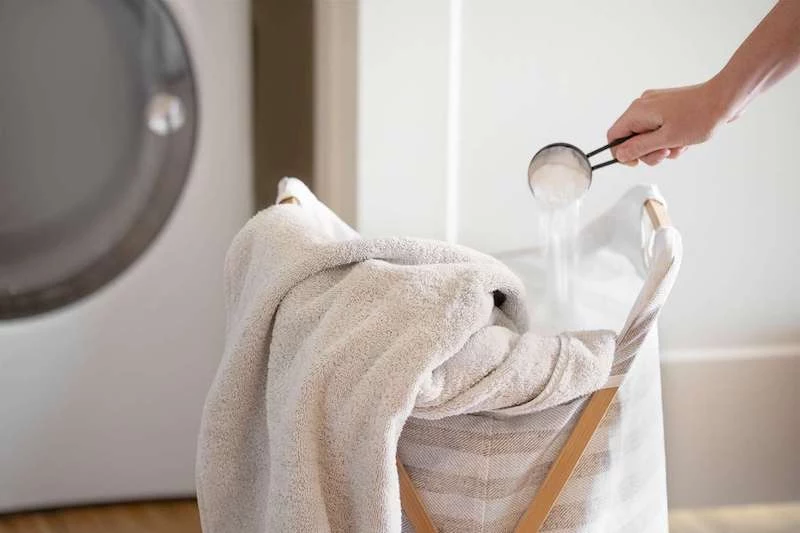
Laundry Booster: This is a huge one people miss. Adding about a half cup of baking soda to your wash cycle along with your regular detergent helps soften the water, allowing your detergent to work more effectively. It also acts as a great deodorizer for smelly gym clothes or towels.
Quick Troubleshooting: What If…?
Even the pros run into little issues. Here are a couple of common ones:
“I wiped everything down, but there’s a chalky white film left behind!”
No worries, that’s just a bit of leftover baking soda residue. Mix a 50/50 solution of white vinegar and water in a spray bottle, give the surface a light mist, and wipe it away with a clean, damp cloth. The vinegar will instantly dissolve the haze.
“I think the powder clogged my vacuum cleaner!”
This can happen, especially with bagless vacuums with fine filters. If you have a shop vac, that’s the best tool for the job. If not, make sure to clean your vacuum’s canister and wash its filter both before and after you vacuum up the soda. Going slowly and not letting the powder sit in the machine can help, too.
When Baking Soda is the WRONG Tool
Part of being an expert is knowing when to put a tool down. Baking soda is not a cure-all. It won’t solve these problems:
- Serious Mold: It can clean surface mildew on tile, but it can’t kill mold that has grown its roots into porous stuff like drywall or wood. A significant mold issue needs a certified remediation pro.
- Tough Clogs: Like I said, it’s a drain freshener, not a clog buster. A completely backed-up pipe needs a snake or a plumber.
- Set-in Stains: It’s great on fresh spills, but it won’t lift a year-old red wine stain from your beige carpet. That requires specialized chemical spot removers.
At the end of the day, using baking soda is about working smarter, not harder. When you understand what it is and how to use it, it becomes one of the most versatile and cost-effective tools you can have. Treat it with respect, know its limits, and it will serve you well.


Inspirational Gallery
Baking Soda vs. Washing Soda: Both are eco-friendly cleaning staples, but they aren’t interchangeable. Baking soda is a gentle, mild alkali (sodium bicarbonate) perfect for scrubbing and deodorizing. Washing soda (sodium carbonate) is much more alkaline and caustic, making it a powerful degreaser for tough jobs like oven racks or grimy laundry, but it requires gloves and is too harsh for many surfaces.
Think of baking soda as your daily driver and washing soda as the heavy-duty specialist.
The Ancient Egyptians used natron, a natural deposit composed mainly of sodium carbonate and sodium bicarbonate, not just for mummification but also as a household soap and cleaning agent.
This demonstrates that the core principles of alkaline cleaning have been trusted for millennia, long before modern chemical sprays were invented.
When a simple sprinkle won’t cut it, I mix up what I call the

Can I really get that burnt-on haze off my oven’s glass door?
Absolutely. This is where a baking soda paste shines. After removing any loose debris, apply a thick layer of paste (baking soda and water) to the cool glass. Let it sit for at least 30 minutes, or even an hour for tough stains. The paste will soften and break down the carbonized grease. Then, using a plastic scraper or a non-scratch scouring pad, gently work in small circles. Wipe clean with a damp cloth. It takes patience, but the glass will be crystal clear without harsh fumes.
- It restores the original shine to stainless steel sinks.
- It brightens dull and stained tile grout without erosion.
The secret? The double action of a paste. First, let a thick baking soda paste sit on the surface for 10-15 minutes to chemically neutralize acidic grime. Then, gently scrub with a soft brush or cloth. The mild abrasion lifts the loosened particles, revealing the clean surface underneath without the microscopic scratches caused by more aggressive powders.
Crucial warning: Never use baking soda on unsealed natural stone like marble, limestone, or some types of granite. While it’s a mild abrasive, it’s still abrasive enough to slowly wear away the sealant and etch or dull the polished surface of these porous materials over time. Stick to pH-neutral, stone-specific cleaners for these high-end finishes.

A standard 1lb box of Arm & Hammer baking soda often costs less than a dollar. A single bottle of specialized bathroom or kitchen cleaner can cost four to five times that.
By learning to use this one versatile ingredient, you’re not just choosing a greener option; you’re making a significant dent in your household cleaning budget. It replaces the need for separate tub scrubs, sink powders, oven cleaners, and deodorizers.
For a lasting fresh scent in musty closets or gym bags, move beyond just sprinkling the powder. Create your own DIY deodorizing pucks. Simply mix one cup of baking soda with a quarter cup of water and, if you like, 10-15 drops of essential oil like lavender or tea tree. Press the thick paste into a silicone ice cube tray and let it air-dry for a day or two until completely hard. Pop one out and place it wherever you need to absorb moisture and odors.
- Get rid of persistent odors in athletic wear.
- Brighten whites and colors naturally.
- Soften fabrics without using commercial softeners.
The trick is simple: just add a half-cup of baking soda directly to the drum with your clothes before starting the wash cycle. It helps regulate the water’s pH level, making your detergent work more effectively.
Social media trends often show baking soda mixed with large amounts of vinegar to create a dramatic fizzing reaction. While visually impressive, this is mostly counterproductive. The reaction neutralizes both the acidic vinegar and the alkaline baking soda, leaving you with little more than salty water. For real cleaning power, use them separately: apply the baking soda paste to scrub, then use a light spray of vinegar to rinse and react with any remaining residue for a final clean.
- The bottom of your kitchen trash can.
- Sprinkled into the bag of your vacuum cleaner.
- Inside a musty vintage suitcase or chest.
- In the reservoir of an artificial Christmas tree stand to keep water fresh.


