Thinking About an Ashley Piercing? Here’s the Honest Truth
I’ve been a professional body piercer for a long, long time. Long enough to see trends come, go, and sometimes, come back again. But some piercings aren’t just trends; they have real staying power. The Ashley piercing is definitely one of those.
In this article
It’s that delicate, single gem sitting right on the center of the lower lip. It’s stunning, for sure. But it’s also a piercing that demands a serious commitment, and it’s absolutely not something you should get on a whim. Honestly, my job isn’t just to poke holes; it’s to have a real conversation with you before the needle comes out. We need to talk about your lip anatomy, how precise the placement has to be, and the long-term care, especially when it comes to your teeth and gums.
So, think of this as that exact conversation. I want to give you the rundown on how it’s done, what to expect while it heals, and how to sidestep the common mistakes I’ve seen over the years. This is all about making sure you’re safe, informed, and ready to take care of your new addition.

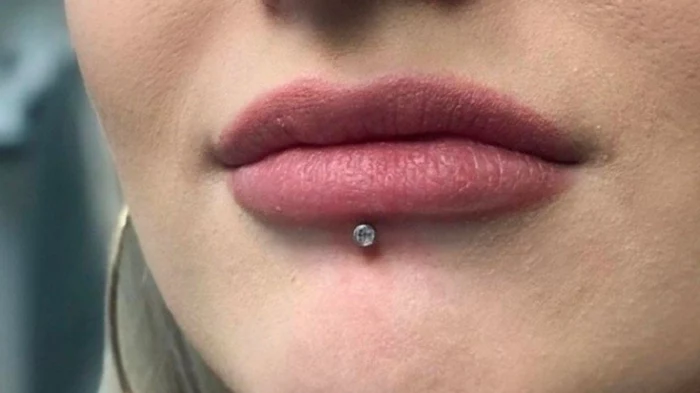
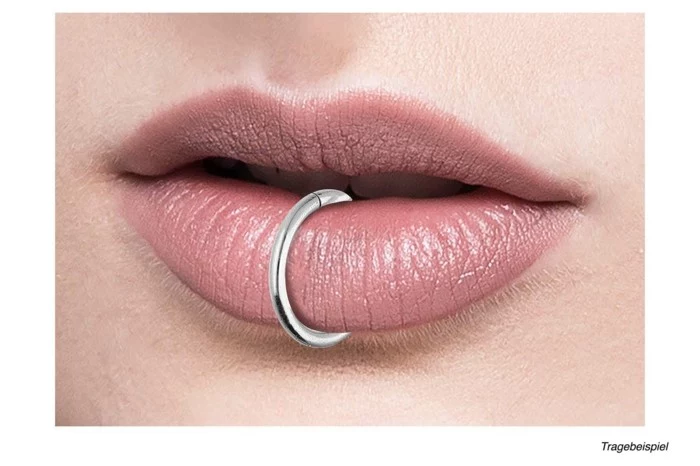
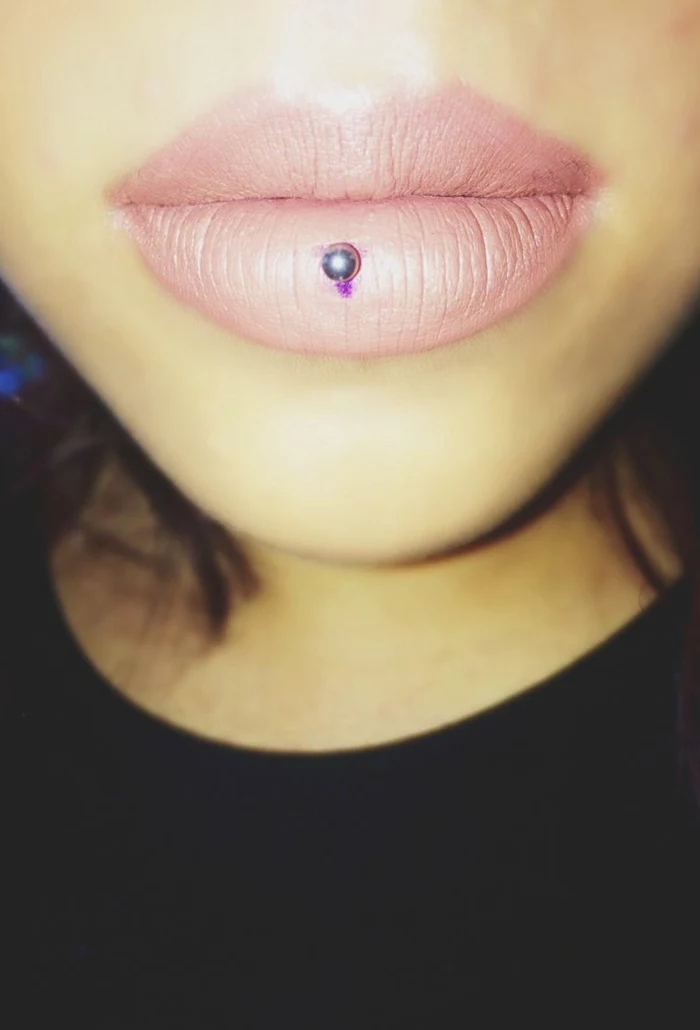
What Exactly Is an Ashley Piercing?
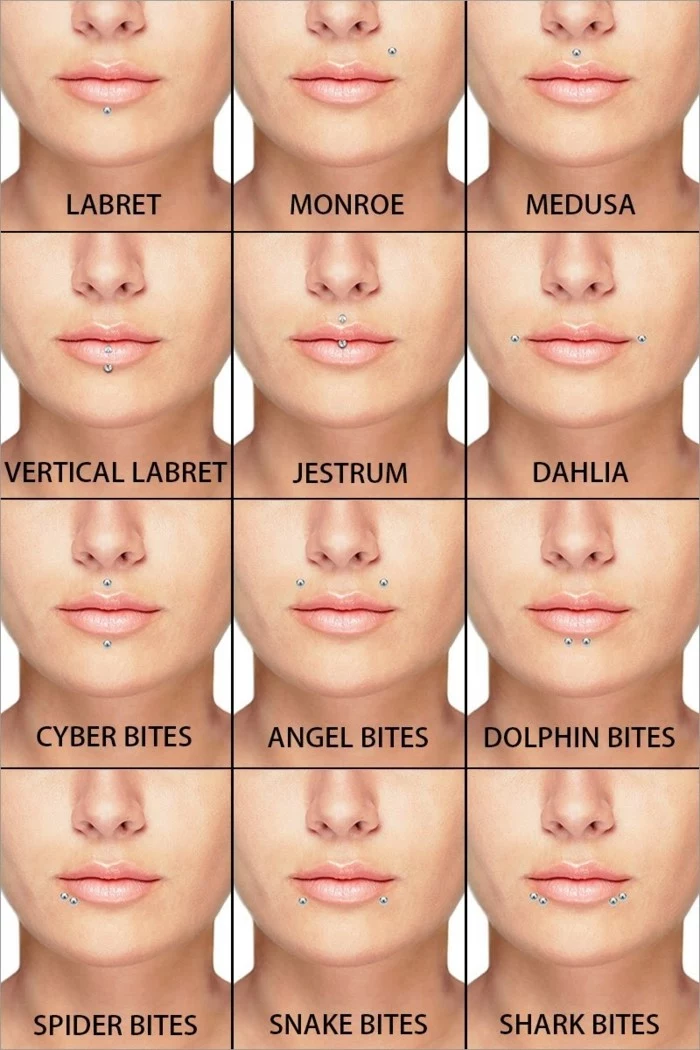
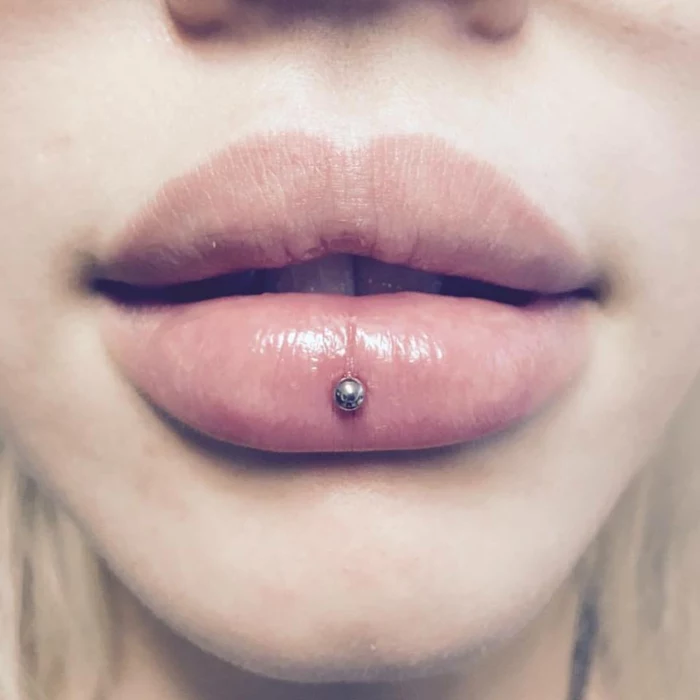
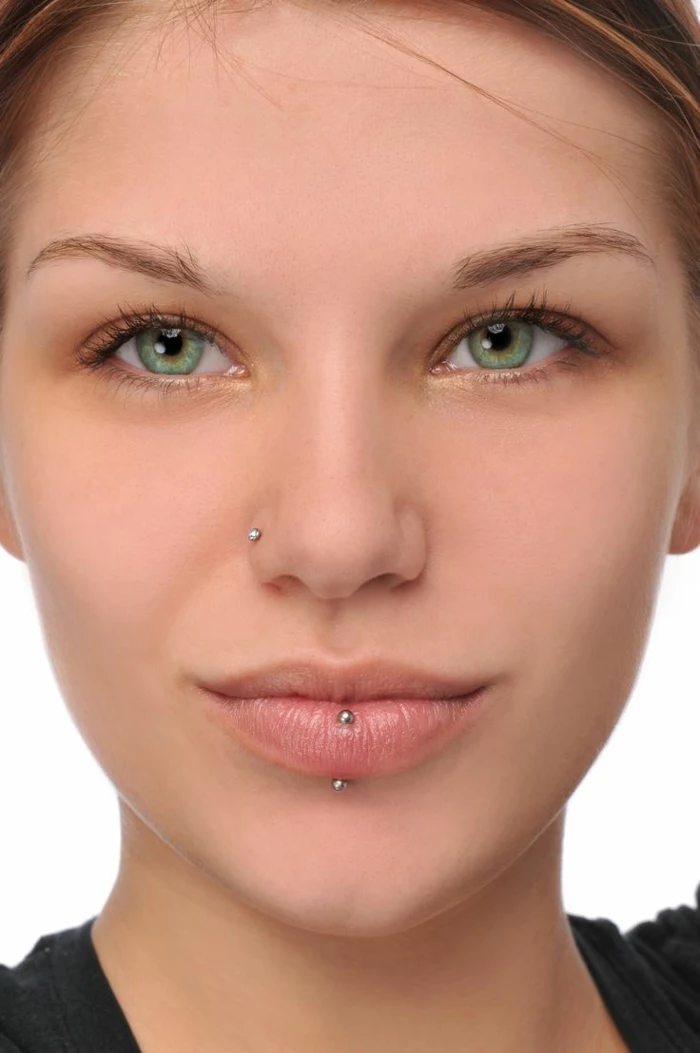
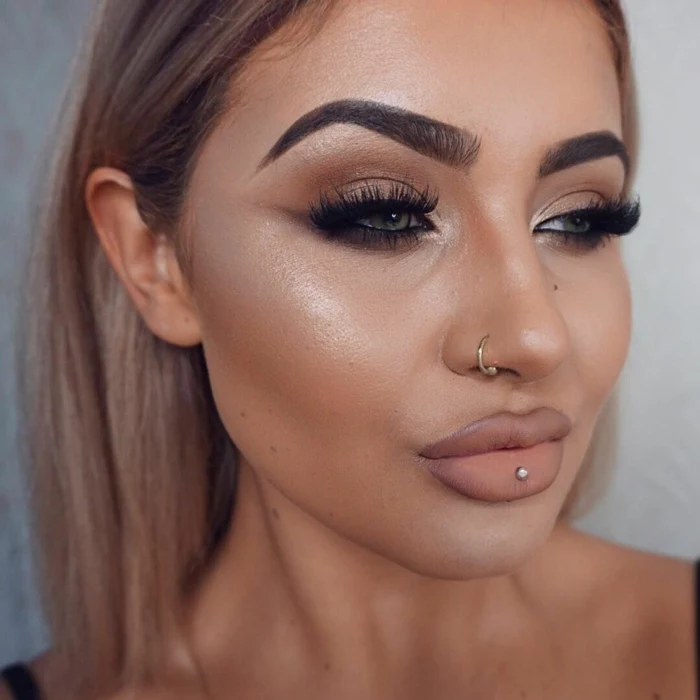
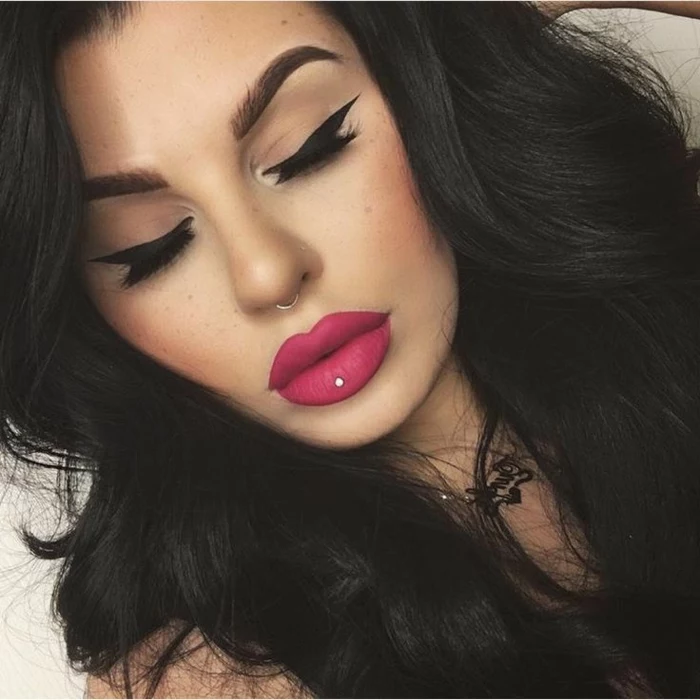
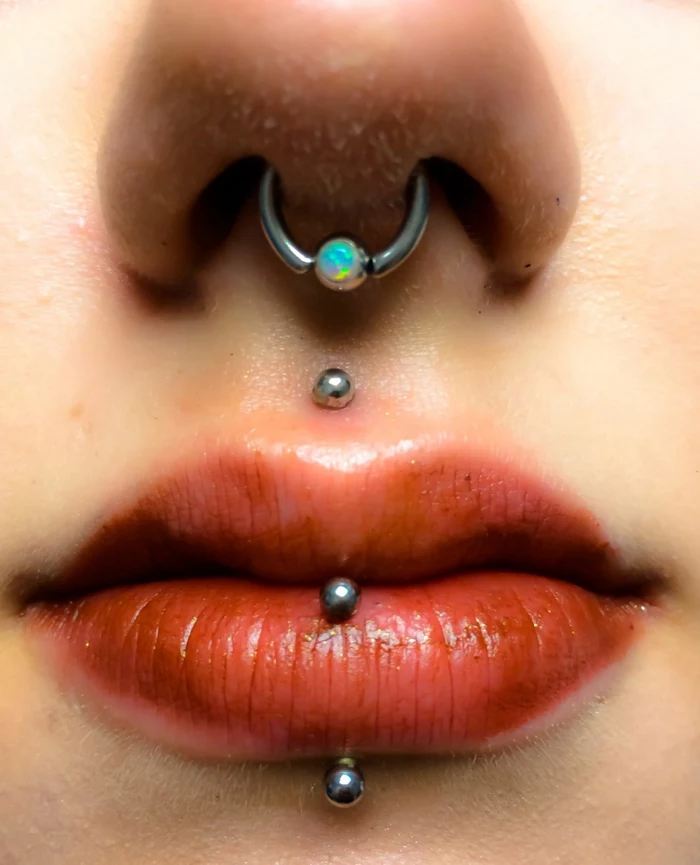
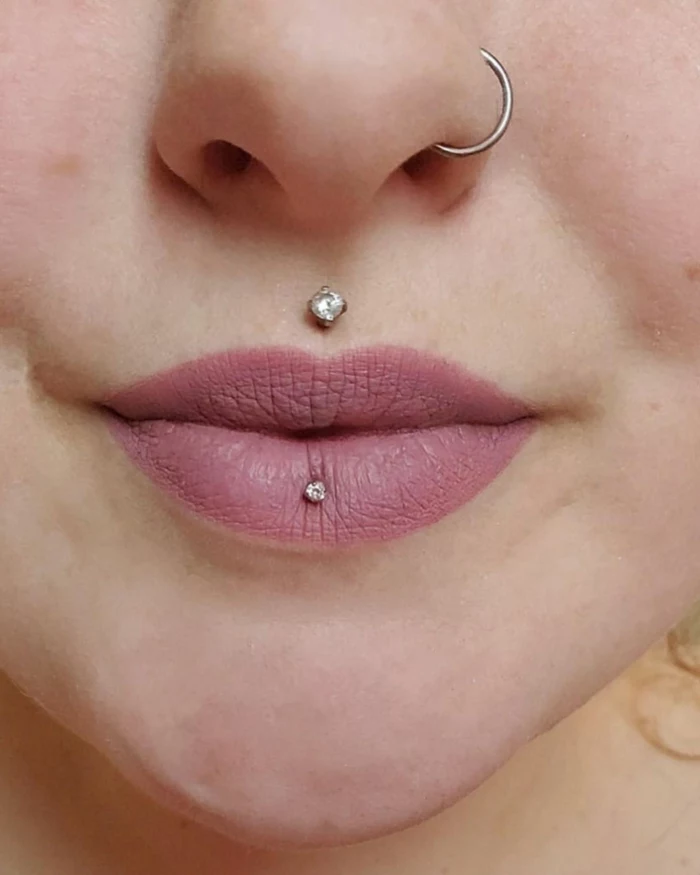
Let’s get the technical stuff out of the way. You might hear piercers call this an “inverse vertical labret.” That sounds complicated, but it just helps explain the placement. A standard labret goes from below the lip into the mouth. The Ashley is different: it has one entry point right on the lip itself and exits inside your mouth. The result? You only see the pretty, decorative top.
This is what makes it so beautiful, but also what makes it tricky. The needle has to pass through the thin skin of your lip, a dense muscle that controls all your lip movements, and finally through the mucous membrane inside. A good piercing works with this anatomy, not against it.
Why Placement is Everything
I can’t stress this enough: placement is the most critical factor for an Ashley piercing. It’s not just about what looks good in the mirror. Proper placement is essential for your comfort, for healing, and for protecting your teeth in the long run.

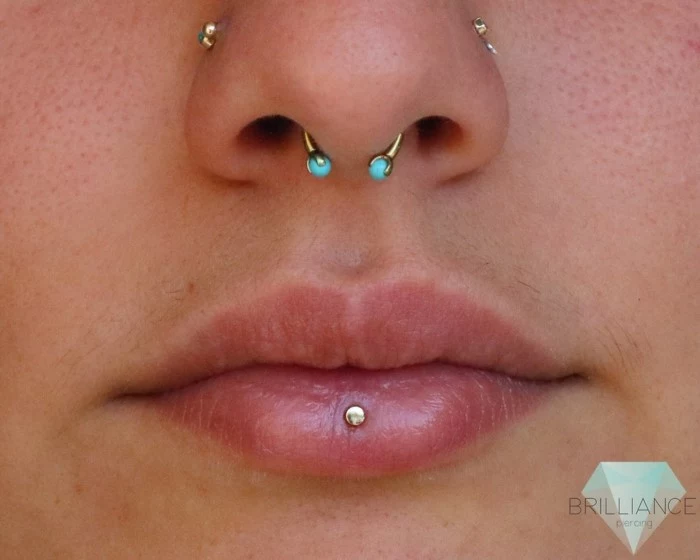
When you’re in my chair, I’m not just eyeballing the center of your lip. I’m looking at the tissue, how you talk, how you smile, and feeling for that perfect “sweet spot.” This is the little zone where the jewelry can sit flush on the outside while the flat back on the inside barely makes contact with your teeth or gums. Too far forward, and it’ll rub on your teeth; too far back, and it’ll dig into your gums. Ouch.
By the way, not everyone’s anatomy is suited for this piercing. Fuller lips usually offer more tissue to safely support the jewelry. If your lips are on the thinner side, it can be tough to place it without a high risk of oral irritation. A truly professional piercer will be honest and tell you if it’s not a safe choice. That’s a sign of integrity, not a lack of skill.
The Piercing Process: From Studio Choice to the Chair
Okay, let’s talk about finding the right person for the job. Please, do not price-shop for a piercing like this. A low price can be a red flag for cheap jewelry, rushed procedures, or dodgy sterilization. Your health is worth the investment.
Look for a studio that’s bright, clean, and professional. The piercer should have a portfolio with clear photos of healed Ashley piercings they’ve done. A huge green flag is the visible presence of an autoclave for sterilizing tools—ask them about their spore test results, which prove it’s working. A good studio will be happy to show you.
Quick tip: Look up the Association of Professional Piercers (APP) online and use their member locator tool. It’s a great starting point for finding piercers committed to high safety standards. When you have a consultation, if you feel rushed or your questions are dismissed, just walk away. Trust your gut.
Let’s Talk Money
So, what should you budget? It varies by location and studio, but here’s a realistic ballpark. Expect to pay between $40 and $80 for the piercing fee itself. On top of that, you’ll need to buy high-quality initial jewelry. For an implant-grade titanium flat-back stud, you’re looking at $35 to $55. So, you’re likely walking out the door having spent somewhere between $75 and $135.
And don’t forget the downsize! More on that later, but you’ll need to buy a shorter post in a few weeks, which might be another $15 to $25. It’s all part of the process.
The Step-by-Step
Once you’ve approved the marked spot, the piercing itself is over in a flash. Here’s how it goes down:
- Prep: You’ll swish with an antiseptic, alcohol-free mouthwash. I’ll then clean the outside of your lip thoroughly.
- Tools & Jewelry: Everything—the single-use needle, any tools, and the jewelry—will be opened from sterile packaging right in front of you. The jewelry will be an implant-grade titanium (ASTM F-136) flat-back labret stud. Ask for it by name! It’s way better than mystery “surgical steel,” which can contain nickel and cause irritation.
- The Puncture: I’ll ask you to take a deep breath in and exhale slowly. On the exhale, the needle goes through. It’s a quick, sharp pinch. Your only job is to stay as still as possible.
- Jewelry Insertion: Right after, the jewelry is guided into place. The initial post will be extra long to allow for swelling. This is a critical safety measure to prevent the jewelry from embedding.
As for pain? Most people put it at a 6 or 7 out of 10. It’s an intense pinch that quickly fades to a dull throb. It’s over fast, but yeah, it’s a sensitive spot. Heads up: don’t take aspirin or ibuprofen before your appointment, as they can thin your blood and make you bleed more.
The Healing Journey: What to Expect
The healing process is a marathon, not a sprint. A fully stable piercing channel can take anywhere from 6 to 12 months to form. The first few weeks are the most intense.
Your First-Week Survival Guide
The first week is all about managing swelling. Expect your lip to be puffy, tender, and maybe a little bruised. Talking and eating will feel awkward.
Before you even go to your appointment, here’s a little shopping list to get you ready:
- One can of sterile saline wound wash (brands like NeilMed are perfect).
- One bottle of alcohol-free mouthwash (like Biotene or a generic equivalent).
- Soft foods to get you through the first few days.
For that first week, stick to a simple diet.
- Foods to Eat: Yogurt, smoothies, ice cream, oatmeal, and lukewarm soups are your best friends.
- Foods to Avoid: Stay away from anything spicy (it will burn!), crunchy (chips, hard bread), sticky (candy), or super hot in temperature.
Piercer’s Pro-Tip: My secret weapon for swelling in the first 48 hours is simple: gently sipping on ice water. It soothes the area from the inside out and feels amazing. Just don’t go crazy with it.
Your Daily Aftercare Routine
Keeping it clean is simple but non-negotiable.
- For the Outside: Spray a bit of sterile saline onto a clean paper towel or non-woven gauze and gently clean the area twice a day. Don’t twist the jewelry!
- For the Inside: Gently swish with alcohol-free mouthwash for 30 seconds after you eat, drink, or smoke anything. This keeps food debris out of the fresh piercing.
That’s it. No harsh chemicals, no ointments, no playing with it. Over-cleaning can be just as bad as not cleaning at all.
Is It Healing or Infected?
It can be tough to tell what’s normal and what’s a problem. Here’s the breakdown.
Normal Healing Signs: Expect swelling (especially for the first week), tenderness, some redness, and a bit of bleeding on and off. It’s also totally normal to see some clear or whitish fluid (this is lymph, not pus) that forms “crusties” around the jewelry. This is a sign your body is healing.
Signs of a Possible Infection: This is different. We’re talking about thick, yellow or green pus, a foul smell or taste, extreme redness that spreads away from the piercing site, and the area feeling hot to the touch. If you have these symptoms, especially with a fever, DO NOT take the jewelry out. See a doctor right away, as you may need antibiotics.
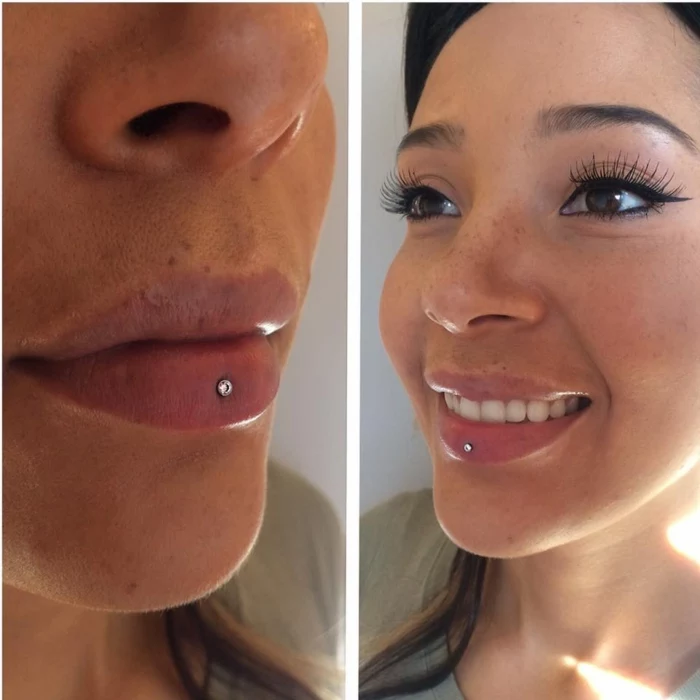
The Downsize: Your Most Important Follow-Up
Remember that long initial bar? After about 2 to 4 weeks, once the main swelling has gone down, you MUST go back to your piercer to have a shorter post put in. This is called downsizing, and it is not optional.
Leaving the long bar in can lead to serious dental damage. It can snag on your teeth, scrape your enamel, and cause gum erosion over time. The shorter post allows the jewelry to sit flush, protecting your mouth. This follow-up is a crucial part of the piercing process.
Common Mistakes (Please, Don’t Do These!)
From my experience, a few common slip-ups can ruin a perfectly good Ashley piercing.
- Playing with it. I get it, it’s new and tempting to click it against your teeth or twist it with your tongue. Don’t. You’ll just irritate the piercing, introduce bacteria, and risk chipping a tooth.
- Using harsh chemicals. Never use alcohol, hydrogen peroxide, or antibacterial soaps on your piercing. They are way too aggressive and will only delay healing.
- Changing the jewelry too soon. Wait until it’s fully healed (at least 6 months) before you try to change the top yourself. Let your piercer do it for you before then.
So there you have it. The Ashley is a beautiful piercing, but it’s a partnership. Your piercer gets it started, but it’s your diligence and care that will make it heal successfully for the long haul.
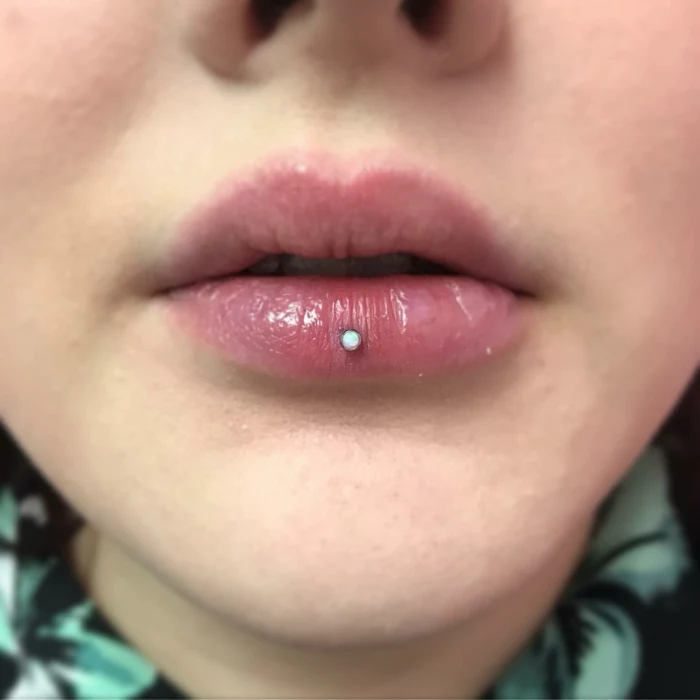
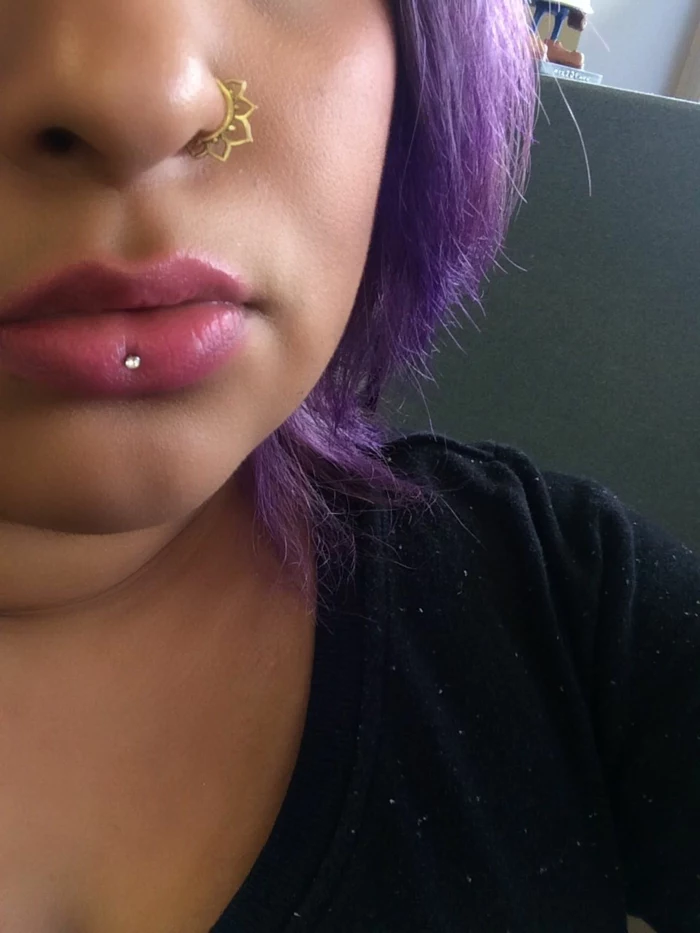
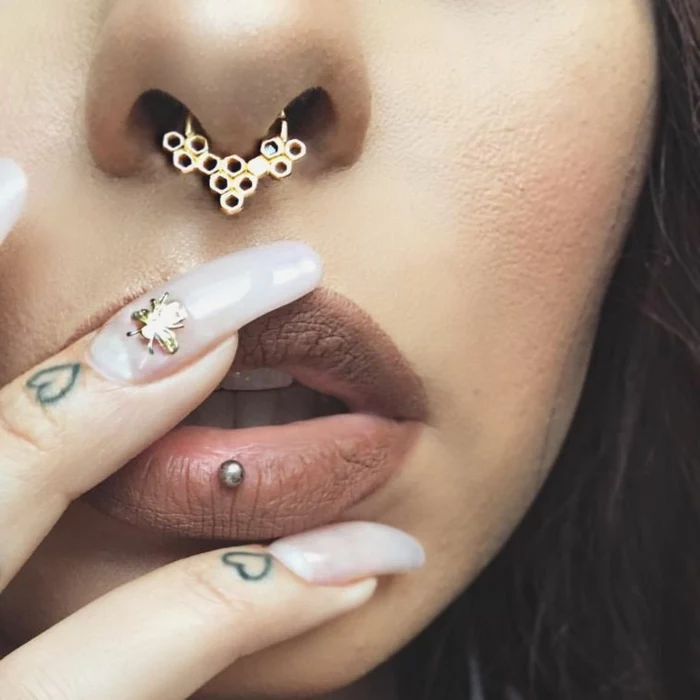
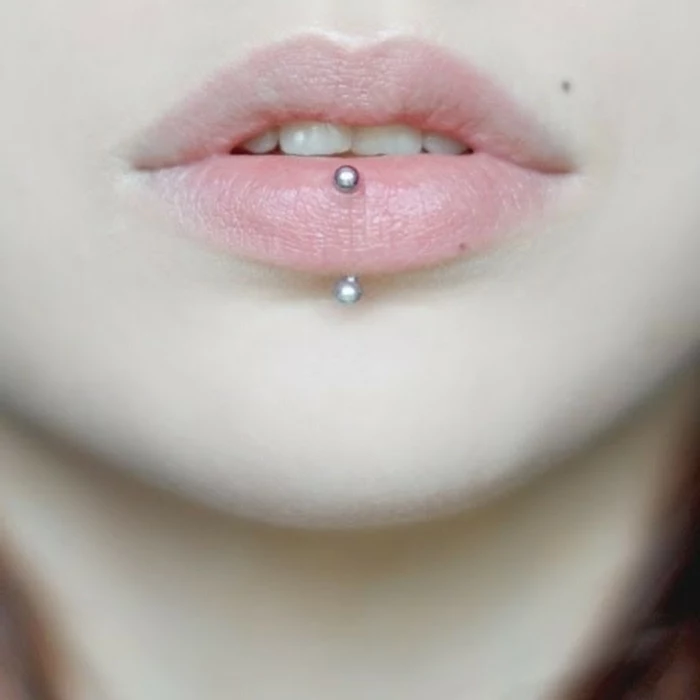
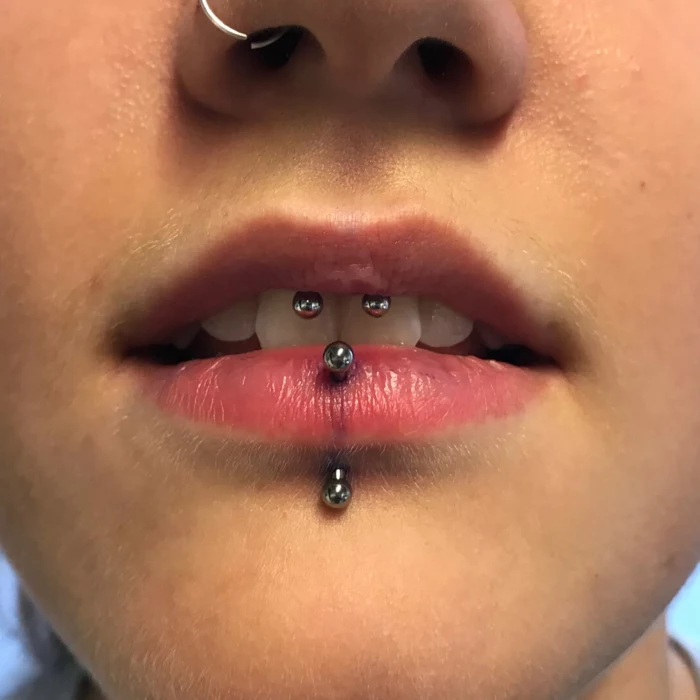
Inspirational Gallery


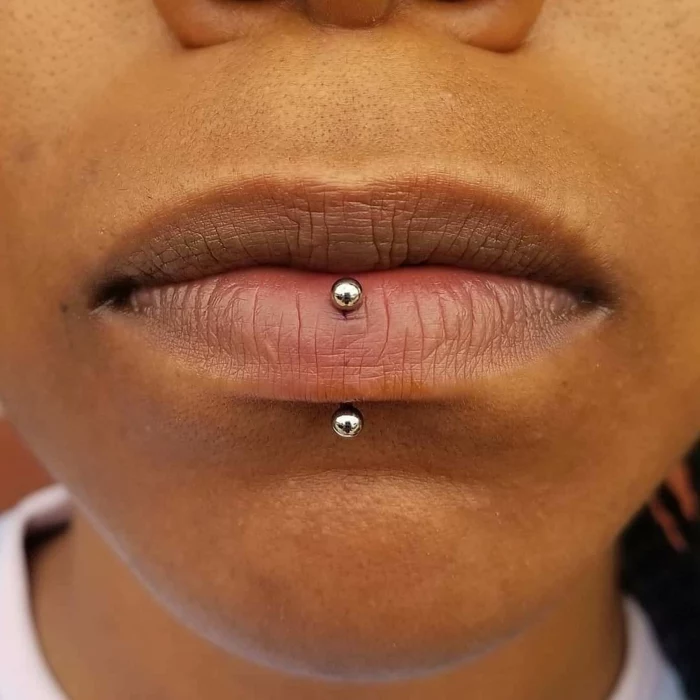
The Downsize is NOT Optional. Your piercer will initially use a longer labret stud to accommodate swelling. After 4-8 weeks, this bar MUST be swapped for a shorter one. A long bar will constantly catch on your teeth and gums, leading to significant and often irreversible damage like gum recession and tooth chipping. This follow-up appointment is as crucial as the piercing itself.

- Less irritation from catching on teeth and gums.
- A more secure and comfortable fit, day-to-day.
- A lower profile inside the mouth, protecting your oral health.
The secret to achieving this? High-quality threadless or internally threaded jewelry. The flat-back disc sits flush against the inner lip tissue once the initial swelling has subsided.
The Association of Professional Piercers (APP) states that a piercer’s portfolio should showcase numerous examples of well-placed, healed piercings. Ask to see healed photos of their Ashley piercings, not just fresh ones.
When it comes to the jewelry itself, material is everything for a happy heal. Your initial piece should be implant-grade titanium (ASTM F-136). It’s nickel-free, highly biocompatible, and lightweight, minimizing irritation. Brands like Neometal or Anatometal are industry standards for a reason. Avoid ‘surgical steel,’ which is an umbrella term with no quality guarantee and can contain nickel.

Will lipstick be off-limits forever?
Not at all, but you’ll need to adapt your routine. During the entire healing period (which can be 3-6 months), avoid all lip products to prevent contamination. Once fully healed, opt for liquid lipsticks that dry down completely, and apply them carefully around the piercing with a fine brush, never touching the jewelry post itself. Creamy or glossy formulas are more likely to migrate and cause buildup.

Healing-Phase Checklist: What to Avoid
- Spicy, acidic, or overly salty foods for the first couple of weeks.
- Thick, sticky foods that are hard to clean away (like oatmeal or peanut butter).
- Smoking and vaping, which introduce contaminants and restrict blood flow.
- Alcohol and caffeinated drinks in excess, as they can increase swelling.
- Open-mouth kissing or any oral contact until fully healed.

Implant-Grade Titanium: The gold standard for initial piercings. It’s lightweight, non-reactive, and can be anodized to various colors.
14k-18k Solid Gold: A beautiful option for fully healed piercings. Always ensure it’s from a reputable body jewelry company like BVLA or Junipurr, as they use nickel-free alloys designed for internal wear.
Never use plated, filled, or sterling silver jewelry in an oral piercing.

The sensation of an Ashley piercing is unique. Initially, you’ll be hyper-aware of the flat disc inside your mouth. This is normal. Over time, your body adapts, and a small indentation, called ‘nesting,’ often forms in the soft tissue. This is a good thing! It means the jewelry is settling in and will be better protected from your teeth.
A 2012 study in The Journal of the American Dental Association found a significant correlation between lip piercings and localized gum recession.
This sounds scary, but it underscores why expert placement is vital. A skilled piercer positions the Ashley to minimize contact with the gum line. Combined with properly-sized, high-quality jewelry, the risk is dramatically reduced. Regular dental check-ups are non-negotiable.
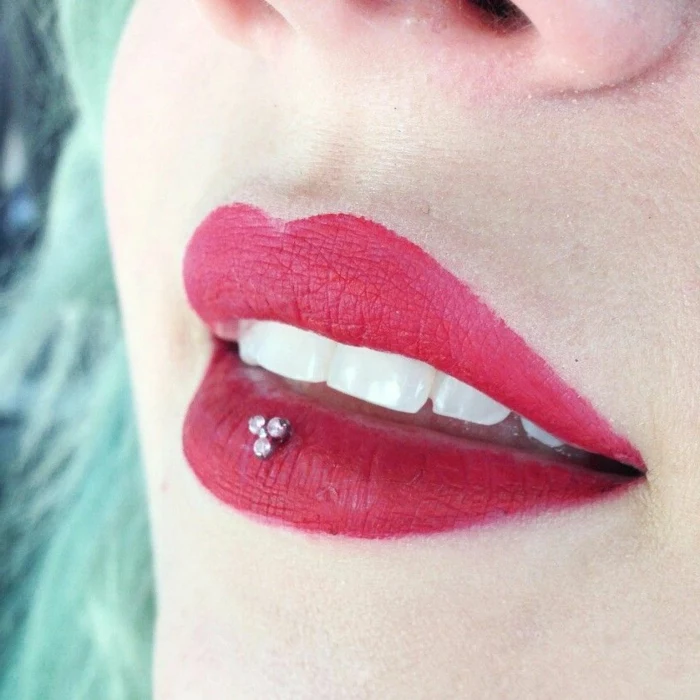
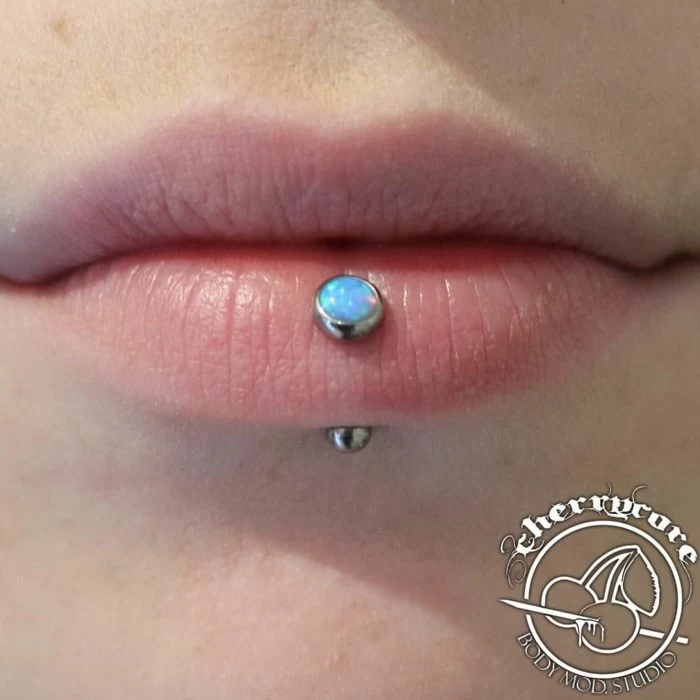
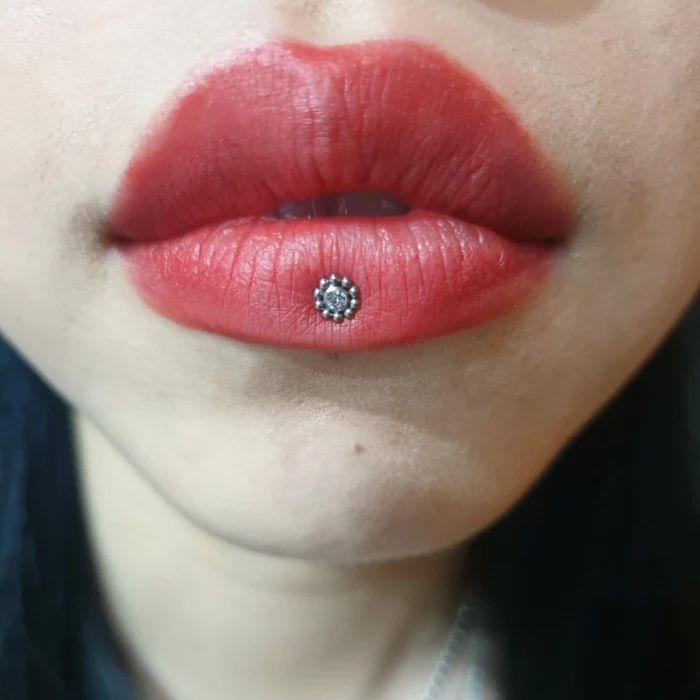
Once healed, your jewelry options explode. Consider the subtle shimmer of a genuine opal top, the classic sparkle of a Swarovski crystal, or a tiny gold shape like a moon or star. Brands like Maria Tash and Pupil Hall offer high-end, intricate designs that turn your piercing into a true piece of luxury jewelry.
Normal Healing vs. Potential Infection
- Normal: Swelling for the first week, mild redness, clear or whitish fluid that forms ‘crusties,’ and slight tenderness.
- Infection Warning Signs: Thick, yellow, or green pus; a foul odor; skin that is hot to the touch; and redness that spreads significantly from the piercing site. If you see these, contact your piercer or a doctor immediately.
Did you know the inside of your mouth heals faster than the outside? The mucous membrane has a rich blood supply, which is why the inner part of your Ashley piercing channel will often feel better long before the outer lip part is fully healed.
I have thin lips, can I still get it?
It depends. The Ashley piercing requires enough fleshy tissue for the jewelry to sit comfortably without putting pressure on the lip or exiting too close to the vermilion border (the edge of your lip). An experienced piercer will assess your anatomy in person. If your lips are very thin, they might suggest an alternative like a standard labret to achieve a similar look with a safer placement.

The first 48 hours are about managing swelling. Keep your head elevated when you sleep (an extra pillow helps!). Gently suck on ice chips and take an over-the-counter anti-inflammatory like ibuprofen, if you’re able to. Stick to soft, cool foods like smoothies, yogurt, and ice cream to avoid irritation.

Threadless Jewelry: The top is held in by tension from a small pin. It’s secure and very easy to change tops yourself once healed.
Internally Threaded: The top screws into the post. It’s also very secure, but can be trickier to change. Both are excellent, safe choices that won’t drag bacteria through the piercing channel like externally threaded jewelry can.
If you decide to retire your Ashley piercing, a small scar will remain. Initially, it may look like a small, deep pore. Over time, it will likely fade into a less noticeable, flat mark. The visibility depends entirely on your individual skin and how well you cared for the piercing.

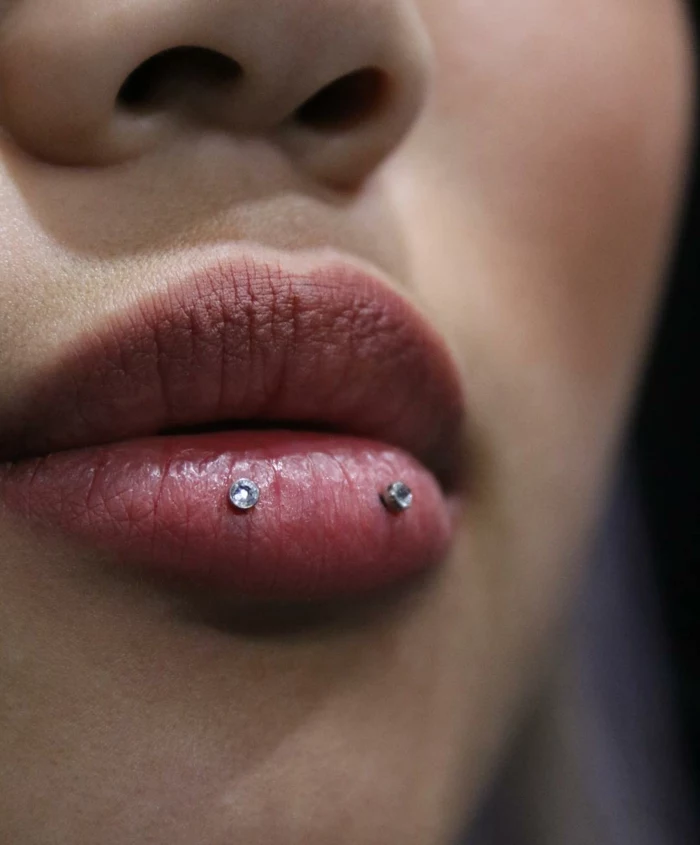
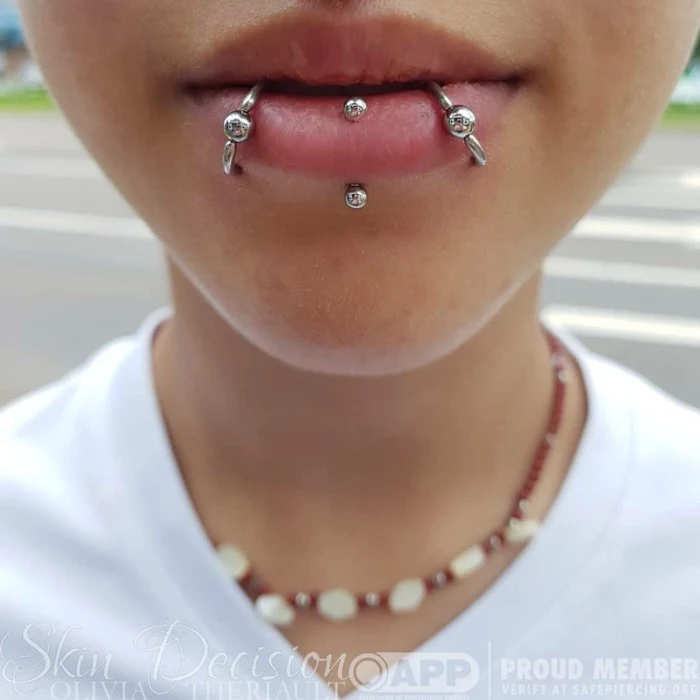
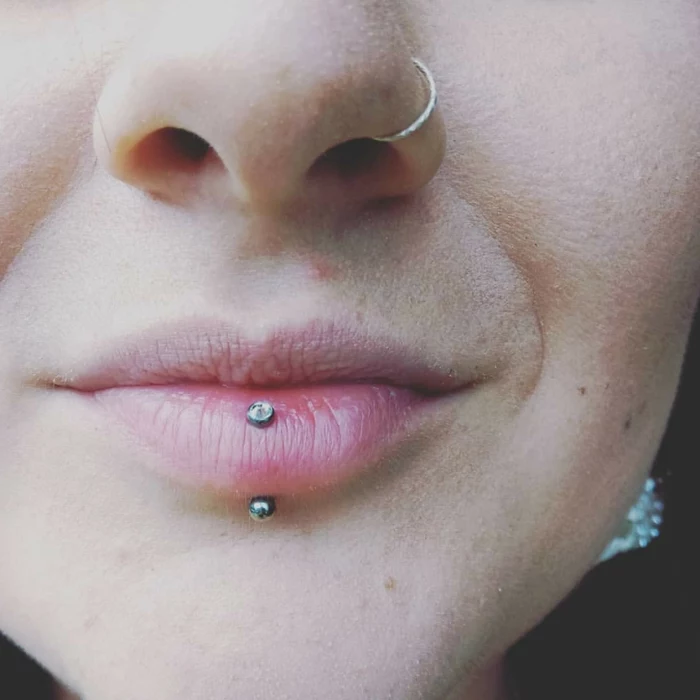
- A centered, symmetrical look that doesn’t rely on paired piercings.
- A more delicate and less invasive appearance than a ‘snake bite’ piercing.
- The ability to showcase a single, stunning piece of jewelry.
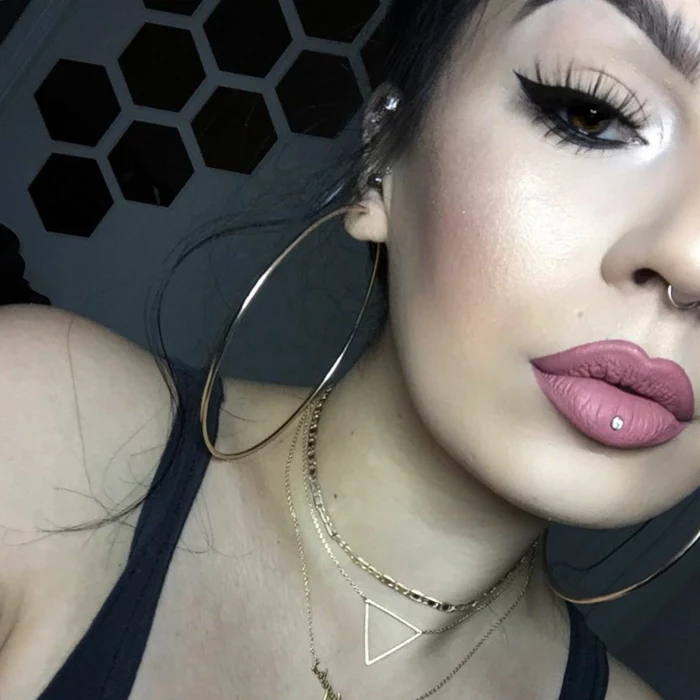
The allure? The Ashley piercing offers a singular point of focus, drawing attention directly to the lips in an elegant, minimalist way.

Cleaning is simple but crucial. Use a sterile saline wound wash, like NeilMed Piercing Aftercare, sprayed directly onto the outside of the piercing twice a day. For the inside, rinse your mouth with water after eating or drinking anything besides water, and use an alcohol-free antimicrobial mouthwash morning and night.
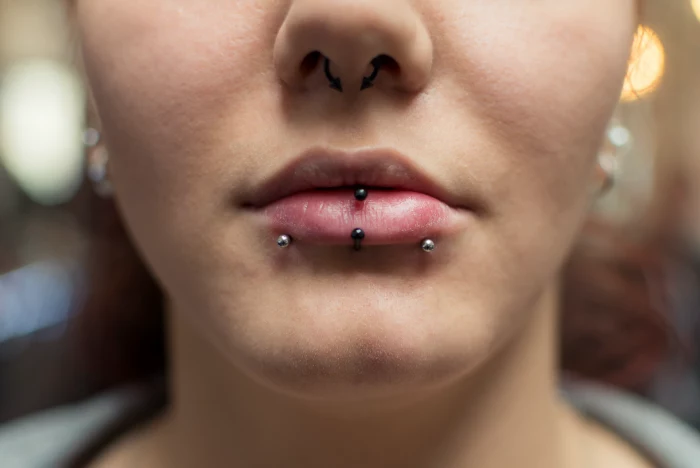
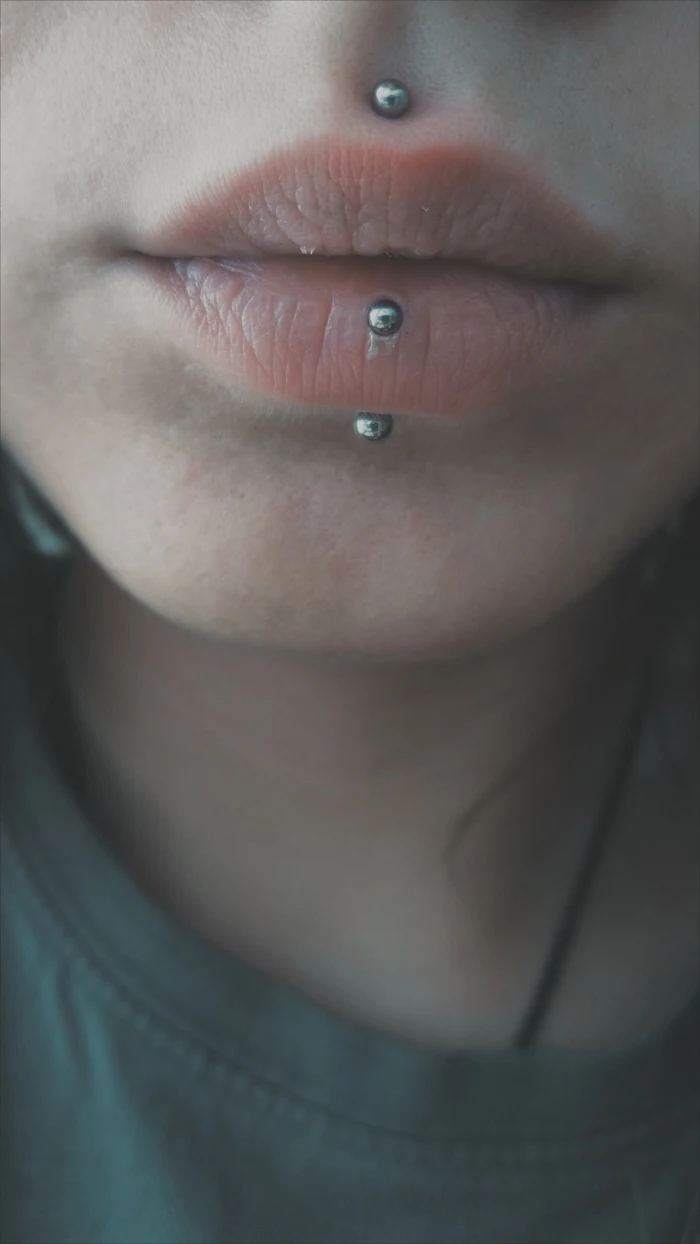
Love the look but worried about the commitment or oral health risks? Consider a vertical labret. This piercing goes vertically through the lip itself, with both the top and bottom visible. It doesn’t enter the mouth at all, completely avoiding any contact with teeth or gums, but gives a similar centered aesthetic.
A piercing needle is hollow and razor-sharp, creating a clean channel for jewelry. A piercing gun uses blunt force to shove a dull stud through tissue, causing excessive trauma, increasing scarring, and carrying a high risk of infection. For an Ashley, a needle is the only safe tool.
A note on athletes: If you play contact sports, an Ashley piercing carries a high risk of being torn or causing significant oral trauma. It’s essential to discuss your lifestyle with your piercer. For some sports, it may be a complete contraindication. For others, a custom-fit mouthguard might be a solution once fully healed.
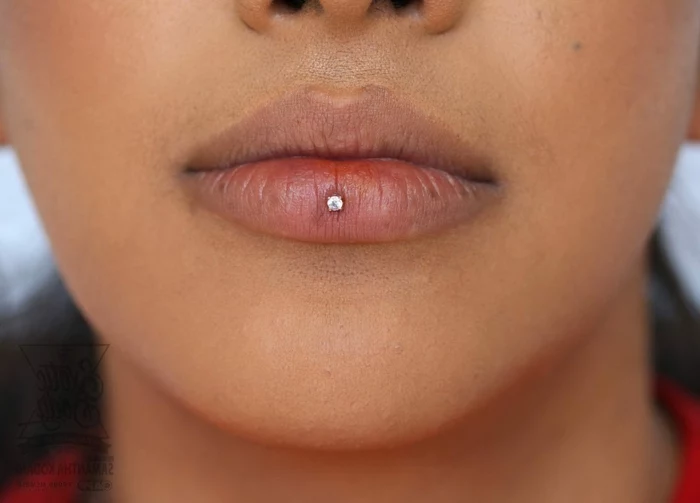
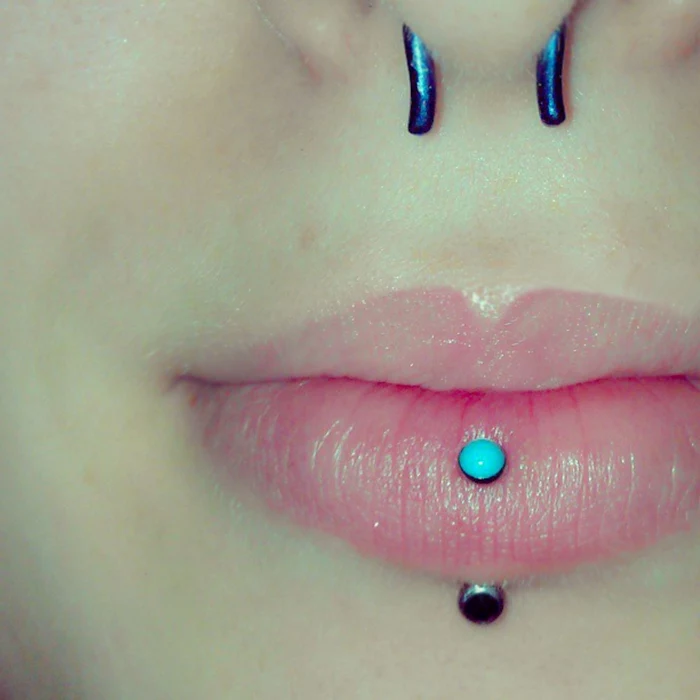
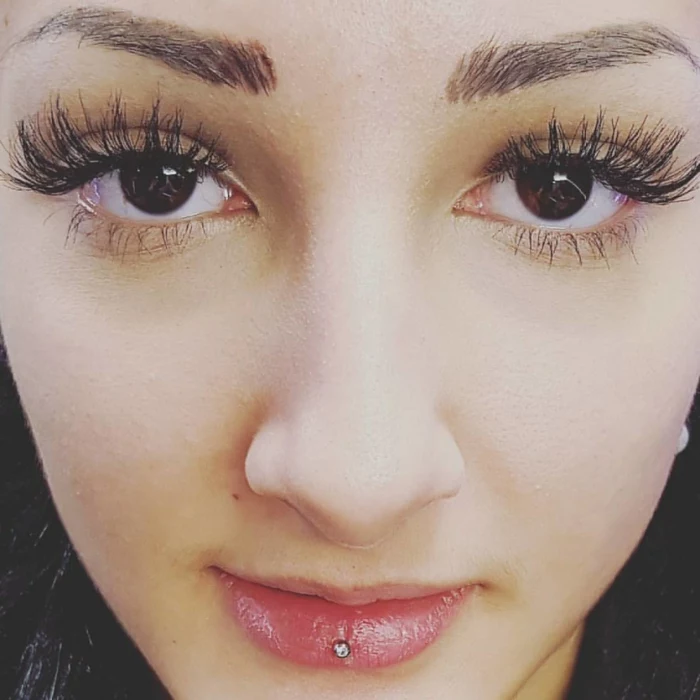
The size of the decorative top matters. A small 1.5mm or 2mm gem offers a subtle, dainty sparkle, perfect for a minimalist look. A larger 2.5mm or 3mm top makes a bolder statement. Your piercer can help you choose a size that is proportional to your lips for the most harmonious result.
What’s the full cost?
Be prepared for two separate costs: the piercing service fee and the price of the jewelry. A reputable studio’s service fee can range from $40 to $80+, reflecting their expertise and sterilization standards. Basic, implant-grade titanium jewelry might start around $30-$50. This is an area where saving money can cost you dearly in health complications.

Long-term care is low-maintenance but important. Gently remove your jewelry top once a month (when fully healed!) to clean any buildup from the post and the gem setting. At your six-month dental cleanings, ask your hygienist to check for any signs of wear on the adjacent teeth or gums—early detection is key.
Playing with your jewelry is the number one healing mistake. Twisting, turning, or clicking the stud against your teeth introduces bacteria, irritates the piercing channel, and can cause serious dental damage. Consciously make an effort to leave it completely alone.


