Your Go-To Guide for Harvesting Aloe Vera Like a Pro (Safely!)
My fascination with plants didn’t start in some fancy lab; it started in my grandmother’s garden. She had this row of tough, spiky aloe plants, and for her, they were way more than just decoration. They were a living first-aid kit. A burn from the stove or a scraped knee was always met with the same calm action: she’d snap off a thick leaf, split it open, and apply the cool, soothing gel. That was my first lesson in just how practical plants could be, and it really stuck with me.
In this article
- First Things First: Keeping Your Aloe Plant Happy
- What’s Actually Inside an Aloe Leaf?
- How to Harvest Your Aloe Like a Pro
- Common Hiccups and How to Fix Them
- Storing Your Fresh Aloe Gel
- Let’s Talk DIY vs. Store-Bought Gel
- Practical Ways to Use Your Homemade Gel
- The All-Important Safety Disclaimer
- Inspirational Gallery
These days, I work with aloe on a much bigger scale, and I’ve seen the massive difference between potent, properly handled aloe and the weak, ineffective stuff that often floods the market. The plant has a powerhouse reputation, but you have to know how to unlock its potential safely. This isn’t just another list of benefits. I want to show you how the pros work with this plant, from the soil all the way to the finished gel you can use at home.
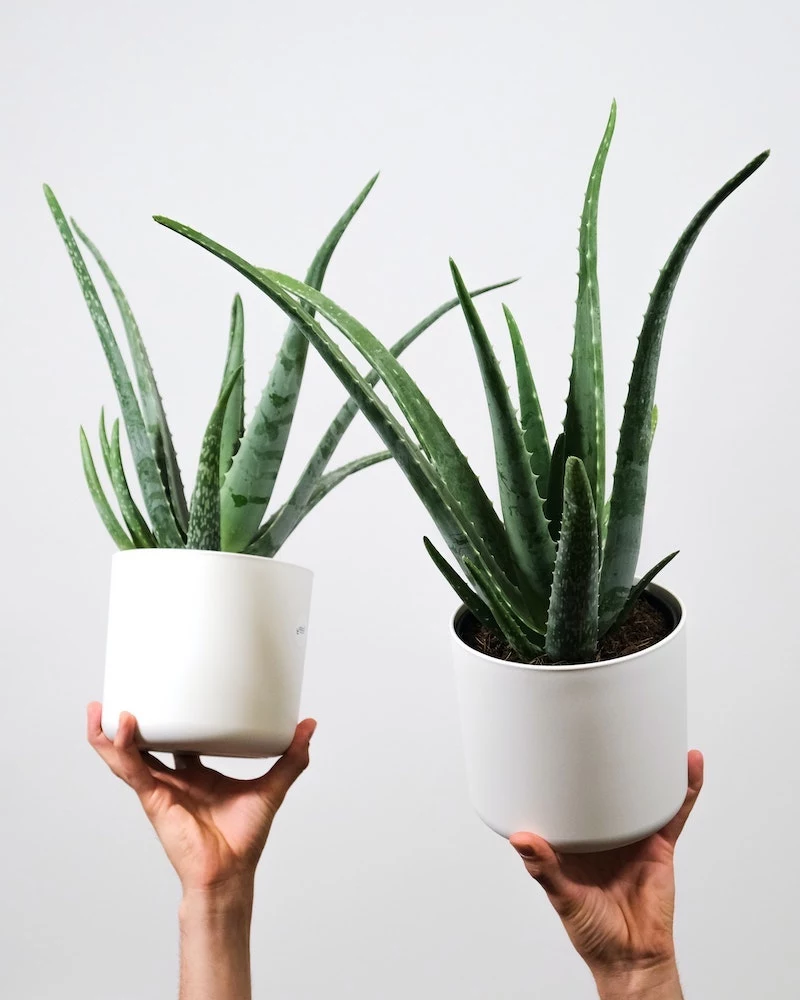
First Things First: Keeping Your Aloe Plant Happy
Before we even think about harvesting, let’s make sure your plant is thriving. Honestly, they’re pretty low-maintenance, but a few key things make all the difference.
For starters, you’ll need a few basics: an aloe plant, a pot with good drainage, and the right kind of soil. You can pick up a healthy, mature aloe plant from most garden centers or even a place like Home Depot for around $15 to $30. Look for one with plump, green leaves.
Here’s the simple setup for success:
- The Pot: A terra cotta pot is your best friend here. It’s porous, so it helps the soil dry out, which is exactly what aloe loves. The most important thing? It MUST have a drainage hole. No exceptions.
- The Soil: Don’t just use regular potting soil. It holds too much water. Grab a bag of cactus or succulent mix. It’s designed to drain quickly, preventing the dreaded root rot.
- Watering: This is where most people go wrong. The rule is simple: soak the soil completely, then let it dry out entirely before watering again. In summer, this might be every couple of weeks; in winter, maybe only once a month. Stick your finger an inch into the soil—if it’s bone dry, it’s time to water.
- Light: Aloe loves bright, but indirect, sunlight. A spot near a sunny window but not directly in the harsh afternoon rays is perfect.
What’s Actually Inside an Aloe Leaf?
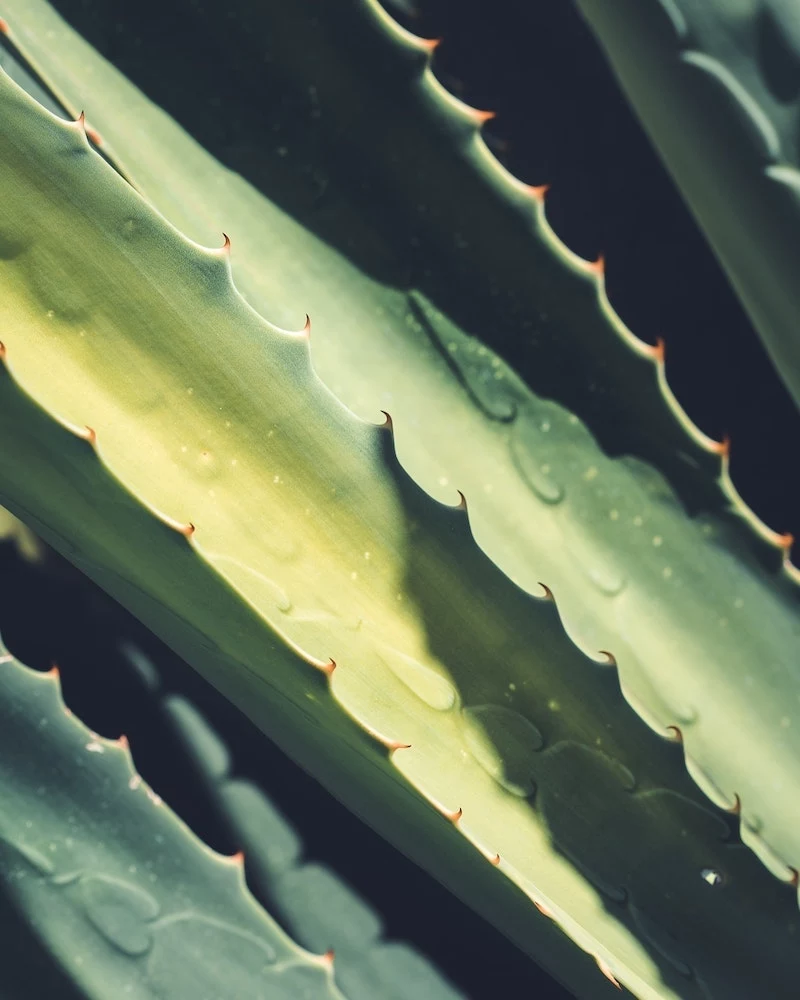
Okay, so your plant is happy. Now, let’s get into what you’re working with. An aloe leaf is basically a little factory with three distinct layers, and knowing the difference is critical for using it safely.
The most common medicinal species is likely the one you have. A good way to identify it is that the young leaves often have white spots, which tend to fade as the plant matures into a solid green. If you’re ever unsure, it’s always best to compare it against a reliable online botanical guide before using it.
Here’s the breakdown of a mature leaf:
- The Rind: This is the tough, green outer skin. It protects the good stuff inside and does all the photosynthesis. We don’t really use this part.
- The Latex: Right under the skin is a thin layer of yellow, bitter sap. This is the part you need to be careful with. It contains a compound called aloin, which is a powerful laxative and can be a skin irritant for some people. When you first cut a leaf, you’ll see this yellow stuff ooze out. It has a pretty strong, funky smell.
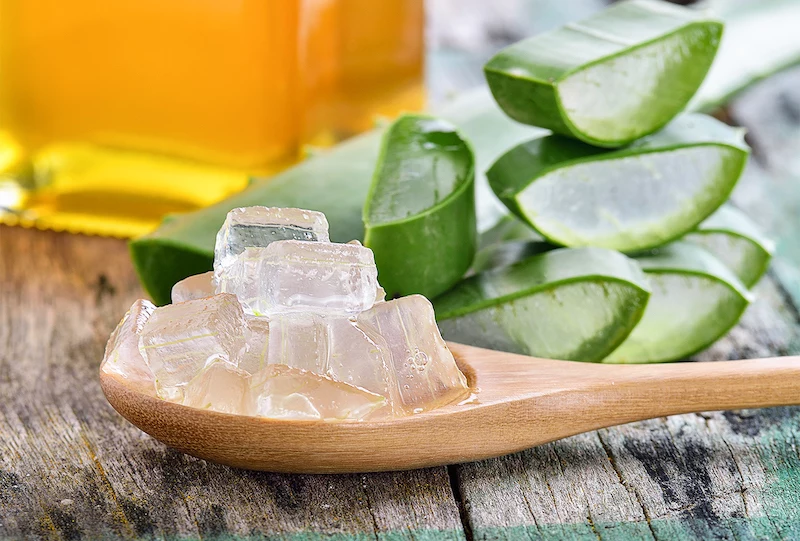
- The Gel (or Fillet): This is the prize! It’s the clear, jelly-like stuff in the very center of the leaf. It’s mostly water, but the other 1% is packed with vitamins, enzymes, and a special polysaccharide called acemannan, which is fantastic for skin regeneration. This is the part you want for soothing burns and skincare.
Seriously, understanding these three layers is the most important takeaway for using aloe safely. Just grabbing a leaf and slathering the whole thing on your skin is a common mistake that can lead to irritation.
How to Harvest Your Aloe Like a Pro
The quality of your final gel comes down to your harvesting technique. Rushing it can introduce bacteria or degrade the compounds. Here’s a step-by-step guide to do it right.
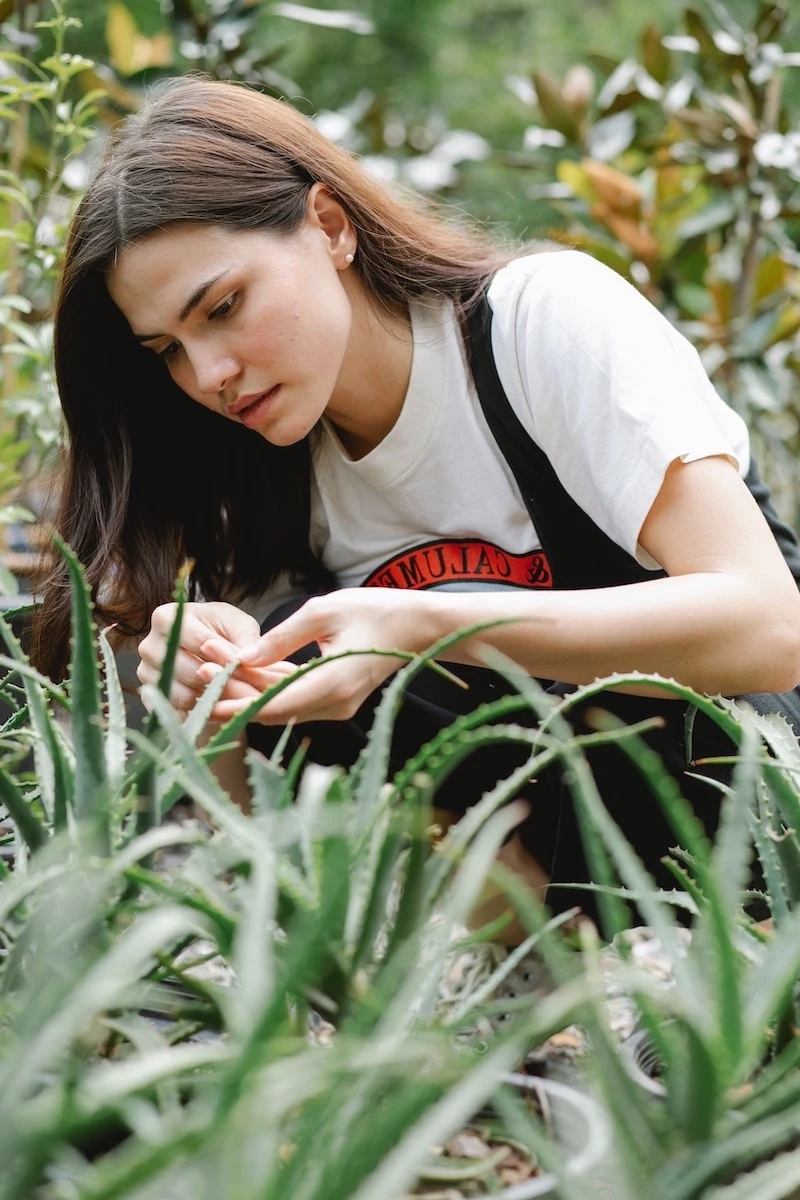
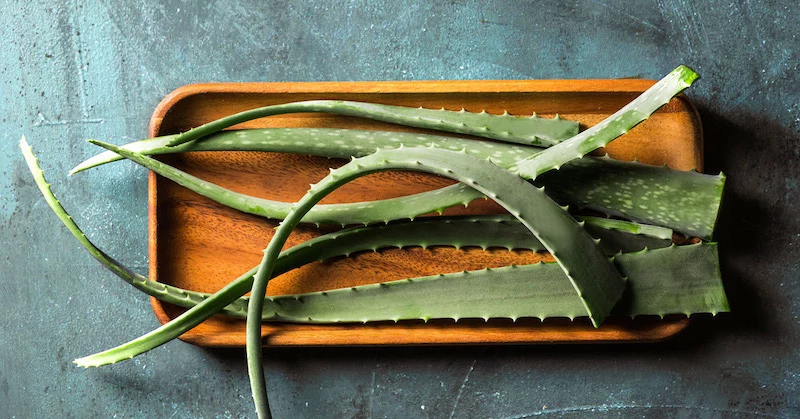
Step 1: Choose the Right Leaf
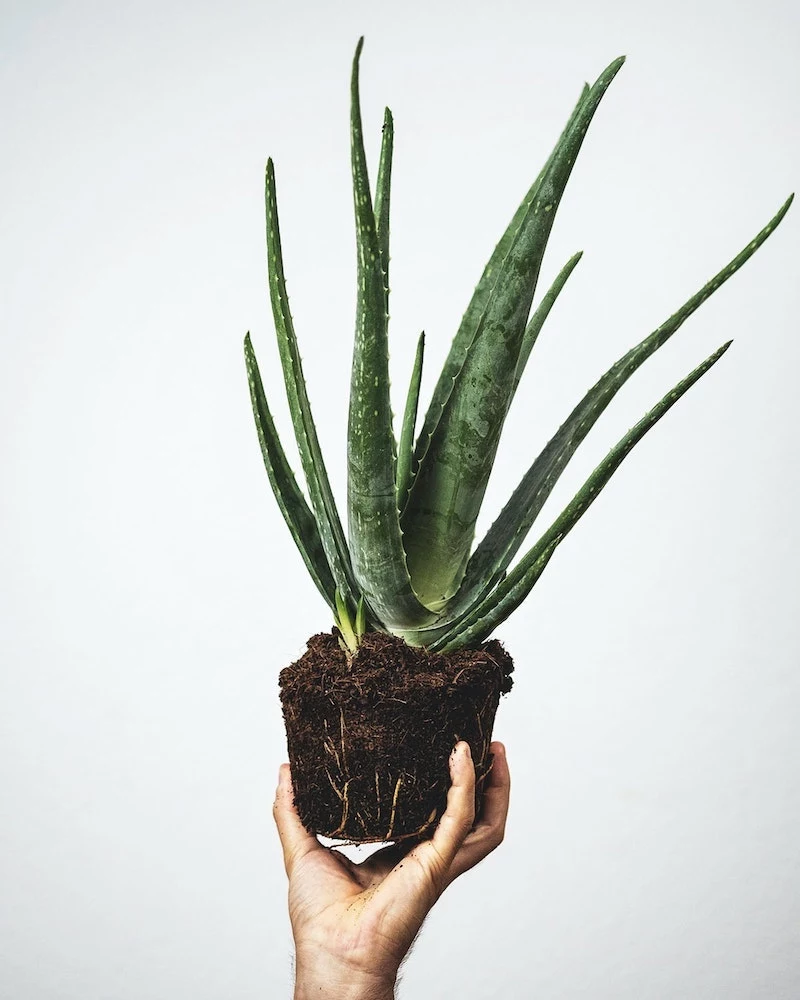
Don’t just grab any old leaf. You want a mature, thick one from the outer part of the plant. A plant should be a few years old before you start harvesting for the best potency. The leaf should look plump and healthy, not thin or pale.
Step 2: Make the Cut
Use a clean, very sharp knife. I can’t stress this enough. A dull knife crushes the plant cells and makes the gel oxidize faster. A simple, clean paring knife or a flexible filleting knife works great. Before you cut, give the blade a quick wipe with rubbing alcohol to sterilize it. Make a clean slice as close to the main stem as you can.
Step 3: The Draining Step (Do NOT Skip This!)
This is the secret that separates amateurs from pros. Place the cut leaf, cut-side down, in a glass or a small bowl. Let it stand upright for about 15-20 minutes. You’ll see that bitter, yellow latex drain out. Discard this stuff. Skipping this means all that irritating aloin will get mixed into your beautiful gel.
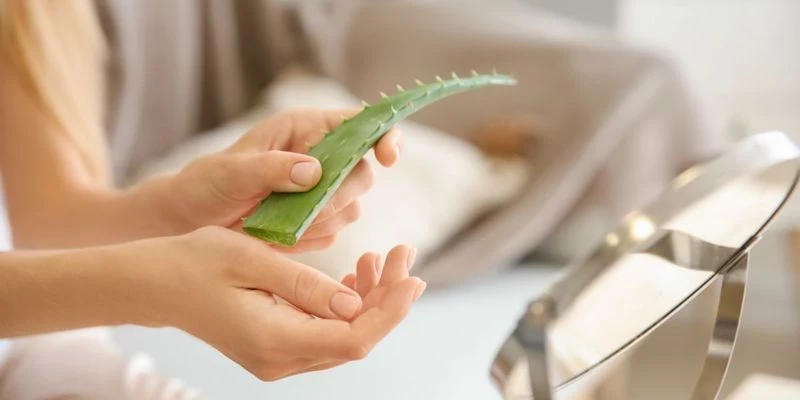
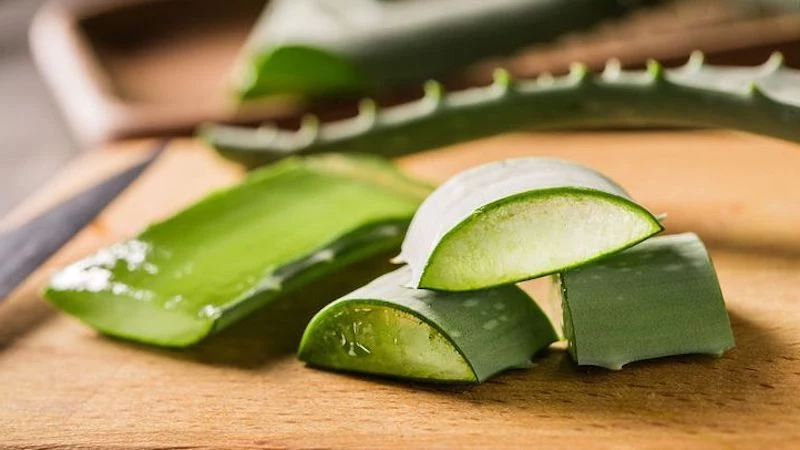
Step 4: Fillet the Leaf
Once it’s done draining, give the leaf a good wash. Lay it on a clean cutting board. Carefully slice off the spiny edges on both sides. Now, lay the leaf flat and gently slice off the top layer of green rind, like you’re filleting a fish. Try to stay as close to the rind as possible to save all that precious gel. You’ll be left with a big slab of clear gel sitting on the bottom piece of rind.
Step 5: Scoop Out the Goodness
Using a spoon, carefully scoop out the clear, slippery gel and place it in a clean bowl. Try not to scrape up any green bits from the rind or any leftover yellow latex. Your goal is pure, translucent gel.
Common Hiccups and How to Fix Them
It’s normal to run into a couple of snags the first time you do this. Here are some common ones:
- “My gel is all foamy after blending!” Ah, you probably blended it on high speed, which whips in a lot of air. No worries! Just let it settle in the fridge for an hour or so, and the foam will subside.
- “I see some yellow latex in my gel!” It happens. If it’s just a small speck, you can try to scoop it out. If it’s mixed in, I’d recommend using that batch for topical use only and not on broken skin, just to be safe. Don’t ingest it.
Storing Your Fresh Aloe Gel
Fresh is always best, as the gel starts to lose its power once it’s exposed to air. For short-term use, pop it in an airtight glass jar in the fridge. It’ll be good for up to a week. If you see it turn a pinkish or brownish color, that’s just oxidation. It’s not necessarily bad, but it means the gel is losing its punch. If it smells funky, toss it.

For longer-term storage, the freezer is your friend. A great trick is to give the gel a quick, gentle blend (just a few pulses on low) and pour it into an ice cube tray. Once frozen, you can pop the cubes into a freezer bag. This gives you perfect, single-serve portions for sunburns or face masks.
Let’s Talk DIY vs. Store-Bought Gel
Is it worth the effort to make your own? It depends on what you value most.
Honestly, nothing beats the potency of a freshly harvested aloe fillet from a healthy plant. It’s pure, powerful, and you know exactly what’s in it (aloe, and nothing else). In the long run, growing your own is definitely cheaper. But, it takes time and effort, and the fresh gel has a very short shelf life.
On the other hand, store-bought gel is incredibly convenient and lasts for ages. The biggest advantage is safety for internal use; commercial juices are required to be purified and aloin-free. The downside? They can be less potent and sometimes contain fillers, alcohol, or other additives you might not want. A bottle of good-quality gel can cost anywhere from $10 to $25.
Quick Tip: Go look at any aloe product you have in your house right now. Check the label. Does it say “purified,” “decolorized,” or “aloin-free”? Now you know what the pros look for!
Practical Ways to Use Your Homemade Gel
Okay, let’s put that beautiful gel to work. Here are a few reliable uses:
- Minor Burns & Sunburns: This is aloe’s claim to fame. For a minor kitchen burn or a mild sunburn, applying the cool gel gives instant relief. It creates a protective, hydrating layer. That frozen aloe cube trick is a lifesaver for larger areas. Heads up! Never put aloe on a severe, blistering, or open burn. It can trap bacteria and make things worse. See a doctor for serious burns.
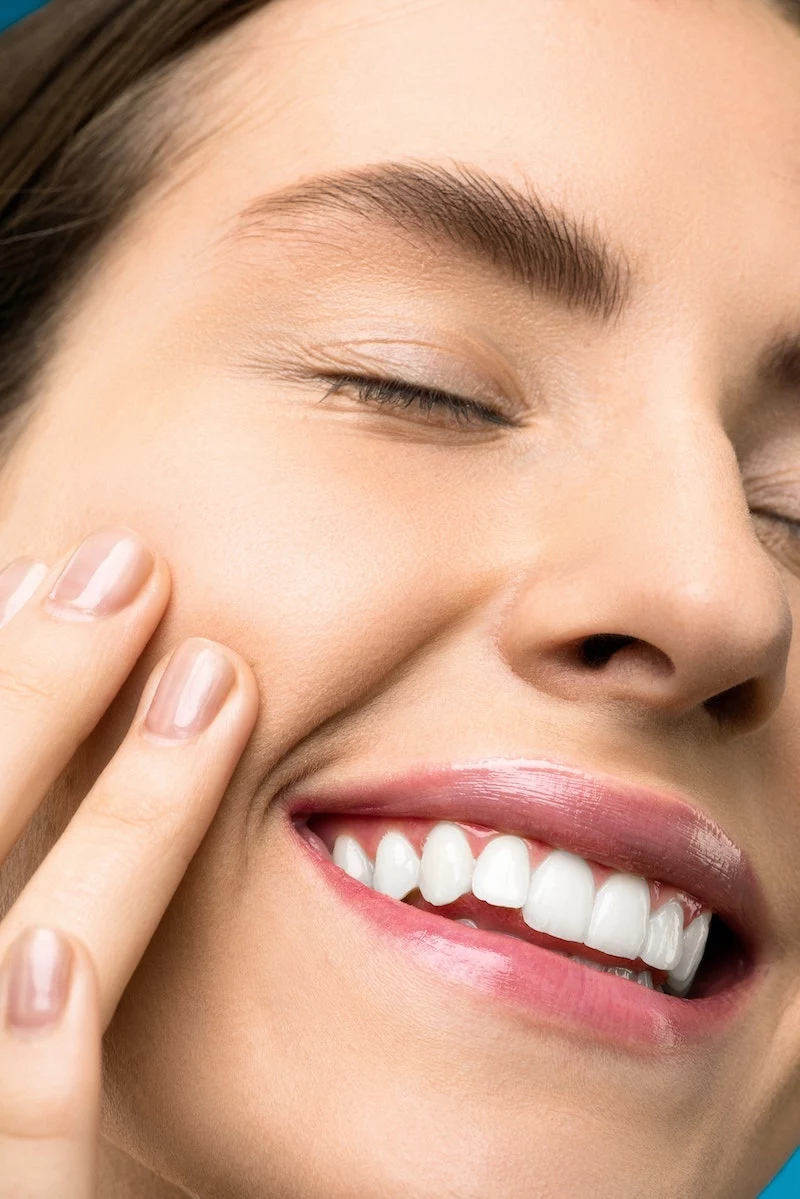
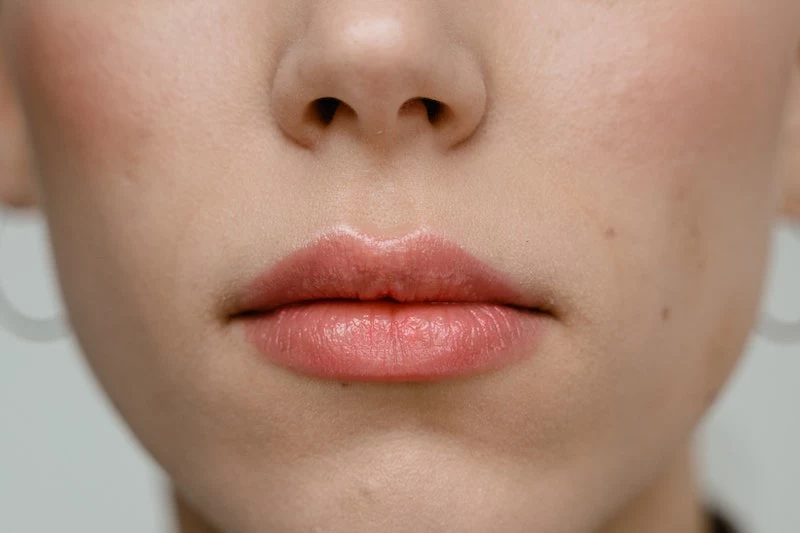
- Lightweight Moisturizer: Aloe is amazing for oily or acne-prone skin because it hydrates without being greasy. You can use it as a simple face mask. Just apply a thin layer, let it sit for 15 minutes, and rinse. For an extra-soothing treat, mix a tablespoon of aloe gel with a teaspoon of raw honey.
- Soothing an Itchy Scalp: If you have a dry scalp or dandruff, an aloe mask can be really calming. Massage a good amount of the pure gel right into your scalp, leave it on for about 30 minutes, and then shampoo it out.
The All-Important Safety Disclaimer
This is the most critical part of this guide. Natural doesn’t automatically mean safe for everyone, all the time.
Internal Use: The Biggest Caution!
The internet is filled with people promoting drinking aloe vera juice. Please listen carefully: ONLY use commercially prepared aloe juice that is certified as “purified” or “aloin-free.” Do NOT, under any circumstances, try to make your own drinking juice at home. It’s nearly impossible to remove all the irritating latex, and ingesting it can cause severe cramps, diarrhea, and a dangerous loss of electrolytes.
Allergies Are Real
If you’re allergic to plants like garlic, onions, or tulips, you might be allergic to aloe, too. Always do a patch test first. Dab a small amount of gel on your inner wrist and wait 24 hours to see if any redness or itching develops.
Drug Interactions
This is serious. Aloe can lower blood sugar, so it can interfere with diabetes medications. The latex part is a laxative, which can mess with diuretics and heart medications. If you are on any medication or have a chronic health condition, talk to your doctor before using aloe for anything other than a simple skin soother.
Ultimately, aloe is for minor, simple issues. It is not a replacement for professional medical care. Knowing the limits of a home remedy is a sign of wisdom, not failure.
When you learn to respect the plant, understand its chemistry, and follow safe practices, it can be a wonderfully useful green friend to have around. Start simple. Grow a plant. Learn to harvest one leaf the right way. That’s how real expertise begins—one practical, successful step at a time.
Inspirational Gallery
My aloe’s leaves are turning brown and limp. What did I do wrong?
This is a classic sign of overwatering, the number one mistake with aloe care. The roots are likely sitting in water, leading to root rot. First, gently remove the plant from its pot and inspect the roots. If they’re brown and mushy, trim them off with clean scissors. Let the plant sit out for a day to allow the cuts to callous over. Then, repot it in fresh, dry soil specifically designed for succulents, like the Miracle-Gro Cactus, Palm & Citrus Potting Mix, ensuring your pot has excellent drainage. If the leaves are brown but crispy, it could be sunburn from too much direct light. Move it to a spot with bright, indirect sun.
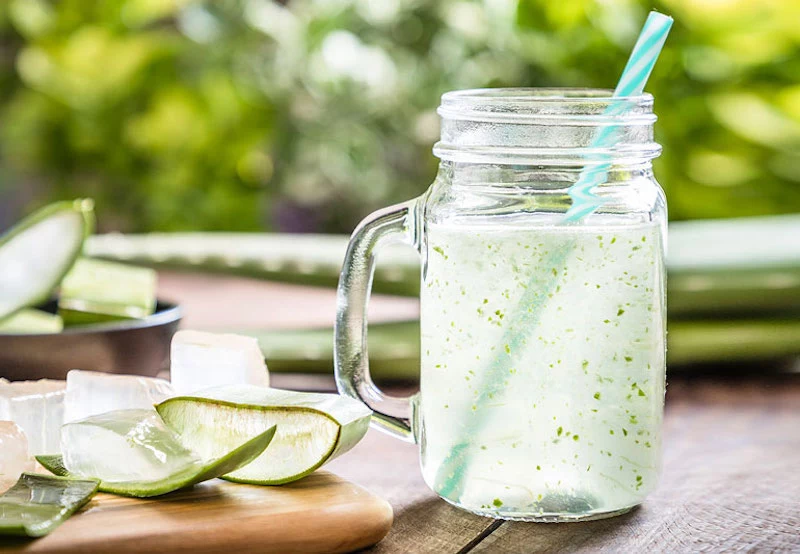
The gel of an aloe vera leaf is approximately 99% water.
That remaining 1% is where the magic happens. It’s a dense cocktail of over 75 active compounds, including vitamins (A, C, E, B12), enzymes, minerals, and amino acids. This powerful synergy is what gives the gel its renowned anti-inflammatory and hydrating properties, making it far more than just water.
The Minimalist Statement: For a clean, modern look, place a single, mature Aloe barbadensis miller in a sleek ceramic or concrete planter. Position it on a side table or a bookshelf where its strong, architectural shape can stand out as a living sculpture.
The Bohemian Oasis: Create a lush, layered feel by grouping smaller aloe varieties, like the speckled Tiger Tooth Aloe (Aloe juvenna), with other succulents in a collection of mismatched terra cotta pots. Incorporating macrame plant hangers adds texture and vertical interest.
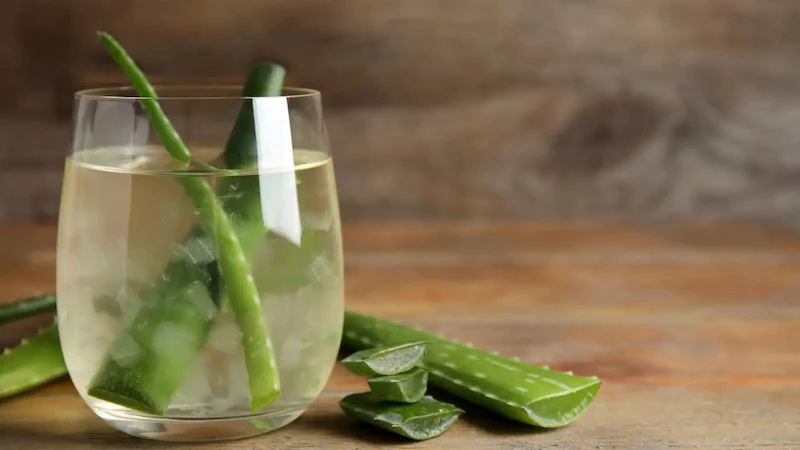
After harvesting, put that fresh gel to immediate use by creating a cooling after-sun mist. It’s incredibly simple and soothing.
- Blend the gel from one large leaf until smooth.
- Strain it through a cheesecloth to remove any fibrous bits.
- Mix a half-cup of the fresh aloe juice with a half-cup of distilled water and a tablespoon of witch hazel (Thayers brand is excellent).
- Pour into a dark glass spray bottle and store in the fridge.
The result? An instant relief spray for sun-kissed skin.


