3 Kitchen Mistakes Almost Everyone Makes (And How to Fix Them for Good)
My first year in a professional kitchen, my forearms were constantly red. It wasn’t from burns—though I had my fair share—it was from the blistering heat rolling off the six-burner range all day long. It was a true trial by fire. The head chef was a classic, intense guy with hands like worn leather, but he rarely yelled. He didn’t need to.
In this article
A single look of disappointment as you dropped a beautiful piece of fish into a lukewarm pan was enough to make you want to hide in the walk-in freezer. That’s where it really clicked for me: amazing cooking isn’t about some secret, fancy recipe. It’s all about nailing a few foundational habits until they’re as natural as breathing.
At home, we all develop habits, too. But honestly, a lot of them work against us, making food less flavorful and the whole process way more frustrating. These are the little things that keep good home cooks from feeling like great ones. I’ve seen the same slip-ups time and time again, so today, I want to walk you through them. We won’t just point them out; we’ll get into the ‘why’ behind the right way. Once you understand the logic, a ‘rule’ becomes a tool you can use forever.

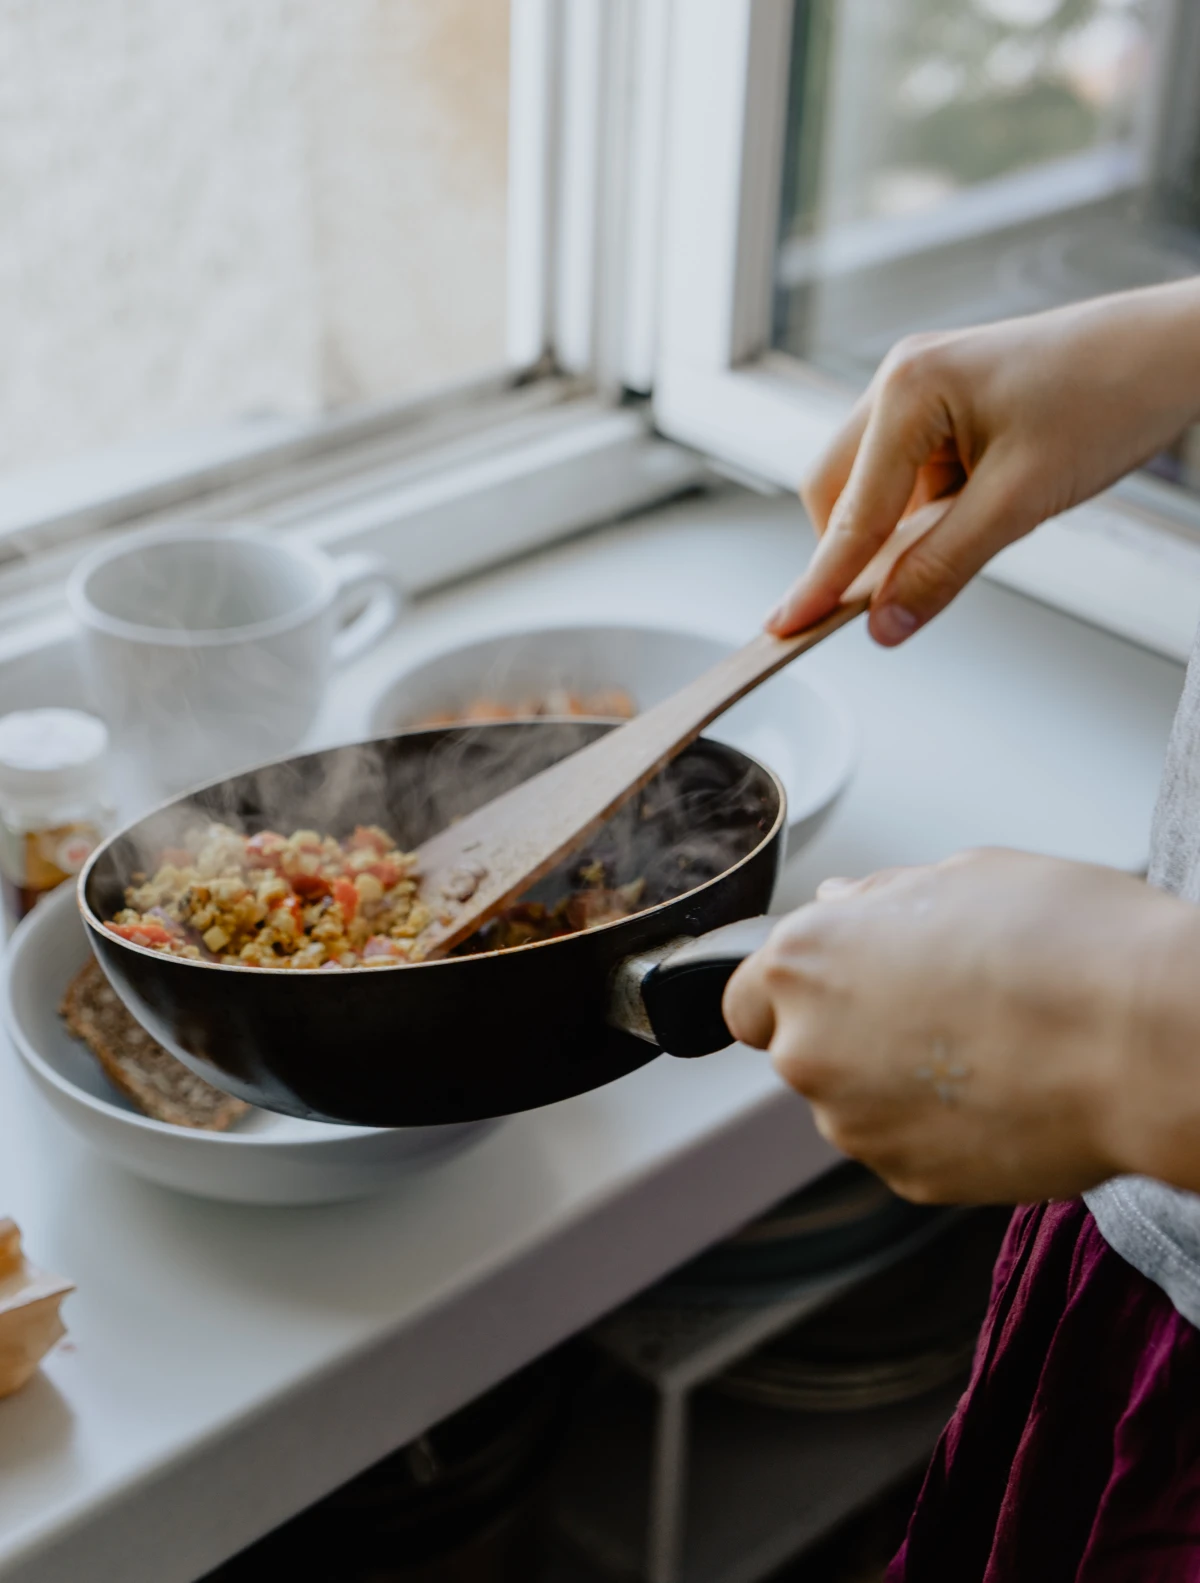
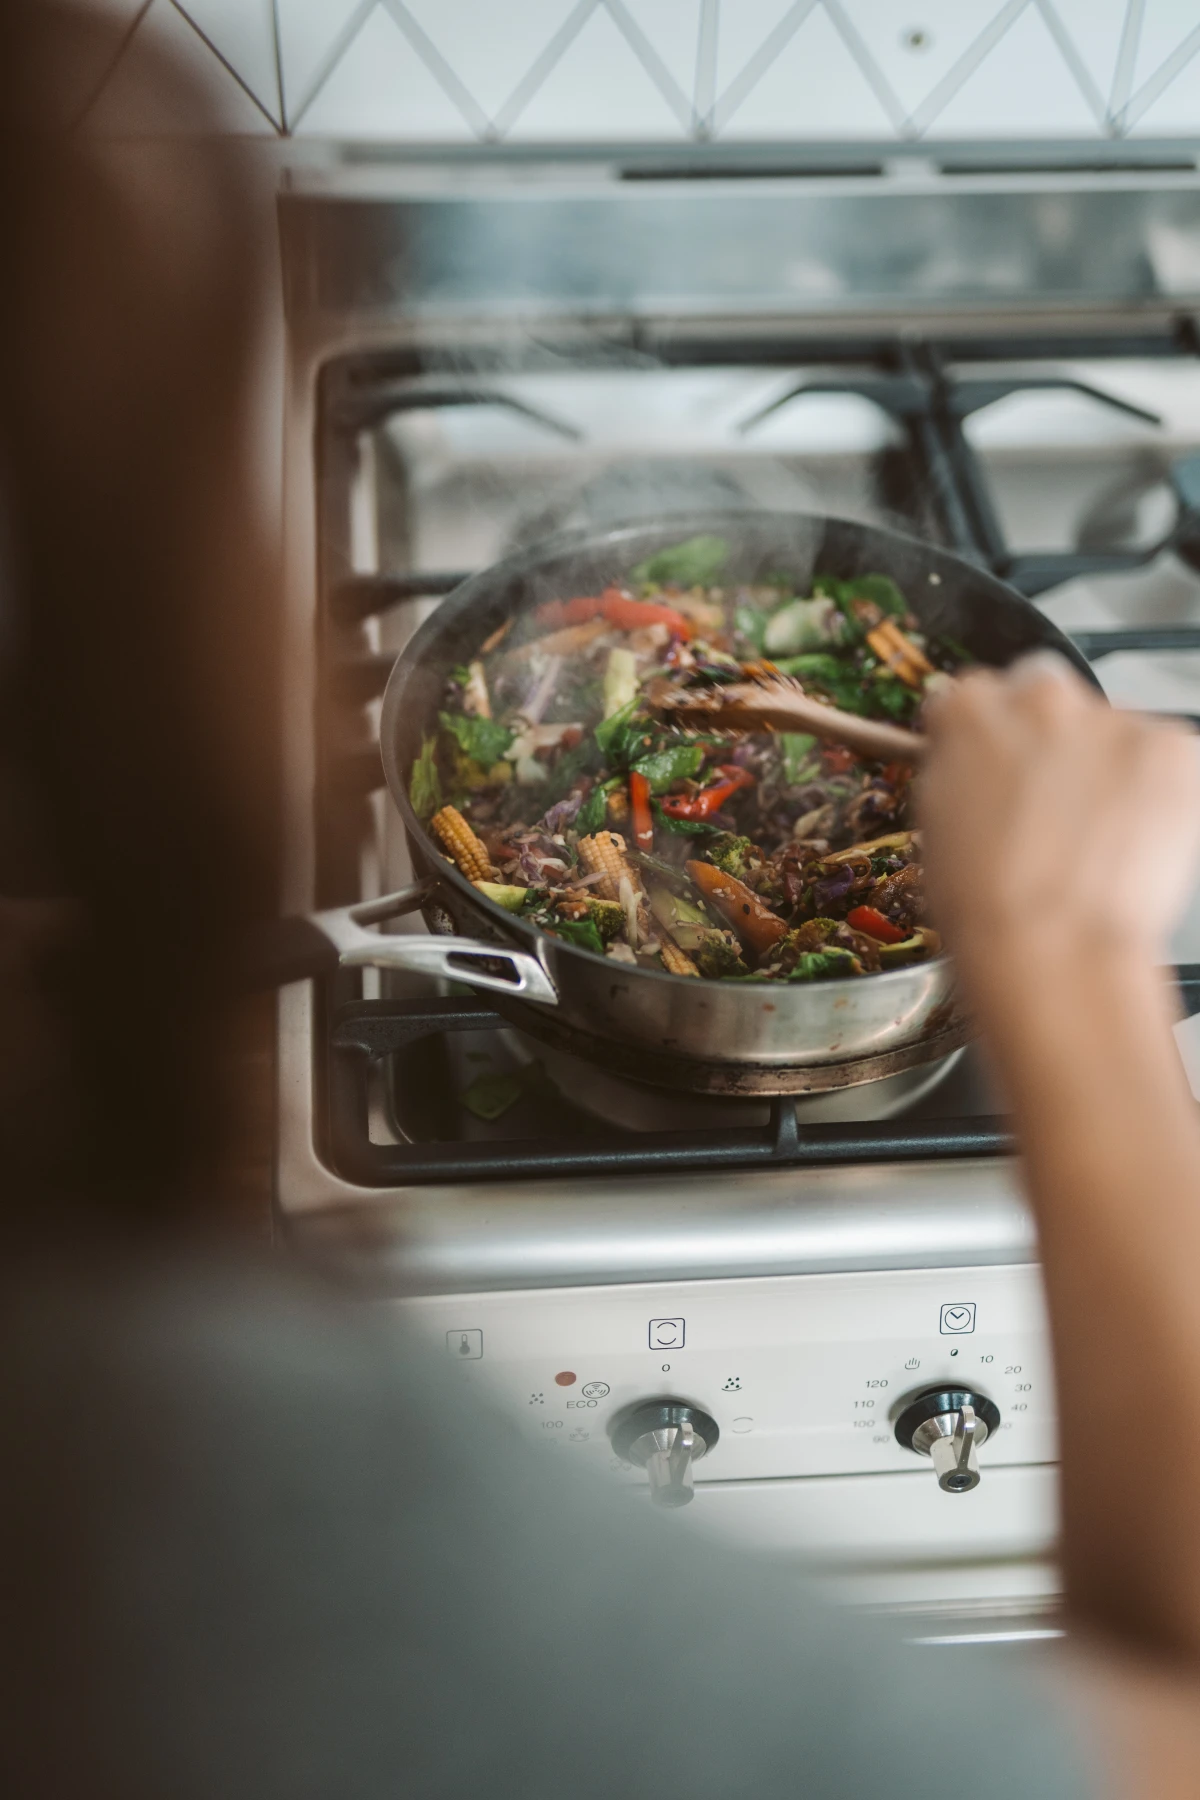
1. The Sizzle Is the Sound of Flavor (So Where Is It?)
The single biggest issue I see outside of a pro kitchen is how people manage—or don’t manage—heat. It’s the secret culprit behind food that sticks, meat that looks sad and grey, and vegetables that turn to mush. The mistake is painfully simple: adding your food, or even your oil, to a cold pan.
Why a Hot Pan Is Your Best Friend
So, what actually happens? When you place a cold chicken breast into a lukewarm pan, the proteins in the meat instantly form a kind of glue with the metal surface. As the pan slowly heats up, that bond just gets stronger. When you go to flip it, you end up tearing the meat, leaving the best bits stuck to the pan. Sound familiar?
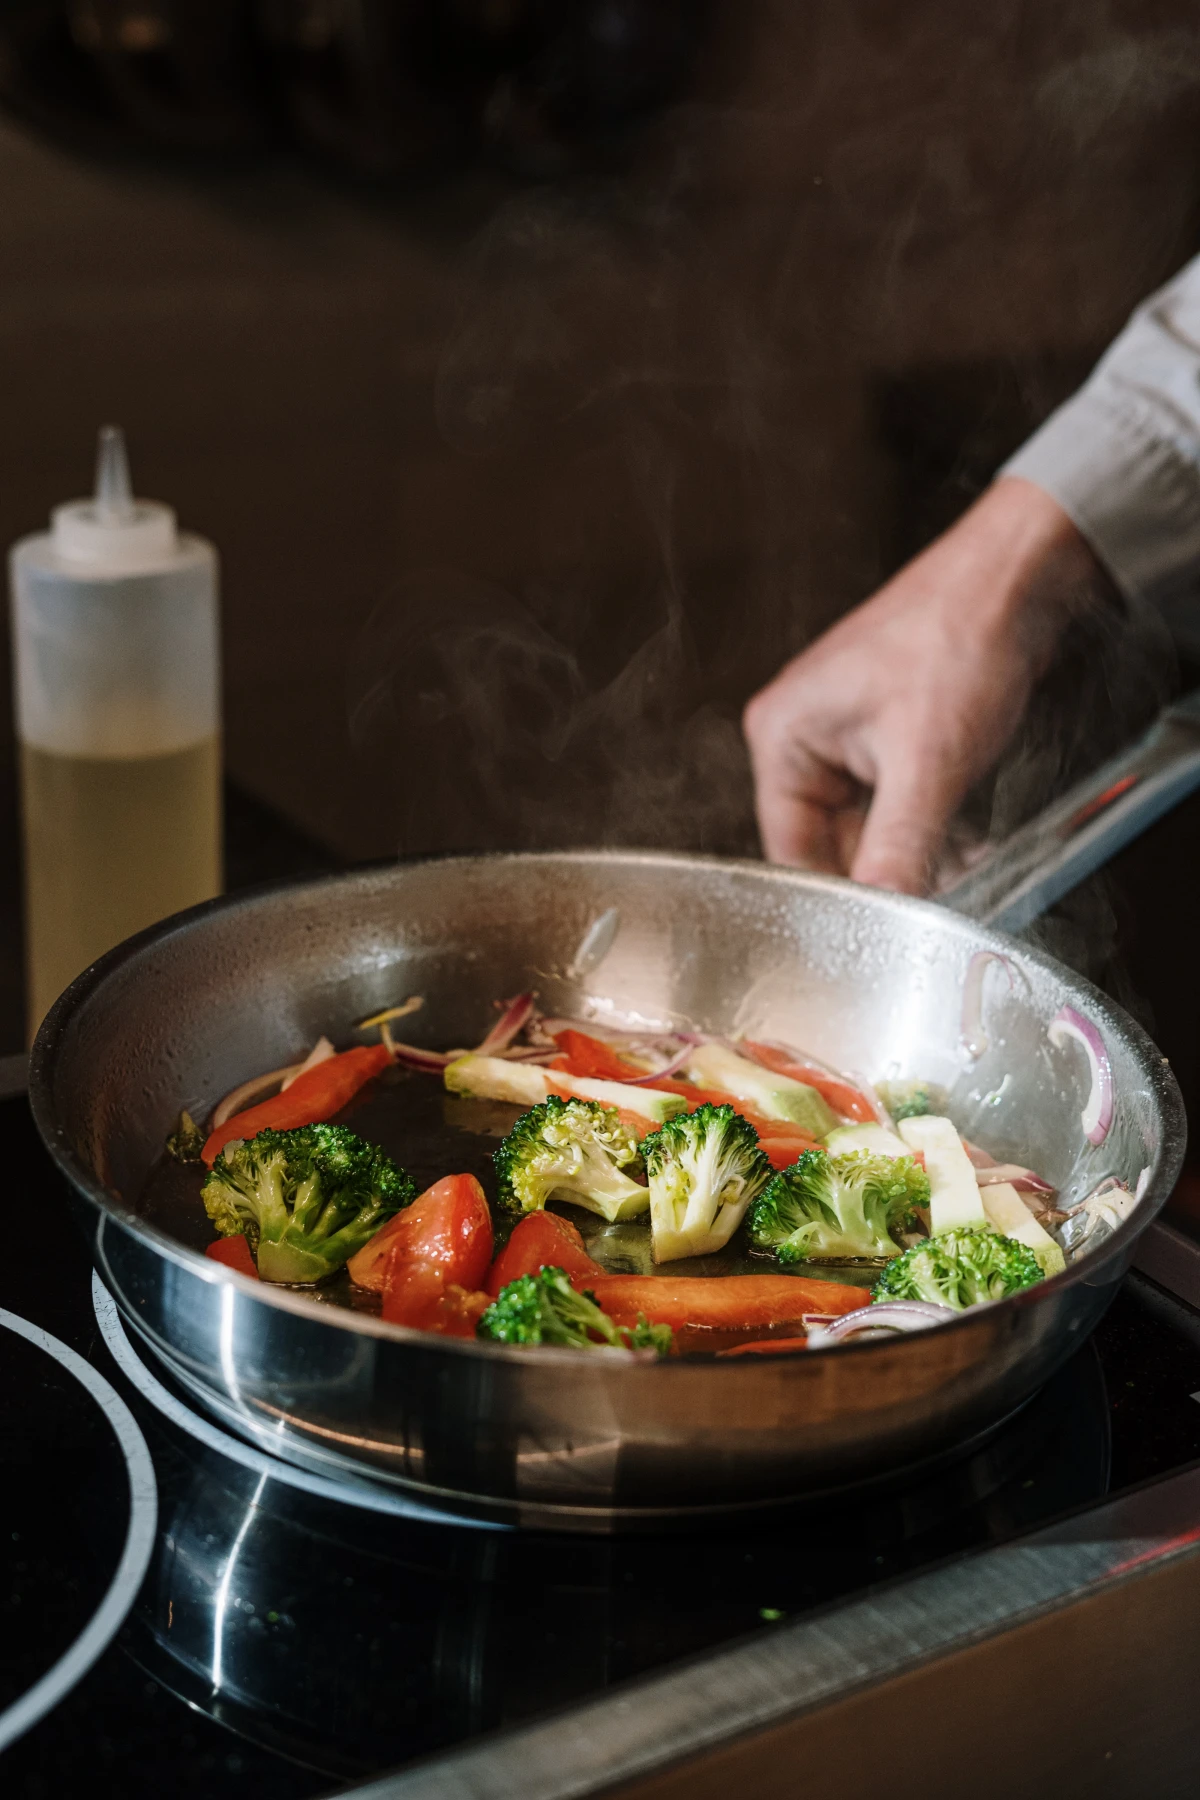
A properly preheated pan completely changes the game. When your pan is hot enough (we’re talking around 350-400°F), the instant food hits the surface, its moisture vaporizes. This creates a tiny cushion of steam that lifts the food just enough to stop it from sticking. This is what lets the magic happen—the Maillard reaction.

That’s the beautiful chemical romance between amino acids and sugars that gives browned food its incredible flavor. It’s not burning; it’s flavor creation. That gorgeous brown crust on a steak? Maillard. The crispy, golden skin on a roast chicken? You guessed it. And it absolutely cannot happen in a wet, steamy environment. It demands dry, high heat.
How to Do It Right, Every Single Time
In the kitchen, we live by a simple mantra: Pan, heat, fat, food. In that order.
- Preheat the Pan (For Real): Put your empty pan on the burner over medium-high heat. Now, walk away for 2-3 minutes. Seriously. The fear of an empty pan getting too hot is real, but you have to trust the process. This is for stainless steel or cast iron, by the way.
- Test for Heat: Here’s a cool trick. Flick a tiny bit of water into the pan. If it just sizzles away, it’s not ready yet. If it breaks into little beads that skitter across the surface, you’re good to go.
- Add the Fat: Now add your cooking oil. It should shimmer almost instantly. For high-heat searing, you want an oil with a high smoke point, like avocado, grapeseed, or even canola. Swirl it around. (Save that fancy extra-virgin olive oil for salad dressings; its low smoke point means it will just burn here).
- Add the Food: Gently place your food in the pan. You should hear a loud, confident SIZZLE. If you hear a weak hiss or, worse, silence… your pan wasn’t hot enough. It’s a tough pill to swallow, but it’s better to pull the food, wash the pan, and start over than to push forward with a failed sear.
Heads up! A note on pans: This high-heat technique is the reason pros love stainless steel and cast iron. You can find a workhorse 12-inch Lodge cast iron skillet for about $30 at most big-box stores, or a fantastic Tramontina stainless steel pan for around $60 online. They will last a lifetime. High heat can damage the coating on most non-stick pans and even release fumes, so for those, stick to medium or medium-high heat. Just know you won’t get that same deep, restaurant-quality crust.
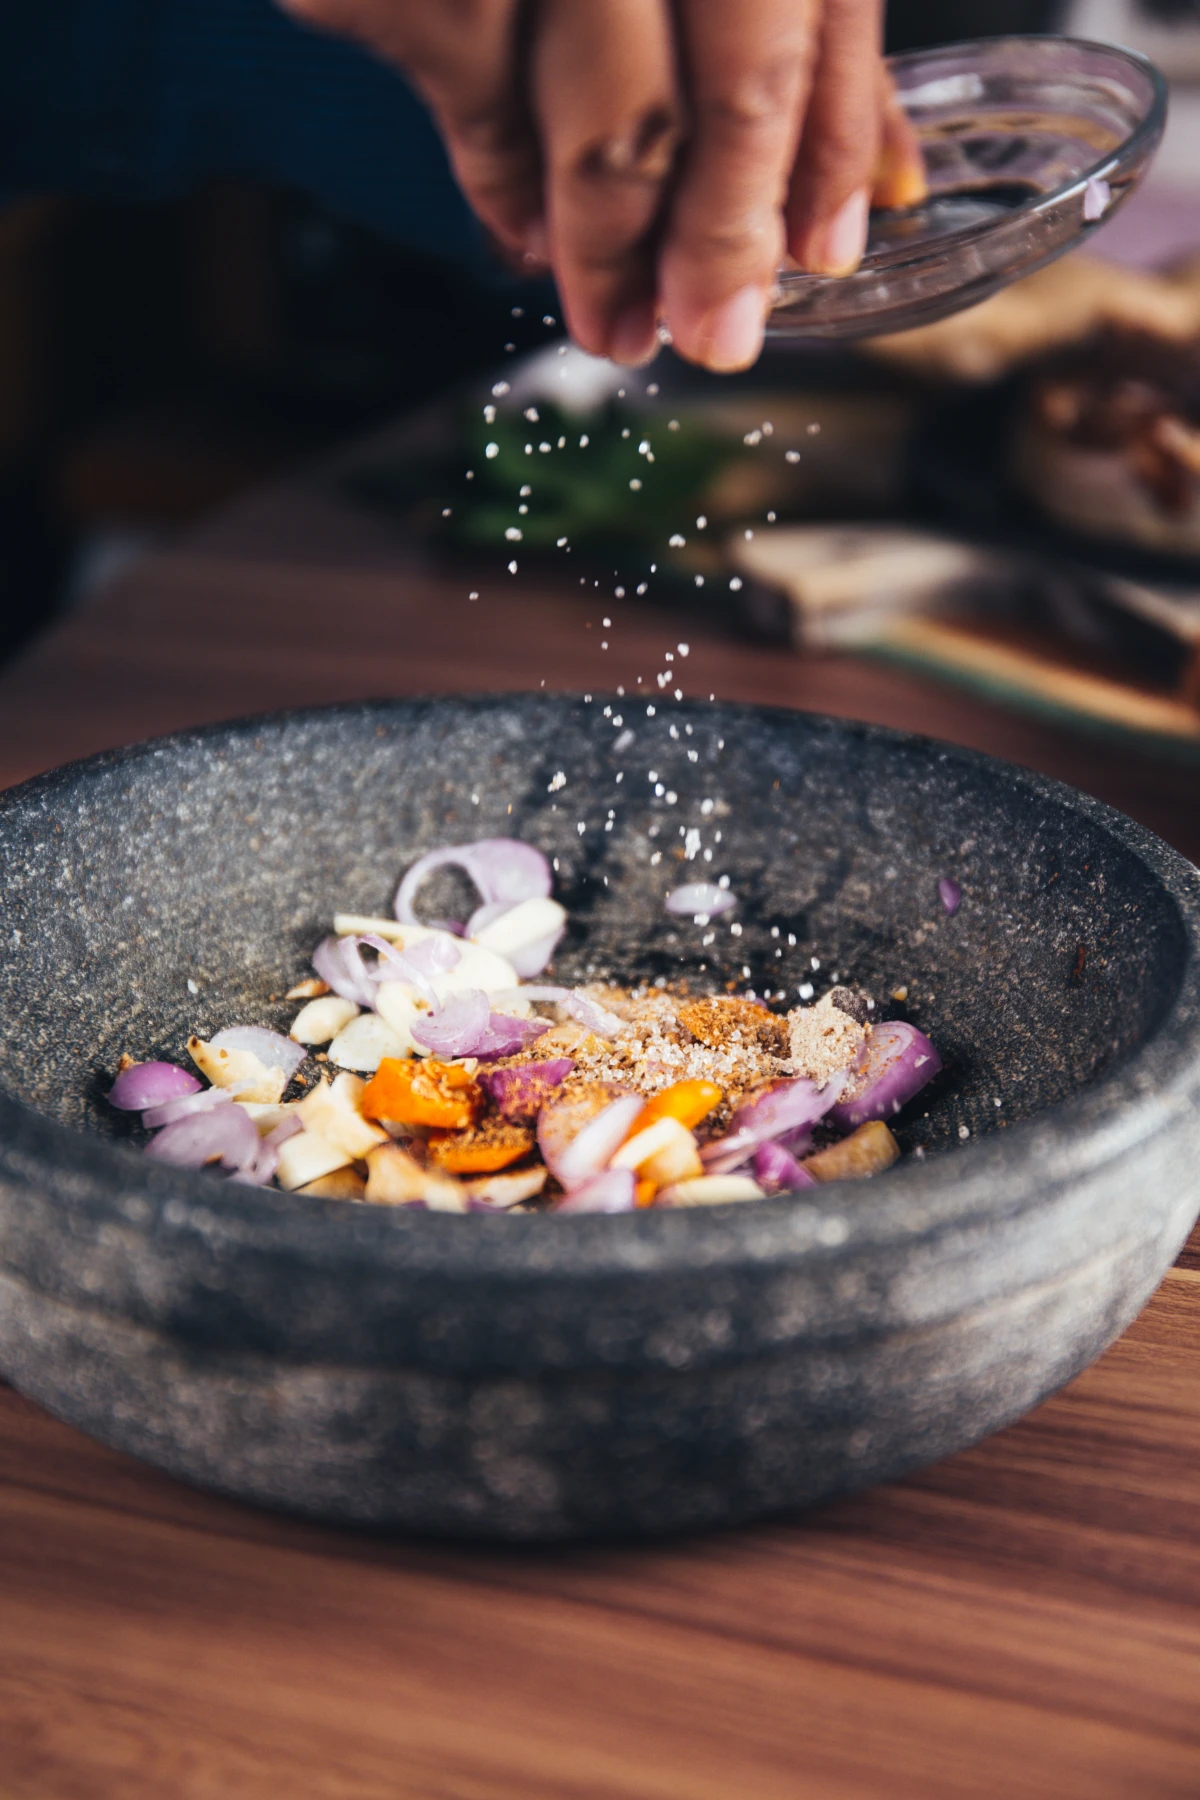
2. Seasoning Is a Strategy, Not an Afterthought
I once watched a new cook prepare a stunning braised lamb shank, plate it perfectly… and then shower it with fine table salt. The chef calmly tasted it, looked him in the eye, and told him to start over. The lesson wasn’t about the amount of salt; it was about the timing. Salting at the end is a desperate rescue mission. Seasoning throughout the cooking process is a strategy.
How Salt Actually Works
Salt does so much more than just make things taste salty. Through osmosis, it pulls moisture out of food. When you salt a steak 30 minutes before cooking, the salt first draws out moisture. This moisture then dissolves the salt, creating a natural brine that gets reabsorbed back into the meat. This seasons the meat from the inside out and leads to a much more tender result.
We think of seasoning in layers. Every time a new major ingredient goes into the pot, it gets its own little pinch of salt.
- Proteins: Season meat, fish, and poultry on all sides at least 15-20 minutes before you cook. For thick cuts like a pork shoulder, you can even do this a day ahead. Use kosher salt—its texture makes it easier to distribute evenly.
- Aromatics: When you’re sautéing onions and carrots, a pinch of salt helps them release their water, soften faster, and develop deeper flavor without browning too quickly.
- Liquids: When making a soup or sauce, season the liquid base lightly at the start. Remember, as it reduces, the saltiness will concentrate. You can always add more at the end, but you can’t take it away.
- Finishing: This is for flair. A little sprinkle of a flaky sea salt, like Maldon, on a finished dish adds a delightful crunch and a final pop of clean flavor. It’s a completely different job than the salt you cook with.
Good to know: When a recipe calls for kosher salt, it matters which brand you use. Morton kosher salt is much denser and saltier by volume than Diamond Crystal. Most pros and recipe developers use Diamond Crystal. As a starting point, try using about 1/2 teaspoon of Diamond Crystal (or 1/4 teaspoon of Morton’s) per pound of meat. And if you do over-salt a soup? Forget the potato myth—it barely works. The best fix is to add more liquid (like unsalted broth) or a splash of acid, like lemon juice, to help balance the flavor.
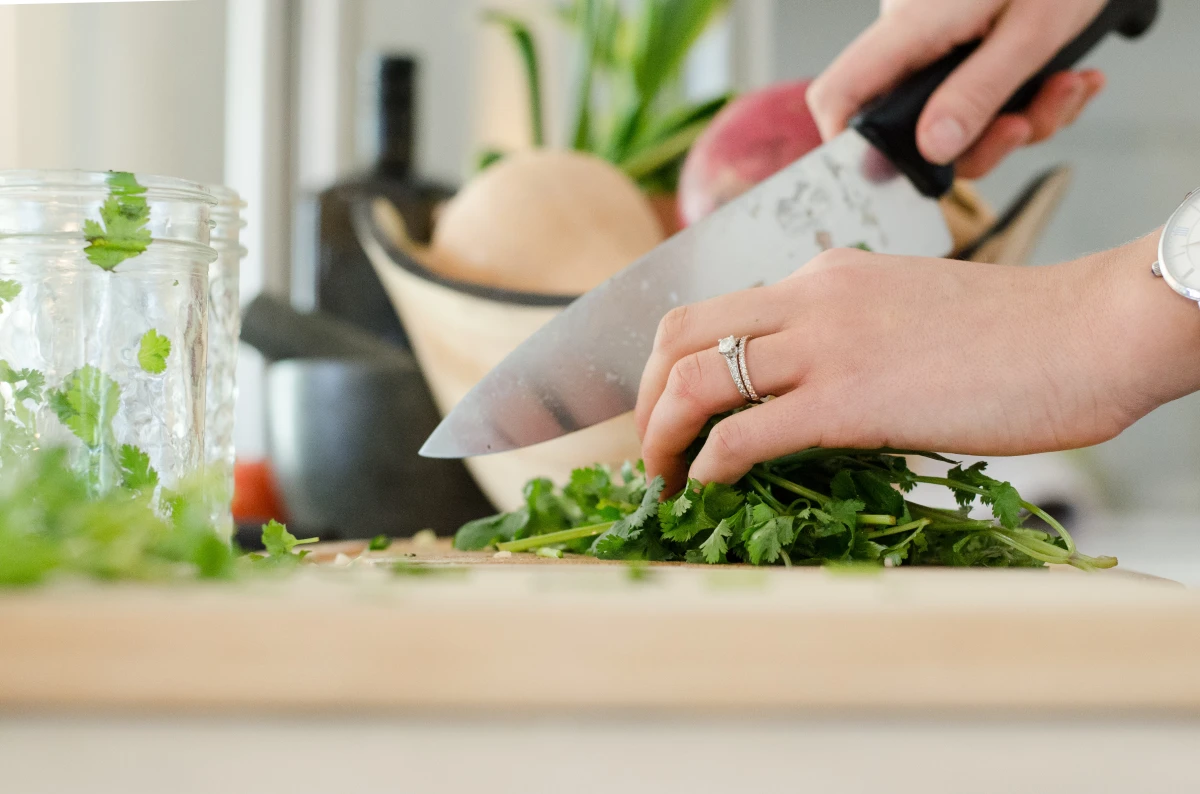
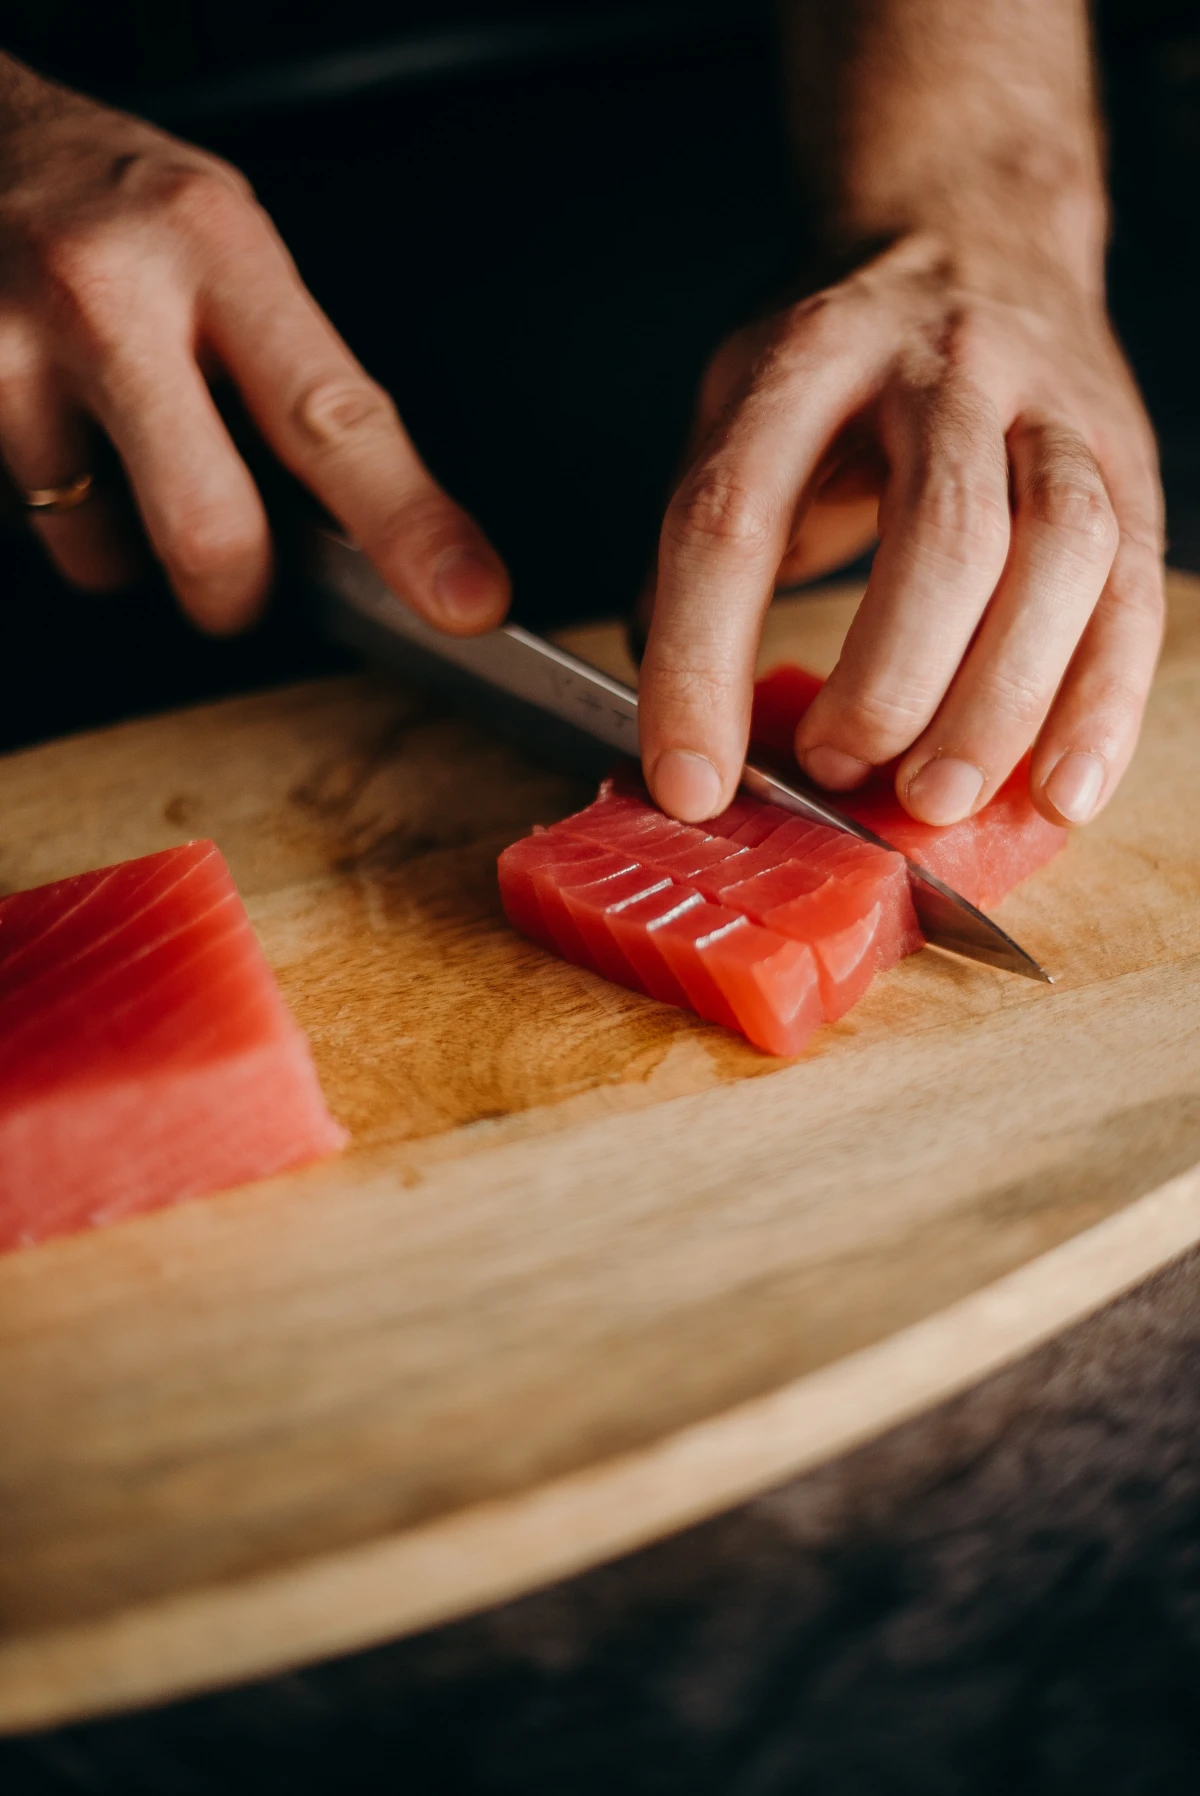
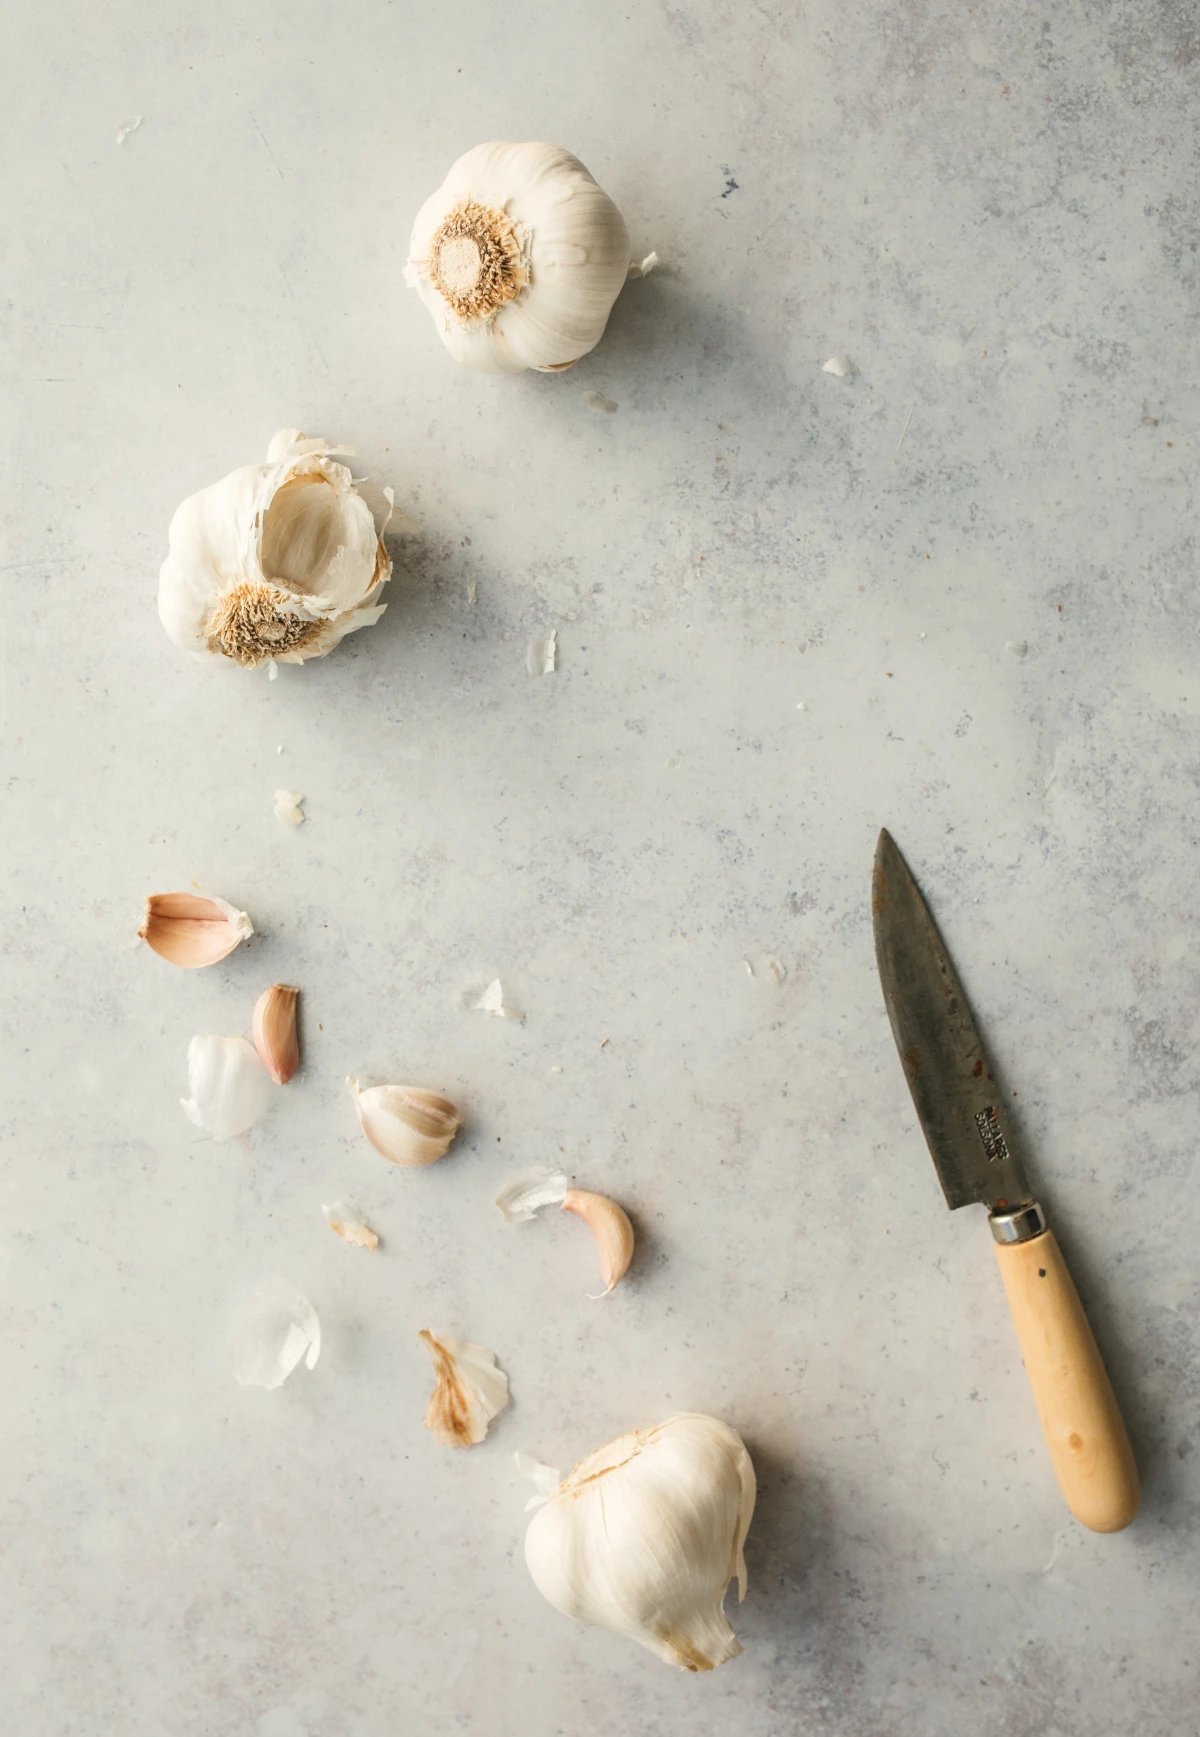
3. Your Knife Is Your Most Important Tool—Treat It That Way
In culinary school, we spent two entire days just learning how to use a knife. We didn’t cook a single thing. We just turned hundreds of potatoes into perfect little cubes. It felt tedious, but the lesson was clear: a dull knife isn’t just slow, it’s the single most dangerous tool in your kitchen. I’ve seen far more nasty cuts from dull knives than sharp ones.
Why a Dull Knife Is So Dangerous
A sharp knife glides through food. It does what you tell it to. A dull knife, on the other hand, requires you to use brute force. When you’re pushing that hard, the blade can easily slip off the curved surface of an onion and go right into your hand. It also crushes food instead of slicing it, tearing the delicate cells of herbs and making them turn black, or mangling a ripe tomato into a pulpy mess.
The Only Knife Advice You Really Need
Forget those giant 20-piece knife blocks. Honestly, you can do 95% of your kitchen tasks with just three: an 8-inch chef’s knife, a small paring knife, and a serrated bread knife. The best forty bucks you will ever spend in your kitchen is on the Victorinox Fibrox Pro 8-inch Chef’s Knife. It’s what tons of pros use, and it’s an absolute workhorse.
Quick tip: Sharpening and honing are two different things. Sharpening actually grinds off metal to create a new edge, and you might do this once or twice a year. Honing, which you do with that steel rod that came with your knife block, just realigns the existing edge. You should be honing your knife almost every time you use it. It makes a world of difference.
And please, learn the “claw grip.” It’s non-negotiable for safety. It’s simple:
- Curl the fingertips of your non-knife hand under, like you’re holding a can of soda, so your knuckles are sticking out.
- Rest those knuckles against the flat side of the knife blade.
- As you slice down and forward, your knuckles act as a guide and a safety bumper, making it impossible to slice your fingertips.
Once you master these three things—a hot pan, seasoning with purpose, and respecting your knife—you’ll notice an immediate change in your cooking. Your confidence will grow, and your food will taste better. It’s that simple.
Inspiration:

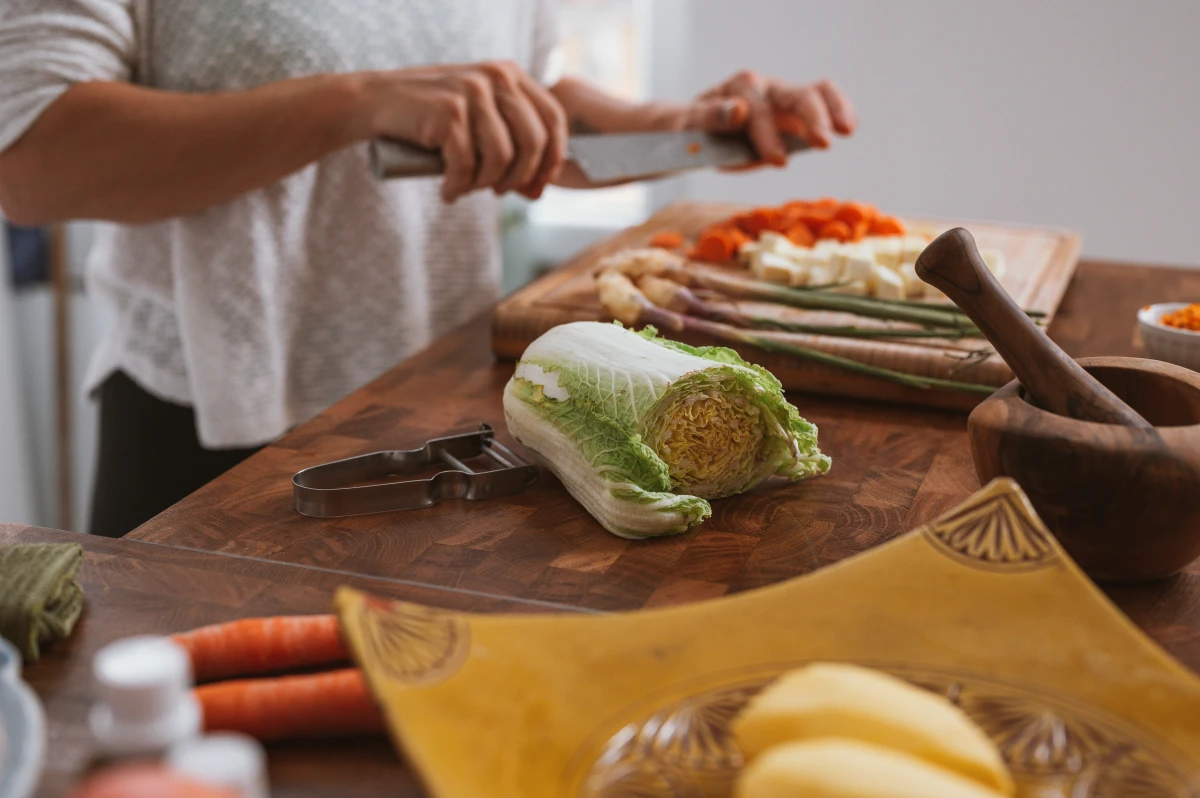
Wondering why your home-chopped ingredients never look as clean as a chef’s?
It’s likely your knife. A dull knife doesn’t slice through food; it crushes the cell walls, releasing moisture and bruising delicate herbs. A truly sharp blade, like those from Wüsthof or Shun, preserves the integrity and flavor of your ingredients. For daily upkeep, a honing steel realigns the blade, but for a truly sharp edge, consider investing in a whetstone or a professional sharpening service once a year.
- Deeper, more complex flavor in every spoonful.
- Meats that are seasoned all the way through, not just on the surface.
- Vegetables that are perfectly balanced and vibrant.
The secret is layering your seasonings. Instead of just adding salt at the end, season at every major step. Salt your onions as they sweat to draw out moisture. Season your meat before it hits the pan. A dash of salt in your sauce as it simmers. Pros often use a workhorse salt like Diamond Crystal Kosher during cooking and a finishing salt like Maldon for texture at the end.
The right oil for the job is non-negotiable. Using an oil past its smoke point doesn’t just create a smoky kitchen; it imparts a bitter, burnt taste to your food. A high-heat hero like avocado oil is perfect for searing, while delicate, flavorful extra virgin olive oil is best reserved for dressing and finishing touches where its taste can shine without being destroyed by heat.
Adopt the foundational principle of professional kitchens:
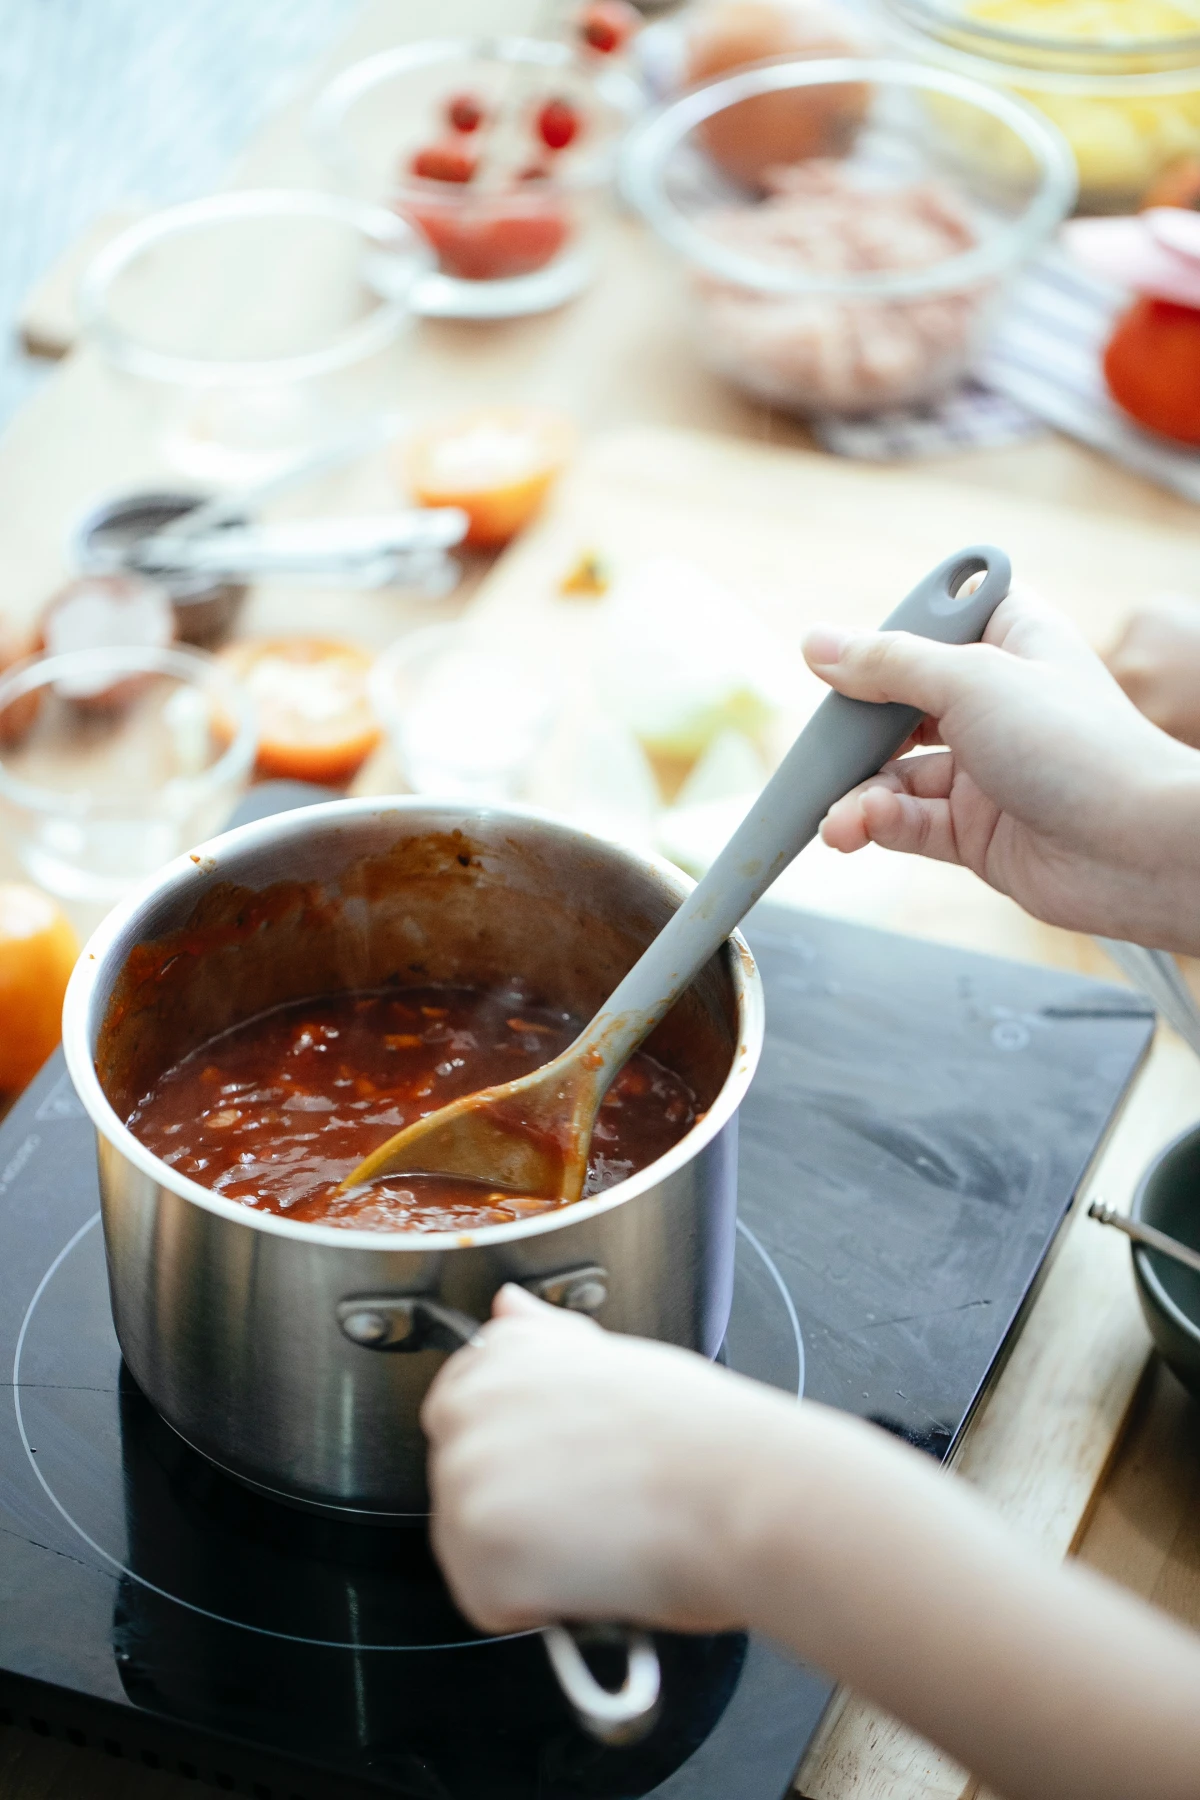
The most important tool in your kitchen: A clean spoon. Professional chefs are constantly tasting and adjusting. Is the sauce flat? It might need a squeeze of lemon for acidity. Is it missing depth? Maybe a pinch of paprika or a dash of Worcestershire. Don’t wait until the dish is on the plate to find out it’s bland. Taste, adjust, and taste again.
Low and slow builds flavor, high and fast builds texture.
While the article rightly celebrates the power of a hot pan for searing, remember it’s not the only tool. The deep, rich flavor of a perfect tomato sauce or caramelized onions comes from gentle, prolonged heat that coaxes out sweetness and complexity. Mastering your heat dial—knowing when to sear and when to simmer—is a true sign of a confident cook.


