A Pro Cleaner Spills: 5 Gross Spots in Your Home You’re Probably Forgetting
After years in the professional cleaning game, I can tell you one thing for sure: a truly clean house has secrets. It’s not about the sparkling floors or tidy countertops you see at first glance. It’s about the hidden spots where grime, germs, and general yuckiness love to party unnoticed.
In this article
- First, Let’s Get the Lingo Right: Cleaning vs. Sanitizing vs. Disinfecting
- 1. Your Grimy Electronics: Remotes, Keyboards & Game Controllers
- 2. Those Reusable Shopping and Gym Bags
- 3. The Washing Machine Itself
- 4. The Hidden Parts of Your Fridge
- 5. Under and Behind Your Big Appliances
- Your New Cleaning Game Plan
I’ve trained a lot of new cleaners, and the very first lesson is always about hunting for these blind spots. These are the places that even the most meticulous homeowners tend to skip over. They collect dust, breed bacteria, and can even make your appliances work harder and wear out faster. This isn’t to make you feel bad about your cleaning routine! It’s about sharing some insider knowledge I’ve picked up from being inside thousands of homes and seeing what really makes a difference.
Look, your weekly routine of floors, bathrooms, and kitchen counters is a fantastic foundation. But a professional-level clean digs a bit deeper. It’s about understanding how we actually live in our homes and where the gunk naturally settles. So, let’s walk through some of the biggest culprits, and I’ll share the simple, effective ways we deal with them.

First, Let’s Get the Lingo Right: Cleaning vs. Sanitizing vs. Disinfecting
Before we dive in, let’s quickly clear something up. In the cleaning world, these three words are NOT the same, and using the right method is key. It’s the difference between wasting your time and actually making your home healthier.
Think of it like this: Cleaning is step one, always. It’s the physical act of wiping away dirt, crumbs, and grime using soap and water. You’re just removing the mess from the surface. You absolutely have to clean a surface first, because you can’t kill germs that are hiding under a layer of dirt.
Next up is Sanitizing. This is all about knocking down the number of bacteria to a safe level. We typically sanitize things like kitchen counters where food is prepped or a baby’s high-chair tray. It lowers the risk of infection. Sanitizers are usually a bit gentler than full-on disinfectants.

Finally, there’s Disinfecting. This is the heavy hitter. Its job is to kill pretty much everything—we’re talking 99.9% of viruses and bacteria. This requires a specific chemical and, more importantly, something we call “dwell time.” That means the disinfectant spray has to sit wet on the surface for a specific period, often 5 to 10 minutes, to actually work. We save this for the tough stuff, like toilets, doorknobs during flu season, or areas where someone has been sick.
1. Your Grimy Electronics: Remotes, Keyboards & Game Controllers
These are easily some of the most-touched items in your entire home, yet they almost never get cleaned. Seriously, think about the journey of your TV remote. It’s handled by everyone, dropped on the floor, coughed on, and grabbed with snack-dusted fingers. It’s a germ paradise.
You can’t just douse a remote or keyboard in cleaner—I’ve seen people fry expensive electronics that way. Liquid gets between the buttons and ruins the circuits. Here’s the pro method that’s both safe and incredibly effective. This whole process should only take you about 15 minutes.

Here’s how to do it right:
- Power Down First. Unplug keyboards and for anything with batteries, like remotes, take them out. Safety first!
- Get the Crumbs Out. Use a soft, dry brush (an old, clean toothbrush is perfect) to gently scrub away dust and debris from around the keys and buttons. For a keyboard, a can of compressed air is your best friend. A quick tip: Hold the can at an angle to blow the debris out, not push it further in.
- Mix Your Solution. Grab a small bowl and mix a 50/50 solution of 70% isopropyl alcohol and distilled water. A bottle of alcohol costs a couple of bucks at any pharmacy and will last you ages. Never use harsh stuff like bleach or window cleaner, as they can damage the plastic and wear off the letters on the keys.
- Wipe It Down. Lightly dampen a microfiber cloth with your solution. It should be damp, not dripping wet. Carefully wipe all the surfaces, including the sides and back.
- Detailing is Key. For that nasty gunk stuck in the seams, wrap your damp cloth around the tip of a toothpick and carefully trace the crevices. This is the step that makes a huge difference.
- Let It Dry. Give it a good 15-20 minutes to air dry completely before you put the batteries back in or plug it in.
A Common Pitfall: The biggest mistake is spraying cleaner directly onto the device. This is a surefire way to cause damage. Always apply the cleaner to your cloth first.

Too Busy? Quick Win for Today: No time for all that? Grab a disinfecting wipe, squeeze it out so it’s not dripping, and give your remotes a thorough wipe-down. It takes 30 seconds and is way better than nothing.
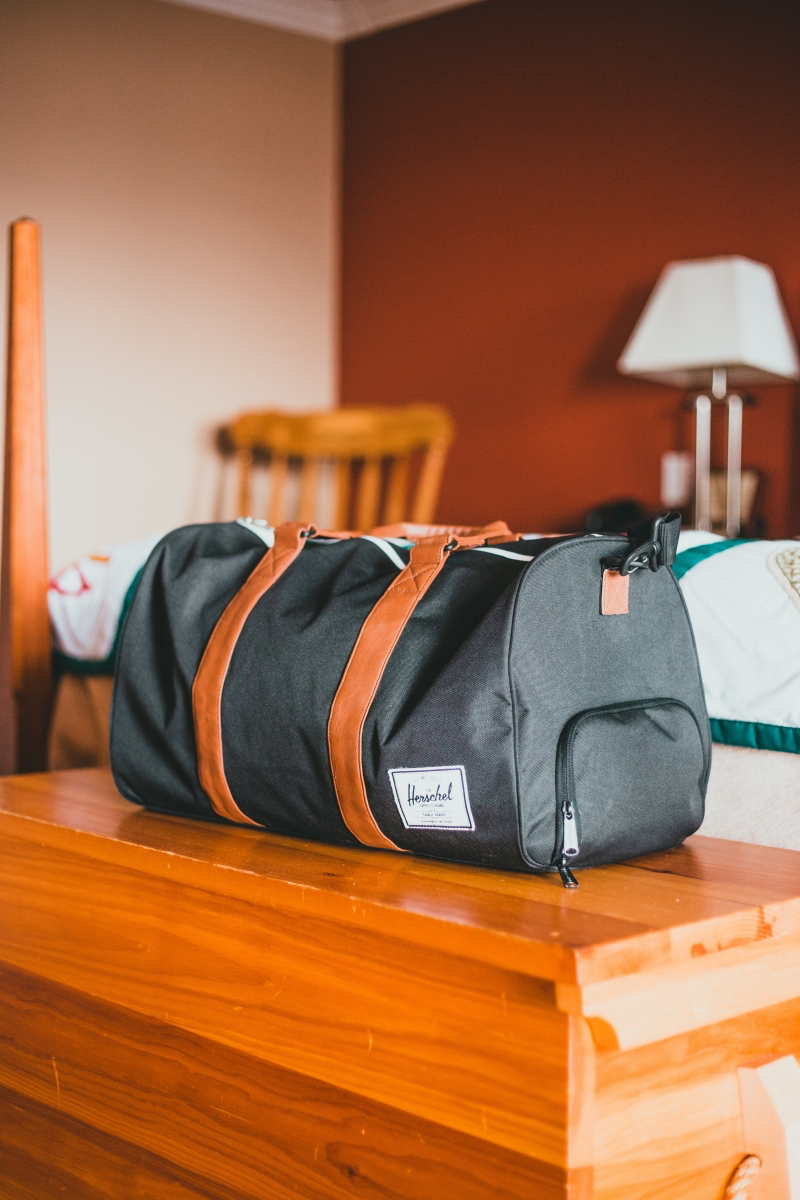
2. Those Reusable Shopping and Gym Bags
We love our reusable bags, but let’s be honest, they can get seriously gross. They can easily become a breeding ground for bacteria, especially when you’re dealing with leaky packages from the grocery store or sweaty clothes from the gym.
The biggest danger here is cross-contamination. You put a package of raw chicken in your bag, and some of the juices leak out. The next time you shop, you toss in a head of lettuce or a bunch of apples. You’ve just transferred nasty bacteria from the raw meat to your fresh produce. The same goes for gym bags—that warm, damp environment is a perfect home for mold and mildew.
The Right Way to Clean Them
First, check the tag to see what it’s made of. Most cotton or polyester bags can go right in the washing machine.
- For Machine-Washable Bags: Turn them inside out and wash them on a hot cycle with your regular detergent. I like to throw them in with a load of towels for extra scrubbing action. Tumble dry on high heat to finish the job.
- For Hand-Wash Only Bags: This usually applies to insulated bags or ones with a hard bottom. Empty them out, then scrub the inside with hot, soapy water. To sanitize, wipe the interior with a disinfecting wipe, but—and this is important if it touches food—rinse it afterward with a clean, damp cloth. Let it air dry completely, propped open in the sun if possible. UV rays are a great natural disinfectant!
A Pro’s System: I always tell my clients to designate specific bags for specific jobs. Maybe a red one for raw meats, a green one for produce, and a blue one for boxed goods. It’s a simple system that dramatically cuts down on risk.
Too Busy? Quick Win for Today: After every shopping trip, at the very least, turn your bags inside out and give them a good shake over the trash can or outside. It takes ten seconds.
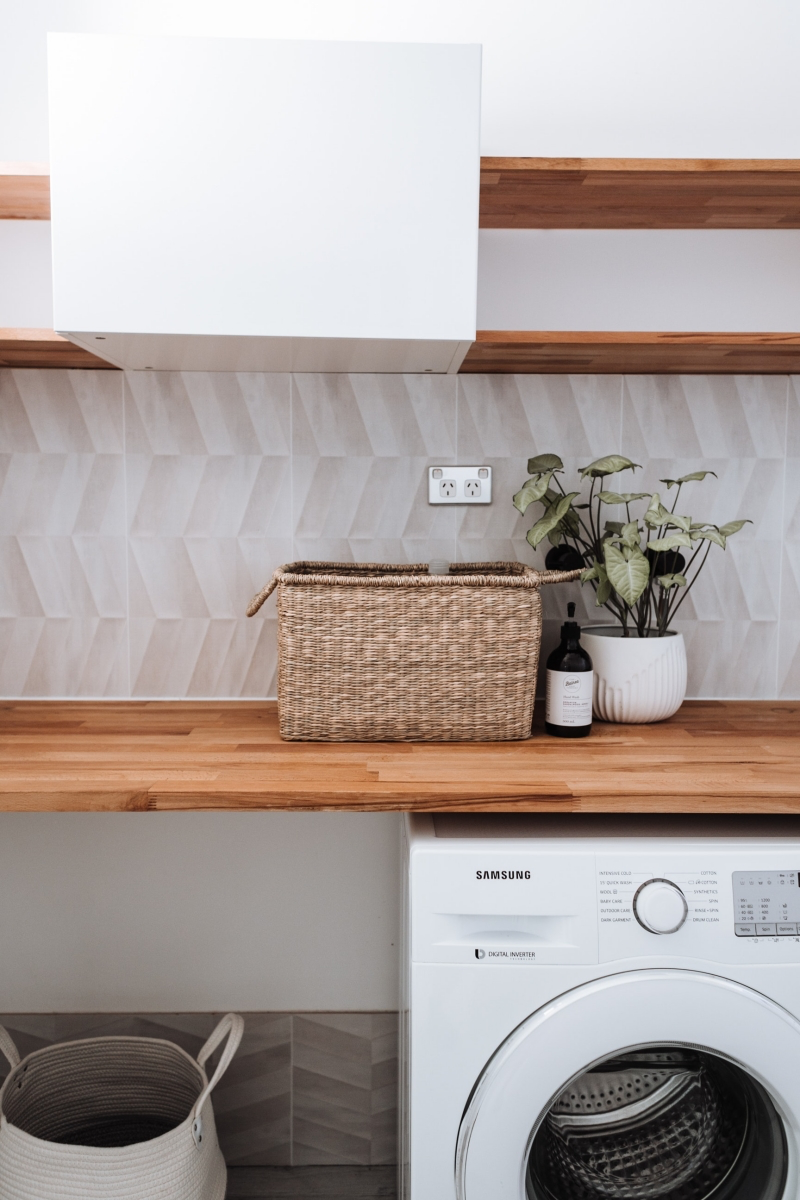
3. The Washing Machine Itself
It’s the ultimate irony: the machine you use to clean your clothes is often one of the filthiest things in your house. It’s a dark, damp box, and modern laundry habits (like using mostly cold water) create the perfect home for soap scum and bacteria to form a lovely layer of slime called biofilm. This is what makes your “clean” clothes smell musty.
Front-loading machines are notorious for mold in the rubber door gasket. We find all sorts of horrors in there. In top-loaders, the gunk builds up under the agitator and around the top of the drum, leaving greasy-looking spots on your laundry.
Your Monthly Maintenance Cycle
Doing this once a month will keep your machine fresh and efficient. And a quick heads up: NEVER mix bleach and vinegar. They create a toxic gas. Use them in separate cycles if you ever use both.
- The Gasket & Dispensers: For front-loaders, pull back the rubber door seal and wipe the gunk out of the folds with a 50/50 mix of white vinegar and water. For both types, pull out the detergent tray and soak it in hot, soapy water.
- The Vinegar Cycle: Pour two cups of white vinegar directly into the drum and run an empty cycle on the hottest, longest setting. The vinegar is amazing at breaking down mineral deposits.
- The Baking Soda Cycle: After the vinegar cycle, sprinkle a half-cup of baking soda into the drum and run another hot cycle. This helps scrub away what the vinegar loosened and neutralizes any lingering odors.
Quick Question: What about those cleaning tablets you can buy at the store? To be frank, they’re pretty good! They often use different chemicals that are excellent at dissolving biofilm. I like to tell people to alternate: use the vinegar/baking soda method one month, and a store-bought tablet the next. You get the best of both worlds.
A Common Pitfall: If you’ve cleaned your machine but the musty smell returns quickly, the drain filter is likely the culprit. Check your manual to find it (it’s usually a small door on the bottom front). Put a shallow pan underneath before you open it, and prepare to be disgusted by the coins, lint, and gunk you find.
Too Busy? Quick Win for Today: The single most effective habit is free. After you finish your last load of laundry, just leave the door and the detergent drawer open a crack. This allows air to circulate and everything to dry out, preventing mold before it even starts.
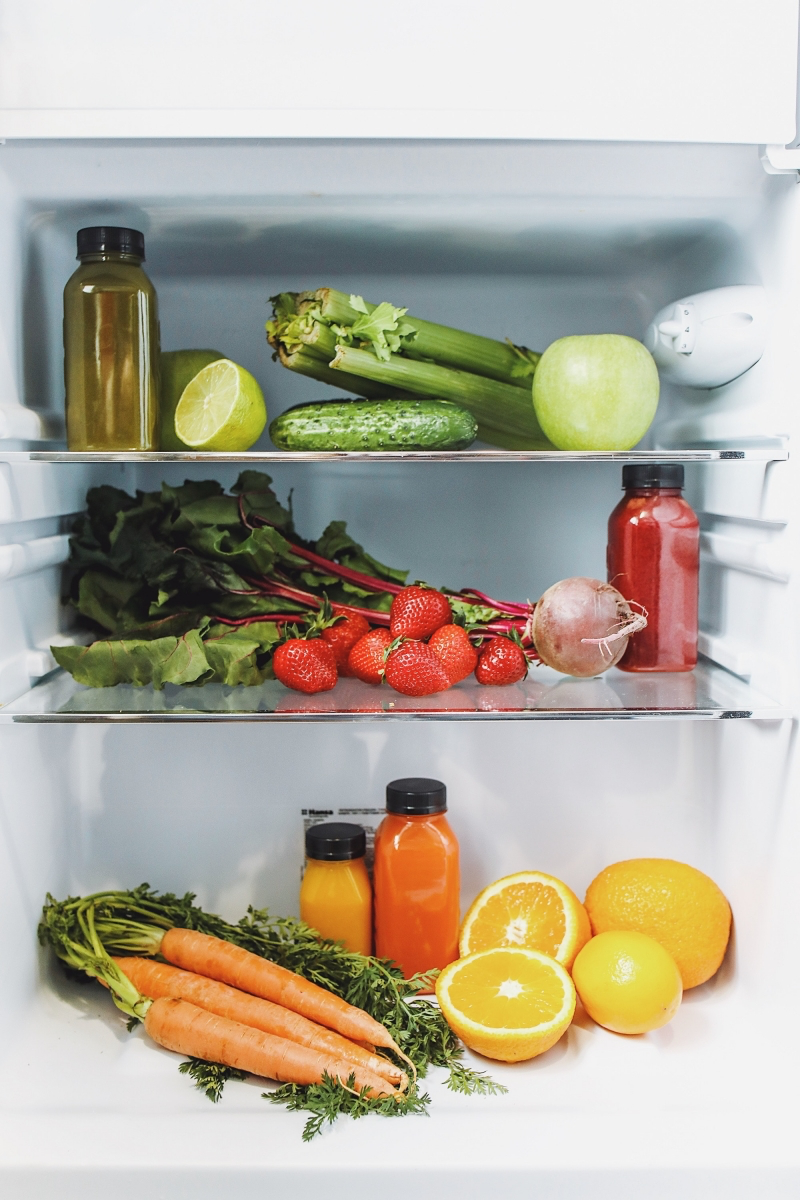
4. The Hidden Parts of Your Fridge
Wiping down shelves is great, but the work that affects your electricity bill and how long your fridge lasts happens in places you can’t see: the condenser coils and the drip pan.
Your fridge works by pulling heat from the inside and releasing it through coils, which are usually on the back or bottom. Over time, these coils get caked in dust and pet hair, which acts like a big, fuzzy sweater. This forces the compressor to work way harder, jacking up your energy use and leading to breakdowns. I’ve seen people replace a perfectly good fridge that just needed a 30-minute cleaning.
How to Clean the Coils (It’s Easier Than It Sounds)
You only need to do this once or twice a year. BUT FIRST: Always, always, always unplug the refrigerator before you start. No excuses.
- Find the Coils. You might need to pull the fridge away from the wall to get to them. If they’re on the bottom, the front grille usually just pops right off.
- Get the Right Tool. You’ll need two things: a long, flexible “refrigerator coil brush” (you can get one for about $5-$10 at a hardware store or online) and your vacuum’s hose attachment. That’s it! Gently brush the dust off the coils and suck it up with the vacuum as you go.
- Find the Drip Pan. While you’re down there, find the shallow pan that catches condensation. Be ready, this can be a swamp of grossness. Carefully slide it out.
- Wash the Pan. Take it to the sink and give it a good scrubbing with hot, soapy water. If it’s moldy, a little diluted bleach will do the trick, just rinse it well before putting it back.
Too Busy? Quick Win for Today: Can’t pull the whole fridge out? Just pop off the front bottom grille and vacuum everything you can reach. It’s not a full deep clean, but it’s a huge improvement.
5. Under and Behind Your Big Appliances
That little gap between your stove and the counter? That dark void behind your fridge? We in the business affectionately call these “pest highways.” Spilled food, grease, and dust create an all-you-can-eat buffet for bugs and rodents.
I’ll never forget the time we moved a client’s fridge and found a mummified hot dog that had clearly been there since a summer BBQ years earlier. You would be absolutely amazed at what’s hiding back there!
The Professional Approach
This is a quarterly job, but it’s essential for a hygienic kitchen. A quick safety note: if you have a gas stove, be very careful. A good rule of thumb is if you can’t easily slide it forward six inches without the gas line looking tight or stressed, it’s a job for a handyman.
- Prep the Area. Unplug the appliance. Using furniture sliders (a cheap investment that saves your floors) under the feet makes moving it much easier.
- Degrease the Sides. Once you can see the sides of your appliance and cabinets, you’ll likely see a sticky film of grease. A good citrus-based degreaser works wonders here without the harsh fumes. Let it sit for a minute, then wipe clean.
- Clean the Floor. Sweep or vacuum up all the debris. Then, mop the floor with a strong cleaner suitable for your flooring type.
- Slide It Back. Gently move the appliance back into place, making sure not to pinch any cords.
A Common Pitfall: Scratching your beautiful floors. Don’t try to drag a heavy appliance. A set of furniture sliders costs under $10 and is worth every penny.
Too Busy? Quick Win for Today: Can’t move the whole stove? No problem. Wrap a microfiber cloth around a ruler, spray it lightly with degreaser, and “floss” the gap between the appliance and the counter. It’s disgustingly satisfying.
Your New Cleaning Game Plan
Okay, I know that might seem like a lot, but this isn’t about doing everything all at once. It’s about building small, effective habits that lead to a truly healthier and more efficient home. Start by picking just one of these spots this weekend. Once you see (and smell) the difference, it’s a lot easier to stay motivated.
To make it even simpler, here’s a little schedule to keep in your head:
- Monthly: Give your remotes a good wipe-down and run a cleaning cycle on your washing machine.
- Quarterly: Floss the gaps next to your stove and other appliances.
- Once or Twice a Year: Pull out the fridge and clean those coils.
It’s not about achieving some impossible standard of perfection. It’s about thoughtful maintenance. And that, right there, is the difference between just tidying up and truly caring for your home.


