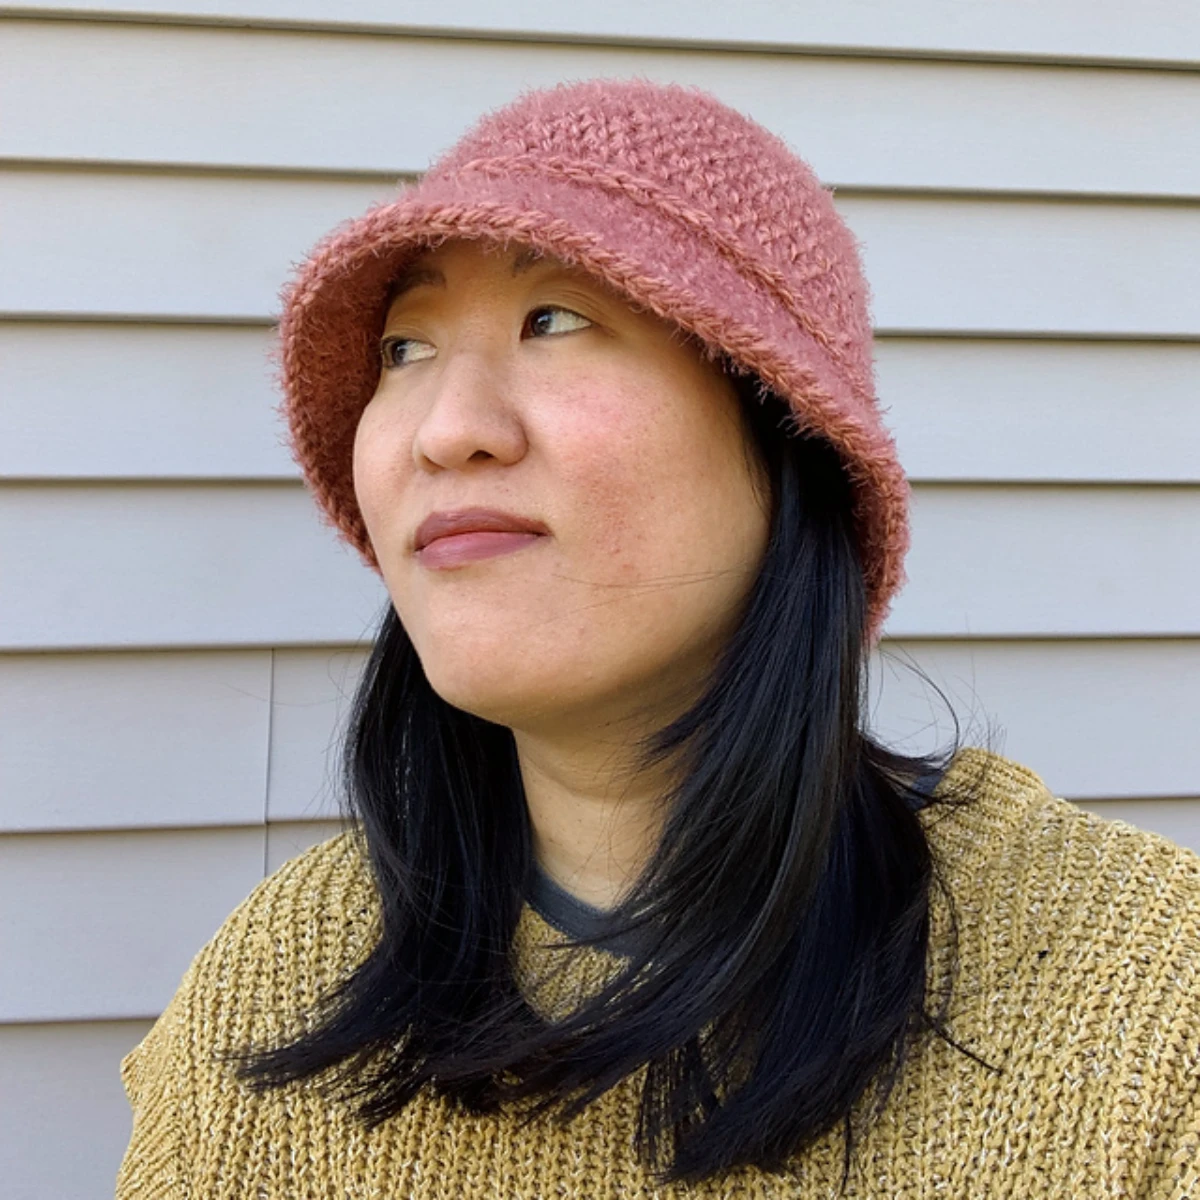
How to Crochet a Bucket Hat That Actually Fits (The Pro’s Guide)
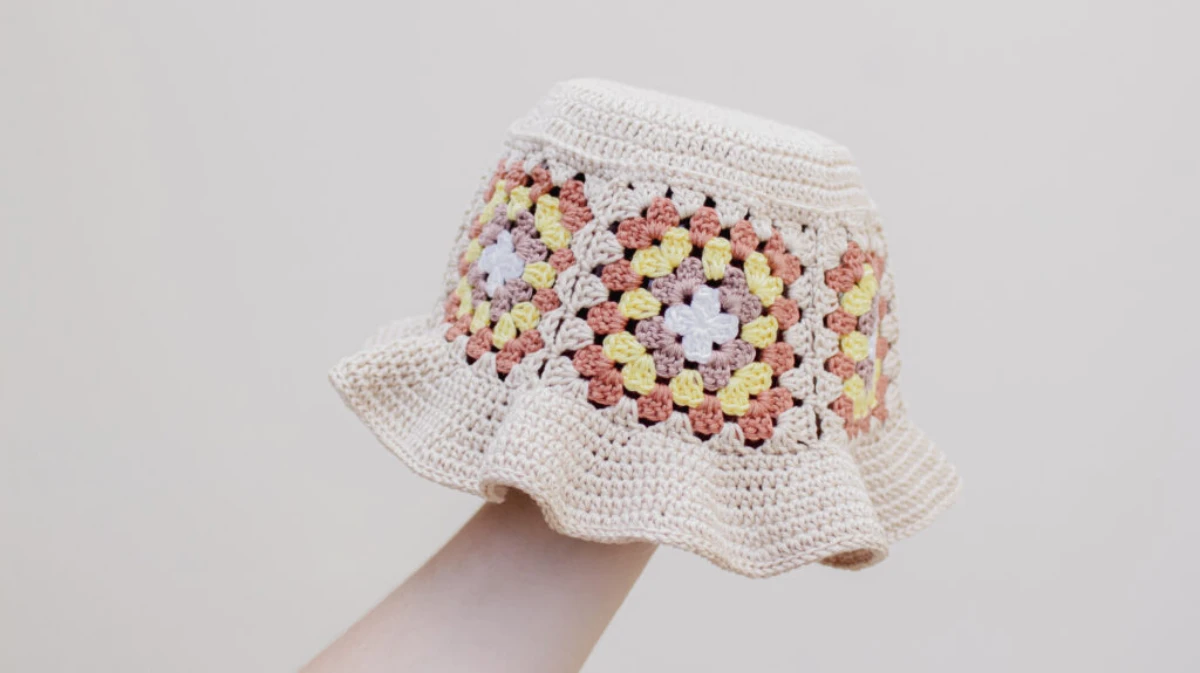
I’ve been teaching crochet for a long, long time, and if there’s one project that gets everyone excited, it’s the bucket hat. It seems so simple, right? And it can be. But there’s a huge difference between a hat that looks ‘homemade’ and one that looks truly ‘handmade’ and professional. It’s all in the construction.
In this article
So many beginners show me their first attempts, and the same issues pop up: the top is ruffled like a lettuce leaf, or the brim is super floppy when they wanted it firm. A basic pattern won’t tell you how to fix that stuff. My goal here isn’t to give you a pattern to copy, but to give you the core knowledge to build any bucket hat you want, perfectly tailored to you.
First Things First: Your Shopping List
Before we dive in, let’s get your toolkit ready. Nothing’s worse than having to stop mid-project for a supply run. Here’s what you’ll generally need for one adult hat:
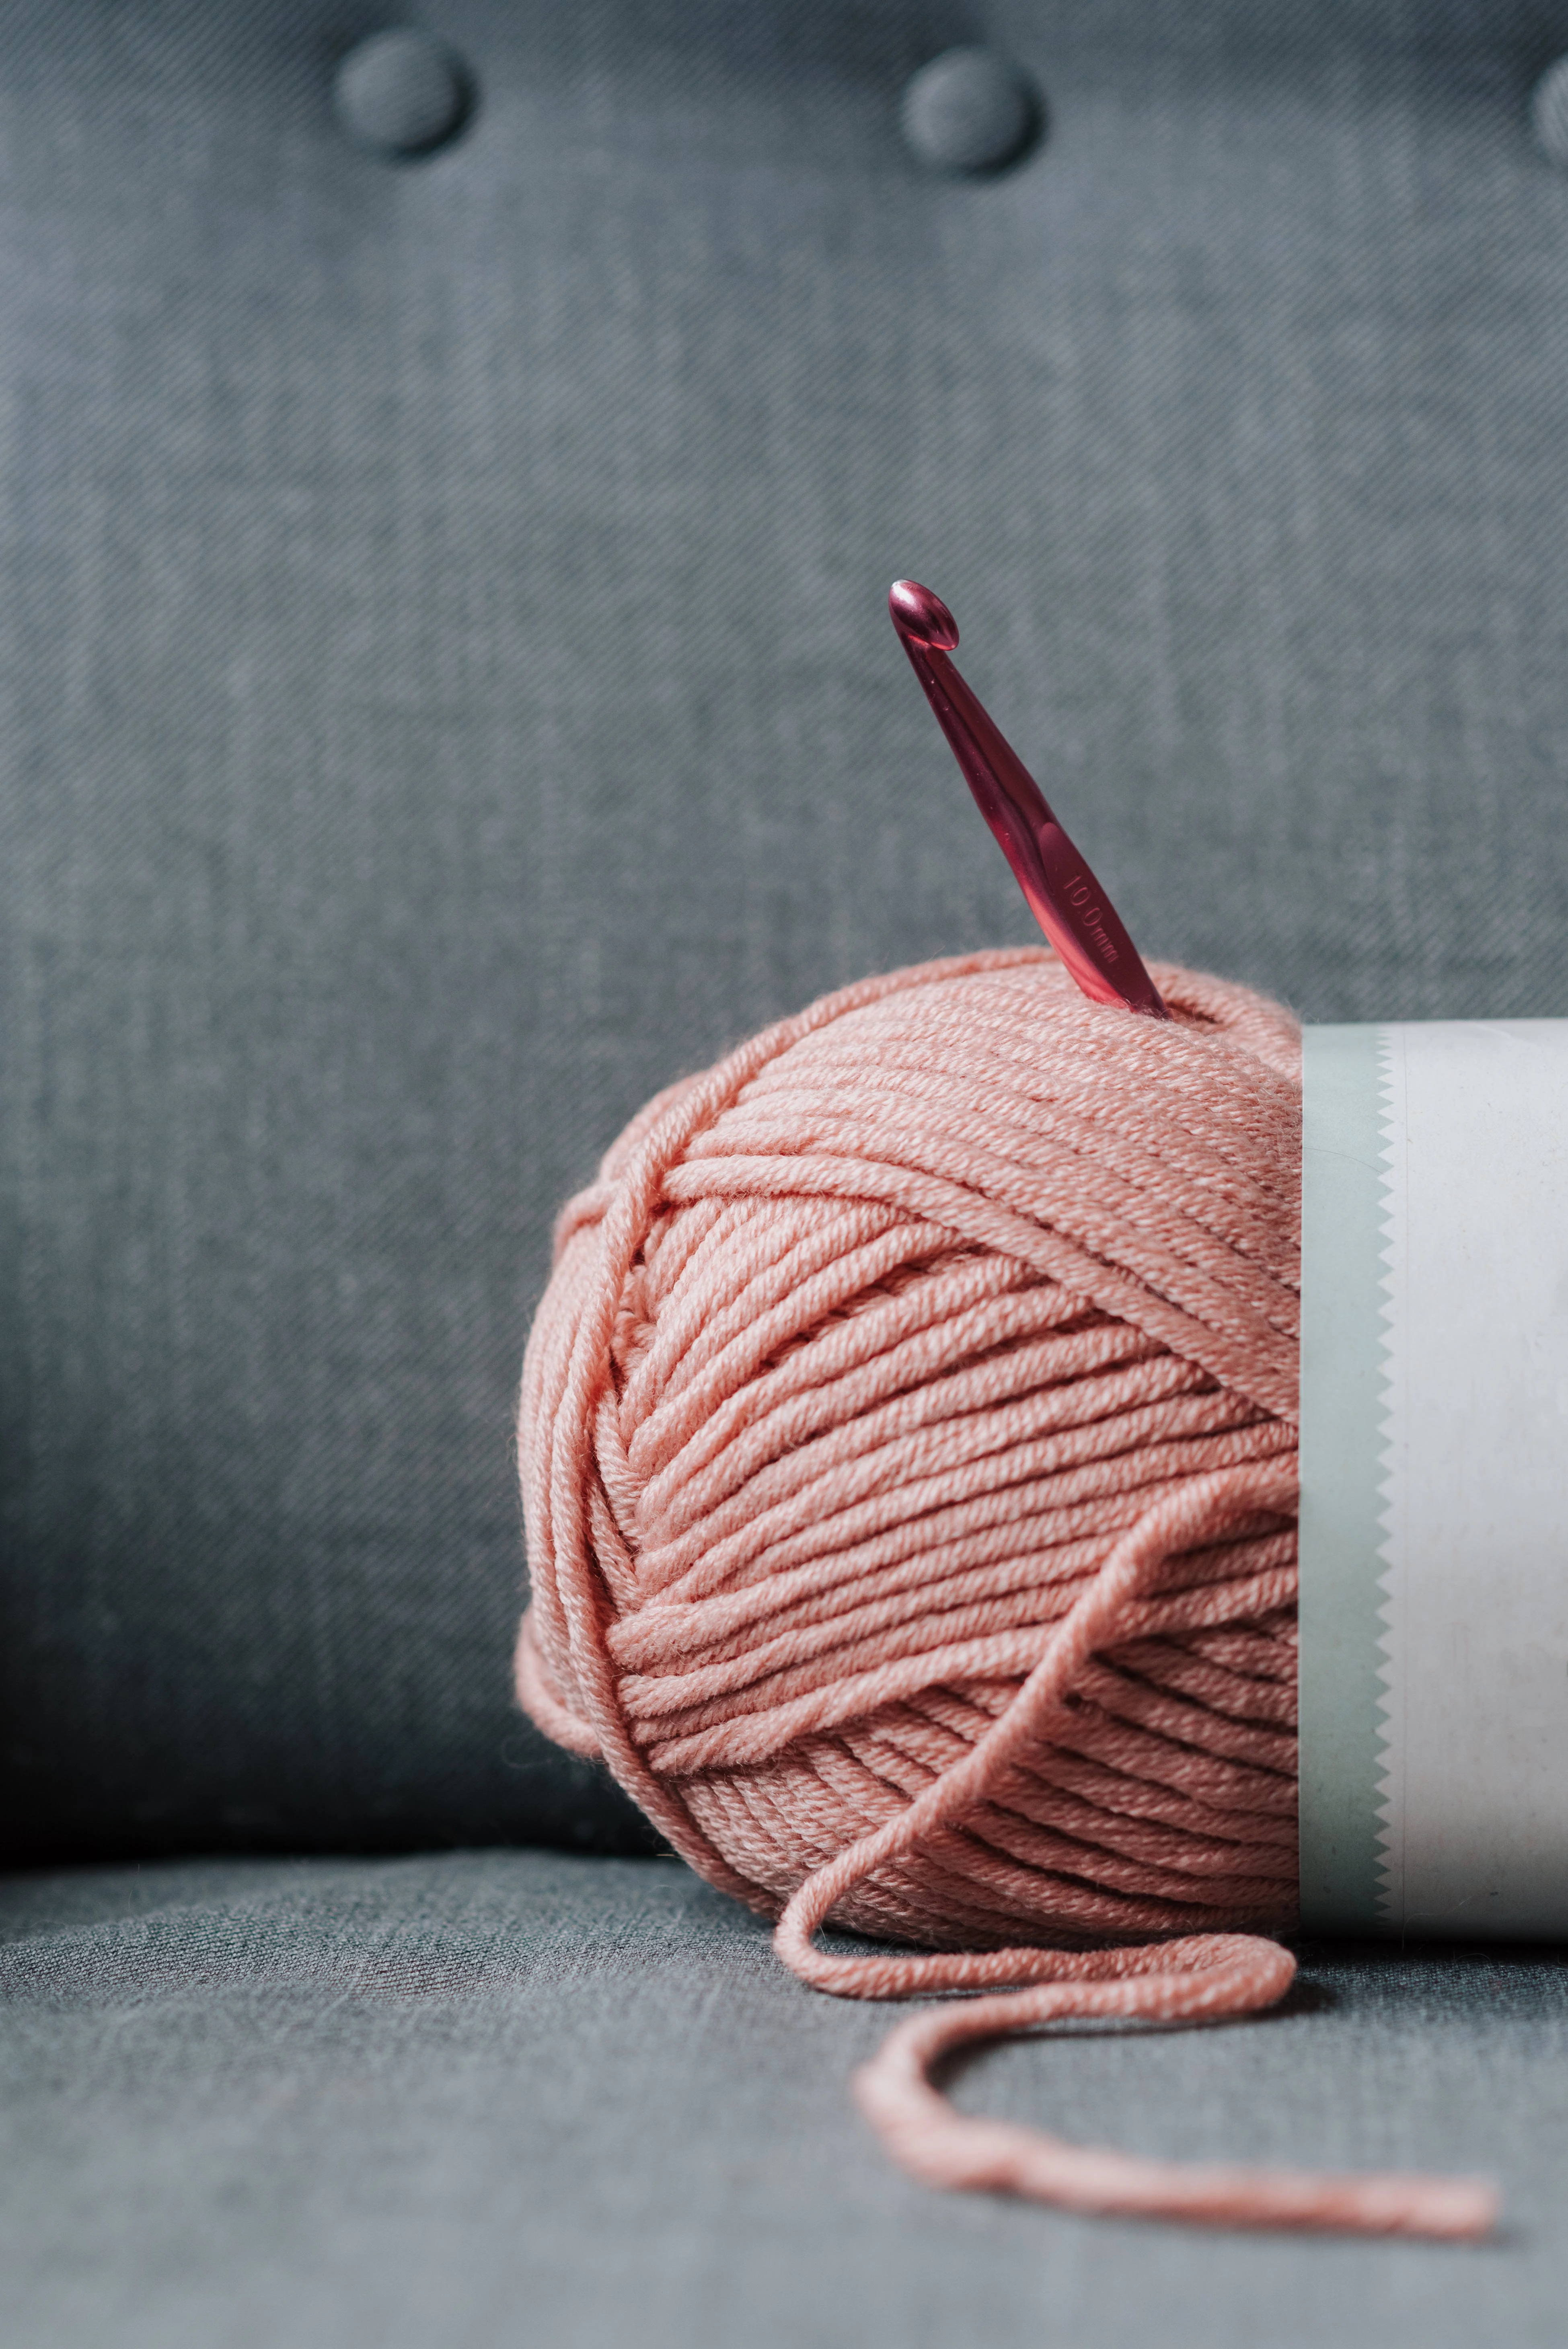
- Yarn: You’ll want about 200-220 yards of a
4 worsted weight yarn. Cotton is my go-to for a classic, breathable hat. A good skein of something like Lion Brand 24/7 Cotton or a similar mercerized cotton will run you about $5 to $10.
- Crochet Hook: A 5.0mm (H-8) hook is a great starting point for worsted weight yarn, but we’ll talk about why that might change in a bit. You can get a basic hook for $2-$5.
- Essentials: You’ll also need a good pair of scissors, a yarn needle (sometimes called a tapestry needle) for weaving in ends, and a soft measuring tape.
All in, you can make a fantastic, custom hat for under $20. As for time, plan for a solid afternoon or a relaxed weekend. It’s the perfect project to tackle over a couple of evenings!
The Anatomy of a Great Bucket Hat
A bucket hat is just three simple parts: the crown (the flat top), the sides (the body), and the brim. Once you understand how to shape each one, you’re golden. This is where a tiny bit of geometry is your best friend.
The Crown: Nailing the Flat Circle
The crown is just a flat circle. The secret to keeping it flat is adding stitches in each round at a perfectly consistent rate. If you add too many, the edges will ripple. Too few, and it’ll cup into a bowl shape way too early.
The math is actually pretty simple. For a circle made with single crochet (sc), you’ll add 6 stitches every single round. For half double crochet (hdc), it’s typically 8, and for double crochet (dc), it’s usually 12.
So, a standard single crochet crown goes something like this:
- Round 1: Start with 6 sc in a magic ring.
- Round 2: Put 2 sc in every stitch (that’s your increase). You’ll have 12 stitches.
- Round 3: Do [1 sc, then an increase in the next stitch]. Repeat that all the way around. Now you have 18 stitches.
- Round 4: Now it’s [2 sc, then an increase]. Repeat around. You’re at 24 stitches.
See the pattern? You just add one more regular stitch between your increases each round. You stop when the circle is the right diameter for your head size (more on that later!).
Quick Tip: As you work on your flat circle, find a bowl or a small plate in your kitchen that’s roughly the size of your target diameter. You can lay your work on top of it as you go to get a great visual check that you’re on track and staying flat.
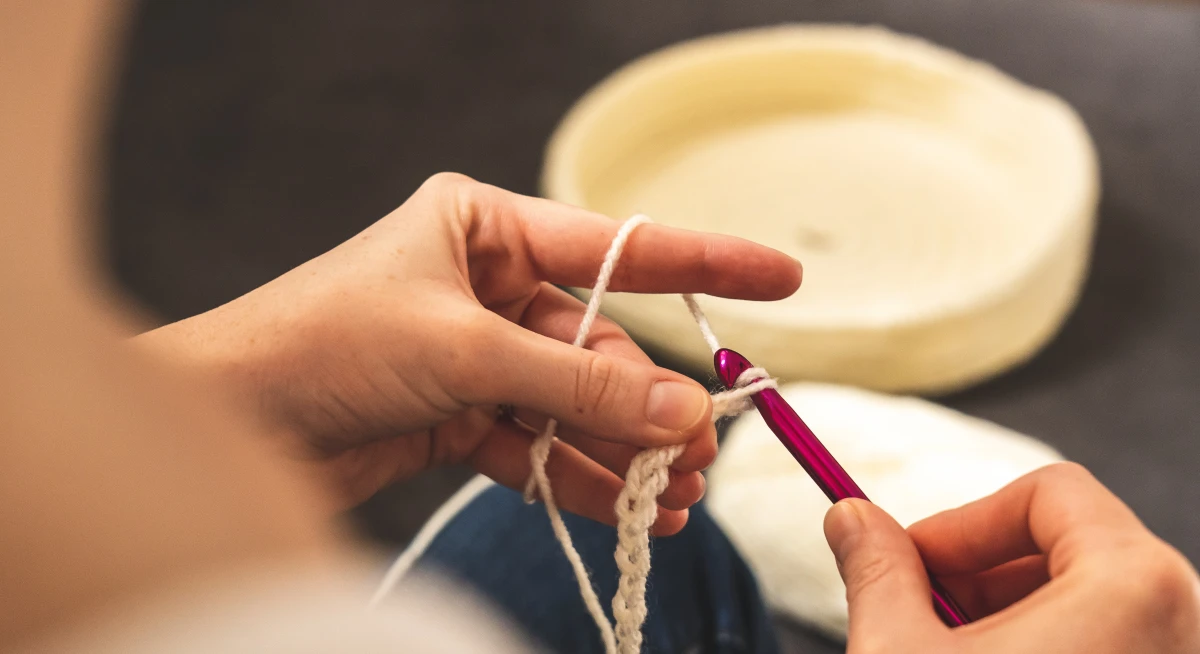
By the way, when you start, you have two main options: the magic ring or the chain method. Honestly, the magic ring is worth the 15 minutes of practice you might need to nail it. It lets you pull the starting hole completely closed for a super clean finish. The chain method is a bit easier for absolute beginners but always leaves a little hole in the center.
The Sides: Building Downward
Once your crown is the right size, this is the easiest part. To make the hat turn downwards and form the sides, you just… stop increasing. Seriously, that’s it. You’ll work one stitch into every stitch from the previous round. This forces the fabric to grow down instead of out.
Keep working these ‘even’ rounds until the hat is deep enough to sit comfortably on your head, usually with the edge resting just above your eyebrows.
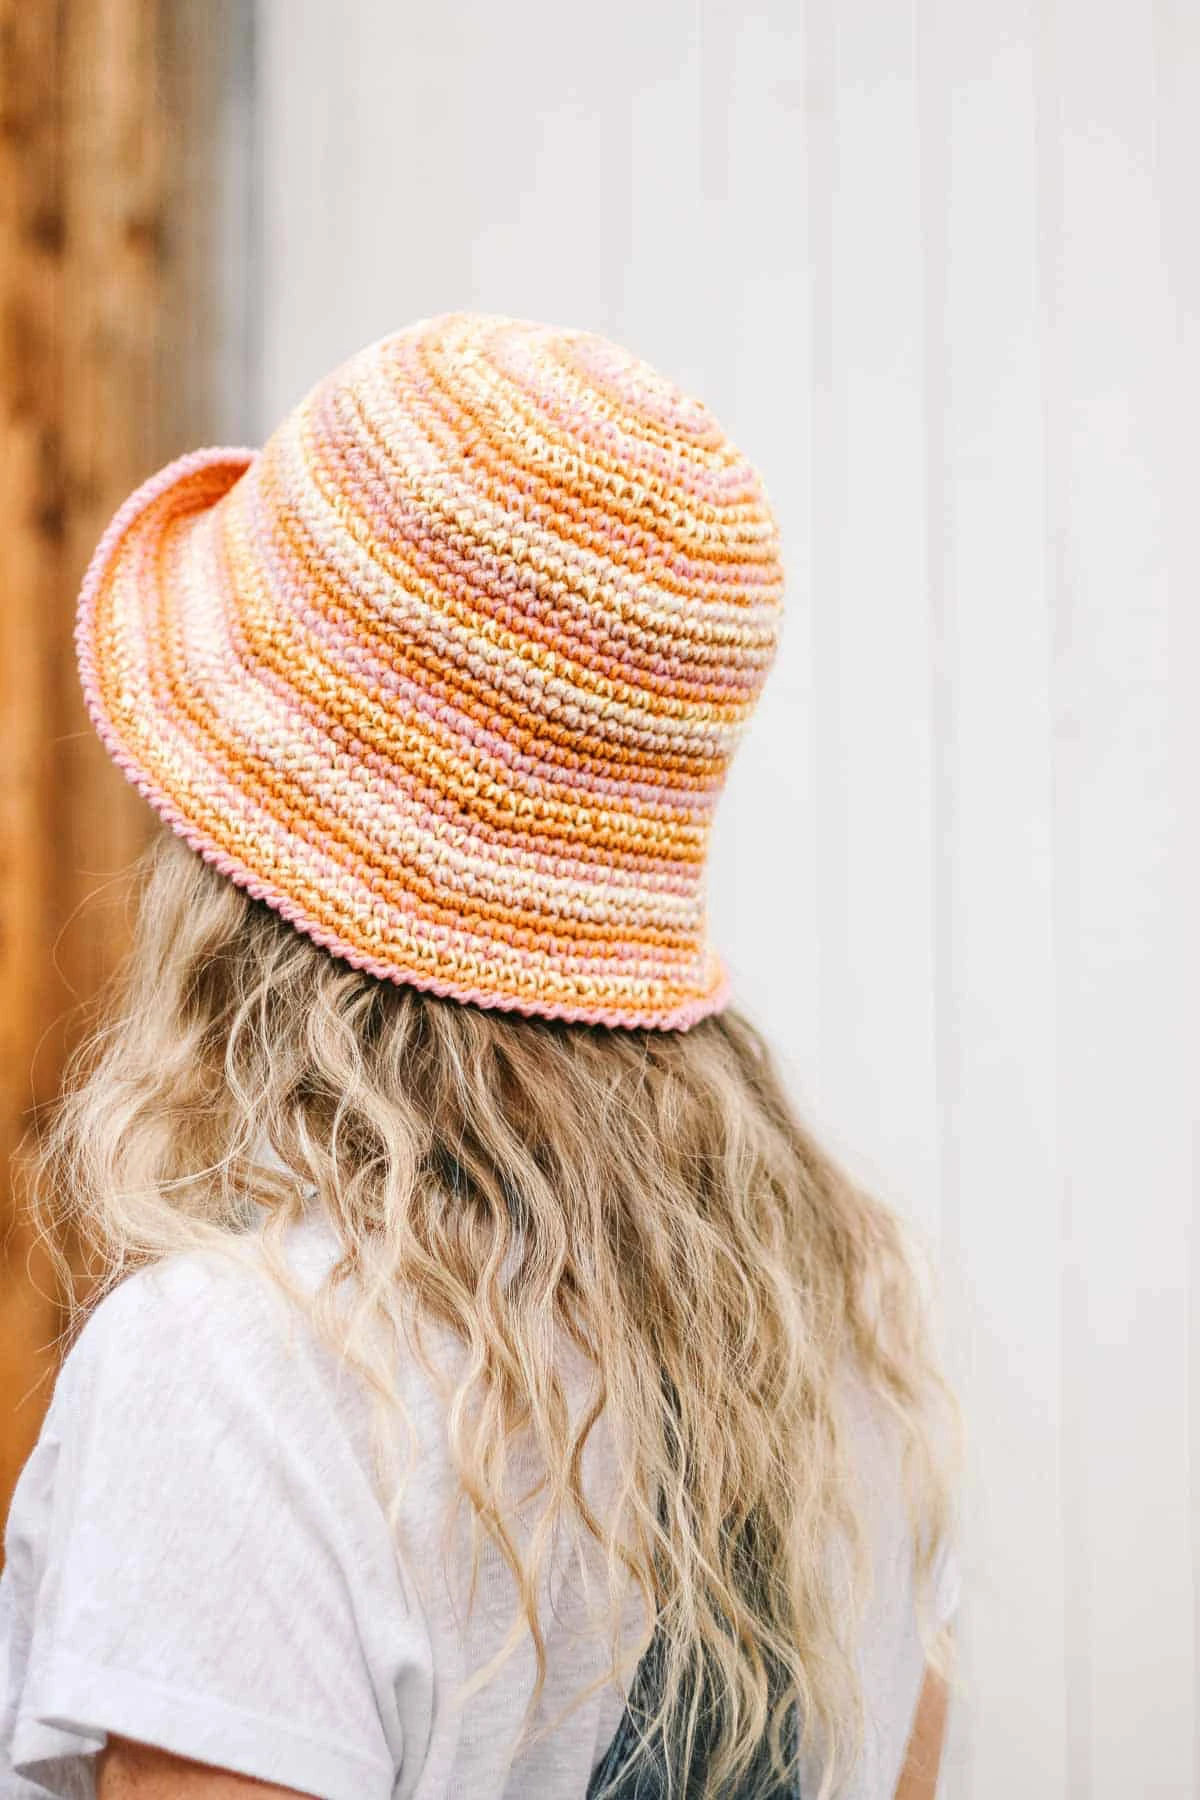
The Brim: Giving it Shape and Style
To make the brim flare out, you just start increasing again! How often you increase determines the whole look.
- For a standard, angled brim: Go back to increasing at the same rate you did for the crown. So if you stopped the crown after [7 sc, inc], you might start the brim with [8 sc, inc]. This creates a nice, steady flare.
- For a wavy, floppy brim: Increase way more often. Try something like [3 sc, inc] or [4 sc, inc]. All those extra stitches create those fun, soft ripples.
- For a very stiff brim: Here’s a lesser-known trick I swear by. Crochet with a strand of thin fishing line held right alongside your yarn. I use a cheap spool of 20-lb monofilament line I get from the sporting goods aisle. You just crochet right over it, and it gives the brim incredible structure that won’t flop. It can be a little tough on the hands, so take breaks!
Choosing Your Materials Wisely
Your yarn choice is huge. It affects the look, feel, and structure of your hat. For a summer bucket hat, you want something that can breathe and hold its shape.
- Cotton: This is my
1 pick. It’s breathable, sturdy, and shows off your stitches beautifully. Mercerized cotton is especially nice because it’s smooth and has a slight sheen.
- Raffia: This natural fiber gives you that ultimate beachy, straw-hat look. It creates a very stiff hat, but to be frank, it can feel like you’re crocheting with paper. It’s rough on the hands, so it’s not a project I’d recommend for a beginner.
- Acrylic: A great budget-friendly choice that comes in every color imaginable. The downside? It doesn’t breathe. An acrylic hat can get pretty toasty in the sun, so it’s better for a fashion piece in milder weather.
The Gauge Swatch: Your 15-Minute Project Saver
Okay, let’s have a real talk about the gauge swatch. I know, I know… it’s the boring part and you just want to start the hat. But skipping this 15-minute step is the single biggest reason why wearable projects don’t fit.
Just crochet a small 4×4 inch square with your chosen yarn and hook. Then, measure how many stitches you have per inch. If you have more stitches than a pattern calls for, your tension is tight, and you need a bigger hook. If you have fewer stitches, your tension is loose, and you need a smaller hook. This is the secret handshake of people who make things that fit perfectly every time.
Finishing Touches That Make a Difference
Seamless Color Changes
If you’re making stripes, a sloppy color change can ruin the whole look. The trick is to introduce the new color on the very last step of the stitch before the change. So for a single crochet, you’d insert your hook, pull up a loop with the old color… then, with two loops on your hook, drop the old color and pull through with the new color to finish the stitch. Voila! The loop on your hook is now the new color, ready to go.
Weaving In Your Ends Securely
Before I learned to do this properly, I had a favorite striped hat that started to unravel after one wash. I was devastated! A hat gets stretched and worn, so you have to lock those ends in. Use a yarn needle and weave the tail back and forth through the stitches on the inside of the hat. I always go in at least three different directions. It’s an invisible step that guarantees your hard work will last for years.
Sizing for a Perfect, Custom Fit
A handmade hat should fit better than anything from a store. First, use a soft tape measure to find the head circumference, wrapping it just above the eyebrows.
Now for a little math to find your crown diameter: Head Circumference / 3.14 (π) = Crown Diameter.
So if a head measures 22 inches, you get 22 / 3.14 = 7.0. You’ll crochet your flat circle until it measures 7 inches across. While measuring is always best, here are some solid starting points:
- Toddler (1-3 yr): 18″ circumference / 5.75″ crown diameter
- Child (3-10 yr): 20″ circumference / 6.35″ crown diameter
- Teen/Small Adult: 22″ circumference / 7″ crown diameter
- Large Adult: 24″ circumference / 7.6″ crown diameter
Heads up, here’s a pro secret: negative ease. Crochet fabric has stretch! For a snug fit that won’t blow off in the wind, I like to make my hat’s finished circumference about 1-2 inches SMALLER than the actual head measurement. This is the key to a hat that feels truly custom-made.
And remember, if you’re making a hat for a baby or small child, please avoid buttons, beads, or other small add-ons. They can be serious choking hazards. Stick to embellishments made purely from yarn that are sewn on tight.
Caring for Your Creation
Always check your yarn label first! Cotton and acrylic can often be machine washed on a gentle cycle, but I always, always recommend hand washing to be safe. Use cool water, squeeze the water out gently (never wring!), and roll it in a towel to absorb moisture. To dry, reshape it and let it air dry. Stuffing it with a towel or placing it over a bowl will help it keep its perfect form.
The best part of crochet is that once you know the rules, you can break them. This guide gives you the foundation. Now you can look at any hat, see how it was built, and know that you have the skills to make it yourself. That’s the real craft.


