The Surprising Workshop Hero Hiding in Plain Sight
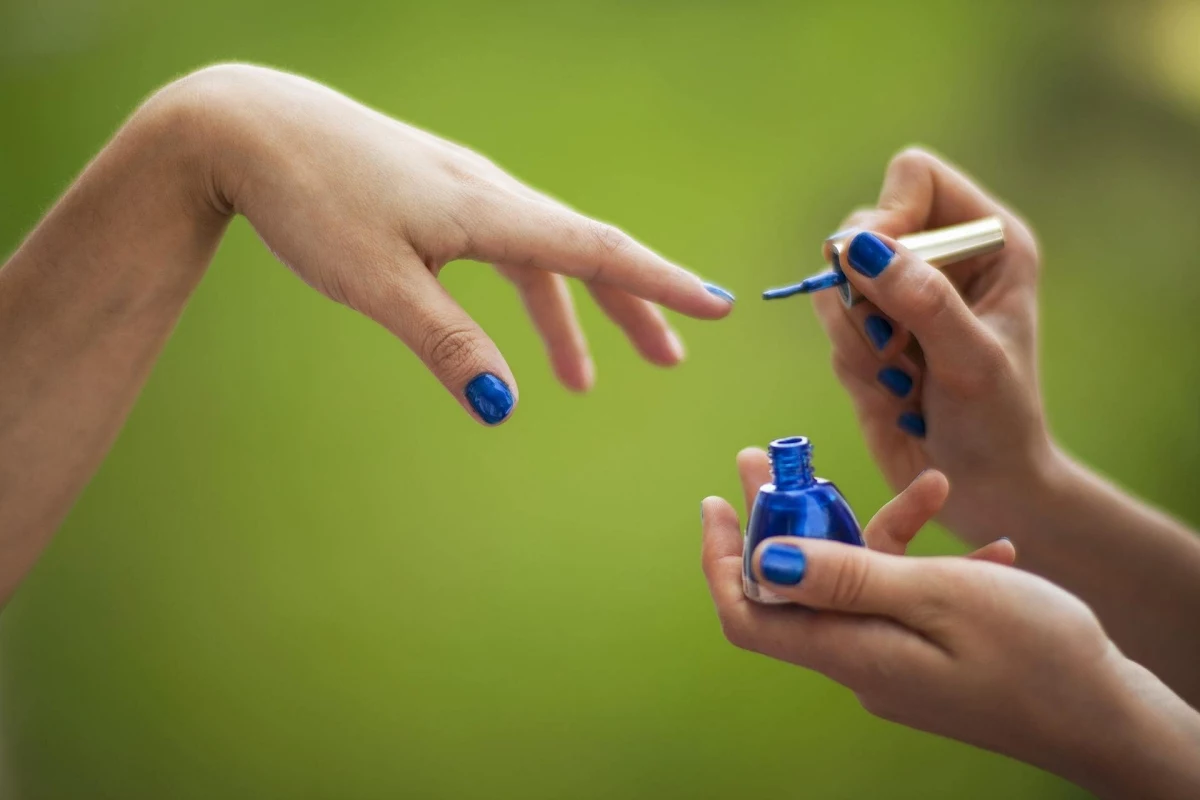
I learned a long time ago from a seasoned craftsman that the best tool is often the one you already have. This old-timer kept a small bottle of clear nail polish on his workbench, nestled right between the wood glue and a jar of miscellaneous screws. As a kid, I found it bizarre. Now, with a few decades of my own workshop experience, I get it completely. That little bottle isn’t just for manicures; it’s a versatile, fast-drying lacquer with a built-in applicator. In the right spot, it’s an incredibly useful tool for small repairs, sealing jobs, and protecting all sorts of materials.
In this article
Honestly, when most people see lists of nail polish ‘hacks,’ they probably think of them as flimsy little tricks. I see it differently. Once you understand what nail polish actually is, you can use it with real purpose. It’s a tool, and like any tool, you have to know its strengths and its limits. This isn’t about being cute; it’s about applying some basic material science to solve common, everyday problems around the workshop and home.
First Off, What Kind Should You Even Buy?
Before we dive in, let’s talk about what you’re actually working with. Do you need to go out and buy a fancy $10 bottle from a high-end brand? Absolutely not. For almost every workshop use, the cheapest bottle you can find at the dollar store or pharmacy works perfectly. We’re talking about a buck or two.
A simple, clear polish is the most versatile. If you want a slight upgrade, a clear “top coat” formula is often a bit tougher, as it’s designed to resist chipping. The magic is in the formula, which is pretty consistent across brands. It’s essentially a nitrocellulose lacquer, a trusted material in industries from furniture finishing to automotive paints. The bottle contains a film-former (nitrocellulose), solvents that evaporate quickly (that’s the strong smell), resins that help it stick, and plasticizers that keep the dried film from being too brittle. So when you brush it on, you’re basically applying a thin layer of liquid plastic that hardens into a durable, water-resistant film. Simple as that.

Sealing and Stopping Frays Like a Pro
One of the most classic uses for nail polish is stopping a run in stockings. This works because it’s a mechanical fix. The lacquer soaks into the fibers around a broken loop and glues them solid, preventing the chain reaction of the run. It’s a great field repair.
Technique: Repairing Frayed Laces and Rope Ends
This is a trick I’ve used countless times on work boot laces when the little plastic tip (it’s called an aglet, by the way) disappears. You can create a new, durable tip in minutes.
1. First, twist the frayed ends together as tightly as you can. Trim any truly wild fibers with a pair of sharp scissors to get a clean start.
2. Hold the twisted end and brush on a thin coat of clear nail polish. You want to saturate the fibers so the lacquer really soaks in.
3. Let it sit for a minute, then apply a second thin coat. Two thin coats are always stronger than one thick, goopy one.
4. Now, before it gets rock hard, here’s the key step. I usually wear a disposable glove for this part. Gently roll the polish-soaked tip between your thumb and forefinger. You’re trying to smooth and compact it, almost like you’re making a tiny snake out of clay. The goal is a smooth, solid point, not a lumpy blob.
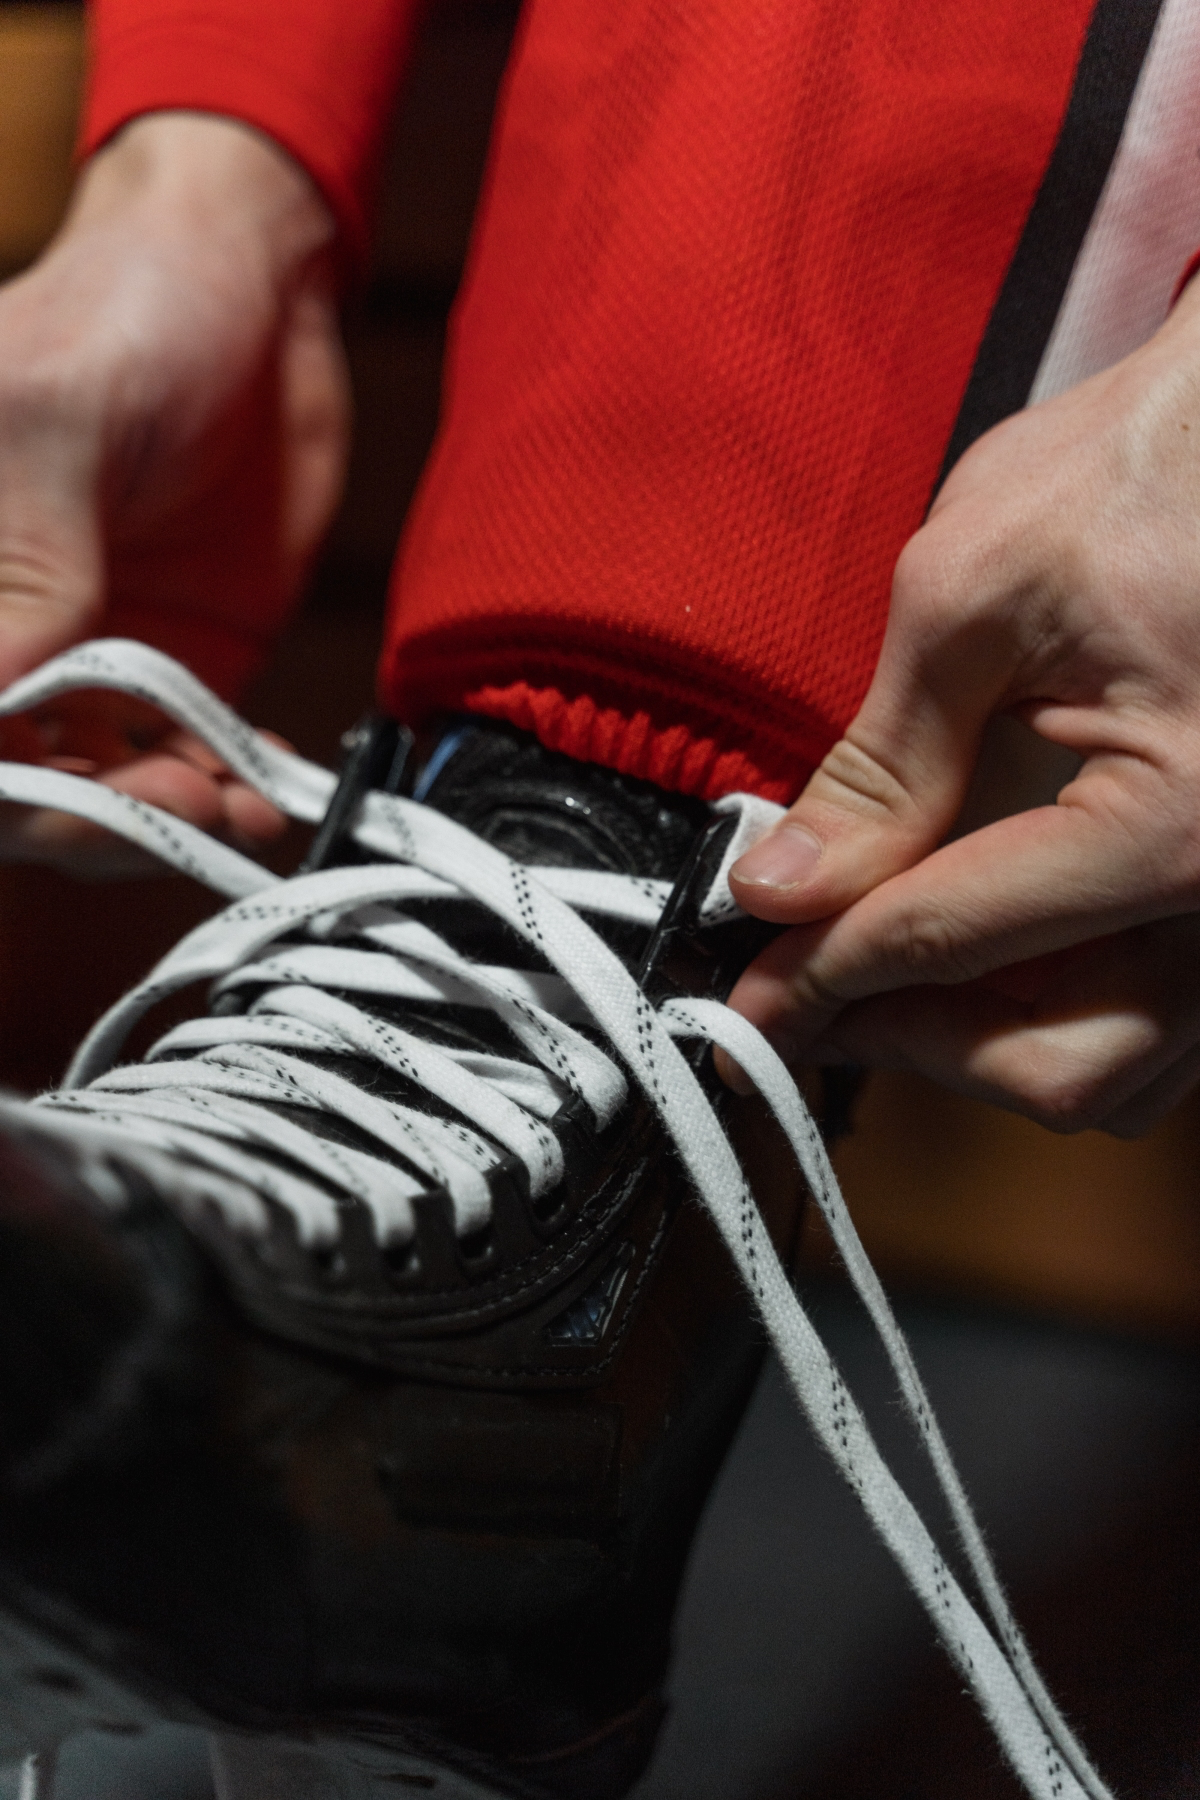
Let it cure for at least an hour before you try to lace up your boots. This method also works wonders on the ends of twine or paracord, especially for smaller projects where melting the end with a lighter isn’t the best option.
Fixing Minor Scratches and Preventing Damage
Nail polish can be a fantastic filler and protective barrier, but you have to be careful. Using it on the wrong surface can create an even bigger problem.
Technique: Filling Hairline Scratches on Modern Furniture
Let me be crystal clear here. This is ONLY for minor, shallow scratches on furniture with a hard, modern finish like polyurethane or factory-applied lacquer. NEVER, ever use this on fine antiques, oil finishes, or French polish. The solvents in the polish will dissolve those delicate finishes and leave a cloudy, permanent scar. Fixing that kind of mistake gets expensive fast.
If you’ve got the right type of furniture, test the polish in a hidden spot first, like the back of a leg. If there’s no bad reaction, you’re good to go. Use a toothpick or, for a truly invisible fix on a hairline crack, I’ve even snipped a single bristle from a cheap paintbrush to act as a micro-applicator. Carefully dab a tiny amount of clear polish only inside the scratch. It will shrink as it dries, so you might need a second thin coat after an hour. The goal is to fill the scratch level with the surface, making it nearly invisible.

Technique: The Ultimate Rust and Tarnish Blocker
This is one of my favorite, most practical uses. Here’s a quick win for you: Go find that can of shaving cream or metal soap dispenser in your bathroom. See that ugly orange rust ring it leaves on the shelf? A quick coat of clear polish on the bottom metal rim of the can prevents that completely. It creates an airtight, waterproof barrier. It takes two minutes and solves the problem for good.
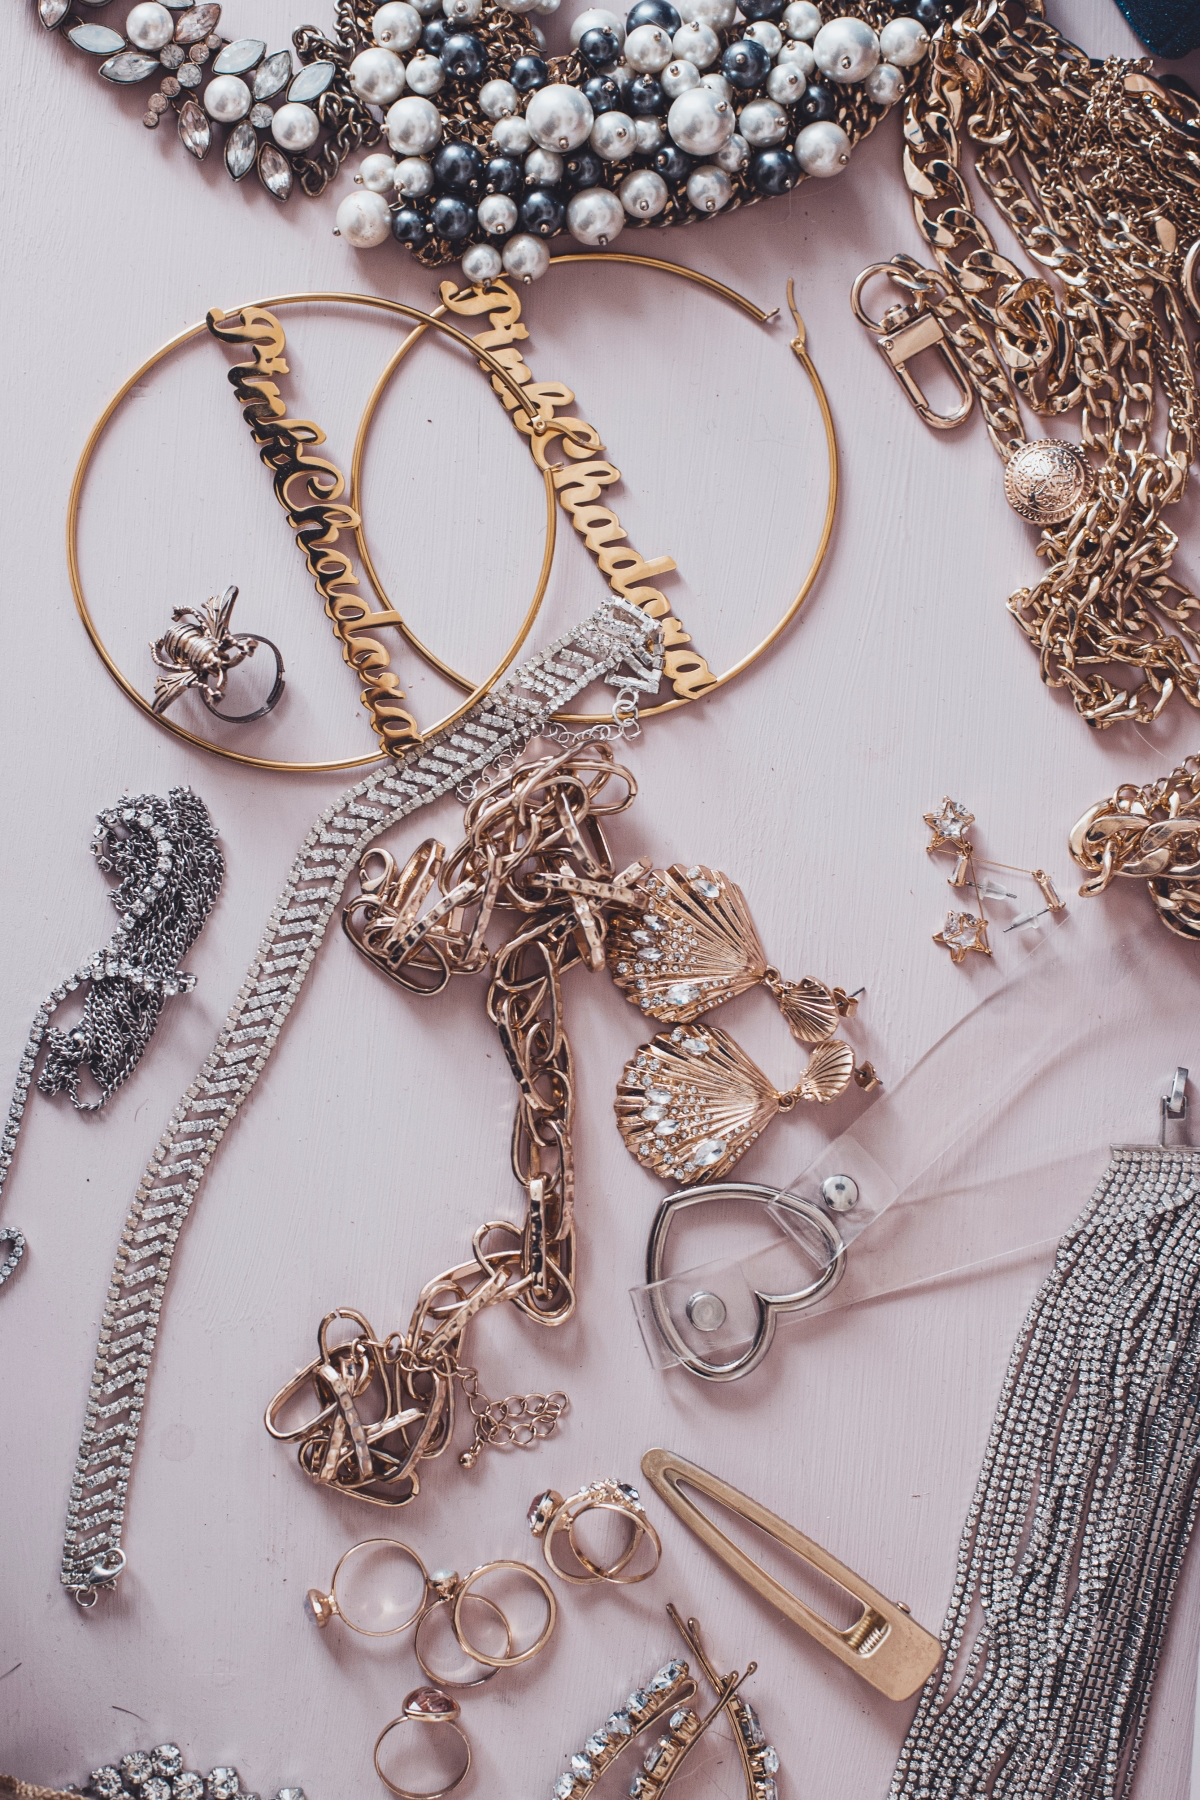
The same idea applies to cheap costume jewelry that turns your skin green. That green mark is a reaction between your skin’s oils and the base metals (like copper) in the jewelry. Just clean the piece with rubbing alcohol, let it dry, and apply a thin, even coat of clear polish to any part that touches your skin. Let it cure for a full 24 hours before wearing. Heads up: this isn’t permanent. Depending on wear, you’ll probably need to reapply it every few weeks or months. But it works like a charm.
Your New Best Friend for Loose Hardware
In any home, screws have a knack for slowly vibrating loose. Think about the arm on a pair of glasses, a wobbly cabinet knob, or a license plate screw. While pros use dedicated thread-locking compounds, nail polish is a surprisingly good stand-in for low-stakes jobs.
Technique: A Mild Thread-Locker for Annoying Screws
The polish fills the tiny gaps between the threads, and when it dries, it adds just enough friction to stop the screw from backing out. Think of it as a very light-duty version of that blue Loctite you see for cars. To use it, just remove the screw, put a single small drop of polish onto the threads, and immediately screw it back in. Let it set for an hour.
I have to be direct: this is for non-critical applications ONLY. A wobbly drawer pull? Perfect. The bolts holding a power tool together? Absolutely not. For anything involving safety or heavy machinery, you must use a proper, commercial-grade thread-locker. But for a handle that keeps coming loose, this fix can last for years.
A Word of Warning: Know Your Glues
Knowing when not to use a tool is just as important as knowing when to use it. Nail polish is a great sealer and light-duty binder, but it is NOT a structural adhesive. It’s brittle and has almost no strength against shearing forces.
For a quick comparison:
- Nail Polish: Think of it as a liquid plastic coating. Perfect for sealing surfaces (like paper labels to make them waterproof), stopping frays, or adding friction to threads. It’s a barrier, not a bonder.
- Super Glue (Cyanoacrylate): This is your go-to for bonding two clean, non-porous surfaces that fit together perfectly. Think of a snapped piece of plastic or a ceramic mug handle. It’s strong when pulled on, but brittle and can snap if twisted or bent.
- Epoxy: This is the heavy-hitter. A two-part system you mix together, it creates a powerful, gap-filling, structural bond. It’s the right choice for anything that needs to bear weight or fill a space. It takes longer to cure, but the result is incredibly strong.
So, where should you absolutely avoid using nail polish?
– Certain Plastics: I learned this the hard way trying to fix a crack on a clear plastic storage bin. The solvents in the polish instantly turned the area into a foggy, melted mess. Always test on a hidden spot first!
– High-Heat Surfaces: It’s not made for heat. I’ve seen it bubble and turn brown on something as simple as a hot laptop charger brick. Stick to room-temperature repairs.
– Food-Contact Surfaces: It is not food-safe. Don’t use it to repair a chip on a plate or mug. Use a dedicated food-safe epoxy for that.
That little bottle of polish on that old-timer’s bench was a symbol of resourcefulness. It represents the idea that if you understand your materials, you can find clever, effective solutions all around you. Used with care, it absolutely earns its place as a valuable, if unconventional, tool in any repair kit.
Galerie d’inspiration
That tiny, rust-colored spot on a new screw head can be infuriating, especially in humid areas like bathrooms or on outdoor furniture. A quick dab of clear polish creates an airtight, waterproof seal that stops oxidation before it starts. It’s an invisible shield for metal.
- Apply to the heads of screws on light switch plates and toilet seats.
- Seal the small bolts on outdoor light fixtures or mailboxes.
- Coat the tips of garden stakes to prevent them from rusting in the soil.
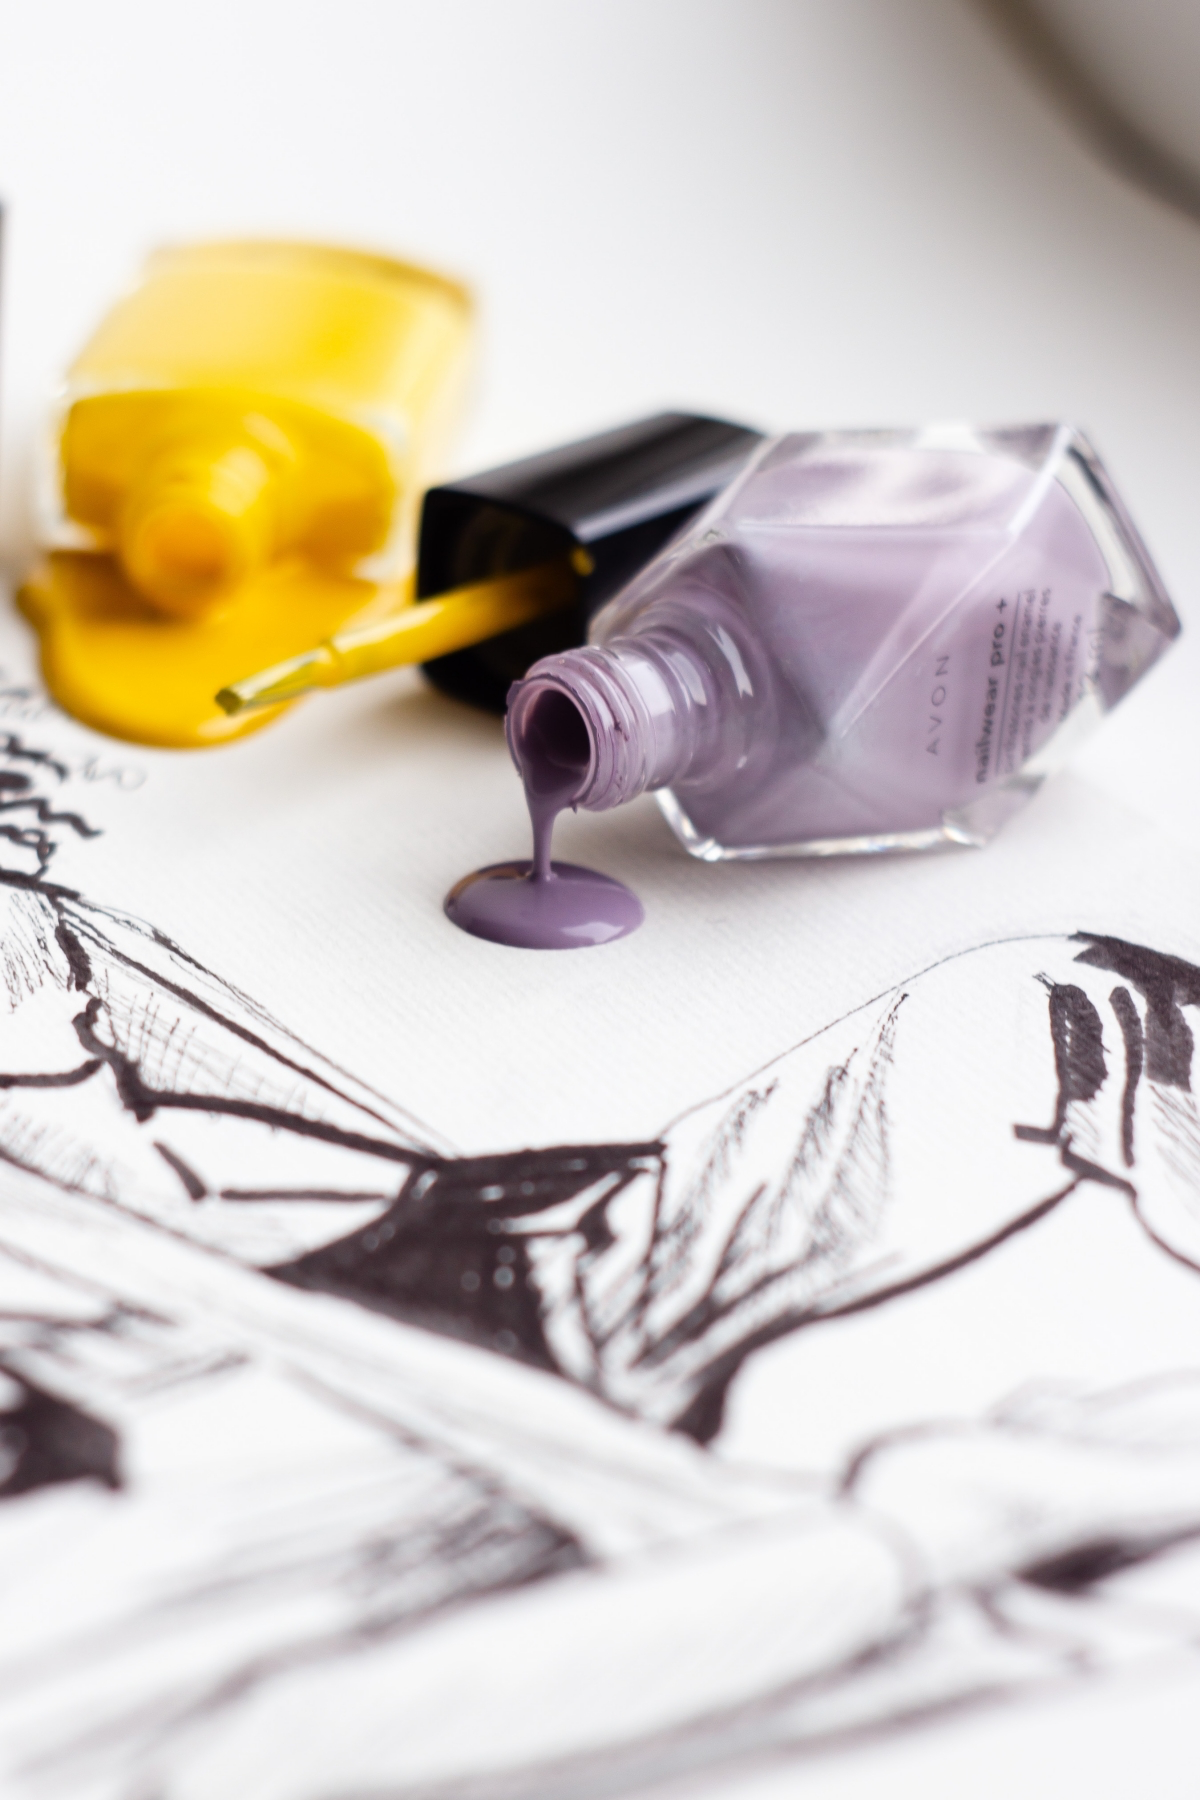
Did you know that the solvents in nail polish, typically ethyl acetate and butyl acetate, can melt certain plastics?
While it’s a fantastic tool, it’s not a universal one. Avoid using nail polish on soft plastics or styrofoam, as the solvents can cause them to craze or dissolve. It’s also not heat-resistant, so don’t use it to repair anything that gets hot, like a kettle handle or a toaster part. For those jobs, a high-temperature epoxy is the only safe bet.
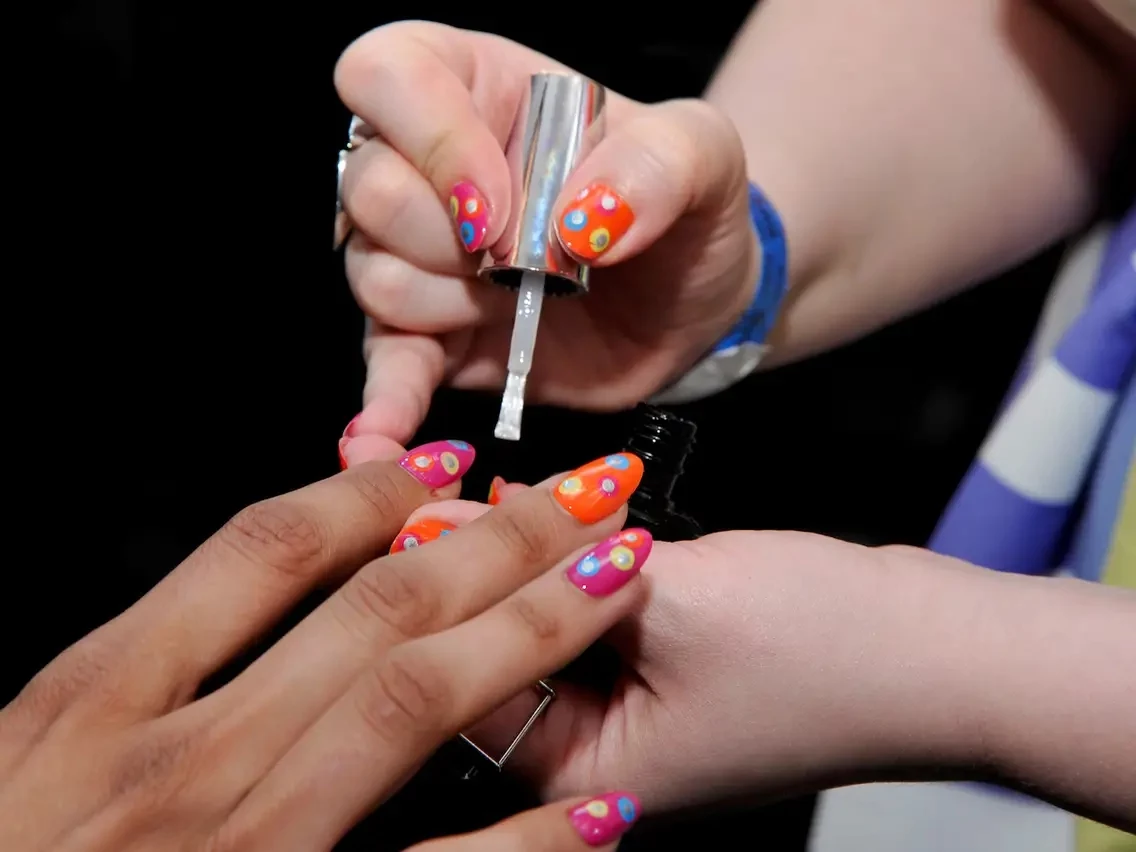
Need a way to instantly tell your house key from your shed key?
This is where colored polish shines. While clear polish is for invisible protection, a vibrant color is for instant identification. Grab a cheap, bold-colored polish from a brand like Sinful Colors or Wet n Wild. A single dot of red on one key and blue on another eliminates fumbling in the dark. It’s also brilliant for marking the ‘on’ position on a power tool switch or color-coding specific drill bits in your case.


