Getting Your Hands Dirty: A Real-Talk Guide to Pottery & Knitting
You know that feeling when the air gets a certain crispness to it? The light hits different in the afternoon, and you can smell damp earth and woodsmoke. For me, and for so many people I’ve worked with over the years, that seasonal shift triggers a deep-seated urge to turn inward and make something real. It’s a primal need to create something solid as the world outside hunkers down for the cooler months.
In this article
But let’s be honest, this isn’t about just finding a “hobby” to kill time. It’s about learning a skill, a craft with substance and technique. It’s about the pure satisfaction of turning a raw material—whether it’s a lump of cold clay or a skein of soft yarn—into something beautiful and useful. So many people walk into a workshop feeling disconnected from the physical world, tired of screens and spreadsheets. They leave with dirty hands, an aching back, and a smile they can’t seem to wipe off their face. They leave with a bowl they actually made.

In this guide, I want to give you a practical starting point for two of the most rewarding and accessible crafts out there: pottery and knitting. We’ll cover the stuff that actually matters—the real-world feel of the materials, the tools you actually need, and the common mistakes I’ve seen (and made myself) a hundred times. This is your first real step toward making things with your hands.
The Craft of Clay: More Than Just Mud
Pottery is about as elemental as it gets. It’s literally earth and water, shaped by your hands and transformed by fire. The connection you feel is immediate. But to do it well, you have to understand the material itself.
Understanding Your Clay
So, why does clay work? It’s made of microscopic, flat particles. When you add water, it acts like a lubricant, letting these little platelets slide past each other. That’s what makes clay so plastic and workable. As it dries, the water evaporates, the platelets lock together, and the piece gets rigid. Firing it in a kiln creates permanent, super-strong bonds. Simple, right?
This isn’t just a science lesson; it’s the key to not having your work crack and break your heart. It’s why you have to dry your pieces slowly and evenly. If a thin handle on a mug dries faster than the thick body, the uneven shrinkage will cause a crack. It’s a lesson most of us learn the hard way. I once lost an entire shelf of student work because it was rushed. Now, we cover new pieces with plastic sheeting, forcing them to dry at a snail’s pace. It’s a test of patience, but it works.
You’ll mainly run into three types of clay:
- Earthenware: This is a low-fire clay, great for planters and decorative items. Think of that classic terracotta color. It stays porous after firing, so you have to glaze it to make it waterproof.
- Stoneware: This is the workhorse of the pottery world. It’s a mid- to high-fire clay that becomes incredibly hard, dense, and durable. It’s the standard for functional dinnerware, like plates and mugs you can actually use every day.
- Porcelain: This is the fancy, high-maintenance stuff. It fires super white and can even be translucent when it’s thin. But honestly, it’s a pain to work with for beginners because it’s so smooth it tends to collapse on the wheel. Put a pin in this one until you’ve got some experience.
Hand-Building vs. The Wheel
Everyone pictures that iconic scene at the potter’s wheel. But in my opinion, every beginner should start with hand-building. It teaches you the fundamentals of clay without the added frustration of a spinning motor.
A few key techniques to know:
- Pinch Pots: You start with a ball of clay and just press your thumb into the center, slowly pinching and rotating to form a bowl. This is where you learn to feel for an even wall thickness, which is a critical skill.
- Coil Building: You roll out long “snakes” of clay and stack them to build walls. The key here is to “score and slip”—scratching cross-hatch marks on the surfaces you want to join and painting on a watery clay slurry (slip) that acts as glue. If you forget this step, your piece is guaranteed to fall apart as it dries.
- Slab Building: For this, you roll out flat slabs of clay, almost like a pastry dough. You let them dry to a “leather-hard” state before cutting and joining them to make more geometric forms, like boxes or square mugs. What does leather-hard feel like? Think of a block of cold cheddar cheese—it’s firm enough to hold its shape, but you can still carve into it.
The potter’s wheel is a whole other beast. The first and hardest step is “centering,” which is just getting the clay to spin perfectly in the middle without wobbling. It can take weeks of practice. You have to brace your arms, lean in, and use your whole body. An early instructor of mine used to say, “You’re not moving the clay, you’re letting the wheel move the clay under your hands.” It took me a month for that to finally click.

Staying Safe in the Studio
A studio is a safe place, but you have to be smart. There are a few non-negotiable rules.
Heads up! Dry clay contains crystalline silica, which can cause a serious lung disease if you breathe it in over time. Never sweep dry clay dust. Always use a wet sponge and a mop for cleanup. If you absolutely have to sand a dry piece, you must wear a proper respirator mask (N95 or better).
Also, be smart about glazes. They’re basically glass-formers and colorants. If you’re making something to eat or drink from, always check that the glaze is labeled “food-safe.” Some of those brilliant, vibrant colors contain metals that are only for decorative pieces.
How to Realistically Get Started
The best way to begin is to find a local community arts center or pottery studio that offers classes. This gives you access to all the expensive gear (like wheels and kilns) and, more importantly, an expert to guide you. Expect an 8-week course to cost anywhere from $250 to $450, which usually includes your first bag of clay, tools, and firing fees.

Can’t get to a studio? You can still get your hands dirty at home. Pick up some air-dry clay from a craft store like Michael’s or online. It’s cheap (around $10-$20 for a decent-sized tub) and lets you practice all the hand-building techniques right at your kitchen table. The trade-off? It’s not as durable, and it’s definitely NOT food-safe or waterproof. But for making little decorative objects and just getting the feel for the craft, it’s a fantastic, low-stakes entry point.
The Craft of Fiber: An Intro to Knitting
If pottery is about wrestling earth into form, knitting is about creating structure from a single, continuous line. It’s meditative, portable, and incredibly practical. There’s a quiet magic in making your own warm fabric, one stitch at a time.
Knitting vs. Crochet: What’s the Difference?
People often lump these two together, but they create totally different fabrics. It’s good to know the distinction before you dive in.
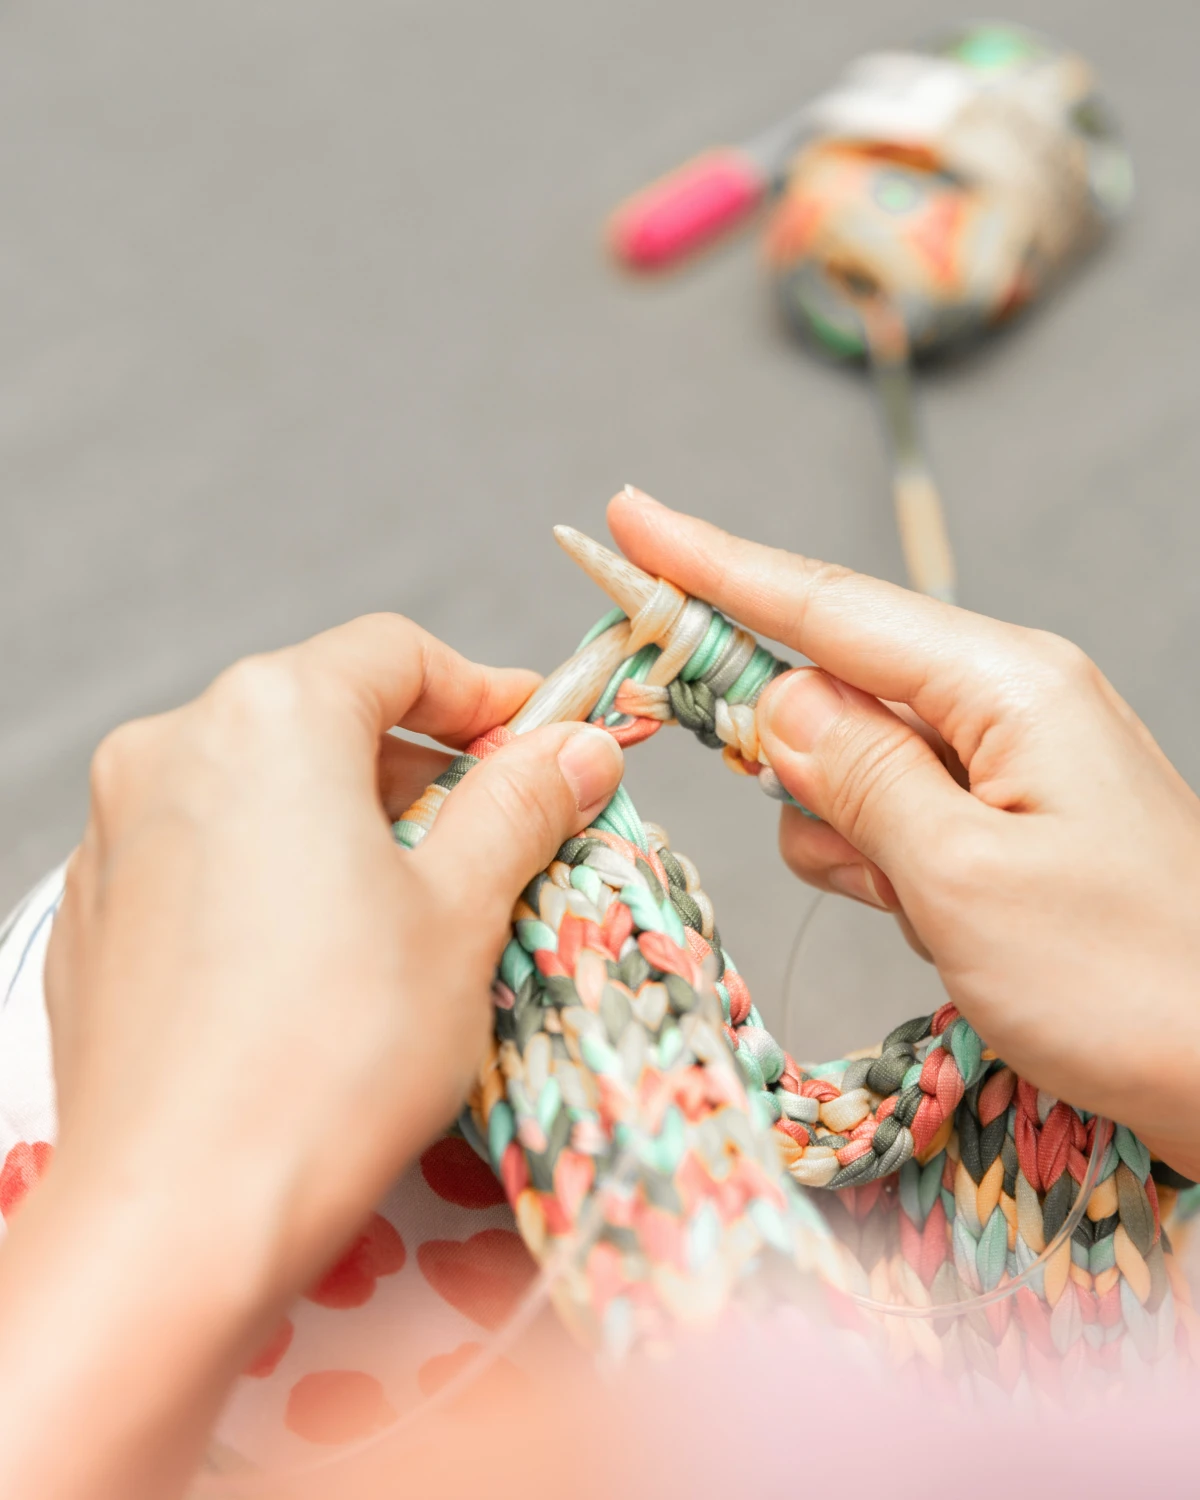
Knitting uses two needles to hold a whole row of active loops. You pull new loops through the existing ones, creating a series of interconnected ‘V’ shapes. This structure is what gives knitted fabric its signature stretch and drape. It’s perfect for things that need to move with a body, like sweaters, hats, and socks.
Crochet, on the other hand, uses a single hook. You only ever work with one active loop at a time, creating a series of knots. The resulting fabric is generally denser, thicker, and more rigid than knitting. It’s awesome for sturdy projects like blankets, market bags, and stuffed toys.
The Only Two Stitches You Really Need
Believe it or not, all of knitting is built on just two stitches: the knit stitch and the purl stitch. Everything else—from simple ribbing to crazy complex cables—is just a combination of those two.
Before you can make stitches, though, you have to get the yarn on your needles. This is called “casting on.” The long-tail cast-on is a great all-purpose one to learn first. It sounds intimidating, but it’s not. Here’s the gist:
- First, make a simple slip knot and place it on one needle.
- Drape the two strands of yarn (the one from the ball and the “tail”) over your left thumb and index finger, making a little slingshot shape.
- Use your right needle to scoop up the loop on your thumb, then grab the loop on your index finger, and pull it through. You’ve made a stitch! Repeat.
It’s one of those things that’s tricky for five minutes and then clicks. A quick YouTube search for “long-tail cast-on” will give you dozens of visual guides. Some great channels for beginners are Sheep & Stitch or VeryPink Knits—they are super clear.
Your First Project: A Quick Win
Do not, I repeat, DO NOT try to make a sweater for your first project. My first attempt at a cabled sweater came out small enough to fit a doll. I learned my lesson. You need a “quick win” to build confidence.
Make a dishcloth. Or a simple garter stitch scarf. This lets you practice the knit stitch over and over until it’s pure muscle memory. For a dishcloth, you can just make a square about 8×8 inches. It’s low-stakes, useful, and it’s the perfect way to see if your tension is even.
By the way, that’s called your “gauge”—the number of stitches you make per inch. It’s hugely important for projects that need to fit. Skipping a gauge swatch is the number one mistake that leads to disappointment.
Getting Started: Your First $30 Knitting Kit
Knitting has a much lower cost of entry than pottery. You can get everything you need for about $30.
- Needles: Start with a pair of 5mm (US size 8) bamboo or wood needles. They have a bit of grip, so your stitches won’t slide off by accident. They’ll run you about $8-$12.
- Yarn: Get one skein of worsted-weight wool or a wool blend in a light color. The smooth texture and light color make it way easier to see your stitches. This should cost between $10-$18.
- Notions: You’ll need a simple tapestry needle for weaving in your ends when you’re done. A small pack is about $2.
Pro Tip: When you buy your needles, also grab a 4mm or 5mm crochet hook. It’ll cost you maybe $3. This is the best insurance policy you can buy. When you inevitably drop a stitch (it happens to everyone!), a crochet hook is the easiest tool for picking it back up. Learning that little fix is a game-changer.

Be patient with yourself. Your first scarf will feel slow. It might take you 10, maybe even 20 hours. But the next one will be twice as fast. Once you find your rhythm, you can look for patterns on sites like Ravelry—it’s an incredible online resource for knitters.
From Craft to Calling
Once you nail the basics, both pottery and knitting offer a lifetime of learning. In pottery, you might move on to complex shapes or dramatic firing techniques where red-hot pots are pulled from the kiln. In knitting, you can tackle intricate lace, fitted sweaters, or vibrant colorwork. For some, it’s a relaxing pastime. For others, it becomes a passion. I’ve seen students go on to sell their work at local fairs or even design their own patterns.
The secret is building a solid foundation first. Don’t rush it. The real joy is in the process, not just the finished object. You’ll be amazed at what your hands can learn to do.
Galerie d’inspiration
The forgiving friend: Wool. Think of a classic wool yarn, like Cascade 220, as your patient teacher. It has a natural elasticity that ‘bounces back’, which means it’s incredibly forgiving of uneven tension—a common beginner’s struggle. Stitches are easier to form, and minor mistakes tend to blend in. Plus, it’s warm and has that quintessential cozy feel.
The honest critic: Cotton. Cotton yarn, like Lily Sugar’n Cream, is strong and has incredible stitch definition, meaning every loop and twist shows up clearly. This is great for dishcloths but can be tough for a first-timer. It has very little stretch, so you have to work harder to maintain even tension, and it can be a bit slippery on the needles.
For your very first project, like a simple scarf, stick with wool or a wool blend. Its forgiving nature will help you build confidence and focus on mastering the movements, not fighting the material.


