An Appliance Tech Spills: What You Can *Actually* Wash in Your Machine (and What Will Wreck It)
Over the last 15 years fixing appliances, I’ve seen the inside of more washing machines than I can count. I’ve pulled out coins, keys, and… well, some things that would make you blush. But honestly, the number one reason I get called out isn’t lost items. It’s because of what people put in their washers on purpose.
In this article
A washing machine is a powerful tool, but it’s not a magic box. Thinking it can clean anything is the fast track to a broken machine, a ruined household item, and a repair bill that’ll make your eyes water. We’re talking anywhere from $200 for a simple pump clog to over $500 if the main bearings get shot. Yikes.
So, this isn’t a list of cute laundry “hacks.” This is real-world advice from someone who knows exactly how these machines are built and how they fail. I want to help you clean more than just clothes, but do it safely. Let’s start with an easy win that will make you a believer.
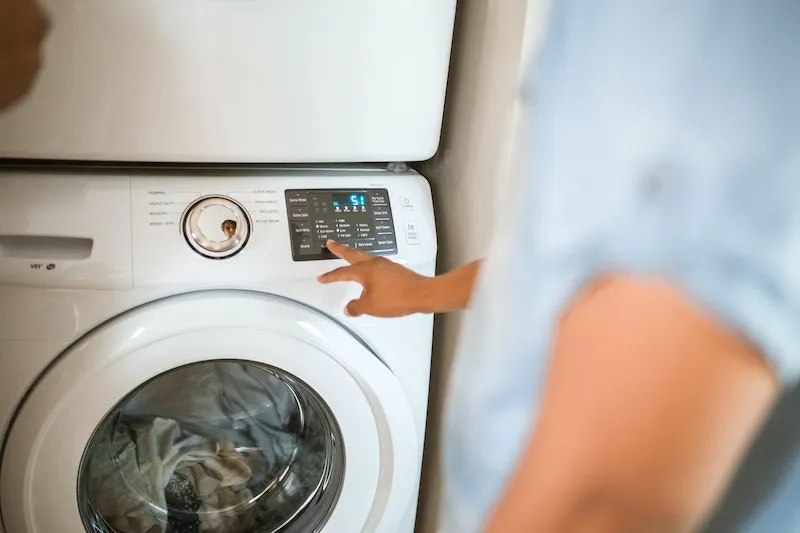
Understanding the Machine in Your Laundry Room
Before you get adventurous, you gotta understand what’s actually happening inside that big metal box. It’s all about a team effort between water, detergent, and good old-fashioned mechanical action. Ignoring the basics is where the trouble always starts.
Top-Loaders vs. Front-Loaders: What’s the Difference?
The type of machine you have completely changes the game. A traditional top-loader often has an agitator—that’s the big plastic spindle in the middle that twists and turns. It’s aggressive and fantastic for tough stuff like jeans, but it can be a real bully to delicate items, tangling straps and tearing seams.
Heads up! If you look in your top-loader and don’t see that big spindle, you likely have a newer model with an impeller. It’s a low-profile plate at the bottom that’s much gentler on your belongings. A front-loader, by contrast, tumbles your laundry, lifting it up and dropping it back into the water. It’s gentle, efficient, and uses way less water. For most of the unusual items we’re about to discuss, a front-loader is your best friend.

The Art of the Balanced Load
The spin cycle is the most intense part of the whole process, with drums hitting speeds over 1,000 RPM. To do this without sounding like a helicopter is taking off in your laundry room, the weight inside has to be balanced. Washing one single, heavy thing—like a bath mat—is a recipe for disaster. It gets waterlogged, throws the whole drum off-kilter, and starts a violent banging that can wreck the machine’s suspension and shocks.
Modern machines will try to stop and rebalance, but they often fail and just give up, leaving you with a sopping wet mess. Here’s the golden rule: Always wash bulky items with a few towels to help distribute the weight.
What You CAN Wash (If You Do It Right)
Okay, let’s get to the good stuff. Here are the common household items people are always tempted to wash, and how to do it without calling me for a repair later.
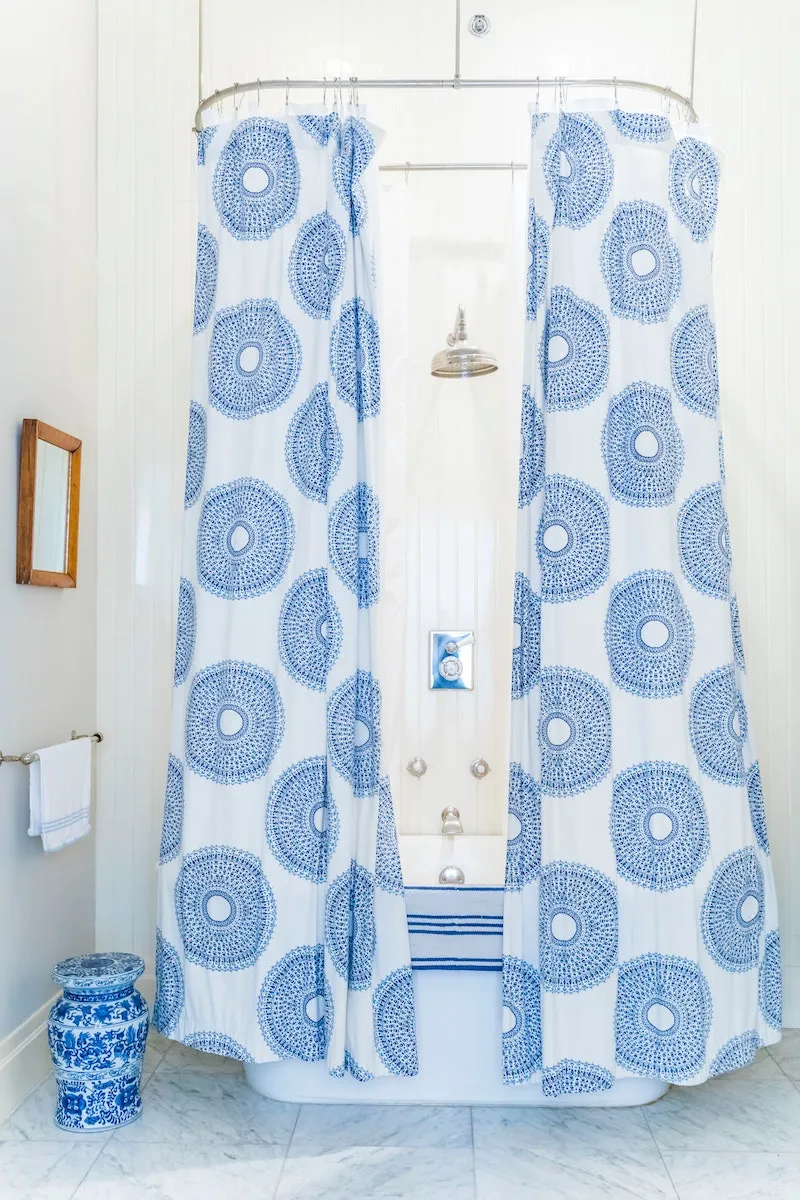
1. The Easy Win: Shower Curtains (Plastic and Fabric)
This is my favorite one to recommend because it’s so satisfying. You can take a grimy, mildew-spotted plastic liner and make it look brand new without any scrubbing.
My Assessment: Absolutely do this. It’s a game-changer.
Here’s what you’ll need:
- Your dingy shower curtain or liner
- 2 or 3 old bath towels (this is NOT optional!)
- 1/2 cup of baking soda (costs less than $1)
- 1/2 cup of white vinegar (another buck or two)
The Pro Technique:
First, take the curtain off the rings. Now, toss it in the washer with the towels. The towels are key—they act as gentle scrubbers and, more importantly, they balance the load. Add your normal detergent (just a little!) and the half-cup of baking soda directly into the drum. Set the machine to a delicate cycle with WARM water, not hot. Hot water will make a plastic liner brittle.

When the rinse cycle starts, pour in the half-cup of white vinegar. It’ll dissolve any leftover soap and knock out that mildewy smell. Finally, and this is critical: NEVER put a plastic liner in the dryer. It will melt into a useless ball. Just hang it right back up on the shower rod to air dry. It’ll be sparkling.
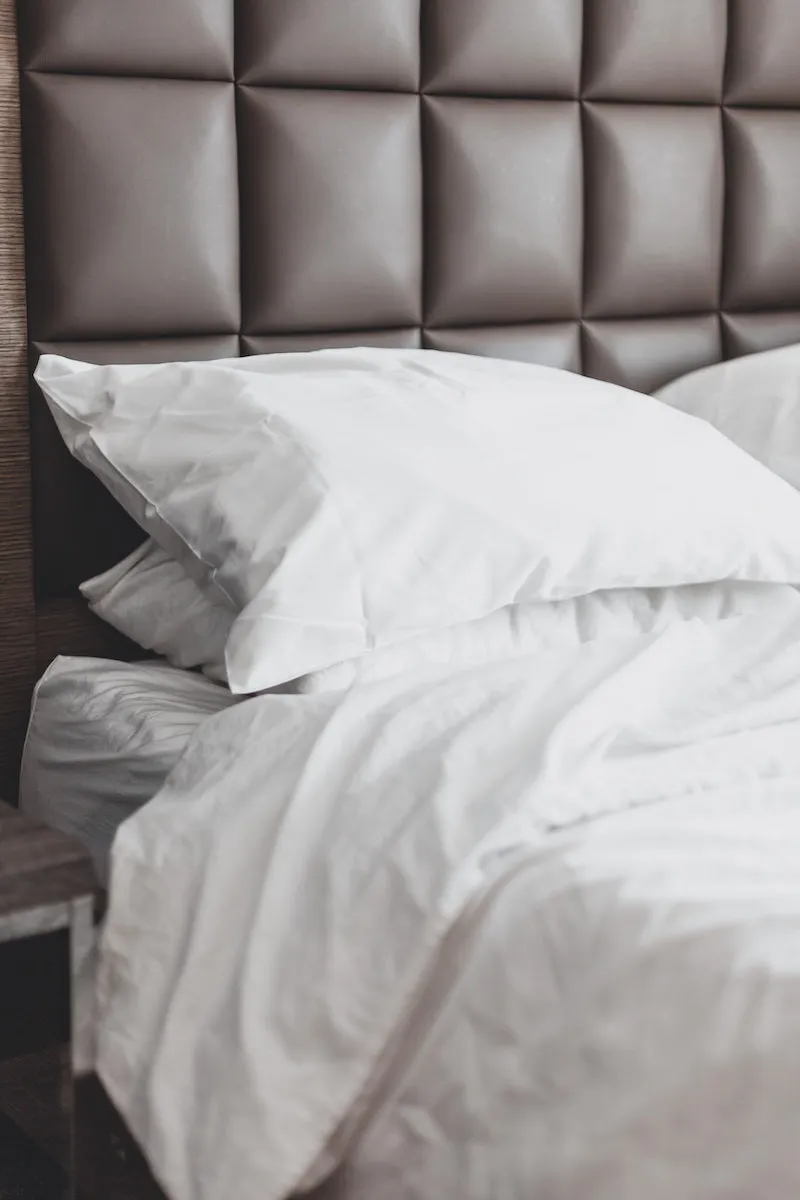
2. Pillows (Most Fiberfill and Down)
Pillows are a magnet for sweat and dust mites. Washing them twice a year is a great idea, but it’s also a common way people mess up their machines.
My Assessment: Go for it with fiberfill or down. But be very, very careful.
A HUGE Warning: Never, ever machine wash a solid memory foam or latex pillow. The tumbling action can rip the foam to shreds. I’ve personally had to unclog a drain pump that looked like it was filled with soggy, gray confetti. That’s a messy and completely avoidable $250 repair bill. Spot-clean foam pillows by hand, always.

The Pro Technique for Fiberfill/Down:
- Balance is everything. Always wash two pillows at once to keep the drum stable. If you only have one, throw in a few towels to even things out.
- Use a delicate cycle with warm water and just a tiny amount of liquid detergent (powder might not dissolve fully). Run an extra rinse and spin cycle to get all the soap out.
- Drying is key. A damp pillow is a moldy pillow. Dry on low heat and toss in a couple of clean tennis balls or wool dryer balls. They’ll punch the pillow as it tumbles, breaking up clumps and fluffing it back to life. Pro tip: Not sure if it’s dry? A completely dry pillow feels light and airy. If it feels lumpy or heavier than you remember, there’s still water trapped inside. Give it another cycle.
3. Backpacks, Lunch Bags, and Baseball Caps
These things get gross, but a machine wash can work wonders. You just have to prep them correctly.
My Assessment: Generally safe for canvas or nylon bags. A maybe for caps.
For Backpacks/Lunch Bags: First, empty every single pocket. You don’t want a melted lip balm or a leaky pen disaster. Unzip everything. Then—and this is non-negotiable—put the bag inside a large mesh laundry bag or an old pillowcase and tie it shut. You can find a good mesh bag online for under $10, and it’ll save you from straps and zippers snagging on the machine. Wash on a gentle, cold water cycle, and ALWAYS air dry. The dryer’s heat will destroy plastic buckles and foam padding.
As for Baseball Caps… I’d skip the washing machine. To be frank, the agitator or even the tumbling can warp the plastic or cardboard in the brim, leaving it misshapen forever. The much safer bet is a dishwasher. Grab a plastic “cap cage” (about $10 online) to hold its shape, place it on the top rack, and run a normal cycle. Just be sure to turn off the heated dry!
4. Dog Beds
Ah, the dog bed. A very common request. The main enemies here are the sheer bulk and, of course, the hair.
My Assessment: Yes, but with serious prep work.
The Pro Technique: First, take the cover off if you can and wash it separately. For the bed insert (or if it’s a one-piece bed), you need to get as much hair off as possible BEFORE it gets wet. A vacuum cleaner with a brush attachment is your best friend here. All that hair can easily form clumps and clog your washer’s drain pump. Once it’s de-furred, wash it on a bulky cycle with a small amount of detergent and an extra rinse. And again, balance the load with a towel or two if needed.
The “Please Don’t Do It” List
Some things just don’t belong in a home washing machine, no matter what you read online. I’m telling you this as a pro to save you a headache and a lot of money.
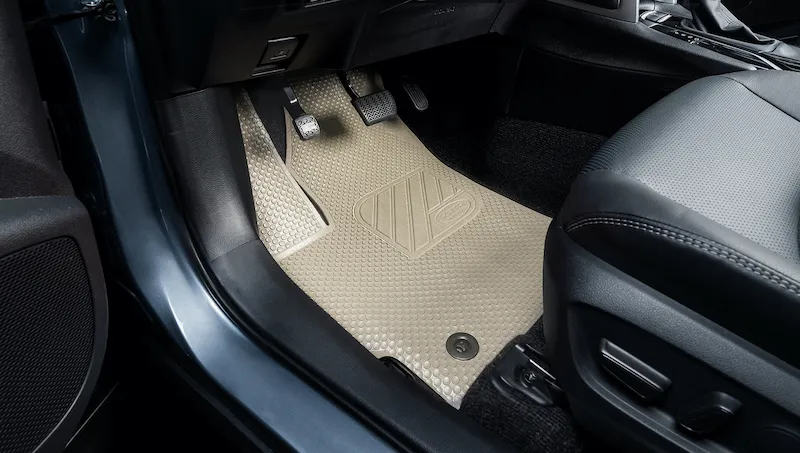
1. Car Mats & Rubber-Backed Rugs
This is probably the single worst offender. The heavy rubber, when waterlogged, can strain your machine’s motor and bearings. But the real villain is the debris. All that sand, gravel, and grit gets into the pump and acts like sandpaper, literally grinding down the components. I’ve seen it countless times. The rubber backing on bath mats can also crumble and create a black, greasy mess that clogs the drain and can stain your clothes for weeks.
The Safer Way: Take them outside. Shake ’em, beat ’em, vacuum ’em. Then use a pressure washer or a stiff brush and a garden hose. It’s more effective and poses zero risk to your expensive appliance.
2. Sneakers
You can wash canvas or basic synthetic sneakers, but you can’t just toss them in and hope for the best. The sound of shoes banging against the drum is the sound of potential damage. Never wash leather or nice running shoes this way.

If You Must: Remove the laces and insoles. Put the shoes and laces (in a small mesh bag) in the wash with at least four or five old towels. The towels are essential for cushioning and balancing. Use a delicate, cold water cycle. And DO NOT use the dryer—the heat will melt the glue and warp the soles. Stuff them with newspaper and let them air dry.
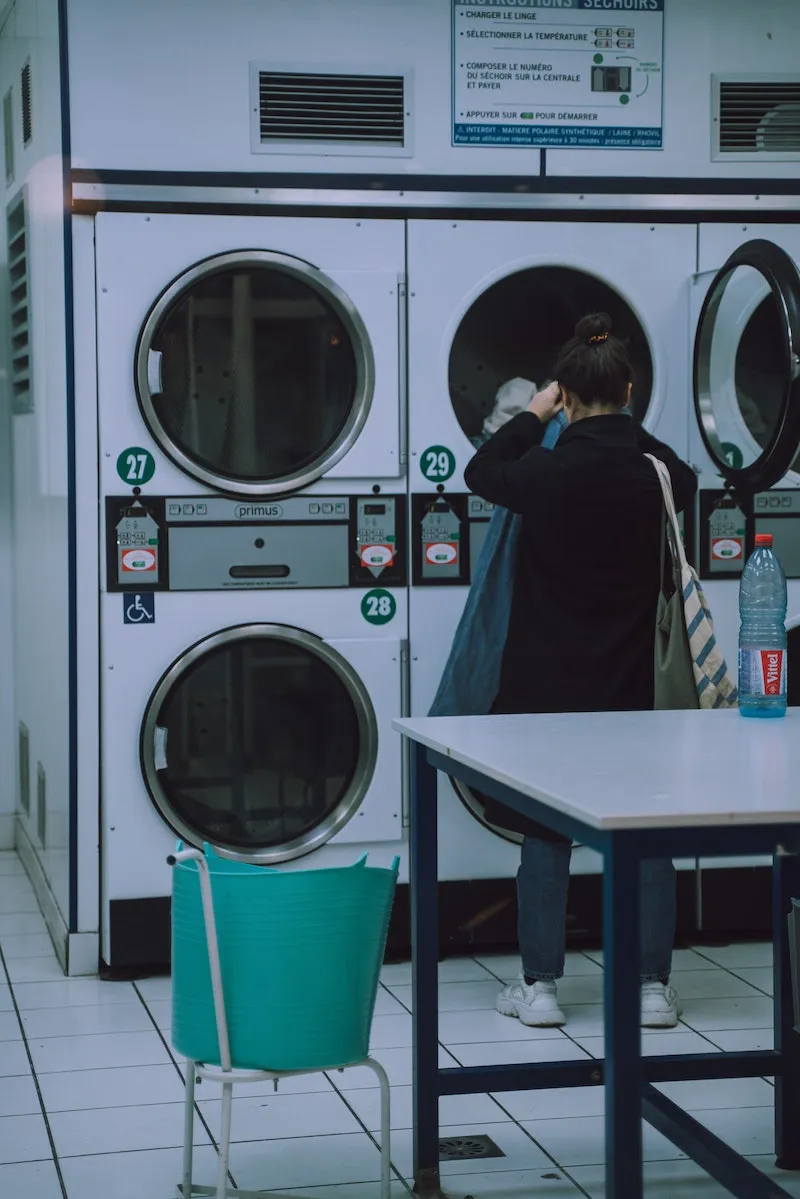
BONUS: How to Clean Your Washer’s Pump Filter in 3 Steps
Since so many of these mistakes lead to a clogged pump, here’s a little secret every owner should know. On most front-load washers, there’s a filter you can clean yourself.
- Locate and Open the Trap Door. Look for a small, square door on the bottom-front corner of your machine. Pop it open with a screwdriver or a coin.
- Prepare for Water! This is the messy part. Place a shallow pan and a towel underneath the opening. You’ll see a round cap. Slowly unscrew it—water will start to drain out. Let it all drain into the pan.
- Clean and Replace. Once it’s drained, fully remove the cap and filter. Pull out any hair, gunk, or lost treasures (hello, missing sock!). Wipe it clean, screw it back in tightly, and close the door. Doing this every few months can prevent a service call.
The Bottom Line: When in Doubt, Leave It Out
Look, I get it. We all want to find easier ways to clean things. But my job has taught me that the cost of a repair is almost always higher than the five minutes it takes to clean something by hand. Before you wash anything weird, just ask yourself: is this heavy, abrasive, or likely to fall apart? If the answer is yes, find another way.
A little mechanical common sense goes a long, long way in keeping your washer happy and your wallet full.
Inspirational Gallery with Photos
A survey by a leading appliance repair service found that over 50% of owners don’t know their front-loader has a drain pump filter.
This small trap, usually behind a little door on the bottom front of the machine, is your first line of defense against clogs. It catches coins, hair, and lint before they can wreck the pump. Check and clean it every couple of months—it’s the single best way to avoid a “machine won’t drain” service call.
Can you really wash sneakers in the machine?
Yes, but with care. First, remove the laces and insoles and toss them into a mesh laundry bag. Bang the sneakers together outside to dislodge any caked-on mud. To prevent them from sounding like a demolition crew is at work, wash them with a few old towels to cushion the tumbling. Always use liquid detergent on a cold, delicate cycle, and let them air dry completely—the dryer’s heat can warp the soles and melt adhesives.
The biggest myth: More detergent means cleaner clothes. It’s the opposite. Excess soap doesn’t rinse out properly, leaving a sticky residue on your clothes that actually attracts more dirt. Worse, it creates a slimy buildup inside your machine’s drum and hoses, leading to that dreaded mildew smell. Trust the measurement lines on the cap—they’re there for a reason!
The humble mesh laundry bag is a non-negotiable for protecting both your clothes and your machine. It prevents small items from vanishing into the pump filter and stops damage from snags. Always use one for:
- Bras, especially those with underwires and hooks
- Delicate lingerie or items with lace
- Anything with long straps, like tank tops or bathing suits
- Baby socks and other tiny garments
- Your towels come out fluffier and more absorbent.
- Whites look brighter without the use of harsh bleach.
- Lingering detergent or hard water mineral buildup is stripped away.
The secret? Add half a cup of distilled white vinegar to your fabric softener dispenser during the final rinse cycle. It acts as a natural, gentle clarifier. Don’t worry, the smell vanishes as it dries!
According to Energy Star, a standard top-loading washer can use about 40 gallons of water per load, while a modern, high-efficiency front-loading machine uses less than 13 gallons. That’s a saving of over 2,500 gallons per year for an average family.
Powder Detergent: Generally more affordable per load and excellent on tough, ground-in dirt like mud or grass stains. Its stable chemical nature also gives it a longer shelf life.
Liquid Detergent: Better for pre-treating stains directly and dissolves more easily in cold water. It’s the go-to for oil and grease stains.
For most daily use, liquids from brands like Tide or Persil are great, but don’t discount the cost-saving power of powder for heavily soiled loads.
That “Clean Washer” cycle isn’t a gimmick. It’s essential for preventing the buildup of detergent scum, mineral deposits, and bacteria that cause musty odors. Once a month, run an empty cycle on the hottest setting with a dedicated cleaner like Affresh tablets or OxiClean Washing Machine Cleaner. This keeps your machine’s internal parts—and your laundry—smelling fresh.
Washing synthetic fabrics like polyester, acrylic, and nylon sheds thousands of microplastic fibers into our waterways. To drastically reduce this, consider using a specialized laundry bag like the Guppyfriend. It’s designed to trap these tiny, harmful fibers, which you can then collect from the bag’s seams and dispose of in the trash instead of down the drain.


