Don’t Toss That Egg Carton! Here’s How to Actually Use It.
In my workshop, I have a simple rule: almost nothing is trash. Every scrap of wood, leftover screw, and bit of material holds some kind of potential. Honestly, this mindset comes from years of learning that being resourceful is just as valuable as any technical skill. And one of the most overlooked resources that comes into my home is the simple paper egg carton.
In this article
Most folks see it as garbage, destined for the bin the moment the last egg is cracked. But I see it as raw material: a seed starter, a fire starter, a small parts organizer, and even a soil conditioner. It’s a perfect example of finding real value in the everyday.
I’ve helped a lot of apprentices and fellow DIY-ers over the years, and a common thread I see is people buying expensive, specialized products for jobs that a free item could do just as well. The humble egg carton is a prime case. But heads up, not all cartons are created equal. We’re going to focus almost entirely on the molded paper pulp or cardboard cartons, because the styrofoam and clear plastic versions are a whole different story.
First, Why Paper Cartons Actually Work
Before you can reuse something well, you have to know what makes it tick. Molded paper pulp—the stuff most egg cartons are made from—is basically just recycled paper and water pressed into a mold. This process gives it some key properties that make it so darn useful.
For one, it’s porous and absorbent. This is why it can soak up moisture without immediately turning to mush. That quality is everything when you’re using it in the garden for starting seeds. The fibers act like a tiny sponge.
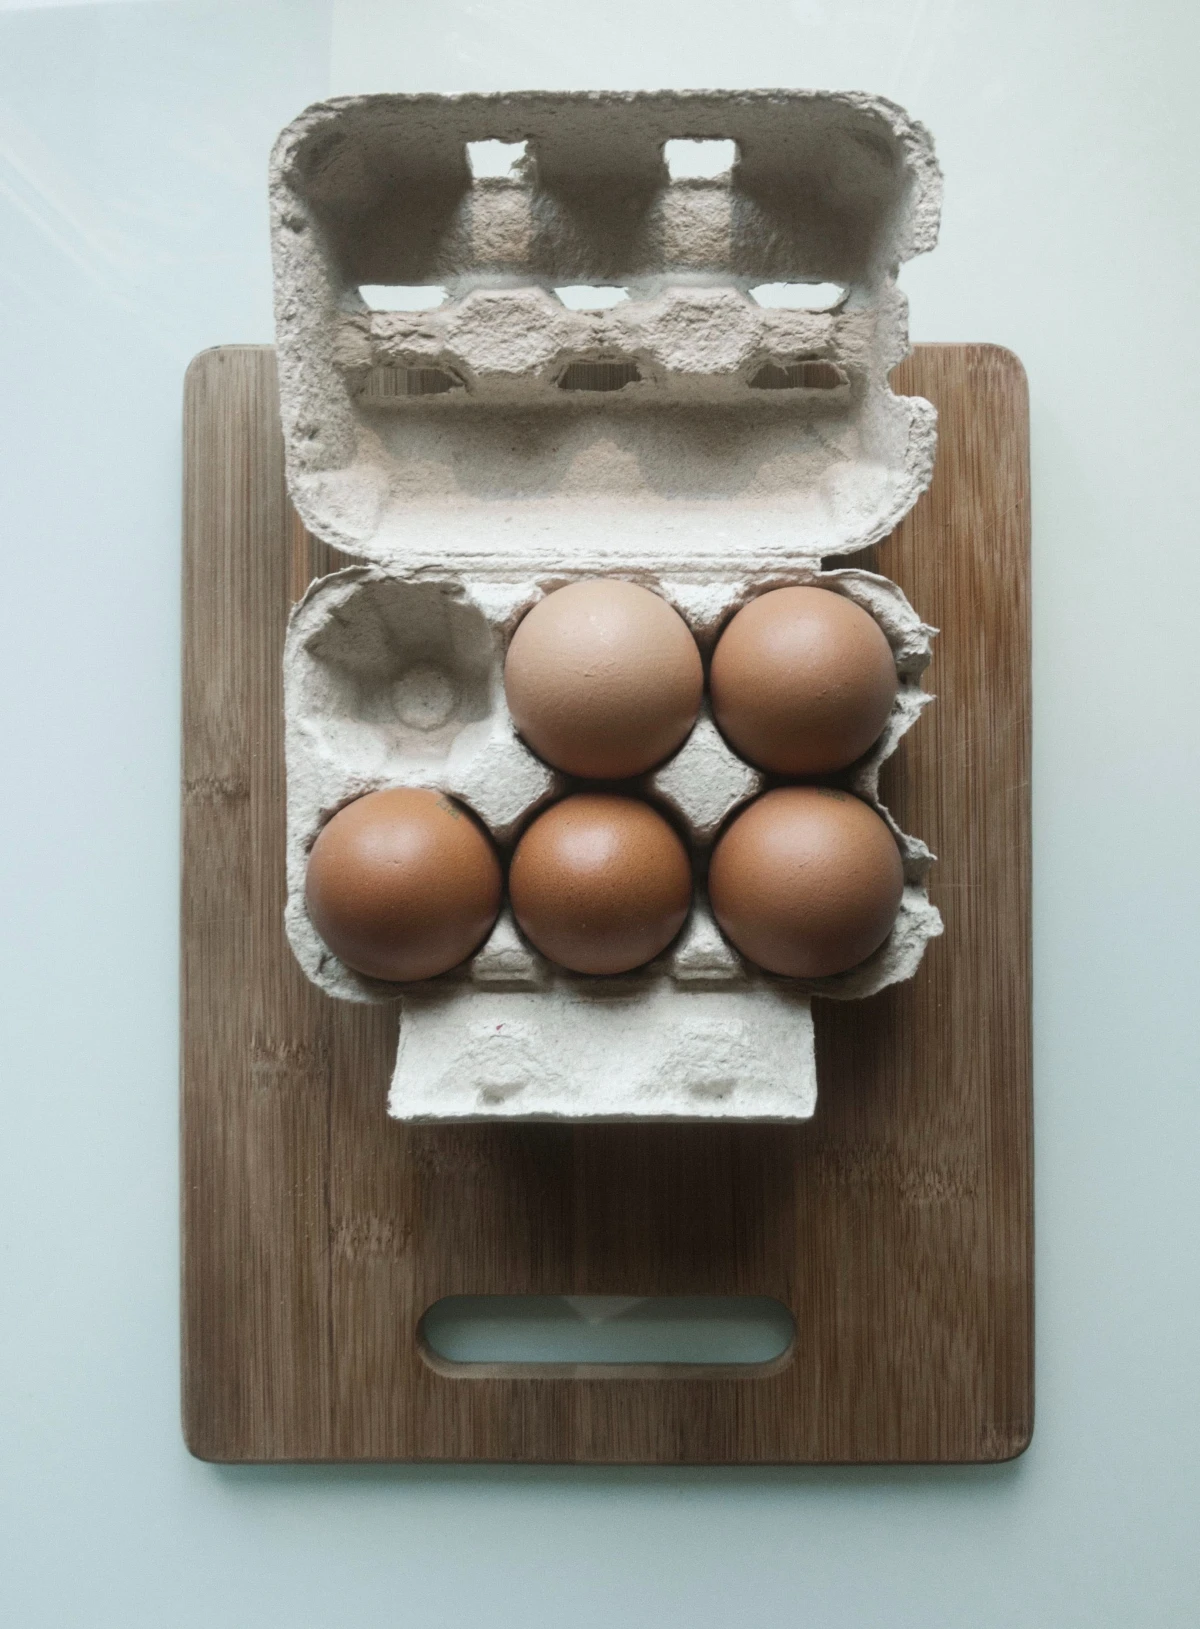
It also has a surprising amount of structural integrity. Those cone-like shapes aren’t just for holding eggs; they are incredibly strong for their weight, distributing pressure and impact. This makes them perfect for organizing small, heavy things like screws and bolts.
And, of course, it’s biodegradable. Since it’s just paper fiber, it breaks down completely in the soil. This is a huge win over plastic, which sticks around for… well, basically forever.
A Critical Note on Carton Types and Safety
Okay, let’s get serious for a moment, because this is the most important part. You’ll see three main types of egg cartons out there: paper pulp, styrofoam, and clear plastic. My advice here is ONLY for the paper pulp kind.
Here’s a quick rundown on why that matters:
- Paper Pulp: The good stuff. It’s compostable, great for seed starting, and can be used for fire starters. It’s the star of our show.
- Styrofoam (Polystyrene): Avoid this one for reuse projects. It’s not biodegradable, it shatters into tiny polluting pieces, and it releases harmful fumes if it gets hot or burns. Definitely not safe for fire starters or your garden.
- Clear Plastic (PET): These are often recyclable, which is great, but they aren’t suitable for most of the projects we’re talking about. They won’t break down in the garden and obviously won’t work as a fire starter.
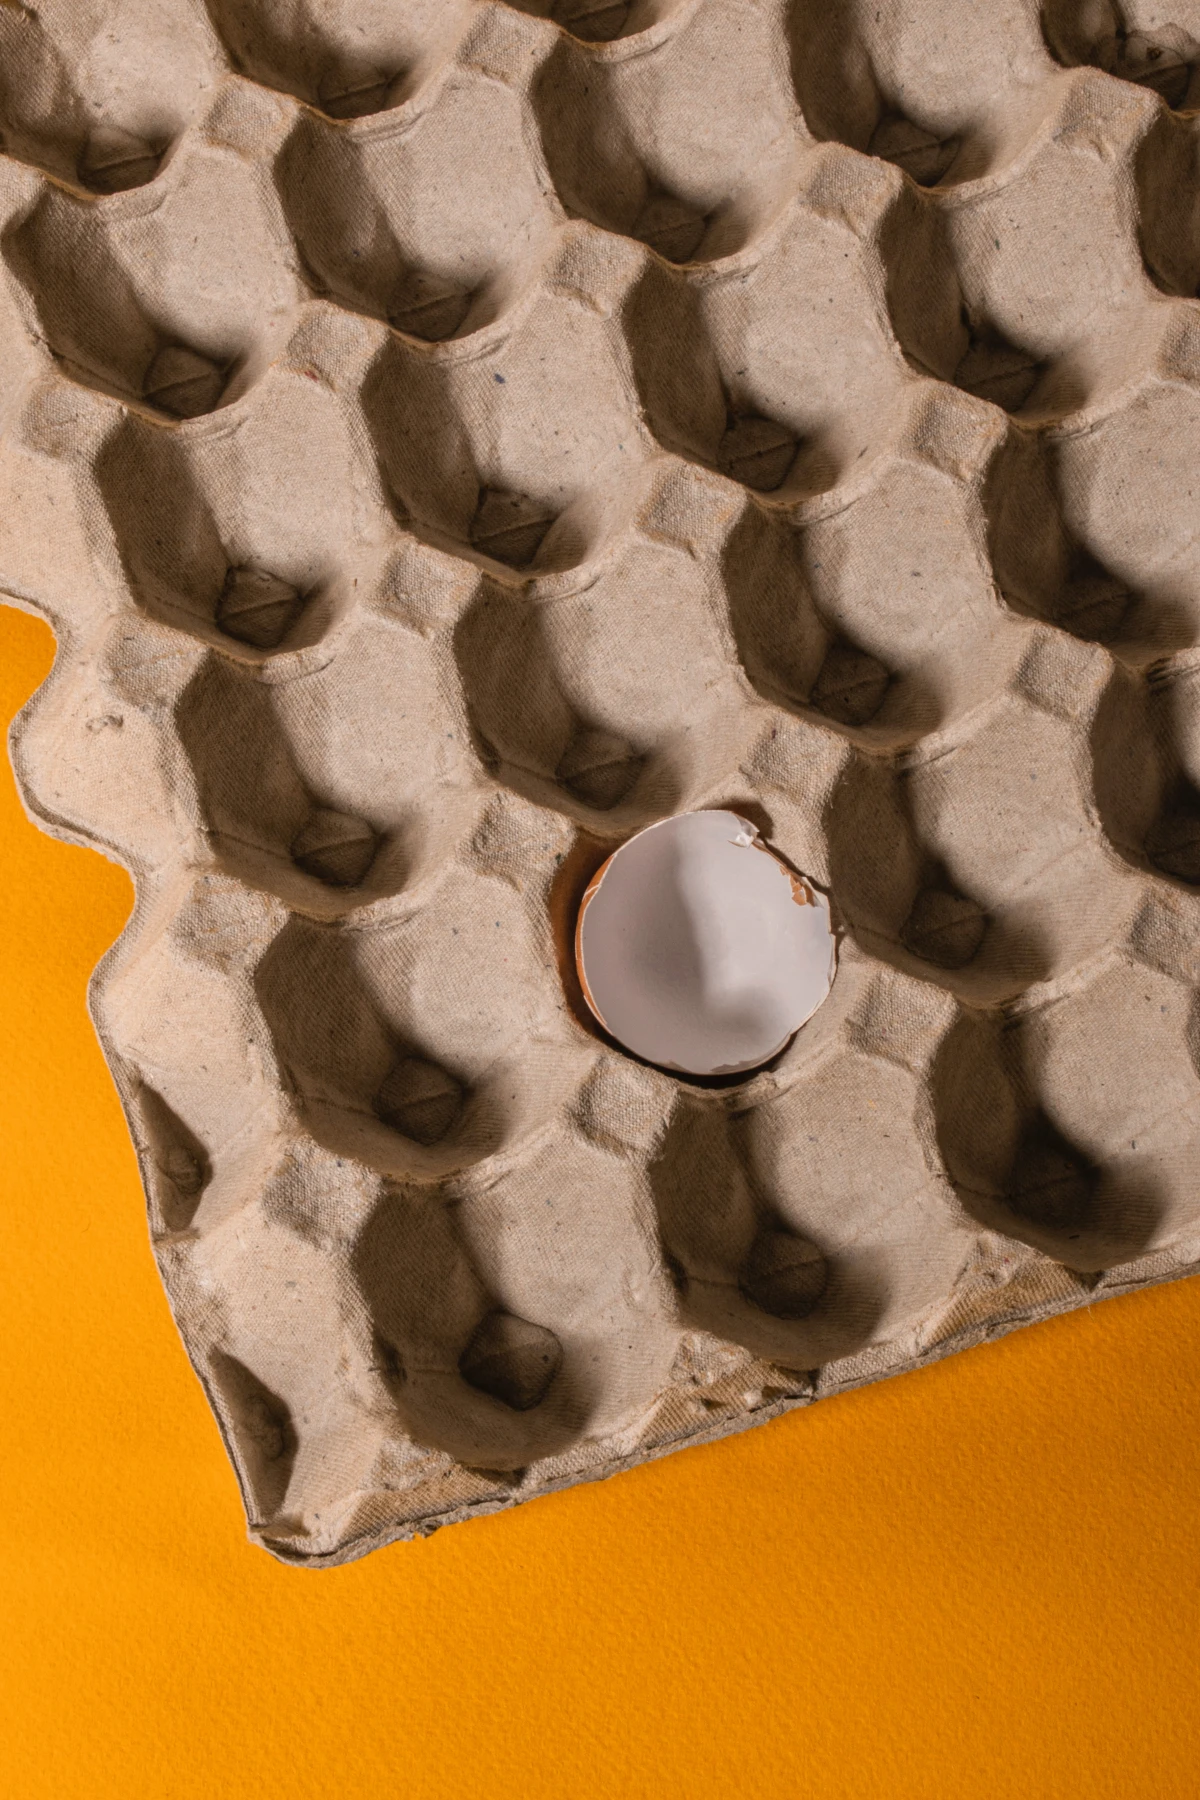
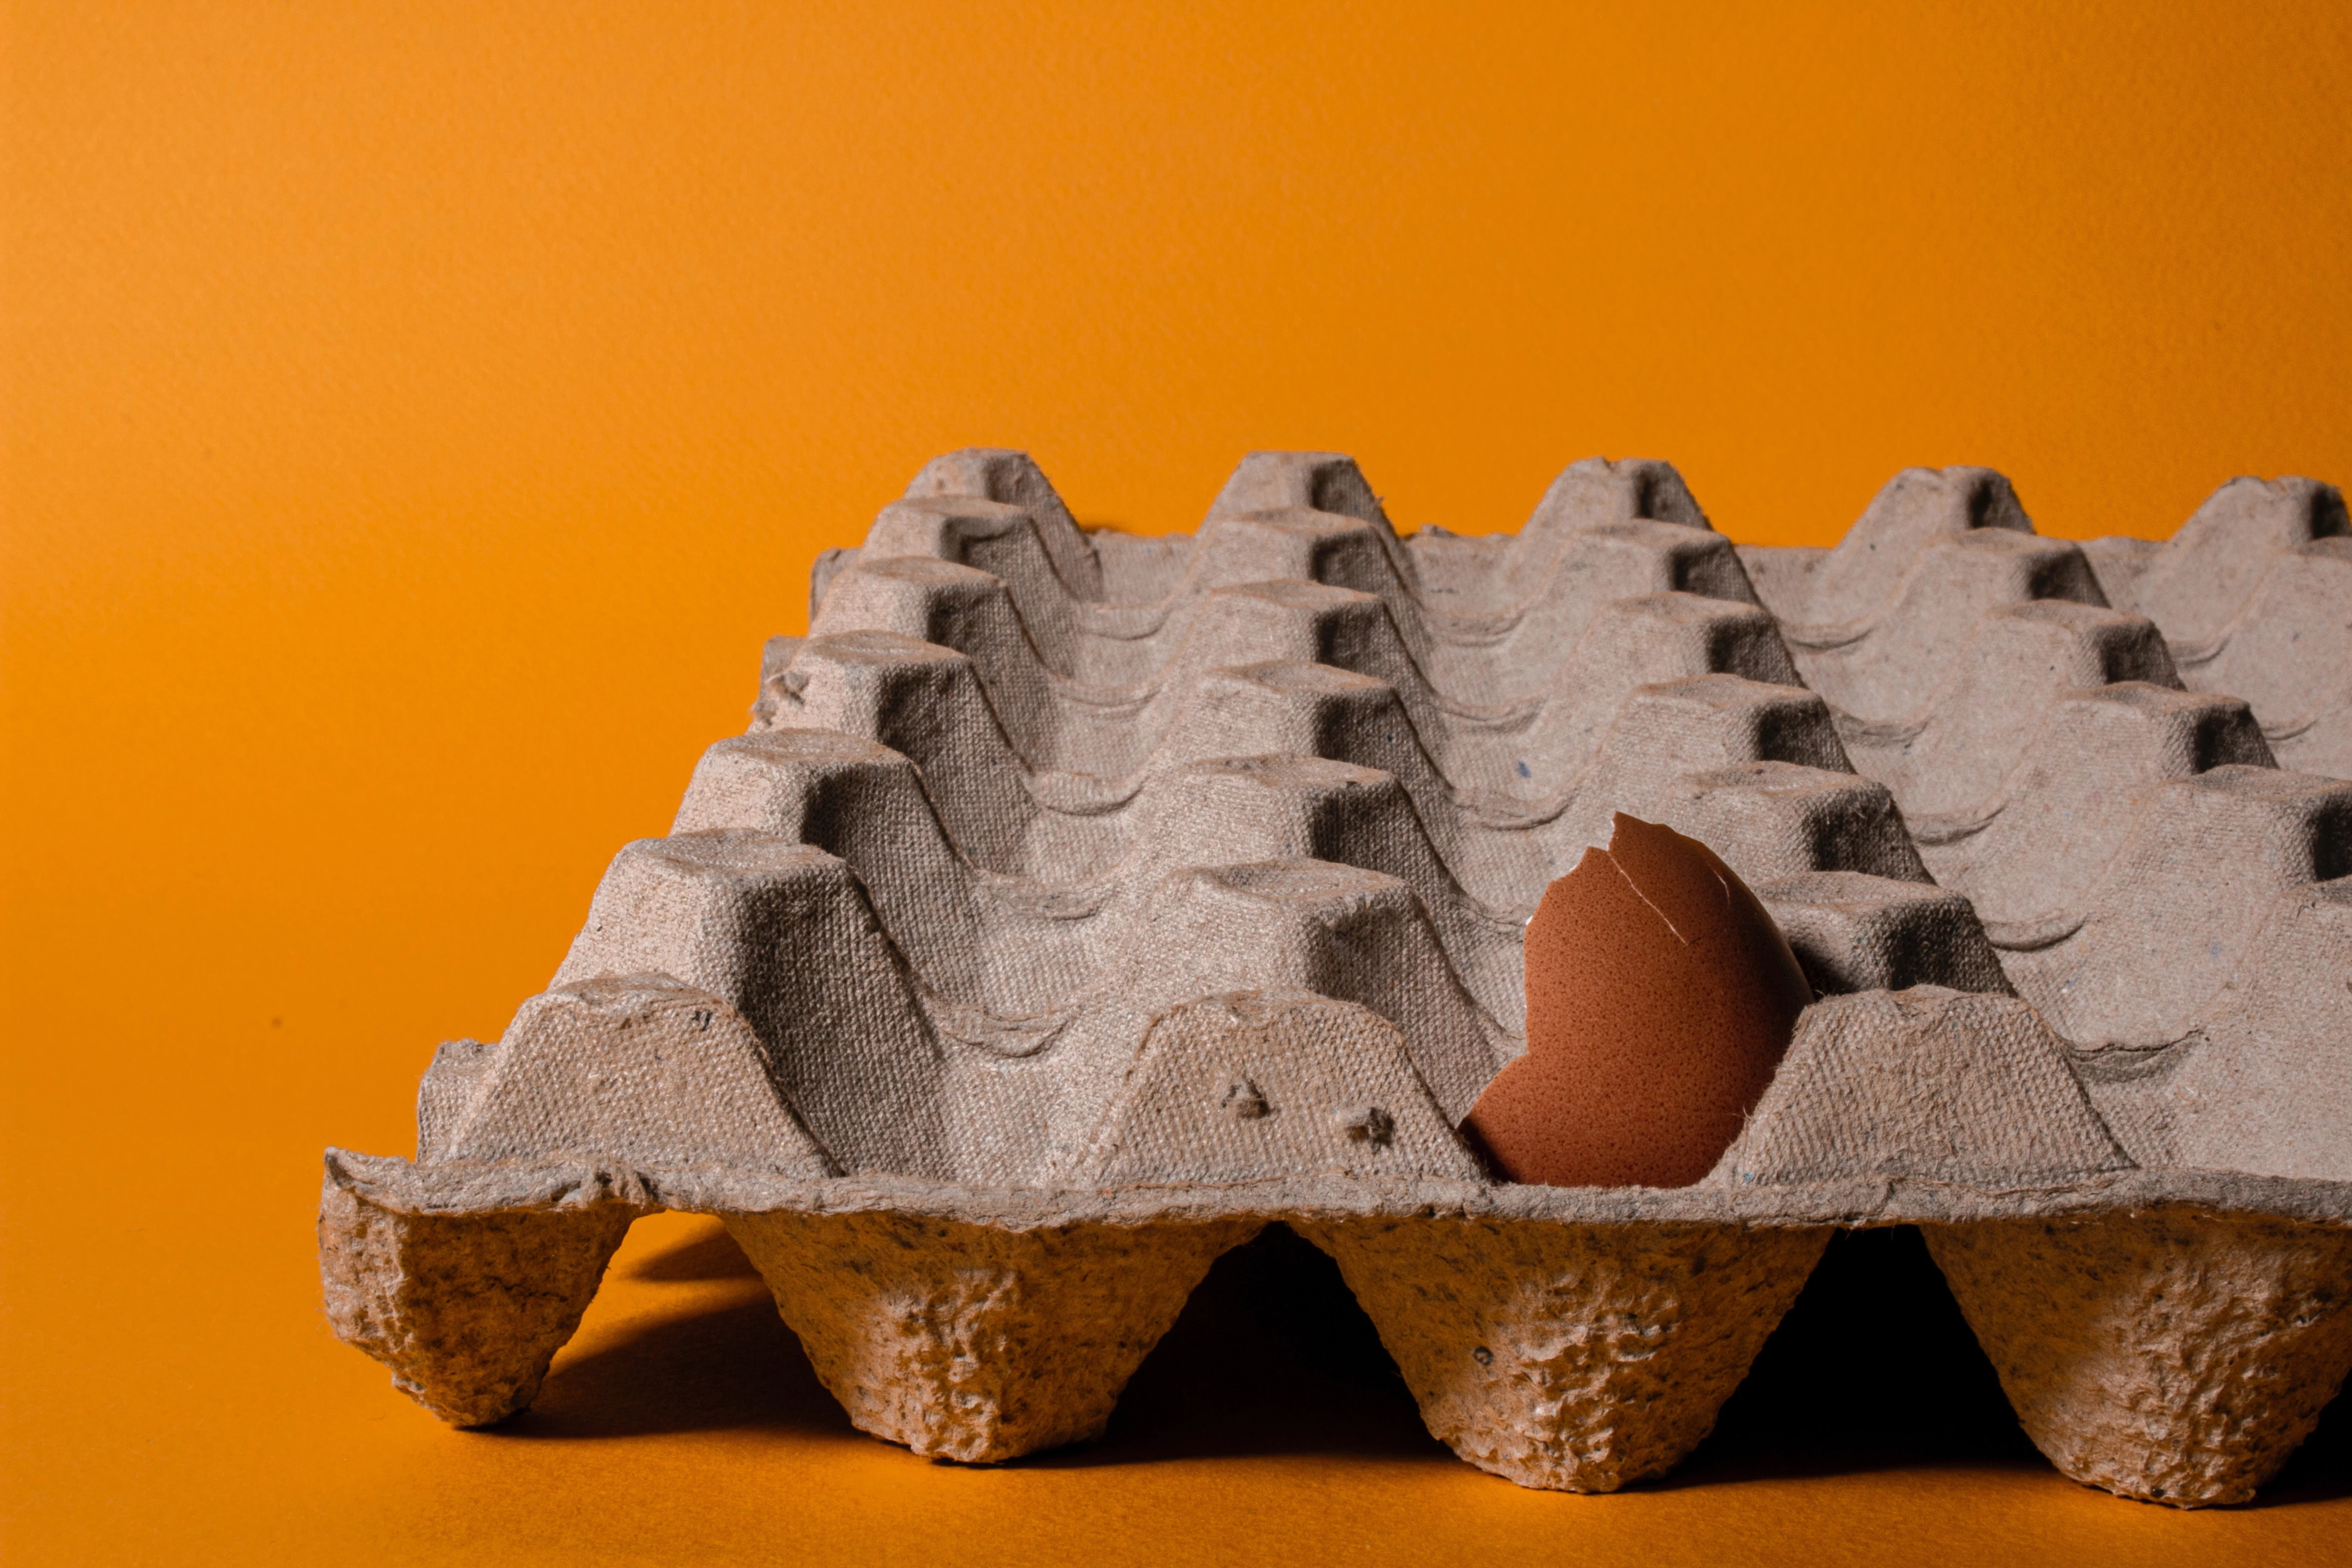
Now for the biggest rule of all: NEVER reuse an egg carton for storing food. Ever. Eggs can carry Salmonella bacteria on their shells, which can transfer to the porous paper. No amount of cleaning can guarantee you’ve removed it. So, the carton that held your eggs should never, ever hold cookies, cherry tomatoes, or anything else you plan to eat. Just don’t do it.
By the way, people sometimes ask about the ink used on the cartons. The vast majority of modern cartons use soy-based inks that are perfectly safe for your compost and garden soil. If you’re really worried, you can check the packaging for a recycling symbol or contact the company, but generally, it’s not an issue.
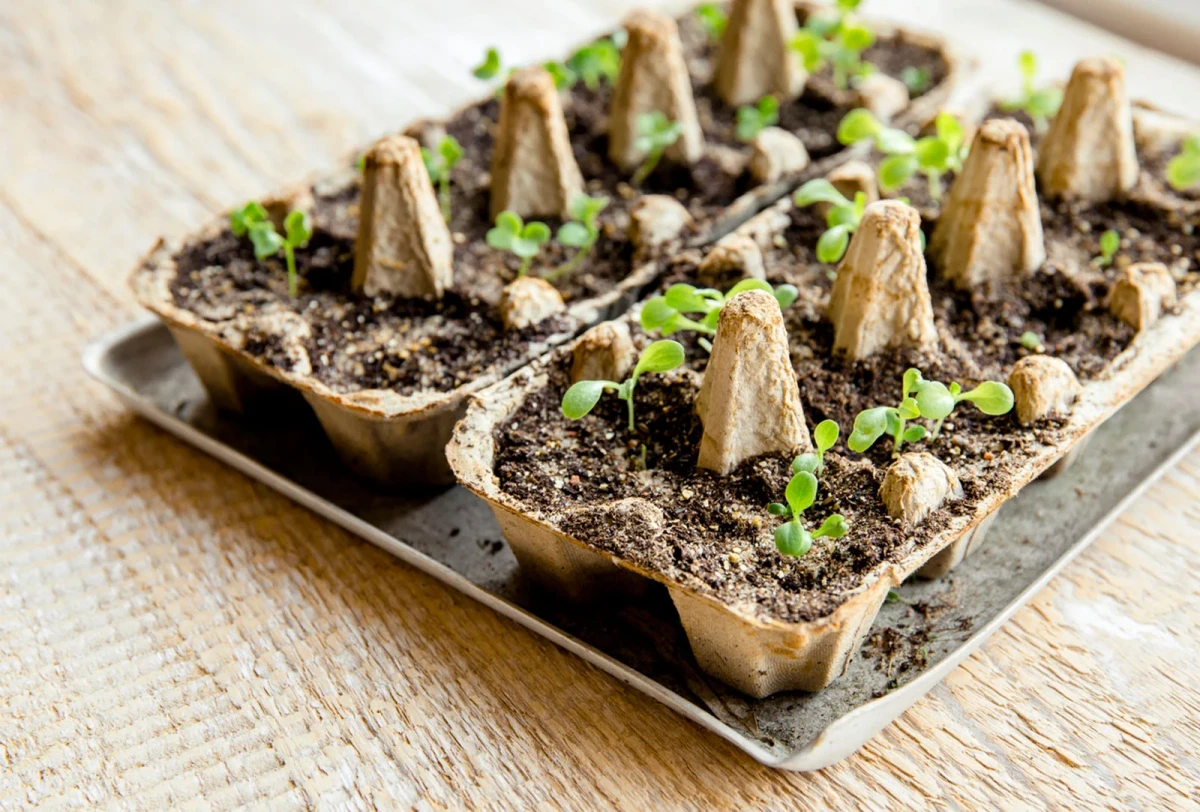
In the Garden: Your Secret Weapon for Seed Starting
My garden is where egg cartons really shine. They’re fantastic for getting a jump on the growing season. For years, I’ve used them to avoid buying those flimsy plastic seed trays that cost between $5 and $10 and always seem to crack after one season.
Getting Seeds Started the Right Way
Using an egg carton as a seed tray is a classic for a reason, but a few small tweaks make a huge difference.
What You’ll Need:
- A paper egg carton (free!)
- A nail or awl to poke holes
- Seed-starting mix (around $5-10 for a bag that will last a long time)
- Seeds of your choice ($2-4 per packet)
- A spray bottle for watering ($1 at a dollar store, or reuse an old one)
Here’s my refined process:
1. Prep Your Carton. Separate the lid from the base. Use a nail to poke a small drainage hole in the bottom of each cup. The first time I tried this, I forgot the drainage holes and came back to a soupy, stinky mess. Trust me, don’t skip this step! Then, place the base inside the lid, which now acts as a perfect water-catching tray.
2. Add the Soil. Fill each cup about three-quarters full with a lightweight, sterile seed-starting mix from any garden center. Don’t use heavy garden soil. And don’t pack it down; you want it to be light and airy for new roots.
3. Sow the Seeds. I usually place two seeds per cup to make sure at least one sprouts. If both do, just snip the weaker one at the soil line with scissors later. Follow the depth instructions on your seed packet.
4. Water and Wait. Use a spray bottle to gently mist the soil until it’s evenly moist. A heavy stream of water will just wash the seeds away. Then, put the carton in a warm, sunny spot.
5. Transplant. Once your seedlings have their second set of leaves (their “true” leaves), it’s time to move them. And here’s the magic: you can plant the entire cup! Carefully cut each cup away from the carton base and plant it directly in your garden or a bigger pot. The paper will decompose in the soil over a few weeks to a couple of months, which means no transplant shock for sensitive plants. This is a game-changer for things like squash, cucumbers, beans, lettuce, and herbs.
Oh yeah, a quick tip: this method isn’t ideal for plants that need a lot of root depth right away, like carrots or parsnips. Stick to the shallow-rooted stuff for best results.
Troubleshooting Common Seed-Starting Issues
- Fuzzy Mold on the Carton: This means it’s too wet and there isn’t enough air circulation. Let it dry out a bit more between waterings. After your seeds have sprouted, you can stop using the lid as a cover, which helps reduce humidity.
- Long, Spindly Seedlings: They’re stretching for light! Move them to a sunnier spot or get them under a grow light.
- Nothing Sprouted: Could be old seeds or the soil was too cold. I always test a few seeds from an old packet on a damp paper towel before I commit a whole carton to them.
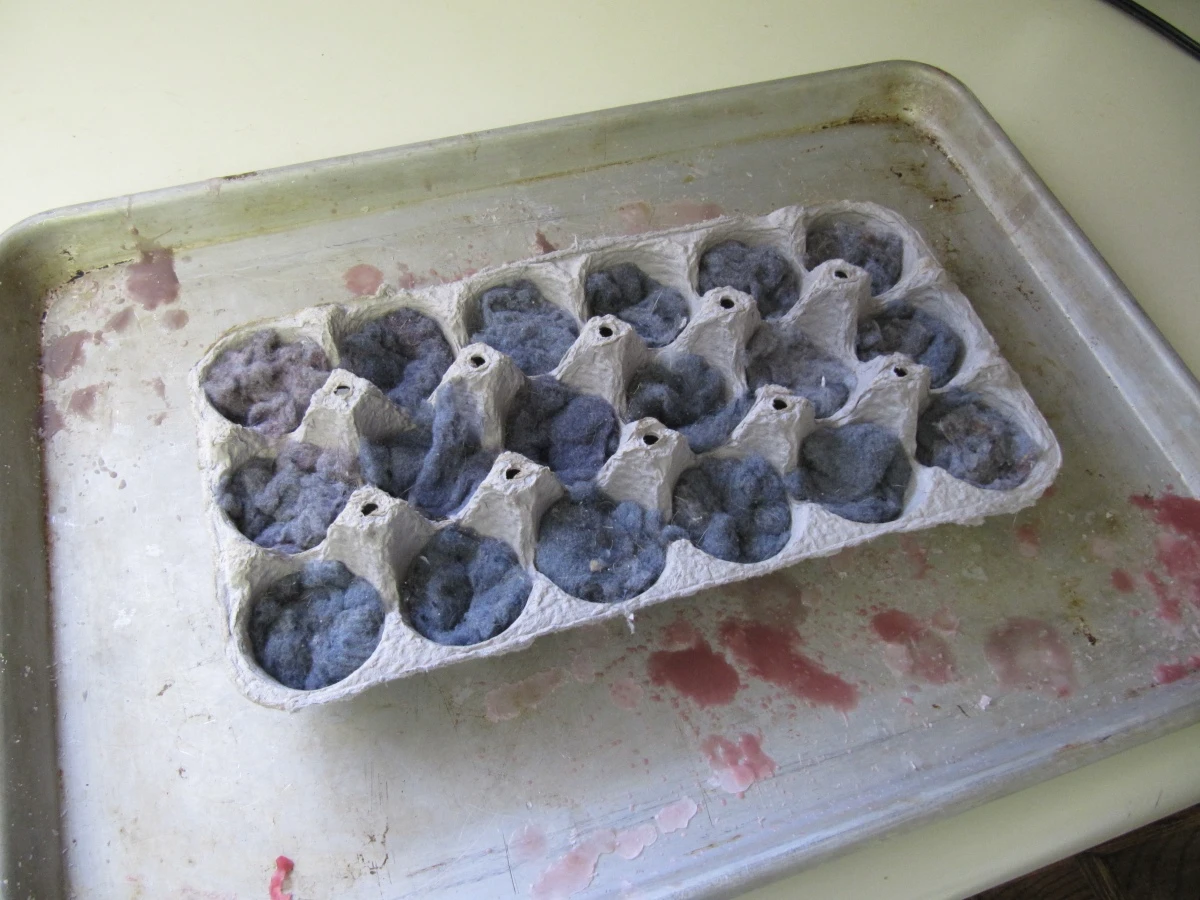
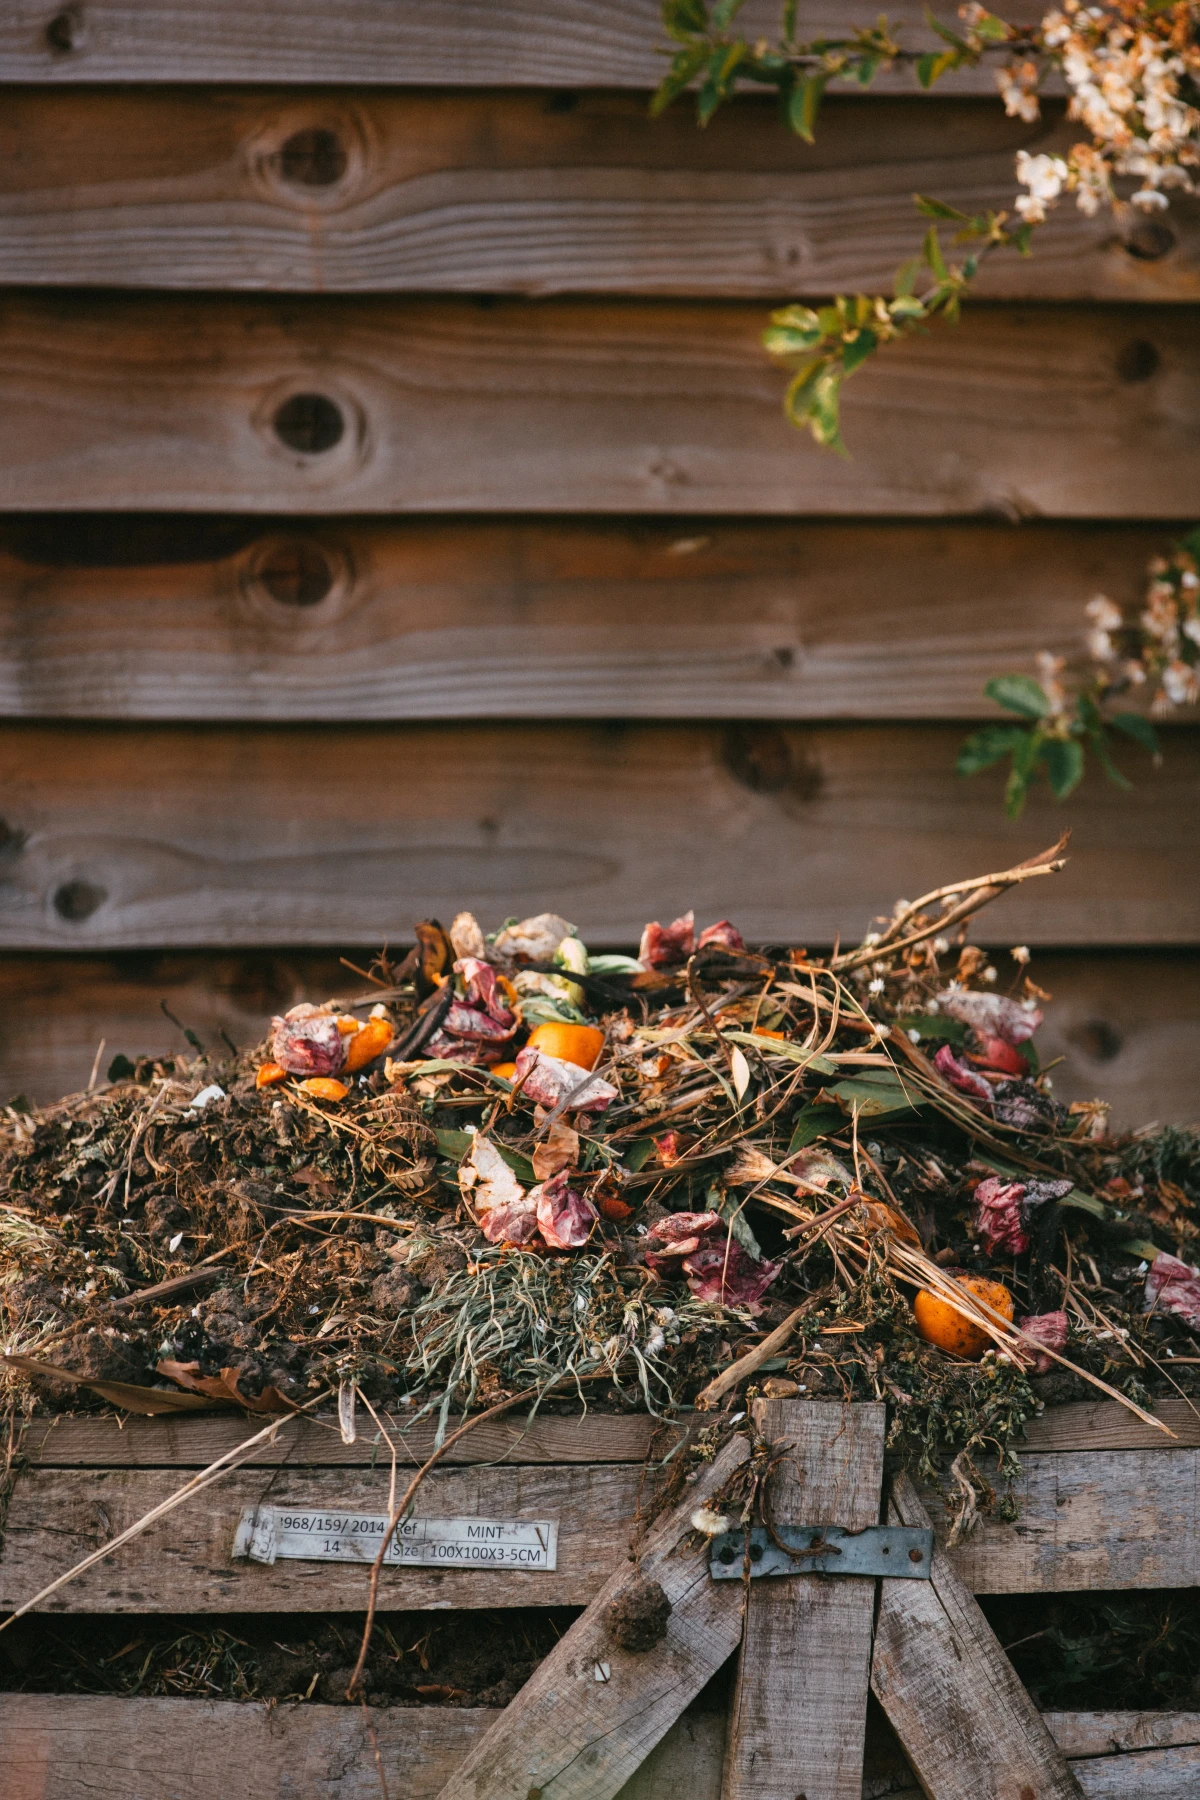
Egg Cartons in Your Compost
A healthy compost pile needs a balance of “greens” (like kitchen scraps) and “browns” (like dried leaves and paper). Egg cartons are an excellent source of carbon-rich “browns.”
The biggest mistake I see people make is tossing the whole carton in. It’ll take forever to break down. You have to increase the surface area for the microbes to do their work. The best way is to tear the carton into small, postage-stamp-sized pieces. If my pile is too wet and sludgy, I’ll mix in a bunch of dry, torn-up carton pieces to absorb the excess moisture and add carbon.
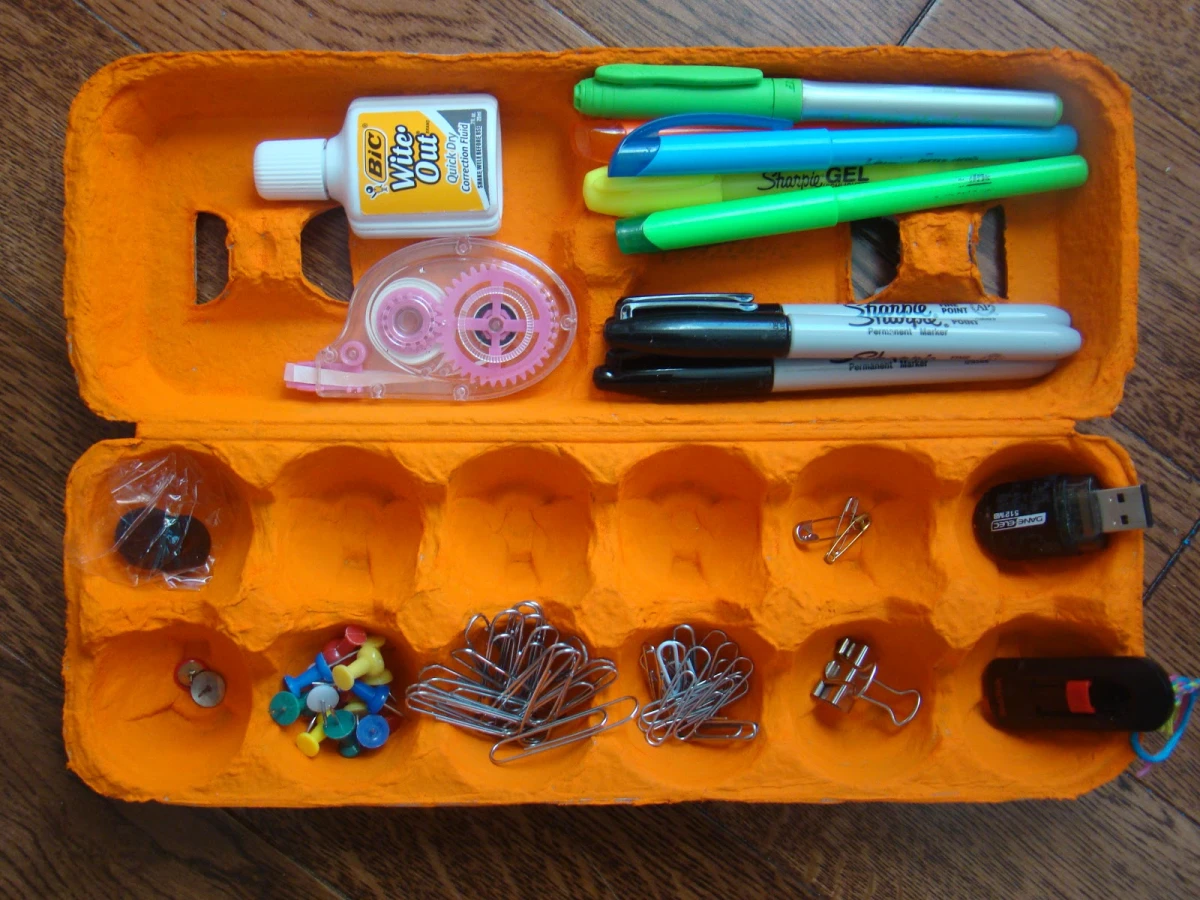
For the Workshop: The 5-Minute Quick Win
Back in the workshop, clutter is the enemy. Have you got a messy junk drawer? Grab an egg carton right now and sort those loose screws, batteries, and paper clips. You’ll be done in 5 minutes! The uniform cups are perfect for taming chaos.
I have a whole shelf of labeled egg cartons for different sizes of screws, nuts, bolts, and washers. Are they as tough as a plastic organizer? Of course not. But for organizing small, dry items on a shelf, they are an amazing, free solution. With gentle use, I find a carton organizer can easily last a year or two on a dry shelf.
Fire Starters: Handle with Care
This is one of the most popular reuses, but it’s also the one that demands the most respect for safety. You are literally playing with fire.
What You’ll Need:
- A cardboard egg carton (NEVER styrofoam)
- Dryer lint or cotton balls
- Old candle stubs or paraffin wax
The Safe Method:
1. Fill each cup of the carton with your tinder (I prefer cotton balls; they burn cleaner than lint). Pack it in loosely. One 12-cup carton will give you a dozen fire starters, each good for one fire.
2. Melt your wax. THIS IS A CRITICAL SAFETY STEP. Never, ever melt wax over direct heat, as it can ignite. Use a double boiler. If you don’t have one, just put the wax in an old coffee can and set that can in a pot with a few inches of simmering water. And never walk away from melting wax.
3. Carefully pour the melted wax over the tinder in each cup. You just want to saturate it, not fill the cup to the brim.
4. Let them cool completely until the wax is hard. Once solid, you can cut the individual cups apart.
To use one, just place it under your kindling and light the paper edge. The wax-soaked tinder will burn for several minutes with a strong, steady flame. Store them in a sealed bag or tin away from any heat source and, of course, out of reach of children.
A Final Thought on Being Resourceful
The journey from an empty egg carton to a thriving seedling or an organized hardware drawer is a small one, but it’s a big reflection of a larger idea. Seeing potential in the overlooked is at the heart of any craft.
So next time you finish a dozen eggs, give that carton a second look. It’s not trash. It’s a resource waiting for a job.
Inspirational Gallery
Can you really use store-bought egg cartons in your vegetable garden?
Yes, but with a simple precaution. While the risk is low, paper cartons can theoretically harbor salmonella from the eggshells. To be completely safe, especially for starting edibles, simply bake the empty cartons in your oven. Lay them on a baking sheet and heat them at 200°F (about 95°C) for 20-30 minutes. This eliminates any lingering bacteria, making them perfectly safe to get your seedlings started.
An estimated 4.9 million tons of paper and paperboard products are used for packaging in the US each year that are not recycled. Reusing an egg carton is a small but tangible step against this tide.
Every time you repurpose a carton, you’re not just saving a single item from the landfill; you’re participating in a larger culture of resourcefulness. It’s a mindset shift that sees potential where others see waste, directly reducing the demand for new paper products and the energy required to recycle old ones.
Transforming a drab grey carton into a vibrant craft project is easier than you think. The key is choosing the right medium for the porous paper pulp.
- For full, opaque coverage: Acrylic craft paints (brands like Apple Barrel or FolkArt are excellent) are your best bet. Apply with a simple brush.
- For a stained, rustic look: Watered-down watercolors or even food coloring can be ‘painted’ on, allowing the carton’s texture to show through.
- To seal and protect: A thin coat of Mod Podge (Matte or Gloss finish) will make your creations more durable and water-resistant.
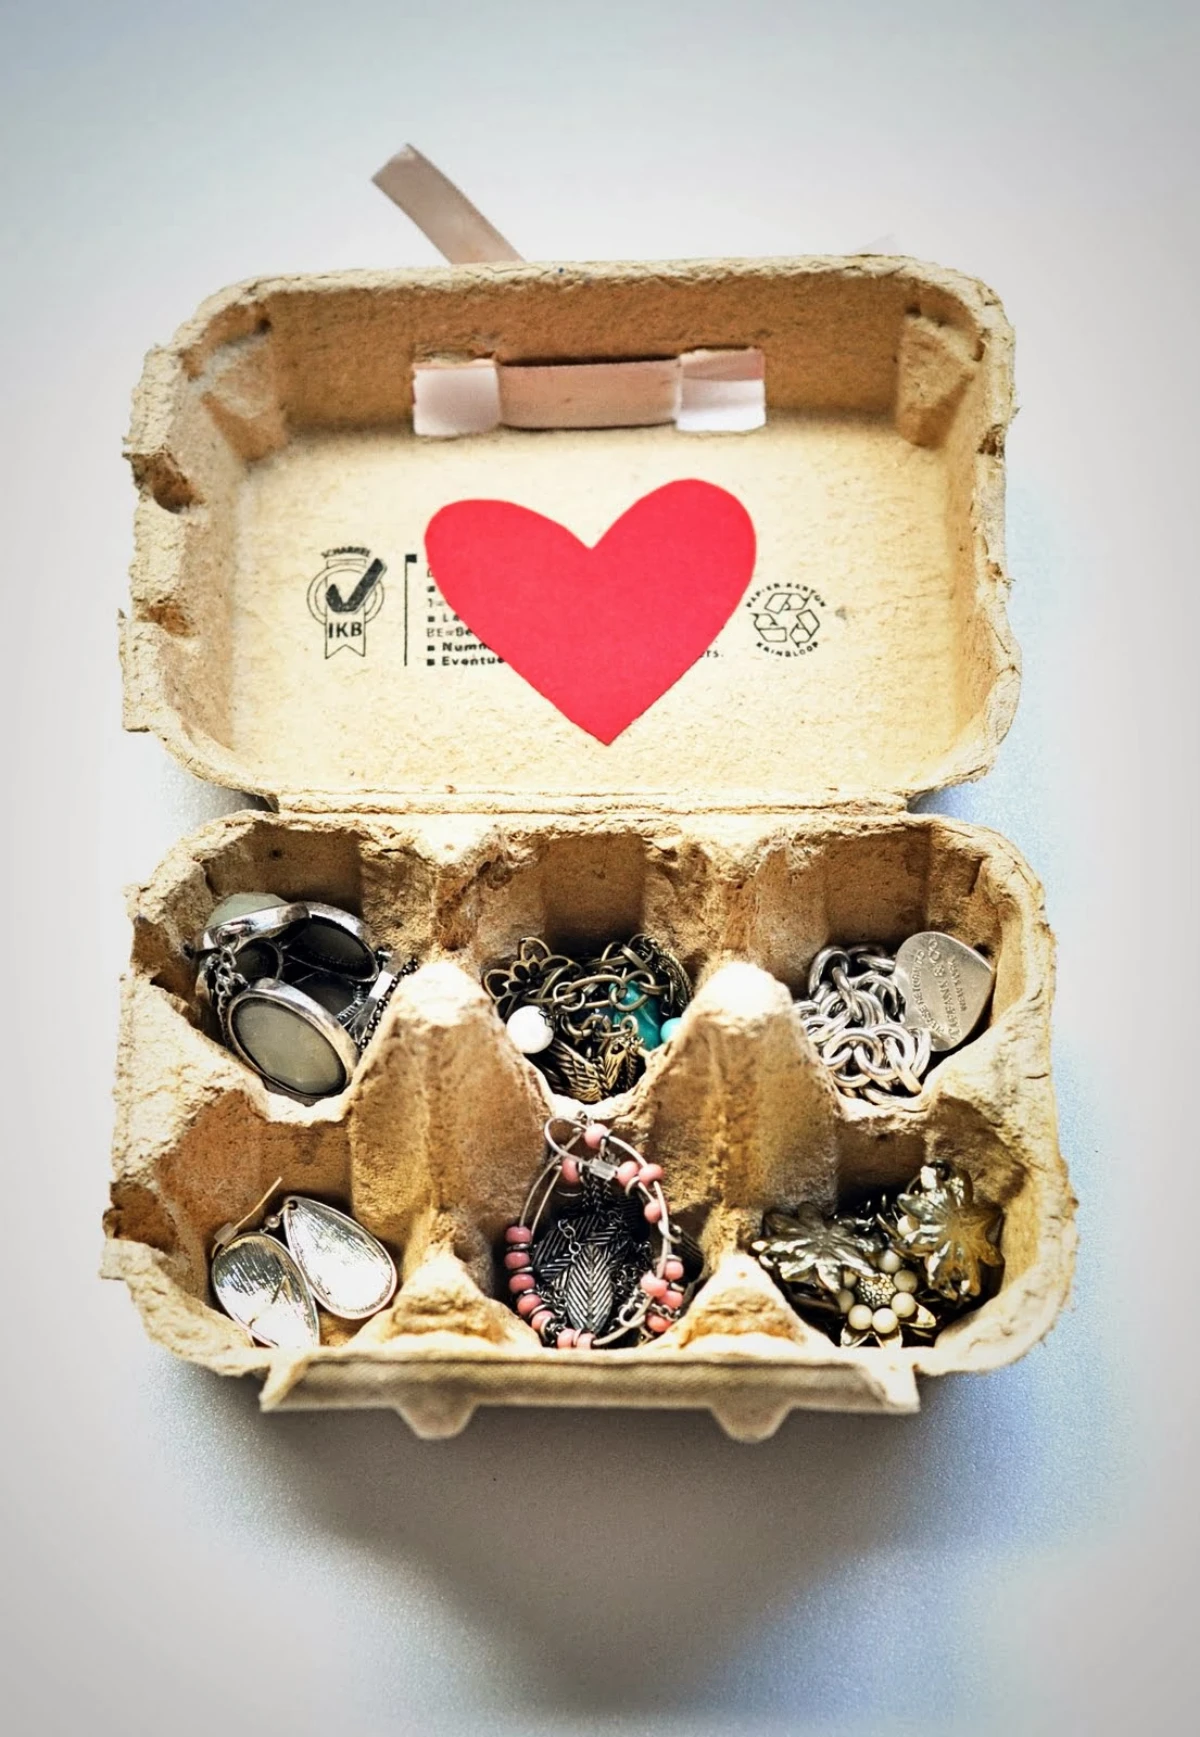
For tiny, heavy items: The cone-shaped sections are surprisingly robust. They are perfect for organizing screws, nuts, bolts, and other small hardware. The weight is well-supported and the individual cups prevent mixing.
For delicate, lightweight items: The full-length carton is ideal. Think of storing delicate Christmas ornaments, jewelry-making beads, or collections of buttons. Closing the lid protects them from dust and damage.
Either way, you’re replacing a plastic organizer with a free, biodegradable alternative.
While not a substitute for professional acoustic foam, egg cartons can genuinely help dampen sound in a pinch. Their uneven, cone-shaped surface diffuses sound waves, scattering them in different directions rather than letting them bounce flat off a wall. Tacked to the walls of a practice room or a noisy workshop, they can reduce echo and harsh reverb, creating a more pleasant acoustic environment for zero cost.
- They catch a spark with minimal effort.
- They provide a stable, slow-burning base to ignite larger kindling.
- They cost absolutely nothing to make.
The secret? Create all-in-one fire starters. Stuff each cup of a paper carton with dryer lint or cotton balls, then carefully pour melted wax from old candle stubs over the top. Once hardened, just cut the individual cups apart. You’ll have a dozen waterproof, high-efficiency fire starters ready for your next campfire or fireplace.
Unlike bioplastics that require specific industrial composting conditions, a paper egg carton decomposes in a typical backyard compost pile in just 2 to 4 weeks.
A common mistake: Using a paper carton to store anything damp or for food items other than eggs. The paper pulp is absorbent and not food-grade once the eggs are removed. It will get soggy and can harbor mold or bacteria if used for leftovers or placed in a humid environment like a refrigerator. Stick to dry goods and craft supplies!
- Sharp, precise cuts through the sturdy cones.
- Less tearing and fraying of the paper fibers.
- Greater safety and control.
The trick? Ditch the scissors. A sharp utility knife or a craft blade like an X-Acto knife is far superior for deconstructing egg cartons. By scoring along the ridges and folds, you can separate the cups cleanly for any project, from seed starting to crafting.
Looking for a perfect rainy-day activity? An egg carton, some child-safe paint, and pipe cleaners are all you need to create a whole garden of whimsical flowers. Just cut out the individual egg cups, trim the edges to create petal shapes, and let the kids paint them in bright colors. Once dry, poke a green pipe cleaner through the bottom for a stem. It’s a simple, creative project that gives a humble piece of ‘trash’ a beautiful second life.


