Stop Ruining Your Clothes! 7 Stain Removal Mistakes Almost Everyone Makes
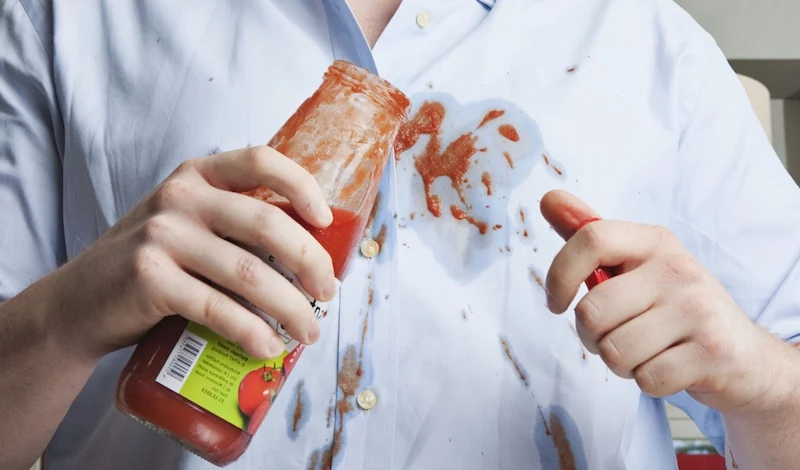
You know that feeling, right? That slow-motion horror as a drop of coffee or a splash of red wine heads directly for your favorite white shirt. The panic sets in, and your first instinct is to do something, anything, to fix it. But honestly, most of the time, that gut reaction is exactly what permanently sets the stain.
In this article
- Mistake 1: Immediately Blasting It with Hot Water
- Mistake 2: Frantic, Hard Scrubbing
- Mistake 3: Using the Wrong Cleaner for the Job
- Your At-Home Stain Fighting Arsenal
- Mistake 4: Grabbing That Bar of Soap
- Mistake 5: The Red Wine and Salt “Trick”
- Mistake 6: Using Too Much Cleaner (or a Dangerous Mix)
- Mistake 7: Waiting Until Laundry Day
- What About Old or Mystery Stains?
- Your First Line of Defense: The Care Label
- When to Wave the White Flag and Call a Pro
- Inspirational Gallery
I’ve seen it all in the world of fabrics and textiles. The most frantic calls always start the same way: “I just spilled something, what do I do?!” By the time they ask, though, the damage is often done. A tiny, fixable spot has become a permanent part of the garment’s story.
The real secret? The difference between a stain that vanishes and one that’s there forever is all about what you do in the first 60 seconds. It’s about fighting your instincts. So, let’s walk through the most common blunders I see and learn the pro techniques that will actually save your clothes, your money, and a whole lot of stress.
Mistake 1: Immediately Blasting It with Hot Water
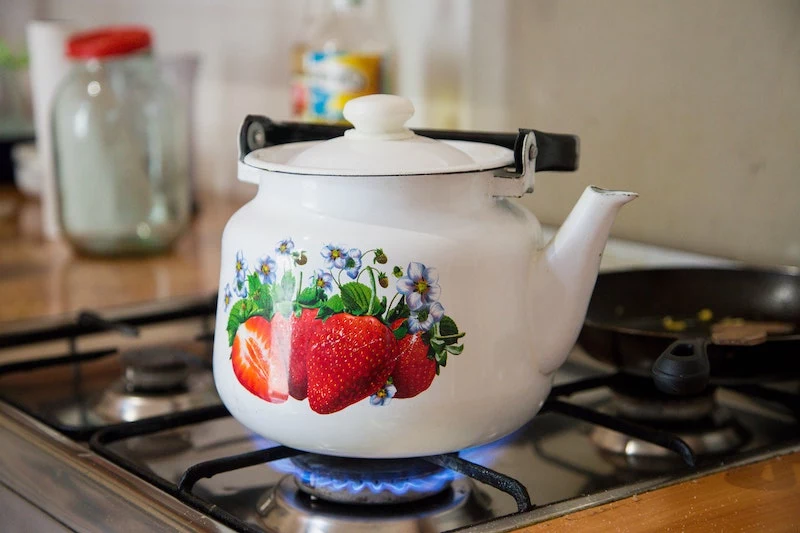
It just feels so right, doesn’t it? We associate hot water with powerful, sanitary cleaning. And for greasy pots and pans, you’re not wrong. But for a huge category of common clothing stains, it’s a complete disaster. This is probably the number one mistake that sends perfectly good clothes to the donation pile.
Why It’s a Terrible Idea
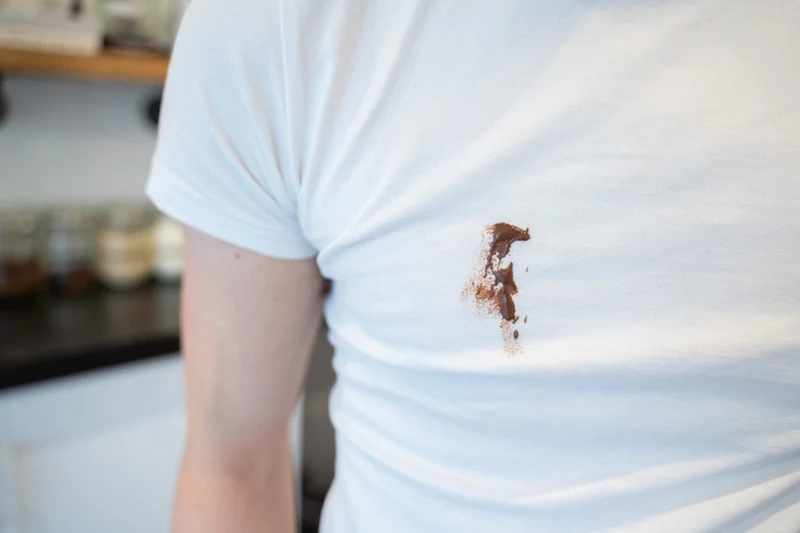
So many of our daily stains are protein-based. Think: blood, egg, milk, yogurt, baby formula, sweat, and even grass stains. When you hit these with heat, you’re basically “cooking” the protein. Imagine cracking an egg into a hot pan—it goes from a clear liquid to a solid, bonded white. The exact same thing happens on a microscopic level in your clothing fibers. The heat causes the proteins to set, forming stubborn chemical bonds with the fabric. Once cooked in, that stain is now a permanent fixture.
Cold water, on the other hand, keeps those proteins in their original, unstable state, making it easy to flush them away before they get too comfortable.
The Pro Technique
The second a protein-based spill happens, your mantra should be: cold water now. Not lukewarm, not cool, but tap cold.
- Flush from the back. This is a game-changer. Turn the garment inside out and hold the stained part directly under a running cold tap. The idea is to push the stain particles out of the fabric the way they came in.
- Flush, don’t just soak. Letting a garment sit in a bowl of water just creates a diluted stain soup that can resettle elsewhere. The gentle force of the running water is what does the work.
- Be patient. Let the cold water run for a good minute or two. You should literally see the stain washing away.
Mistake 2: Frantic, Hard Scrubbing
Panic creates friction—literally. You grab the nearest paper napkin and start scrubbing the life out of that spot. Your intentions are good, but you’re actually making things so much worse.
The Damage You’re Doing
Fabric isn’t a smooth countertop; it’s a delicate web of woven fibers. When you scrub, two bad things happen:
- You spread the mess. That circular motion pushes the stain deeper into the fabric’s core and spreads it outward, making a small spot a huge, faint mess.
- You damage the fabric. Scrubbing physically breaks and frays the tiny fibers. Even if you get the color out, you’re left with a permanent fuzzy, pill-y “halo” where you scrubbed. That spot will look dull and will actually attract more dirt in the future. Oh yeah, and on knit fabrics like your favorite t-shirt, you can easily scrub a small hole into existence.
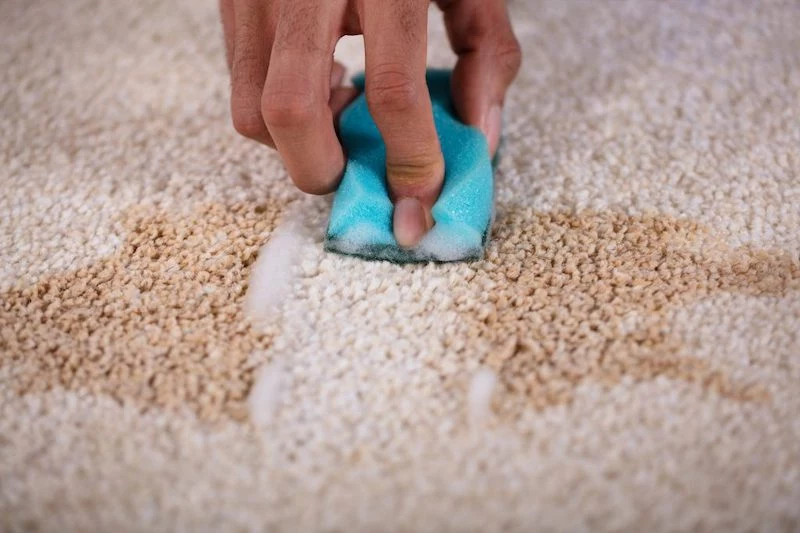
What to Do Instead: Blot or Tamp
In the pro world, we blot or we tamp. We NEVER scrub.
Blotting is your go-to move. Take a clean, plain white cloth (important, so you don’t transfer any dye!) and press it firmly onto the stain. Lift, move to a clean part of your cloth, and press again. You’re transferring the spill from your clothes to the cloth. Always work from the outside edge of the stain inward to keep it from spreading.

Tamping is for tougher stains on sturdy fabrics like denim or canvas. Apply a bit of stain remover, then gently tap the area with a soft-bristled brush (an old toothbrush is perfect). The motion is straight up and down, a light tap-tap-tap. This drives the cleaner into the stain without abrading the fibers.
Mistake 3: Using the Wrong Cleaner for the Job
There is no such thing as a magic, one-size-fits-all stain remover. Using the wrong one can be useless at best and chemically set the stain at worst. To get it right, you have to play matchmaker.
A Simple Guide to Stain Types
Instead of a confusing chart, just remember these main groups:
- Tannin Stains (from plants): Think coffee, tea, red wine, fruit juice, and mustard. These often respond well to mild acids or oxidizing agents.
- Protein Stains (from living things): We covered these! Blood, sweat, milk, egg. These absolutely require an enzyme-based cleaner to break them down.
- Oil-Based Stains (greasy): This is cooking oil, salad dressing, makeup, and that dreaded “ring around the collar.” Water alone won’t touch these; you need something that breaks down grease.
- Dye Stains (artificial color): The toughest of all. Ink, food coloring, and hair dye are designed to be permanent. These often require a specialist or a lot of patience.
A Quick Tip for Combo Stains
Many messes are a mix! That salad dressing, for example, is both oil (the oil) and tannin (the balsamic vinegar and spices). The trick is to treat them in layers. First, tackle the oily part with a drop of dish soap and rinse with cold water. Then, treat whatever color is left with a tannin-fighting cleaner.
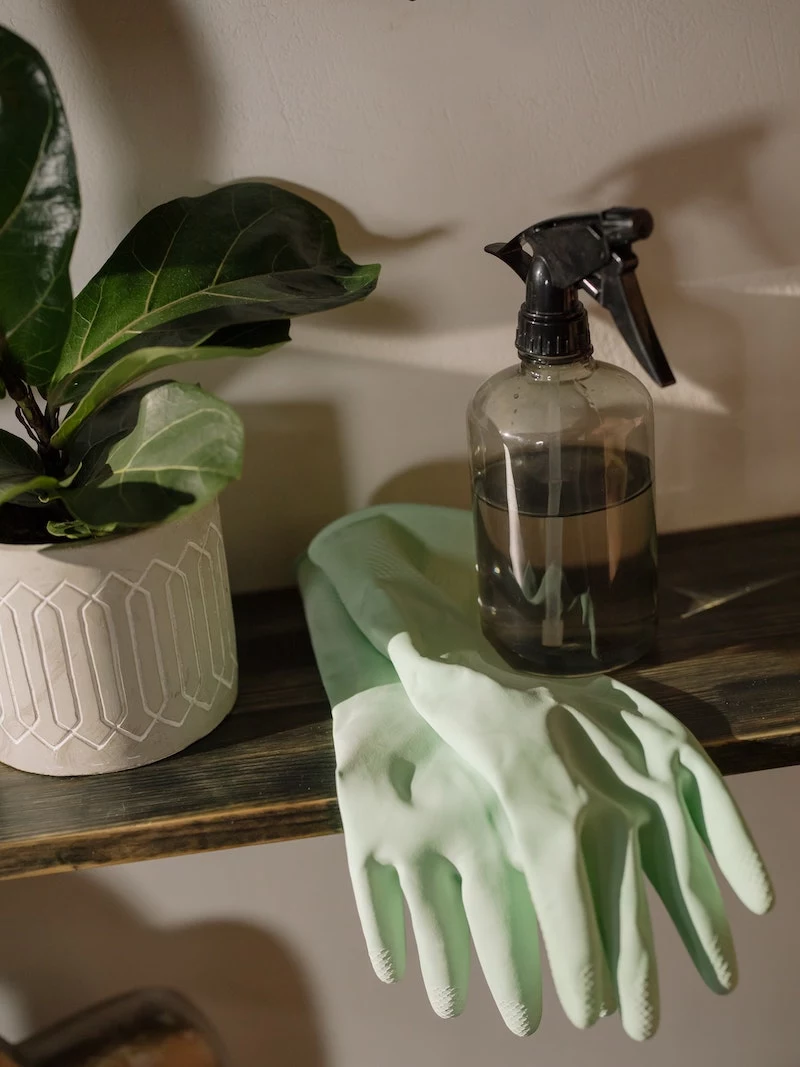
Your At-Home Stain Fighting Arsenal
Before you run into trouble, build a small, effective stain-fighting kit. You don’t need a lot, just the right stuff. You can find everything at Target, Walmart, or online for pretty cheap.
- A quality liquid dish soap: The classic blue Dawn is fantastic. Its powerful surfactants are designed to cut through grease. A bottle costs about $3-$4 and will last you forever. Use it for any oil-based stains.
- An enzyme-based pre-treater: Look for products like OxiClean MaxForce or a Zout spray. Check the ingredients for words like “protease” or “amylase.” This is your weapon against protein stains. Expect to pay $4-$8.
- An oxygen-based bleach powder: A tub of OxiClean or a generic sodium percarbonate is a must-have for tannin stains like coffee and wine. It’s color-safe and works wonders as a pre-soak. A big tub is usually $8-$15.
- A plain white vinegar: Great for some milder tannin stains, but always test it on a hidden seam first, as the acid can sometimes affect dyes.
Mistake 4: Grabbing That Bar of Soap
This one causes a lot of confusion. The advice to “never use soap on a stain” sounds weird, but it specifically refers to old-school bar soap, not modern detergents.
Here’s the deal: True bar soap (like Ivory or Dove) is made from fats and oils. It can react with the minerals in regular tap water to create soap scum. That scum can mix with the stain, get trapped in the fabric, and lock it in for good, especially with tannin stains like wine or tea. Liquid detergents (for laundry or dishes) are synthetic and engineered to work without creating scum. So, leave the bar soap for your hands and stick to liquid detergent for stains.
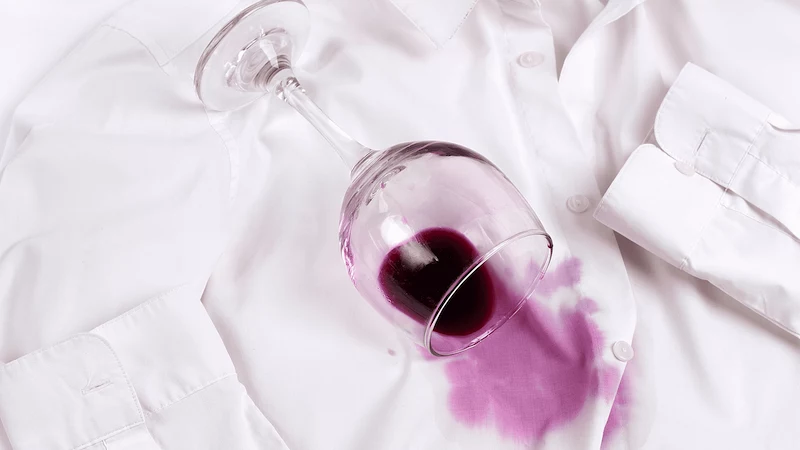
Mistake 5: The Red Wine and Salt “Trick”
At some point in your life, you’ve seen it: someone spills red wine, and a well-meaning guest shouts, “Put salt on it!” Please, I’m begging you, don’t do this.
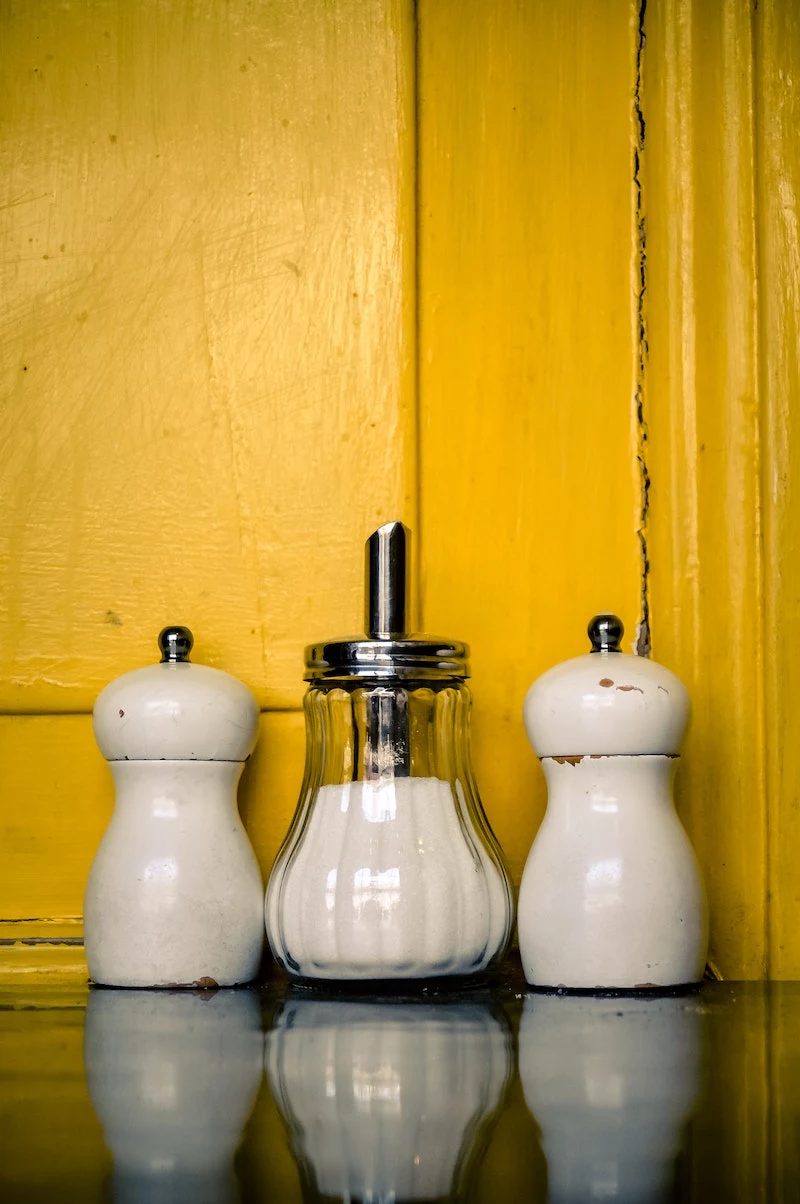
This myth survives because it looks like it’s working. Salt is a desiccant, so it does absorb the liquid wine sitting on the surface, turning the salt pile red. But it does absolutely nothing for the wine pigments that have already soaked into the fibers. Even worse, the abrasive salt crystals can damage delicate fabrics, and the salty environment can actually help set the stain permanently on natural fibers like cotton. I’ve seen countless tablecloths ruined by this “trick.”
The Real Way to Treat Red Wine
- Blot, blot, blot. Absorb as much as you can immediately.
- Flush with a cool liquid. Cold water works. Club soda is even better, as the carbonation can help lift the pigments. Remember to flush from the back!
- Treat it. Use a dedicated wine remover or a paste made from oxygen bleach and cool water. Let it sit, then launder as usual.
Mistake 6: Using Too Much Cleaner (or a Dangerous Mix)
If a little is good, a lot must be better, right? Nope. Not with cleaners.
Safety First!
This is non-negotiable: Never, ever mix cleaning chemicals. Some combinations can create toxic gases. The two most dangerous no-nos are:
- Bleach + Ammonia = Toxic Chloramine Gas. (Heads up: many glass cleaners contain ammonia.)
- Bleach + Acid (like Vinegar) = Toxic Chlorine Gas. (Yes, the kind used as a chemical weapon in historic conflicts.)
Always work in a well-ventilated space, and if one chemical doesn’t work, rinse the area thoroughly with plain water before even thinking about trying something else.
The Problem with Too Much Product
Dousing a stain creates a “ring” as the cleaner spreads the stain outward. Plus, any residue left in the fabric will attract dirt over time, leaving you with a shadowy spot weeks later. The pro move is to apply a small amount of cleaner to your white cloth, then use the cloth to dab the stain. Less is more.
Mistake 7: Waiting Until Laundry Day
Life gets busy. You blot a spill and think, “I’ll get to it later.” Unfortunately, time is a stain’s best friend.

As a stain sits exposed to air, it oxidizes, bonding more strongly with the fabric. That’s the same process that turns a cut apple brown. Even invisible spills like white wine or soda can oxidize over days and appear as a mysterious yellow-brown stain later. And whatever you do, always check your wet clothes for lingering stains before they go in the dryer. The high heat of a dryer will set almost any remaining stain permanently.
The Emergency Holding Pattern
If you absolutely can’t treat a stain right away, here’s how to buy yourself some time. Immediately scrape off any solids and blot all the excess liquid. Flush the area with cold water. Then, to keep the stain from drying out, roll the damp spot up inside a clean, dry towel and place the whole thing in a plastic bag. This will keep it safely damp and prevent mildew, buying you up to 24 hours to treat it properly.
What About Old or Mystery Stains?
Found a weird spot on a shirt from the back of the closet? Don’t give up hope. When you don’t know what a stain is, you have to work from the gentlest method up. Start with a cold water rinse. If that does nothing, move on to an enzyme cleaner. Still there? Try an oxygen bleach soak.
For truly old, set-in stains, sometimes the only hope is a long soak. I’m talking up to 8 hours or even overnight in a solution of water and an enzyme or oxygen-based cleaner. It might take a couple of tries, but you’d be surprised what can be saved with a little patience.
Your First Line of Defense: The Care Label
Before you do anything, check the care label inside the garment. Those symbols aren’t just suggestions; they are legally required instructions based on how the fabric will react to water, heat, and cleaners.
Pay attention to the triangle (for bleach) and the circle (for dry cleaning). Quick guide:
- An empty triangle: Go for it! Any bleach is fine.
- A triangle with diagonal lines: Use non-chlorine (oxygen) bleach only.
- A black triangle with an ‘X’ over it: NO BLEACH. Seriously. Don’t do it.
If the label says “Dry Clean Only,” believe it. It means the fabric, dye, or construction can’t handle water. Home-treating these items can lead to disaster. Just blot gently and head to a professional.
When to Wave the White Flag and Call a Pro
Even the pros know when to call another pro. You should hand off the problem if:
- The garment is leather, suede, velvet, silk, or fur.
- The label says “Dry Clean Only.”
- The stain is from paint, varnish, permanent marker, or heavy industrial grease.
- The item is incredibly valuable or sentimental.
- You’ve already tried and made it worse (it’s okay, we’ve all been there).
Be prepared to pay a specialist anywhere from $5 to $25 to treat a single complex stain, but that small cost can easily save a $200 jacket. When you take it in, be honest about what the stain is and what you’ve already tried. It helps them choose the right tools for the job.
And there you have it. Stain removal isn’t magic—it’s just a little bit of science and a lot of patience. By avoiding these common mistakes, you can go from panicked scrubbing to a calm, effective plan. Now you have the know-how to save your favorite clothes.
Inspirational Gallery
Oxygen Bleach vs. Chlorine Bleach: Both whiten, but they aren’t interchangeable. Chlorine bleach is a harsh disinfectant that can damage and yellow synthetic fibers over time. Oxygen bleach, like OxiClean or Vanish, uses sodium percarbonate to gently lift organic stains (wine, coffee, grass) from most fabrics and colors without causing damage.
For saving colored garments, oxygen bleach is almost always the safer bet.
More than 85% of all textiles produced end up in landfills each year. Many are discarded due to simple, fixable issues like stains.
Learning to properly treat a stain isn’t just about saving your favorite sweater; it’s a small but powerful act of sustainability. By extending the life of your clothes, you directly reduce fashion waste and its environmental impact.
For greasy, stubborn spots like salad dressing or lipstick, a little old-fashioned dish soap can be a lifesaver. Apply a drop of a degreasing formula like Dawn directly to the stain, gently work it in with your fingers, let it sit for 15 minutes to break down the oil, and then launder as usual. It’s the same principle that works on your dirty dishes!
What about stains on delicate fabrics like silk or wool?
Here, aggression is your enemy. Never rub! Gently blot the excess stain with a clean, white cloth. For a cleaning solution, skip the harsh chemicals. A small amount of pH-neutral detergent, like The Laundress Wool & Cashmere Shampoo or even a diluted high-quality baby shampoo, mixed with cool water is ideal. Dab the solution on with another cloth, then blot with a dry one. Let it air dry away from direct heat or sunlight.
- Removes tough organic stains
- Brightens colors and whites naturally
- Acts as a gentle disinfectant
The secret? The sun. For light-colored cottons and linens, especially with baby-related stains or faint yellowing, laying the damp garment in direct sunlight for a few hours works wonders. The UV rays act as a natural bleaching agent, breaking down the stain-causing compounds without any chemicals.
Believe it or not, the Romans used stale urine, a source of ammonia, as a powerful cleaning agent in their public laundries, or ‘fullonicae,’ to remove tough stains from togas.
The one stain you must treat with alcohol: Permanent marker or ballpoint ink. Water-based efforts will only spread the ink and make it bleed into a bigger, messier problem. Instead, place a paper towel under the stain, then dab the ink with a cotton ball soaked in rubbing alcohol (isopropyl alcohol). You’ll see the ink transfer from the fabric to the paper towel underneath. Repeat with fresh cotton and a clean section of the towel until the ink is gone, then launder.
Create a “Stain First-Aid Kit” to keep in your laundry room so you’re always prepared for action. This small investment can save countless garments.
- A stain-remover pen (like a Tide to Go) for immediate, on-the-go treatment.
- A small bottle of rubbing alcohol for ink stains.
- A box of baking soda for making a paste for various spots.
- An old, clean toothbrush for gentle scrubbing.
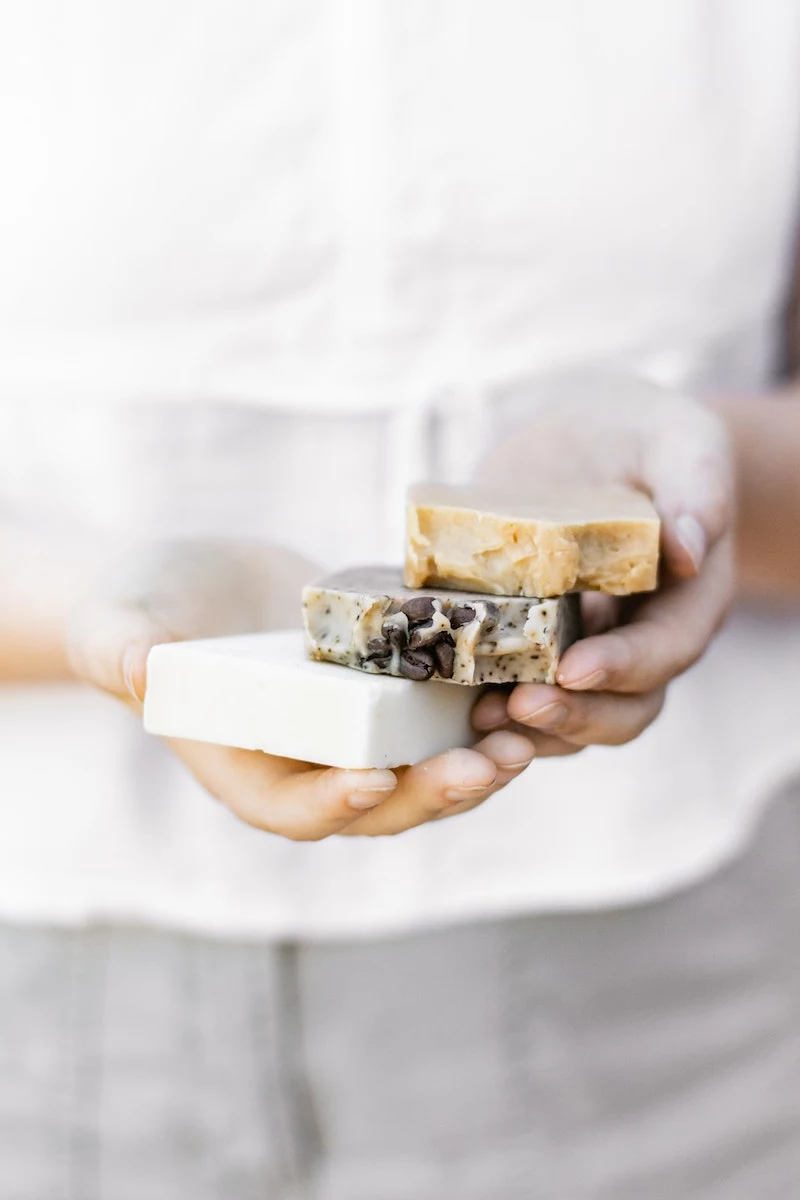
- A bar of classic French Savon de Marseille for pre-treating grease stains.
The stubborn yellow pit stains on white shirts aren’t just from sweat; they’re caused by a chemical reaction between your sweat’s proteins and the aluminum compounds found in most antiperspirants. Hot water, as the article mentions, will only cook and set these proteins further into the fabric.
I tried everything, but a faint stain remains. Is it hopeless?
Don’t give up just yet, but whatever you do, DO NOT put it in the dryer. The high heat of a dryer will set the residual stain permanently, making it nearly impossible to remove. Instead, re-treat the damp garment with a more concentrated stain remover or an oxygen bleach soak for a few hours before washing it again. Patience is your best ally against stubborn spots.


