Tired of Damp Clothes? My Pro Secrets for Faster Indoor Drying
I’ve spent years working with every kind of fabric you can imagine, and honestly, one of the biggest headaches people have has nothing to do with washing. It’s drying. So many people think that without a tumble dryer, they’re doomed to stiff, musty-smelling clothes that take forever to dry, especially when it’s cold and grey outside. But that’s just not the case.
In this article
Drying clothes indoors isn’t a mystery; it’s a skill. It all comes down to understanding how to manage moisture, air, and a little bit of heat. When I used to train new folks in textile care, this is where we started. Forget fancy stain removal for a minute—if you can’t dry a shirt right, you can ruin it just as easily. So, let’s walk through the exact techniques the pros use to get things dry, fast, without that hefty electricity bill.
The Golden Rule: Get Water Out Before You Hang
Here it is, the single biggest mistake I see: hanging up sopping wet clothes. Your main goal is to remove as much water as possible before a single garment even sees the drying rack. Every drop you squeeze out is a drop that doesn’t have to evaporate, and that can cut your drying time by hours.
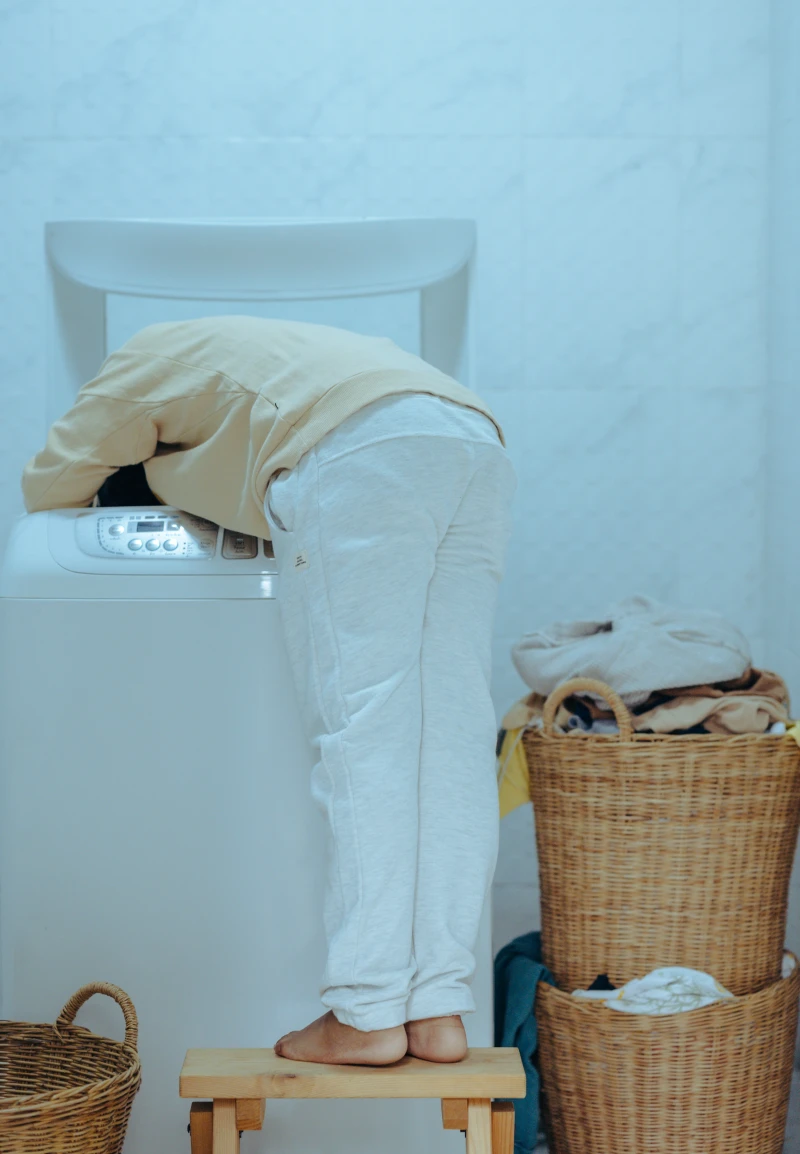
Your Washing Machine’s Secret Weapon
Don’t just think of your washing machine as a washer; it’s your most powerful drying tool, too. That final spin cycle is your best friend.
Most machines these days have spin speeds ranging from 400 to 1600 RPM. For tough stuff like cotton towels, jeans, and bedding, crank that setting to the absolute max. To give you an idea of the difference, jumping from a standard 800 RPM to a 1400 RPM spin can literally knock 8-10 hours off the drying time for a load of towels. I’m not kidding. You can feel it right away—the clothes come out cool and damp, not heavy and waterlogged.
Of course, there’s a heads-up here. Delicate fabrics like silks, some rayons, or loose knits can get stretched or damaged at those speeds. Always check the care label. A spin around 600-800 RPM is usually a safe bet for those. If you have a mixed load, just pull the delicates out first and then run an extra high-speed spin for the sturdy items. It’s an extra 10 minutes that can save you half a day of waiting.
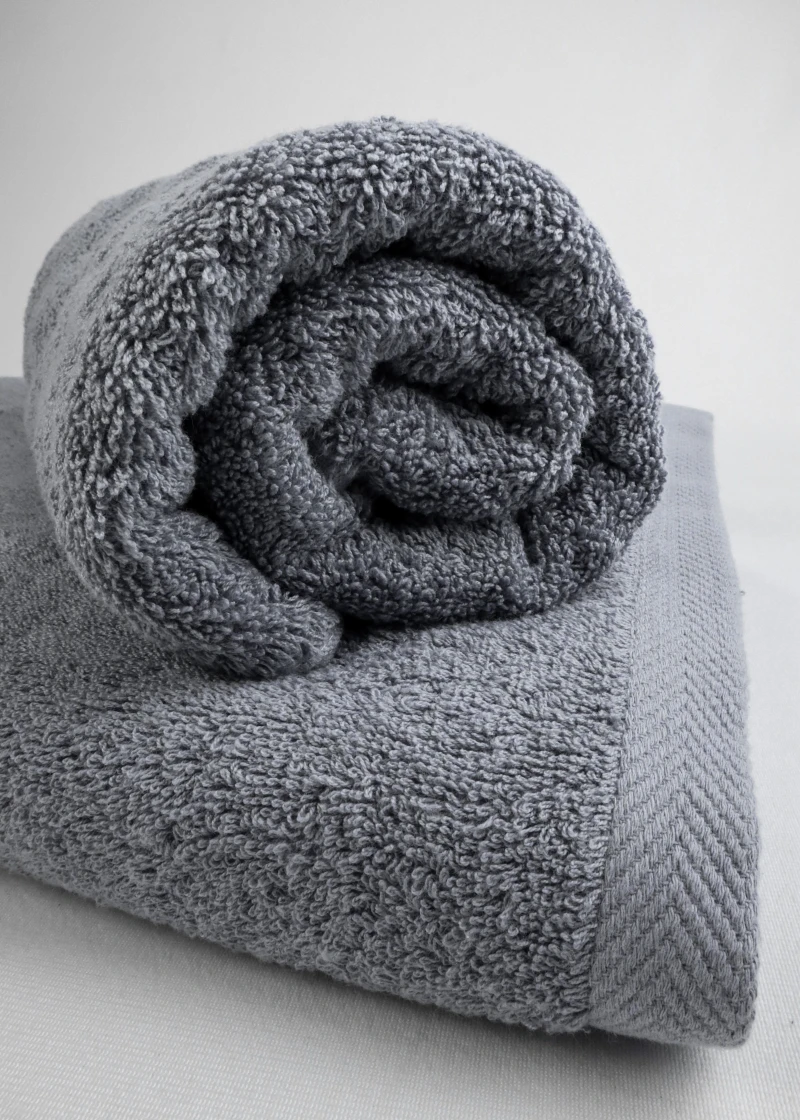
The Pro Towel-Rolling Trick
For hand-washed items or things too delicate for any spin cycle, the towel-rolling method is an absolute lifesaver. It’s simple, but doing it right makes all the difference.
- Get a big, fluffy, and completely DRY towel. A bath sheet is perfect. Lay it out flat.
- Place your wet garment on top. Smooth it out so there are no major wrinkles.
- Roll it up tightly. Start at one end and roll the towel and the garment together into a snug log, like you’re packing a sleeping bag.
- Squeeze, don’t wring! Now, press down on the roll with your body weight. You can kneel on it or twist the whole log gently. The goal is to transfer the water into the towel through pressure, not to stretch the garment inside.
When you unroll it, you’ll be amazed at how much drier the item is. This is my go-to for cashmere sweaters to get water out without destroying their shape.
The Science Bit: Airflow, Humidity, and Heat
Okay, once you’ve gotten the bulk of the water out, drying is just a game of controlling the room’s environment. It all boils down to three key things:
1. Airflow: Damp, still air is your enemy. As water evaporates, it creates a little cloud of humidity around your clothes. If that air doesn’t move, the drying process just… stops. You need fresh, drier air to replace the damp air.
2. Humidity: This is just a fancy word for how much water is already in the air. If the air in your room is already at 80% humidity, it can’t really hold much more. That’s why clothes take forever to dry in a steamy bathroom.
3. Heat: A little warmth gives water molecules the energy they need to evaporate. Warmer air can also hold more moisture. But heat alone isn’t enough; heat without airflow just creates a little sauna. It’s the combination of all three that works magic.
How to Set Up Your Drying Station
Where you hang your clothes matters just as much as how you prepped them. A bad setup can trap moisture and create more problems than it solves.
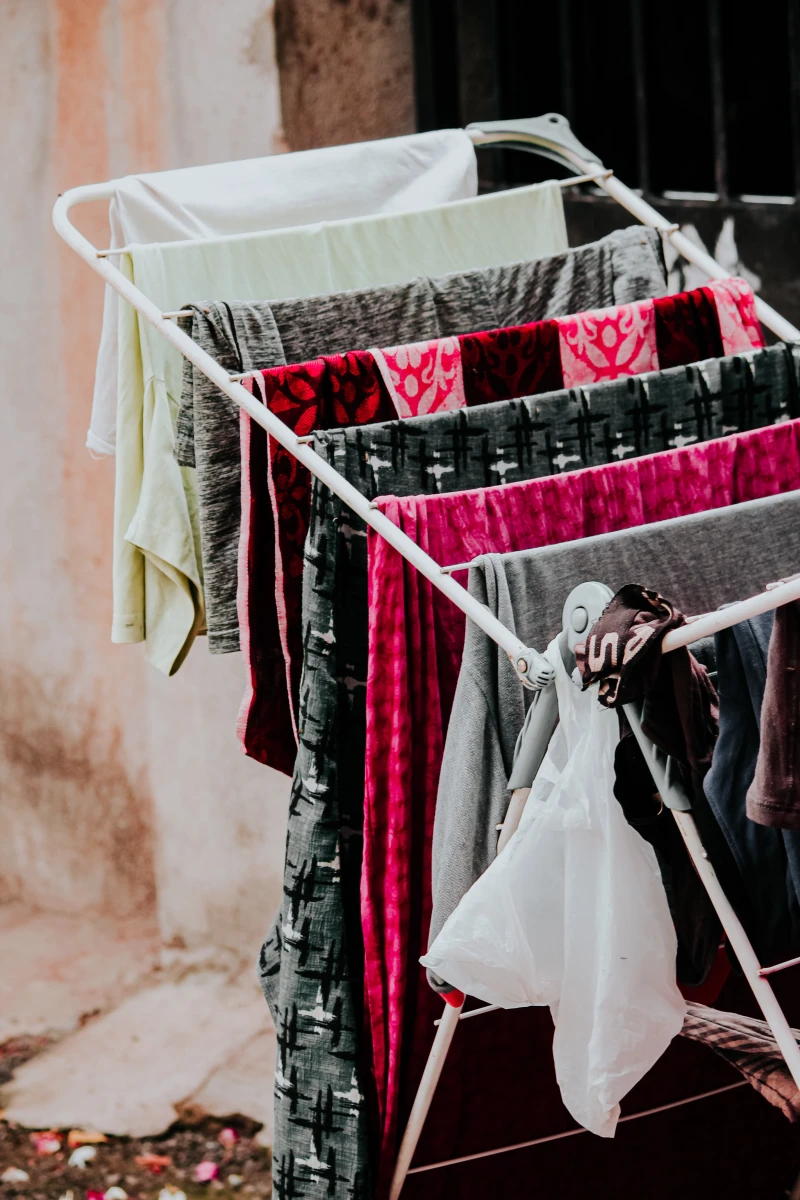
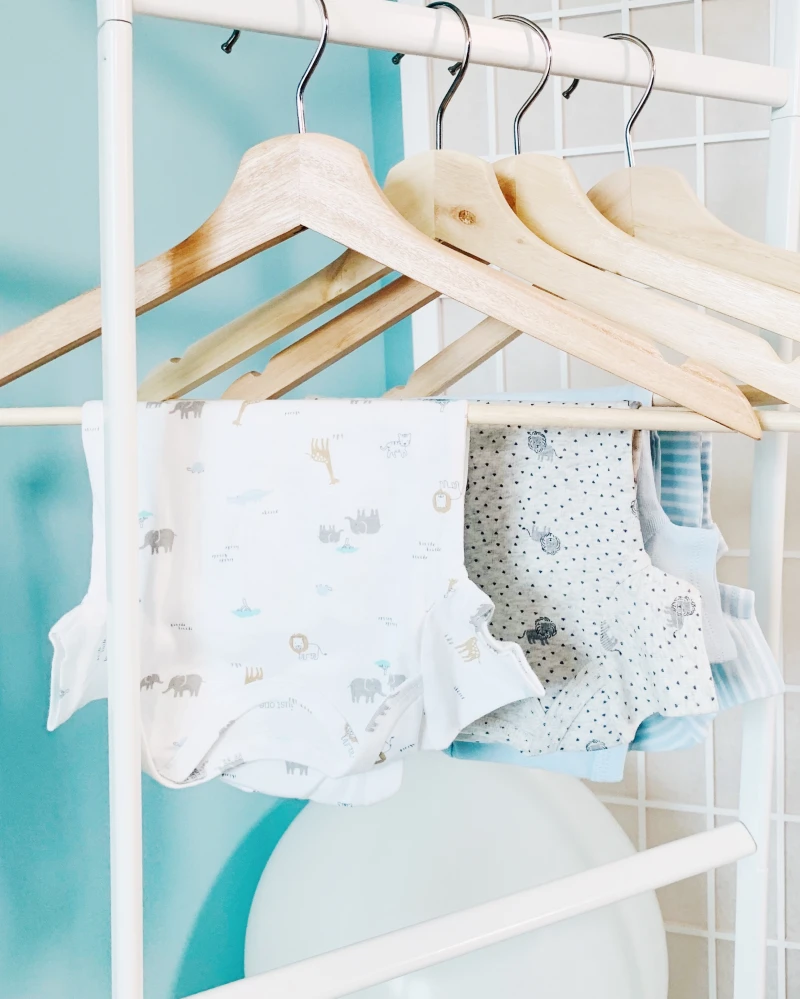
Use a Drying Rack the Right Way
A good drying rack is a solid investment. I’m a big fan of the gull-wing style racks with the flat mesh part in the middle for sweaters. You can find a decent one for between $40 and $80, and it’ll last you a decade. But the key isn’t the rack itself—it’s spacing.
Don’t cram every single rung. Each piece of clothing needs its own little bubble of air to breathe. As a rule of thumb, leave at least a hand’s width of space between items. Hang heavy things like jeans on the outside rungs where they’ll get more air. Button up shirts and put them on hangers first, then hang the hanger on the rack. It helps them keep their shape and cuts down on ironing later.
By the way, if you’re in a tiny apartment, look up! A ceiling-mounted pulley rack or a simple over-the-door rack can be a game-changer, using vertical space so you’re not constantly tripping over your laundry.
Working with Heat (Safely!)
Putting your rack near a heat source is a great way to speed things up, but you have to be smart about it. Let me be crystal clear: NEVER, ever put clothes directly on a radiator or a space heater. It’s a massive fire hazard. I once had to help a client with smoke damage that started because a single pair of jeans was left on an electric heater. It doesn’t need a flame; it just needs to get hot enough to smolder.
The smart way is to use the heat to create an air current. Place your rack about three feet away from the radiator. The radiator warms the air, which then rises, passes through your clothes, and carries moisture away. It’s safe, and it’s incredibly effective.
The Best Tools for the Job
While you don’t need extra gadgets, a couple of appliances can make a world of difference, especially if you live somewhere damp.
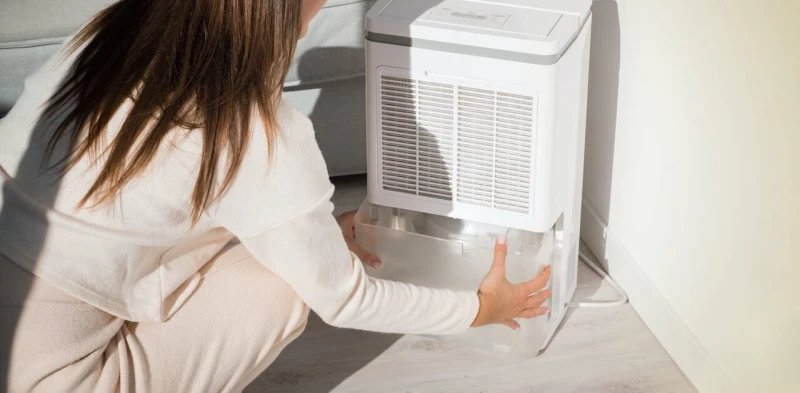
The Dehumidifier: Your Secret Weapon
If you live in a damp climate, a dehumidifier is the single best thing you can buy for indoor drying. It directly attacks the problem of air that’s too full of water. A good one is an investment, probably in the $150 to $300 range, but it costs pennies an hour to run—way cheaper than the dollar or more you might spend on a single tumble dryer cycle.
Place it in a closed room with your laundry rack. It will pull the moisture out of the air, making the air thirsty for more moisture from your clothes. It’s a brilliant closed-loop system.
So, let’s look at the difference it makes:
- Rack Only: Expect a drying time of 24-48 hours, depending on the items.
- Rack + Fan: Adding a simple fan for airflow can cut that down to 18-36 hours. Super cheap to run.
- Rack + Dehumidifier: This is the champion for damp homes. You’re looking at a drying time of just 12-24 hours.
The Humble Fan
Even a basic oscillating fan can work wonders. It doesn’t heat the air, it just moves it, preventing that humid pocket from forming around your clothes. Set it on low a few feet away and let it sweep back and forth. You’ll be surprised how much it helps.
When Things Go Wrong: Quick Fixes
Even with the best technique, sometimes things don’t turn out perfectly. Here’s how to troubleshoot.
Problem: My clothes smell musty.
Oh yeah, that dreaded mildew smell. If you open the washing machine and it’s already there, don’t just dry them! Re-wash the load immediately with a cup of white vinegar in the rinse cycle (don’t worry, the vinegar smell disappears). This neutralizes the odor-causing bacteria before you even start.
Problem: My towels and jeans are stiff as a board.
This is usually a combo of a little too much detergent and the water evaporating very quickly. Try using slightly less soap in your next wash, and always give clothes a good, hard shake before hanging them up. This helps loosen up the fibers.
Problem: I’m not sure if it’s really dry.
Think your jeans are done? Do the pocket test. Turn the front pockets inside out and feel the thick seam at the waistband. If those areas feel even slightly cool or damp, they’re not ready. Give them a few more hours. Putting away even slightly damp clothes is how you get that musty smell in your drawers.
Ultimately, drying clothes inside is a skill that saves money, is gentler on your fabrics, and helps you avoid that awful feeling of putting on a shirt that’s still… not quite right. It just takes a little bit of strategy.
Inspiration:
Is a dehumidifier really better than just turning up the heat?
Absolutely. While heat helps water evaporate, a dehumidifier physically removes that moisture from the air. This creates a dry environment that literally pulls dampness from fabrics. It’s a game-changer in humid rooms where clothes would otherwise stay damp for days. Look for models with a dedicated ‘Laundry Mode,’ like those from Meaco or De’Longhi, which optimize airflow and extraction specifically for drying clothes, using significantly less energy than a tumble dryer.
A single load of washed laundry can release over two litres of water into the air of a room.
That’s a lot of moisture that needs to go somewhere! Overcrowding your drying rack traps this damp air between garments, slowing drying and causing musty odours. The simple rule: if items are touching, they aren’t drying efficiently. Give each piece of clothing its own space to breathe.


