That Brown Bottle in Your Cabinet is a Cleaning Superhero. Here’s How to Use It.
I’ve spent decades in the cleaning and restoration business, and let me tell you, my van used to be a rolling chemical lab. I had all the industrial-strength stuff that could peel paint. It worked, sure, but the fumes were no joke, and I was always a little uneasy about what I was leaving behind. Over time, I realized that some of the best cleaning tools were the ones hiding in plain sight. And the MVP of that group? Hydrogen peroxide.
In this article
You almost certainly have a dark brown bottle of it in your bathroom right now, probably for the occasional cut or scrape. But I see it differently. I see a powerhouse cleaner that’s versatile, cheap, and seriously misunderstood. This isn’t about some trendy, eco-friendly fad. This is about knowing how a simple chemical works so you can use it with professional precision to get amazing results, all while avoiding costly mistakes.
So, let’s go beyond the basics. I’m going to share what I’ve learned from years on the job, from sanitizing restaurant kitchens to dealing with household messes.
So, What’s the Deal with the Fizz?
Before you start spraying, it helps to know what’s actually happening in that bottle. Hydrogen peroxide (H₂O₂) is basically just water (H₂O) with an extra oxygen atom tacked on. And that extra oxygen is a bit of an escape artist—it’s unstable and looking for a chance to break free.
When it touches organic stuff like bacteria, mold, or the pigments in a stain, that oxygen atom breaks off and goes on the attack. This is called oxidation. It tears down the cell walls of germs or bleaches the color out of a stain. The fizzing and bubbling you see? That’s the grand finale! It’s the sound of the reaction happening, leaving behind nothing but plain water and oxygen. That fizz is your proof that it’s working.
Know Your Strengths: Not All Peroxide is Created Equal
This is super important. Grabbing the wrong concentration can be ineffective at best and downright dangerous at worst. Here’s the breakdown:
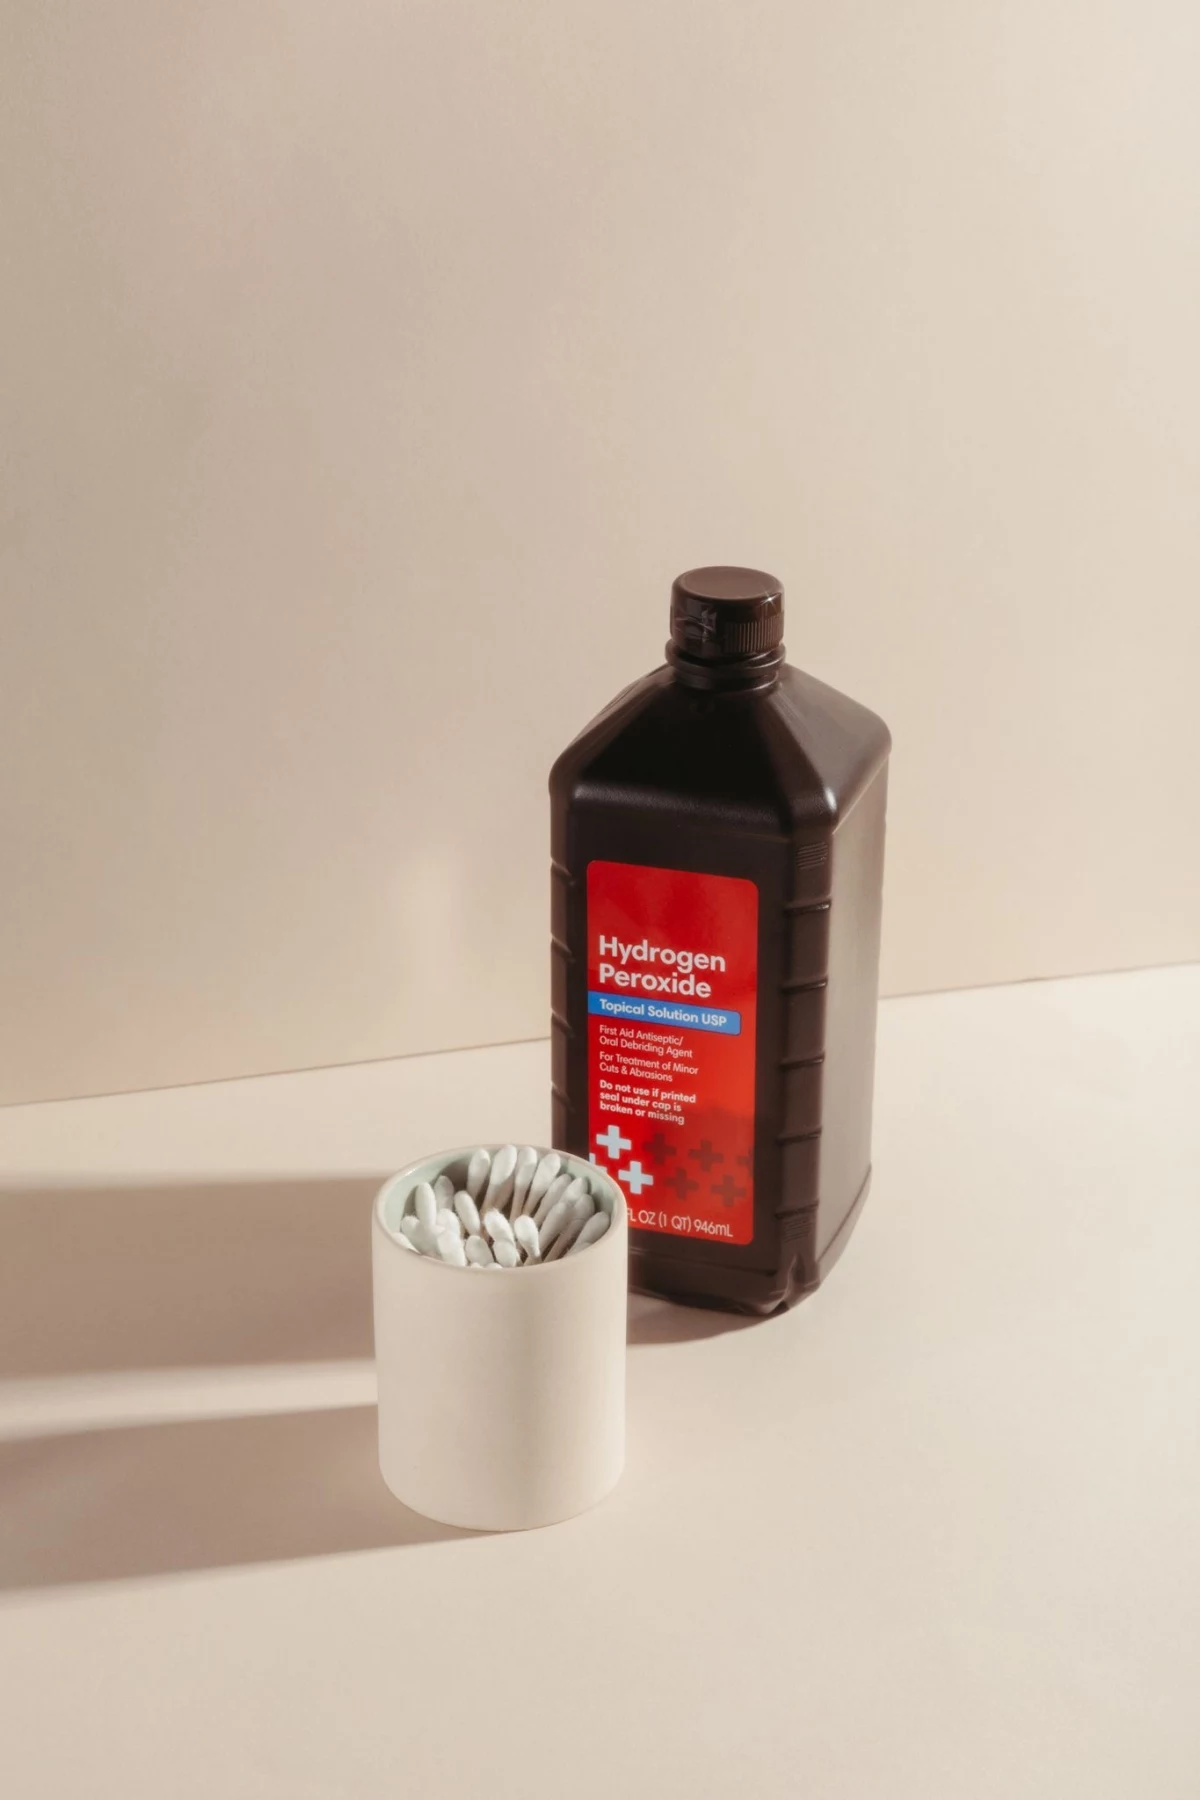
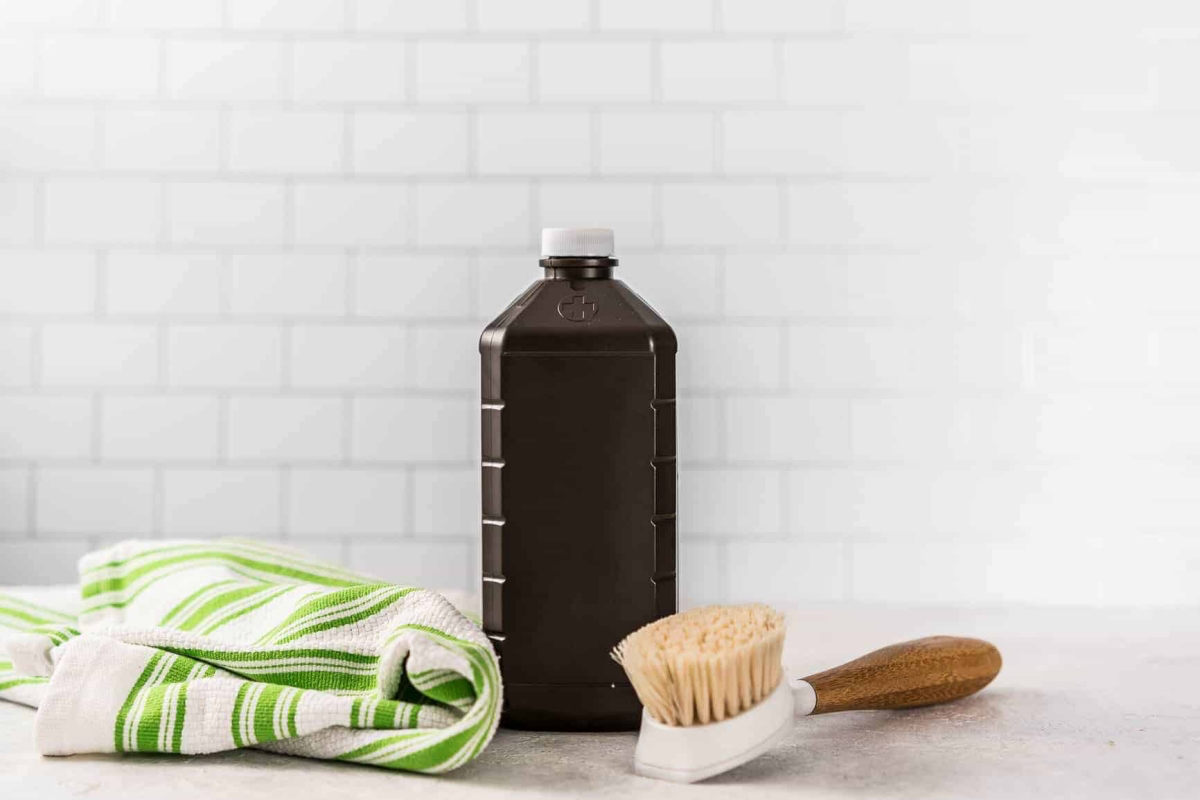
- 3% Hydrogen Peroxide: This is the hero of our story. It’s the standard stuff in the brown bottle you can buy for a buck or two at any pharmacy or grocery store. It’s stabilized for a long shelf life and is what we’ll be using for pretty much everything. By the way, that brown bottle is non-negotiable. Light destroys peroxide, turning it into useless water.
- 6% to 12% Hydrogen Peroxide: You’ll find this in beauty supply stores, usually sold as hair developer. It’s two to four times stronger than the regular stuff. While it has its uses, it’s overkill for most home cleaning and can bleach fabrics in a heartbeat or even cause mild skin irritation. Best to leave it on the shelf.
- 35% Food-Grade Hydrogen Peroxide: Okay, let’s be crystal clear: STAY AWAY from this stuff. It’s highly concentrated, not meant for home use, and can cause severe chemical burns on contact. I’ve seen safety photos of the damage it can do. It has no place in your cleaning caddy. Stick with the 3% solution—it’s safe and effective.
Good to know: How long does it last? An unopened bottle of 3% peroxide is good for a couple of years. Once you open it, it’s best to use it within about six months for full potency. If you mix it with water in a spray bottle, its effectiveness drops much faster, especially with light exposure. I’d recommend mixing fresh batches for big jobs and using any 50/50 mix within a month.
Safety First, Always. No Excuses.
Like any powerful tool, peroxide demands respect. I’ve seen homeowners make simple mistakes that damaged their stuff or gave them a scare. These rules are the foundation of using it like a pro.
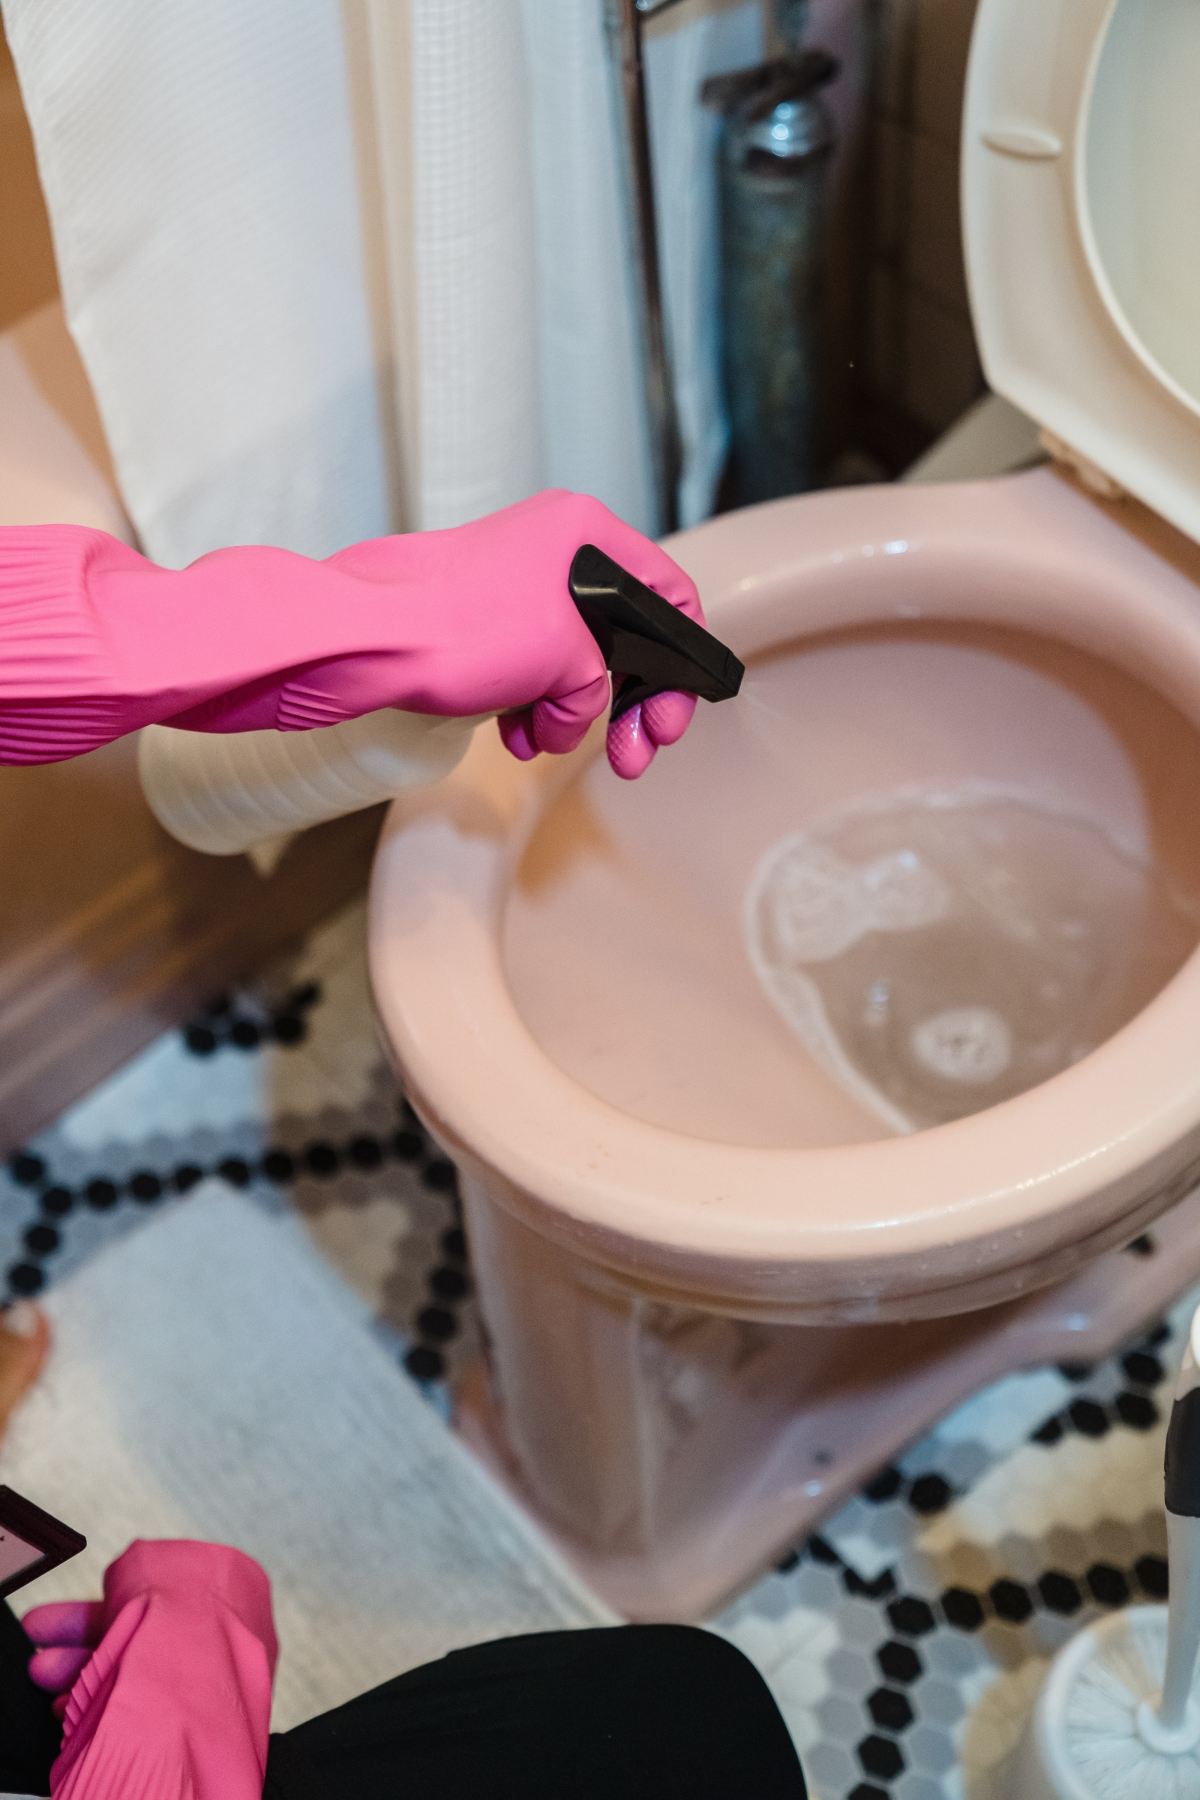
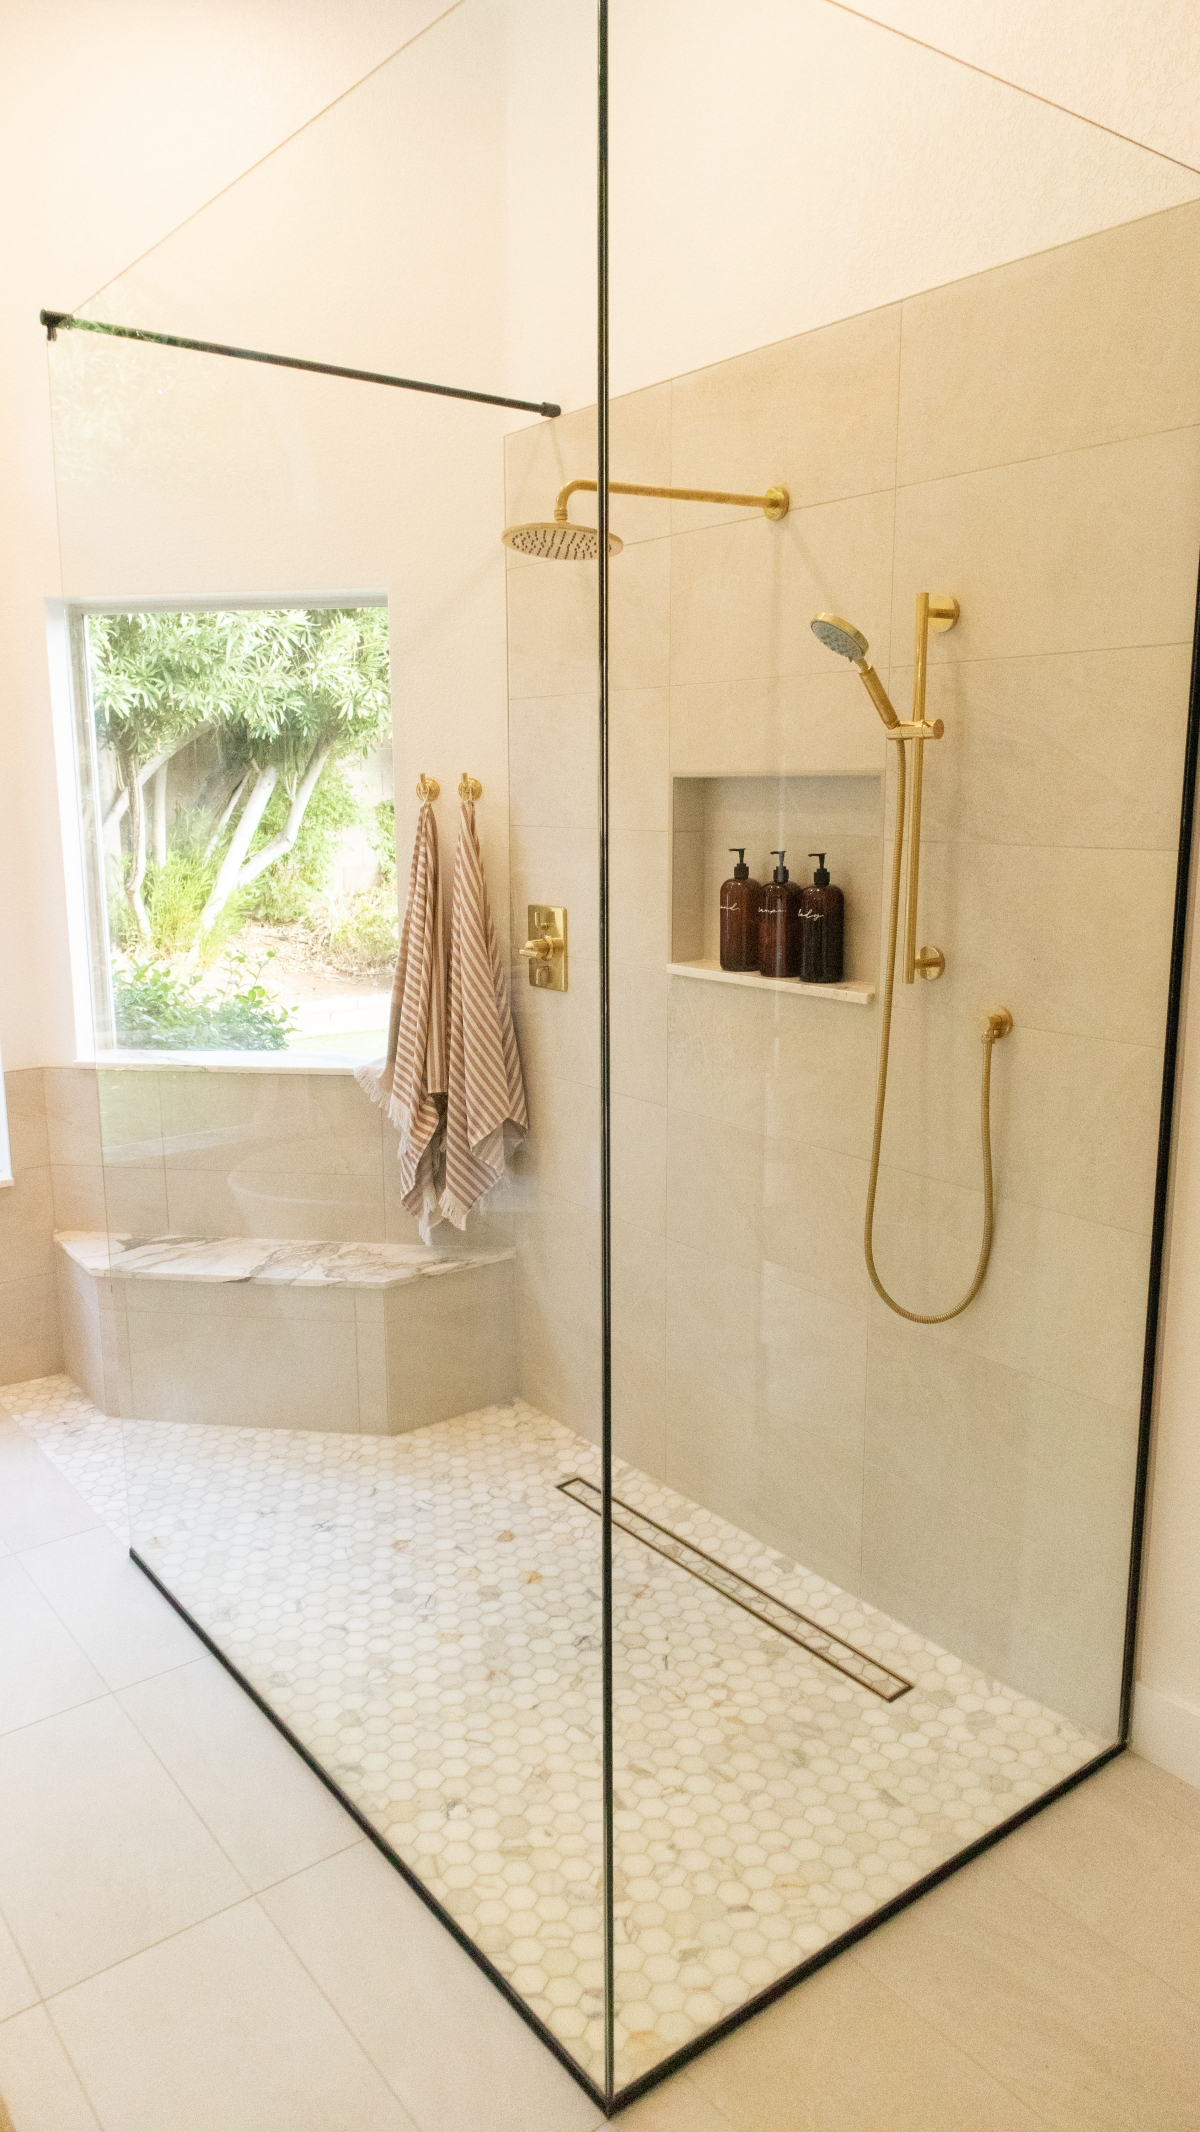
- Wear Gloves: A simple pair of rubber dish gloves is perfect. While 3% peroxide is mild, getting it on your hands for a while can whiten your skin and cause some stinging. If you’re spraying a lot, like in a shower, safety glasses are a smart move.
- The Golden Rule: NEVER Mix Peroxide with Other Cleaners. I can’t say this loudly enough. Mixing chemicals is how you end up in the emergency room. Never, ever mix it with bleach, as this can create toxic chlorine gas (the kind used as a chemical weapon). And don’t mix it in the same bottle with vinegar, either. That creates peracetic acid, a corrosive irritant. Keep your cleaners separate.
- Ventilate the Area: If you’re cleaning a whole shower or a floor, crack a window or turn on the fan. It’s better to be safe.
- Test It First! I learned this lesson the hard way on an old wood floor. I tried to spot-clean a small stain and the peroxide lifted the color right out, leaving a light blotch. It was an expensive fix. Before you use it on colored fabrics, carpet, wood, or natural stone, PLEASE test it in a hidden spot first. A corner in a closet, an inside seam of a cushion—anywhere no one will see.

Your Pro-Level Peroxide Toolkit (for Under $20)
You don’t need a lot of fancy gear. In fact, you can probably assemble this entire kit for less than the cost of one bottle of specialty cleaner.
- Opaque Spray Bottles: Remember, light is the enemy. Grab two or three dark, opaque spray bottles. You can find them at places like Home Depot or online for about $3-$5 each. Don’t use clear ones!
- Microfiber Cloths: The perfect partner for peroxide. They grab dirt instead of just pushing it around. A multi-pack costs around $10.
- Grout Brushes: An old toothbrush works, but a real grout brush with a good handle will save your wrist. They usually run about $5-$8 for a set.
- Baking Soda & Measuring Cups: You probably already have these. The baking soda will be for our grout-cleaning paste.
Real-World Uses: Kitchen, Bathroom, and Beyond
Alright, let’s get to work. For these tasks, remember that
Galerie d’inspiration
Create a pro-level stain remover with just two ingredients. This is the go-to secret for tough organic stains on upholstery and carpets, from wine spills to pet accidents.
- Mix two parts 3% hydrogen peroxide with one part blue Dawn dish soap in a small bowl.
- Gently apply the foamy mixture to the stain using a clean cloth or soft-bristled brush.
- Let it sit for 5-10 minutes (you’ll see it bubble), then blot away with a damp cloth. Always test on a hidden spot first!

A critical safety warning: Never, ever mix hydrogen peroxide directly with vinegar in the same bottle. While both are fantastic cleaners, combining them creates peracetic acid, a highly corrosive and irritating substance that can harm your skin, eyes, and respiratory system. Use them separately and rinse the surface in between applications for a safe, powerful clean.
Can I just pour peroxide into any old transparent spray bottle?
Think again. The reason hydrogen peroxide comes in that iconic dark brown bottle is that it’s highly light-sensitive. UV light rapidly breaks it down, turning it back into plain water and rendering it useless. For effective cleaning, always use an opaque spray bottle. You can find dedicated dark plastic sprayers, like the chemical-resistant models from Zep, or simply buy a screw-on trigger sprayer that fits directly onto the original brown bottle for a perfect, light-blocking solution.
Did you know that 3% hydrogen peroxide is considered an effective disinfectant by the EPA against several common viruses and bacteria when left on a surface for at least one minute?
This makes it a fantastic, bleach-free alternative for sanitizing high-touch surfaces in your home. Think doorknobs, light switches, countertops (avoiding unsealed stone like marble), and faucet handles. Just spray, wait 60 seconds, and wipe clean with a fresh cloth. It’s a simple, fume-free way to keep your home healthier.


