Your Dryer Is Lying to You. Here’s How to Make It Work Harder and Safer.
A Quick Chat from the Workshop
For a couple of decades now, I’ve spent my days with my head stuck in every kind of home appliance you can imagine. And honestly, the one machine that everyone seems to get wrong is the humble clothes dryer. It feels so simple, right? It’s just a hot box that tumbles your clothes. But that’s where the trouble starts.
In this article
A dryer isn’t really a heater; it’s an airflow system. And once you truly get that, you stop looking for silly laundry ‘hacks’ and start doing the simple maintenance that actually works.
I can’t even count how many laundry rooms I’ve been in where the complaint is the same: the dryer takes two, sometimes three, cycles to get anything dry. The clothes come out hot and steaming, but still damp. Meanwhile, every cycle is just burning wasted energy and bloating your utility bill. The fix is almost never some complicated, expensive part. It almost always comes down to one thing: letting the machine breathe.
So, my goal here is to walk you through what I’ve learned from thousands of service calls. We’ll cover how your dryer actually works, the pro techniques that prevent 90% of common issues, and the critical safety stuff. Because, heads up, a poorly maintained dryer is one of the biggest fire risks in a modern home. This is about understanding the machine so you can use it safely and efficiently for years to come.
The Secret to Drying Clothes? It’s All About Air
Before you can maintain a dryer, you have to understand its real job. It’s a delicate dance between heat, tumbling, and airflow. If any one of those is off, the whole system just… doesn’t work.
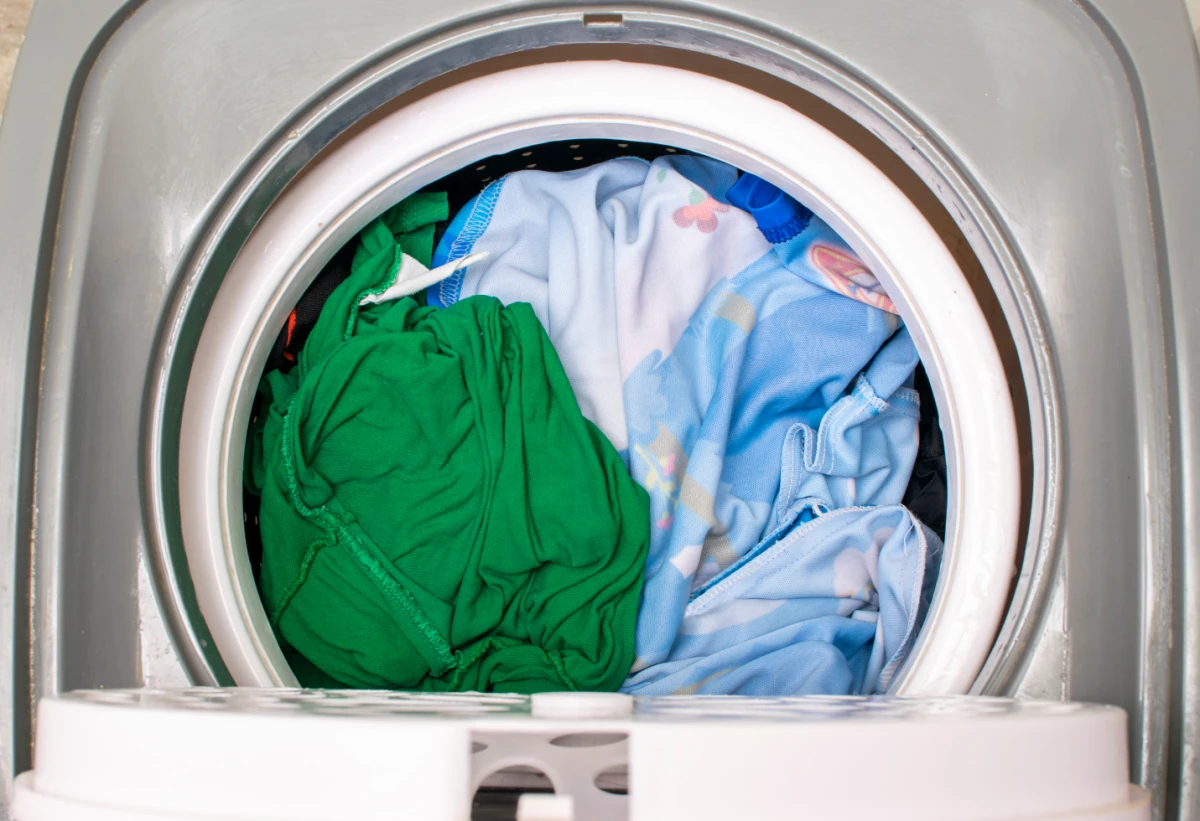
Here’s the journey your laundry’s moisture takes: The dryer pulls in cool, dry air from your room and blasts it over a heating element (or through a gas flame). This superheated, thirsty air then gets pushed into the drum. As your clothes tumble through it, the water in the fabric evaporates and turns into steam, making the air heavy and wet. Then, a powerful fan (the blower wheel) pushes all that hot, moist air out of the drum, through a lint filter, and down an exhaust vent to the outside world. That’s it.
Think of it this way: a dryer’s only mission is to move moisture from inside your house to outside. The heat just makes the air capable of carrying it. If that exit path is blocked, the wet air has nowhere to go. It just swirls around, leaving your clothes steamy and damp. This is why airflow is king.
The Most Important Habit You Can Have
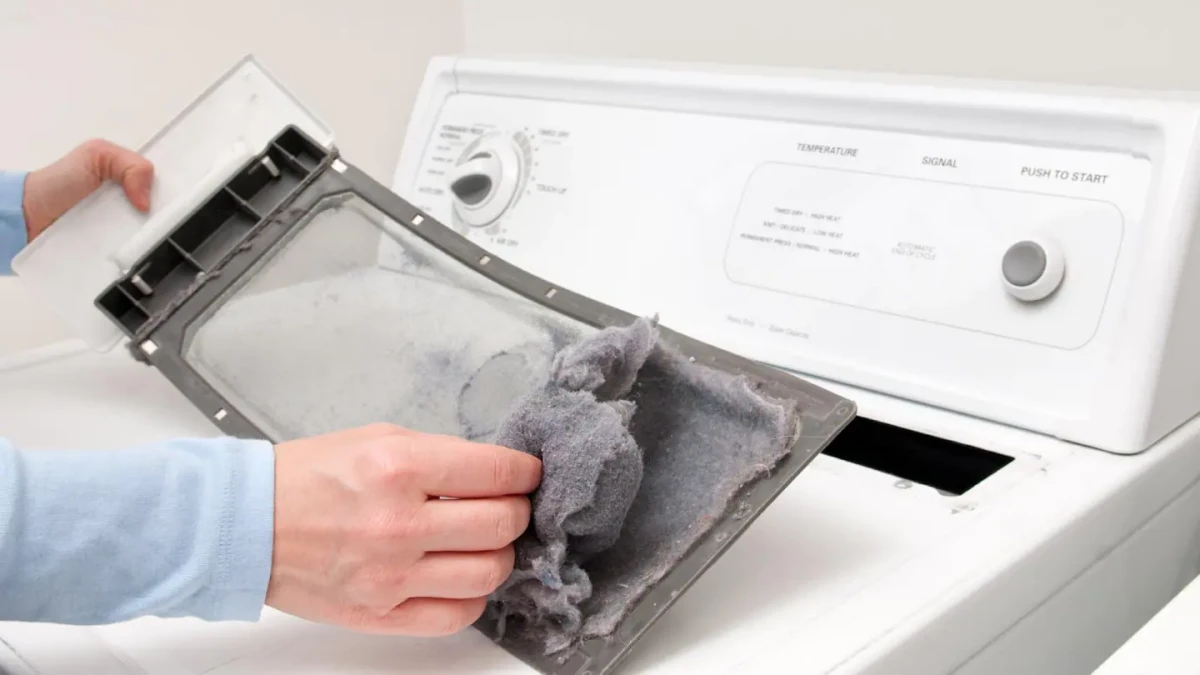
Ask any tech, and they’ll tell you the same thing. The single most important thing you can do for your dryer is to clean the lint screen after every single load. Not every other. Not when you remember. Every. Single. Time. I know it sounds basic, but you wouldn’t believe how many service calls for a ‘slow dryer’ end with me just pulling out a lint screen that looks like a felt blanket.
A clogged screen makes the dryer’s motor work way harder, which can shorten its life. But more immediately, it slashes the amount of air moving through the drum. Less airflow means less moisture gets removed, so the dryer has to run longer and longer. Even a partially blocked screen can jack up your energy use by 30%!
The Pro-Level Lint Screen Deep Clean
By the way, just pulling off the lint isn’t enough. Over time, residue from dryer sheets and liquid fabric softeners builds up an invisible film on the screen’s mesh, choking the airflow. You can’t even see it.
Want to see if this is your problem? Go do this right now. Seriously. Take your ‘clean’ screen to the sink and try to run some water over it. I’ll wait.
Did the water pool up or run off the sides instead of passing straight through? Told you! That screen is clogged. To fix it, just take a soft-bristled brush (an old toothbrush works great), some hot water, and a bit of dish soap. Gently scrub both sides of the screen, rinse it well, and let it dry completely before putting it back. This five-minute task can make a dryer you thought was broken feel brand new again.
The Hidden Danger: Your Dryer Vent
If the lint screen is your first line of defense, the dryer vent—the pipe running from the dryer to the outside—is where the real danger lurks. The number one cause of thousands of house fires every year is failure to clean the dryer. And they’re not talking about the lint screen; they’re talking about the vent.
Lint is basically perfect kindling. When it builds up in the vent duct, the hot air gets trapped. The temperature inside the dryer and the vent skyrockets until the heating element can actually ignite the trapped lint, sending a fire racing through the duct hidden in your walls. It’s a silent hazard that builds up completely out of sight.
The Right Materials Matter (A Lot)
Official building codes are very clear about this for a reason. Never, ever use those flexible white vinyl or flimsy foil accordion-style ducts. They are a massive fire hazard. The ridges inside are perfect lint traps, and they kink and crush easily, creating an instant blockage. If you see that white plastic hose behind your dryer, you need to replace it. This isn’t a suggestion; it’s a critical safety fix.
The only approved materials are rigid metal ducting (the smooth, straight pipes) or a specific type of heavy-duty flexible metal duct. A proper 4-inch diameter, 8-foot section of rigid ducting is cheap—maybe $20 at a place like Home Depot or Lowe’s. A roll of foil tape to seal the joints is another $5. It’s a small price for huge peace of mind.
How to Clean Your Vent System the Right Way
You should clean out your entire vent run at least once a year—or every six months if you have a big family and do a lot of laundry. You can hire a pro for this, which usually runs between $100 and $200, or you can totally do it yourself. Plan for about an hour or two your first time.
First, you’ll need a vent cleaning kit. They sell rotary ones that attach to a drill for about $20 to $50 at any hardware store. You’ll also want a shop vacuum and a screwdriver.
Here’s the game plan:
- Safety First! Unplug your electric dryer from the wall. If you have a gas dryer, turn off the gas supply first. There’s usually a small valve on the pipe right behind the dryer; turn the handle so it’s perpendicular to the pipe. Then unplug it. Do not skip this.
- Get Access. Carefully pull the dryer away from the wall. Quick tip: Slide a piece of cardboard or an old rug under the dryer’s feet to keep from scratching your floor. Then, disconnect the vent from the back of the dryer.
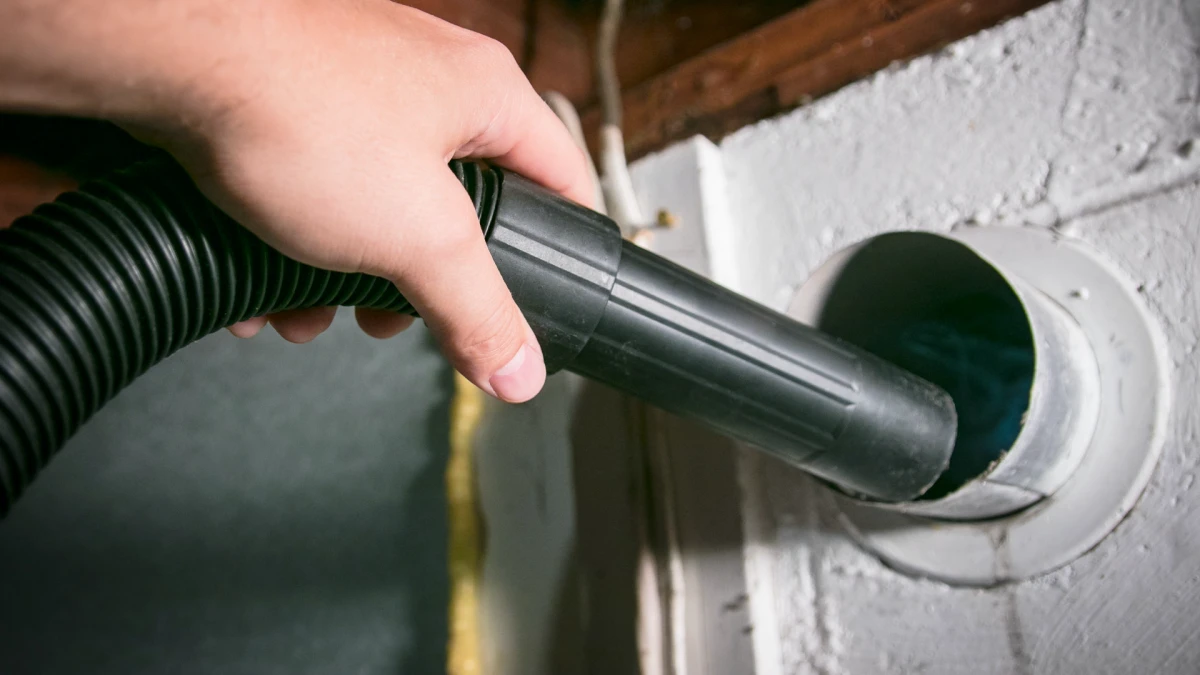
- Clean from the Inside. Use your shop vac to suck out any loose lint from the dryer’s exhaust port and the start of the duct. Then, feed the brush from your cleaning kit into the duct and start pushing it towards the outside of your house. If you’re using a rotary kit, keep your drill on a low speed.
- Clean from the Outside. Go outside and find the vent cover. Pop it open and clean out any gunk—I’ve found everything from bird nests to wasp nests blocking the little flap. You should see your brush poke out. Pull it through, and get ready for a shocking amount of lint to come with it.
- Reconnect and Test. Put everything back together securely. Make sure the duct isn’t crushed or kinked behind the dryer. Plug it in (and turn the gas back on), then run an empty, air-only cycle for 15 minutes to blow out any leftover dust.
Heads up for tricky setups: Does your vent go straight up through the roof or run for a very long distance (more than 35 feet)? These are much harder to clean and are prone to clogs. Honestly, for these more complex systems, it’s often worth calling a professional. They have the right equipment to do it safely.
Little Habits, Big Results
Once your machine can breathe, a few small changes to your routine can make a huge difference.
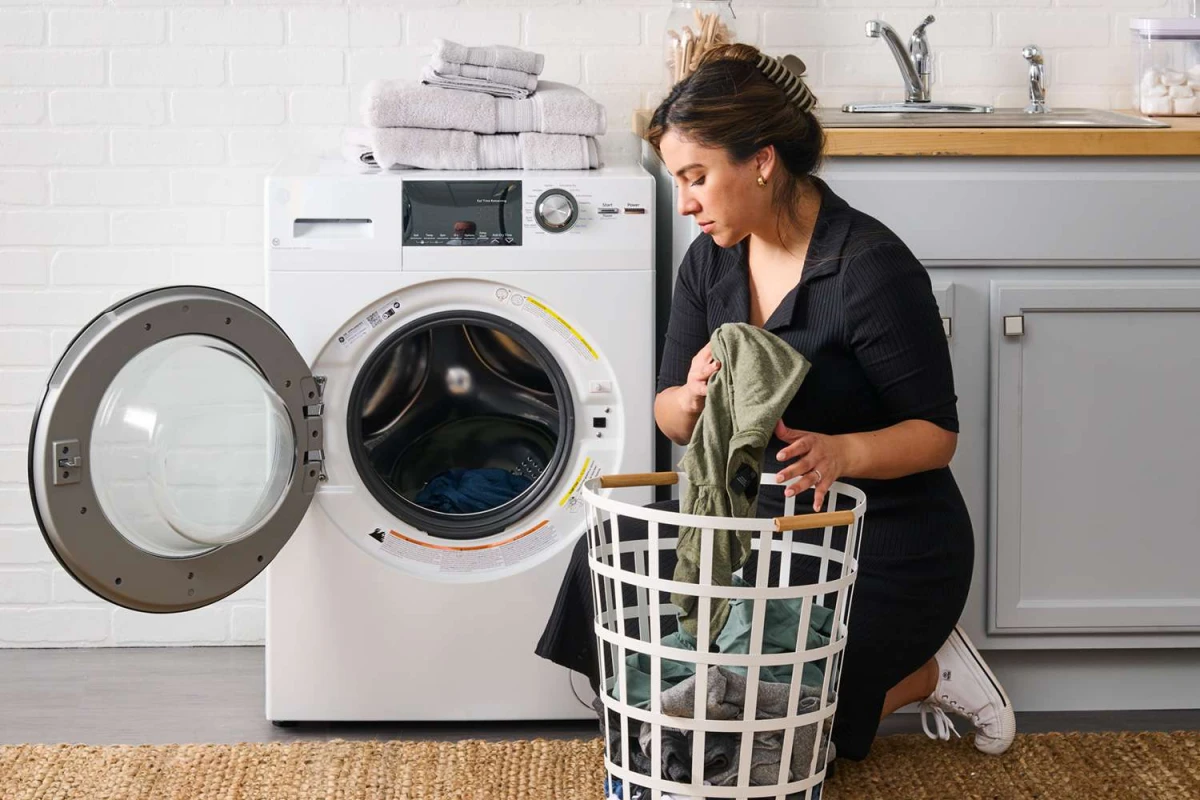
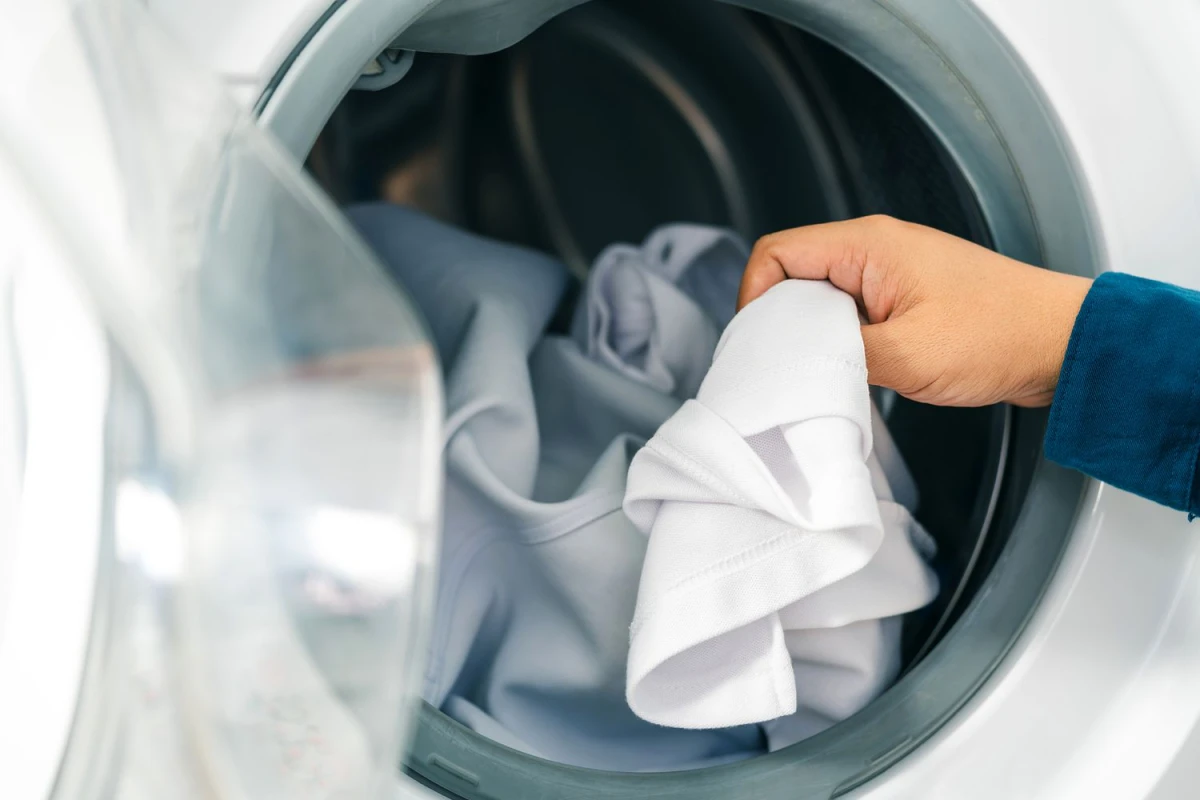
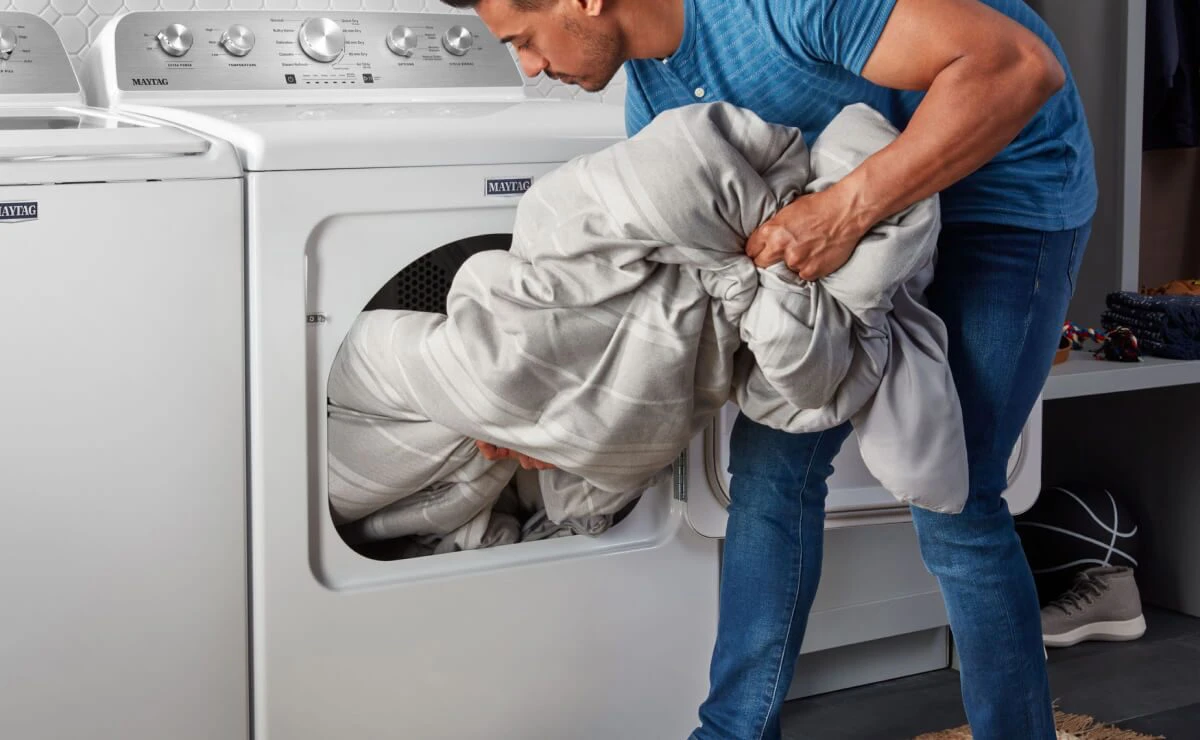
- Don’t Overload It. Your clothes need room to tumble. A good rule is to never fill the drum more than two-thirds full when clothes are wet. If you pack it tight, only the stuff on the outside gets dry.
- Shake It Out. Before moving clothes from the washer, give each item a quick snap. This separates them and breaks up wet clumps, easily shaving 10-15 minutes off your dry time.
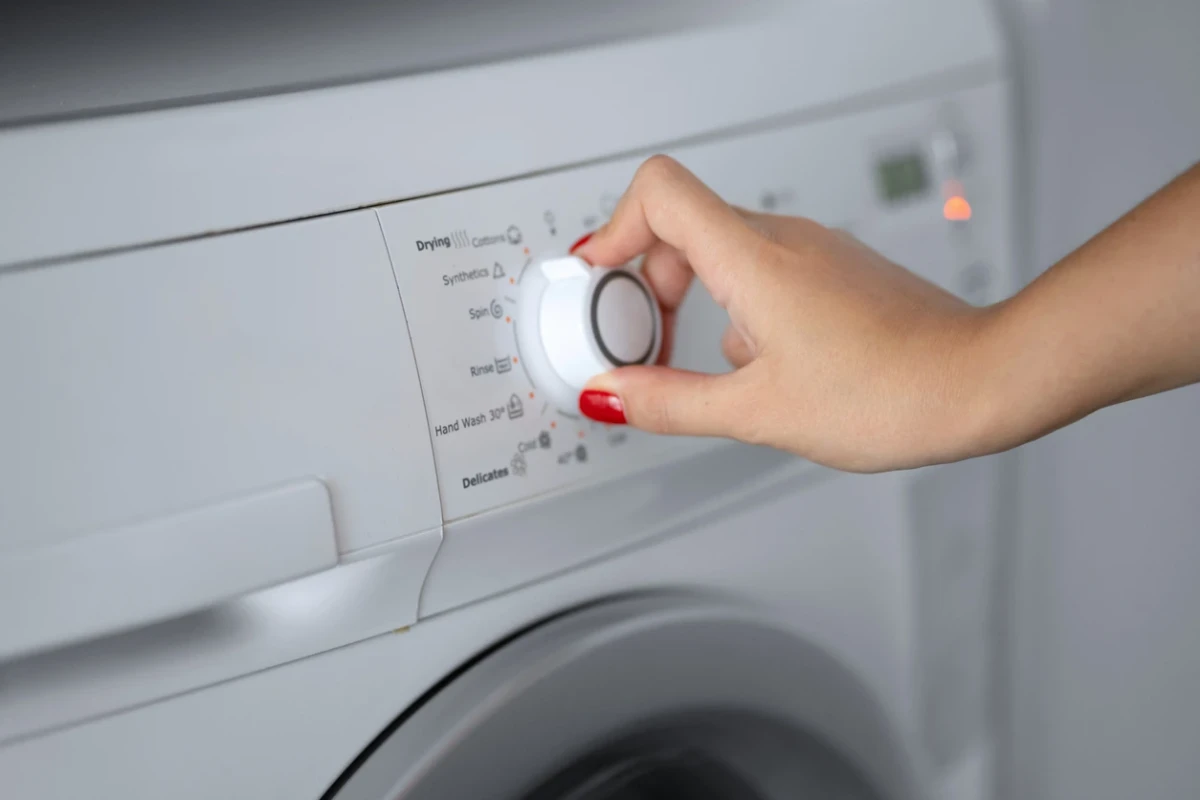
- Use the Right Cycle. You should be using the ‘Automatic’ or ‘Sensor Dry’ setting almost all the time. Those two metal strips you see inside the drum (usually near the lint screen opening) are moisture sensors. They tell the dryer to shut off when the clothes are actually dry. The ‘Timed Dry’ setting is dumb—it runs for the full time no matter what, which wastes energy and cooks your clothes.
- Clean the Sensors! Just like your lint screen, those sensor bars can get coated with fabric softener residue, making them unable to sense moisture. If your ‘automatic’ cycle shuts off after just a few minutes, that’s why. The fix is simple: wipe the two metal bars clean with a cotton ball and a little rubbing alcohol.
A Quick Word on Dryer Sheets vs. Wool Balls
As you can probably tell, I’m not a fan of dryer sheets because of the waxy residue they leave behind. A fantastic alternative is wool dryer balls. They aren’t a gimmick; they work by physically tumbling between your clothes, which separates them for better airflow and softens the fabric. They cost about $15-$20 for a set that will last for hundreds of loads, saving you money in the long run. Plus, they don’t use any chemicals or clog up your machine. If you miss the scent, just add a few drops of essential oil to the balls before a cycle.
When to Pick Up the Phone
Even with perfect maintenance, parts wear out. While some repairs are DIY-friendly, remember you’re dealing with either 240 volts of electricity or a natural gas line. If you’re not 100% confident, call a qualified technician.
- Problem: It tumbles, but there’s no heat. For an electric dryer, check your circuit breaker first! They use a double breaker, and sometimes only one half trips. If that’s not it, it’s likely a bad heating element or a blown thermal fuse (a safety part that often blows because of a clogged vent!).
- Problem: It’s making a horrible squealing or thumping noise. A high-pitched squeal is almost always a worn-out idler pulley (which holds the belt tight). A rhythmic thump-thump-thump is usually the drum support rollers. These are normal wear-and-tear parts.
- Problem: It won’t start at all. The simplest culprit is the door switch. It’s a little button that gets pressed when you close the door. They fail all the time and are a cheap, easy fix.
And a final piece of advice: your time is valuable. A repair that takes a pro 30 minutes might take you three hours of frustration. Sometimes, the smartest and most efficient choice is to just call for service and get the peace of mind that it’s done right.
Inspirational Gallery with Photos
Rigid Metal Ducting: This is the professional’s choice. Its smooth interior walls offer zero resistance to airflow and lint, maximizing efficiency and safety. It’s a bit more work to install but is the ultimate set-it-and-forget-it solution.
Flexible Foil Ducting: The cheap, crinkly silver tube you see everywhere. While convenient, its accordion-like ridges are a trap for lint, creating blockages and a significant fire hazard over time. If you must use a flexible hose, opt for a semi-rigid aluminum version which holds its shape better.
The U.S. Fire Administration reports that clothes dryers are linked to approximately 2,900 home fires each year, with ‘failure to clean’ being the leading cause.
This isn’t just about inconvenience; it’s a critical safety issue. That buildup of highly flammable lint in the vent pipe, combined with the high heat of the dryer, creates a perfect recipe for disaster. A yearly vent inspection and cleaning is a small task with life-saving importance.
Beyond just damp clothes, your house gives you clues that your dryer vent is clogged. Keep an eye out for:
- A laundry room that feels unusually hot or humid during a cycle.
- A burning smell when the dryer is running.
- The outside of the dryer feeling hotter than normal to the touch.
- The outdoor vent flap not opening when the dryer is on.
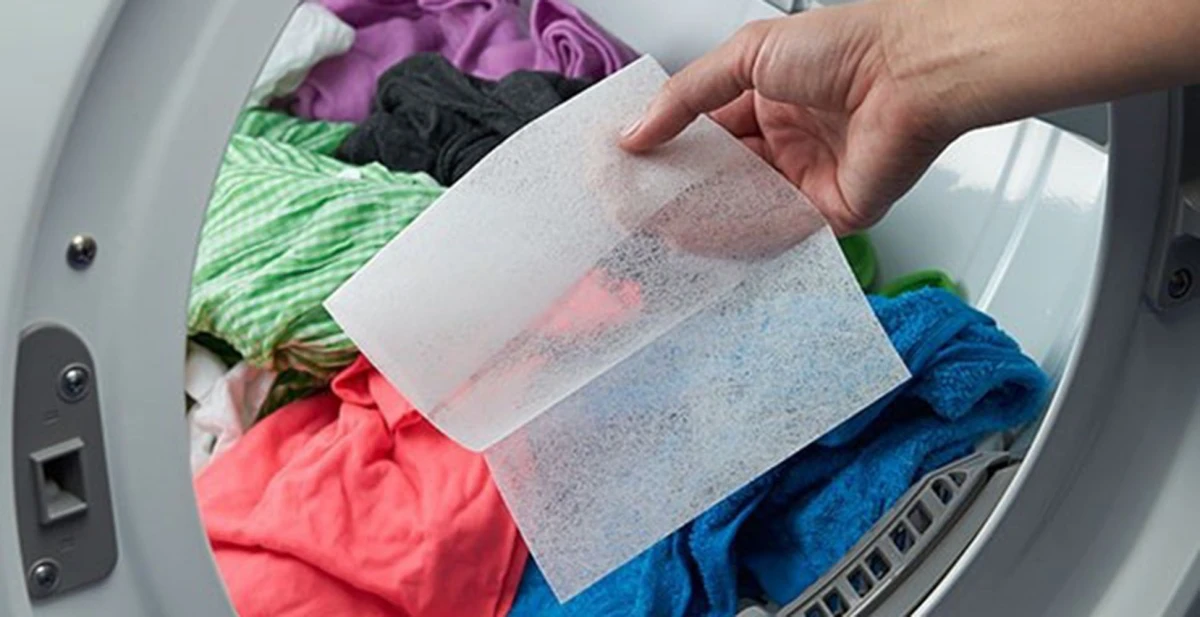
That lint screen feels clean, but is it?
The invisible clog: Dryer sheets and fabric softeners leave behind a waxy, transparent film on your lint filter’s mesh screen. Over time, this film can block airflow just as effectively as a layer of lint. Once a month, take the filter to a sink and gently scrub it with warm, soapy water and a soft brush. If water beads up on the screen instead of passing through, it’s time for a wash.
The journey of moist air doesn’t end at the wall. Don’t forget to check the exterior vent cap on the outside of your house. It’s a magnet for lint, and can also get blocked by bird nests, overgrown bushes, or snow drifts. A clogged cap forces the dryer to work harder, pushing hot, moist air back into your home and increasing drying times dramatically. A quick check each season can make a world of difference.
- Your clothes dry in a single cycle, every time.
- You use measurably less electricity, lowering your utility bill.
- The lifespan of your dryer’s heating element is extended.
The secret? A specialized tool that goes where vacuums can’t. For deep cleaning the entire length of your vent pipe, a rotary brush kit like the Gardus LintEater attaches to your power drill, spinning through the duct to break up and remove years of compacted lint.
I have no way to vent to the outside. Can’t I just use an indoor dryer vent kit?
In a word: no. While these kits, which often use a small container of water to catch lint, seem like a clever solution, they are a bad idea for several reasons. They release a huge amount of moisture back into your home, which can lead to mold and mildew problems. For gas dryers, it’s even more dangerous, as they would be venting carbon monoxide directly into your living space. Always prioritize proper, direct ventilation to the outdoors.
Think of it as giving your laundry some personal space. When you cram the drum full, you eliminate the very thing your dryer needs most: room for hot air to circulate. Clothes get tangled into a giant, damp ball, and the air can’t pass through the fabric to carry moisture away. For best results, never fill your dryer more than two-thirds full.
A study by the Lawrence Berkeley National Laboratory found that cleaning a clogged dryer vent can improve the appliance’s efficiency by up to 30%.
What does that mean for your wallet? If you spend $15 a month running your dryer, a simple cleaning could save you nearly $5 every single month. Over the course of a year, that’s enough to pay for a professional vent cleaning service or a high-quality DIY cleaning kit—with money left over.
Looking to upgrade? The next generation of dryers focuses squarely on energy efficiency. Meet the heat pump dryer.
- Instead of venting hot, wet air outside, it recycles it in a closed-loop system, using a condenser to remove moisture.
- They use up to 50% less energy than conventional models, making them a top choice for eco-conscious homes.
While models from brands like Miele or Bosch have a higher upfront cost, they don’t require external venting, making them perfect for apartments or tricky installations.


