5 Kitchen Habits the Pros Swear By (That Most Home Cooks Overlook)
After years of working in professional kitchens, I’ve seen it all. New cooks come in, full of passion and clutching a binder of complicated recipes, but they almost always get stuck on the same things. And trust me, it’s never the fancy foam or the intricate plating that trips them up. It’s the basics.
In this article
Honestly, learning to cook well has very little to do with memorizing recipes. It’s all about building a solid foundation of habits that makes your food more consistent, more flavorful, and a heck of a lot safer to make.
These aren’t just clever “hacks.” These are the core principles that separate okay home cooking from truly impressive results. I’ve made every single one of these mistakes myself, and I’ve seen everything from ruined meals to dangerous accidents. So, this is the real talk I give every new person in my kitchen. It’s the stuff that actually matters.

Your Knife Is Your Best Friend (If You Treat It Right)
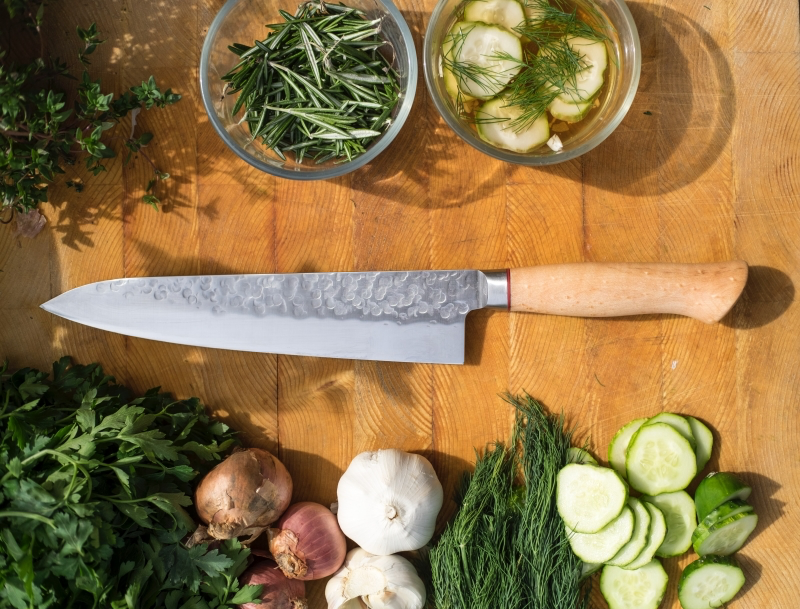
The very first thing I look at when someone new starts is their knife. Not the brand—I couldn’t care less about that—but the sharpness of its edge. A sharp knife is, without a doubt, the most important tool you own. A dull one isn’t just slow and frustrating; it’s a genuine safety hazard.
I’ll never forget watching a talented young cook trying to force a dull blade through a butternut squash. Predictably, the knife skipped right off the tough skin and landed in his hand. Six stitches later, the lesson was painfully clear: a dull knife is infinitely more dangerous than a sharp one. A sharp knife does what you tell it to. A dull knife has a mind of its own.
Why a Sharp Edge Matters So Much
Think about it this way: a sharp knife slices cleanly through the cell walls of an onion or a tomato. This means less tearing and crushing, which is why a sharp knife makes you cry less when chopping onions—fewer damaged cells means fewer of those eye-stinging compounds get released into the air.
A dull knife, on the other hand, smashes its way through food. It tears and crushes, leaving a ragged, bruised surface. That’s why vegetables cut with a dull blade tend to oxidize and go brown faster. You can literally see the difference on a carrot—a sharp cut looks smooth and glossy, while a dull cut looks rough and sad.
Quick tip: Not sure if your knife is sharp enough? Try the paper test. Hold up a single piece of regular printer paper and try to slice downwards into the edge. If the knife cuts it cleanly, you’re in good shape. If it just tears or crumples the paper, it’s time for some maintenance.
Honing vs. Sharpening: They Are NOT the Same Thing
This is a big one. So many home cooks mix these two up, but knowing the difference is key.
- Honing is for daily maintenance. That long steel rod that came with your knife block? That’s a honing steel. It doesn’t actually sharpen the blade. Instead, it realigns the microscopic edge that gets bent and wavy from normal use. Honing takes about 20 seconds and you should do it often—ideally, every time you’re about to do some serious chopping.
- Sharpening is for creating a new edge. This is what you do when honing just isn’t cutting it anymore (pun intended). Sharpening actually grinds away a tiny bit of metal to create a brand new, razor-sharp edge. This is done with a whetstone or by a professional. For most home use, you’ll only need to do this every few months.
A good whetstone is a fantastic investment. A dual-sided stone with a 1000-grit side for sharpening and a 6000-grit side for polishing is perfect, and you can find a good one online for about $30 to $50. But, to be frank, there’s no shame in outsourcing. Taking your knives to a pro at a local butcher shop or a kitchen supply store is a great option. It usually costs just $5 to $10 a knife and is a perfect way to start if you’re not ready to learn to sharpen yourself.
Stop Guessing and Master Your Heat
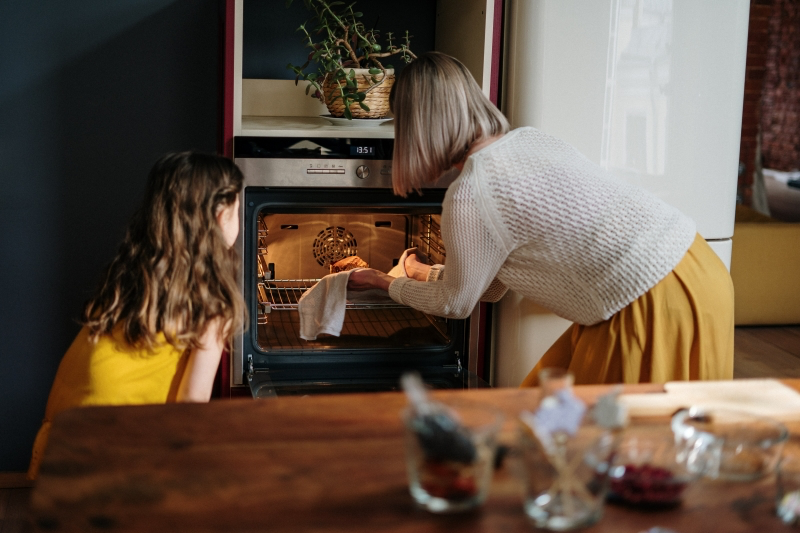
Heat is an ingredient, plain and simple. How you control it is the difference between a perfectly seared steak and a gray, rubbery piece of meat. The biggest mistake people make? Fiddling with the oven door.
Every single time you open that door to peek, the temperature inside plummets by 50 to 75°F. Your oven then has to scramble to get back up to temp, creating wild fluctuations. This is the ultimate enemy of good cooking.
For cakes, that temperature drop causes them to fall. For roasts, it prevents the magic Maillard reaction—the chemical process that creates that beautiful golden-brown crust and deep, savory flavor. Constantly opening the door just steams your food instead of roasting it. So, use the oven light and trust your timer. If you absolutely must open it, be quick about it!
Oh yeah, and your oven is probably lying to you. The temperature on the dial is more of a suggestion. I’ve seen professional ovens that are 25°F off and home ovens that are off by 50°F or more. This is why recipes never seem to work out right.
The fix is ridiculously easy and cheap: buy a dedicated oven thermometer. You can get one for under $10 at Target or online. Just hang it from the center rack, preheat your oven to 350°F, and wait 20 minutes. If your thermometer reads 325°F, you now know you need to set your dial to 375°F to get a true 350°F. This little gadget removes all the guesswork.
Seasoning Isn’t a Final Step—It’s a Process
In every professional kitchen, you’ll hear the chef yelling, “Taste your food!” This isn’t a suggestion. It’s the only way to build deep, complex flavor. A recipe’s salt measurement is just a guideline.
When and Why You Should Season
Timing is everything when it comes to seasoning. Different foods need salt at different times to shine.
- Big Cuts of Meat: For something like a steak or pork roast, salting it at least 45 minutes ahead of time (or even the night before) is a game-changer. The salt works its way deep into the meat, acting like a brine that helps it stay juicy and flavorful from the inside out.
- Sautéing Veggies: When you add onions, celery, and carrots to a hot pan, add a pinch of salt right away. It helps pull moisture out of the vegetables, allowing them to soften and release their flavor without burning.
- Soups and Sauces: Build flavor in layers. Add a little salt when you sweat the veggies. Add a little more when you add the stock. Then, taste and make your final adjustment at the very end. If you just dump all the salt in at the end, the dish won’t taste deeply seasoned, it’ll just taste…salty.
Heads up! Let’s talk about the type of salt. The pros almost universally use Kosher salt for cooking. Why? The crystals are larger and flakier, making it much easier to pinch and control how much you’re adding. Plus, table salt often contains iodine, which can add a subtle metallic taste. A box of Diamond Crystal or Morton Kosher salt costs about $4 and is one of the cheapest, most impactful upgrades you can make in your kitchen.

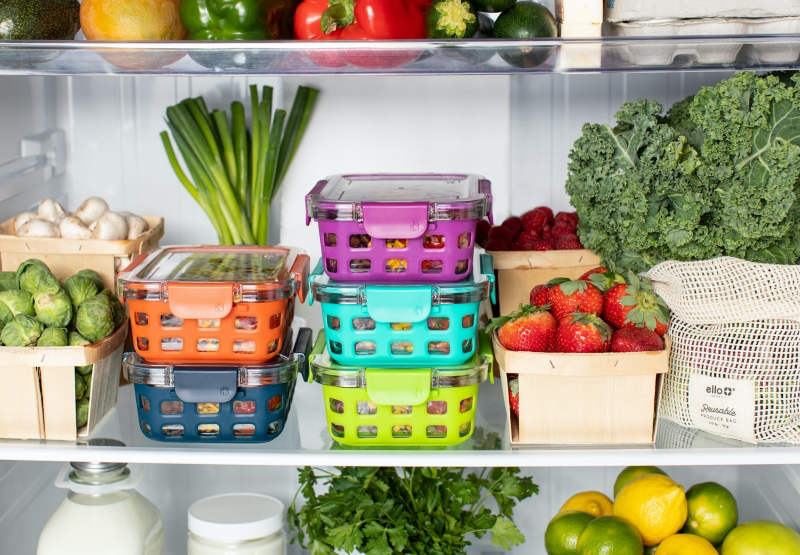
Respect Your Ingredients (Even in Storage)
A great meal starts long before you turn on the stove. I can always tell when someone’s used a refrigerated tomato—the texture is mealy and the flavor is completely flat. How you store your food is critical.
Here are some simple rules that make a huge difference:
- Keep these on the counter (cool, dark, and dry): Tomatoes, onions, garlic, potatoes, and winter squash. The cold temperature of the fridge ruins the texture of tomatoes and causes the starches in potatoes to turn to sugar, making them taste weirdly sweet when cooked.
- These belong in the fridge: Leafy greens, herbs, broccoli, carrots, and asparagus. For herbs like parsley and cilantro, trim the stems and keep them in a jar with an inch of water, like a bouquet. For greens, wash and dry them well, then store them in a container with a paper towel to soak up any extra moisture.
- The Ethylene Gas Problem: Some fruits, like apples, bananas, and avocados, release a gas called ethylene as they ripen. This gas speeds up the ripening (and spoiling) of other produce. Keep these ethylene-producers away from sensitive items like carrots and leafy greens to keep everything fresh longer.
And adopt the FIFO rule at home: First In, First Out. When you buy new groceries, slide the older stuff to the front of the shelf and put the new stuff in the back. It takes two extra seconds and saves you from finding that sad, fuzzy container of leftovers you forgot about.
Work Clean, Work Smart: The Magic of Mise en Place
If I see a cook working at a messy, cluttered station, I already know their food is going to be chaotic. A clean workspace isn’t just about sanitation; it’s about focus, efficiency, and mental clarity.
There’s a classic term for this: mise en place, which simply means “everything in its place.” It’s the practice of getting all your ingredients prepped and organized before you even think about turning on the heat. That means chopping all your vegetables, measuring out your spices, and having everything ready to go in little bowls.
For the home cook, the two most powerful mise en place tools are a “garbage bowl” and a bench scraper.
Instead of walking back and forth to the trash can with every onion peel and carrot top, just keep a big bowl on your counter to toss all your scraps into. It’s a simple change that streamlines your workflow like you wouldn’t believe. A bench scraper (a flat piece of metal with a handle, usually under $15) is perfect for scooping up your chopped veggies and transferring them to the pan without spilling, and for easily clearing your cutting board. It’s one of those “how did I live without this?” tools.
Inspiration:
You’ll hear chefs obsess over their

For a perfectly seared piece of fish or steak, the sound is your guide. If you don’t hear a confident sizzle the moment the protein hits the pan, it’s not hot enough.
This isn’t just about sound effects; it’s about the Maillard reaction, the chemical process that gives browned food its deep, complex flavor. Adding food to a lukewarm pan causes it to steam in its own juices, resulting in a soggy, grey, and stuck-on mess. Patience is key: let your pan get properly hot before a single ingredient goes in.
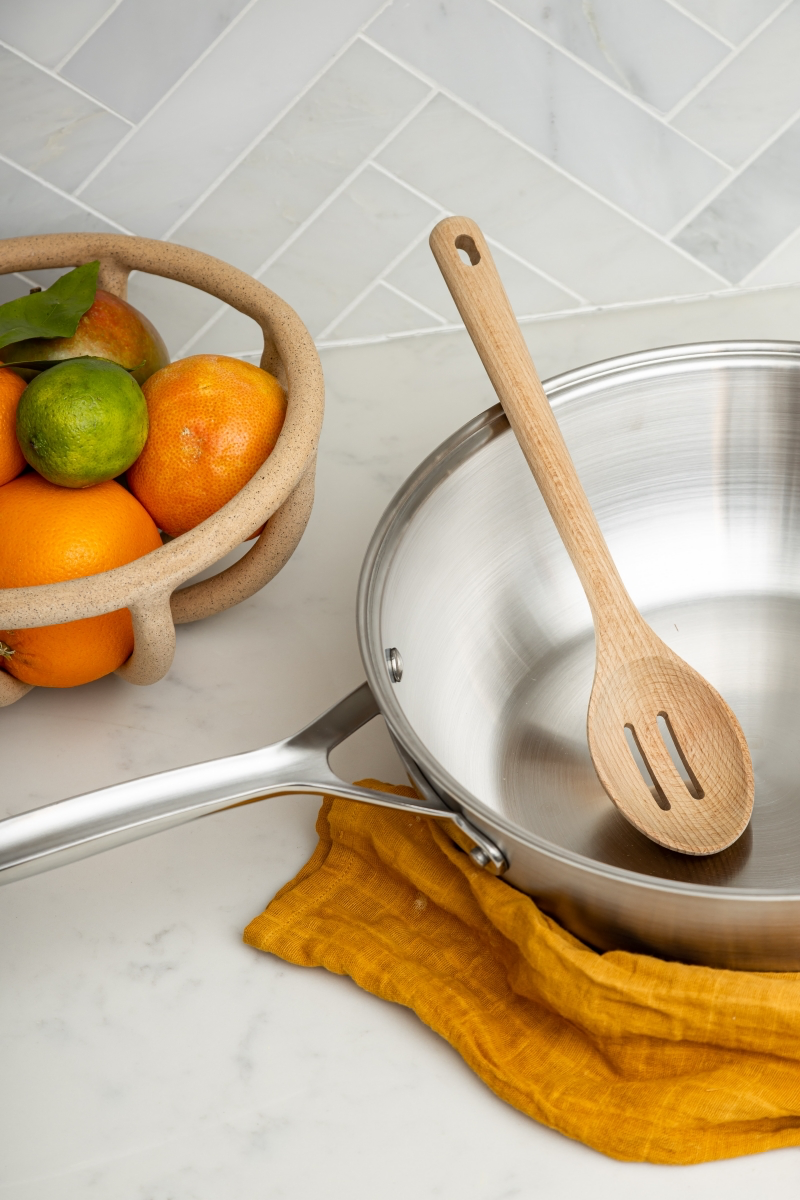
Stainless Steel Pan: Your workhorse for searing meats, sautéing vegetables, and creating pan sauces. It heats evenly and the browned bits (fond) that stick to the bottom are pure flavor gold.
Cast Iron Skillet: Unbeatable for high-heat cooking, deep-frying, and baking cornbread. A well-seasoned skillet from a brand like Lodge develops a natural non-stick surface over time.
Forget the giant set; these two pans handle 90% of what a professional kitchen does.


