Your Toothpaste Can Do *What*? A Pro’s Guide to Smart (and Safe) Home Hacks
I’ve been in the home restoration game for a long time, and I’ve seen it all. People are always asking me about the latest cleaning hack they saw online, and you know the one that comes up constantly? Toothpaste. It’s cheap, everyone has it, and the internet promises it can fix everything from wall scuffs to phone scratches. And honestly? There’s a tiny bit of truth there, but there’s also a huge potential for disaster.
In this article
My job isn’t just about cleaning things; it’s about preserving them. So when I see people grabbing a tube of whitening toothpaste to go at their furniture, I get a little nervous. You have to remember what toothpaste is actually made for: scrubbing one of the hardest surfaces in the human body. When you take that same formula to a delicate finish, you’re basically running a science experiment where the prize for failure is a costly repair bill. So, let’s talk about this from a pro’s perspective—what it is, where it works, and where it absolutely, positively does not belong.
First, Why Does This Even Work? The Science of the Paste
Before you use anything to clean, you gotta know what’s in it. This is how people accidentally ruin their stuff. Toothpaste is basically a mild abrasive polish. It works by physically scraping gunk off your teeth with tiny, gritty particles.
The key ingredient is the abrasive. This could be hydrated silica (a soft gel-like version of the stuff in sand) or calcium carbonate (which is basically fancy chalk). The grittiness of a toothpaste is measured by its Relative Dentin Abrasivity, or RDA. This is the most important part for our purposes. A low RDA is gentle (under 70), while a high RDA is aggressive (over 150). Whitening and tartar control formulas are almost always on the higher end.
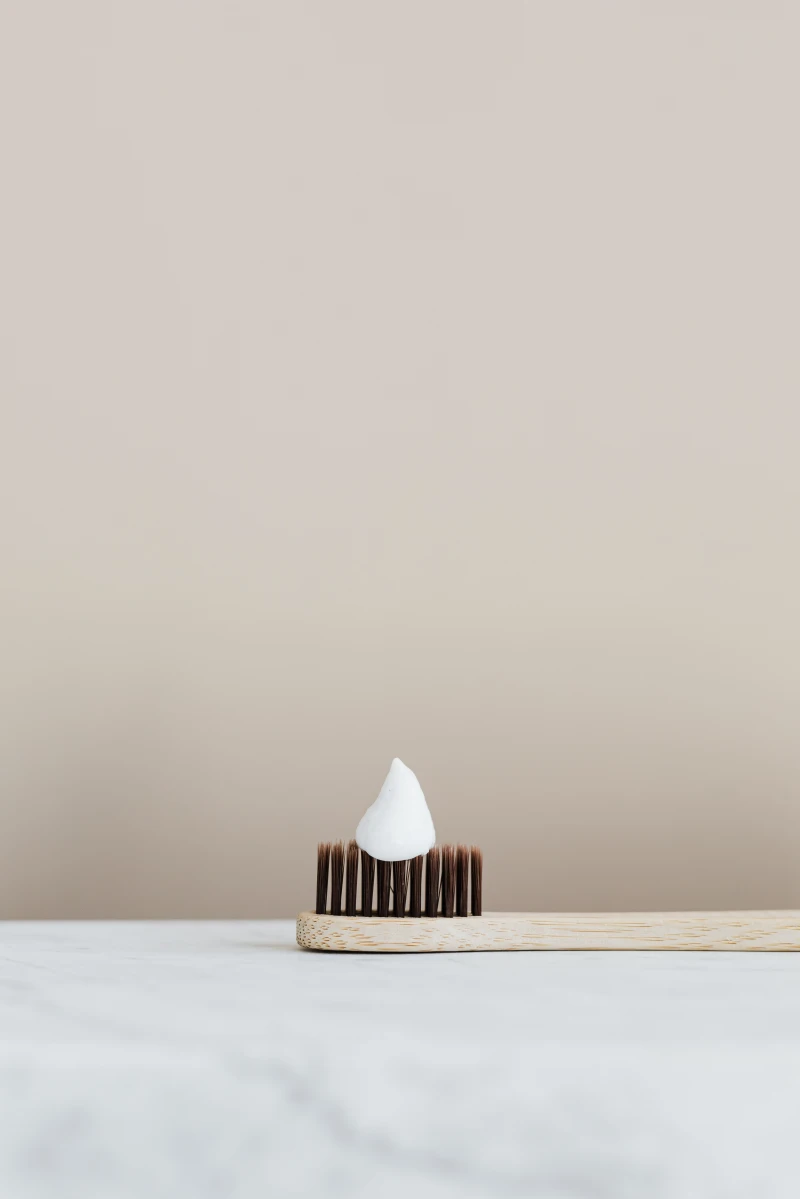
So here’s the golden rule for any home use: always grab a basic, plain white, non-gel paste. Think classic formulas. Steer clear of gels, anything with “whitening crystals,” or fancy tartar-control versions. For home projects, you want low-and-slow, not a high-powered sander in a tube.
Good to know: If you’re standing in the aisle at Target or Walmart completely lost, look for something like the original Colgate Cavity Protection (its RDA is around 68) or Arm & Hammer Dental Care (RDA is about 70). Avoid most of the popular whitening pastes, as their RDA can easily top 100, which is too harsh for most home surfaces.
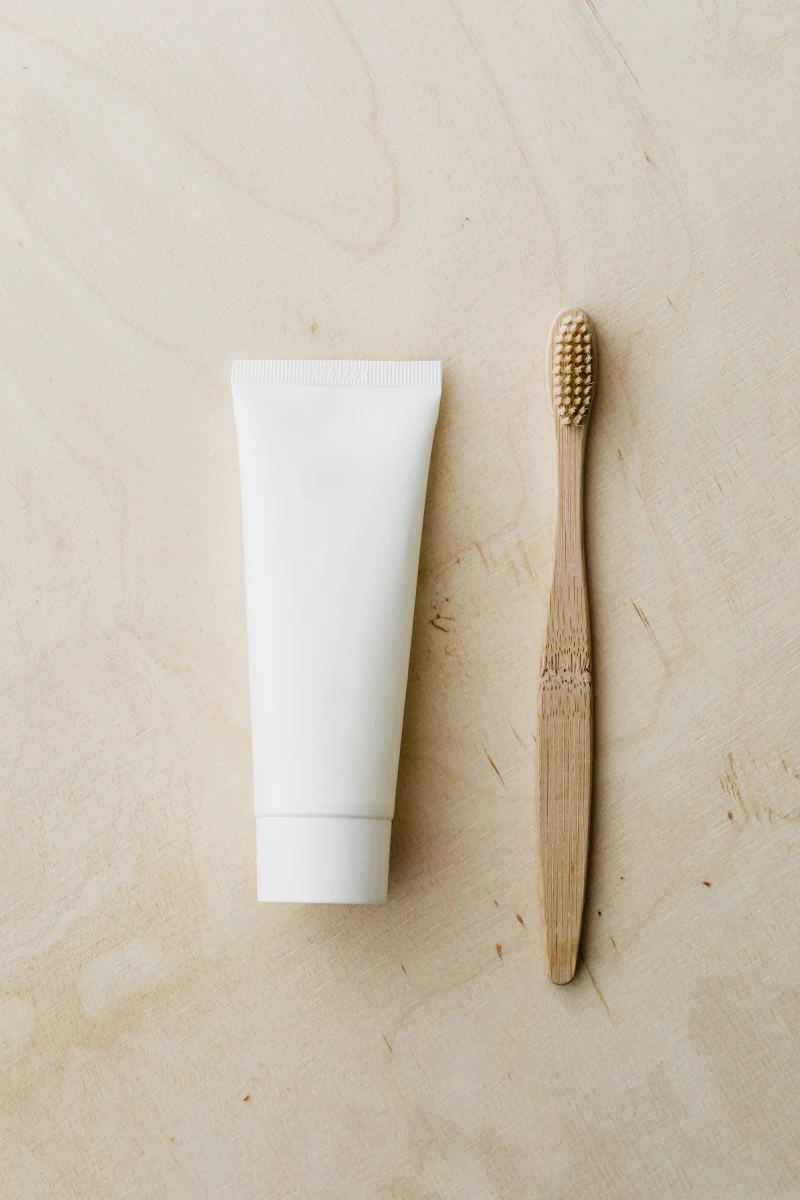
Your Toothpaste Toolkit: What You’ll Need
Before you start, let’s get your simple kit together. It’s super cheap and easy.
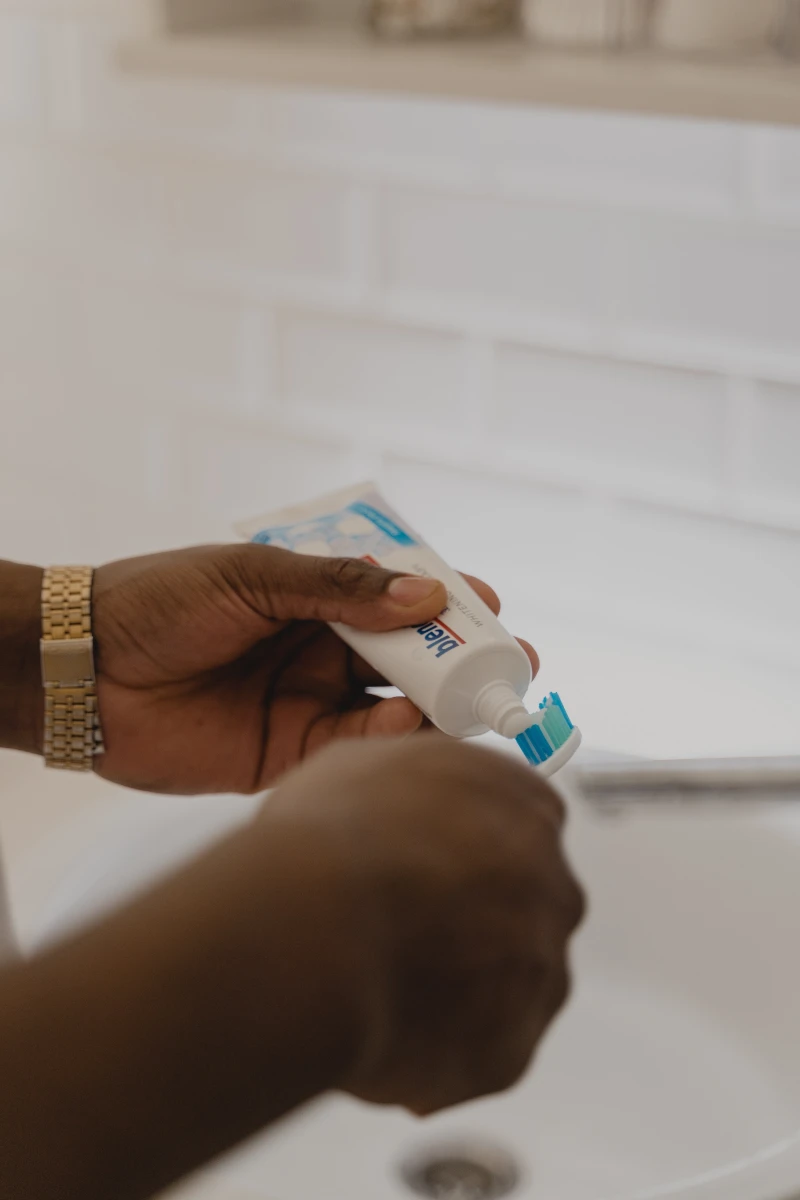
- The Right Toothpaste: A tube of basic white paste like original Crest or Colgate. You can find this for about $2.
- Soft Cloths: A pack of microfiber cloths is your best friend here. They’re gentle and won’t leave lint behind. A pack usually costs between $5 and $10 at Home Depot or online.
- An Old Toothbrush: Perfect for scrubbing things like sneaker soles or grout lines. And hey, it’s free!
The Safe Zone: Where Toothpaste Can Be Your Hero
Okay, now for the fun part. With the right technique, toothpaste can be a surprisingly effective tool for a few specific jobs. The method is always the same: use a tiny amount, a soft cloth, and gentle pressure.
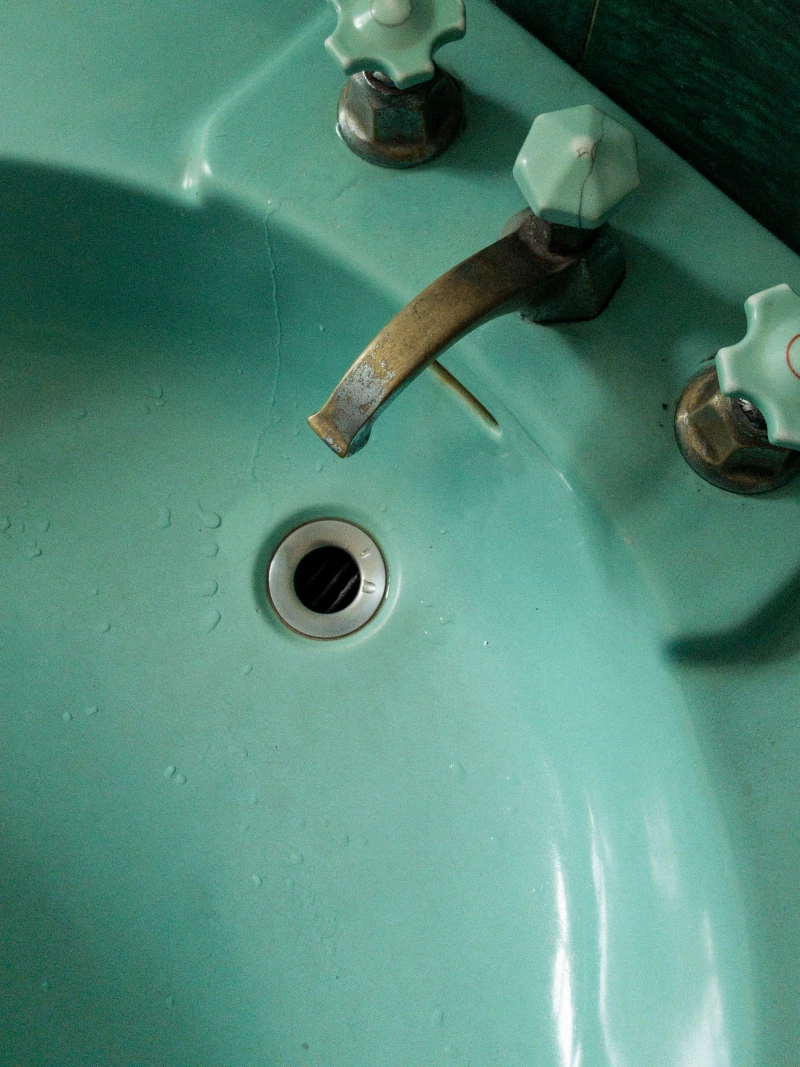
1. Polishing Up Certain Metals and Fixtures
This is probably the most legit use. The mild abrasives are great for cutting through tarnish and soap scum. I’ve seen a bathroom faucet go from dull and spotty to sparkling like new in under two minutes with this trick.
What it’s good for:
- Chrome Faucets: Got hard water spots or a film of soap scum? A pea-sized dab of paste on a damp microfiber cloth will polish that right up. Just be sure to rinse it completely and buff dry to avoid streaks.
- Stainless Steel Sinks: It’s great for a quick scrub-down to remove minor stains and get a bit of shine back. Plus, the minty scent helps deodorize the drain a little. Win-win.
- Sterling Silver (with a big warning): It can remove light tarnish from solid silver. But let’s be real, you’re literally scraping a microscopic layer of silver off each time. For a quick touch-up on a piece of jewelry, it’s fine. For a priceless family heirloom? Please, just buy a proper chemical silver polish.
Heads up! I once had a client who tried to clean her grandmother’s silver-plated tea set with a heavy-duty whitening paste and a toothbrush. It was a total nightmare. She scrubbed right through the thin silver plating, exposing the cheap metal underneath. The damage was permanent.
Pro-Tip: To tell if your silver is solid or plated, check the back for stamps. If you see “Sterling” or “925,” it’s solid. If you see “EPNS,” “A1,” or “Silver-Plate,” it’s plated—do not use toothpaste on it!
2. Erasing Scuffs from Hard Surfaces
The gentle abrasion is also great for buffing away marks where something soft has scuffed something hard.
What it’s good for:
- White Sneaker Soles: This is a classic for a reason. A dime-sized amount of paste on an old toothbrush will scrub those grass stains and scuff marks off the white rubber part of your sneakers beautifully.
- Linoleum or Vinyl Flooring: Pesky black scuff marks from shoes can often be buffed away with a little paste and some elbow grease. Just be gentle.
Remember, you’re not filling a scratch; you’re just smoothing the surface. If you can feel the mark with your fingernail, this trick won’t work.
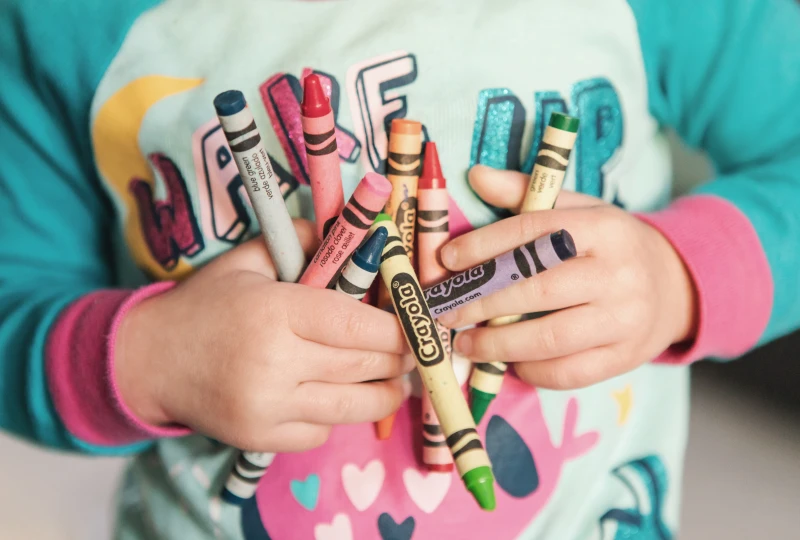
3. Removing Crayon from (the Right Kind of) Walls
Ah, the classic call from a panicked parent. Yes, toothpaste can work here, but your wall’s paint finish is everything. This only works on walls with a gloss or semi-gloss finish. These paints are durable and have a protective sheen that can stand up to a little gentle scrubbing.
Quick Win: Before you even reach for the paste, try a simple pencil eraser on the crayon mark. You’d be surprised how often that’s all you need!
If that doesn’t work, here’s the step-by-step:
- Put a small dab of white, non-gel paste on a damp microfiber cloth.
- Gently rub the crayon mark in a small, circular motion. Don’t press hard!
- Wipe the area clean with a fresh, damp cloth to remove any residue.
CRITICAL WARNING: Never, ever try this on a wall with matte or flat paint. That paint is porous and has zero protection. The toothpaste will scrub the paint right off, leaving a shiny, burnished spot that looks a thousand times worse than the crayon. I’ve seen it happen, and the only fix is repainting the entire wall.
The Danger Zone: A Pro’s “Do Not Use” List
Okay, this is the most important part of the whole article. Using toothpaste on these surfaces will cause expensive, often irreversible damage. I’ve seen every single one of these mistakes firsthand.
- Phone, Tablet, or TV Screens: Absolutely not. Modern screens have special coatings to reduce fingerprints and glare. Toothpaste will strip these coatings off instantly, leaving you with a permanent, smudgy, hazy mess. What to use instead: A clean, dry microfiber cloth. That’s it.
- Eyeglasses or Sunglasses: Same reason. Those lenses have anti-scratch and UV-blocking coatings that cost a lot of money. Toothpaste will destroy them. I once had to explain to a guy why his new $500 glasses were ruined. It wasn’t a fun conversation. What to use instead: A lens-specific spray and a microfiber lens cloth.
- Wood Furniture or Flooring: Two problems here. The water in the paste can warp the wood and damage the finish, leaving a cloudy white mark. And the abrasives will scratch and dull the protective lacquer. What to use instead: A dedicated wood cleaner like Murphy Oil Soap or a polish designed for wood.
- Car Paint: This is a shockingly common and terrible myth. The abrasives in toothpaste are way, way coarser than professional automotive compounds. You won’t buff out a scratch; you’ll create a giant patch of thousands of tiny new scratches, turning a small problem into a job for a professional detailer. What to use instead: A proper automotive scratch remover kit (like those from Meguiar’s or Turtle Wax), which costs about $20-$30.
- Gold, Platinum, and Soft Gems: Gold and platinum are much softer than silver and will scratch easily. And for gems like pearls, opals, or amber, an abrasive is a death sentence. What to use instead: A simple solution of warm water and a few drops of dish soap, or take them to a professional jeweler for cleaning.
My Final Take: A Handy Tool, Not a Miracle Cure
So, where do I land on the toothpaste debate after all these years? It’s a niche tool for a very narrow list of problems. It’s fantastic for shining a faucet in a pinch or getting a scuff off a sneaker. But it’s not a replacement for proper, material-specific cleaning products.
The advice I give all my new trainees is to approach it with caution. Always think about what you’re cleaning. If it’s valuable, sentimental, or you’re just not sure, don’t risk it. The cost of a proper cleaner is always less than the cost of replacing something you’ve ruined.
So go ahead, give it a try on that scuffed-up floor or dingy faucet. Just be smart about it. Knowing the difference between a quick fix and a costly mistake is what this is all about.
Inspiration:
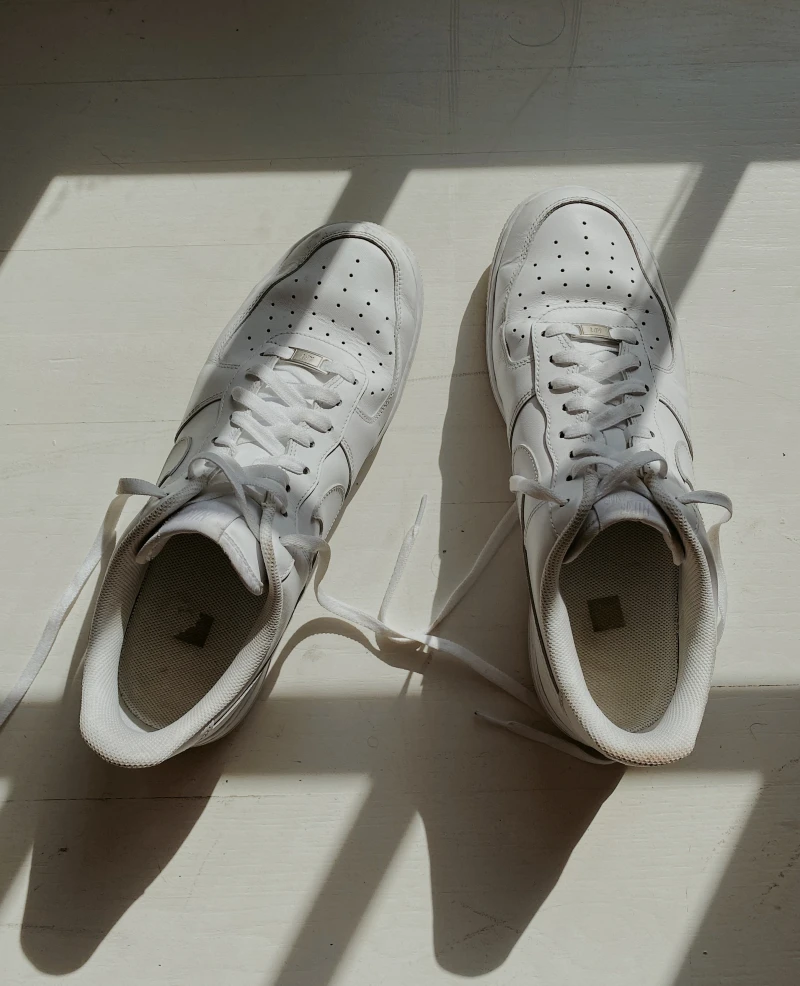
That persistent scuff mark on your white Converse or leather sneakers can often be solved with a dab of paste. For the best results, get your mini-kit ready:
- A non-gel, plain white toothpaste (a basic Colgate or Crest works perfectly).
- An old, soft-bristled toothbrush.
- A clean, damp microfiber cloth for wiping away residue.
- A separate dry cloth for buffing.
The secret is a gentle, circular motion. Let the mild abrasives do the work, don’t scrub aggressively.
I’ve used toothpaste on a foggy headlight. What’s the next step?
Great, you’ve done the abrasive work! Now you need to protect it. The plastic is now clean but exposed. After wiping the lens completely clean and dry, you must apply a UV-blocking sealant. You can find dedicated headlight sealant kits from brands like 3M or Sylvania at any auto parts store. Without this final step, the plastic will oxidize and turn yellow again even faster than before.

The Relative Dentin Abrasivity (RDA) of toothpaste can range from under 70 (low) to over 200 (high). For comparison, plain baking soda has an RDA of just 7.
This is why a simple paste of baking soda and water is often a much safer starting point for DIY cleaning. It offers gentle scrubbing power without the added chemicals, whiteners, and detergents found in toothpaste, making it a superior choice for delicate tasks like removing coffee stains from mugs or brightening stained grout.
For Crayon on Painted Walls: Dab a small amount of non-gel toothpaste on the mark and rub gently with a soft cloth. The mild abrasive lifts the wax. Wipe clean with a damp cloth.
For Minor Water Rings on Wood: This is risky, so proceed with extreme caution on a hidden spot first! Apply a tiny bit of white, non-gel paste and gently rub *with the grain* using a soft cloth for no more than a minute. Immediately wipe clean. The goal is to lightly buff the cloudy part of the finish, not the wood itself.


