Your Jeweler’s No-Nonsense Guide to Cleaning Jewelry at Home
As someone who’s spent a long, long time behind a jeweler’s bench, I can tell you that I’ve seen it all. Some pieces come in sparkling, fresh from the box, while others have that beautiful, gentle wear that only comes from a life full of love. But honestly, the most common request I get—besides fixing a broken clasp—is for a deep, professional cleaning. People are always blown away when their dull ring or cloudy necklace comes back looking brand new, and they always ask how they can keep it looking that way at home. And the truth is, you can do a fantastic job yourself if you just know the rules of the game.
In this article
Jewelry gets dirty for the simplest reasons. Think about it: your skin has natural oils, and you use lotions, soaps, and hairspray. Then there’s the dust and microscopic fibers that get caught in all those tiny nooks and crannies. Over time, this film of grime blocks light from getting into your gemstones, which is why a once-fiery diamond might start to look a little… well, dead. For silver, it’s a bit different; a chemical reaction with sulfur in the air causes tarnish. So, cleaning is all about safely removing that buildup and, in silver’s case, reversing the tarnish.
But here’s the single most important thing I can teach you: not all jewelry is created equal. Trying to clean a soft, porous opal with the same aggressive method you’d use for a tough diamond can cause permanent, heartbreaking damage. Before you even think about mixing a solution, you have to play detective and figure out what you’re working with. This guide will walk you through the very same principles I use in my workshop, so you can get that professional sparkle safely.
Step 1: Know Your Materials (This is Non-Negotiable!)
Before any cleaning begins, you need to know exactly what’s in your hand. What’s the metal? What’s the stone? This isn’t an optional step, folks. The wrong cleaning method can strip a stone’s finish, crack a gem, or even wear away a metal’s plating. In a professional shop, identification is always, always the first thing we do.
But what if you have no idea what you’ve got? Maybe it’s an heirloom piece or something you picked up at a market. My best advice? Take it to a local, trusted jeweler. Most will be happy to identify the materials for you, often for free, and it’s the safest first step you can take.
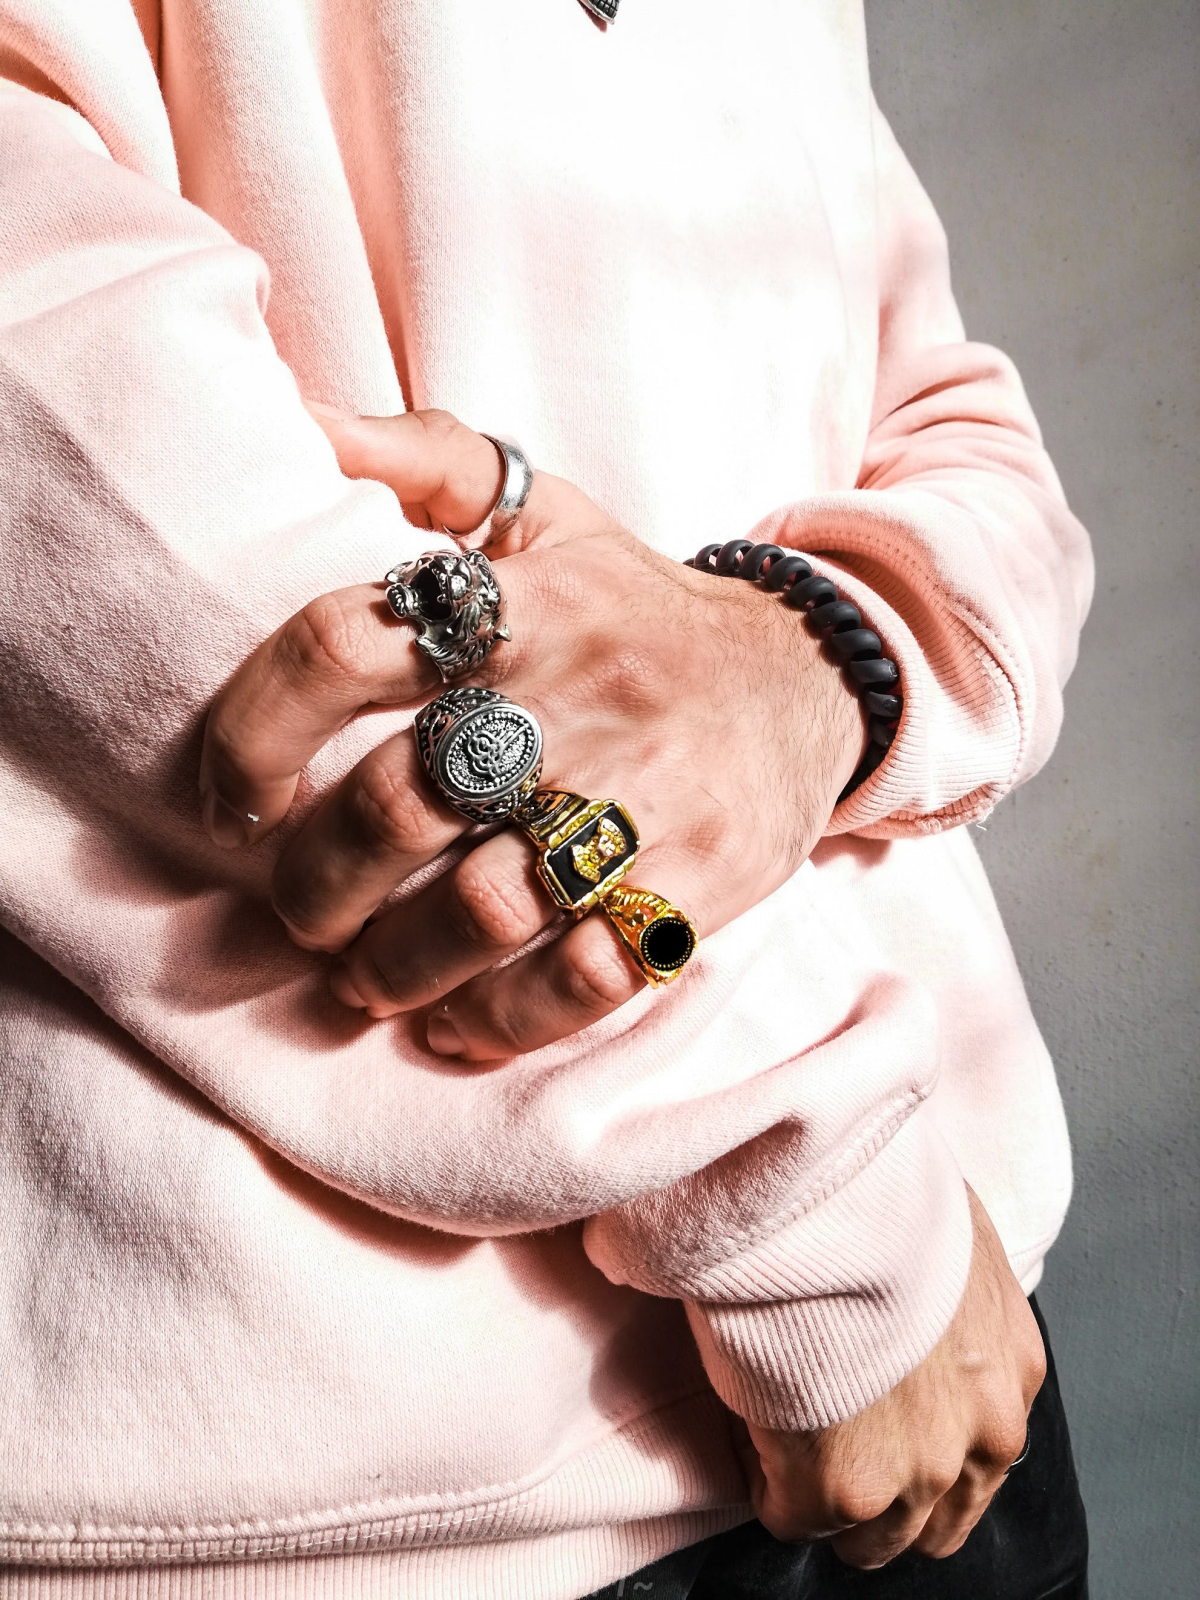
Solid Gold or Just Plated? Here’s a Quick Check
This is a huge one because it completely changes how you clean. Plated jewelry is a base metal (like copper or brass) with a paper-thin layer of gold or silver on top. If you scrub it too hard, you can rub that layer right off.
- Look for Hallmarks: Check for tiny stamps on the clasp, the inside of the ring band, or on the back of the piece. Solid gold is often marked with ’14k,’ ’18k,’ or a number like ‘585’ or ‘750’. Sterling silver is almost always stamped ‘925’ or ‘STERLING’.
- Plated Markings: If you see ‘GP’ (Gold Plated), ‘GEP’ (Gold Electroplated), or ‘HGE’ (Heavy Gold Electroplate), you’re dealing with a plated piece. Be extra gentle!
Once you know the metal, it’s time to think about the stones.
Gemstone Hardness and Why It Matters
In gemology, we use the Mohs scale to talk about a mineral’s scratch resistance. It’s a simple 1 to 10 scale, with diamond being the king at a 10. This is mission-critical for cleaning because it tells you how much scrubbing a stone can take.
- Super Durable (Mohs 9-10): We’re talking about Diamonds, Sapphires, and Rubies. These are tough and can handle a gentle scrub with a soft brush without any issues.
- Pretty Durable (Mohs 7-8): Stones like Amethyst, Citrine, and other Quartz varieties fall here. They’re generally safe for careful cleaning, but you’re starting to get into a zone where you need to be mindful. While Emeralds are technically hard, they are often full of natural internal fractures (called inclusions), which can make them fragile. More on them in a bit.
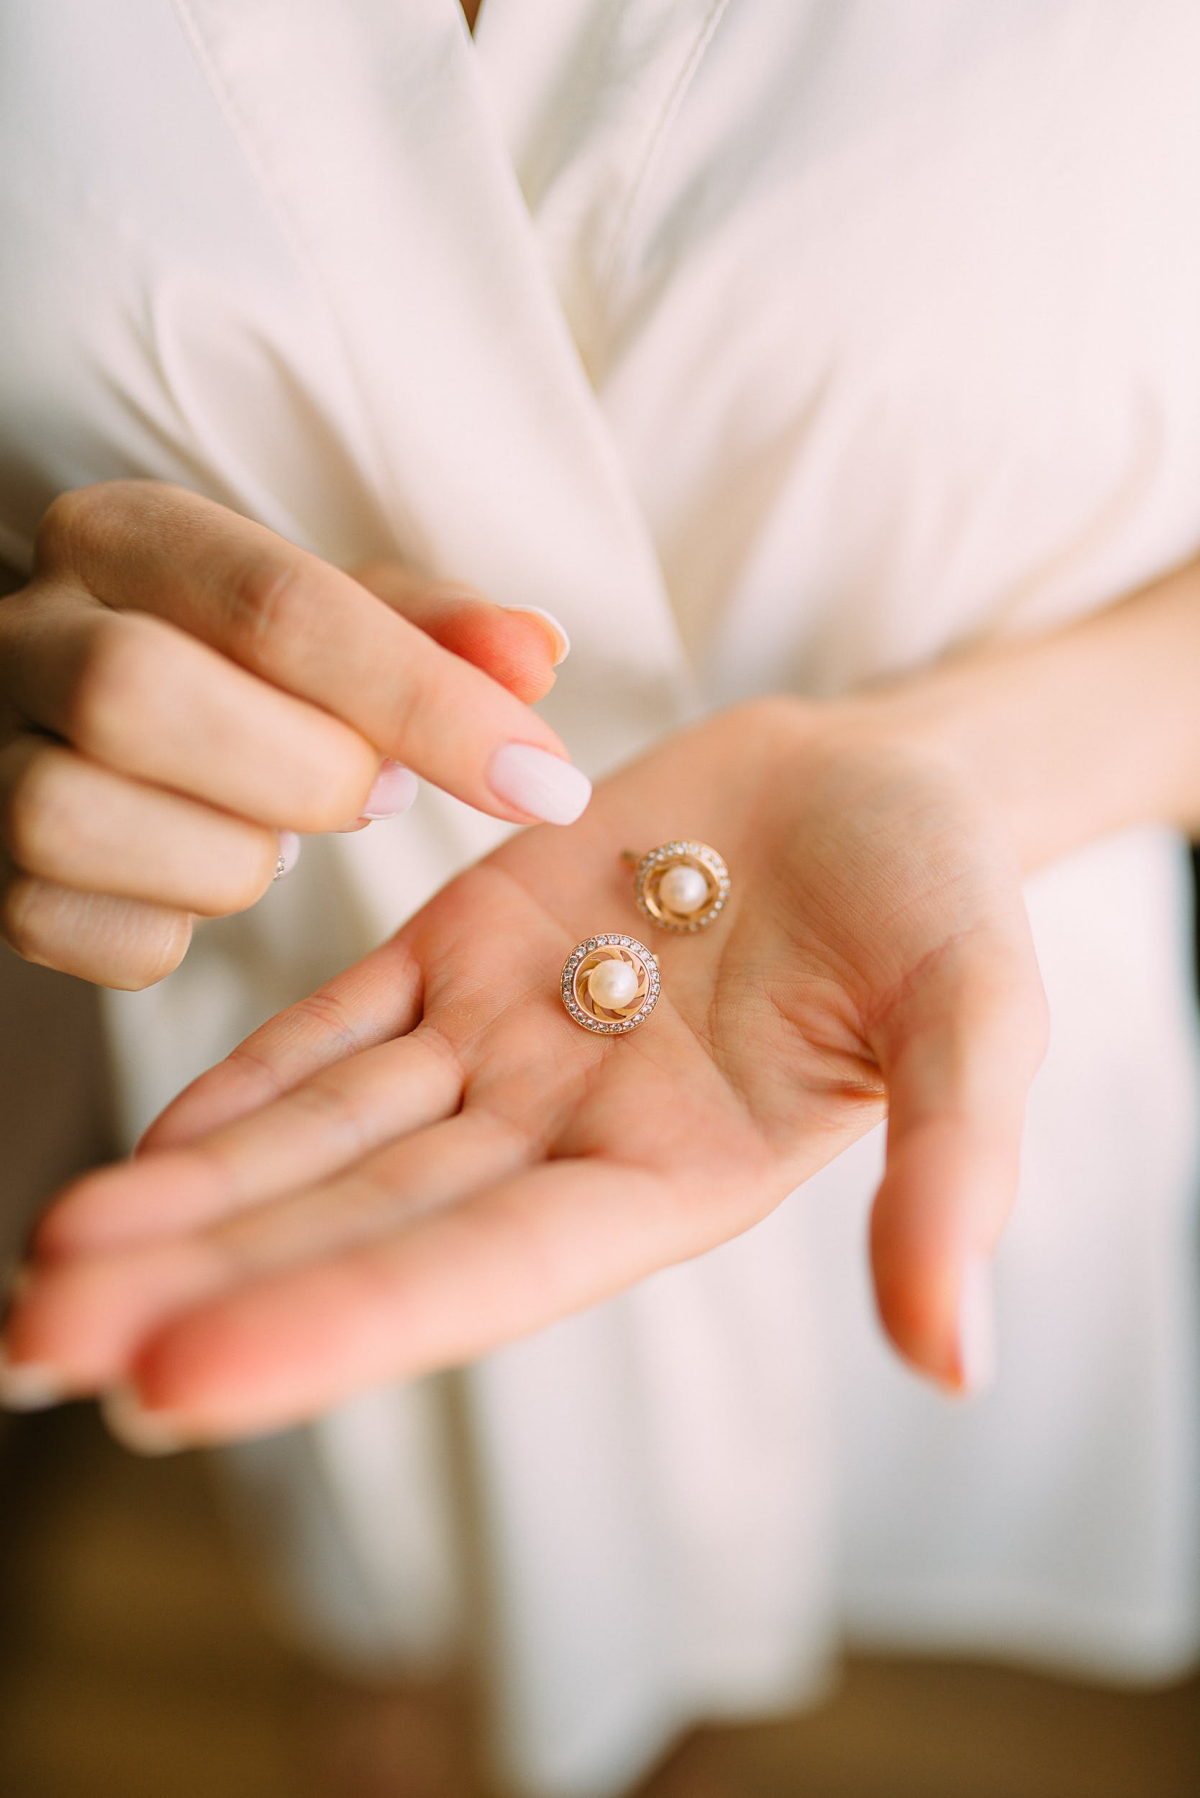
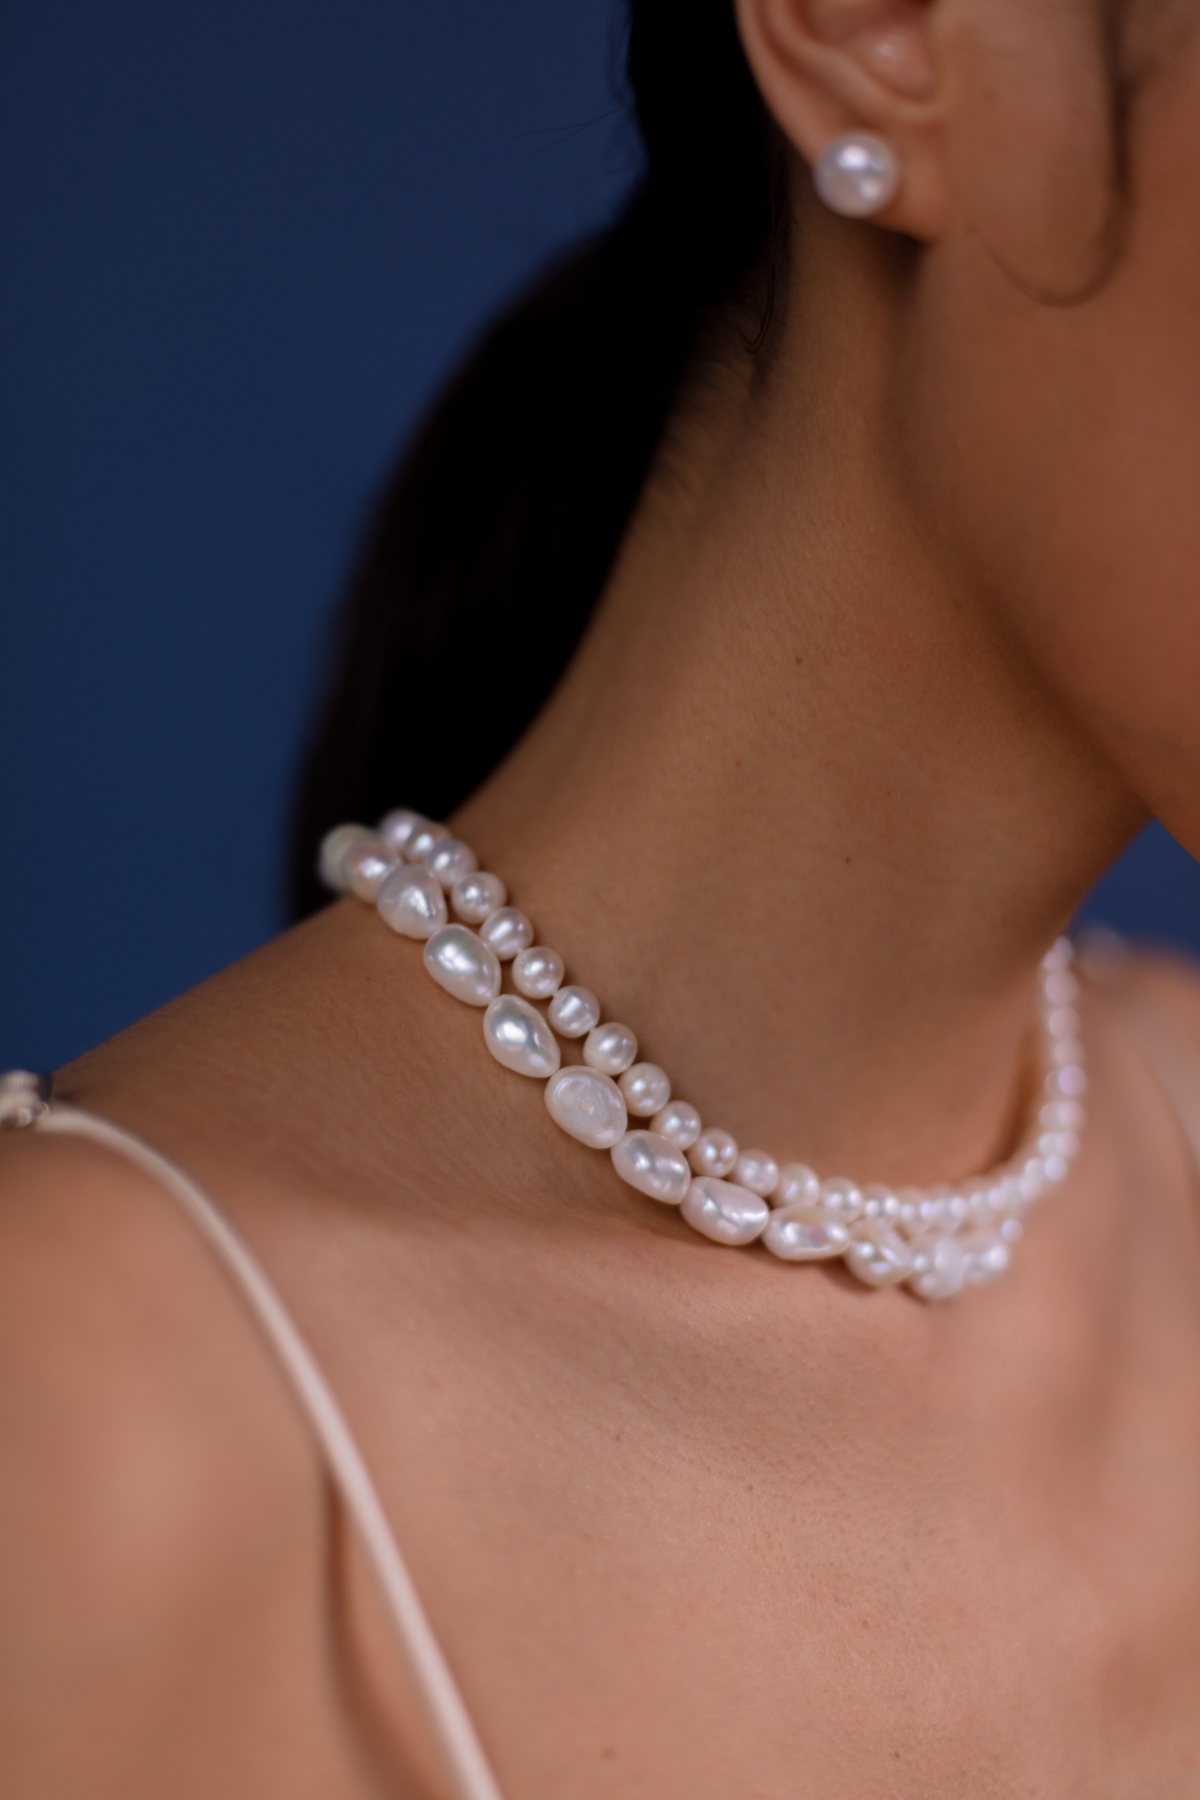
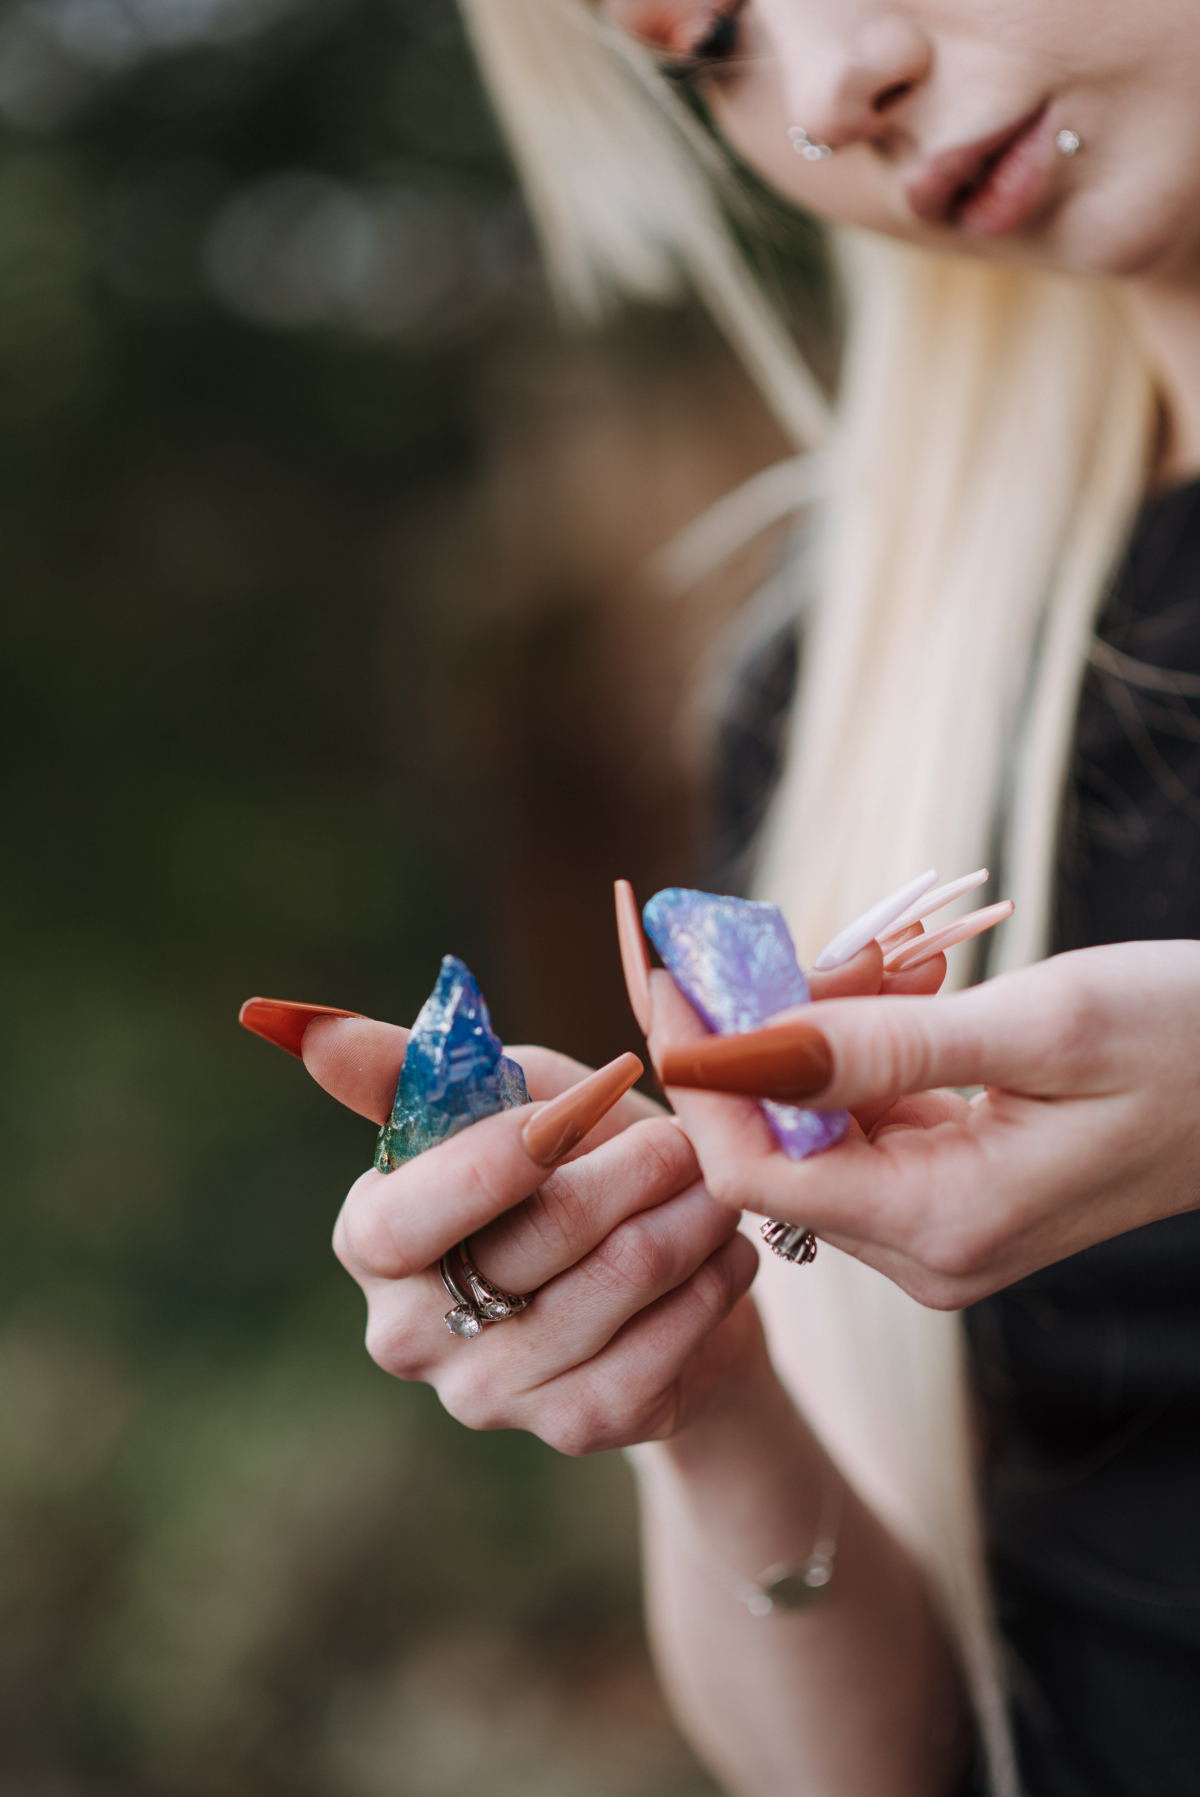
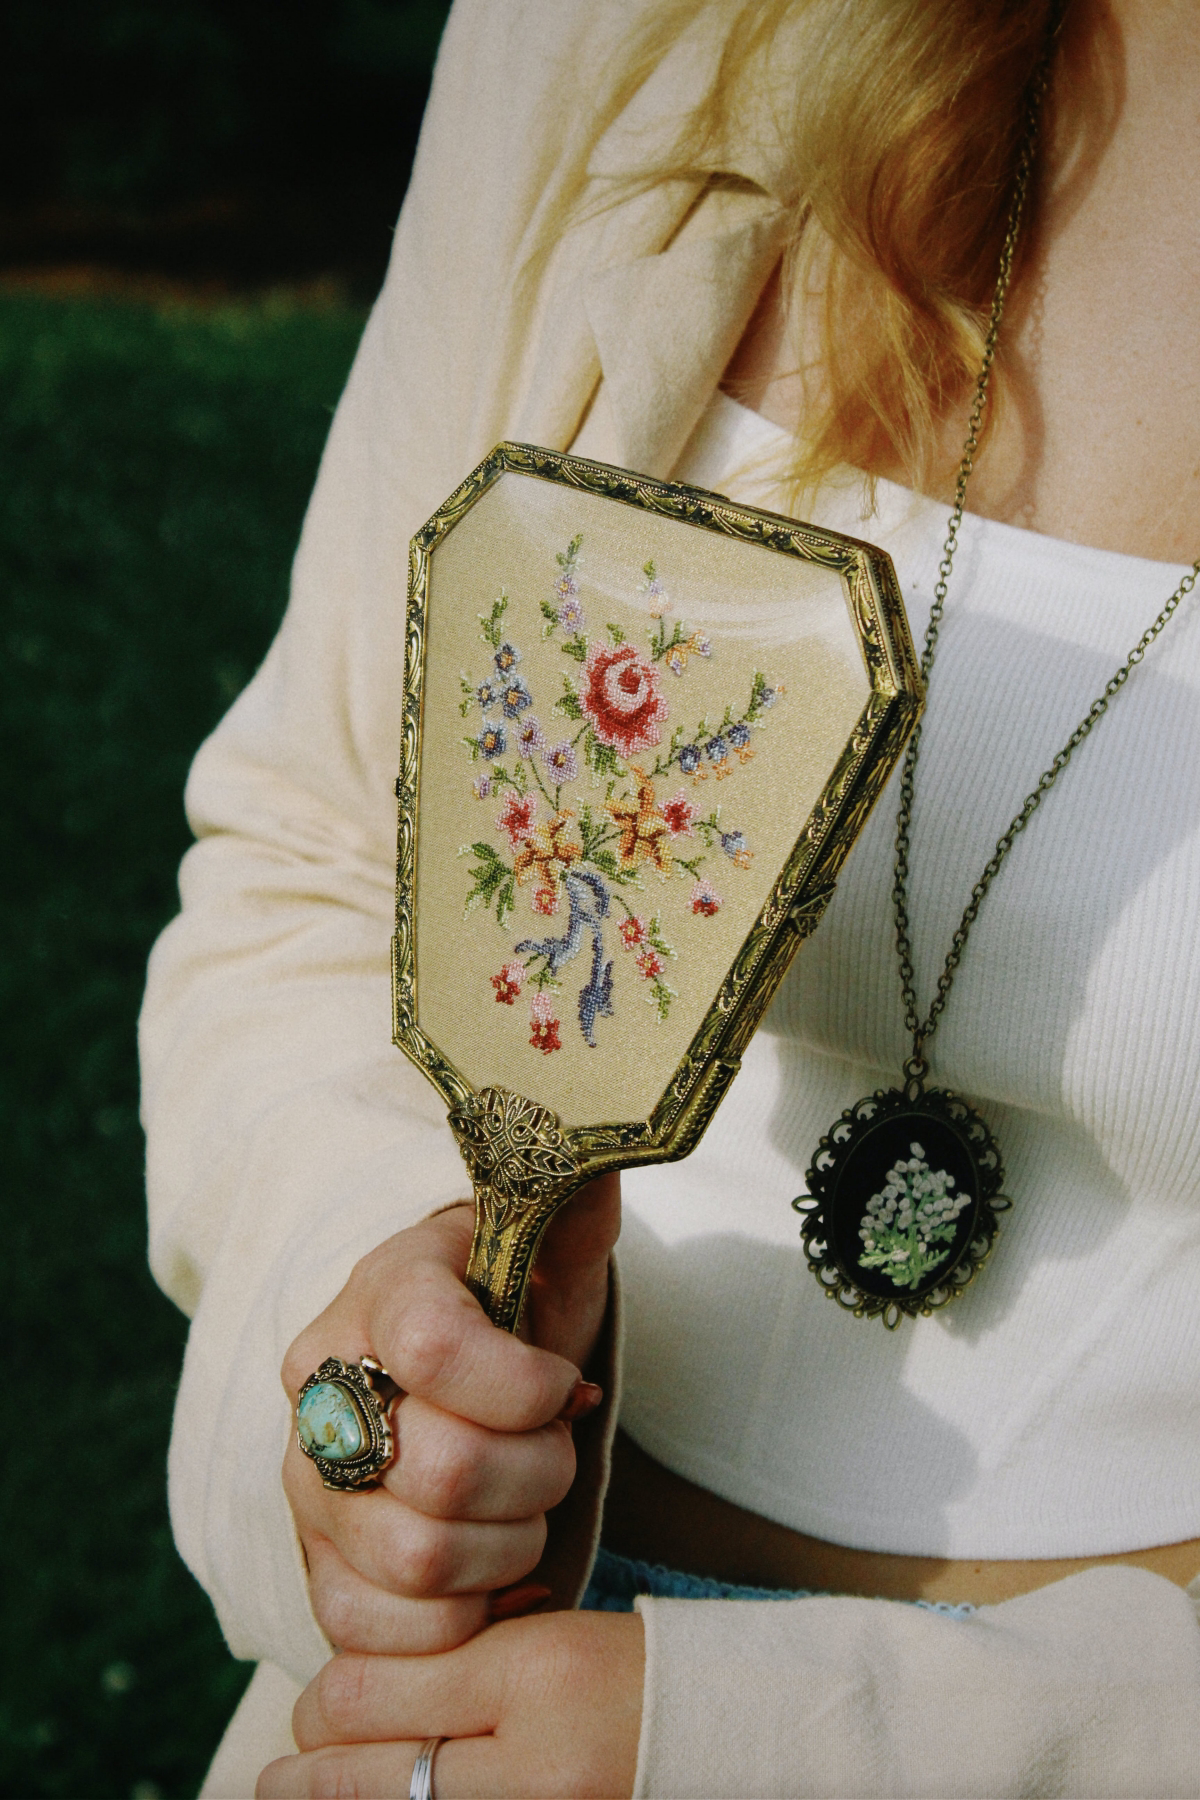
- Soft & Delicate (Below Mohs 7): Here you have Opals, Turquoise, and Pearls. These are the ones you have to be super careful with. A toothbrush bristle that feels soft to you can easily leave micro-scratches on an opal or a pearl. As a rule of thumb, anything below a 7 on this scale should never be scrubbed.
Is Your Stone a Sponge? Porous vs. Non-Porous
Some gemstones, like Turquoise, Opal, Coral, and Pearl, are porous. They can literally absorb liquids. I once had a client bring in a gorgeous turquoise ring that had turned a murky, sad green. She’d soaked it in soapy water, and the soap had seeped deep into the stone, changing its color forever. For these materials, you only ever clean the surface—no soaking!
Non-porous stones like diamond, sapphire, and quartz are much more forgiving. You can soak them without worry.
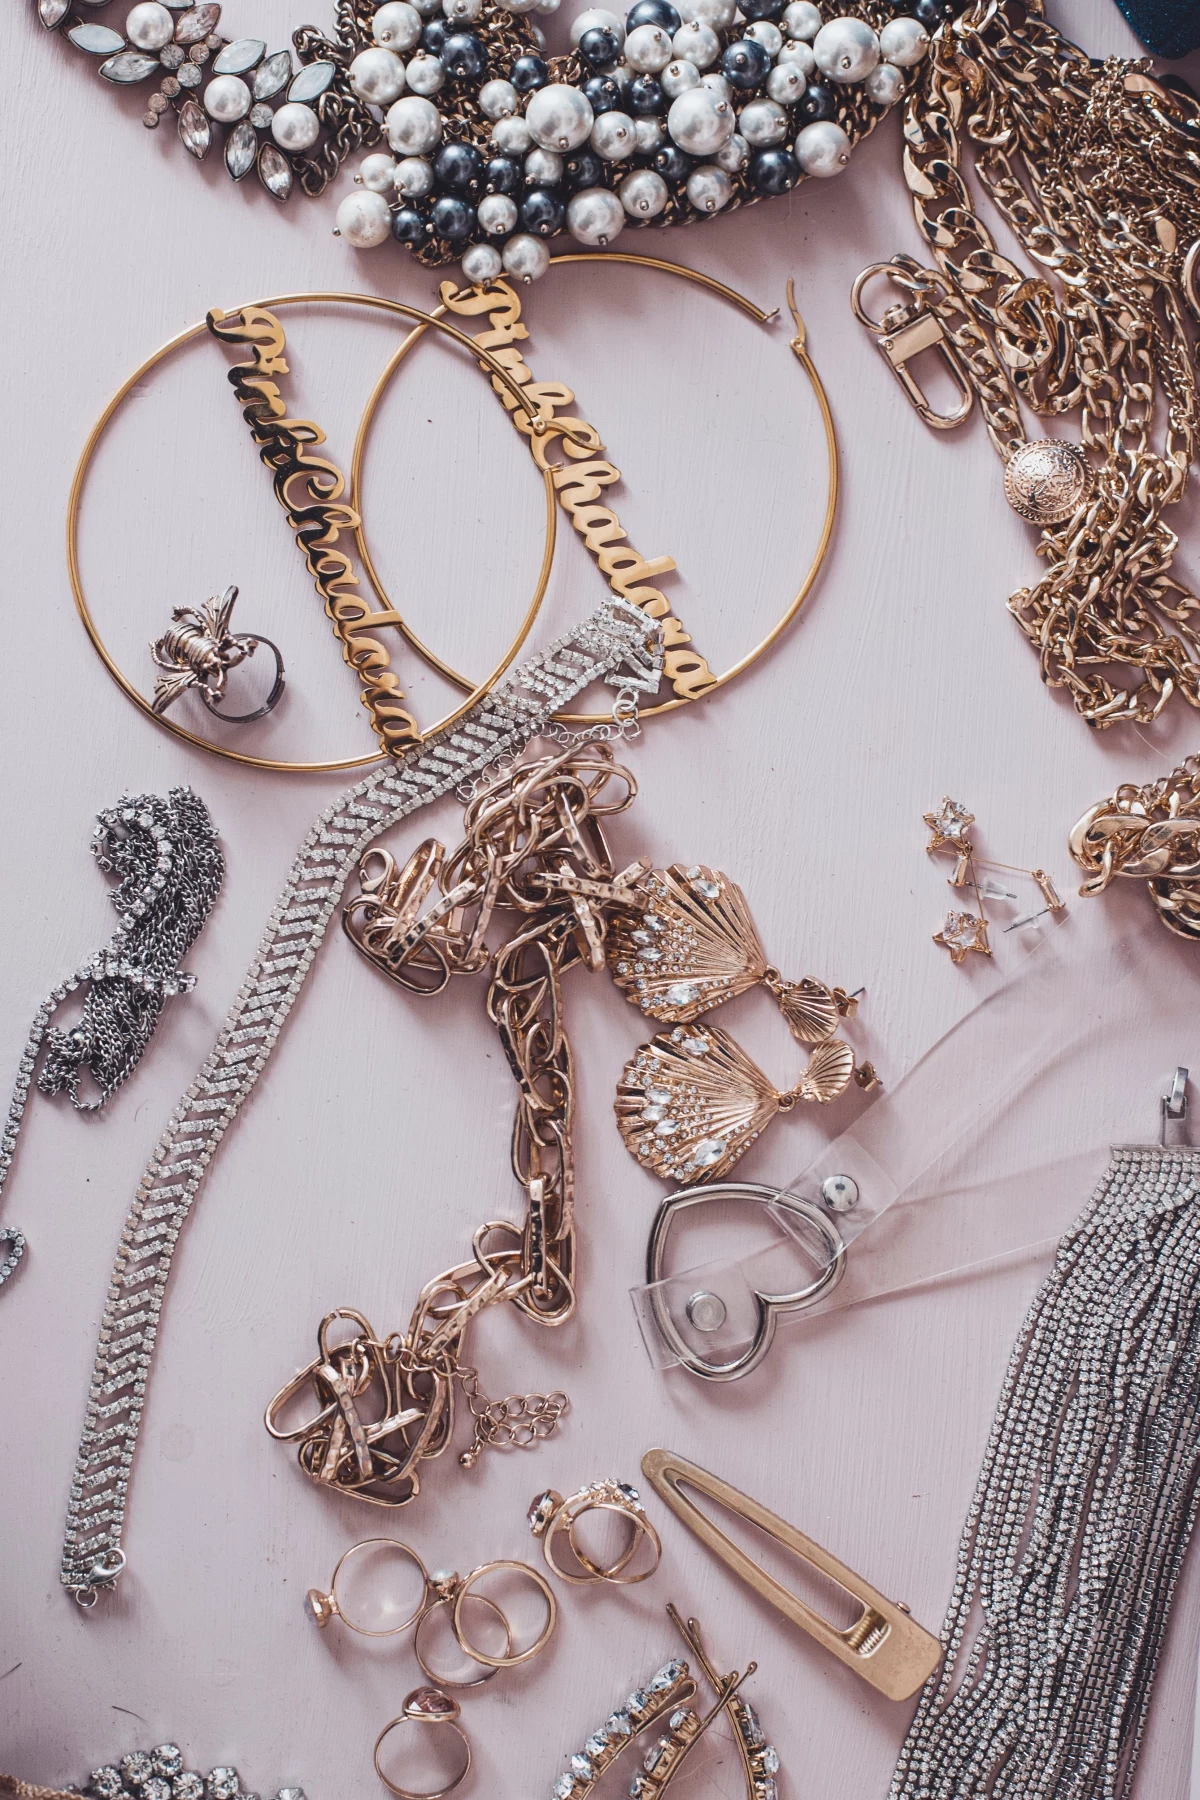
Your Essential At-Home Toolkit (On a Budget!)
You don’t need a bunch of expensive equipment. In fact, you can get everything you need for under $20. But using the right tools is what separates a good cleaning from a potential disaster.
- The Right Brush: Forget your old toothbrush; the bristles are way too stiff. My top recommendation is a baby toothbrush. The bristles are extra-soft and perfect for almost all jewelry. You can find one at any pharmacy for about $2. For really delicate, intricate pieces, a small, soft artist’s paintbrush works wonders.
- The Right Cloths: Paper towels are a no-go—they can be abrasive and leave lint everywhere. Get a good microfiber cloth. For a few extra bucks, you can buy a professional Jeweler’s Cloth online or at a jewelry counter for around $8-$10. They usually have two sides: one for removing light tarnish and one for buffing to a mirror shine. They are fantastic for solid gold and silver, but never use the treated side on plated items or soft stones.
- Other Basics: You’ll want a couple of small glass or ceramic bowls (metal bowls can react with some cleaning solutions) and a bottle of distilled water (about $1 at the grocery store). Using distilled water for the final rinse is a pro-tip; tap water contains minerals that leave dulling spots behind when they dry.
Safe & Simple Cleaning Recipes
Forget all those weird internet hacks. In my experience, you only need a couple of reliable methods. Always start with the gentlest one first.
Method 1: The Universal Gentle Soak (Your Go-To)
This is the safest method and the first thing I teach any apprentice. It’s perfect for solid gold, platinum, diamonds, sapphires, rubies, and other non-porous stones. This should be your monthly maintenance routine for frequently worn pieces.
The mix: A bowl of warm (not hot!) distilled water and a few drops of mild, ammonia-free dish soap. The original blue Dawn is a classic for a reason; it cuts through grease without being harsh. Hot water is a bad idea because the sudden temperature change can cause thermal shock and crack some gemstones.
The technique: Let your jewelry soak for about 20-30 minutes to loosen the grime. Then, use your baby toothbrush to gently scrub, paying extra attention to the underside of the stones where gunk loves to hide. Rinse it under a gentle stream of lukewarm water. Heads up! Put a small strainer over your sink drain first. I’ve heard too many horror stories. Finish with a quick dip in your bowl of plain distilled water for a spot-free shine, then pat it completely dry with your microfiber cloth.
Method 2: The Tarnish-Reversing Bath (For Sterling Silver ONLY)
For heavily tarnished silver, especially detailed items like chains, this electrochemical method is a game-changer. It removes tarnish without any polishing.
What you need: A glass dish, a sheet of aluminum foil, a tablespoon of baking soda, a tablespoon of salt, and a cup or two of hot water.
The technique: Line the dish with the foil, shiny side up. Place your silver jewelry directly on the foil—it has to be touching for this to work. Sprinkle the baking soda and salt over it, then carefully pour in the hot water. You’ll see it start to bubble a bit. Let it sit for 5-10 minutes. You might even smell a faint ‘rotten egg’ odor; that’s the sulfur leaving your silver and bonding to the aluminum. Remove the piece (use tongs, it’s hot!), rinse it well, and dry it completely. The silver will be clean but might look a bit matte. A quick buff with a polishing cloth will bring back that high shine.

How to Handle the Tricky Stuff
The mark of a pro is knowing what not to do. Some materials need special handling, and these are the pieces that most often come to me for repair after a well-intentioned home cleaning went wrong.
- Pearls & Coral: These organic gems are your most delicate. Never, ever soak them. The only safe method is a gentle wipe-down. Dampen a soft cloth with lukewarm water (maybe one tiny drop of mild soap if they’re very dirty), wring it out well, and carefully wipe each pearl. Follow up with a second cloth dampened with plain water. To dry, lay the strand flat on a towel. Hanging it can stretch the silk cord it’s strung on.
- Emeralds: As mentioned, emeralds are often treated with oils that fill their natural fractures. Harsh cleaners (especially ammonia!) can strip these oils, making the fractures more visible and weakening the stone. For emeralds, the best method is a quick dip, not a long soak. Use the gentle soap and water solution, swish the piece for about 30 seconds, give it a very light pass with a super-soft brush, rinse immediately, and pat dry.
- Opals & Turquoise: These are porous and should also never be soaked. Like pearls, a quick wipe with a damp cloth is the only safe bet. Keep them away from all chemicals and oils.
What About Those Home Ultrasonic Cleaners?
Oh yeah, people ask me about these all the time. You can get one online for about $40, and they work by using high-frequency sound waves to create tiny bubbles that blast dirt away. Can they be good? Sometimes. Are they dangerous? Absolutely, if used on the wrong piece.
- When they’re OK: For very dirty, hard stones like diamonds set in sturdy platinum or gold mountings.
- When to AVOID them: Never use an ultrasonic cleaner on porous stones (opal, turquoise), organic gems (pearls), or included stones (emeralds). The vibrations can also be a disaster for pavé settings (where many tiny stones are set close together), as it can easily shake them loose. If a stone is even slightly loose in its setting, an ultrasonic cleaner will probably finish the job. To be frank, I’d leave ultrasonic cleaning to the pros.
The Biggest Mistakes I See (Please Don’t Do These!)
Over the years, I’ve seen some real cleaning tragedies. Here are the most common culprits:
- Using Toothpaste: It seems like a classic hack, but toothpaste is abrasive! It will scratch soft metals like gold and virtually all gemstones except a diamond.
- Boiling Your Jewelry: This is a huge no. The extreme heat and sudden temperature change (thermal shock) can crack stones or cause them to fall out as the metal expands and contracts.
- Using Harsh Chemicals: Bleach, acetone, and ammonia (except for the very specific diamond method) are recipes for disaster on most jewelry. They can discolor stones and corrode alloys in the metal.
- Soaking Porous Stones: I can’t say it enough. Soaking opals, pearls, or turquoise is the fastest way to ruin them permanently.
No Time? Try the 5-Minute Sparkle
Listen, we’re all busy. If you don’t have time for a full soak, here’s a quick win. Just take a damp microfiber cloth and give your most-worn rings and earrings a quick, vigorous wipe-down at the end of the day. It takes 10 seconds and removes the daily layer of lotion and oil, making a huge difference in keeping that sparkle alive between deep cleans.

Galerie d’inspiration
While a simple solution of warm water and a drop of dish soap (like original blue Dawn) is a jeweler’s go-to for hard stones, some gems need to be kept far away from the bowl. Their delicate, porous nature makes them vulnerable to damage from chemicals and even water.
- Pearls: These organic gems can lose their luster when exposed to chemicals. They should only be wiped with a soft, damp cloth.
- Opals: High heat or sudden temperature changes can cause them to crack. Opals have a high water content and shouldn’t be soaked.
- Turquoise: It’s a very porous stone that can absorb oils and chemicals, leading to permanent discoloration.
- Emeralds: Many emeralds are fracture-filled with oil to enhance clarity. Soaking or harsh cleaning can strip these oils, making inclusions more visible.

More than 90% of jewelry damage seen by professionals is caused by improper home cleaning or care.
This surprising statistic often boils down to one simple mistake: being too aggressive. While the goal is to remove grime, vigorously scrubbing with the wrong tool can cause fine scratches, especially on softer metals like 22k gold or sterling silver. Always opt for an ultra-soft brush, like a baby toothbrush or a dedicated jewelry brush from a brand like Connoisseurs, and let the cleaning solution do most of the work.
Can I really use toothpaste to polish my silver necklace?
That’s a common household tip, but one that jewelers wish would disappear! While it might seem to work at first, most toothpastes contain mild abrasives like hydrated silica. On sterling silver, these particles create thousands of microscopic scratches that will permanently dull the metal’s high-polish finish over time. Instead, invest in a professional, non-abrasive silver polishing cloth (like a Sunshine Cloth), which removes tarnish chemically without scratching the surface.
Home Ultrasonic Cleaner: These gadgets, like the popular Magnasonic models, use high-frequency sound waves to create microscopic bubbles that blast away dirt from intricate settings. They offer a deep, professional-level clean for hard, durable pieces like diamond rings set in platinum or gold.
Hand-Washing: A simple soak in warm, soapy water followed by a gentle brushing. This is the safest and most universally applicable method, especially for more delicate pieces or vintage jewelry where you’re unsure of the stone’s stability.
The Verdict: Use an ultrasonic cleaner for your tough, everyday pieces, but stick to the gentle hand-washing method for anything you’re not 100% sure about.


