Stop Wasting Money on AC Repairs: An Insider’s Guide to Home Cooling
I’ve spent the better part of my life working on heating and cooling systems, which means I’ve been in more sweltering attics and basements than I can count. And almost every time, the call is the same: “My air conditioner just died, and my house feels like a sauna.” But here’s the thing—it’s rarely a sudden failure. It’s almost always a slow burn, a series of small, overlooked issues that finally reached their breaking point.
In this article
Your air conditioner isn’t just a magic box. It’s a hard-working system designed to pump heat from inside your home to the great outdoors. Once you get a basic feel for how it works, you can easily prevent about 80% of the common problems I see. This isn’t about turning you into a certified tech; it’s about making you a smart homeowner who can sidestep costly emergency calls, lower energy bills, and help that expensive equipment last as long as possible.

So let’s skip the technical jargon. This is the plain-English advice I give my own family, straight from years of real-world experience.
First Things First: Why Airflow Is Everything
Before you even think about tools, you have to understand this one core concept: Your AC doesn’t create cold air. It just moves heat. Think of it like a big refrigerator for your house, using a special fluid to absorb heat from your indoor air and dump it outside.
This heat-moving magic happens in two key places:
- The Indoor Coil (Evaporator): Tucked inside your furnace or air handler is a grid of tubes and fins that gets incredibly cold. Your system pulls warm, humid house air across this coil, transferring the heat and moisture to the refrigerant inside. This is what actually cools and dehumidifies your home.
- The Outdoor Unit (Condenser): This is the big, noisy box in your backyard. It takes the now-hot refrigerant from inside and uses a giant fan to blow outdoor air across another coil, releasing all that collected heat. The refrigerant cools down and heads back inside to do it all over again.
The key to this whole dance is airflow. If the system can’t pull in enough air from inside or get rid of enough heat outside, the entire process grinds to a halt. The compressor has to work overtime, your electricity bill skyrockets, and parts start to fail. Honestly, most of the maintenance you can do yourself is just about keeping these airways clear.
The Easiest Win: Mastering the Air Filter
The single most important job for any homeowner is changing the air filter. It sounds ridiculously simple, I know. But I’ve seen dirty filters cause thousands of dollars in damage. The filter’s only job is to protect the delicate guts of your system—especially that indoor coil and the blower motor—from getting caked in dust and gunk.
How to Pick the Right Filter
Walking into Home Depot and seeing a wall of filters can be intimidating. They’re all rated on something called the MERV scale (Minimum Efficiency Reporting Value), from 1 to 20. A higher number just means it traps smaller stuff.
- Basic Fiberglass Filters (MERV 1-4): These are the cheap, blue, see-through ones. They stop big stuff like pet hair and carpet fibers, but that’s about it. They protect your equipment but do almost nothing for your air quality.
- Pleated Filters (MERV 5-8): This is the sweet spot for most homes. They do a great job trapping dust, pollen, and mold without choking your system. A standard 1-inch pleated filter will run you between $5 and $15, and it’s what I recommend for about 90% of people.
- High-Efficiency Filters (MERV 9-12): These are fantastic for households with serious allergies because they trap much smaller particles. But—and this is a big but—they are also much thicker and can restrict airflow. Using a filter that’s too restrictive is like forcing your AC to breathe through a thick blanket. Not all systems can handle it.
A story from the field: I got a call for an AC blowing warm air on a 95-degree day. When I opened the indoor unit, the entire coil was a solid block of ice. The homeowner, trying to do the right thing, had just installed a fancy, expensive MERV 13 filter. Their older system couldn’t pull enough air through it, causing the coil to get so cold that condensation froze solid. To make matters worse, when it started melting, it overflowed the drain pan and left a huge water stain on their living room ceiling. A simple $8 filter would have prevented the whole disaster.
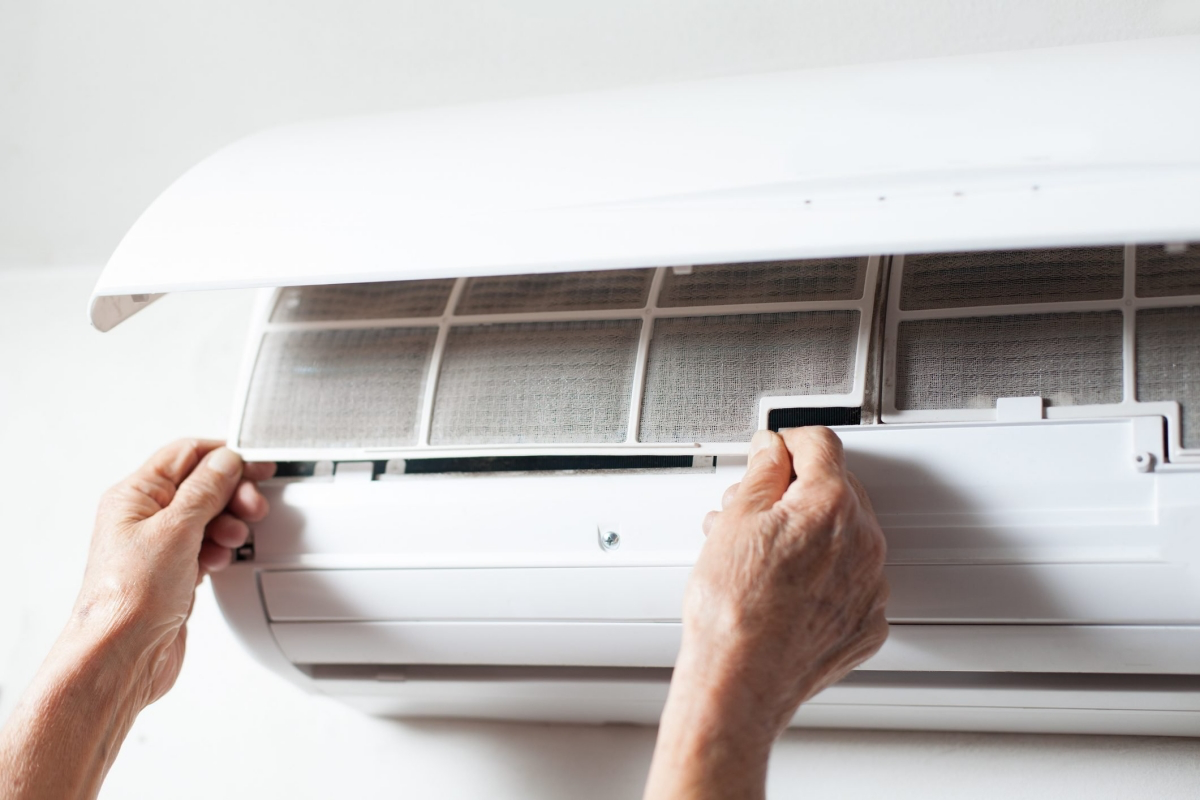
How Often to Change It (For Real)
The package might say it “lasts up to 90 days,” but that’s in a perfect lab. In a real house with pets, kids, or smokers, you need a more realistic schedule.
- For 1-inch filters: Check it every month. A good rule of thumb is to hold it up to a light. If you can’t see the light, it’s time to change it. You’ll probably go through one every 30-45 days during the summer.
- For 4- to 5-inch media filters: These thicker filters last a lot longer, usually between 6 and 12 months.
Quick Win: If you feel overwhelmed and don’t have time for anything else, do this one thing today. Go find your air filter, write down the size printed on the side (e.g., 16x25x1), and order a multi-pack online. It takes five minutes and you’ll be set for the whole season.
Your Annual DIY Cleanup Job
Okay, ready to get your hands a little dirty? Cleaning the outdoor unit is a totally manageable DIY project. Block out about 45 to 60 minutes on a nice day to get this done. First, let’s build your toolkit.
My Recommended DIY AC Maintenance Kit:
- Foaming Coil Cleaner: About $7-$12 a can at a hardware store.
- A Garden Hose with a Spray Nozzle: You already have this!
- Work Gloves: To protect your hands from sharp metal fins.
- A Fin Comb: This little plastic tool is optional but great. It costs about $5-$10 and helps straighten out any bent fins on the unit.
Heads up! Safety first. You’re mixing water and electricity, so you have to turn off the power. First, flip the AC breaker in your main electrical panel. Then, go outside to the unit and find the electrical disconnect box (a small gray box on the wall nearby). Open it and either pull the handle out or flip the switch to OFF. Now you’re safe.
- Clear the Area: Get rid of any leaves, weeds, or grass clippings around the unit. You want at least two feet of clear space on all sides for good airflow.
- Gentle Rinse: With your garden hose, gently spray the unit from the top down to wash away the loose gunk. NEVER use a pressure washer. It’s way too powerful and will flatten the delicate aluminum fins, which can permanently damage the unit.
- Use the Cleaner: Spray the foaming coil cleaner all over the coils. Let it sit for about 10-15 minutes. You’ll see it foam up and push all the deep-down dirt and grime out from between the fins. It’s pretty satisfying to watch.
- Final Rinse: Gently rinse all the foam and dirt away, again from the top down. If you notice any bent fins, you can gently run your fin comb through them to straighten them out.
Once you’re done, you can put the disconnect back in and flip the breaker on. You should do this every spring before the cooling season really kicks off.

What about the indoor coil? To be frank, I don’t recommend homeowners clean this themselves. It’s buried deep inside the equipment, often surrounded by high-voltage wiring. It’s way too easy to damage something or get a nasty shock. This is one job that’s absolutely worth paying a pro to handle during a tune-up.
The #1 Cause of Water Damage: Your Condensate Drain
Your AC is also a powerhouse dehumidifier, pulling gallons of water out of the air every day. That water flows through a PVC pipe (the condensate line) to the outside. The problem? That dark, damp pipe is a perfect breeding ground for algae and slime.
When that gunk clogs the pipe, the water backs up and overflows. I once saw a $5,000 ceiling repair that could have been prevented with a $2 bottle of vinegar. It’s the most common—and most preventable—major failure.
Fortunately, keeping it clear is easy. Find the white PVC pipe coming from your indoor unit. Most have a T-shaped fitting with a little cap on it. Once a month during the summer, pour a cup of distilled white vinegar down that opening. (Don’t use bleach; it can corrode metal parts.) Let it sit for 30 minutes, then flush it with a quart of warm water.

Lesser-known trick: If you don’t have an easy-access tee, or if you have a stubborn clog, you can use a wet/dry vac. Take the vacuum outside to where the PVC pipe drains, wrap a thick cloth around the hose and the pipe to create a good seal, and let it suck the gunk out for a minute or two. It’s surprisingly effective.
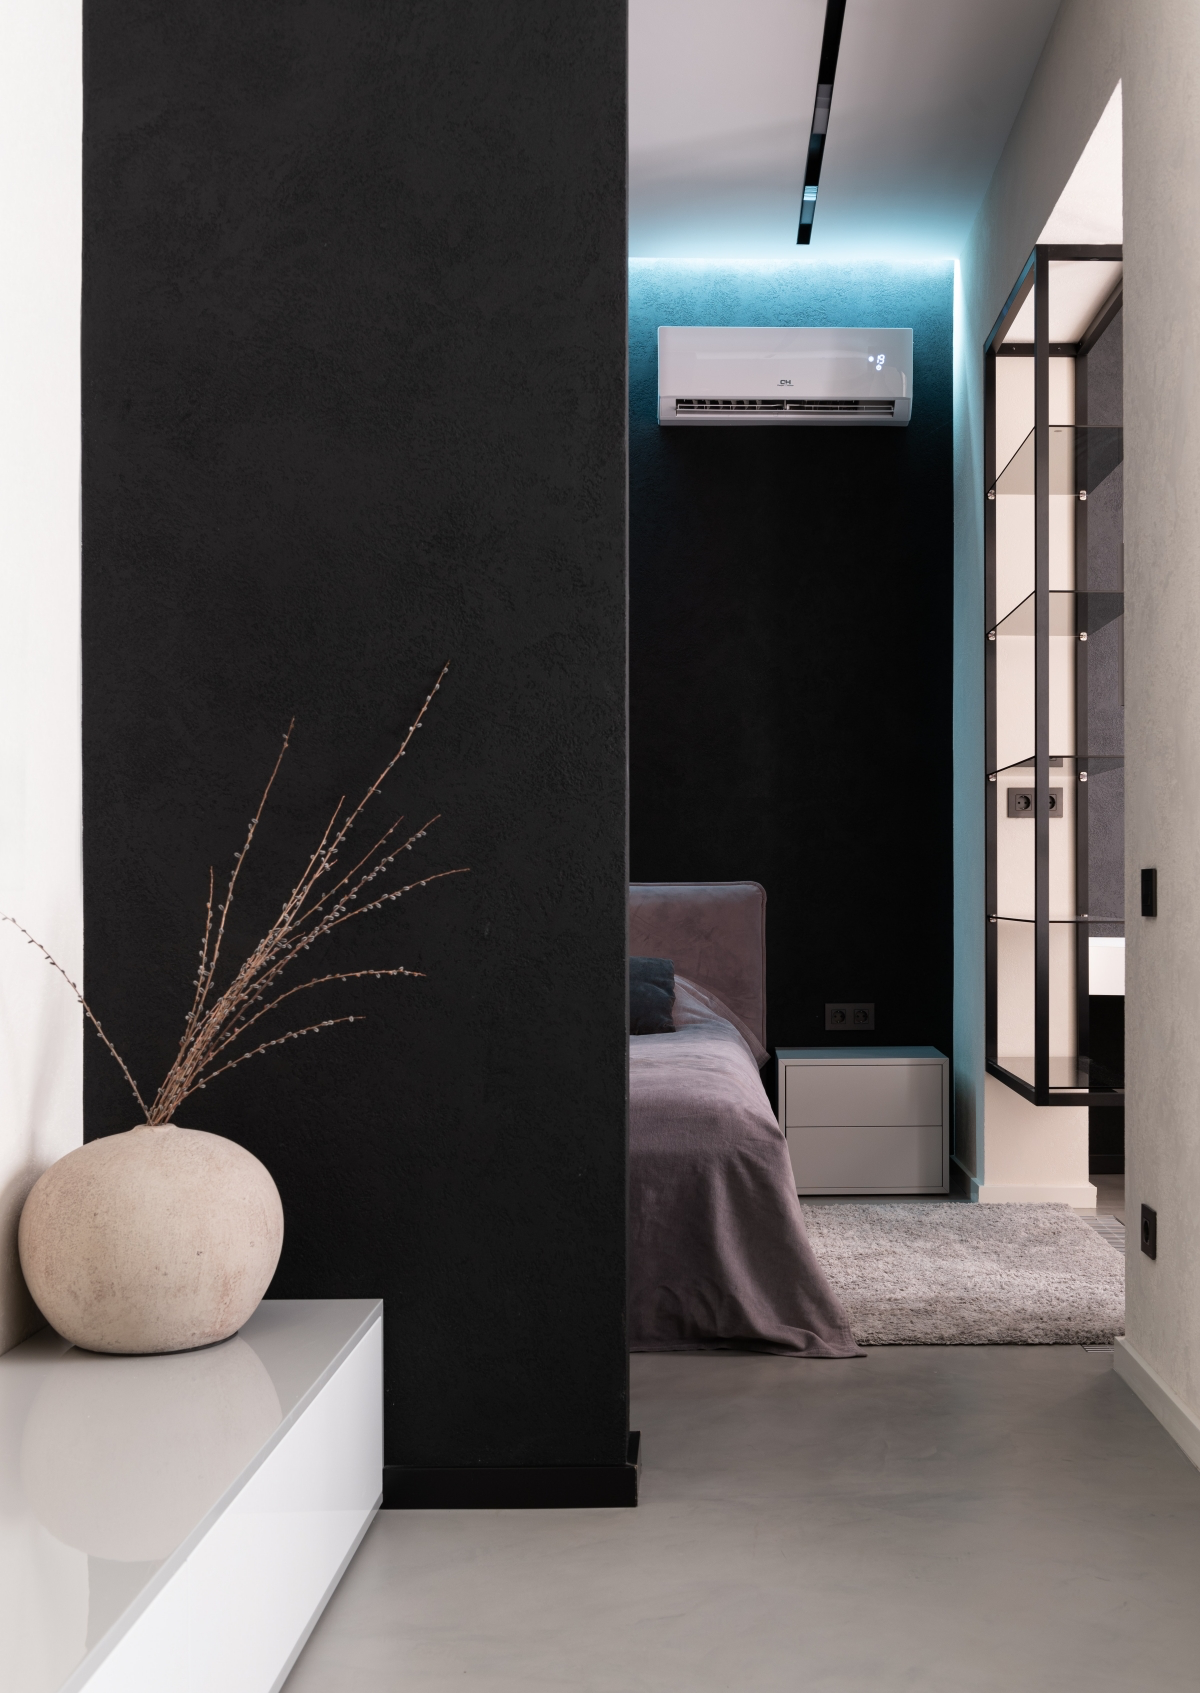
Give Your AC a Break: Smart Home Habits
You can help your AC by reducing how much heat gets into your house in the first place. The less heat it has to fight, the less it has to run.
- Block the Sun: Close your blinds and curtains on sun-facing windows during the day. It makes a huge difference.
- Seal Leaks: Tiny gaps around windows and doors let in a ton of hot, humid air. Caulking and weatherstripping are cheap and effective fixes.
- Check Your Attic Insulation: This is a big one people miss. Go into your attic with a ruler. If you have less than 12-15 inches of insulation (that’s an R-value of about R-38), you are losing a massive amount of cool air and money through your ceiling.
- Cook Smarter: Firing up the oven on a hot day makes your AC work way harder. Opt for the microwave, slow cooker, or outdoor grill instead.

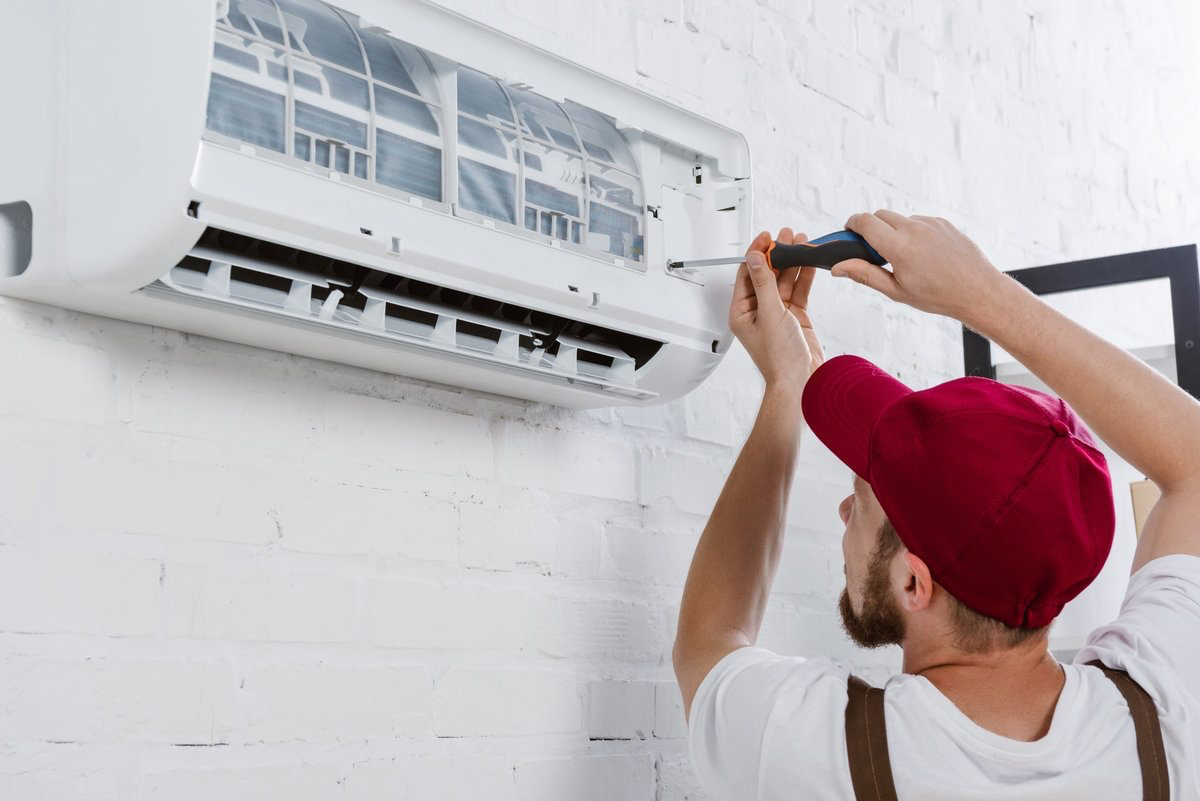
When to Call a Pro (and How to Avoid Getting Scammed)
Even with great DIY care, you should have a qualified technician do a full tune-up once a year, preferably in the spring. Expect to pay somewhere between $90 and $200 for a proper service call. This is preventative care that catches small problems before they become big ones.
A GOOD tune-up should take 60-90 minutes and include:
- Checking refrigerant levels with proper gauges (if it’s low, there’s a leak that needs fixing, not just a “top-off”).
- Inspecting and testing electrical parts like capacitors and contactors. A failing capacitor is a common breakdown, and replacing one for $150-$250 during a service call is much better than paying for a new $1,000+ fan motor later.
- A thorough cleaning of the indoor coil, blower wheel, and drain pan.
- Testing all safety controls.
By the way, be wary of the BAD tune-up. Here are some red flags: a tech who is in and out in 15 minutes, someone who immediately tries to sell you a new system without doing any real diagnostics, or anyone who offers to just “add a little Freon” without looking for a leak. A good technician is there to maintain your system, not just sell you a new one.
Taking these simple steps puts you in control. You’ll save money, stay more comfortable, and get the peace of mind that comes from knowing your system is ready for whatever summer throws at it.
Inspirational Gallery
The Thermostat Myth: Cranking your thermostat down to 18°C (64°F) won’t cool your house any faster than setting it to a comfortable 22°C (72°F). Your AC unit delivers cold air at a constant temperature; a lower setting just forces it to run longer to reach that goal, wasting electricity and putting unnecessary strain on the system.
What do those MERV numbers on an air filter even mean?
MERV stands for Minimum Efficiency Reporting Value. It’s a scale from 1 to 16 that rates how effectively a filter captures airborne particles. While it’s tempting to grab the highest number, a filter with a MERV rating above 12 can be too dense for many residential systems, severely restricting the airflow the article talks about. For most homes, a filter in the MERV 8 to 11 range offers the best balance of air purification and system efficiency.
According to the U.S. Department of Energy, a dirty air filter can increase your air conditioner’s energy consumption by up to 15%.
This single, simple maintenance task is the easiest way to lower your summer electricity bill. Checking your filter monthly and replacing it when it’s visibly dirty ensures your system can ‘breathe’ easily, doing its job without working overtime.
Don’t just look—listen. Get familiar with the normal hum of your indoor unit and the steady whir of the outdoor fan. If you start hearing new sounds like clanking, grinding, or a high-pitched squeal, it’s a clear signal that something is wrong. Shutting the system down and calling a pro right away can be the difference between a minor repair and a catastrophic compressor failure.
Programmable Thermostat: You set a fixed schedule (e.g., cooler when you’re home, warmer when you’re away). It’s effective, but requires manual programming.
Smart Thermostat: Models from brands like Google Nest or Ecobee learn your routines automatically. They use motion sensors and geofencing to know when you’re home, and can even adjust based on local weather forecasts for maximum efficiency.
For busy households with unpredictable schedules, a smart thermostat is a worthy upgrade that maximizes both comfort and savings.
As your AC pulls humidity from the air, it creates condensation. This water is drained away by a small PVC pipe called a condensate line. Over time, this line can get clogged with algae and sludge, causing water to back up and potentially flood the area around your indoor unit.
- The Fix: Once a season, locate where the pipe drains outside. Use a wet/dry shop vacuum to suck out any gunk from the line for about a minute.
- The Prevention: Pouring a quarter cup of distilled white vinegar into the line’s access port (near the indoor unit) every couple of months can prevent buildup.
- Keep your backyard looking clean and tidy.
- Protect the unit from impacts, pets, or children.
- Muffle some of the operational noise.
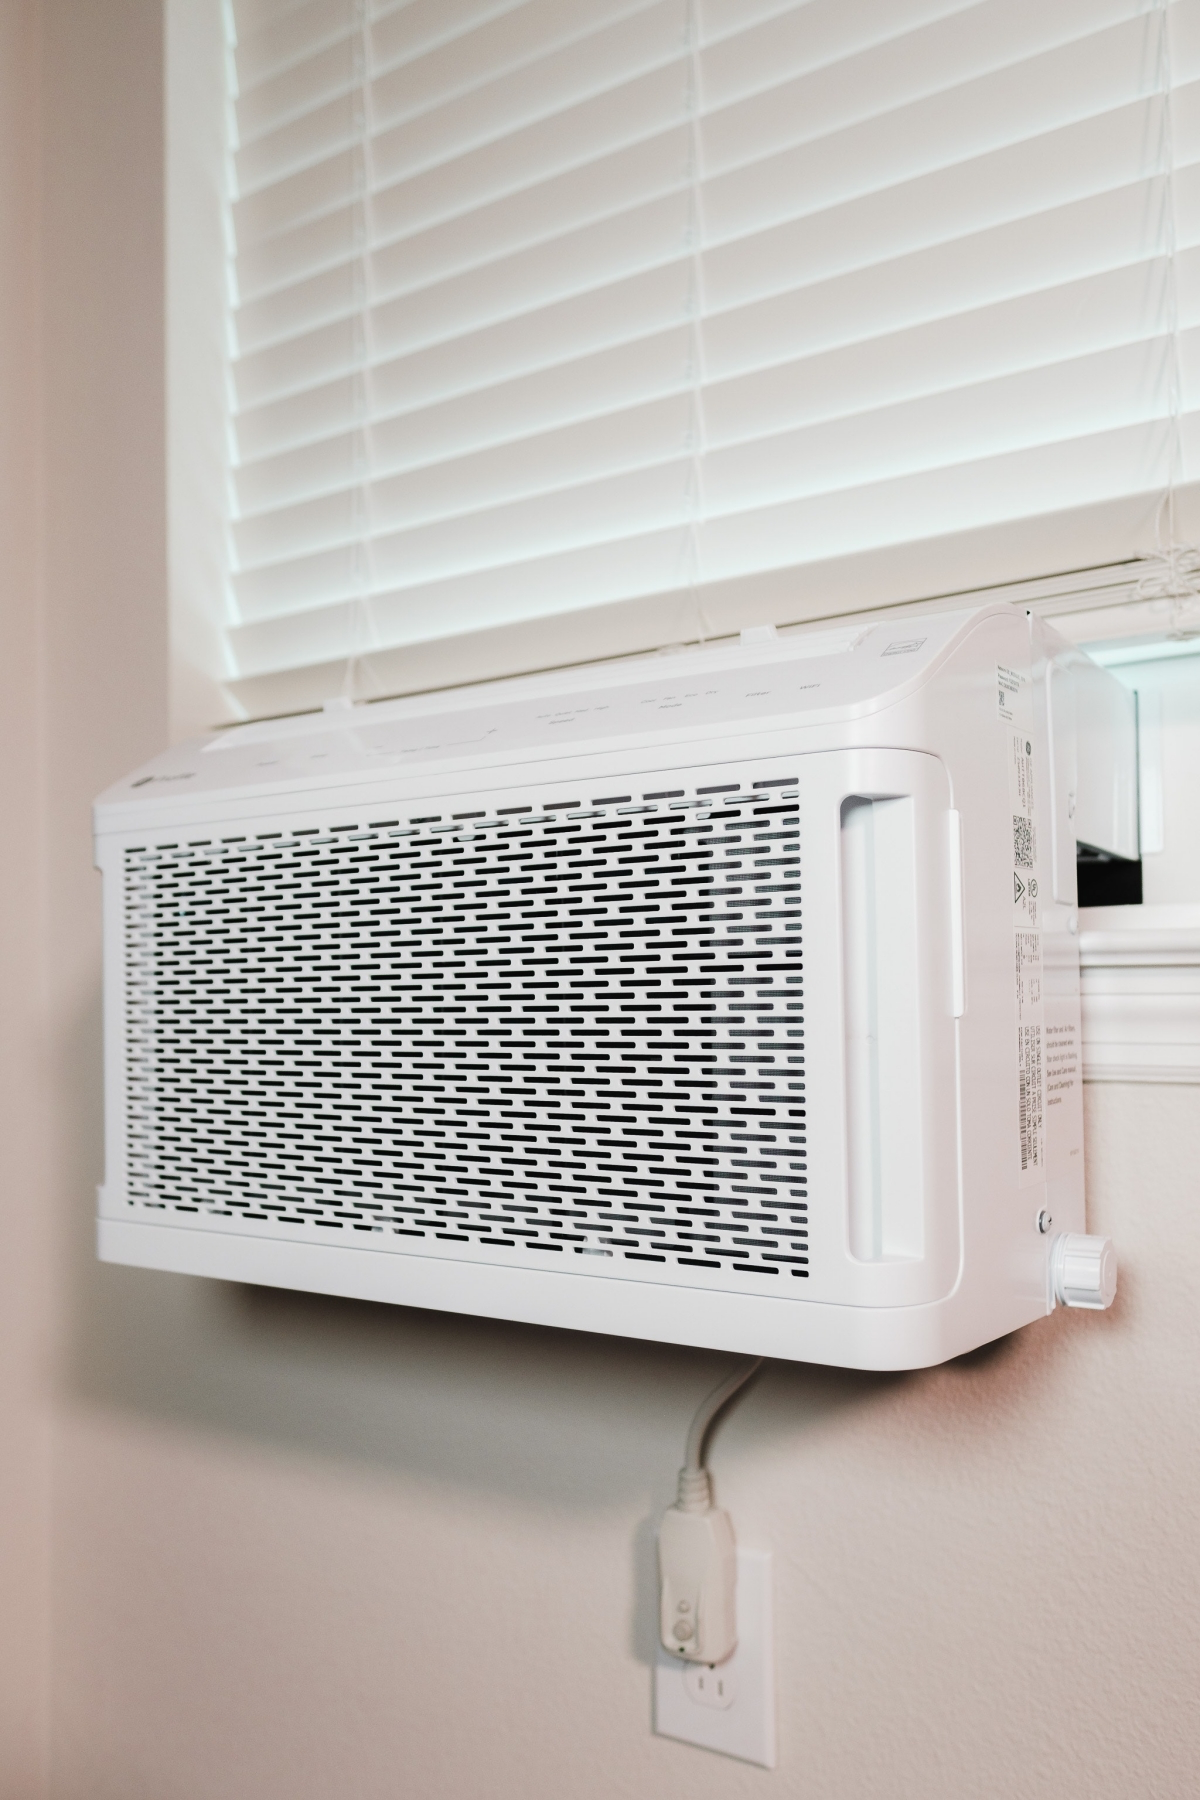
The secret? A well-designed AC screen. A simple slatted wood or decorative metal screen can effectively hide the outdoor unit. The crucial rule is to maintain at least 2 feet of clearance on all sides and above the unit to ensure you don’t impede that all-important airflow.
The outdoor unit’s delicate aluminum fins can be easily bent by hail, pressure washing, or even falling branches.
Even a small section of bent fins acts like a dam, blocking air from passing through the coil and releasing heat. You can gently straighten them yourself using a butter knife or, for a more professional result, a specialized, inexpensive tool called a fin comb.
Can you save money by closing vents in unused rooms?
It seems logical, but it’s often a bad idea for central air systems. Your AC system is designed and balanced for the total volume of your house. Closing off vents can increase air pressure in your ductwork, leading to leaks, reduced efficiency, and even putting enough strain on the blower motor to cause it to fail prematurely. It’s better to keep all vents open.


