Why Your Home Coffee Isn’t Great (and How to Easily Fix It)
I’ve spent the better part of my life behind a coffee bar, and let me tell you, one of the first big lessons I learned had nothing to do with some secret, fancy technique. It was about a really, really bad cup of coffee. A regular came in one day, frustrated with his expensive home setup, asking why his coffee always tasted… well, flat. I took his beans and brewed him a cup right there, but with our water, our grinder, and our method. The look on his face said it all. It was the same coffee, but a completely different experience.
In this article
That moment hammered home a core truth for me. Great coffee isn’t about one magic bullet. It’s about getting a handful of key things right. Most people making coffee at home aren’t committing some cardinal sin; they’re just missing a few small, crucial details that make all the difference.
So think of this as a peek into my well-worn professional notebook. These are the fundamentals I check every single day and the same principles I teach every new barista. We’re going to walk through the ‘why’ behind each step, so you can stop guessing and start brewing consistently amazing coffee in your own kitchen.
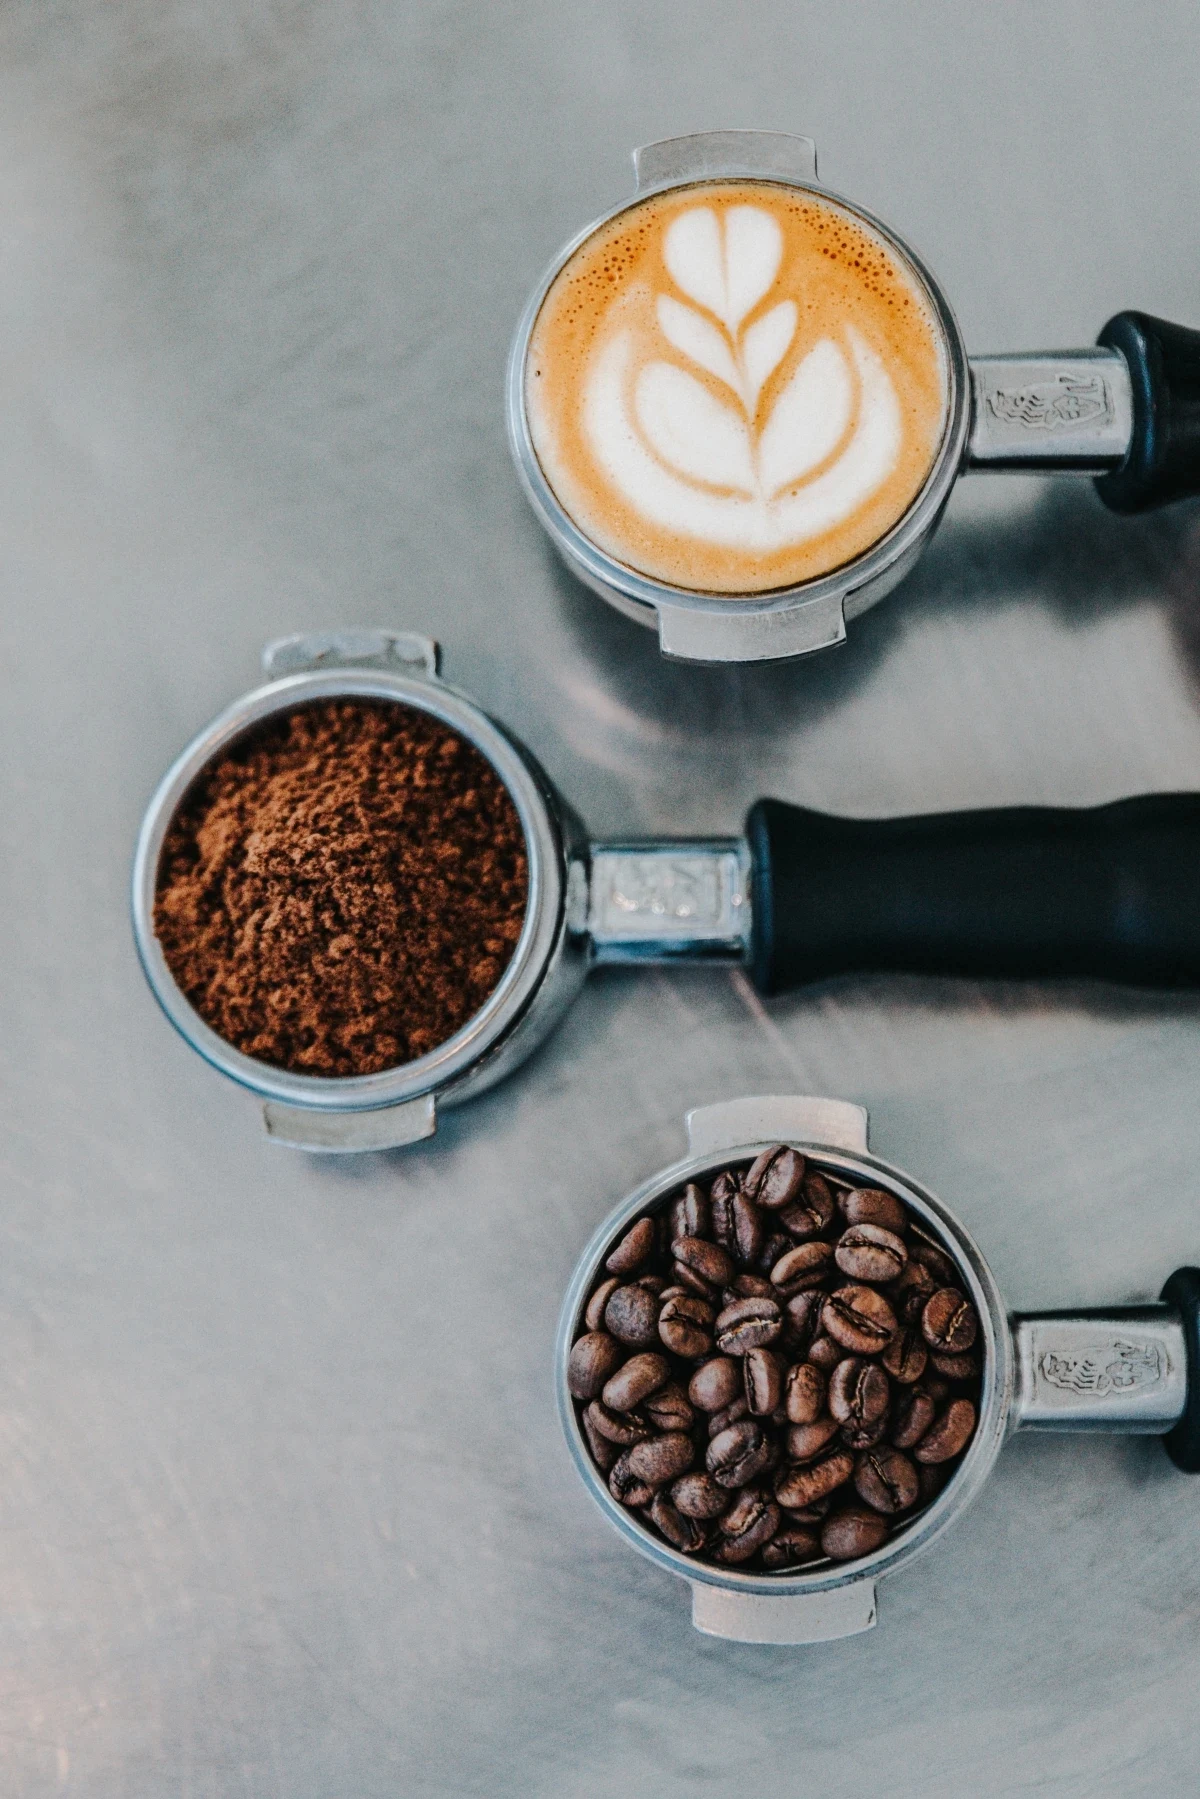
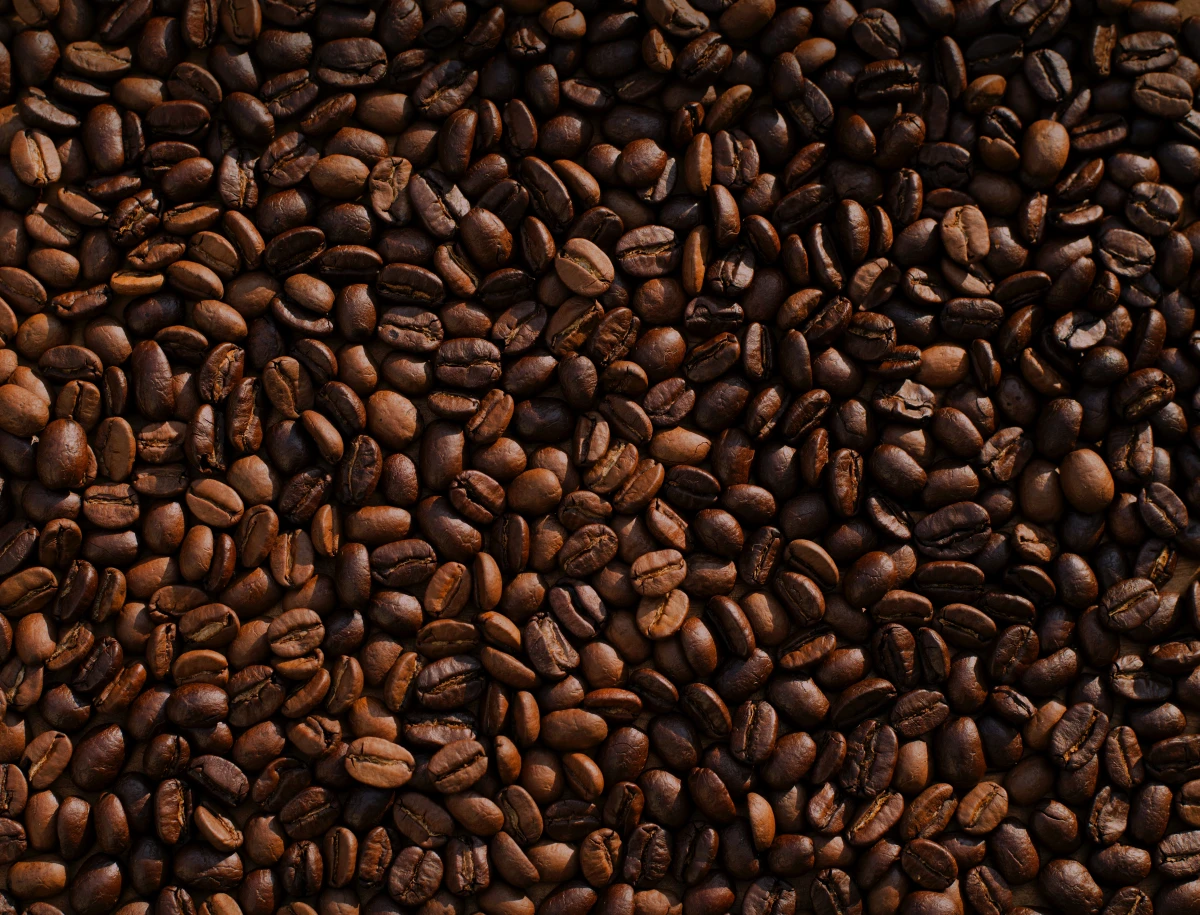
1. It All Starts with the Beans
Let’s be blunt: you can have the most expensive, tricked-out coffee gear in the world, but if your beans are old, you’ve already lost the game. This is, without a doubt, the most common problem I see.
The Deal with Freshness
Roasted coffee is a bit of a diva; it’s fragile. The second beans are done roasting, the clock starts ticking. Oxygen begins to break down all the delicate oils and aromatic compounds that give coffee its incredible flavor. These compounds are volatile, which is a fancy way of saying they escape easily. Once they’re gone, you’re left with a taste that’s more like cardboard than coffee.
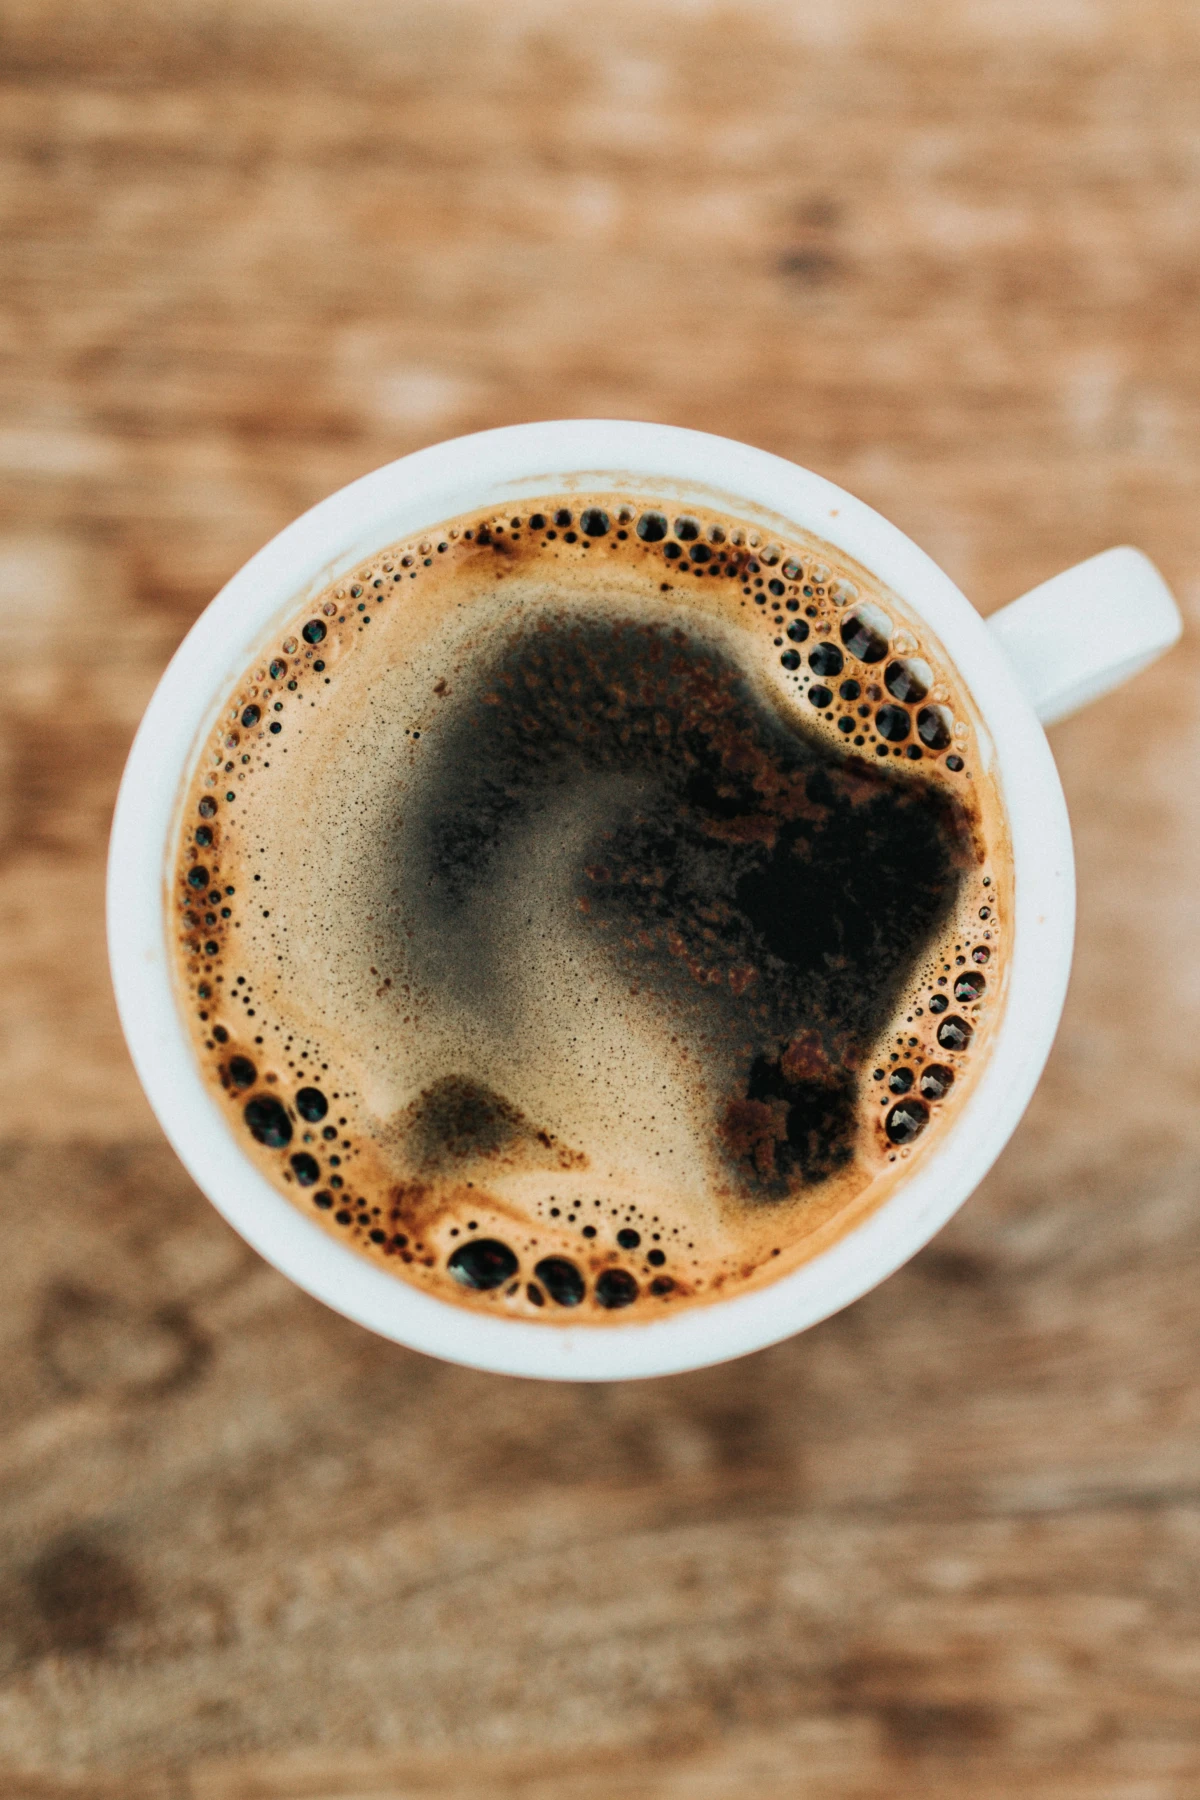
At the same time, super-fresh beans are busy releasing CO2 in a process called degassing. For the first few days, there’s so much CO2 that it can actually block water from properly extracting flavor, leading to a weak, thin cup. That big, beautiful “bloom” you see when you pour hot water on fresh grounds? That’s the CO2 making a run for it.
How a Pro Buys and Stores Beans
The sweet spot for brewing is usually between four days and four weeks after the roast date. This gives the beans time to release that extra CO2 but not so much time that they’ve gone stale. So, here’s a huge tip: Always look for a “roasted on” date on the bag. If a bag only has a “best by” date, I usually put it back on the shelf. That date could be months away, giving you zero clue about its actual freshness.
Early in my career, I thought storing beans in big, clear glass jars on the counter looked super cool and professional. An old-school roaster visiting the café gently pointed out my mistake. Light and heat are enemies of coffee, rapidly accelerating the breakdown of those precious oils. The best place to store your beans is in an opaque, airtight container, tucked away in a cool, dark cupboard. Often, the bag your coffee came in is perfect, especially if it has a one-way valve and a zip-lock seal.
Oh, and please, whatever you do, don’t store your beans in the fridge or freezer. The temperature fluctuations create condensation (moisture!), which will ruin your beans. The freezer is even worse, as it can shatter the cellular structure of the bean, permanently killing its flavor.
- Buy Fresh & Local: If you have a local roaster, go there. You can get beans roasted just days ago. If buying online, only order from companies that proudly display their roast dates.
- Buy Small Batches: Only buy enough coffee to last you a week or two. This ensures you’re always in that peak flavor window.
- Trust Your Nose: Fresh beans smell incredible—complex and powerful. If you open a bag and get just a faint, dusty whiff, they’re probably stale.

2. The Most Important Ingredient: Water
Your finished cup of coffee is about 98.5% water. Let that sink in. If your water tastes funky, your coffee will too. But it’s deeper than that. The mineral content of your water is what actually pulls the flavor out of the coffee grounds.
The Simple Science of Good Water
Water isn’t just H2O; it’s full of dissolved minerals like magnesium and calcium. For coffee brewing, these minerals are your friends. They act like little magnets, latching onto and extracting the tasty flavor compounds from the coffee.
Here’s where it can go wrong:
- Too Soft (Distilled/RO Water): This water has virtually no minerals. It has nothing to grab onto the flavor with, resulting in a lifeless, often sour cup. People sometimes invest in expensive reverse osmosis systems only to strip out the very things their coffee needs.
- Too Hard (High Mineral Water): This water is already saturated with minerals, so it can’t effectively extract more from the coffee. It can also leave a dull, chalky taste. Even worse, it creates limescale that will clog and destroy your equipment.
The pros aim for water with a balanced mineral content. You don’t need a chemistry degree, just an understanding that you want clean-tasting water that isn’t too hard or too soft.
Making Your Water Work for You
At home, you don’t need a complex filtration system. The easiest first step is a simple carbon filter pitcher, like a Brita, which you can find for about $20-$30. It will remove chlorine and other weird tastes, giving you a much cleaner base to start with. For many people, this is all you’ll ever need.
Want to go next level? You can build your own perfect coffee water. It sounds intense, but it’s dead simple. You can buy packets of mineral concentrates, like those from Third Wave Water, designed to be mixed into a gallon of distilled water. This creates perfectly balanced, pro-level brewing water every single time. It’s a fantastic way to achieve stunningly consistent results.
- Quick Tip: Taste your tap water on its own. If you wouldn’t enjoy drinking a glass of it, don’t make coffee with it.
- Heads up on Hardness: You can grab simple water hardness test strips online for a few dollars. If you find out your water is very hard, you HAVE to descale your machines regularly.
- Machine Safety: Descaling your automatic brewer or espresso machine is mandatory maintenance. Use a dedicated descaling solution every 1-3 months. Please don’t use vinegar—while it is an acid, it’s not great at breaking down coffee oils and can damage the rubber gaskets and soft metal components in some machines over time. A proper cleaner is built for the job.

3. The Grind: Where Consistency is King
If you take only one piece of advice from this entire guide, let it be this: the single biggest upgrade you can make to your coffee is to grind your beans fresh, right before brewing, with a quality burr grinder.
Blade Smashers vs. Burr Grinders
The whole point of grinding is to create more surface area for the water to work its magic. But how you grind is everything.
A blade grinder doesn’t really grind; it smashes. A cheap spinning blade randomly shatters the beans, creating a chaotic mix of huge chunks (boulders) and fine powder (fines). This is a recipe for disaster. Water rushes past the boulders, under-extracting them (sour!), while it gets stuck on the fines, over-extracting them (bitter!). The result is a cup that’s confusingly both sour and bitter.
A burr grinder, on the other hand, is the professional standard for a reason. It uses two rotating abrasive surfaces (burrs) to crush beans to a consistent and uniform size. You adjust the distance between the burrs to set your grind size. This consistency is the key to a balanced, sweet, and clear-tasting cup of coffee.
From my own experience, the day I switched from a blade grinder to my first real burr grinder was a total game-changer. Suddenly, I could actually taste the “notes of chocolate” or “hints of fruit” that roasters talked about.
Practical Advice for Grinding
- The Best Investment: A good entry-level electric burr grinder is a better use of your money than a super-expensive coffee maker. I’d rather have coffee from a $150 grinder and a $20 pour-over cone than from a $20 blade grinder and a $500 machine. Look for workhorses like the Baratza Encore or Capresso Infinity, which run between $100 and $150. On a tighter budget? A quality manual grinder like the Timemore C2 is an incredible value for around $60.
- Visual Guide to Grind Size: Getting the grind right is tricky at first. Here’s a cheat sheet:
- Coarse (French Press): Should look and feel like coarse sea salt.
- Medium (Drip/Pour-Over): Think of regular table salt.
- Fine (Espresso): Should be almost like powdered sugar.
- Dialing It In: Your grind setting is your main control knob for taste. If your coffee is sour and weak, your grind is too coarse—go finer. If it’s bitter and harsh, it’s too fine—go coarser. This adjustment process is what we call “dialing in.”
- The Must-Haves: A digital scale ($15-$25), a quality entry-level burr grinder ($100-$150), and your brewer of choice (an AeroPress or a Hario V60 pour-over cone are both fantastic and usually under $40).
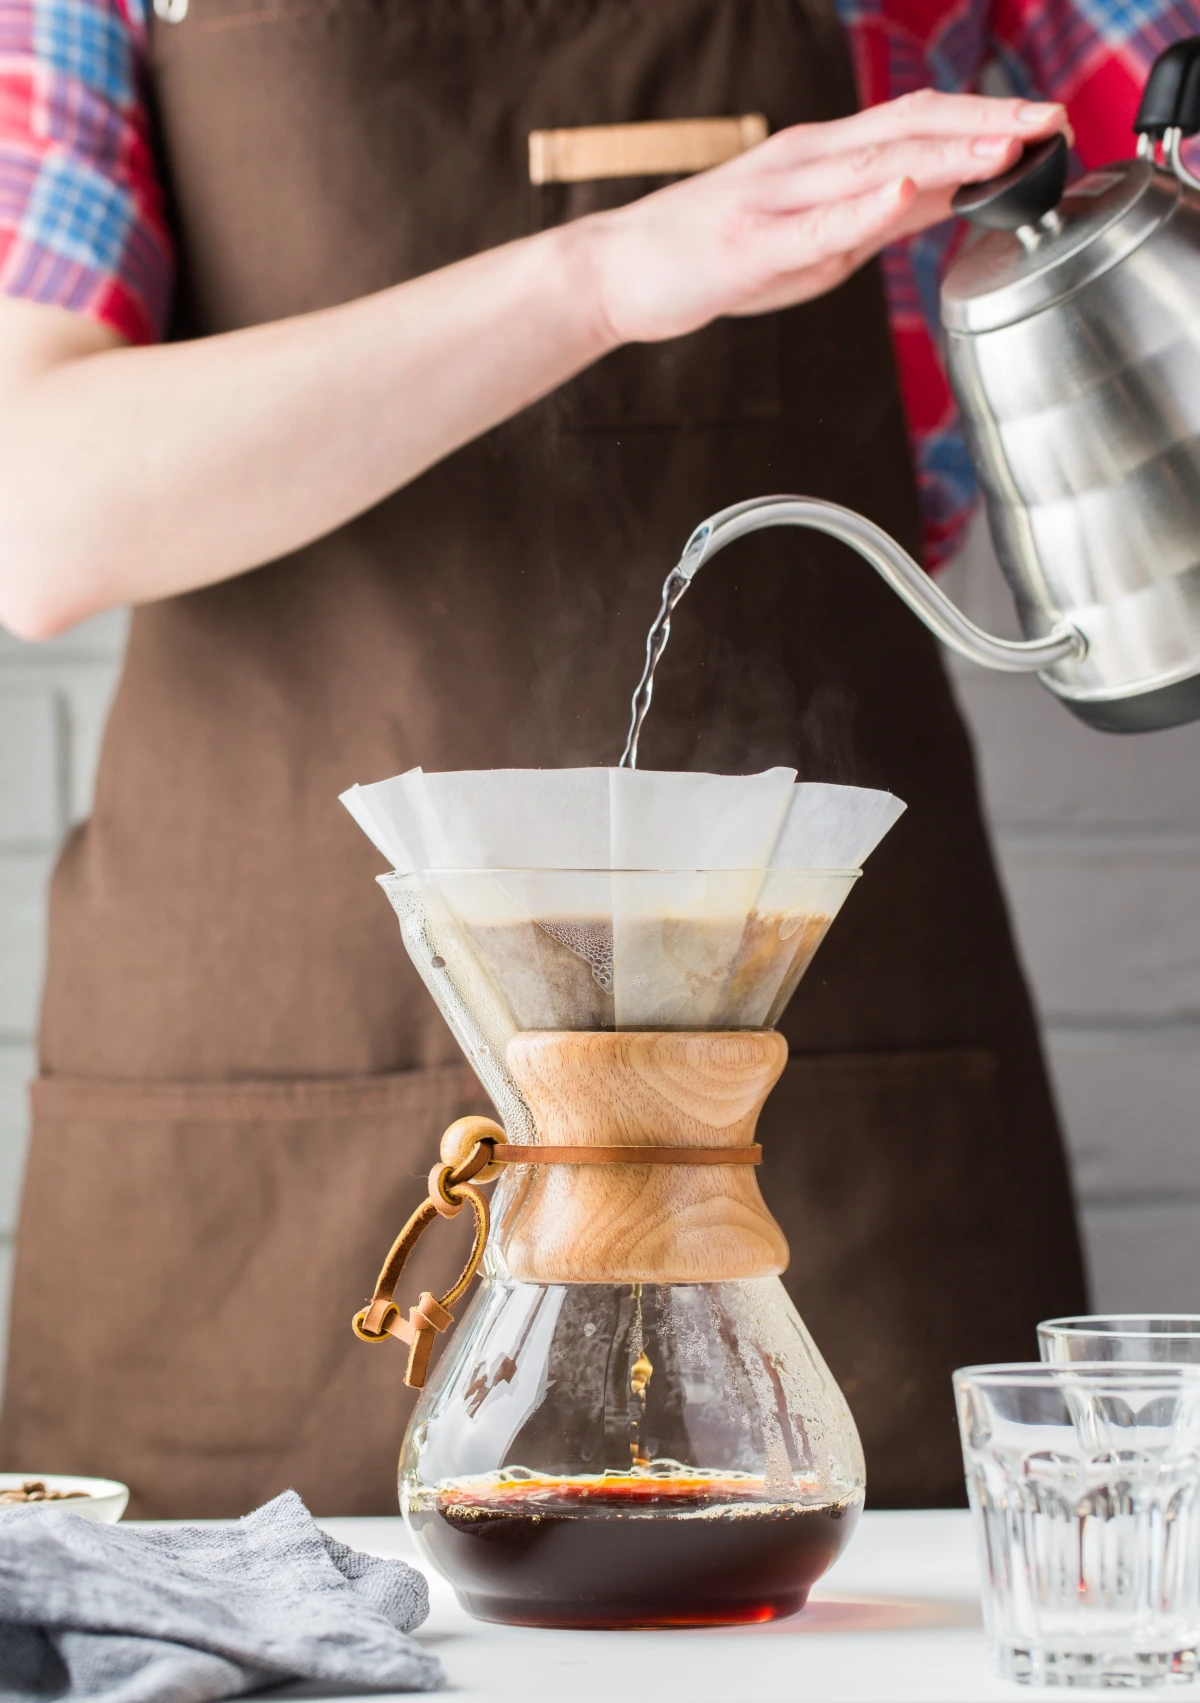
- The Upgrade: If you’re using a pour-over, a gooseneck kettle ($40+) will give you incredible control over your pouring.
- Coffee: 22 grams, ground to a medium-fine consistency (like table salt).
- Water: 350 grams (about 12 oz) heated to 205°F.
- Method: Start by pouring about 50g of water to wet all the grounds (this is the “bloom”), wait 30 seconds, then continue pouring slowly and evenly in circles until you reach 350g of water.
- Target Time: Aim for the entire process to take about 3 minutes.
- Removes stale coffee oils that turn rancid and spoil the taste of fresh brews.
- Prevents old, fine particles from clogging the mechanism, ensuring a consistent grind.
- Extends the life of your grinder’s burrs and motor.
- Coarsely grind your favorite coffee beans. Think of the texture of rough breadcrumbs.
- Combine the grounds and cold, filtered water in a jar at a 1:8 ratio (e.g., 50g of coffee to 400g of water).
- Stir gently, cover, and let it steep in the refrigerator for 12 to 18 hours.
- Strain the mixture through a fine-mesh sieve or a coffee filter, and your concentrate is ready!
- Incredible versatility to brew espresso-style, pour-over, or immersion coffee.
- Forgiving of grind size and technique, making it perfect for beginners.
- Compact, durable, and ideal for travel.
4. The Brew: Ratios and Temperature Matter
Okay, you’ve got fresh beans, good water, and a consistent grind. Now it’s time to actually brew. The two most important things to control here are your water temperature and your coffee-to-water ratio.
The ideal temperature range is between 195°F and 205°F. If your water is too cold, you’ll get a sour, under-extracted cup. If it’s too hot (i.e., boiling), you’ll scorch the grounds and get a bitter, harsh brew. A quick tip: boil your water, then take it off the heat and let it sit for about 30-45 seconds. It will usually land you right in that sweet spot.
By the way, this is where many cheap automatic coffee makers fail—they just don’t get the water hot enough.
Stop Scooping, Start Weighing
Using a scoop for coffee is a recipe for inconsistency. A scoop of dark roast beans weighs less than a scoop of light roast. To get repeatable results, you need to weigh everything. A simple digital kitchen scale is a barista’s best friend, and you can get a great one online for about $15.
A fantastic starting point for most drip or pour-over methods is a 1:16 ratio. That means for every 1 gram of coffee, you use 16 grams of water. For a full-immersion method like a French Press, you might prefer something a little stronger, so try a 1:14 ratio to start. Using a scale puts you in complete control.
5. Your Equipment: Cleanliness is Crucial
I can’t even count how many times I’ve solved a “my coffee tastes bad” mystery only to find the culprit was a dirty machine. It’s so easy to overlook, but it will absolutely ruin your brew.
Coffee contains oils, and these oils stick to every surface they touch—your carafe, your filter basket, you name it. Over time, these oils build up and go rancid, just like old cooking oil in a pan. That foul, bitter, metallic taste will contaminate every pot you brew.
In the café, cleaning is a non-negotiable ritual. You should have one at home, too. Rinse your gear thoroughly with hot water after every use. Once a week, give it a proper scrub with a dedicated coffee equipment cleaner like Cafiza. It’s specifically designed to break down those stubborn coffee oils.
A friend once called me, complaining his coffee had suddenly started tasting terrible. I went over and wiped the inside of his machine’s filter basket with a paper towel. It came away brown and sticky. We gave it a deep clean, and the next day, his coffee was delicious again. The machine wasn’t broken, it was just dirty.
Putting It All Together: Your First Great Cup
With the main variables handled, you’re ready to make it happen. The craft is in the details, but getting started is easier than you think.
My Recommended ‘First Barista Kit’
You don’t need to spend a fortune. Here’s what I’d recommend for a killer starter setup:
A Go-To Recipe to Try Today
Want a concrete target? Here’s my everyday pour-over recipe for one perfect mug:
From there, you just taste and adjust. Remember the simple rule: Sour? Grind finer. Bitter? Grind coarser.
Honestly, making truly great coffee at home isn’t some dark art. It’s a skill you can learn. Just focus on one thing at a time. If you’re using pre-ground coffee, getting a burr grinder will be a revelation. From there, start weighing your beans or filtering your water. Each small change builds on the last, and before you know it, you’ll realize the best coffee in town is coming from your own kitchen.
Inspirational Gallery
Burr Grinder: Crushes beans between two revolving abrasive surfaces, creating uniform particle sizes for even extraction. This is the choice for consistency. Look at models from Baratza or Fellow.
Blade Grinder: Smashes beans with a spinning blade, much like a blender. The result is an inconsistent mix of fine dust and large chunks, leading to a bitter and sour cup.
For a noticeable leap in quality, a burr grinder is the single best equipment upgrade you can make.
About 98% of a cup of coffee is water. If you don’t like the taste of your water on its own, you won’t like the coffee you make with it.
This is a fundamental truth in every specialty coffee shop. The minerals (or lack thereof) in your tap water drastically affect flavor extraction. An easy first step is to use a simple carbon filter pitcher, like a Brita or Soma, to remove chlorine and other off-tastes. It’s a small change with a massive impact on the final cup’s clarity.
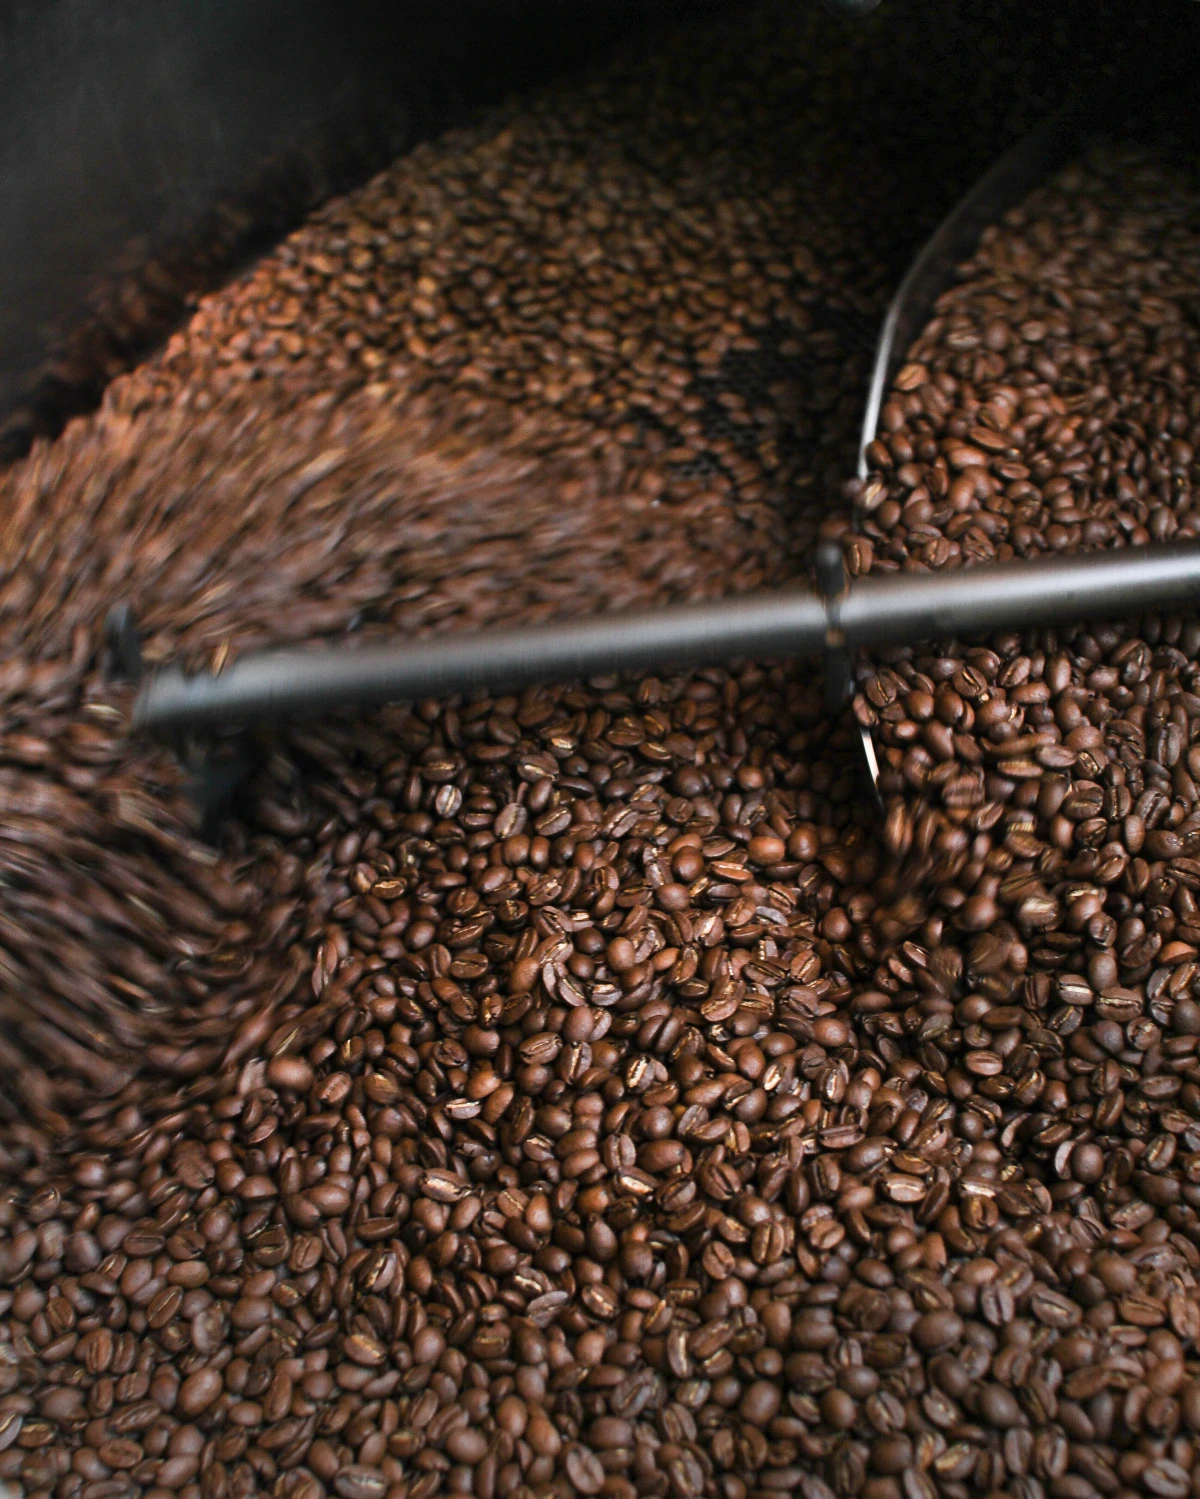
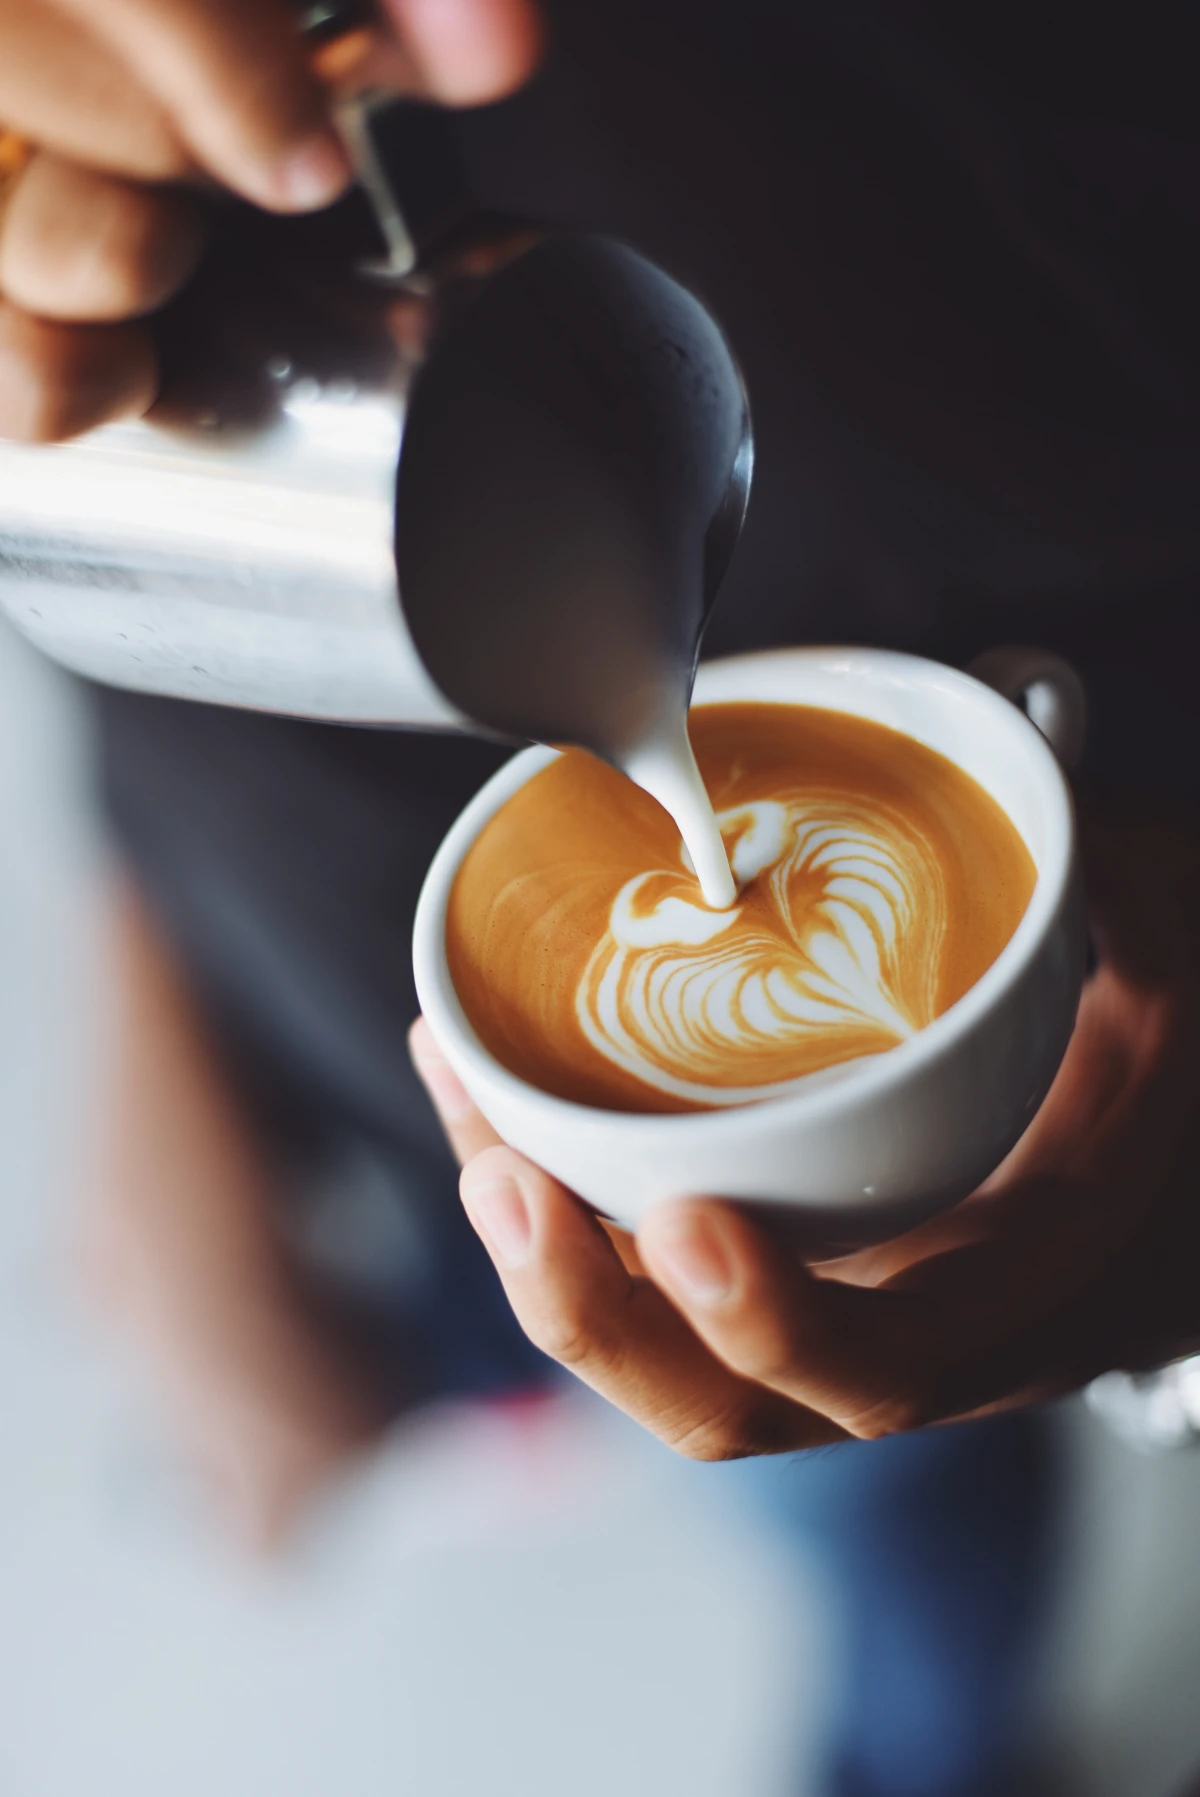
The ritual of making coffee can be as rewarding as drinking it. The sound of the beans rattling into the grinder, the fragrant bloom as hot water hits the grounds, the slow, steady pour. Take a moment to engage these senses. This isn’t just a caffeine delivery system; it’s a small, mindful practice to start your day.
The secret? A simple weekly cleaning. Unplug your grinder, brush out the burrs and chute, and once a month, run a specialized cleaner like Grindz pellets through it.
Do I really need a coffee scale?
In a word, yes. Brewing coffee is all about ratios, and eyeballing scoops is a recipe for inconsistency. A simple digital kitchen scale, or a dedicated coffee scale like the Hario V60 Drip Scale, allows you to use the exact same amount of coffee and water every single time. It’s the key to turning a ‘happy accident’ good cup into a repeatable, delicious daily brew. No more guessing, just great coffee.
The ideal water temperature for brewing coffee is between 195°F and 205°F (90°C to 96°C).
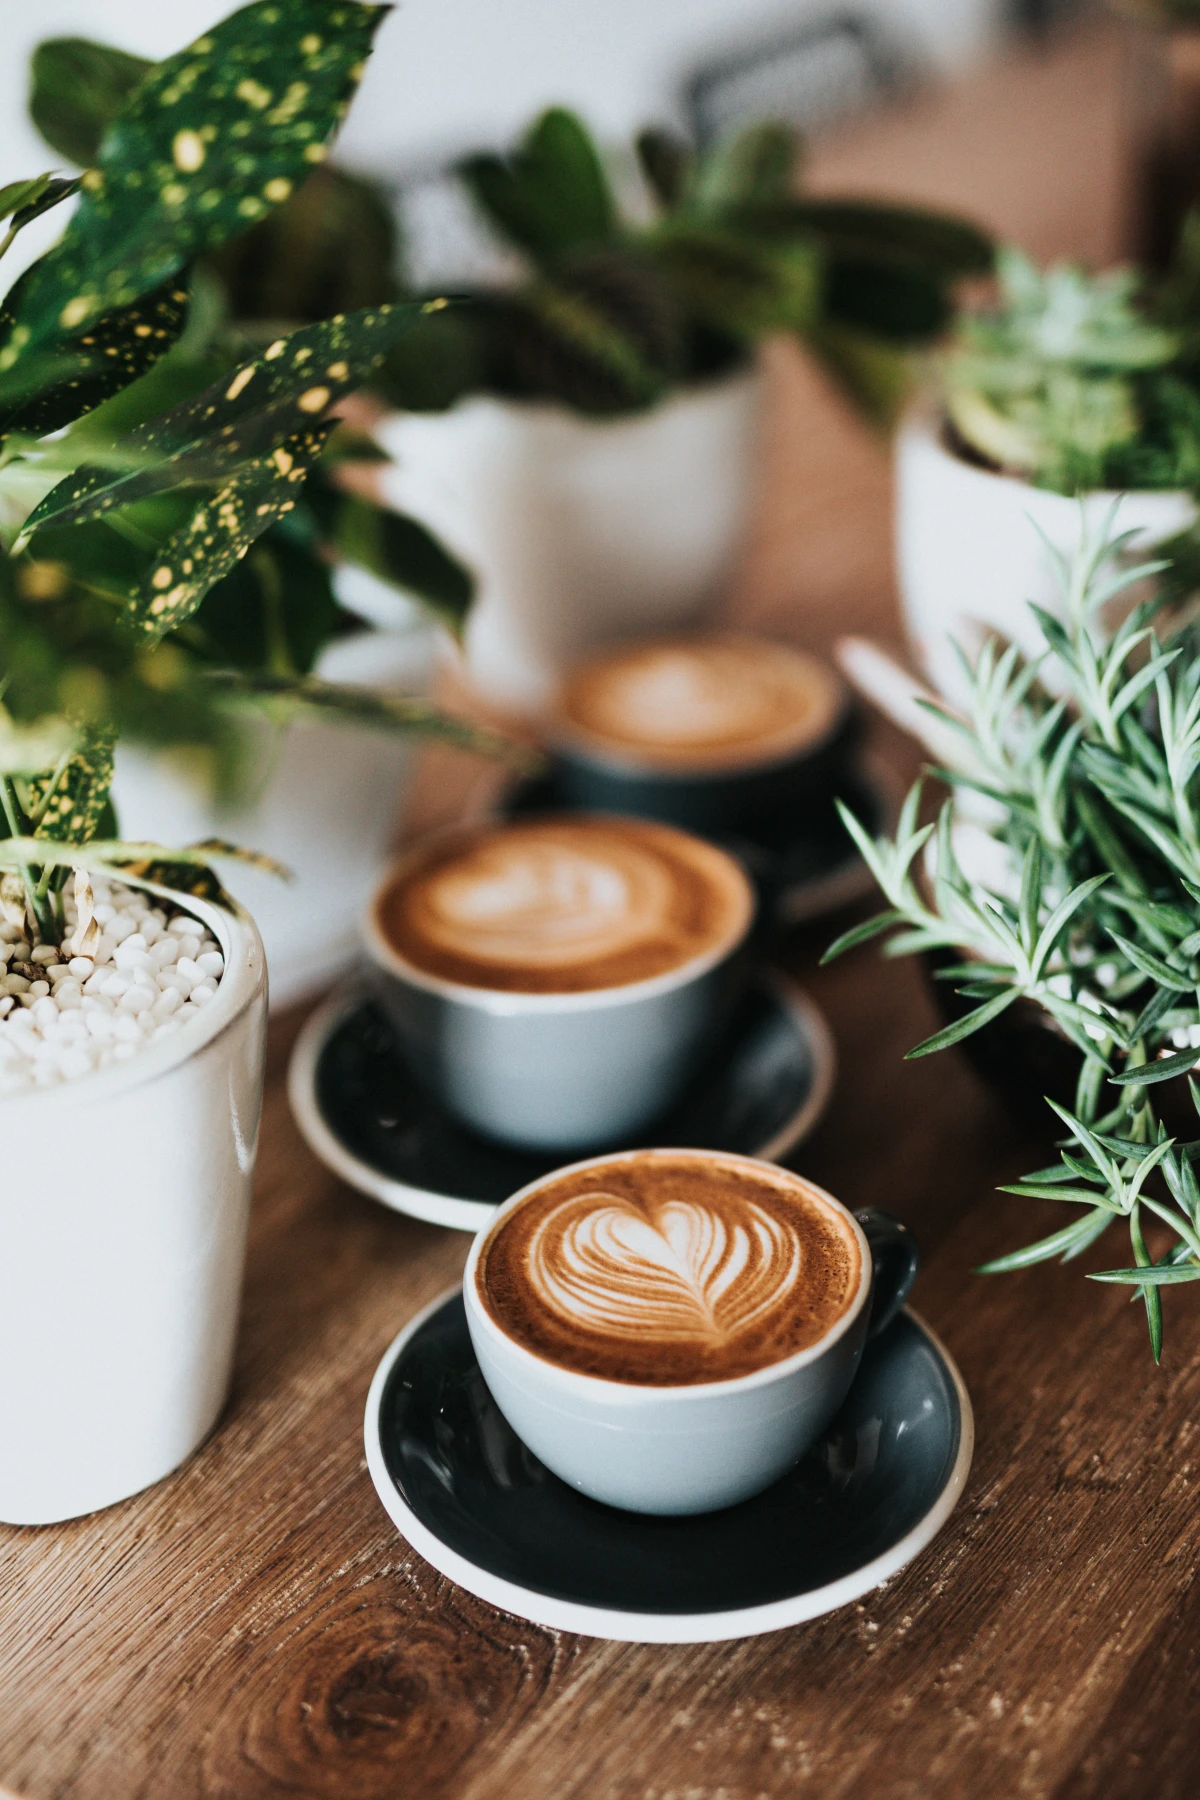
Don’t overlook your mug. The material, shape, and thickness of your cup can influence the sensory experience. A thick, pre-warmed ceramic mug will retain heat longer, preserving the coffee’s delicate aromatics as you sip. In contrast, a thin-walled glass allows you to appreciate the color and clarity of your brew. It’s the final touchpoint in your coffee journey.
Ready to try cold brew? It’s surprisingly simple and results in a smooth, low-acid concentrate that’s perfect for hot days.
An often-overlooked hero: the gooseneck kettle. While any kettle can boil water, the control offered by a gooseneck spout, like those from Fellow or Bonavita, is a game-changer for pour-over methods. It allows for a slow, precise, and even saturation of the coffee grounds, preventing you from agitating the bed too much and ensuring a sweeter, more balanced extraction.
Looking for maximum quality on a minimal budget? The AeroPress is arguably the best value in coffee brewing, delivering consistently delicious results that rival gear ten times its price.


