Thinking About a Wallpaper Mural? An Installer’s Unfiltered Guide
Over my years as a professional wallcovering installer, I’ve seen wallpaper murals do a lot more than just cover a wall. Honestly, a great mural becomes part of the room’s soul. It can completely change how a space feels, and I’m not just talking about adding a pretty picture.
In this article
I remember this one job, a city apartment with a living room that was long and skinny—the client felt totally boxed in. We put up a mural of a forest path on the far wall, one with a really strong vanishing point. The change was instant. The room felt twice as deep, and way more open. It wasn’t just decoration; it was a clever design solution. That’s the kind of magic you can tap into when you get it right.
A lot of people think wallpapering is a simple weekend DIY. They grab a cool-looking mural, a tub of paste, and just go for it. But the gap between an amateur job and what a pro does is massive. It’s all in the details you can’t see, like the wall prep, the invisible seams, and making sure the pattern flows perfectly. This guide is packed with the stuff I’ve learned on the job, and I want to help you get that lasting, beautiful result you’re picturing.
First Things First: What Are You Actually Working With?
Before you even dream of hanging that first panel, you have to understand your materials. The mural itself and the adhesive you use are a team. If they don’t work well together, you’re setting yourself up for failure. This mismatch is hands-down the #1 reason for peeling, bubbling, and sometimes, heartbreaking damage to your walls.
Let’s Talk Mural Materials
Murals come on a few different backings, and each one behaves differently. Knowing the type you have is critical.
- Non-Woven: This is the good stuff, and honestly, what you’ll find most modern murals printed on. It’s a synthetic blend that’s super strong and stable. The biggest win for a DIYer? You apply the paste directly to the wall, not the paper. This makes handling giant, sticky panels so much easier. It won’t expand or shrink, so your seams stay tight. Plus, it’s breathable, which helps prevent mold. When it’s time for a change, it usually peels off in full sheets. Easy on, easy off. It’s the most beginner-friendly option, perfect for living rooms and bedrooms.
- Traditional Paper: This is the classic, old-school material. It requires a step called ‘booking,’ where you apply paste to the back, fold it paste-to-paste, and let it rest for 5-10 minutes. This lets the paper expand before it hits the wall. Skip this or mess up the timing, and you’ll get wrinkles and bubbles as it expands on the wall. It’s a bit more demanding and probably best for someone with a little experience, but it can yield some incredibly rich printed finishes, often seen in high-end, traditional designs.
- Vinyl: Think of vinyl as the tough guy of wallpaper. It has a paper or fiber back with a vinyl surface, making it scrubbable and super durable. This makes it a great choice for kitchens, bathrooms, or hallways. The catch? Most vinyl isn’t breathable. If moisture gets trapped, mold can become an issue. So, a mold-resistant primer is non-negotiable here. It’s a bit stiffer to work with, putting it in the intermediate-to-pro difficulty range.
The Unsung Heroes: Primer and Paste
Heads up! Your wall paint is not a good surface for wallpaper paste. Most modern paints are designed to resist stains, which means they’re also designed to resist adhesive. The moisture from the paste can even soften the paint, causing it to bubble right off the wall, taking your beautiful new mural with it. That’s why a dedicated wallpaper primer is an absolute must.
Let me tell you a quick story. Early in my career, I was doing a small powder room and thought, “It’s just one wall, I can probably skip the primer.” Big mistake. A week later, I got a call from the client. The seams were peeling and the paint underneath had bubbled up. I had to go back, strip it all off, repair the damaged drywall, and then re-hang the mural—all on my own dime. It was an expensive lesson. A $30 can of primer would have saved me hundreds of dollars and a whole lot of embarrassment.
A good wallpaper primer (often called a ‘sizing’ or ‘wall shield’) does three crucial things:
- Seals the wall: It stops the paste from soaking into the drywall, so the adhesive can do its job.
- Creates grip: It provides a perfect, uniform surface for the paste to stick to.
- Makes removal easy: It creates a barrier that lets you strip the paper later without shredding your wall.
- Wallpaper Primer: Zinsser Shieldz is my go-to. ($25-$30/gallon)
- Wallpaper Adhesive: Roman PRO-880 for non-woven, or a heavy-duty clay-based for vinyls. ($30/gallon)
- Paint Roller & Tray: For applying the primer and paste. A 3/8-inch nap roller is perfect.
- Paint Brush: A 2-inch angled brush for cutting in primer and paste at the edges.
- Wallpaper Smoothing Brush: A long-bristled brush is much gentler on the mural surface than a plastic tool. ($10-$15)
- Seam Roller: A small, hard roller to press seams down firmly. ($5-$8)
- Snap-Off Utility Knife: The key here is ‘snap-off’. You need a fresh, razor-sharp blade for every single cut. ($10)
- A Long Level or Plumb Line: To get your first panel perfectly vertical. Don’t skip this!
- Tape Measure
- Pencil
- Clean Sponges & a Bucket of Water: For wiping up excess paste.
- Spackling Compound & Putty Knife: For filling any holes or dents.
- Fine-Grit Sanding Block: (120-grit is good)
- A Sturdy Step Ladder
- Hang the panel right over the outlet.
- Use your fingers to feel for the four corners of the outlet box underneath the paper.
- With your knife, carefully poke a small hole in the center and cut an ‘X’ shape from corner to corner.
- Gently fold back the four triangular flaps you just created.
- Trim the flaps along the inside edge of the outlet box. When you put the faceplate back on, it will hide your cuts perfectly.
- A stubborn bubble appeared overnight: Sometimes a small air bubble gets trapped. You can usually fix this by pricking it with a pin or the very tip of your sharp knife. Then, use your smoothing brush to gently push the air out through the tiny hole. If it’s a larger bubble, you might need to use a syringe to inject a tiny bit of adhesive inside before smoothing it down.
- My seams are lifting: This usually means there wasn’t quite enough paste at the edges. You can fix it by carefully applying a small amount of seam repair adhesive (it comes in a small tube) under the edge with a tiny artist’s brush and then pressing it down with the seam roller.
- I got dried paste on the front: Ugh, this is a tough one. Try gently rubbing the spot with a clean, damp microfiber cloth. Don’t scrub, or you could damage the print. If that doesn’t work, sometimes a special wallpaper paste remover, used very sparingly, can help. Test it on a scrap piece first!
- Skipping the Primer: Don’t do it. Just don’t. It’s the cheapest insurance policy you can buy for your project.
- Not Drawing a Plumb Line: Trusting your eye or the corner of your room is the fastest way to a crooked mural. A level is your best friend.
- Using a Dull Blade: A dull knife will tear your beautiful, expensive mural. Snap off a new segment for every single trim cut. It’s not wasteful; it’s essential.
- The job involves a two-story foyer, a stairwell, or a ceiling. These are dangerous without the right equipment and experience.
- You bought a very expensive mural made of delicate materials like silk, grasscloth, or hand-printed paper. The cost of a mistake is just too high.
- Your walls are in really bad shape (old, crumbly plaster, lots of damage). The prep work might be more than you bargained for.
- A laser level for a perfectly plumb starting line.
- A soft, flexible plastic smoother to work out bubbles without creasing the paper.
- A dedicated seam roller to ensure edges are bonded tightly.
- A snap-off utility knife with a fresh blade for every single cut.
- On the Ceiling: Often called the ‘fifth wall’, a ceiling mural of clouds, stars, or an abstract pattern from a brand like Eijffinger draws the eye upward, making a room feel grand and immersive.
- In a Powder Room: Small spaces are perfect for dramatic, large-scale patterns. A bold floral or a quirky landscape can turn a tiny, forgotten room into a jewel box of a space.
- Retains its vibrant color, resisting fading even in sunlit rooms.
- Withstands minor scuffs and can be gently wiped clean.
- Provides a seamless, high-end look that lasts for years.
For primer, I almost always go with Zinsser Shieldz Universal Wallcovering Primer. You can find it at most hardware stores for about $25-$30 a gallon. It has never let me down.
As for adhesive, always check the mural manufacturer’s recommendation first. But for most non-woven papers, a high-quality, pre-mixed clear adhesive like Roman PRO-880 Ultra Clear is the industry standard for a reason. It rolls on easy and dries invisible. A gallon will run you about $30.
Your Pre-Project Shopping List
Walking into the hardware store without a list is a recipe for disaster. Here’s exactly what you’ll need to grab. Pro tip: buy better quality tools. A good smoothing brush or a sharp knife makes a world of difference and you can use them for other projects later.
The Pro’s Playbook for a Perfect Finish
This is where the real work happens. I tell my clients that 70% of a great wallpaper job is finished before a single panel even touches the wall. Rushing is your worst enemy.
Step 1: Wall Prep is Everything
A mural won’t hide bumps and cracks; it will magnify them under light. So, give your wall some love. Be realistic here: for a standard 12-foot wall with a few dings to patch, block out at least 4-5 hours just for prep. Yes, really.
First, kill the power to the wall at the breaker box and remove any outlet or switch plates. Now, run your hand over the entire wall. Your fingers will find imperfections your eyes miss. Fill any holes with spackle, let it dry, then sand it perfectly smooth. Wash the wall with a TSP substitute (you can find it in the paint aisle) and water to get rid of dust and grime. Let it dry completely, then roll on your primer. Let the primer cure for at least 24 hours.
Step 2: Plan Your Attack
Murals are one big image, so you can’t just start in a corner and hope for the best. Lay the dry panels out on the floor in their correct order to make sure the image is right and there are no printing flaws. Find the center of your wall and figure out where the mural’s focal point should be. Most are designed to be hung from the center out.
Now for the most important part: do not trust your corners or ceiling to be straight. They never are. Use your level or a plumb line to draw a perfectly vertical pencil line to guide your first panel. If this first piece is even slightly crooked, every other panel will be, too, and your mural will look like it’s sliding off the wall.
Step 3: Hanging the Mural
With a non-woven mural, roll an even coat of paste onto the wall, covering an area slightly wider than your first panel. Position the panel along your vertical guide line, leaving an extra inch or two overlapping the ceiling. Using your smoothing brush, work from the center out with gentle, sweeping strokes to push out air bubbles.
For the next panel, apply paste to the next section of wall. Bring the edge of the new panel right up to the edge of the first one. You’re aiming for a perfect ‘butt seam’—the edges touch perfectly but don’t overlap. Take your time sliding it into place. Once it’s up, use your smoothing brush, then gently roll the seam with your seam roller. Immediately wipe the seam with a clean, damp sponge to remove any paste that squeezed out. If it dries on the front, it can leave a shiny spot that’s impossible to remove later.
Step 4: Trimming and Outlets
For trimming the top and bottom, use a fresh blade for every cut. A dull blade will snag and tear wet paper. Press a wide putty knife firmly into the corner and run your sharp utility knife along its edge for a clean, straight line.
Cutting around outlets can be scary, but it’s simple if you follow the steps. Remember, the power is OFF!
Help! What to Do When Things Go Wrong
Even with the best prep, things can happen. Don’t panic. Here are some common problems and how to fix them.
Pro’s Top 3 Mistakes to Avoid at All Costs
If you only remember three things from this guide, make them these:
When to Skip the DIY and Call a Pro
Be honest with yourself. Is this project for you? Sometimes, paying an expert is the smartest move.
You should seriously consider hiring a pro if:
A professional installer might charge anywhere from $500 to $1,200 or more for a standard accent wall, depending on your location, the material, and the wall’s condition. It sounds like a lot, but you’re paying for their speed, their tools, a guaranteed perfect result, and most importantly, their insurance. If they mess up, they fix it. When you get a quote, you’re not just paying for a day of work—you’re paying for peace of mind and years of expertise.
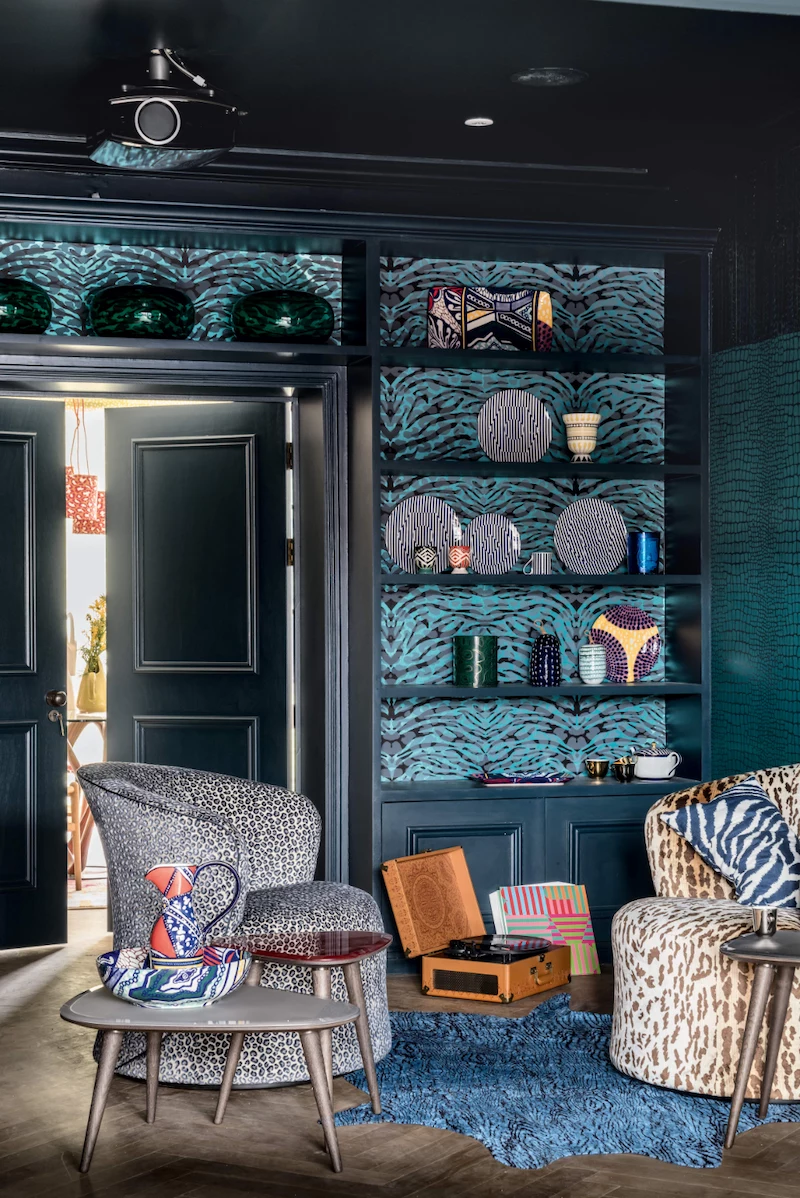
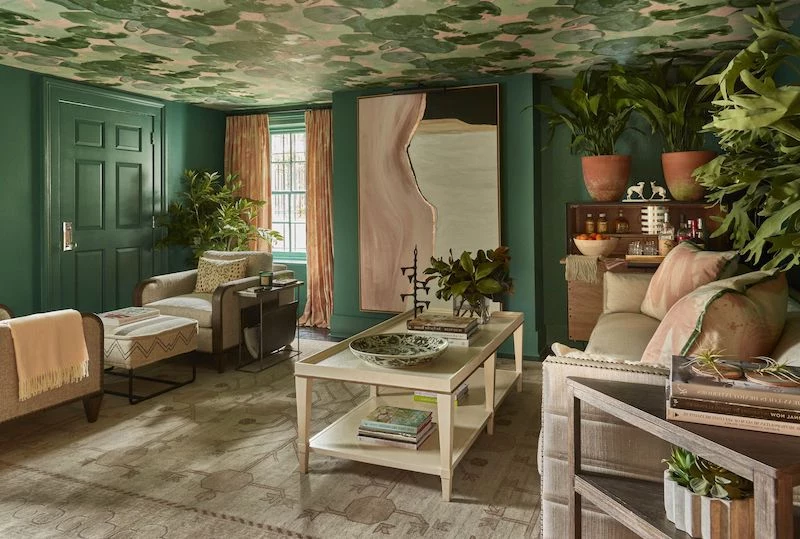
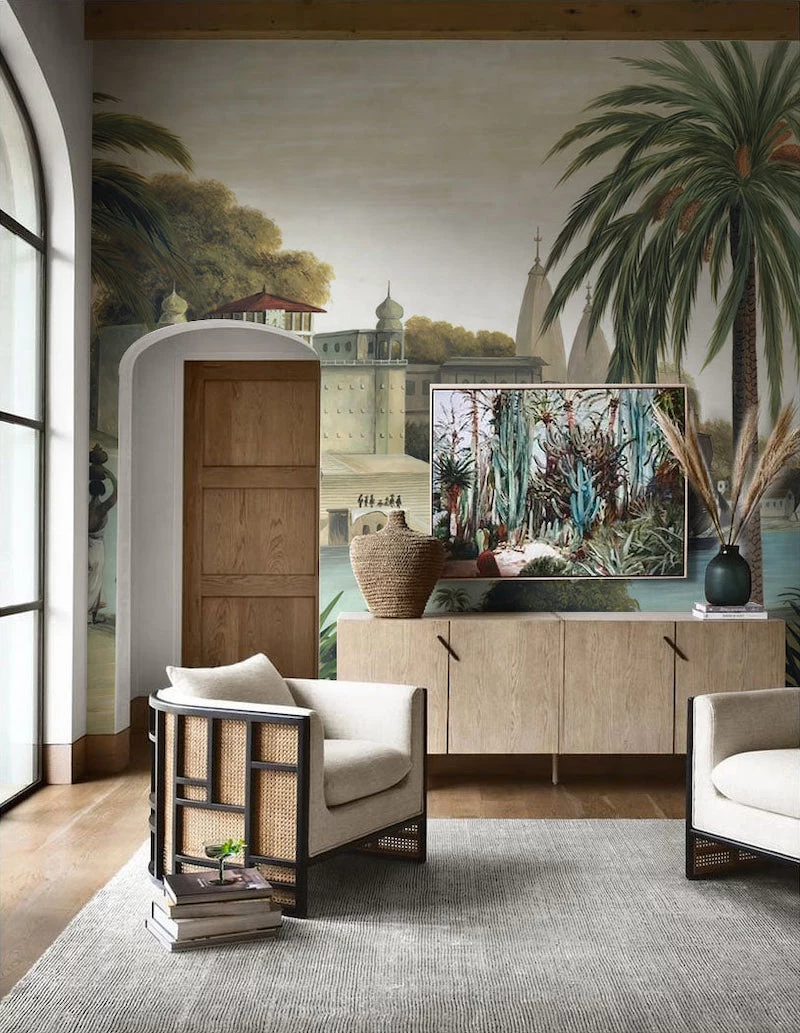
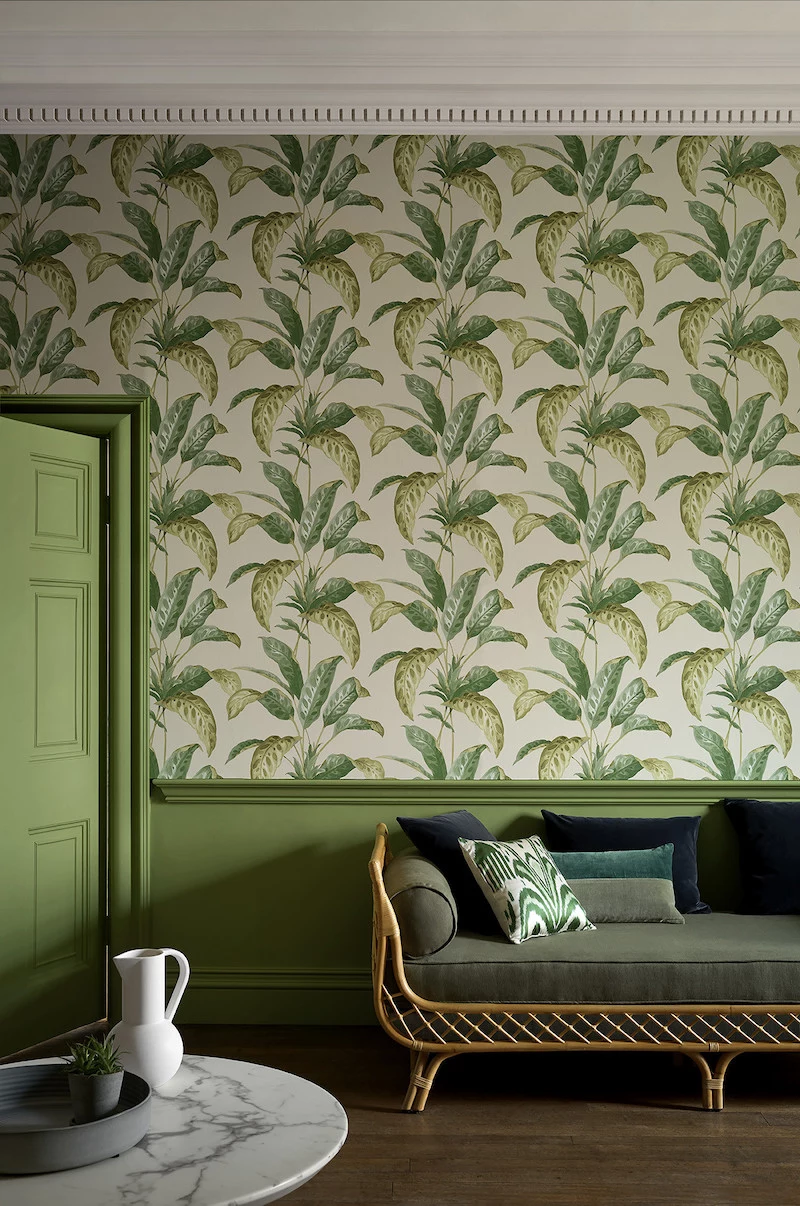
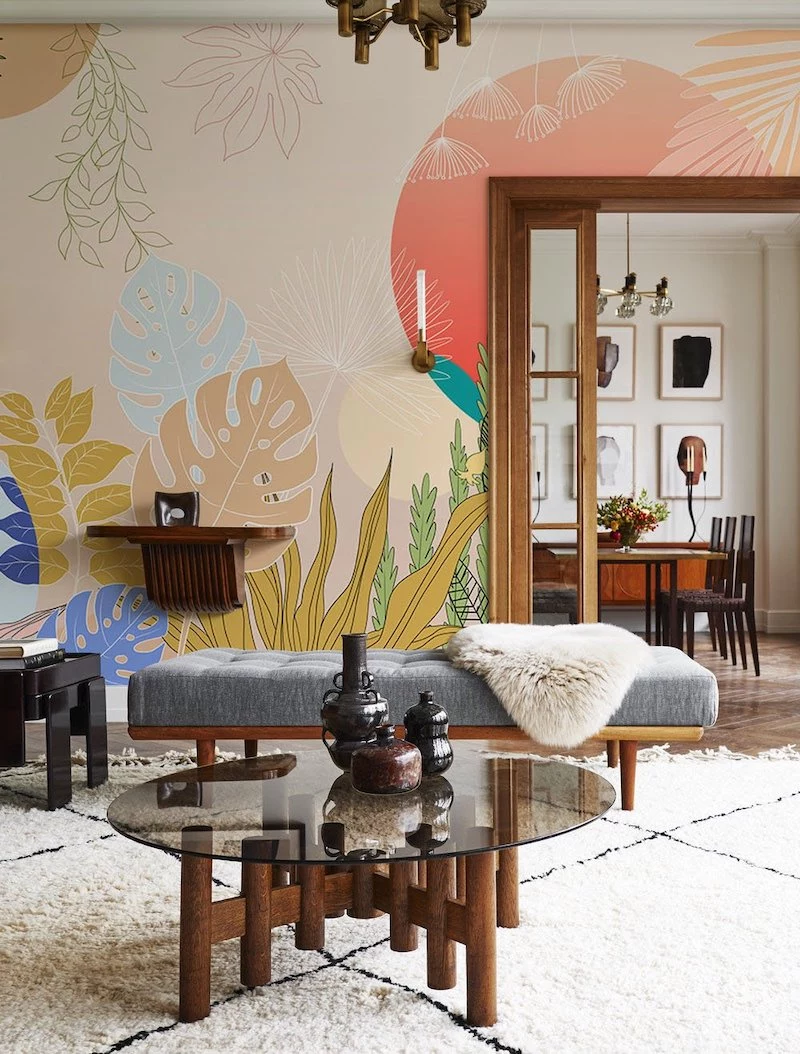
Inspirational Gallery
Standard Latex Primer: A decent starting point that seals the drywall and provides a uniform color. However, it can absorb adhesive too quickly, reducing your ‘slip’ time for positioning panels.
Specialized Wallcovering Primer: This is a game-changer. Products like Zinsser GARDZ create a hard, non-porous film on the wall. Paste stays wet longer, allowing for easier adjustments, and it guarantees a clean removal years later without damaging the drywall.
For a professional, lasting finish, the specialized primer is a non-negotiable investment.
Even a wall with a light ‘orange peel’ texture can telegraph through a smooth mural, creating a finish that looks mottled and unprofessional.
When planning your layout, remember that large, bold patterns can overwhelm a small room, while tiny, intricate designs can get lost in a large one. The scale of the mural’s pattern should be proportional to the room’s dimensions and the viewing distance. Many suppliers, like MuralsWallpaper, offer custom scaling to ensure the design fits your space perfectly.
Spotted a dreaded air bubble after your mural has dried?
Don’t panic, and don’t try to press it out. Take a fine sewing pin and prick the bubble at its edge. Then, use a wallpaper adhesive syringe (available at most hardware stores) to inject a tiny amount of paste into the hole. Gently press the air out towards the pinprick with a soft cloth and wipe away any excess adhesive immediately. The paper will relax and bond to the wall as it dries.
Studies show that incorporating elements of nature into our indoor environments can reduce stress and increase creativity by up to 15%.
This is the driving force behind the surge in hyper-realistic forest, botanical, and landscape murals from brands like Rebel Walls or Photowall. They’re more than just decoration; they are a direct line to the calming, restorative effects of the outdoors, fundamentally changing a room’s atmosphere and how you feel within it.
The one thing you can’t fix later: a crooked first panel. Every subsequent panel will be off, magnifying the error across the wall. Use a level to draw a perfectly vertical plumb line for the edge of your first panel. Don’t trust the corner of your room to be straight—it rarely is. This single step is the foundation for invisible seams and a flawless result.
Think beyond the feature wall. A mural can create an incredible design moment in the most unexpected of places.
The key? Choosing the right material for the job. For kitchens, bathrooms, or kids’ rooms, look for murals printed on a durable, scrubbable vinyl backing. For living rooms and bedrooms, a high-quality coated non-woven offers a beautiful matte finish with excellent durability.
Don’t throw away the offcuts! The beautiful, high-quality material of your mural is perfect for creative mini-projects. Use larger scraps to line the back of a bookcase or the insides of drawers for a hidden pop of pattern. Smaller pieces can be mounted on cardstock and framed to create a series of coordinating art prints, tying the room’s decor together perfectly.


