The Real-Talk Guide to Childproofing Your Home (Without Losing Your Mind)
After years of walking into homes to help parents spot safety hazards, I’ve noticed one thing for sure. Parents see their home as a cozy, loving space. I see it a bit differently—I see the wobbly TV stand and the wide-open window on the second floor. My goal isn’t to scare you. It’s to help you see your home through the eyes of a curious, unsteady, and surprisingly fast toddler. Then, we can make it a safer playground for them to explore.
In this article
Let’s be honest, true child safety isn’t about wrapping your entire house in foam until it looks like a padded cell. It’s about understanding the real risks and tackling the most serious dangers first. We call this ‘layering safety.’ No single gadget is 100% foolproof, but when you combine a few smart strategies, you seriously reduce the chances of an accident. This means you get to worry less and enjoy the beautiful, chaotic ride of parenthood a little more.
Think of this as the same game plan I use during a professional home safety visit. I’ll walk you through why accidents happen, the best ways to prevent them, and which products are actually worth your money.
First, Let’s Understand the ‘Why’ Behind Common Accidents
To really childproof your home effectively, you have to get why certain things are so dangerous. It’s not just random bad luck; it’s usually a predictable mix of physics and a child’s natural development. This is day one stuff for any safety pro.
Tipping Furniture is a Big Deal
A toddler’s body is built differently than ours. Their heads are huge and heavy compared to their little bodies, giving them a high center of gravity. That’s why they topple over so easily! Well, the same physics applies to your furniture. To a toddler, a dresser with open drawers is basically an invitation to climb Mount Everest. As they pull out drawers and start climbing, the dresser’s center of gravity shifts forward. Once it passes the front legs, the whole thing is coming down.
And the force is no joke. A small TV falling from a dresser can hit with an incredible amount of force. This is exactly why anchoring heavy furniture isn’t just a friendly suggestion—it is, without a doubt, the most important childproofing task you will do.
The 4-Inch Rule
Here’s a simple rule of thumb that governs most safety standards: the 4-inch rule. Basically, if an opening is big enough for a small child’s head to fit through, their body can easily follow. This applies to the gaps between stair railings, balcony slats, and how far a window opens. I carry a little 4-inch block with me on jobs to show parents just how small—and dangerous—that gap can be.
Your Childproofing Toolkit: What You’ll Actually Need
Before you start, getting your tools together will save you a ton of headaches. You don’t need a pro-level workshop, just a few basics.
- A Stud Finder: This is your best friend for anchoring furniture. A good one costs about $20-$30 at any hardware store.
- A Power Drill and Drill Bits: Essential for installing hardware-mounted gates and furniture straps.
- A Good Screwdriver Set: You’ll use this for everything from cabinet locks to outlet covers.
- Measuring Tape & a Pencil: For marking pilot holes and making sure everything is level.

A Room-by-Room Game Plan
The best way to tackle this is systematically. Don’t just wander around. Go room by room with a mission. Here’s how I approach the key areas of a home.
The Living Room: Anchors, Edges, and Outlets
This is where your family hangs out, and it’s also home to some of the biggest hazards.
1. Anchor Your Furniture and TV. Seriously.
This part is completely non-negotiable. Every tall or heavy piece of furniture—bookcases, dressers, TV stands—has to be secured to the wall. Flat-screen TVs are especially tricky because they look stable, but they’re incredibly top-heavy and easy to pull over.
- The Right Way to Do It: Use proper furniture safety straps made of woven nylon with metal parts, not flimsy plastic L-brackets. You can grab a 2-pack for about $10-$15 from brands like Quakehold or Safety 1st. You’ll need at least two straps per item. Attach one end to a solid part of the furniture (like the wood frame, not the thin cardboard back) and the other end directly into a wall stud. Quick tip: A stud finder is the best way, but in a pinch, you can often find studs next to electrical outlets or by knocking on the wall—a hollow sound means drywall, a solid thud means you’ve found a stud.
- A Lesson I Learned the Hard Way: I once visited a family who had anchored a bookcase… but only into the drywall. Their toddler gave it one good tug, and the anchor ripped right out of the wall, leaving a giant hole. The bookcase still fell. Since that day, I always insist on showing parents how to find a stud. It’s the only way.
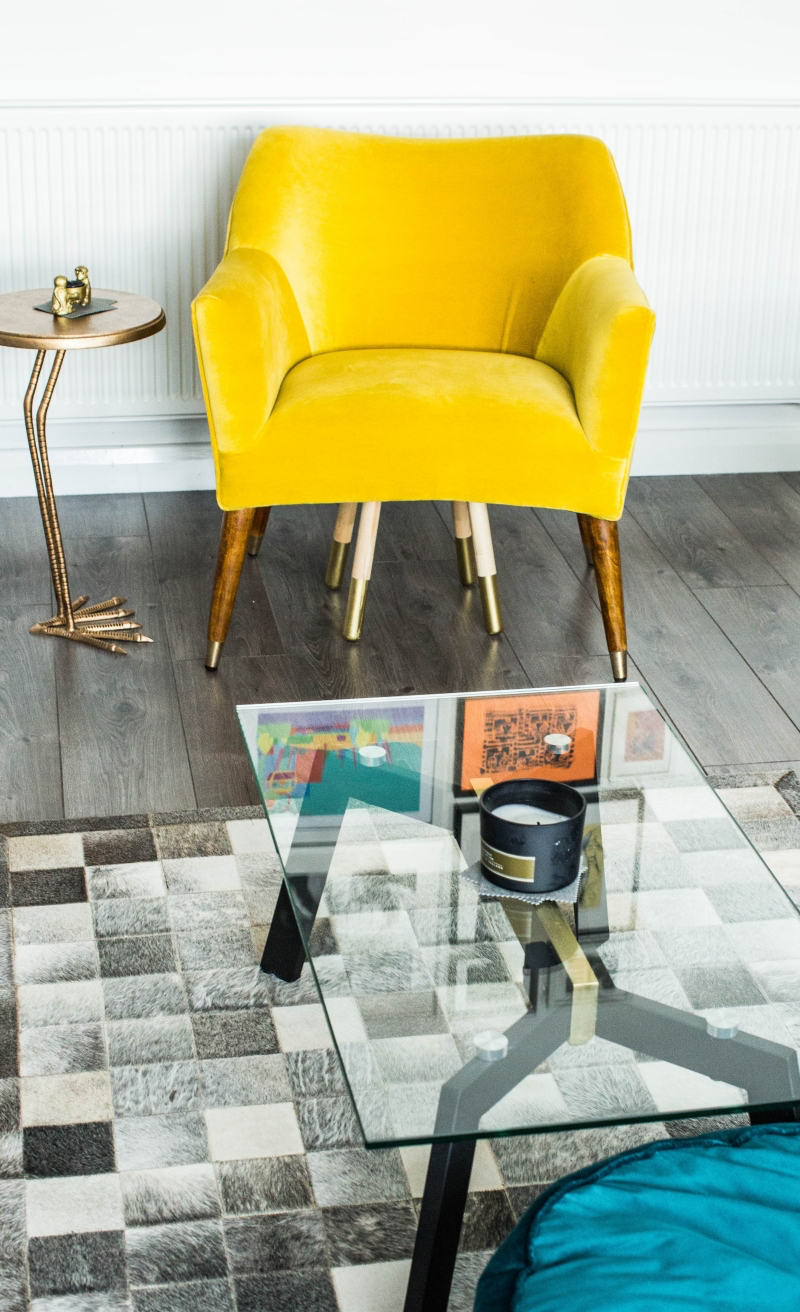
2. Sharp Corners and Edges
Those stylish coffee tables with sharp corners are at the perfect height for a stumbling toddler’s head. The same goes for brick hearths and media consoles.
- What to Use: For sharp wood or metal corners, dense silicone or rubber corner guards offer the best protection. The clear plastic ones look nicer but, frankly, don’t absorb impact as well. For a long edge like a hearth, a continuous foam bumper secured with strong double-sided tape is your best bet. A pack of guards or a roll of foam usually runs about $10-$20.
3. Electrical Safety
Those little plastic outlet plugs? Toss them. They are a massive choking hazard, and I’ve seen plenty of kids pry them out.
- The Pro Solution: The best option is to replace your outlets with Tamper-Resistant Receptacles (TRRs). Modern building codes already require them in new homes for a reason. They have a built-in shutter that only opens when a two-pronged plug pushes on both sides at once. A kid trying to jam a crayon in one slot can’t open it. An electrician can swap them out, or if you’re handy, you can do it yourself for about $3-$5 per outlet. A much safer and cheaper alternative to the plugs are sliding outlet covers that screw over the existing plate.
4. Window Blind Cords
This is a major strangulation hazard. The loops on older blinds are so dangerous that the industry has mostly moved to cordless designs.
- The Fix: Go cordless if you can. If not, you have to manage the cords. First, cut the loop to create two separate cords. Then, install cord cleats high up on the wall—I’m talking at least 5 to 6 feet off the floor—and wrap the cords tightly around them every single time. Never, ever leave them dangling.
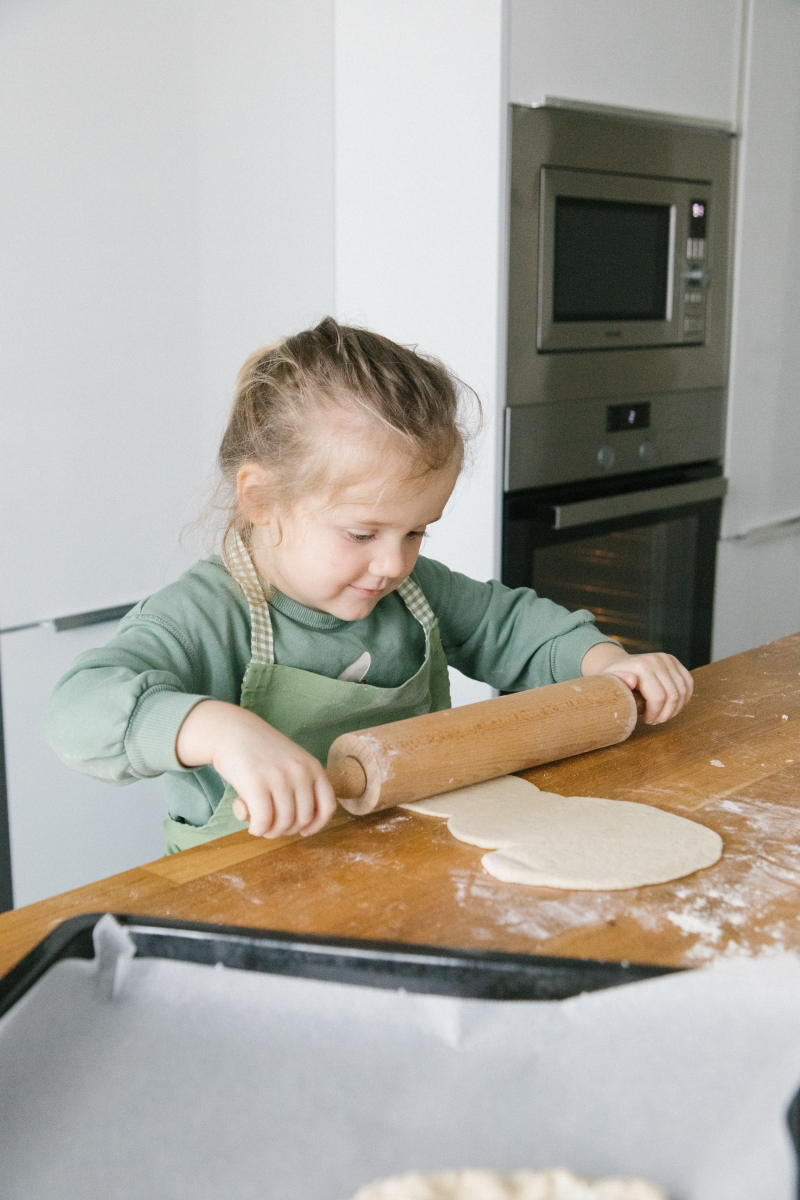
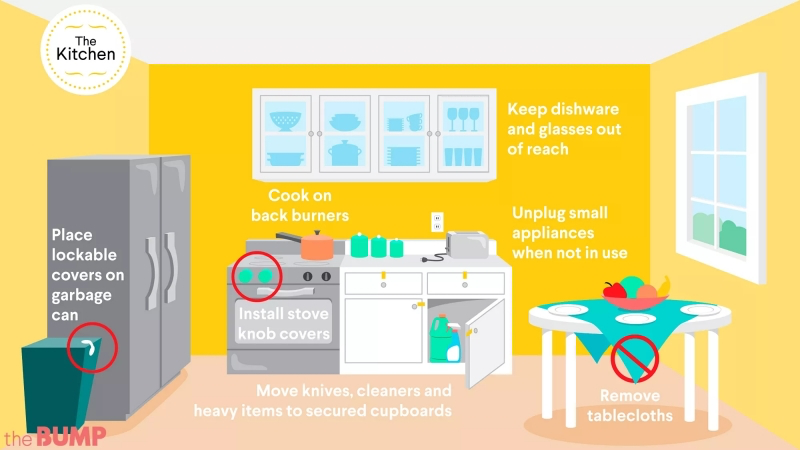
The Kitchen: The High-Risk Zone
The kitchen is a trifecta of danger: heat, sharp things, and chemicals. Layers of safety are key here.
1. Cabinets and Drawers: Choosing the Right Lock
It only takes a second for a toddler to get into the knives, heavy pans, or cleaning supplies. Choosing a lock comes down to what you’re protecting and what you can tolerate using every day.
- Magnetic Locks: These are my top pick for high-danger spots, like under the sink. They install on the inside, so they’re totally invisible. You open them with a powerful magnetic ‘key.’ They’re super effective. Expect to pay around $20-$30 for a set of 8.
- Spring-Loaded Latches: These are a good, budget-friendly option for general-purpose drawers (like the one with all the Tupperware). You have to press down on the latch as you open the drawer. They work, but can be a little annoying day-to-day. A pack of 10 is usually under $15.
- Adhesive Strap Locks: These are the go-to for renters. They stick on the outside of the cabinet. They’re great because there’s no drilling, but a determined toddler can sometimes defeat them, and the adhesive can wear out over time.
Pro Tip: Create a ‘yes’ cabinet. Pick one low drawer or cabinet and fill it with safe stuff like plastic bowls and wooden spoons. Put a simple, visible slide lock on it. This gives them a safe place to direct their curiosity and might just save your sanity.
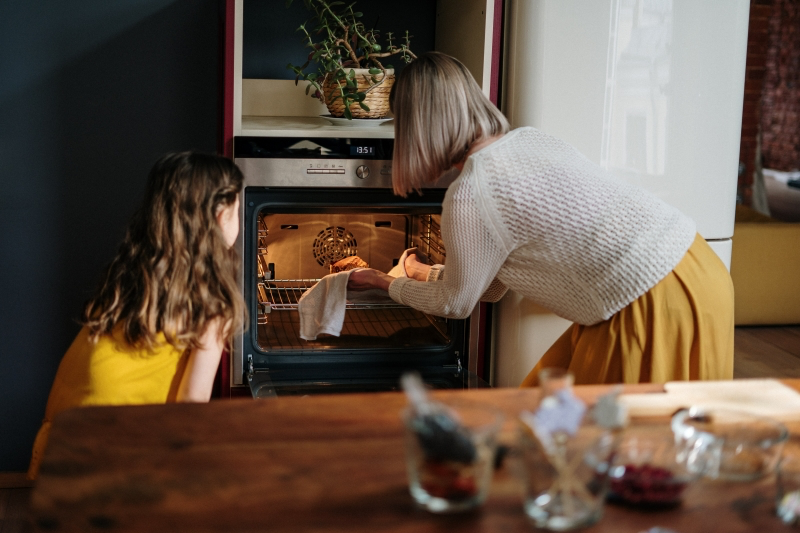
2. Appliances
Use built-in child-lock settings, but add physical barriers for extra peace of mind.
- Stove: Get a stove guard (a shield that blocks the front of the cooktop) and stove knob covers. These are cheap insurance, usually $20-$30 for a set. And get in the habit of always using the back burners first.
- Oven: An oven door lock is a must to prevent a child from opening a hot oven.
- Freestanding Range: I always check for the anti-tip bracket. It’s a small metal piece that secures the back foot of the stove to the floor. Without it, a child can climb on the open oven door and pull the whole hot range down on themselves.
The Bathroom: Water and Pills
The bathroom is home to two of the quietest and fastest dangers: drowning and poisoning.
Your 5-Minute Safety Win for Today: Go check your water heater right now. The temperature should be set to a maximum of 120°F (49°C). Any hotter, and it can cause severe burns in just seconds. Turning it down is one of the single best things you can do for your child’s safety. Done!
- The Toilet and Tub: Always use a toilet lid lock. It prevents unsanitary splashing and is an important drowning prevention tool. In the tub, never, ever leave a small child alone, not even for a second. A non-slip mat and a soft spout cover are also smart additions.
- Medication: The medicine cabinet is not a safe place. A toddler can easily climb up on the counter to get into it. All medications—including vitamins and mouthwash—should be in a locked box or a cabinet with a reliable child lock. And please, put this number in your phone right now: Poison Control, 1-800-222-1222.
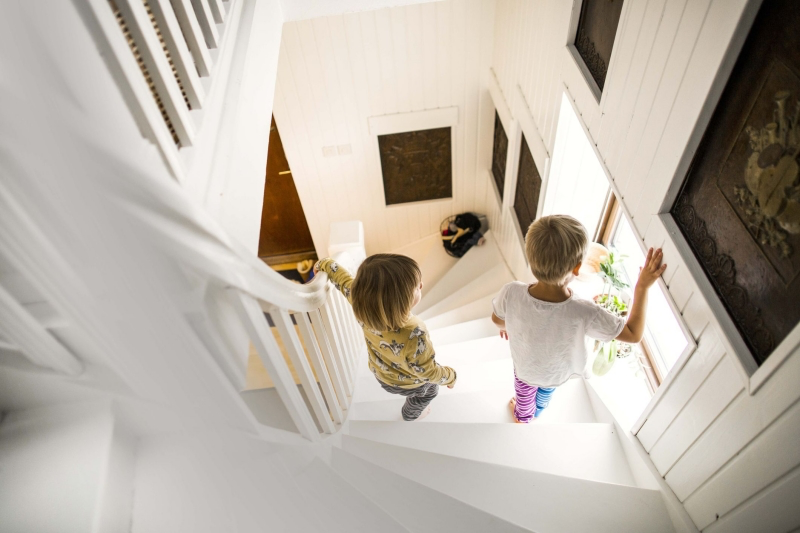
Bedrooms and Stairs: Preventing Falls
Bedrooms need to be safe for unsupervised sleep, and stairs are a daily obstacle course.
1. Windows
A window screen is designed to keep bugs out, not a child in. They pop out with very little pressure.
- The Standard: On upper-floor windows, you need layers. First, install window stops that prevent the window from opening more than 4 inches. For a child’s bedroom, I strongly recommend installing an ASTM-certified window guard. These are metal bars that screw securely into the frame and can withstand a lot of force, but they have quick-release features for an adult in an emergency. They run about $30-$60 per window.
2. Stairs
This is where the right product and proper installation are everything. Using the wrong gate is a huge mistake.
- Top of Stairs: You MUST use a hardware-mounted safety gate. This kind screws directly into the wall or banister. It cannot be pushed over. Never, ever, ever use a pressure-mounted gate at the top of a staircase. I’ve seen them fail. If a child leans on it, the whole thing can give way. A quality hardware gate will cost between $60 and $120.
- Bottom of Stairs & Doorways: A pressure-mounted gate is perfectly fine for these spots. They’re convenient and don’t require drilling, and typically cost $40-$80.
The Renter’s Dilemma & Grandparents’ House
What if you can’t drill holes everywhere? I get it. For renters, focus on less permanent solutions:
- Use adhesive strap locks for cabinets and appliances.
- Use pressure-mounted gates in doorways and at the bottom of stairs (never the top!).
- For window safety, you can use tension rods placed in the track to prevent them from opening more than 4 inches.
- Use Command hooks mounted high on the wall to wrap up blind cords.
And don’t forget about visiting relatives! Accidents often happen in non-childproofed homes. Have a gentle conversation with grandparents. It helps to bring a “safety travel kit” with you: a pressure-mounted gate, some outlet covers, and a few adhesive cabinet locks you can use for the visit.
When to DIY vs. Call a Pro
Honestly, you can do most of this yourself. Installing cabinet locks and corner guards is a great weekend project. But there are a few times when calling a professional childproofer is worth every penny.
- Tricky Stair Gate Installations: If you have glass railings, wrought iron, or beautiful wood newel posts you don’t want to drill into, a pro has the right clamps and hardware.
- Furniture Anchoring: If you have old plaster walls or just aren’t confident finding studs, let an expert handle anchoring your heaviest furniture.
A professional consultation can cost anywhere from $150 to $400, plus the cost of materials. For many busy or overwhelmed parents, it’s a small price for the peace of mind knowing it’s all done right in a few hours.
A Final, Honest Thought
Childproofing is all about reducing risk, not eliminating it. At the end of the day, the best safety device in any home is a parent who is watching. This guide gives you the tools and techniques the pros use, but remember that your child’s needs will change. You have to keep re-evaluating as they grow from a crawler into a climber. The goal isn’t to build a fortress, but to create a safe, thoughtful space where your child has the freedom to be a kid.

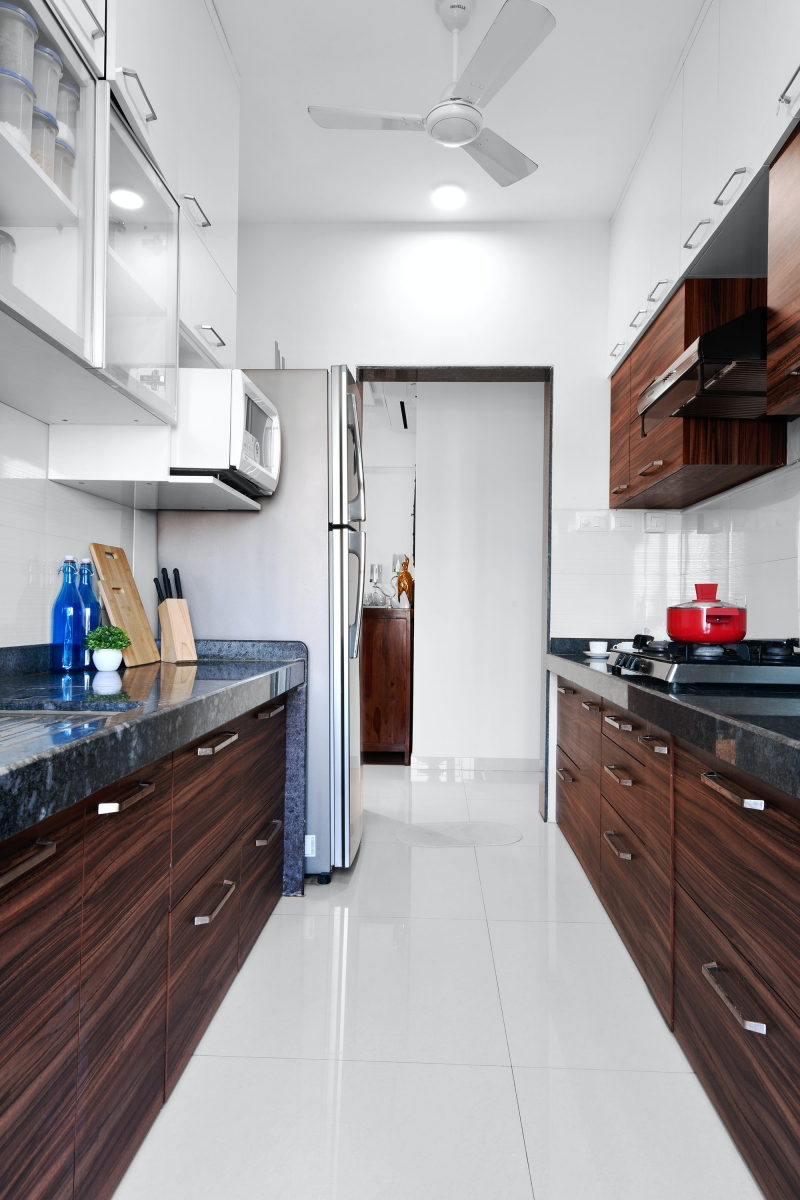
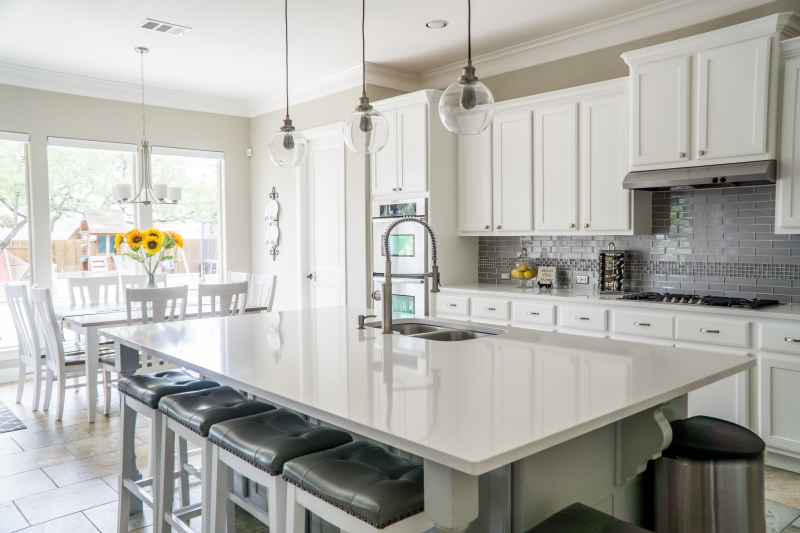
Inspirational Gallery with Photos
According to Safe Kids Worldwide, poisoning is the leading cause of injury-related death among children under one year old at home.
This isn’t just about harsh chemicals under the sink. Think about dishwasher pods that look like candy, medications left on a nightstand, or even certain houseplants. The key is to get on your hands and knees and see the world from their height. What’s within reach is what needs to be locked away or moved up high.
Magnetic Locks: These are completely invisible from the outside, preserving the look of your cabinets. You use a special magnetic ‘key’ to open them. Perfect for design-conscious parents, but you must keep track of the key! Brands like Safety 1st offer reliable multi-packs.
Adhesive Strap Locks: These are easier to install (no drilling) and are visually obvious, which can be a deterrent. They are great for renters or for places where drilling isn’t an option, like on glass-front cabinets or appliances.
For high-traffic kitchen cabinets, magnetic locks are often worth the extra installation effort for a cleaner look.
When you’ve covered the big dangers, scan your rooms for these often-missed hazards:
- Long, dangling blind and curtain cords.
- Heavy picture frames or mirrors hanging by a single nail.
- Unused electrical sockets, even those behind furniture.
- Tippable floor lamps with heavy shades.
- Pet food and water bowls (choking and drowning risks).
Aren’t those little plastic outlet plugs enough?
For a determined toddler, those classic plastic plugs can sometimes be pried out, becoming a choking hazard themselves. A safer, more permanent solution is installing tamper-resistant receptacles (TRRs). These look like normal outlets but have internal spring-loaded shutters that block foreign objects. For a quick upgrade, consider sliding outlet covers or box-style protectors that are much harder for little fingers to defeat.
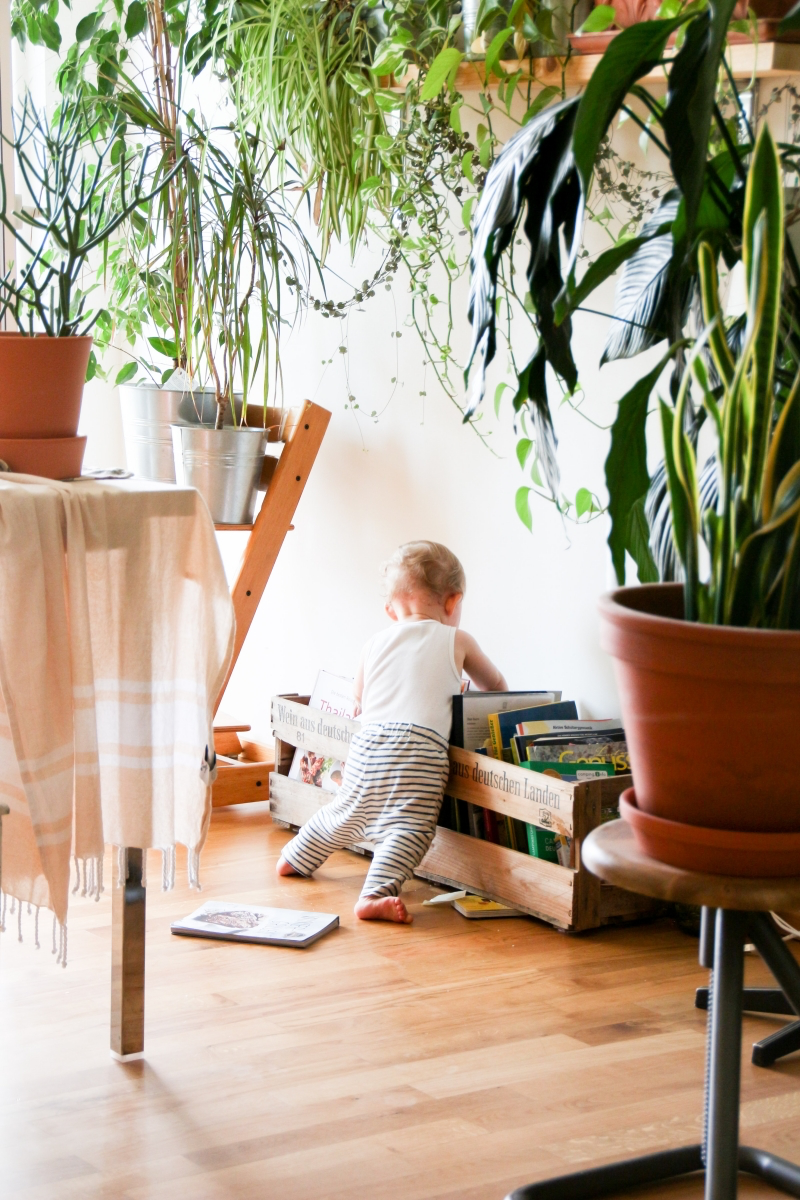
The goal isn’t to eliminate every bump and bruise but to create a ‘Yes Space’—an area of your home where you can confidently let your child explore. By anchoring the big furniture, covering the outlets, and securing the cabinets in one room (like the living room), you create a safe zone. This reduces how often you have to say ‘No, don’t touch!’ and allows them the freedom to learn and play, giving you a much-needed moment to breathe.
A crucial point on windows: A simple screen is designed to keep bugs out, not to keep a child in. It can pop out with minimal pressure. For windows on upper floors, you need a secondary barrier. Window guards are sturdy grilles that prevent falls, while window stops (like those from KidCo) are simpler devices that prevent the window from opening more than four inches. Never rely on a screen alone.
The bathroom packs a lot of risk into a small space. Water, hard surfaces, and medicines make it a top priority for childproofing. A few non-negotiables turn it from a hazard zone into a manageable space.
- A soft, non-slip mat inside the tub to prevent falls.
- A faucet cover (like the popular Skip Hop Moby) to protect heads from bumps.
- A toilet lid lock to prevent both drowning risks and sanitation issues.
- All medicines and toiletries moved to a high, locked cabinet.
- A secure barrier that keeps them from stairs or the kitchen.
- A gate you can open and close with one hand while holding your baby.
- Peace of mind knowing your toddler can’t wander into an unsafe area.
The secret? A properly installed pressure-mounted safety gate. Make sure it’s installed with enough pressure that it can’t be dislodged by a firm push, and always choose a hardware-mounted gate for the top of any stairs.
Hate the look of bulky, foam corner guards on your beautiful coffee table? Get creative. For a while, you might consider swapping out a sharp-cornered table for a large, soft ottoman that can double as seating and a play surface. Or, look for clear, less-obtrusive corner protectors made from silicone, which blend in much better with your furniture than the foam alternatives.


