Why Your ‘Clean’ Laundry Still Stinks (And How to Actually Fix It)
I’ve spent a long, long time working with washing machines and fabrics—first as an apprentice fixing them, and later helping big commercial laundries get their linens hospital-clean. And in all that time, the number one complaint I hear isn’t about stains. It’s about smells.
In this article
People tell me their clothes come out smelling musty, a little sour, or just… not fresh. They’re frustrated because they’re following the directions on the detergent bottle to the letter, but something’s still off. I’ll never forget the time I was at a client’s house and pulled a slimy, moldy baby sock from their washer’s filter trap. The smell was staggering, and it was the real reason their ‘clean’ clothes stunk.
The truth is, getting that genuinely fresh laundry smell has very little to do with flowery perfumes and everything to do with a bit of science. It’s all about getting your machine, your water, and your laundry habits to work together. The goal isn’t to mask odors; it’s to eliminate the bacteria and residue that cause them in the first place. So, let’s walk through the exact process I use to fix these problems for good.

First Things First: Your Washing Machine’s Health
Before you even think about blaming your detergent, we have to look at your machine. Modern high-efficiency (HE) washers are engineering marvels that use way less water than the old-school models. But there’s a trade-off. With less water to flush away grime, they’re much more likely to develop buildup, which is the ground zero for most laundry odors.
The Gunk Inside Your Washer
There are two main culprits making a mess in there: biofilm and something the pros call ‘scrud’. Biofilm is that slimy layer of bacteria that loves dark, damp places—and your washer drum is a five-star resort for it. Scrud is a waxy, gross buildup of body oils, lint, and undissolved detergent or fabric softener. It loves to hide in places you can’t see, like behind the drum or in the drain hoses.
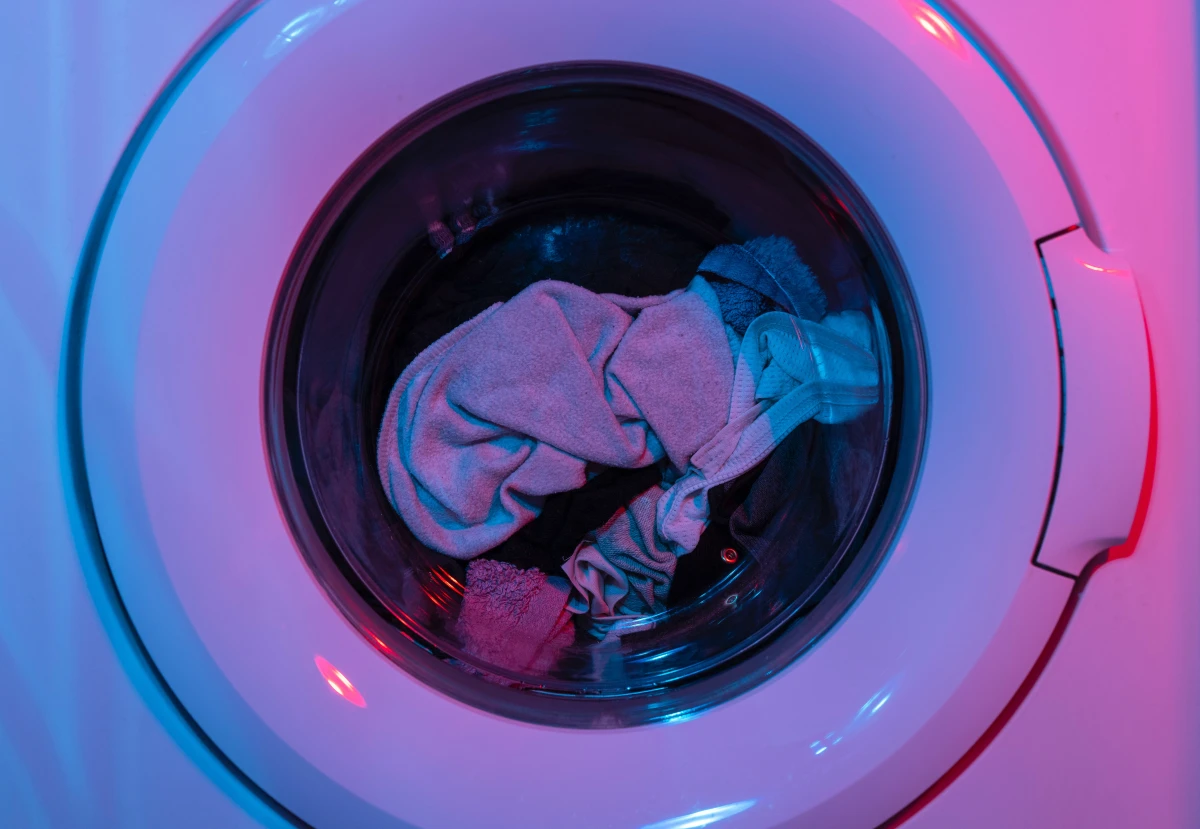
When you run a load in a machine with this gunk, you’re basically washing your clothes in a dirty soup. The warm water wakes up all that smelly bacteria, which then latches onto your fabrics. This is why clothes can honestly come out smelling worse than they went in.

The Pro’s Monthly Cleaning Routine
Tossing in a store-bought cleaning tablet is a fine start, but it’s not going to cut it for a real deep clean. Here’s the maintenance routine you should actually be doing once a month. This whole process should only take about 20 minutes of your active time, plus the hour or two for the machine to run its cleaning cycle.
Your 5-Minute Challenge right now: Go find your washer’s filter trap. Just locate it. On most front-loaders, it’s behind a little door on the bottom front. Finding it is half the battle!
Step 1: Clean the Filter Trap. This is the most important step, period. Put a shallow pan and a towel under that little door. Open it, and you’ll see a round cap. Slowly unscrew it—some water will drain out, that’s normal. Pull the filter out. I’ve found coins, keys, pet hair, and that nasty-smelling sludge in these. Clean it with hot, soapy water and an old toothbrush until it’s spotless. Shine a flashlight in the hole to check for debris before you screw it back in tightly.
Step 2: Wipe Down the Gasket and Door. On a front-loader, the rubber door seal is mold’s favorite hangout. Gently pull back the folds of the seal. See that black or gray residue? That’s mold. Wipe it out completely with a cloth soaked in a 50/50 mix of white vinegar and water. A quick tip: After you’re done with laundry for the day, give the gasket a quick wipe and leave the door open. Letting it air out is a game-changer.
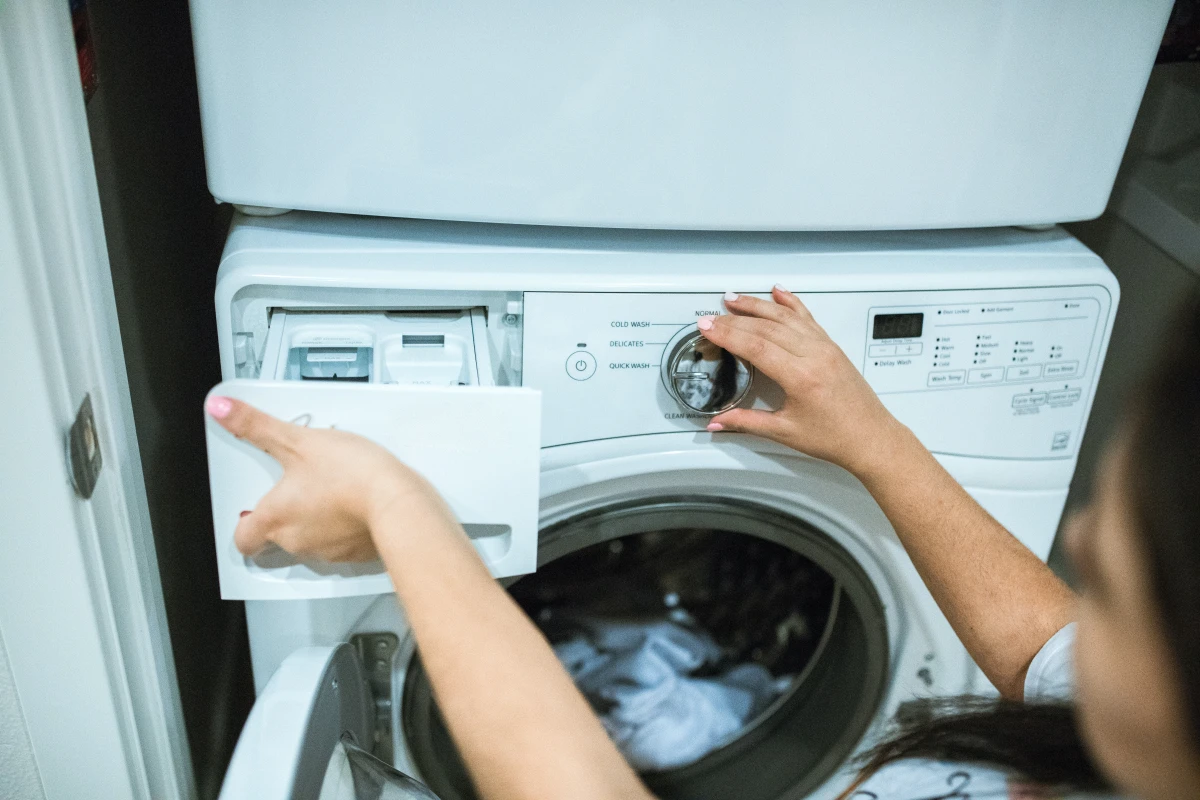
Step 3: Scrub the Dispenser Drawer. Pull out the detergent drawer (there’s usually a little tab you press to release it). It gets clogged with old, syrupy product that feeds bacteria. Wash the whole thing in the sink with hot water and a brush, and don’t forget to clean inside the cavity where the drawer sits.
Step 4: Run a Sanitizing Cycle. Now, with the machine empty, run the hottest, longest cycle it has (often called ‘Clean Washer’ or ‘Sanitize’). Don’t use regular detergent. You need a dedicated washer cleaner designed to break down minerals and scrud. For general grime, something like Affresh works great. If you have hard water, a citric acid-based cleaner like Lemi Shine is fantastic. You can find these at Target or Home Depot, and a box of tablets usually costs between $10 and $15. I’d avoid using chlorine bleach for this, as it can be tough on the rubber seals over time.

A Note on Top-Loaders: You might not have a big rubber gasket, but you’re not off the hook! Top-loaders still get that nasty scrud buildup behind the inner drum and under the agitator or wash plate. That monthly cleaning cycle with a proper cleaner is just as crucial for you.
Let’s Talk Water and Detergent
Once your machine is sparkling clean, we need to look at your water. How well your detergent works is completely dependent on your water chemistry—something the detergent bottles never seem to mention.
The Hard Water Problem
Hard water is full of minerals like calcium and magnesium. These minerals react with detergent to create a soap scum that makes the detergent less effective and leaves a residue on your clothes that traps odors. Pro-tip: Before you spend money, check your local water utility’s website. They often publish an annual water quality report that lists the hardness level for free! If you can’t find it, a simple water hardness test kit from a hardware store or online costs less than $10.
How to Dose Your Detergent Like a Pro
The ‘fill to the line’ instruction is often wrong because it doesn’t account for your water. Here’s how to adjust:
- For Hard Water: You can either use about 25% more detergent, or you can add a water-softening booster, which is the better option. Products like Borax or washing soda are amazing for this. Just add about a half-cup of Borax or a quarter-cup of washing soda to the drum before adding clothes. This lets you use a normal amount of detergent. You can find a big box of either in the laundry aisle at most supermarkets for around $5 to $7, and it’ll last for ages.
- For Soft Water: You need to use less detergent, maybe 25-50% less than recommended. Using too much creates excess suds that cushion the clothes, preventing them from rubbing together and getting clean. It also leaves behind a sticky residue.
Choosing the Right Stuff
The detergent aisle is overwhelming, but the choice is simple when you know what to look for.
Powder detergents are my top pick for whites and heavily soiled loads, especially if you have hard water. Many already have water softeners built in.
Liquid detergents are great for pre-treating stains and for washing in cold water. For a real cleaning boost, look for one with a good enzyme package. Flip the bottle over and check the ingredients list for words like ‘protease’ (for protein stains like grass), ‘amylase’ (for starches), and ‘lipase’ (for fats and oils).
And what about pods? Honestly, they’re convenient, but they give you zero control over the dose. If you have very hard or very soft water, or wash different-sized loads, a pod is almost always the wrong amount.
Mastering the Wash and Dry
You’ve got a clean machine and the right detergent. The final piece of the puzzle is your technique.
Load Size Matters. A Lot.
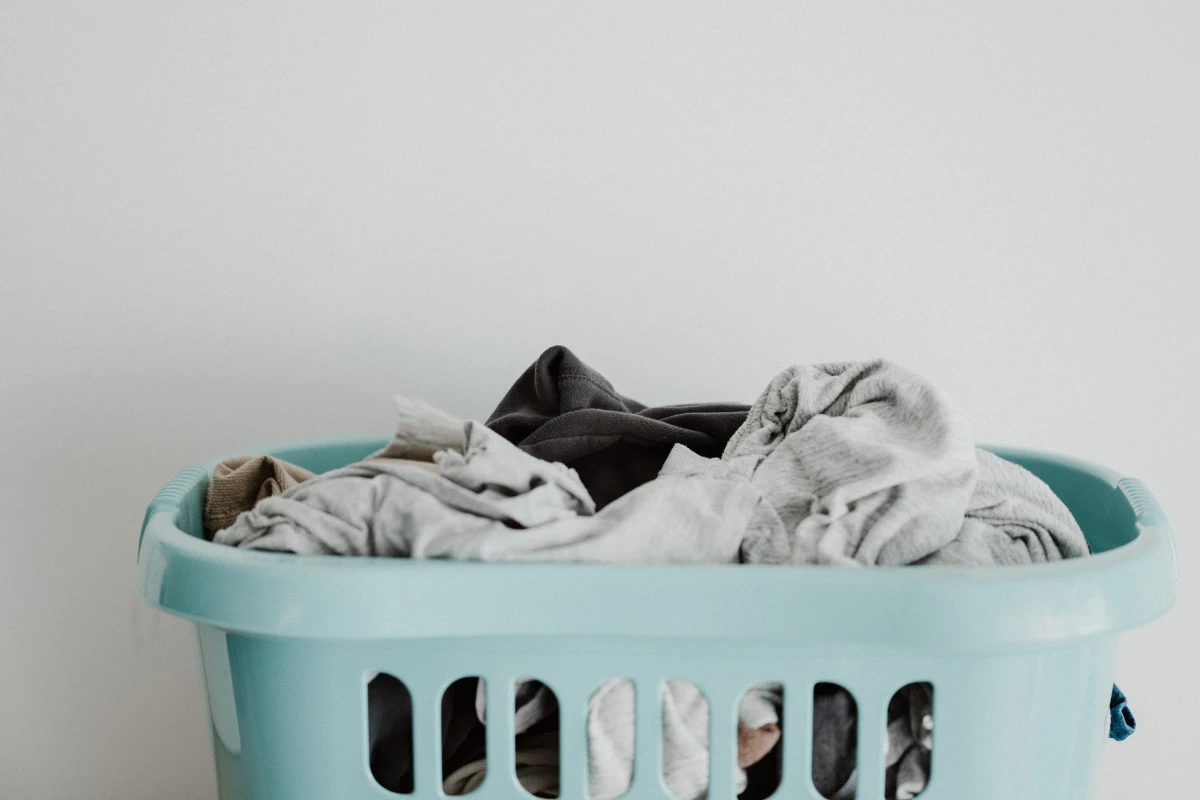
The most common mistake I see is overloading the washer. Clothes need room to tumble and fall through the water. If the drum is packed, they just sit there stewing. A good rule of thumb for a front-loader: you should be able to fit your hand vertically between the top of the clothes and the top of the drum. Also, sort by fabric weight and soil level, not just by color. Washing muddy jeans with your t-shirts is a recipe for dingy, stinky clothes.
The 8-Hour Rule
Leaving wet laundry sitting in the machine is a guaranteed way to get that sour, mildewy smell. A specific type of bacteria that pros know about starts to multiply in as little as 8 to 12 hours, producing smelly odors. If you forget a load overnight, you’ll need to rewash it. For the rewash, I recommend adding a cup of white vinegar to the rinse cycle to neutralize any lingering funk.
Don’t Neglect the Dryer
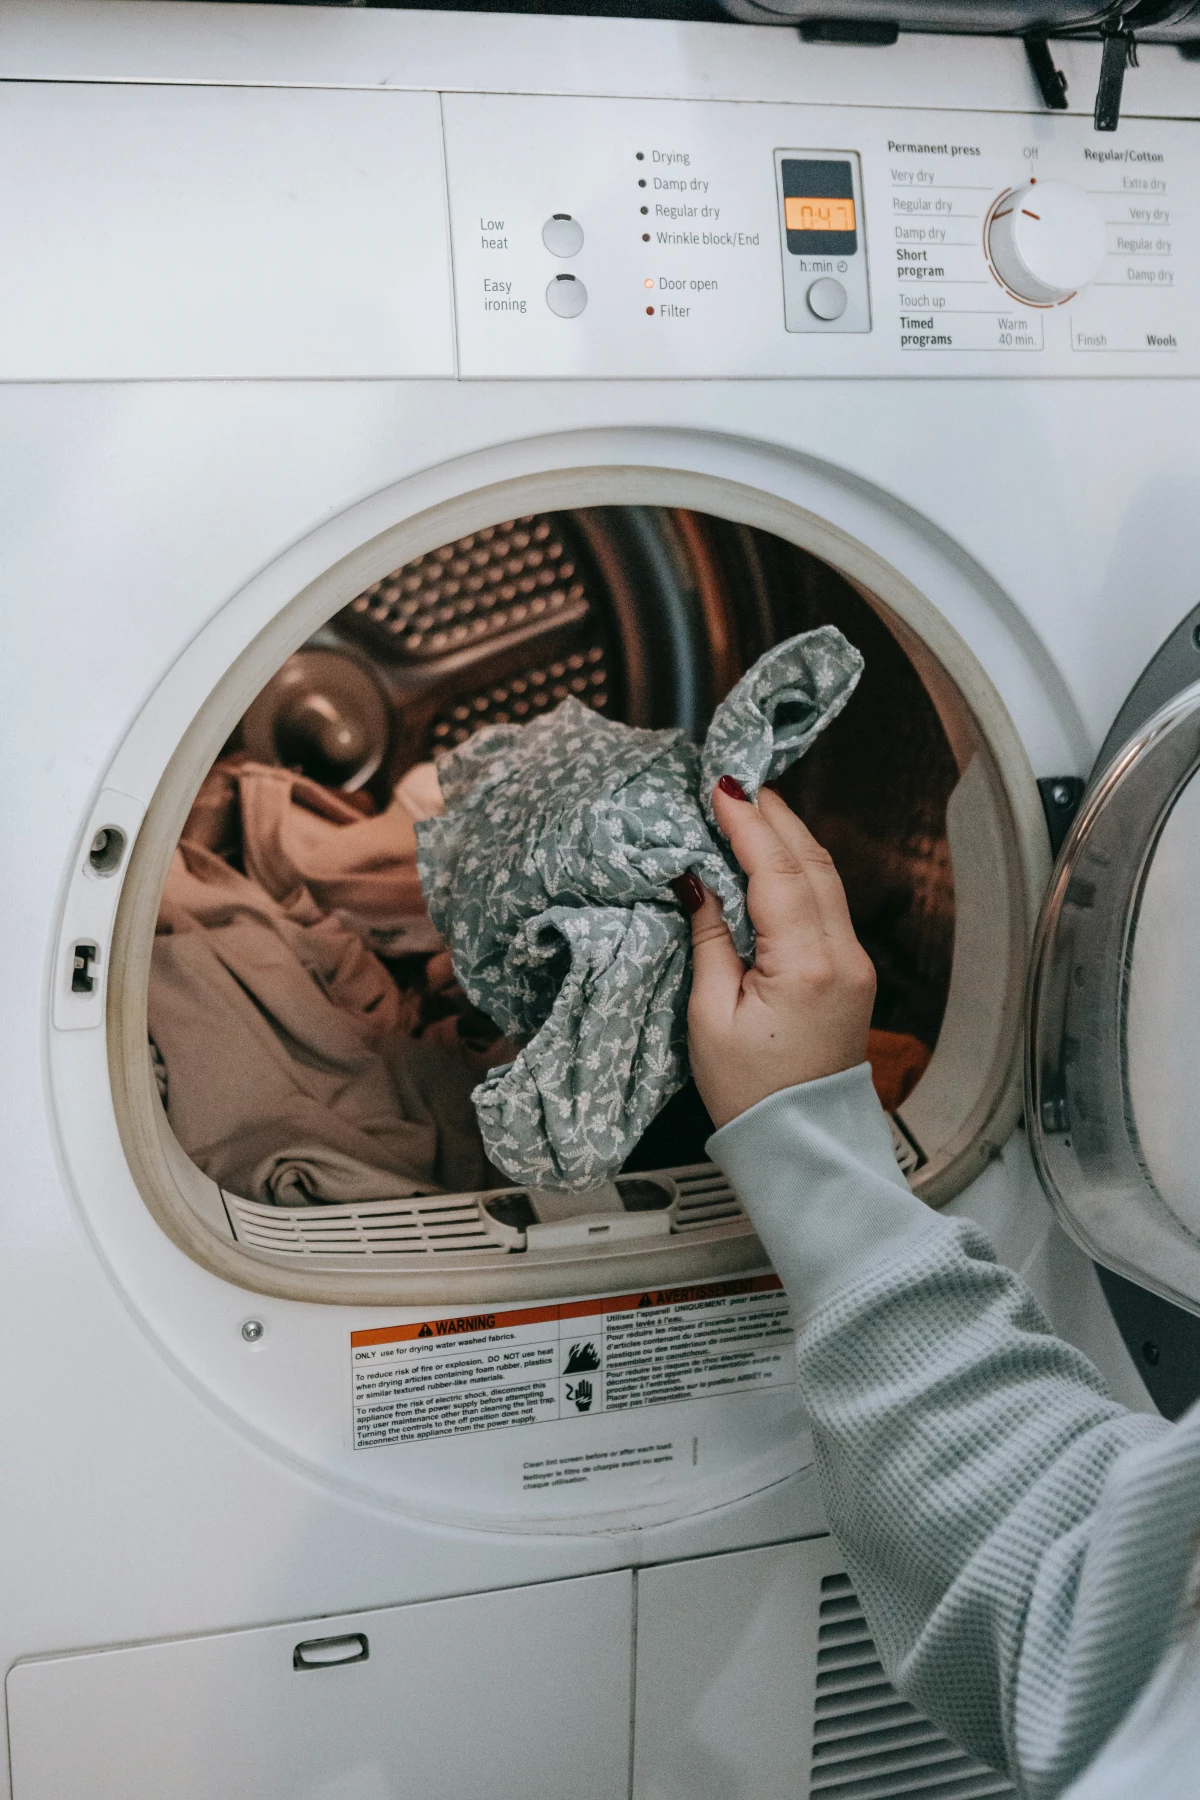
Proper drying is just as important as washing. If clothes are even a little damp when you put them away, you’re inviting mildew. But here’s a serious heads up: a clean lint filter is only half the story. The vent duct—the tube running from your dryer to the outside—can get clogged with lint. If your dryer is running hot but your clothes are taking forever to dry, that vent is likely clogged. This isn’t just inefficient; it’s a massive fire hazard. You should have it professionally cleaned every couple of years.
Advanced Tricks for Stubborn Smells
Sometimes, even with perfect technique, certain odors just won’t quit, especially with gym clothes and old towels. This is when we bring out the big guns.
My Professional Opinion on Fabric Softener
To be frank, I tell almost everyone to stop using liquid fabric softener. It works by coating your fabrics in a waxy, perfumed film. This film makes towels less absorbent and, worse, it traps body oils and bacteria underneath. Over time, that trapped gunk creates a permanent funk.
What to use instead:
- For softness: Add a half-cup of distilled white vinegar to your fabric softener dispenser. It helps dissolve detergent residue, and the vinegar smell disappears completely in the dryer. A gallon jug of vinegar costs just $3 to $5.
- For static: Use wool dryer balls. They reduce static and help clothes dry faster. A set of three will run you about $10 to $15 online or at stores like Target, and they last for years.
When to ‘Strip’ Your Laundry
For towels or workout clothes with a smell that just won’t die, you may need to strip them. This is an intense soak that pulls out years of mineral and product buildup. Fill a bathtub with very hot water, then stir in a quarter-cup of Borax, a quarter-cup of washing soda, and a half-cup of powder detergent. Add your clean, dry items and let them soak for 4 to 6 hours, stirring occasionally. The water will turn a horrifying shade of gray or brown. That’s success! Afterwards, drain the tub, squeeze out the items, and run them through a normal wash cycle with no detergent.
Quick tip: Not sure if your colored items are colorfast? Find an inside seam and dab a bit of the hot stripping solution on it. Wait a few minutes. If the color doesn’t bleed, you’re good to go.
Quick Troubleshooting & Final Thoughts
Let’s wrap up with a couple of common questions I get.
Q: “I cleaned my machine, but my clothes still smell!” A: Ah, a classic. This means the problem isn’t your machine anymore—it’s deep-set buildup in the fabrics themselves. It’s time to try laundry stripping on durable items like towels, sheets, and workout gear.
Q: “My front-loader smells, but the gasket looks clean.” A: Go check that filter trap at the bottom of the machine! I guarantee that’s where the smell is hiding. If the filter is clean, the gunk is likely ‘scrud’ behind the drum, and a proper cleaning cycle is your next move.
Achieving truly fresh laundry is a system. It’s not about a magic product; it’s about a clean machine, the right products for your water, and good technique. It might take a little effort to get started, but once you do, you’ll have clothes that are cleaner, last longer, and have that true scent of clean: nothing at all.
Friendly reminder: Always check your appliance’s manual before doing maintenance. For anything involving vents or wiring, it’s always best to call a qualified technician. Safety first!


