The No-Nonsense Guide to a Pantry That Actually Works
Over the years, I’ve seen just about everything when it comes to home emergencies. From week-long power outages to friends dealing with unexpected financial hits, these moments taught me something vital: a well-stocked pantry isn’t about being paranoid. It’s about having peace of mind. It’s a functional, working part of your home that gives you a buffer against whatever life throws your way. A lot of what I know didn’t come from a book, but from watching older generations who knew how to make food last through a tough season, and later, I polished those skills with formal food safety training.
In this article
- First Things First: Don’t Forget Water
- Why Food Goes Bad: The Four Enemies
- Foundation 1: Grains & Legumes (The Bedrock)
- Foundation 2: The Deal with Canned Goods
- Foundation 3: The Immortals (Honey, Salt, Sugar)
- Foundation 4: Choosing the Right Fats & Oils
- Running Your Pantry Like a Pro
- Inspirational Gallery
But let’s be clear. This isn’t about just hoarding a mountain of cans and hoping for the best. It’s about being smart—understanding what makes food spoil and how to stop it. A simple mistake, like storing rice in the wrong container, can waste all your time and money. So, in this guide, I’m going to walk you through the exact principles I use at home. We’ll cover the foundational foods, how to store them for the long haul, and how to do it safely.
First Things First: Don’t Forget Water
Before we even get to food, we have to talk about water. It’s actually the most critical prep you can have. A good rule of thumb to remember is one gallon of water per person, per day. Honestly, the easiest way to get started is just to grab a few cases of bottled water the next time you’re at the store and stash them in a closet. It’s a simple first step that makes a huge difference.
Why Food Goes Bad: The Four Enemies
To store food properly, you have to know what you’re fighting against. There are four main culprits trying to ruin your pantry stash: oxygen, moisture, light, and heat. Every single storage method out there is designed to beat one or more of these.
- Oxygen: It’s great for us, but terrible for food. Oxygen feeds microorganisms like mold and causes fats to go rancid, which creates that awful, stale smell and taste. This is exactly why professionals use things like vacuum sealing or oxygen absorbers.
- Moisture: Simply put, mold and bacteria need water to party. That’s why shelf-stable foods are usually either totally dried or canned. Even a bit of humidity in your pantry can be soaked up by dry goods, turning them into a science experiment you don’t want to see.
- Light: Sunlight and even bright indoor lights are food-degrading machines. They break down important vitamins and can make fats go bad even faster. A dark closet or opaque containers are your best friends here.
- Heat: Think of heat as a fast-forward button for spoilage. The ideal spot for your food is cool and stable, somewhere between 50°F and 70°F. For every 18-degree jump in temperature, the shelf life of most foods gets cut in half. I saw this happen to a friend who kept cans in a hot garage—they were mushy and tasted metallic in less than two years. A total waste.
Foundation 1: Grains & Legumes (The Bedrock)
Grains and legumes are the absolute workhorses of a long-term pantry. They’re packed with calories and protein, they’re cheap, and if you store them right, they can last for decades. And that “if” is a big one.
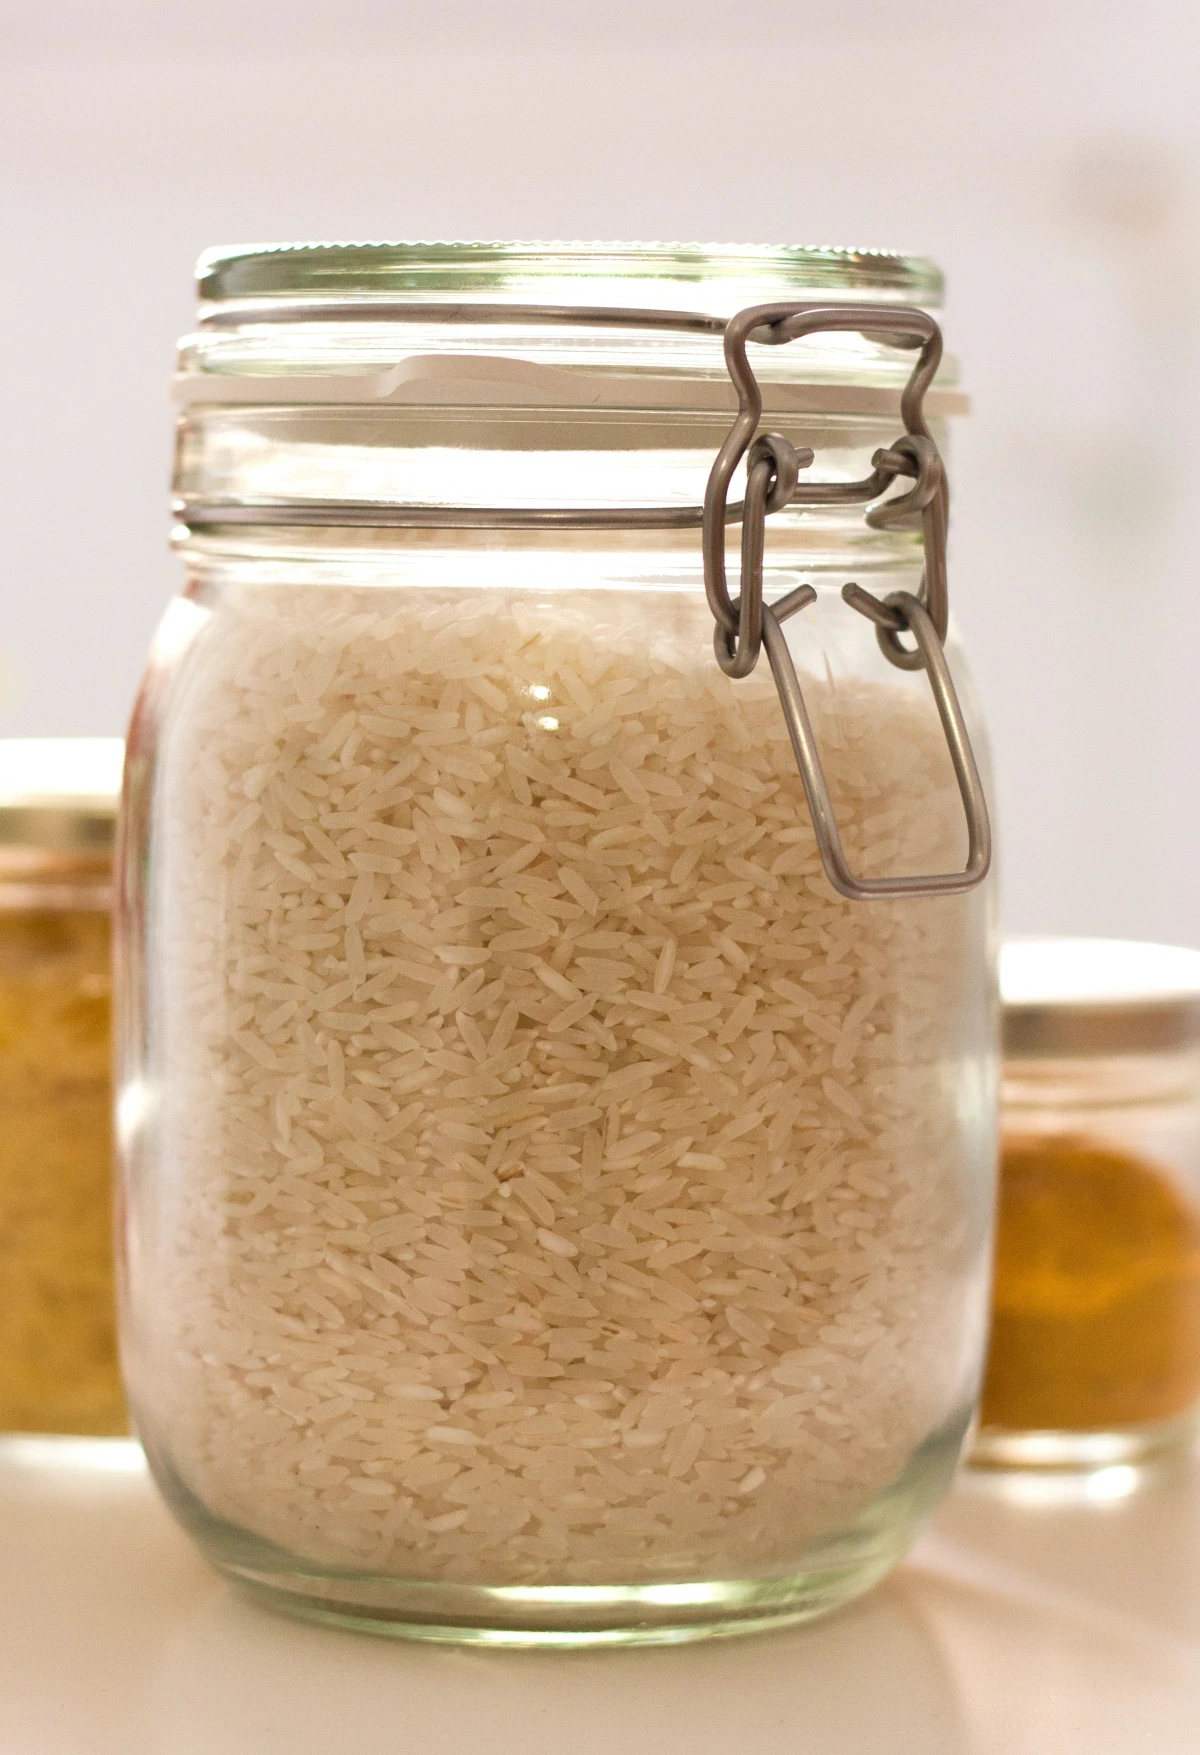
Uncooked White Rice
White rice is the undisputed king of long-term storage. Why? Because the oily parts of the grain (the bran and germ) have been removed. That’s also why brown rice has a much shorter shelf life—its oils will go rancid in 6 to 12 months. But properly stored white rice? We’re talking 30 years or more.
The Pro Storage Method:
The gold standard is a combination of a Mylar bag and a food-grade bucket. It’s a simple, powerful system.
First, you need a food-grade bucket. This is your defense against pests and floods. Look for HDPE plastic buckets with a #2 recycling symbol. You can find these at hardware stores like Home Depot or Lowe’s, usually in the paint section (just make sure they’re new and labeled ‘Food Grade’). Or, here’s a great tip: ask the bakery at your local grocery store. They sometimes give away their old frosting buckets for free!

Next, the rice goes into a Mylar bag, which is a fantastic barrier against light, moisture, and oxygen. The bag goes inside the bucket.
Finally, you add an oxygen absorber. This little packet is the real magic. It’s filled with iron powder that sucks all the oxygen out of the sealed bag, stopping oxidation and killing any insect eggs. For a one-gallon bag, a 300cc absorber is plenty. For a big five-gallon bucket, you’ll want a 2000cc absorber.
Let’s talk cost: Setting up one 5-gallon bucket isn’t as expensive as it sounds. Expect to pay around $7-$10 for the bucket and lid, maybe $2-$3 for the Mylar bag, and about $1 for the big oxygen absorber. So for less than $15, you can properly store about 35 pounds of rice for 30+ years. That’s an incredible return on your investment.
Once the absorber is in, you just seal the bag. You can use a regular clothes iron on the cotton setting or even a hair straightening iron. Just place the edge of the bag on a wooden board and press down firmly for a few seconds. No need to slide it; just press to create a solid seal. Within a day, the bag will look shrink-wrapped as the oxygen disappears.
A common mistake I see is people leaving rice in its original paper or plastic bag. I once lost a 20-pound bag to pantry weevils that chewed right through the flimsy plastic. It was a painful lesson. Don’t do it!
What if you’re not ready for all that? Hey, no problem. A fantastic starting point is to simply move your rice from the store bag into airtight glass jars or sturdy plastic containers with tight-sealing lids. It won’t last 30 years, but it will absolutely protect it from pests for a year or two, and that’s a huge win.
So, How Much Should I Actually Store?
Feeling a little overwhelmed? It’s easy to get started. A good goal for one adult for one month is something like this:
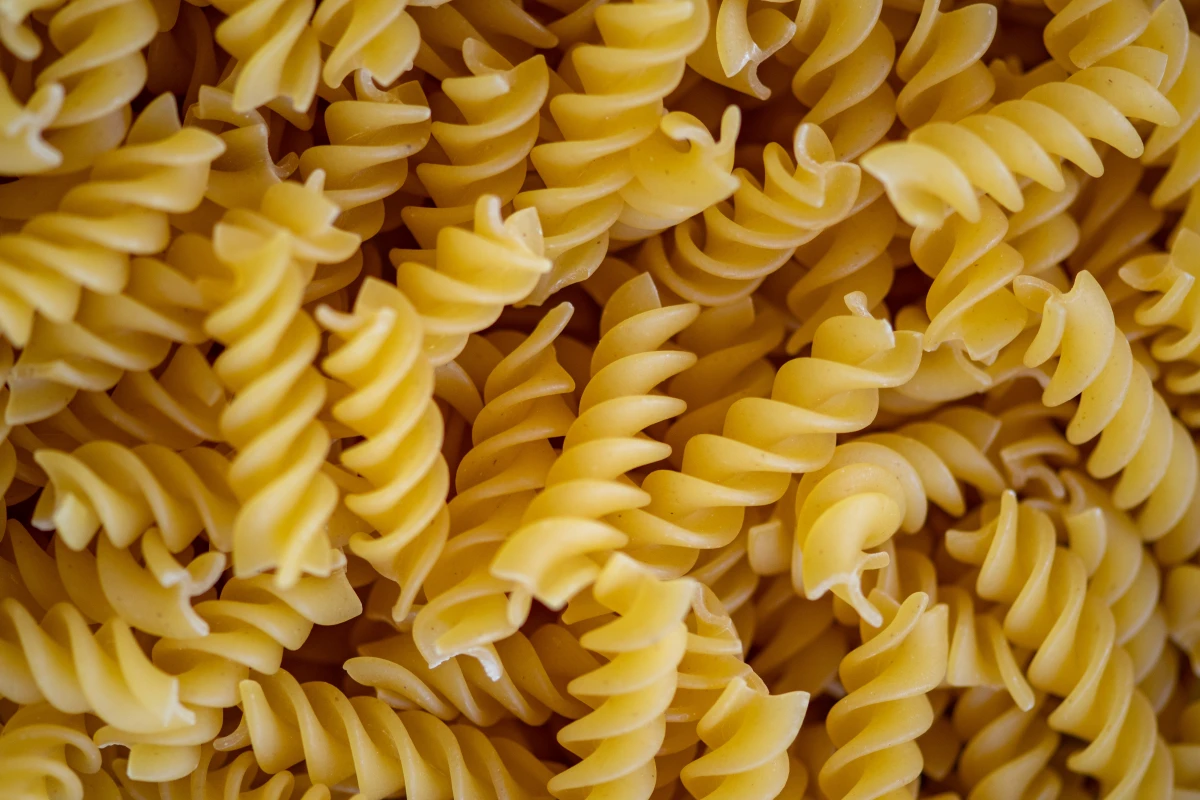
- Grains: 20 lbs (this can be rice, oats, pasta)
- Legumes: 5 lbs (beans, lentils, etc.)
- Fats: 2-3 lbs (oil, shortening, ghee)
This is just a starting point, but it gives you a tangible goal to work toward instead of just buying randomly.
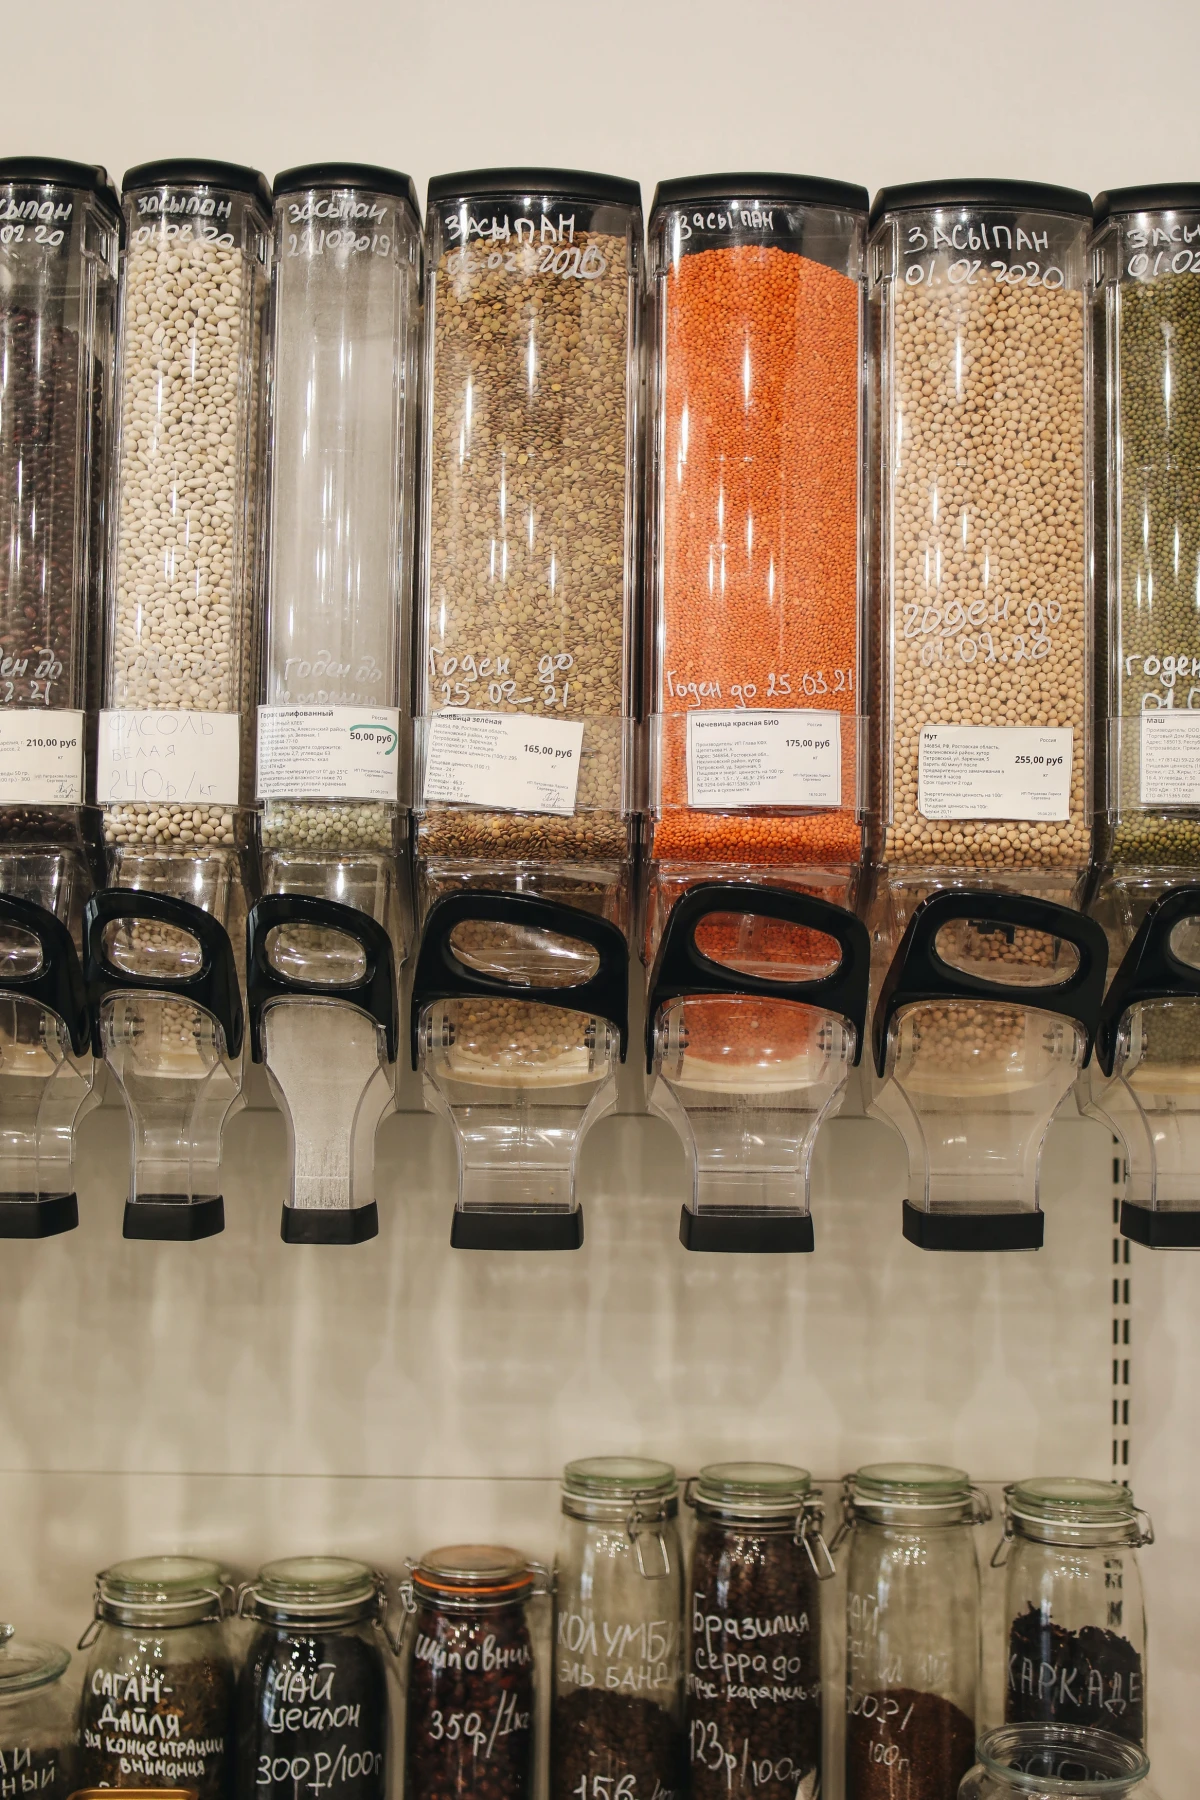
Dried Beans, Lentils, and Peas
These are right up there with rice. The storage method is exactly the same: Mylar bags with oxygen absorbers, tucked safely inside a food-grade bucket. This keeps them perfect for 20 years or more.
Heads up: The “Hard-to-Cook” Problem. One thing to know about really old beans is that they can get… stubborn. After about 5-7 years, even with perfect storage, they can become very resistant to softening. They’re still perfectly safe and nutritious, but they take forever to cook. A pressure cooker is your best friend here; it can soften even 10-year-old beans in under an hour.
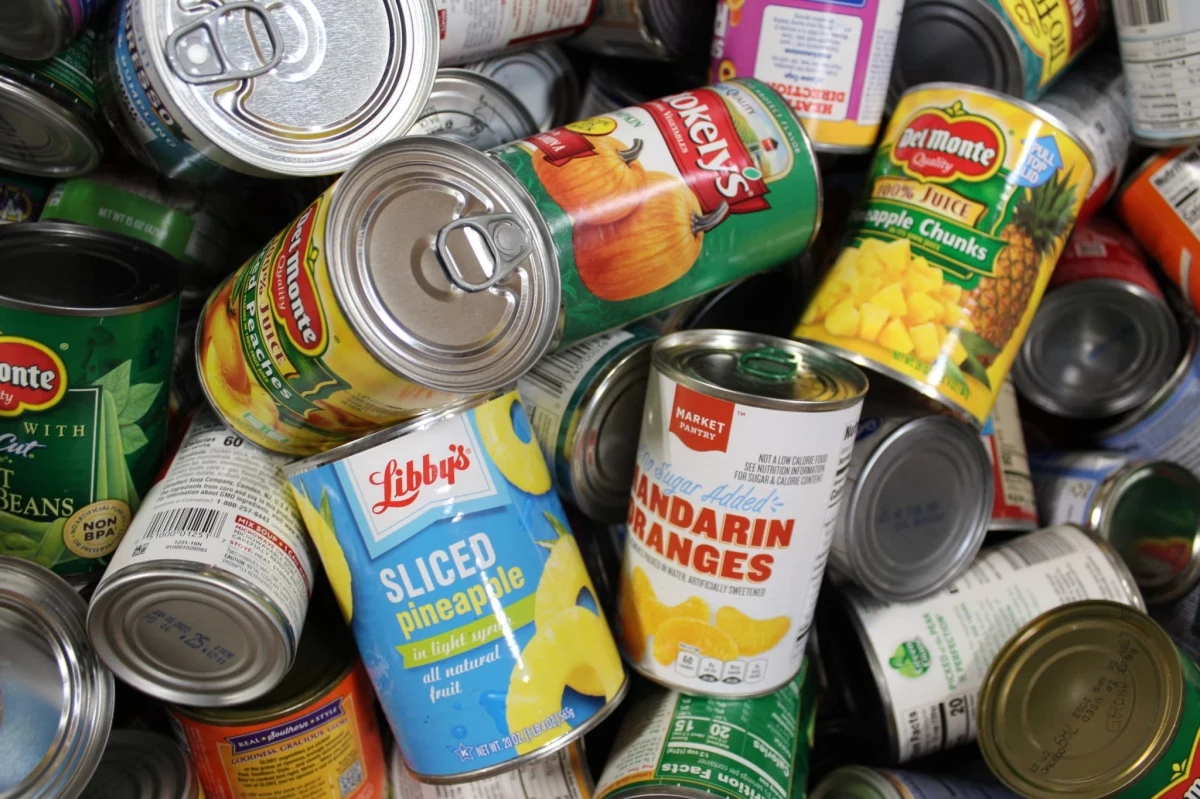
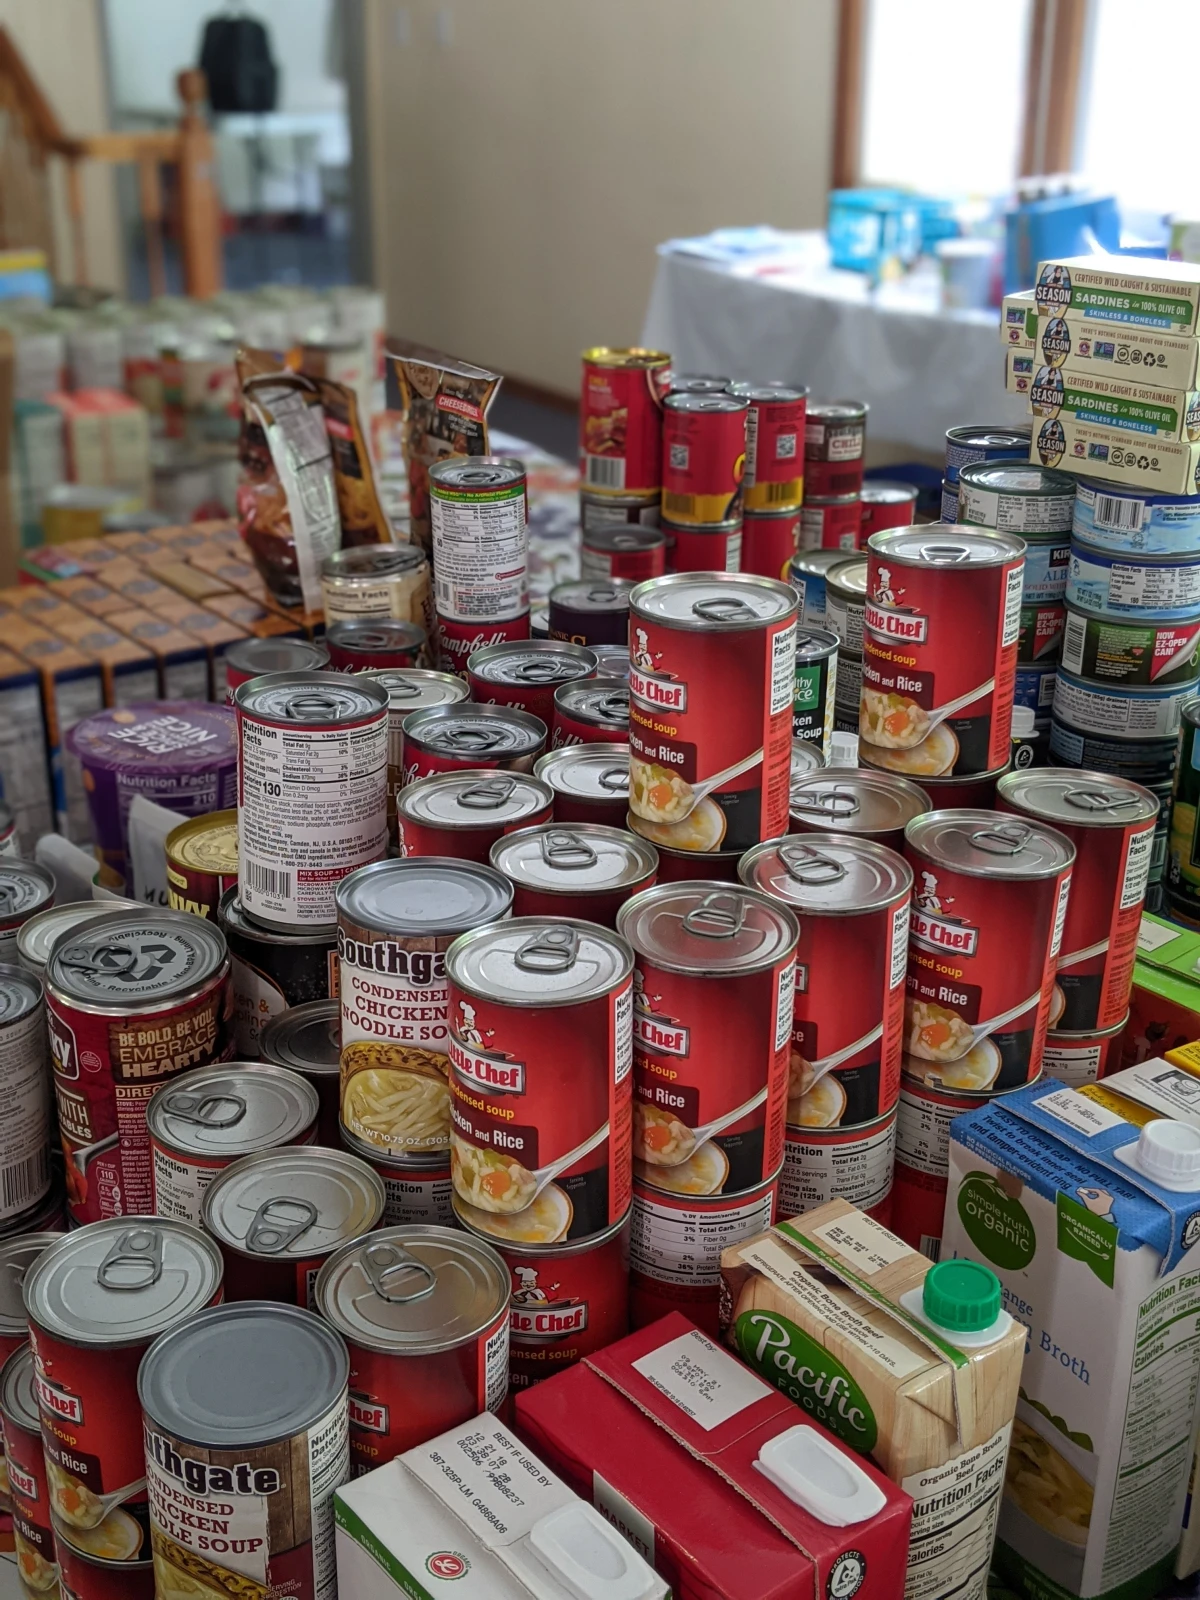
Foundation 2: The Deal with Canned Goods
Cans are awesome. They’re pre-cooked, ready to go, and offer a ton of variety. But you have to know what you’re looking at, especially when it comes to safety.
The big thing to understand is the difference between high-acid and low-acid foods. The main danger with canned food is botulism, a nasty toxin that absolutely cannot grow in high-acid environments.
- High-Acid Foods: Think fruits, tomatoes, and pickles. The acid is a natural preservative. These are best within 1-2 years for quality, but often stay safe much longer.
- Low-Acid Foods: This is everything else—meats, fish, corn, green beans. These foods have to be pressure-canned at very high temperatures to kill any potential botulism spores. Commercially canned goods are incredibly safe, but you still need to inspect the can. Aim to use these within 2-5 years.
The 4-Point Can Inspection:
Before you ever open a can, especially an old one, give it a quick check.
- Bulging: A swollen or bulging can is a major red flag. It means gas is being produced inside, a classic sign of spoilage. NEVER taste it. Just double-bag it and throw it away.
- Major Dents: A small dent on the side is usually fine. But a sharp dent on the top or bottom seam could break the seal. I pass on those.
- Deep Rust: Surface rust that wipes off is okay. But rust that has eaten into the metal is a breach. The food is not safe.
- The Opening: When you open it, listen. There shouldn’t be any hissing or spraying. The food should look and smell normal. If it smells off in any way, don’t risk it. Your senses are your final safety check.
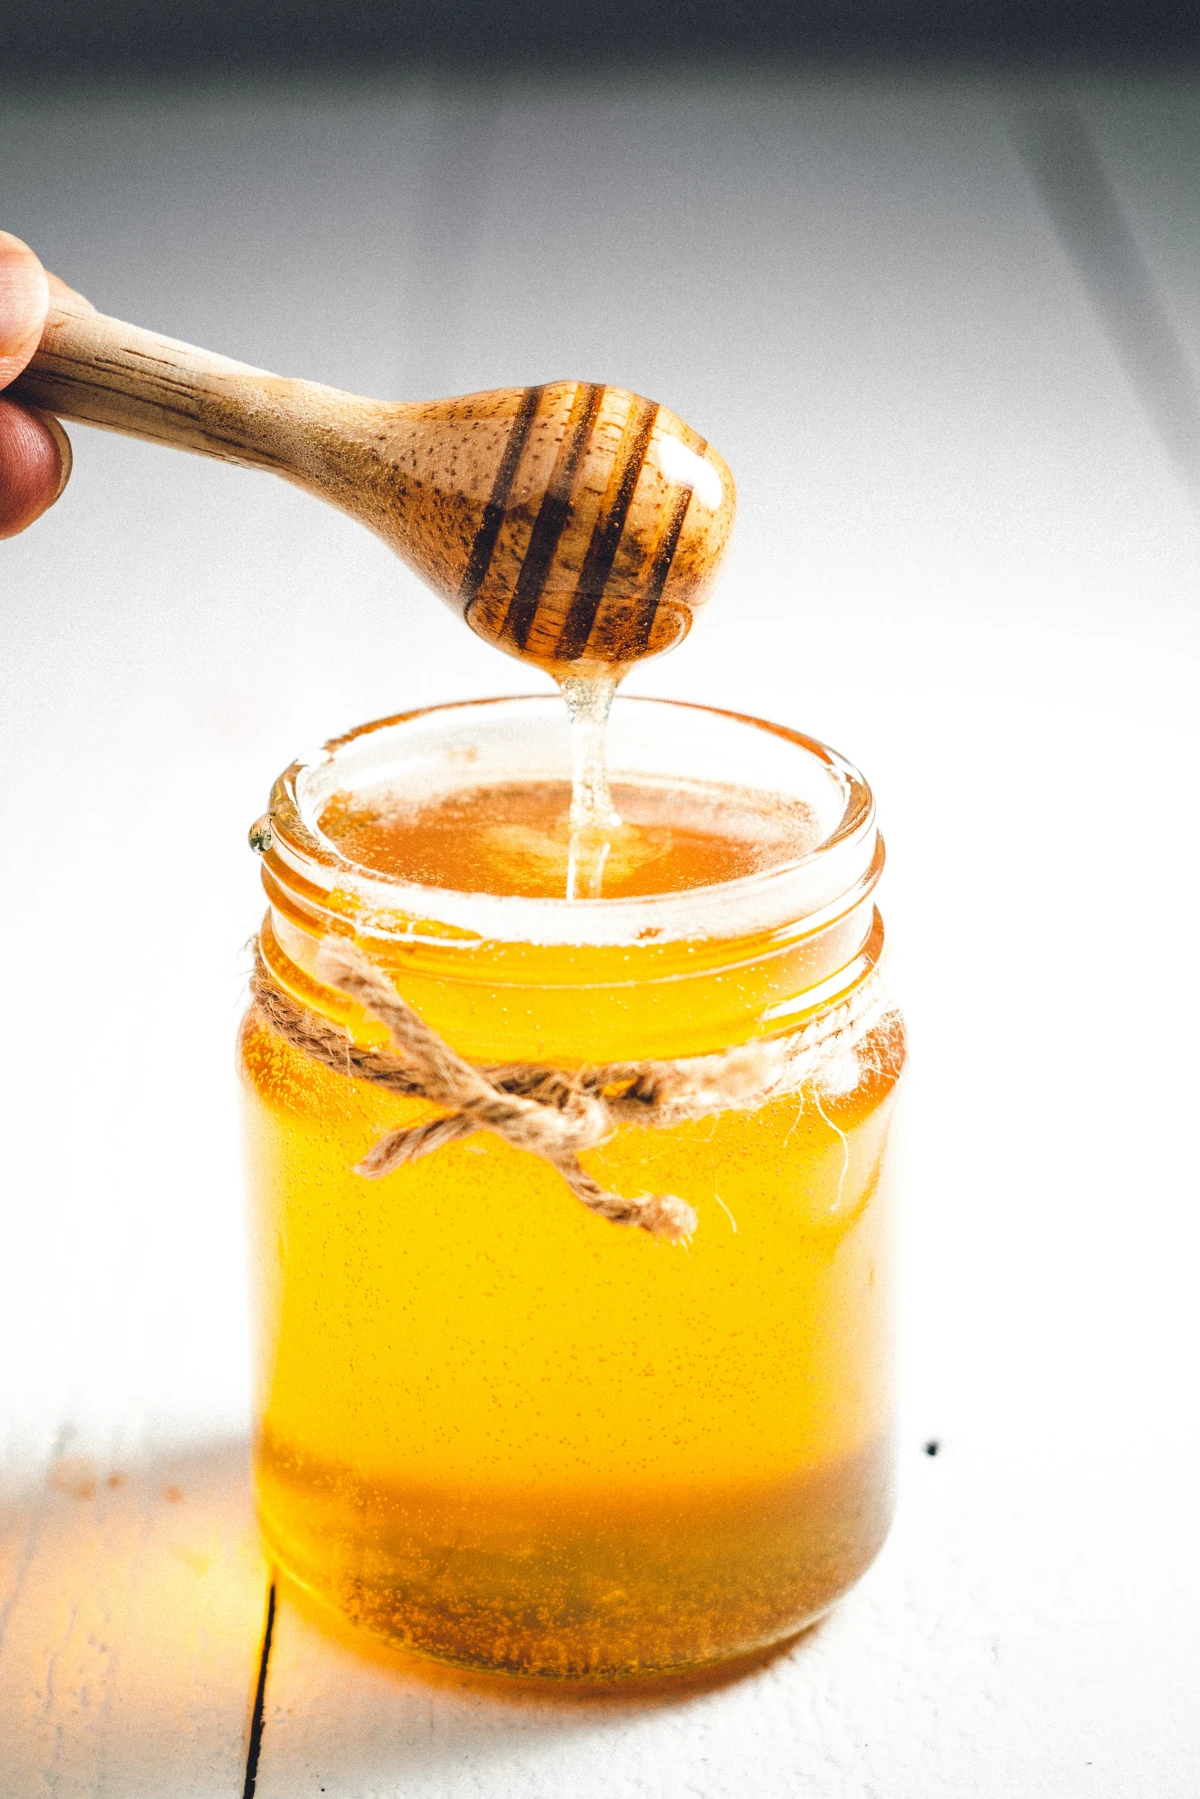
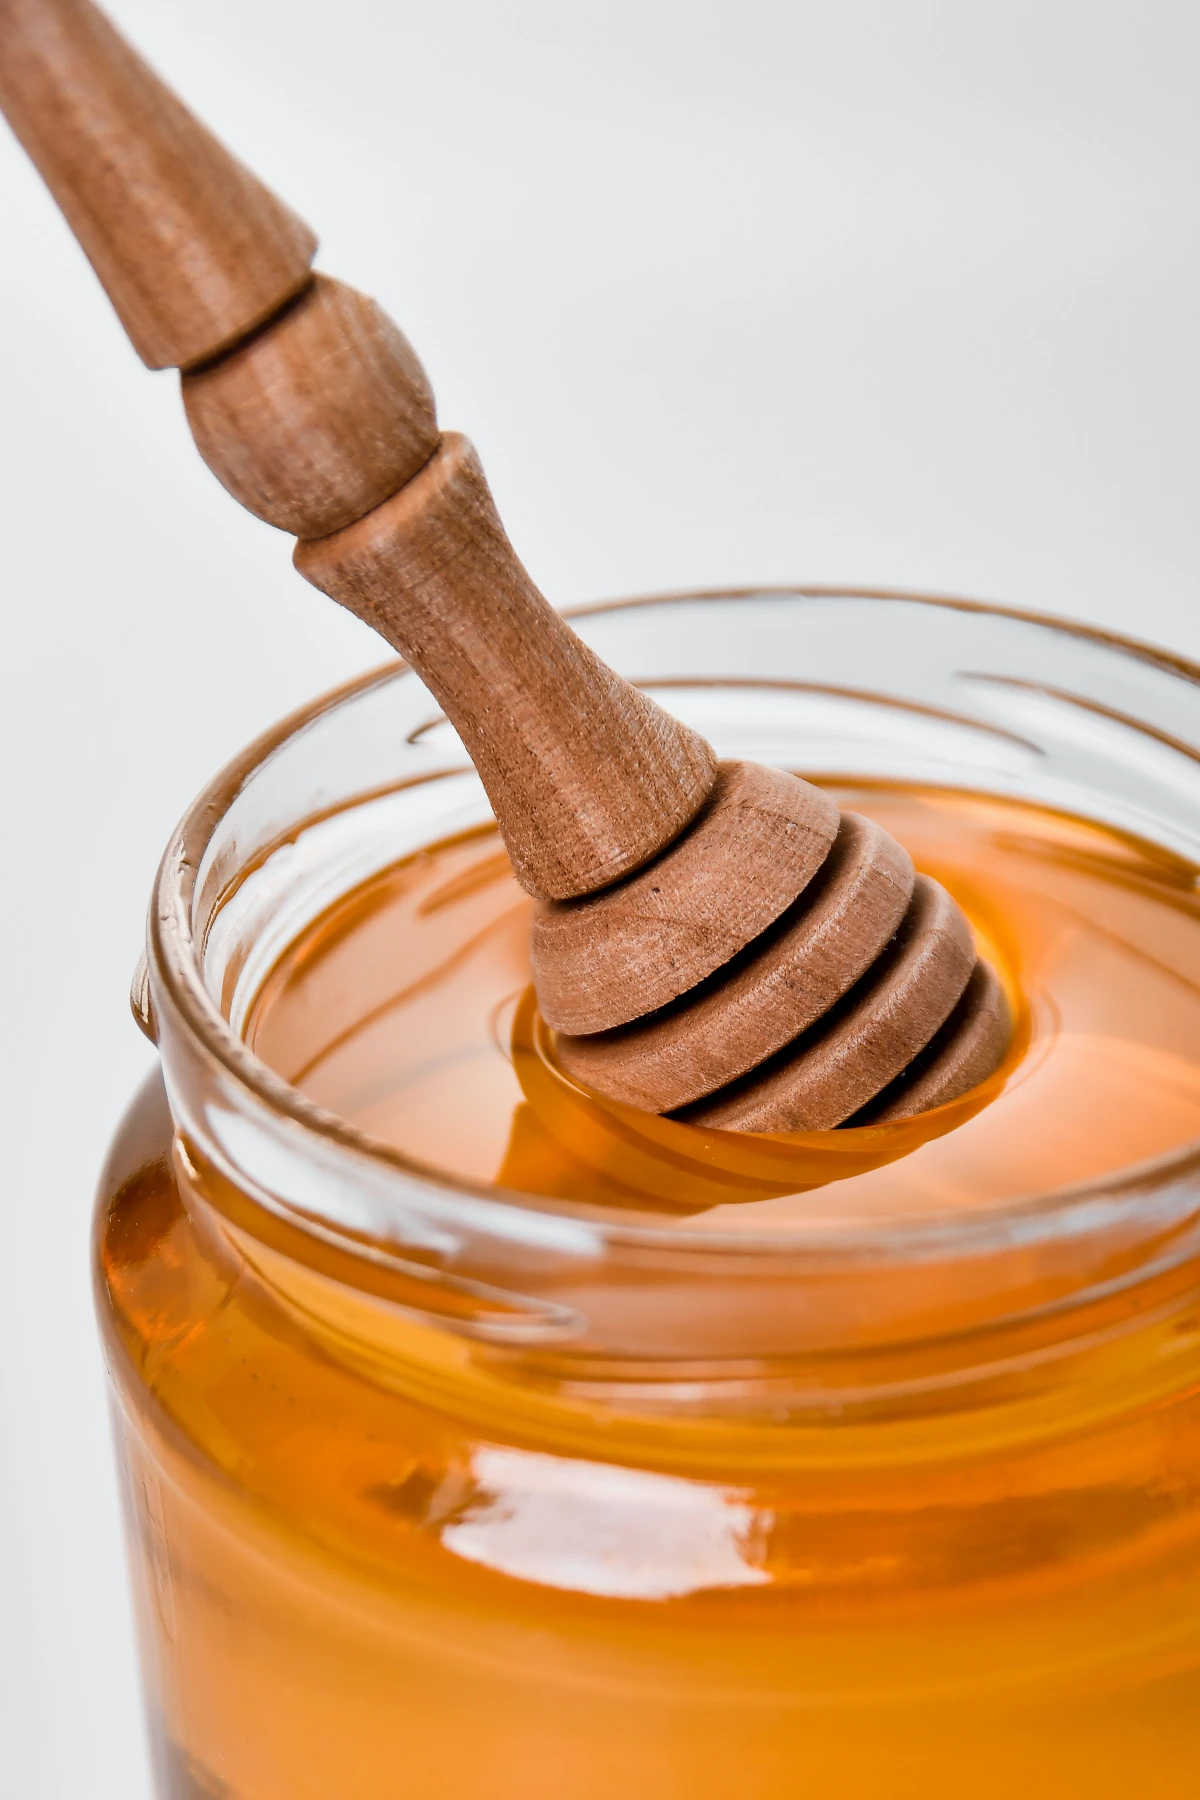
Foundation 3: The Immortals (Honey, Salt, Sugar)
These three are in a class of their own. In their pure form, they literally last forever. They’re essential for flavor, baking, and even preserving other foods.
- Honey: It’s a natural marvel. Its chemical makeup (low water, high acid) makes it impossible for bacteria to grow. It might crystallize over time, but that’s not spoilage. Just gently warm the jar in a pan of warm (not hot!) water to melt the crystals back to liquid.
- Salt & Sugar: These are minerals; they don’t spoil. Their only enemy is moisture, which makes them clump up. To prevent this, just store them in any airtight, food-grade container instead of their original paper bags. A sealed bucket or large glass jar works perfectly. (Good to know: The iodine in iodized salt might lose its potency after a few years, but the salt itself will still be perfectly fine.)
Foundation 4: Choosing the Right Fats & Oils
This is where a lot of people go wrong. You need fats for calories and cooking, but most cooking oils only last a year or two before going rancid. And rancid oil not only tastes disgusting but is also bad for you.
When you’re choosing fats for storage, think about their stability. Saturated fats are much more resistant to breaking down.
- Your best bet for long-term storage is ghee (clarified butter). Since the milk solids and water are removed, it can last for several years at room temperature. It’s also amazing for high-heat cooking.
- Another great choice is coconut oil. It’s naturally high in saturated fat and can easily last for two years or more in a cool, dark place. It’s great for baking and sautéing.
- Even solid vegetable shortening is designed for a longer shelf life than liquid oils, often lasting up to two years after being opened.
I learned this lesson the hard way. Early on, I bought a huge jug of vegetable oil and stored it in the cabinet above my stove. The gentle, constant heat made it go rancid in under a year. Now, I store all my oils in the coolest, darkest part of my pantry and I write the purchase date on every single container with a marker.
Running Your Pantry Like a Pro
Having the food is only half the battle. Managing it correctly is what prevents waste.
Rotation is Everything (FIFO)
It stands for “First-In, First-Out.” It’s simple: when you add a new item, put it in the back. Move the older items to the front. This ensures you’re always using up the oldest stuff first.
Your 15-Minute Pantry Win for Today: Ready for an easy win? Grab a permanent marker. Go find three cans or boxes in your pantry right now and write the month and year you bought them on top. Boom. You’ve just started the FIFO process.
Pest Control & Labeling
Pantry moths and weevils are the worst. Your best defense is airtight containers for all grains, flours, and pastas. And by the way, an old-timer trick that really seems to work is tossing a few dried bay leaves into your flour and grain canisters to help deter pests.
And please, label everything! A bucket of white powder isn’t very helpful if you don’t know if it’s flour, sugar, or salt. Use a thick marker to write the CONTENTS and the DATE you sealed it right on the outside of the bucket. Trust me, you’ll thank yourself later.
Building a pantry is a journey, not a single shopping trip. It’s a tool that gives you security and flexibility. By understanding these basic principles, you can build a reliable resource that will serve your family well, no matter what comes your way.
Inspirational Gallery
Mylar Bags: These are the gold standard for long-term protection. Their foil layer creates an exceptional barrier against oxygen and light, far superior to standard plastic. When paired with an oxygen absorber, they can preserve dry goods like beans, rice, or flour for 20-30 years.
Vacuum Sealer Bags: Excellent for shorter-term storage (1-3 years) and for items you access more frequently. They are perfect for freezing meats or protecting dehydrated fruits from freezer burn. Brands like FoodSaver make this process quick and easy for everyday use.
For true long-haul preparedness, Mylar is king. For rotating stock and freezer management, a vacuum sealer is your workhorse.
The average American family of four throws out $1,600 a year in produce.
This staggering figure from the U.S. Department of Agriculture highlights a silent budget drain. A functional pantry isn’t just for emergencies; it’s a financial tool. By properly storing bulk purchases of grains, legumes, and even home-preserved produce, you’re not just preparing for a crisis, you’re actively fighting the daily, slow-motion crisis of food waste and saving significant money over time.
How do I prevent pests from getting into my food stores?
While airtight seals are your first line of defense, determined pests can chew through thin plastic bags and cardboard. For ultimate protection, consider upgrading your containers. Glass jars with two-piece lids are impenetrable. For bulk items, look to food-grade, BPA-free plastic buckets with gasket-sealed lids. If rodents are a serious concern in your area, thick-walled containers like the durable, square-sided Cambro food storage containers used in restaurants are a worthwhile investment. They are virtually indestructible and stack efficiently, maximizing your space.
A critical storage mistake: Never store your potatoes and onions together. Onions release ethylene gas, which significantly speeds up the sprouting and spoilage process in potatoes. Keep them in separate, dark, and well-ventilated areas of your pantry to maximize the shelf life of both.
- You can instantly see how much you have left.
- It protects food from pests, moisture, and air.
- Uniform containers create a tidy, efficient space.
The secret? Decanting. The simple act of moving foods like pasta, flour, and cereal from their original packaging into dedicated airtight containers transforms your pantry. For items sensitive to light, like spices or oils, choose opaque or amber-colored containers. For everything else, clear containers from brands like OXO Pop make inventory a breeze.
A study in the journal *Science of The Total Environment* found that microplastics have been found in 90% of table salt brands globally.
This is a compelling reason to consider how you buy and store staples. Buying salt in bulk in a cardboard box or glass jar, rather than a disposable plastic grinder, and decanting it into a permanent salt cellar is a small but meaningful step. It reduces your long-term exposure to potentially leaching plastics and cuts down on single-use packaging.
Embrace a “First-In, First-Out” (FIFO) system to ensure nothing gets lost in the back of the shelf until it’s expired. It’s simpler than it sounds:
- When you buy a new item, place it behind the older ones you already have.
- Use clear bins to group like items (e.g., “Pasta,” “Canned Tomatoes”). Simply pull the whole bin out to see what you have.
- For canned goods, a can-rotating rack, whether store-bought or a simple DIY project, automatically dispenses the oldest can first.
Your pantry can be more than just a storage closet; it can be a source of inspiration. Think beyond basic cans and consider adding a “flavor station.” Dedicate a small section to high-quality olive oils, finishing salts, interesting vinegars, and dried herbs. Storing them correctly in dark bottles or airtight tins not only preserves their potency but also encourages you to elevate everyday meals, turning a simple pantry dinner into something special.
Can I just use my old pasta sauce jars?
Absolutely, but with a caveat. Reusing glass jars is a fantastic, budget-friendly option. However, the original one-piece lids are not designed for a reliable, long-term airtight seal after being opened. They are fine for storing items you’ll use within a few weeks. For anything you want to keep fresh for months, like flour or coffee, it’s best to invest in a set of new two-piece canning lids (like those from Ball or Kerr) that fit your jars, or transfer the food to a dedicated canister with a silicone gasket seal.
Don’t underestimate the power of a good label. A clear, consistent labeling system prevents you from opening the wrong container and helps track freshness. While masking tape and a marker work in a pinch, consider a more durable solution.
- A handheld label maker, like a Dymo, creates waterproof, easy-to-read labels.
- Chalkboard or whiteboard-style reusable labels allow you to update contents and dates easily.
- Always include the item name and the date it was stored or its expiration date.


