Don’t Toss Those Pumpkin Guts! Here’s How to Actually Use Them
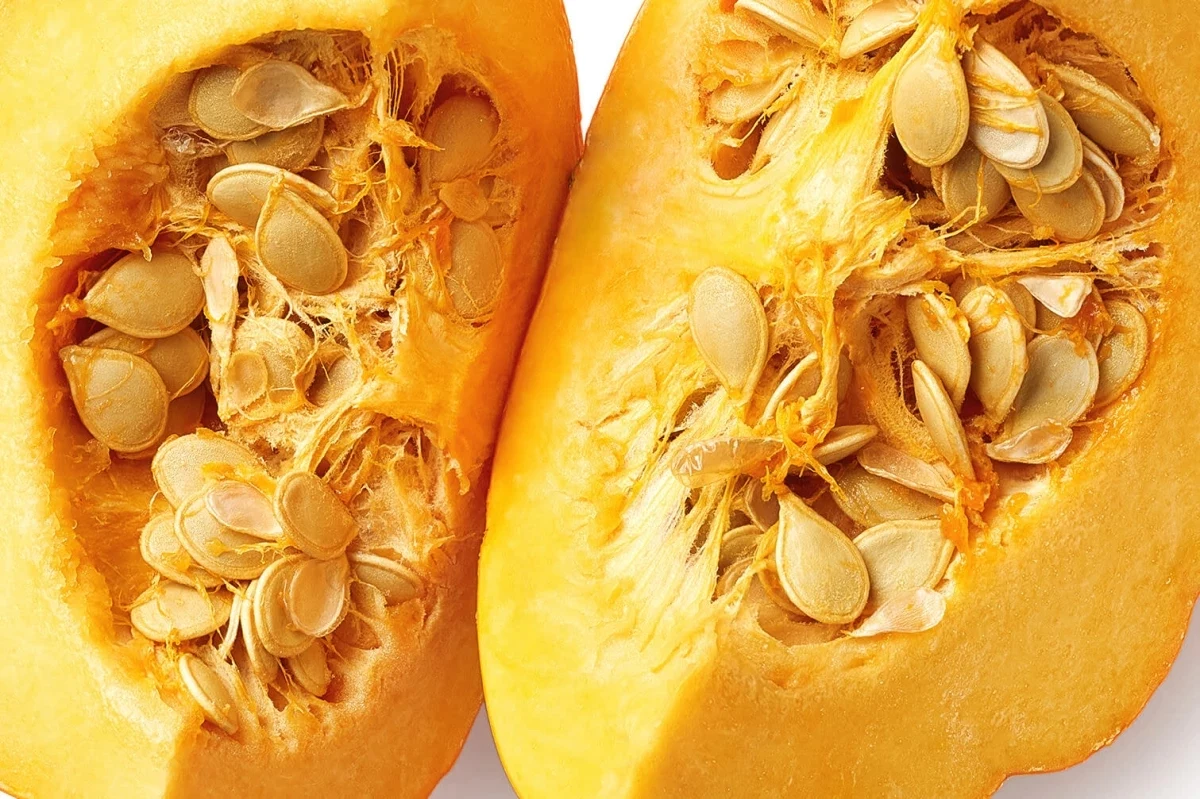
Every autumn, my kitchen counter disappears under a sea of newspaper. It’s a familiar, comforting ritual. The whole room starts to smell earthy and sweet, and for a little while, everything is about carving the perfect spooky face. But after the fun is over, there’s always that big, stringy bowl of pumpkin guts and seeds left behind. So many people just scoop it all straight into the trash, which honestly hurts my soul a little. You’re throwing away a second, hidden gift!
In this article
I’ve learned a ton about this over the years, mostly by messing things up. I’ve burned batches of seeds, fought with stubborn pulp, and had my share of kitchen mishaps. But those mistakes taught me what actually works. So, let’s talk about turning that slimy mess into kitchen gold. We’re going to cover everything from cleaning the seeds without losing your mind to roasting them perfectly, and even saving some for next year’s garden.
First, Know What You’re Working With
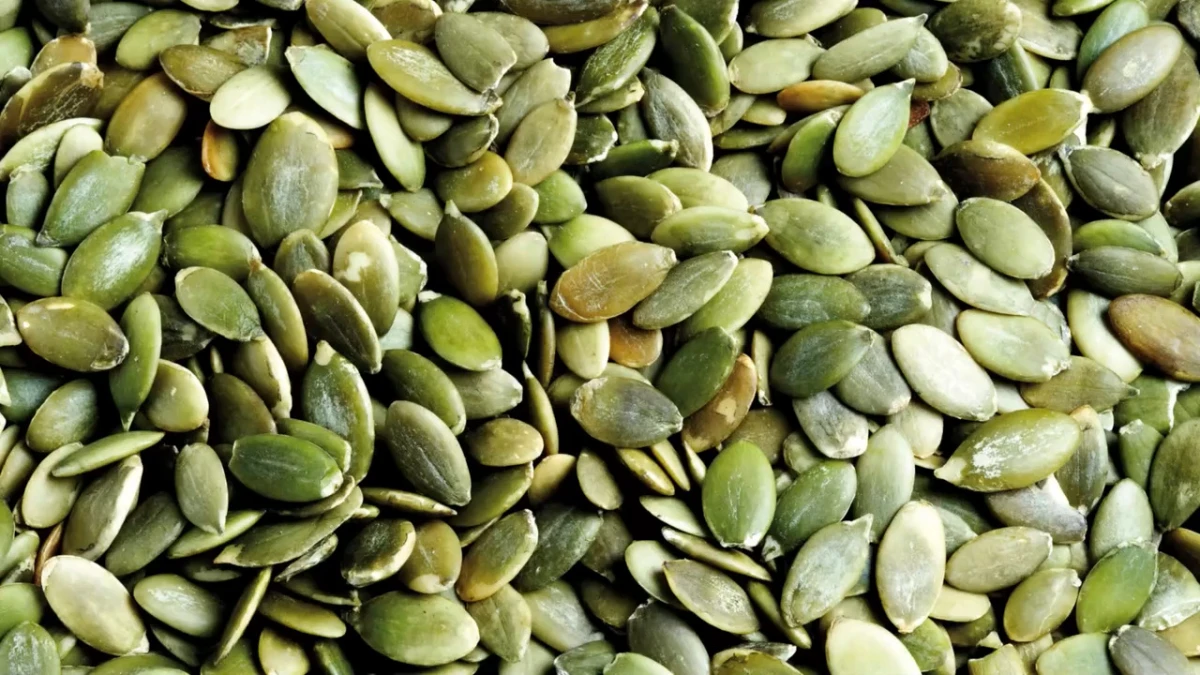
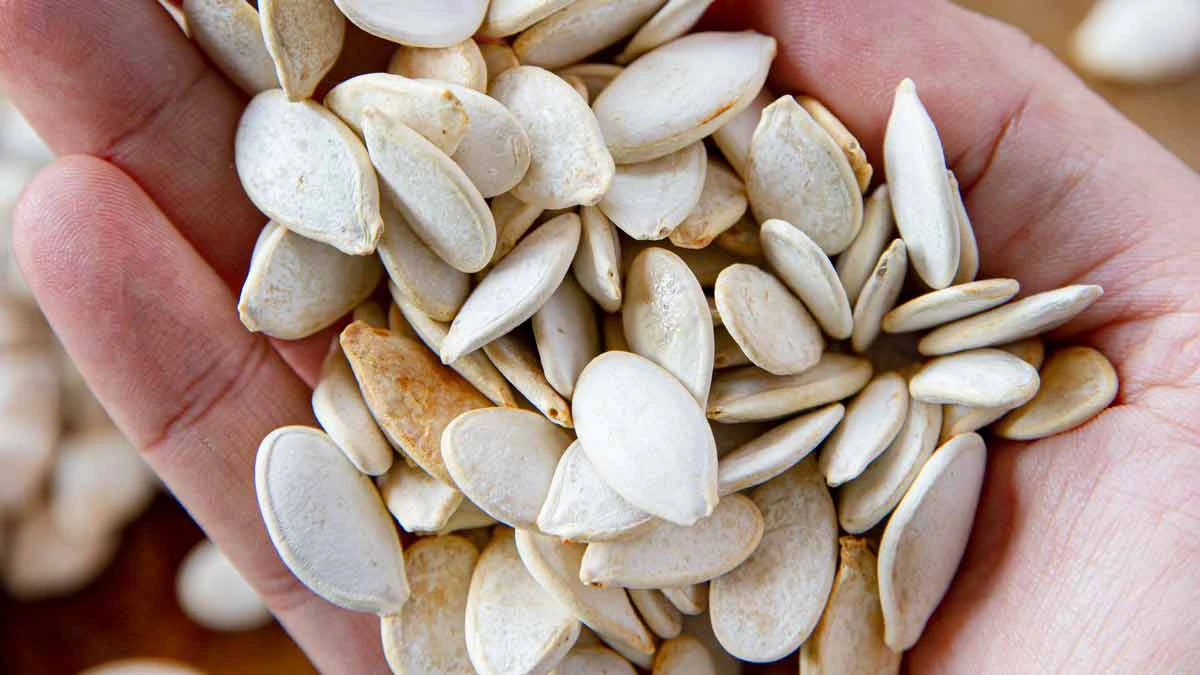
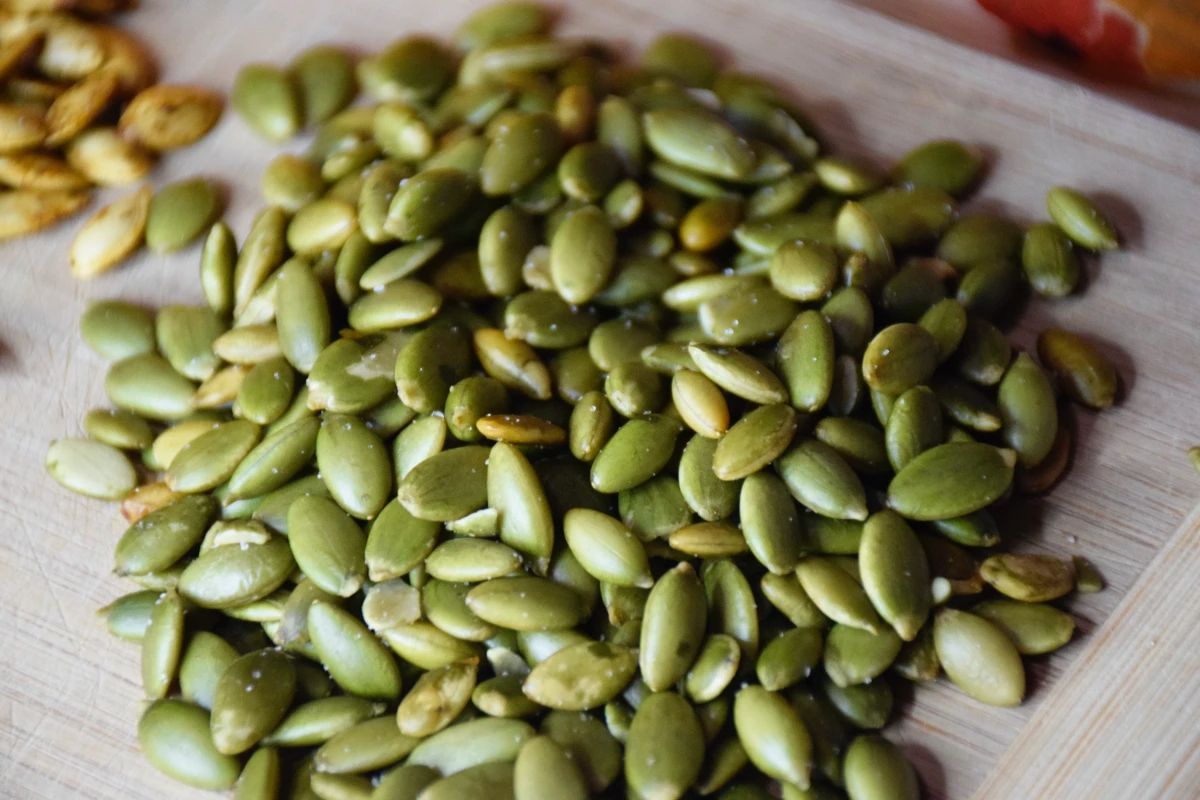
It helps to know a little about the seed itself. That creamy white thing you’re holding is the hull, or the shell. Tucked inside is a tiny, tender green kernel. When you buy those little green seeds at the store—they’re often called pepitas—you’re just getting the kernel. They can be pretty pricey, sometimes setting you back $5 to $10 for a small bag. For our purposes, we’re using the whole shebang, hull and all. The hull gets wonderfully crispy and adds a great fibrous crunch.
The whole point of prepping them is to get the moisture out. Dry seeds roast; wet seeds steam. It’s that simple. When you finally get them in the oven, you’re starting a process that food nerds call the Maillard reaction. It’s the same magic that browns your toast, creating all those delicious, nutty flavors. Understanding that helps you get the result you want.
The First Big Hurdle: Cleaning the Seeds
This is where most people get frustrated and give up. The pulp is slimy, stringy, and clings to the seeds for dear life. I’ve watched people try to pick them out one by one, and it’s a painful sight. But there’s a much, much better way. It’s a trick I learned from an old-school farmer, and it has never once failed me.
Just scoop all the guts—pulp, seeds, and all—into a big bowl. Don’t even think about separating anything yet. Now, fill the bowl with cool water until everything is covered by a few inches. Plunge your hands in and start swishing it all around. Gently squeeze the bigger clumps of pulp. You’ll feel the seeds pop right out.
And here’s the magic part: the good, healthy seeds will float to the top, while the heavy, waterlogged pulp will sink. It’s a simple trick of density. After a minute or so of swishing, you’ll have a clean layer of seeds just waiting for you on the surface. Skim them off with a slotted spoon or your hands and pop them into a colander. Give them a quick final rinse, but don’t obsess over getting every last orange speck off. A little bit of leftover pulp just adds character.
Oh, and a no-waste tip: Don’t toss that leftover pulp in the bowl! You can simmer it with some water, an onion, and a carrot to make a light, flavorful pumpkin stock. It’s fantastic as a base for fall soups.
Drying: The Step You Absolutely Cannot Skip
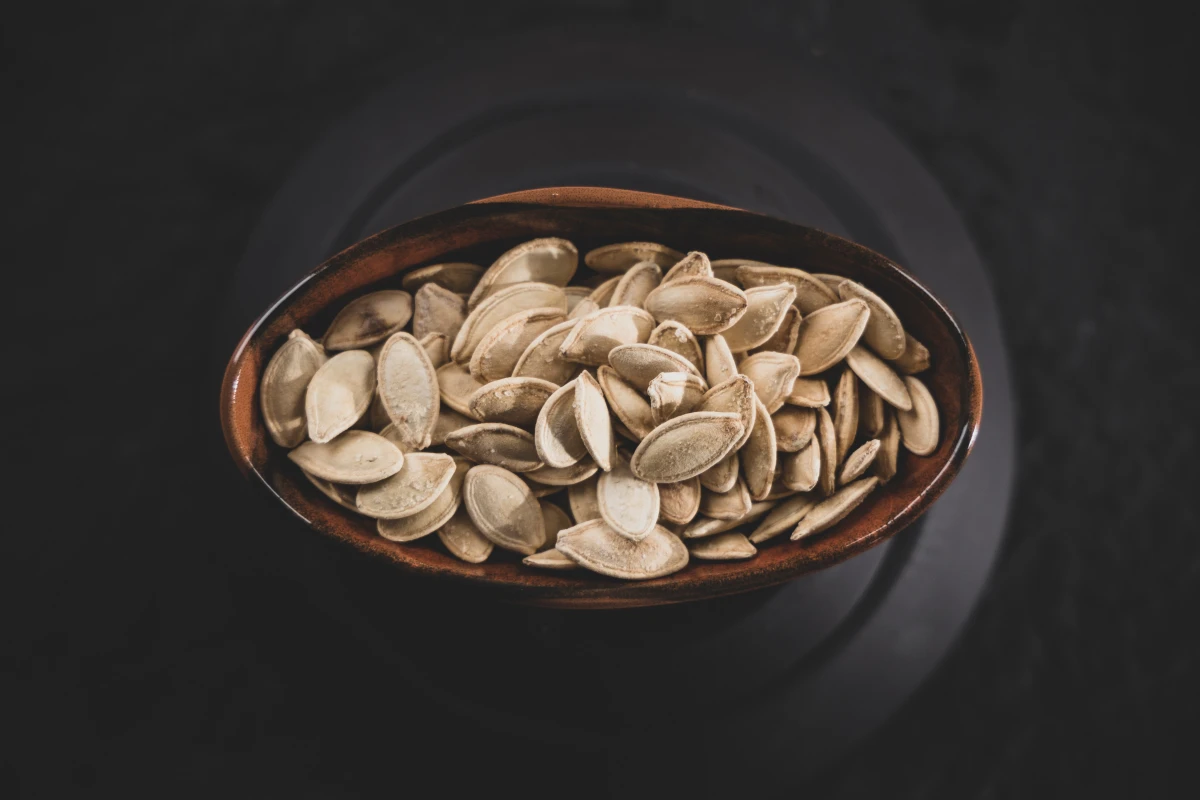
If you try to roast wet seeds, you’ll end up with a chewy, disappointing snack. They need to be bone dry first. I spread my clean seeds in a single layer on a large baking sheet lined with parchment paper. A towel works, but I find they tend to stick to the fibers. Give them space for air to circulate.
Just leave the baking sheet on your counter, and depending on how humid your house is, they’ll be ready in 24 to 48 hours. I usually let them sit overnight at a minimum. You’ll know they’re ready when they feel papery and dry to the touch, not cool or damp. Patience here is key—it makes all the difference.
In a hurry? I get it. If you don’t have a day to wait, you can use the oven. Spread the seeds on a baking sheet and pop them into a low oven, around 200°F (about 95°C), for 50-60 minutes. Just be sure to give them a stir every 15 minutes so they dry evenly without starting to toast.
The Art of the Perfect Roast
So many recipes call for blasting seeds with high heat, and that’s the fastest way to get a bitter, burnt mess. The oils in pumpkin seeds are delicate; they can’t handle it. The real secret is to go low and slow. By the way, a typical 10-pound carving pumpkin will give you about 1 to 2 cups of seeds, which is perfect for a couple of good-sized batches.
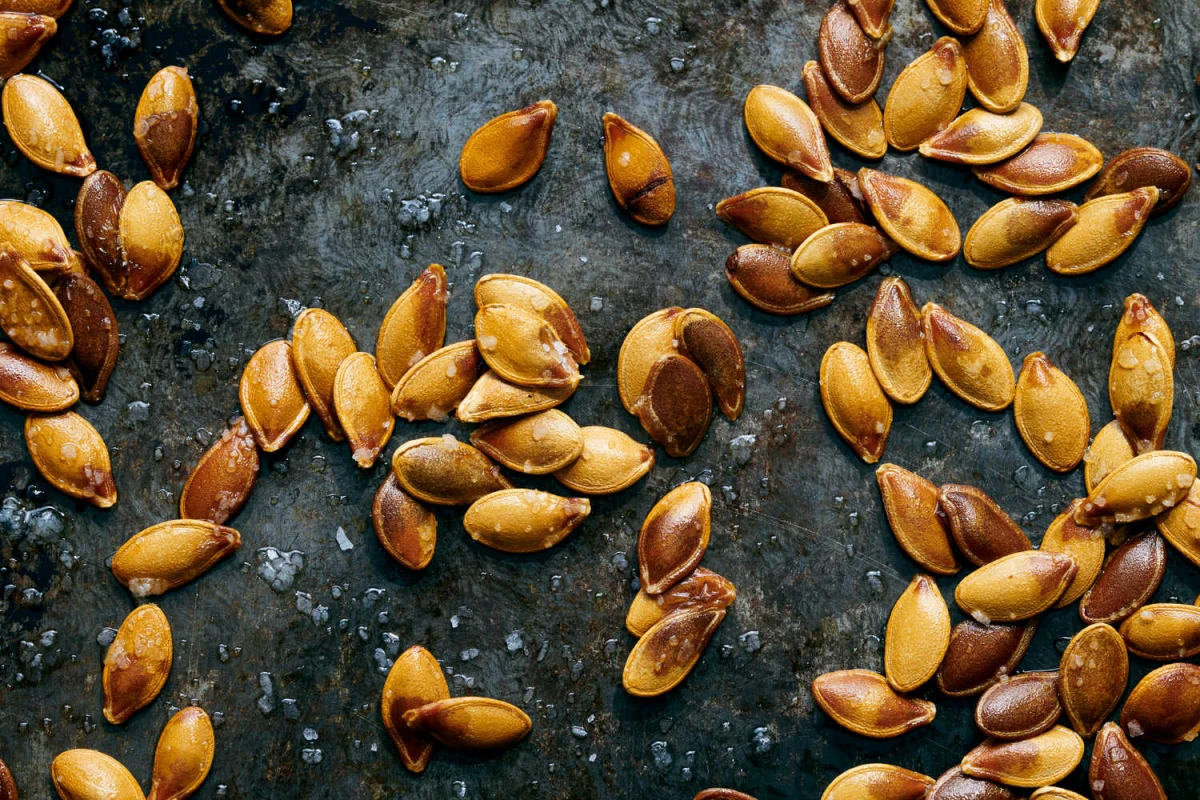
Here’s my foolproof method. First, preheat your oven to a gentle 300°F (150°C). In a bowl, take your cup or two of fully dried seeds and toss them with about a tablespoon of a high-smoke-point oil. Avocado or grapeseed oil are great choices. You just want them to shimmer, not swim in oil. Then, sprinkle in about half a teaspoon of fine sea salt and toss again.
Spread them in a single, even layer on a baking sheet. Don’t crowd the pan, or they’ll steam! Roast them for 15 minutes, then pull the pan out and give them a good stir. Pop them back in for another 10 to 15 minutes. They’re done when they’re a light golden brown. Let one cool for a minute and bite into it—it should be crispy all the way through. A good sign is when you can hear them making faint popping or crackling sounds as they cool on the pan.
Quick tip: I add most of my other seasonings after they come out of the oven. Fine powders like paprika can burn easily. I just toss the hot seeds with the spices and maybe a tiny bit more oil to help them stick.
Flavor Ideas to Get You Started
Once you’ve got the basic technique down, the fun begins. Here are a few combinations that are always a hit:
- Smoky & Savory: Toss the hot seeds with 1/2 tsp smoked paprika, 1/4 tsp garlic powder, and 1/4 tsp onion powder.
- Sweet Cinnamon Crunch: In the last 5 minutes of roasting, toss them with 1 tsp of sugar and 1/2 tsp of cinnamon. Keep a close eye on them, as sugar burns fast!
- Spicy Chile-Lime: Once they’re out of the oven, toss the hot seeds with the zest of one lime, 1/4 tsp of chili powder, and a pinch of cayenne.
Want to Plant Them? Here’s What You Need to Know
Saving seeds for your garden is an amazing tradition, but there’s a catch. The type of pumpkin you have is everything. It comes down to one big difference: hybrid versus heirloom.
A Heads-Up on Hybrids (The Grocery Store Kind)
Most of those big, perfectly round pumpkins you buy at the supermarket are hybrids. They’re bred for specific traits like size and color. The problem is, their seeds won’t grow “true to type.” This means the pumpkin you grow from that seed might look totally different, or worse, not produce any fruit at all. It’s a genetic gamble.
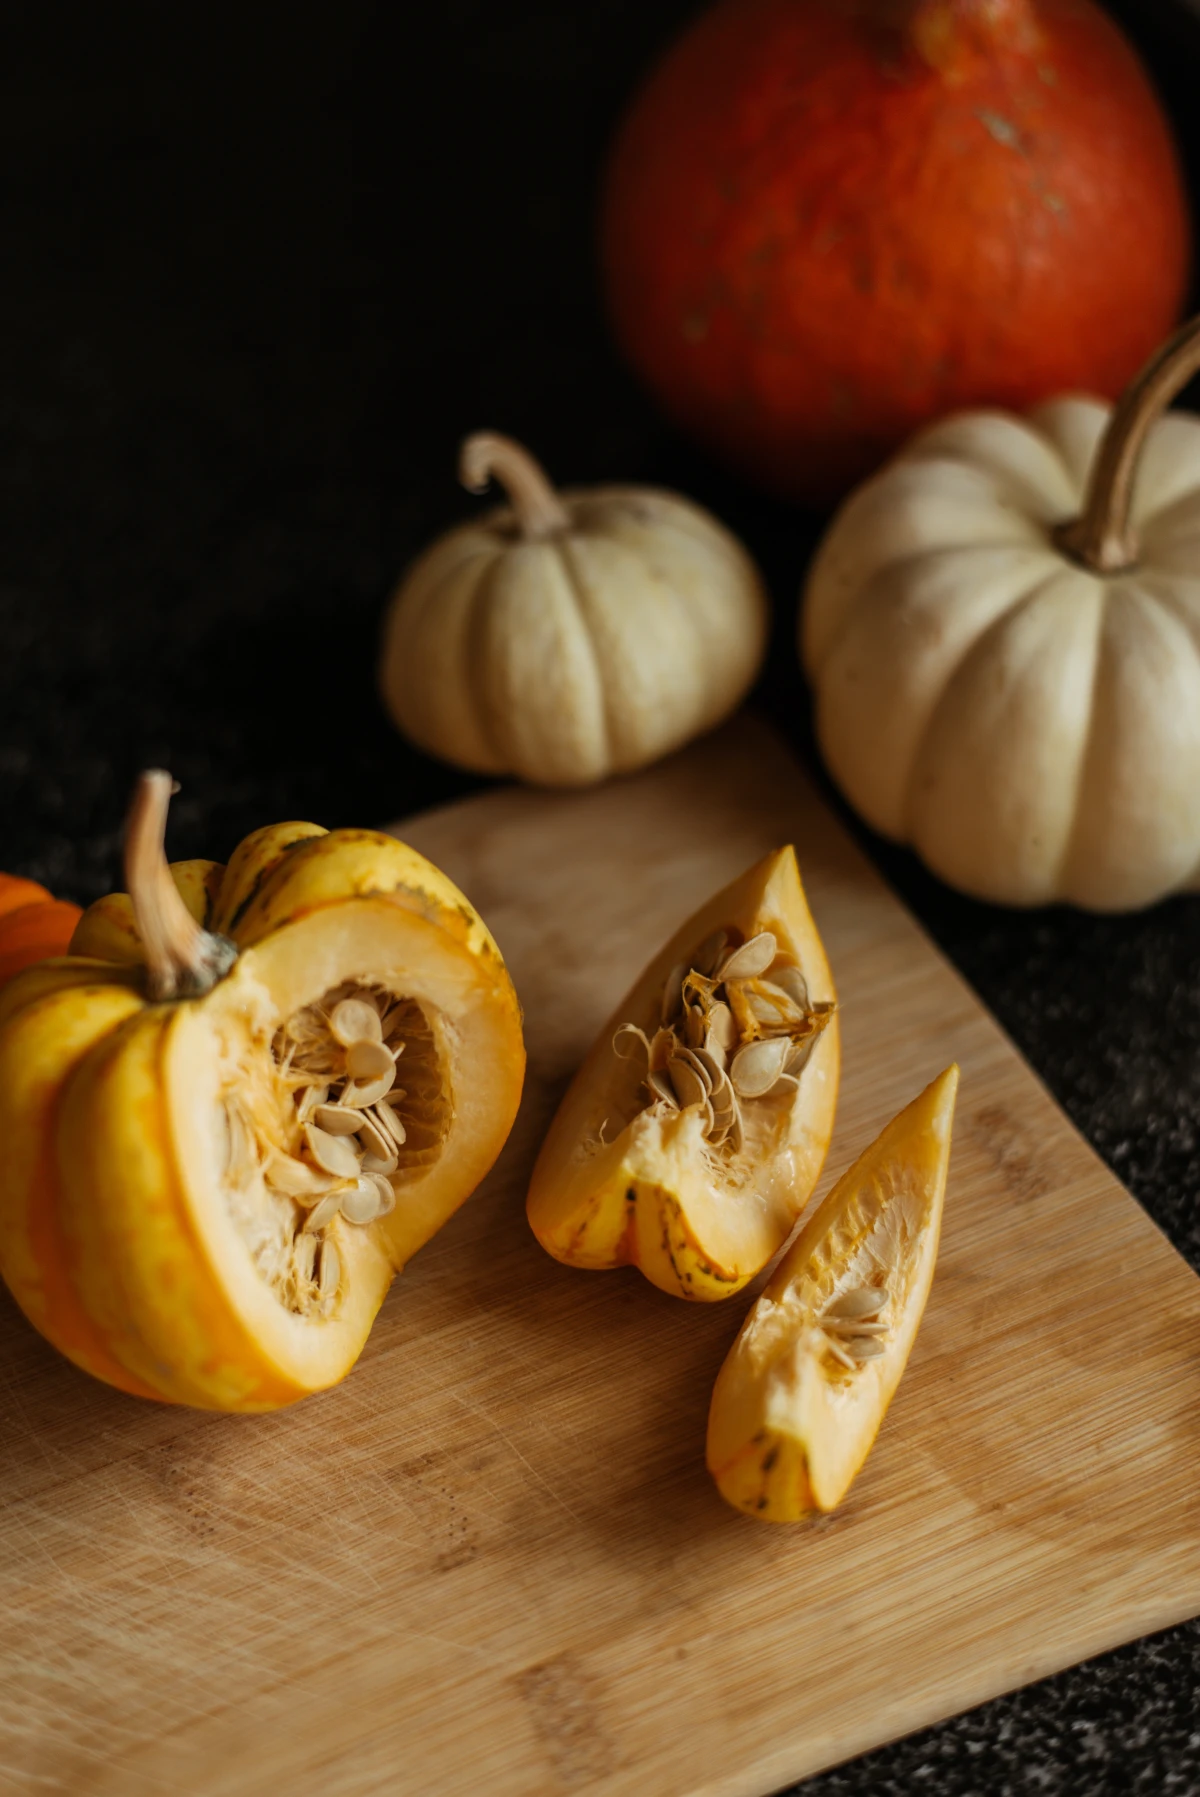
Your Best Bet: Heirloom & Open-Pollinated Seeds
For a reliable harvest, you want seeds from an open-pollinated or heirloom variety. These are often the more interesting, lumpy, or uniquely colored pumpkins you find at a farmer’s market. If you buy from a local grower, just ask them! They’re usually thrilled to tell you about their crops. The seeds from these pumpkins will produce a plant just like the parent.
To save them for planting, pick out the biggest, plumpest seeds. Clean them thoroughly with the water method, then spread them on a ceramic plate or parchment paper to air dry for at least a week, until they are absolutely bone dry. Store them in a labeled paper envelope inside a sealed jar in a cool, dark place like your fridge. They can stay viable for years!
What If My Seeds Are Chewy, Not Crispy?
Ah, the most common problem! If your seeds turned out chewy, it’s almost always one of two things. Either they weren’t fully dry before you oiled and salted them, or you crowded the pan. Both of these things cause the seeds to steam instead of roast. For your next batch, give them more time to air-dry and be sure to spread them in a single, uncrowded layer on the baking sheet.
Beyond Snacking: Other Fun Uses
Roasted seeds are great, but they’re also incredibly versatile. Here are a couple of my favorite ways to use them.
Homemade Pumpkin Seed Butter
This stuff is incredible, but you’ll need a powerful food processor or a high-end blender for it. A quick heads-up: a standard blender is going to have a really tough time with this. It’ll probably just grind them into a coarse, sandy “seed meal.” You really need the horsepower of something strong to break down the seeds until they release their natural oils. Just process about 2 cups of roasted, unsalted seeds for 10-15 minutes, scraping the sides occasionally, until it magically turns into a smooth, creamy butter. Add a pinch of salt at the end.
Pumpkin Seed Brittle
This is a crunchy, addictive treat and makes for a fantastic holiday gift. But seriously, be careful here—hot sugar is no joke. I always keep a bowl of ice water nearby just in case of a splash. You’ll need a candy thermometer for this. Cook sugar, corn syrup, and water until it hits the “hard crack” stage (300°F / 149°C), then carefully stir in your roasted seeds and some butter. Pour it onto a baking sheet, let it cool completely, and then break it into delicious shards.
And If You Have Too Many…
If you’re swimming in seeds, the compost pile is a great final resting place. But here’s a warning: if you toss raw seeds in there, you’ll probably have a jungle of “volunteer” pumpkin vines sprouting next spring. To prevent this, just boil the seeds in water for about 10 minutes. This ensures they won’t germinate and will break down nicely, adding nutrients to your soil.
Finally, a word on safety. Only use seeds from a fresh, healthy pumpkin. If your jack-o’-lantern has been sitting on the porch for a week, it’s been exposed to bacteria and mold. So here’s my non-negotiable rule: If a pumpkin has been carved and sitting out for more than 24 hours, those guts are for the compost pile (after boiling!), not your mouth. It’s just not worth the risk.


