Don’t Toss That Pumpkin! Here’s What to Do With It Instead
You see it every year, right around the first week of November. The sad, slumping faces of jack-o’-lanterns and those perfect, untouched pumpkins sitting by the curb, waiting for the garbage truck. It honestly hurts my heart a little. After years of gardening and learning how to waste less, I see them as a huge missed opportunity.
In this article
A pumpkin’s life doesn’t have to end when the spooky season is over. In fact, its most useful phase can start right after you blow out the candle for the last time.
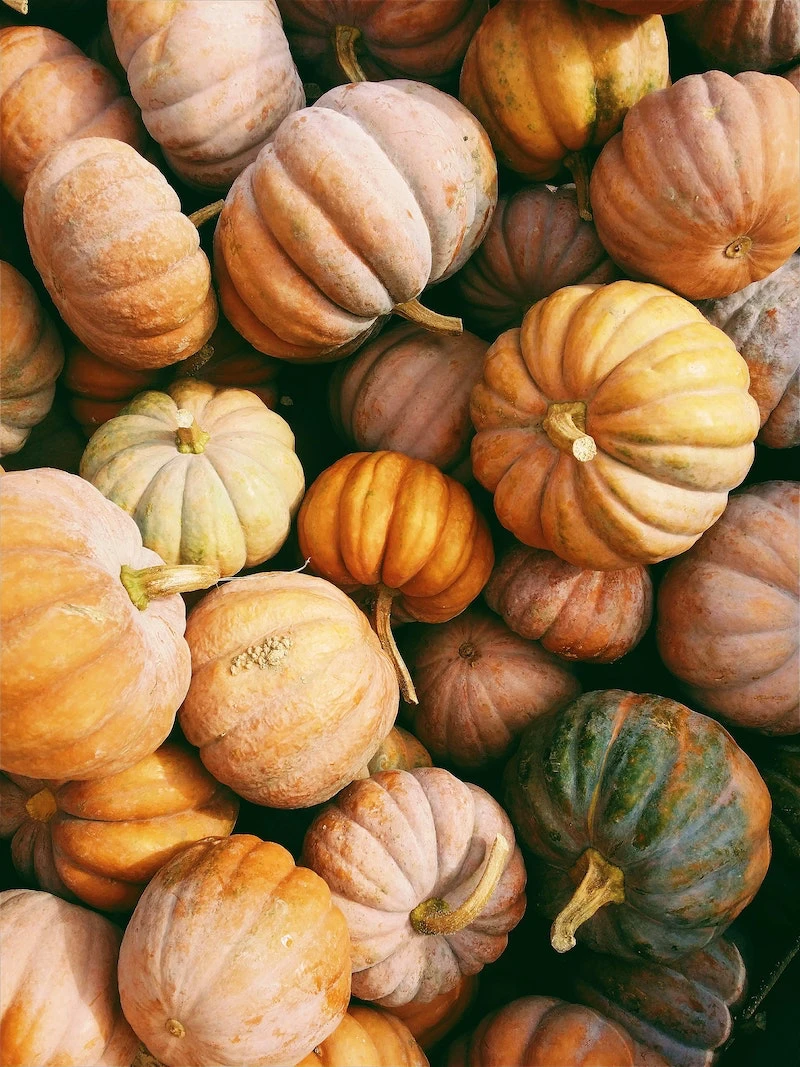
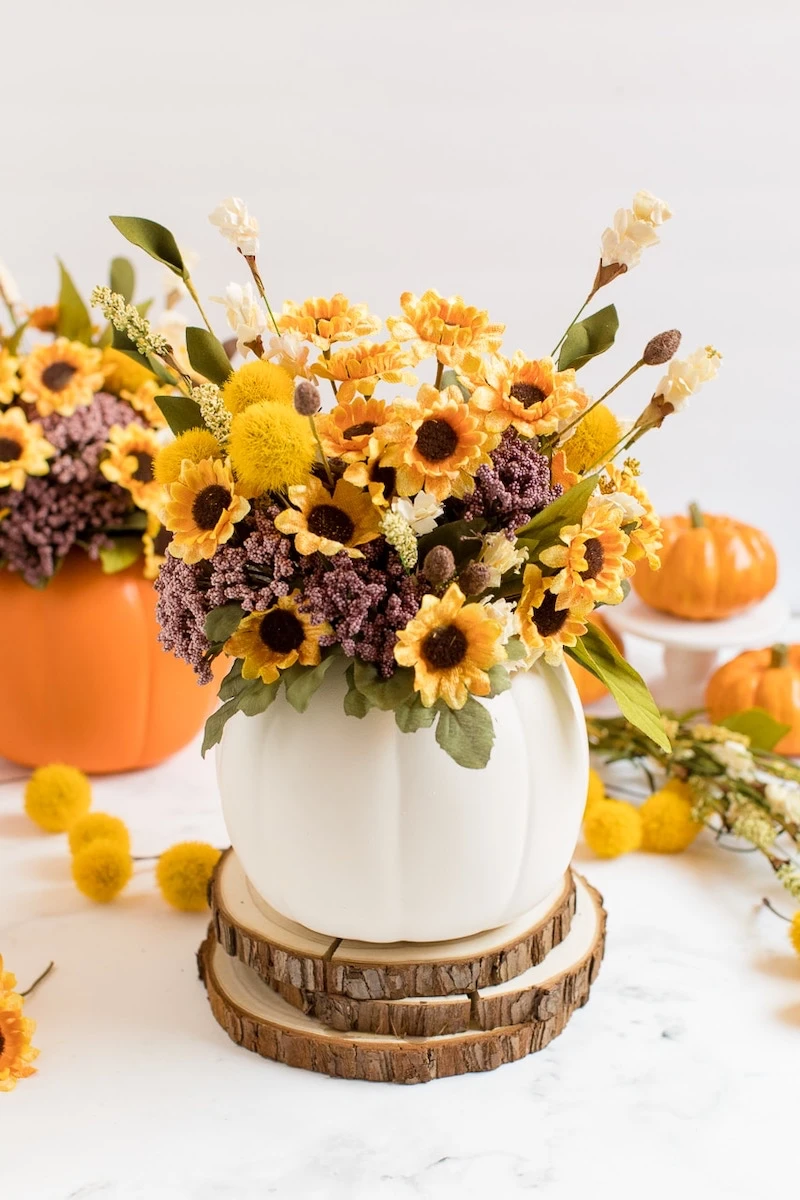
These orange gourds are so much more than a decoration. They’re food, a fantastic boost for your garden soil, and a great way to connect with the cycle of nature. This guide is all about the practical stuff I’ve learned from processing tons of pumpkins. We’ll skip the fluff and get right to the methods that work, including the safety checks you absolutely cannot skip.
First Things First: Is Your Pumpkin Still Good?
Before you get any grand ideas, you have to give your pumpkin a quick inspection. This is the most important step, especially for food safety. A pumpkin that’s been sitting on a warm porch for a week is a whole different beast than one carved yesterday in cool weather.
So, how do you decide its fate? Here’s a quick rundown of what to look for:
- If it was decorated with paint, glitter, or marker… it’s a no-go for eating. Period. That applies to you, your pets, and local wildlife. Chemicals can seep into the flesh. Your best bet is to carefully slice off the decorated rind and toss it in the trash, then the clean parts can head to the compost.
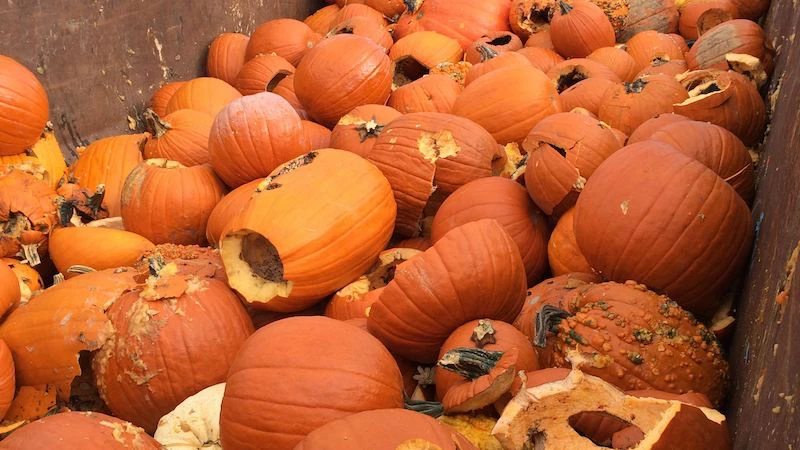
- If it has big soft spots, a funky smell, or fuzzy mold… its destiny is the garden. A sour, fermented smell is a dead giveaway that it’s spoiling. And while you can sometimes cut away a tiny soft spot, if you see widespread mold (especially black or dark-colored fuzz) or the pumpkin feels mushy, don’t even think about eating it. Compost only.
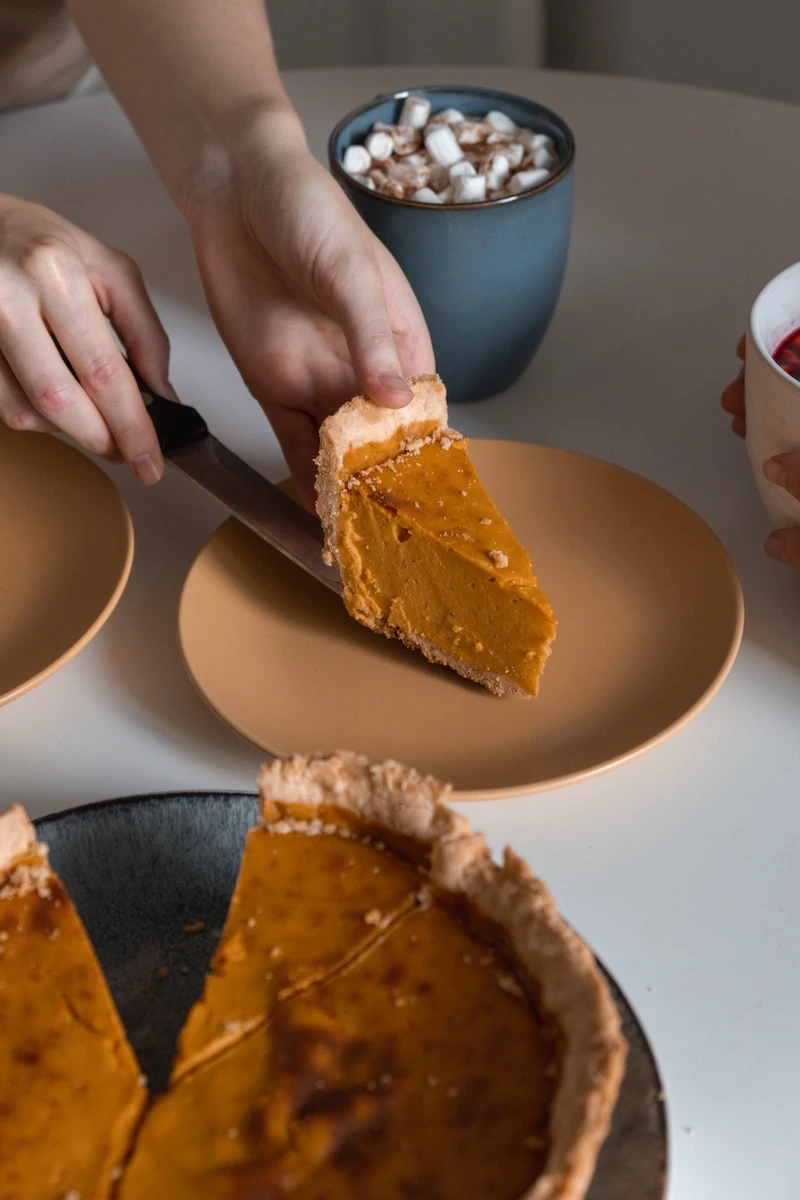
- If it was carved but still feels firm, smells fresh, and has no mold… you’re in business for cooking! But act fast. A carved pumpkin is on the clock. In cool weather, you might have a few days, but if it’s been warm (over 50°F or 10°C), you really only have about 24-48 hours. Trust your senses.
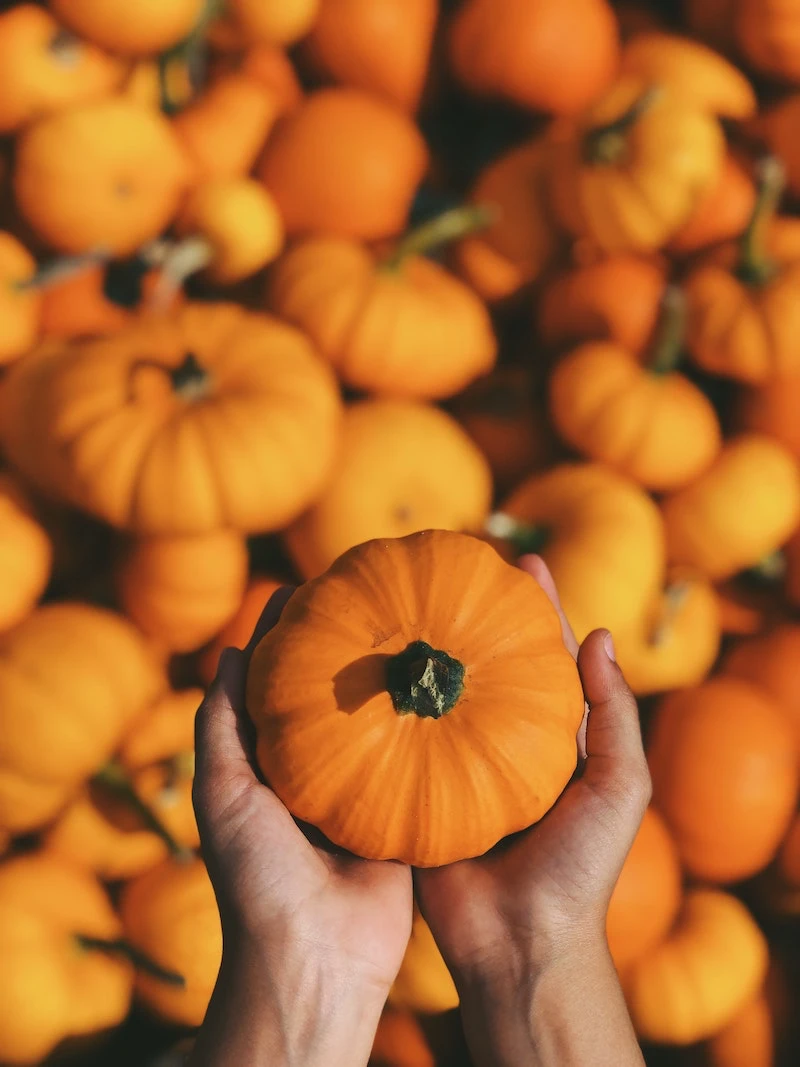
- If it’s an uncarved pumpkin that’s been kept cool and dry… you’ve hit the jackpot! These can last for months and are perfect for eating.

For the Kitchen: Let’s Make Some Food!
Passed the inspection? Awesome. Even standard carving pumpkins are perfectly edible. They tend to be a bit more watery and stringy than the smaller, dense sugar pumpkins, but with the right technique, they make fantastic food.
Heads up! From start to finish, plan for about 2 hours to process a medium pumpkin into purée and roasted seeds. It’s a perfect lazy Sunday afternoon project.
How to Make Amazing Pumpkin Purée
This is how the pros get that rich, thick texture, and it’s super easy to do at home. Store-bought purée is often made from other types of squash because they’re less watery, but we can fix that.
What you’ll need: A good knife, a baking sheet, a blender or food processor, and a fine-mesh sieve or some cheesecloth (you can find cheesecloth at most grocery stores for a few bucks).
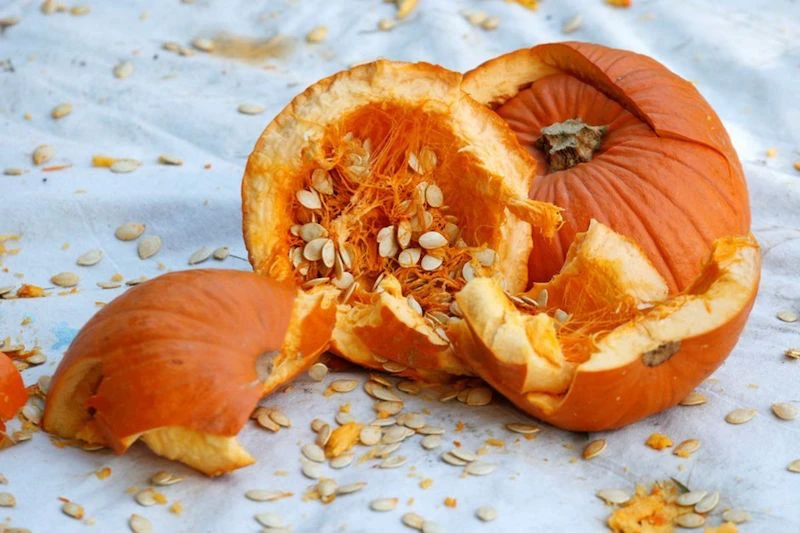
1. Prep it: Give the outside of the pumpkin a good wash. Cut it in half, then scoop out all the seeds and stringy guts. Don’t you dare throw those guts away! Just set them aside in a bowl for now.
2. Cook it: Roasting is my go-to method because it brings out a deep, sweet flavor. Place your pumpkin halves or large chunks cut-side down on a baking sheet. Pour a little water into the pan to create some steam and stop it from sticking. Roast it in a preheated oven at 375°F (190°C) for 45-60 minutes. It’s done when the flesh is super soft and pulling away from the skin.
3. Drain it: This is the secret step most people miss! Let the cooked pumpkin cool a bit. Scoop the soft flesh away from the skin and plop it into a sieve or a colander lined with cheesecloth set over a bowl. Let it sit for at least an hour. You will be shocked by how much water comes out. This is the key to avoiding watery pies and soggy pumpkin bread.
4. Blend it: Once it’s drained, transfer the pumpkin flesh to a blender and blitz it until it’s perfectly smooth. And there you have it! Homemade purée. It’ll last about a week in the fridge or up to a year in the freezer.
By the way, an average 10-pound carving pumpkin will yield about 4-5 cups of purée, which is usually enough for a pie and a batch of muffins.
Quick tip: Don’t have a pumpkin recipe ready? Here’s an easy win. Find a box of brownie mix and swap the amount of oil it calls for with an equal amount of your pumpkin purée. It makes the most incredibly moist and rich brownies.
Don’t Forget the Seeds!
Roasted pumpkin seeds are a top-tier snack. The trick is to get them really clean and really dry before they hit the oven.
First, put that whole bowl of seeds and stringy pulp into a bigger bowl of water. Swish it all around with your hands. The seeds will sink, and the pulp will float. Easy, right? Skim the pulp off for your compost or stockpot.
Next, drain the seeds and rinse them well. Now for the most important part: drying. Spread them in a single layer on a kitchen towel and pat them as dry as you can. Let them air-dry for a few hours, or even overnight. If you roast wet seeds, they just steam and get chewy, which is not what we want.
Finally, toss the dry seeds with a little olive oil and your favorite seasonings (I love a simple mix of sea salt and smoked paprika). Spread them on a baking sheet and roast them low and slow at 300°F (150°C). Stir them every 10 minutes or so until they’re golden and crispy, which usually takes 25-40 minutes.
Next-Level Trick: Pumpkin Gut Stock
Okay, that stringy pulp you skimmed off the seeds? If the pumpkin was fresh, that stuff is full of flavor. Throw it in a pot with any veggie scraps you have (onion ends, carrot peels), cover with water, and simmer for an hour. Strain it, and you’ll have a beautifully light and savory stock for your next soup or risotto.
For the Garden and the Critters
If your pumpkin is past its prime for eating, the garden is its best final destination. Pumpkins are loaded with nutrients that your soil will absolutely love.
The Easiest Way to Compost a Pumpkin
In compost lingo, pumpkins are a “green” material, meaning they’re rich in nitrogen. To make great compost, you need to balance them with “browns” (carbon-rich stuff). It’s easier than it sounds.
1. Smash it! Seriously, this is the best first step. The more you break it up, the faster it will decompose. Throw it on the ground and give it a good whack with a shovel or just stomp on it. It’s also pretty fun.
2. Mix it: Toss the pumpkin pieces into your compost pile or bin. For every bit of pumpkin, try to add about twice as much in “browns” like dried leaves, shredded newspaper, or torn-up cardboard.
3. Bury it: Tuck the pumpkin bits into the center of your compost pile. This helps hide the smell from pests and gets it right into the hottest part of the pile, speeding up decomposition.
No compost pile? No problem. You can do a simple “chop and drop.” Just chop the pumpkin into smaller pieces and use them as a natural mulch around the base of larger plants like shrubs or trees. As it breaks down, it will feed the soil directly.
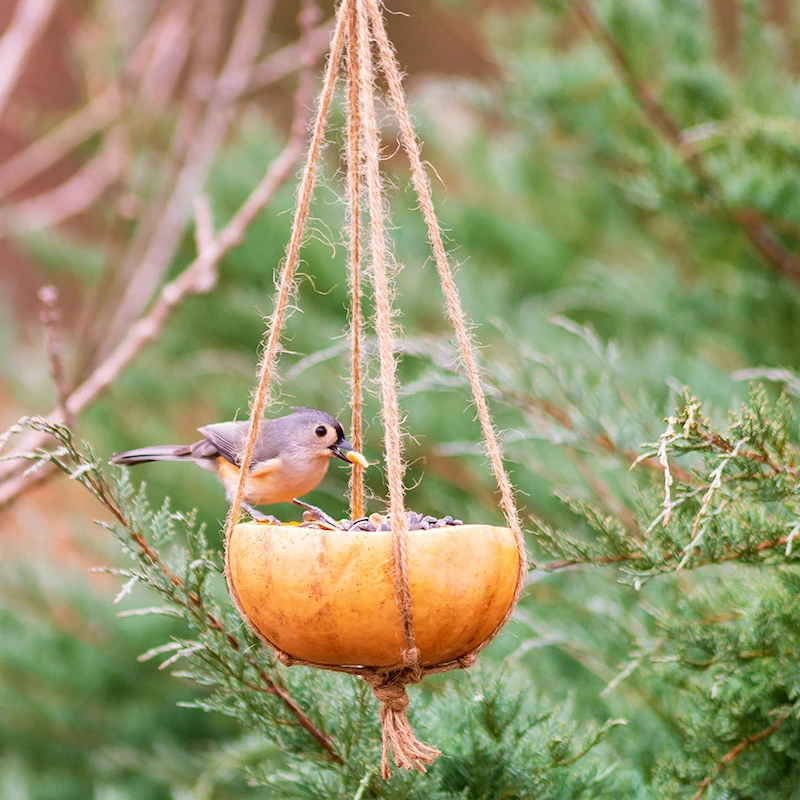
Feeding Local Critters (Safely!)
What about feeding animals? If your pumpkin is clean (NO paint, glitter, or wax) and isn’t rotten, some animals would be thrilled to eat it.
Chickens, for example, go absolutely wild for pumpkin. It’s a healthy treat for them. Just smash it open and let them have at it.
As for wildlife like deer or squirrels, they’ll eat it too. A word of caution, though: think about where you’re putting it. Leaving a pumpkin right next to your house can attract pests you might not want, like raccoons or rodents. If you want to leave it out for wildlife, consider taking it to a more natural area away from homes. Otherwise, the compost pile is always your safest and best option.