Finally! How to Get Sticky Labels Off Glass Jars Without Losing Your Mind
I’ve spent more time than I can count in kitchens, both professionally and for my own sanity, and I’ve probably cleaned and repurposed thousands of glass jars. Seriously, thousands. And early on, I learned a lesson the hard way: getting a sticky label off a jar isn’t about brute force. It’s about knowing what you’re up against.
In this article
- First, Which Method Is Right For You?
- Okay, But Why Are Some Labels So Annoying?
- Method 1: The Hot Water Soak (For Paper Labels)
- Method 2: The Solvent Wipe-Down (For Gummy Residue & Plastic Labels)
- Method 3: The Heat Method (For Intact Plastic or Foil Labels)
- Troubleshooting: When Things Go Wrong
- Inspiration:
A stubborn label can completely ruin a beautiful jar or, worse, steal an hour of your life you’ll never get back. But here’s the secret: once you get the principles, you can defeat almost any label in just a few minutes. This isn’t just a list of random hacks; it’s the system I’ve refined over years of practice. We’re going to work smarter, not harder, and save you a ton of frustration.
First, Which Method Is Right For You?
Let’s be real, you’re probably standing over your sink with a jar right now and just want to know what to do. So, here’s the quick and dirty guide to choosing your weapon:

- For most basic paper labels (think jam, salsa, or pickle jars), you’re going to use the Hot Water Soak. It’s the easiest method, but it requires some patience. Plan for at least 30 minutes of soaking time.
- For that sticky, gummy residue left behind, or for labels that are mostly plastic, your hero is a Solvent. This is your 10-minute fix for stubborn gunk.
- For tough, waterproof plastic or foil labels that refuse to peel, break out the Heat Method. This is the fastest approach, often taking less than two minutes, and it’s surprisingly clean.
Okay, But Why Are Some Labels So Annoying?
Before you start, it helps to know your enemy. That stickiness comes from something called a Pressure-Sensitive Adhesive (PSA). It’s not just glue; it’s a complex net of polymers engineered to stick with a simple push. Your mission is to either dissolve that net or weaken its grip on the glass.
You can do this in three ways:
Solvents, like oil or alcohol, are chemicals that get between those sticky polymer chains and break them apart, turning the solid gunk into a liquid you can wipe away. This is why different solvents work on different glues.
Heat doesn’t dissolve the adhesive, but it does make it soft and gooey. A hot glue is a weak glue, which is why a heated label often peels off in one perfect piece.
And then there’s good old-fashioned Abrasion. This just means scrubbing it off. It works, especially when you pair it with a little soap or solvent, but it’s definitely the most labor-intensive option.
By the way, the label itself matters, too. A simple paper label soaks up water, letting your solution get to the glue underneath. But a glossy or plastic-coated label is waterproof, making a water soak pretty much useless until you deal with that top layer.
Method 1: The Hot Water Soak (For Paper Labels)
This is the classic for a reason and your first move for most food jars. It’s perfect for those standard paper labels that tear when you try to peel them dry.
Here’s the process:
- Fill Your Sink or a Basin: Use the hottest water from your tap—you don’t need to boil it. In fact, please don’t! Boiling water can cause thermal shock and crack your glass. I once saw a trainee impatiently use a boiling water tap and crack a dozen beautiful jars. It was a costly lesson in patience. Aim for water that’s hot to the touch, around 120-140°F.
- Add a Helper: Squirt in a good bit of dish soap, maybe a tablespoon per gallon of water. The soap helps the water penetrate the paper and break down the glue. For really tough paper labels, I’ll add about a half-cup of washing soda (you can find this in the laundry aisle for about $5 a box) to a full sink. It’s more alkaline than baking soda and just melts glue.
- Submerge and Wait: Put your jars in the water and let them fill up so they sink completely. Now, the most important step: walk away. Let them soak for at least 30 minutes. Honestly, for the most stubborn labels, I just leave them overnight.
- Peel and Wipe: After a good soak, the label should practically slide off. Any leftover residue will be soft and gummy. A quick scrub with a sponge or even your thumbnail should be enough to get it off.
Quick tip: Never, ever use a metal knife or steel wool to scrape glass. You’ll scratch it for sure. The pros use plastic razor blades (a pack is under $10 online), but an old credit card or gift card works just as well.
Method 2: The Solvent Wipe-Down (For Gummy Residue & Plastic Labels)
So, the paper came off but left a sticky, transparent film? Or you peeled off a plastic label and the gunk stayed behind? It’s time for a solvent.
Choosing Your Solvent:
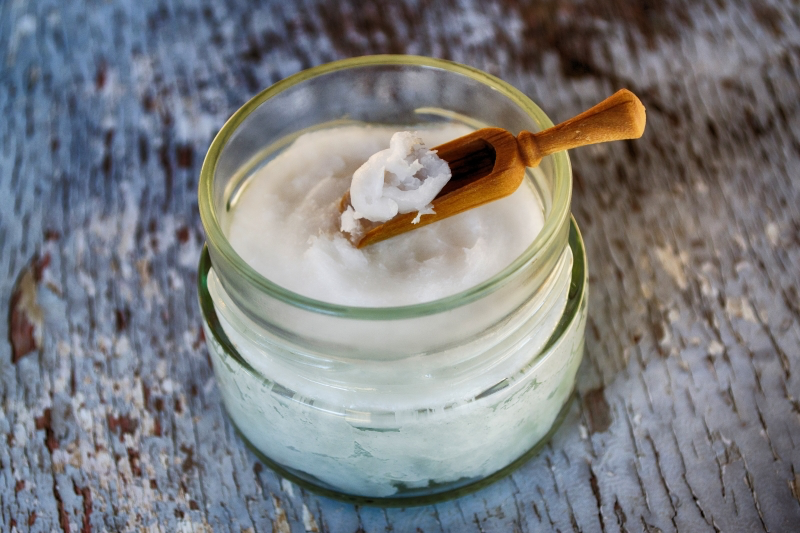
- Cooking Oil: Yep, any kind works—canola, olive, coconut. Oil is fantastic at dissolving those rubbery, gooey adhesives. My personal favorite is coconut oil because it’s a bit thicker at room temp and makes less of a mess.
- Rubbing Alcohol: Isopropyl alcohol is a bit more aggressive and works on a wider range of glues. It’s my go-to for the residue from shipping labels, and it evaporates without leaving a film.
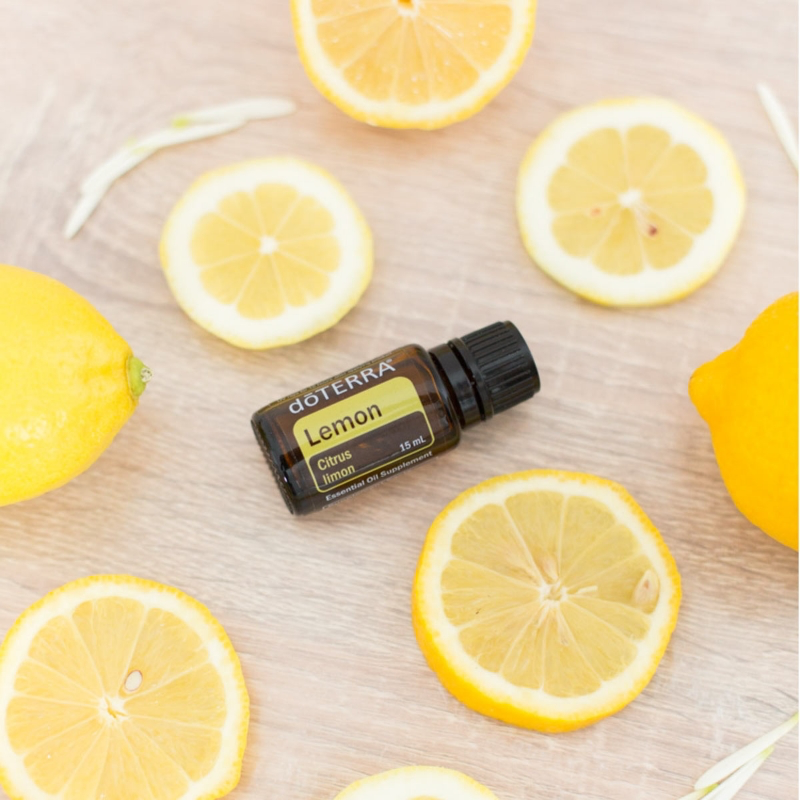
- Commercial Removers: Products like Goo Gone (around $6 a bottle) are basically powerful citrus oils and solvents. They work great, but because of the strong smell and chemical nature, I only use them as a last resort, especially for anything that will hold food.
The Gunk-Busting Technique:
- Apply Liberally: Don’t be shy. Smear a thick layer of oil on the gunk, or soak a cotton ball in alcohol and press it onto the spot.
- Let It Dwell: Give the solvent 10-15 minutes to do its thing. You’ll see the edges of the glue start to look wet and dissolved.
- Wipe and Rub: Grab a paper towel and rub with firm pressure. The adhesive should ball up and lift right off. For super stubborn spots, here’s my secret weapon: The Ultimate Gunk-Busting Paste. Just mix about 2 tablespoons of baking soda with 1 tablespoon of cooking oil until it looks like wet sand. The oil dissolves the glue while the baking soda acts as a gentle, non-scratching abrasive. It works like a charm.
- Final Wash: This is critical! After using any solvent, especially oil or a commercial product, you have to wash the jar thoroughly with hot, soapy water to remove any residue. Your health isn’t worth a shortcut.
Method 3: The Heat Method (For Intact Plastic or Foil Labels)
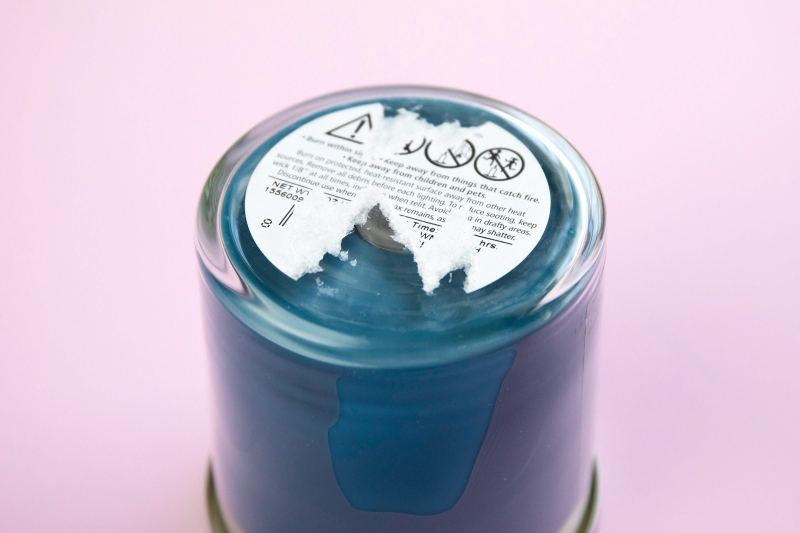
This is my favorite method for speed and cleanliness. It’s perfect for those high-quality, waterproof labels that laugh at a water soak. The goal is to soften the adhesive so the label peels off in one satisfying piece.
Here’s how you do it:
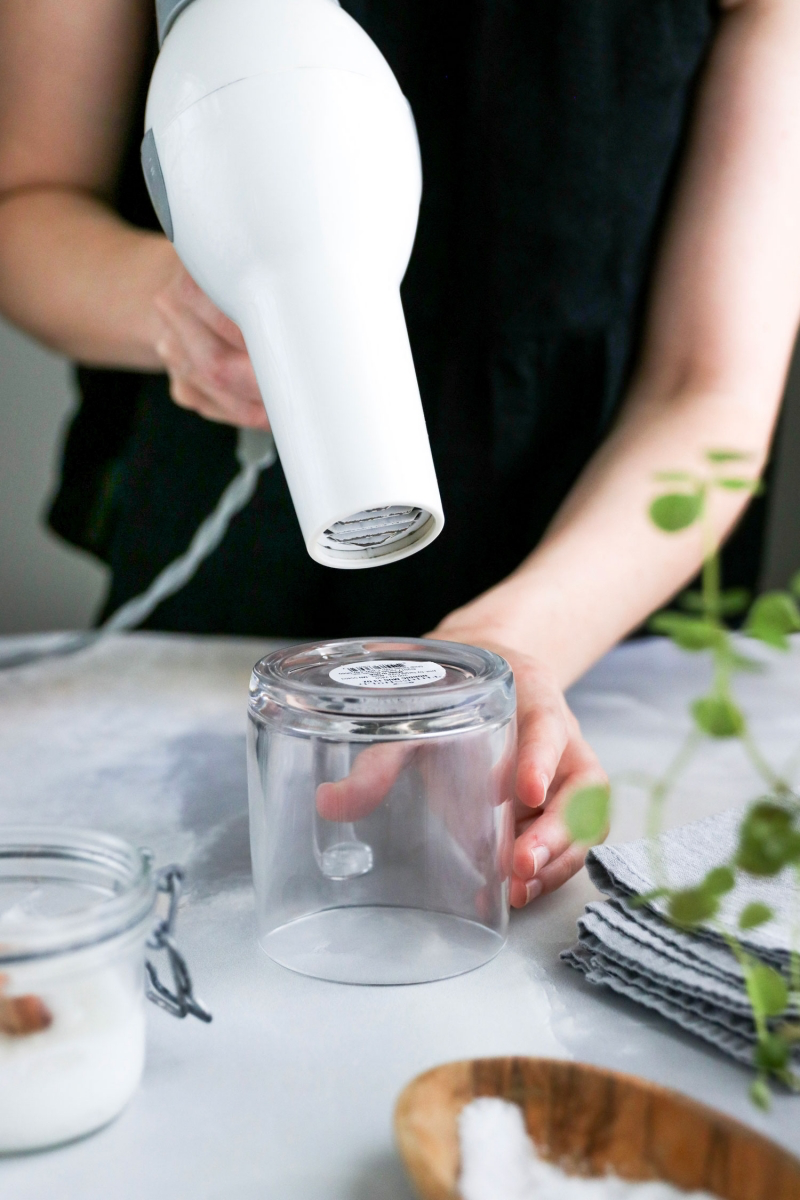
- Grab a Hairdryer: A standard hairdryer on high heat is the perfect tool. You can use a heat gun, but be extremely careful—they get hot enough to crack glass in seconds if you’re not constantly moving. Stick with the hairdryer unless you have experience.
- Apply Even Heat: Hold the hairdryer a couple of inches from the label and move it back and forth for about 45-60 seconds, heating the whole surface evenly.
- Test a Corner: Use your fingernail or a plastic scraper to gently lift one corner. If it lifts easily, you’re good to go. If not, give it another 30 seconds of heat.
- The Slow Peel: Once a corner is up, pull the label off slowly and at a low angle (almost parallel to the glass). Don’t pull straight up! A low angle helps it release cleanly. Heads up: the glass will be hot, so hold it with a towel or an oven mitt.
Troubleshooting: When Things Go Wrong
Okay, so what happens when a method sort of works? Here are some common problems and their fixes.
Inspiration:
Did you know that glass is one of the few materials that can be recycled endlessly without any loss in quality or purity?
While recycling is great, repurposing that jar in your own home is even better. It skips the entire industrial process—transportation, melting, and reforming—drastically reducing the carbon footprint of that single container. Your new spice jar isn’t just chic; it’s a small victory for the planet.
Goo Gone: The classic citrus-based powerhouse. It’s a petroleum-distillate solvent that excels at dissolving the toughest, gummiest adhesives in minutes. A little goes a long way, but it has a strong odor and requires good ventilation.
Coconut Oil & Baking Soda Paste: Your DIY, kitchen-friendly alternative. Mix equal parts into a thick paste, slather it on, and wait. The oil breaks down the adhesive while the baking soda provides a gentle abrasive to scrub it away. It’s non-toxic and smells great, but may require more time and elbow grease.
For speed and industrial-strength glues, Goo Gone wins. For everyday labels and a food-safe approach, the DIY paste is a fantastic, cheap solution.
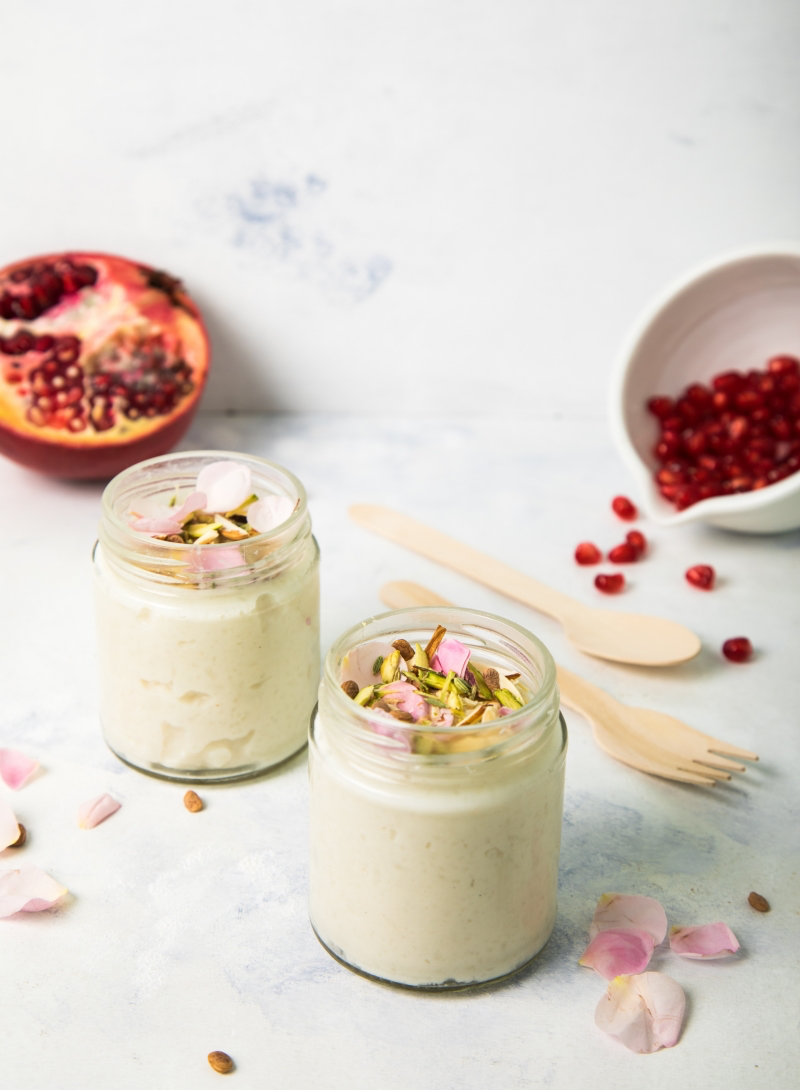
The label is finally off… so now what?
Don’t let that sparkling clean jar just sit there! It’s a blank canvas. Think beyond pantry storage: a small, sturdy jar can become a minimalist single-stem vase for a side table. A wide-mouthed jar is perfect for creating a mini-terrarium with succulents. Or, apply a coat of chalk paint and use a fine-tipped marker to create beautiful, uniform labels for your spices, turning a collection of random jars into a cohesive, stylish set.
- A perfectly smooth, scratch-free surface.
- No lingering chemical smells.
- No sticky patches left behind.
The secret? Knowing what to avoid. Never, ever use steel wool or a scouring pad directly on the glass; they can leave fine scratches. And be cautious with acetone (nail polish remover) on jars with plastic lids, as it can melt or cloud the plastic. Stick to gentle scrapers like an old credit card or a plastic razor blade for the best results.


