Your Slow Cooker Is Lying To You. Here’s How to Make It Tell the Truth.
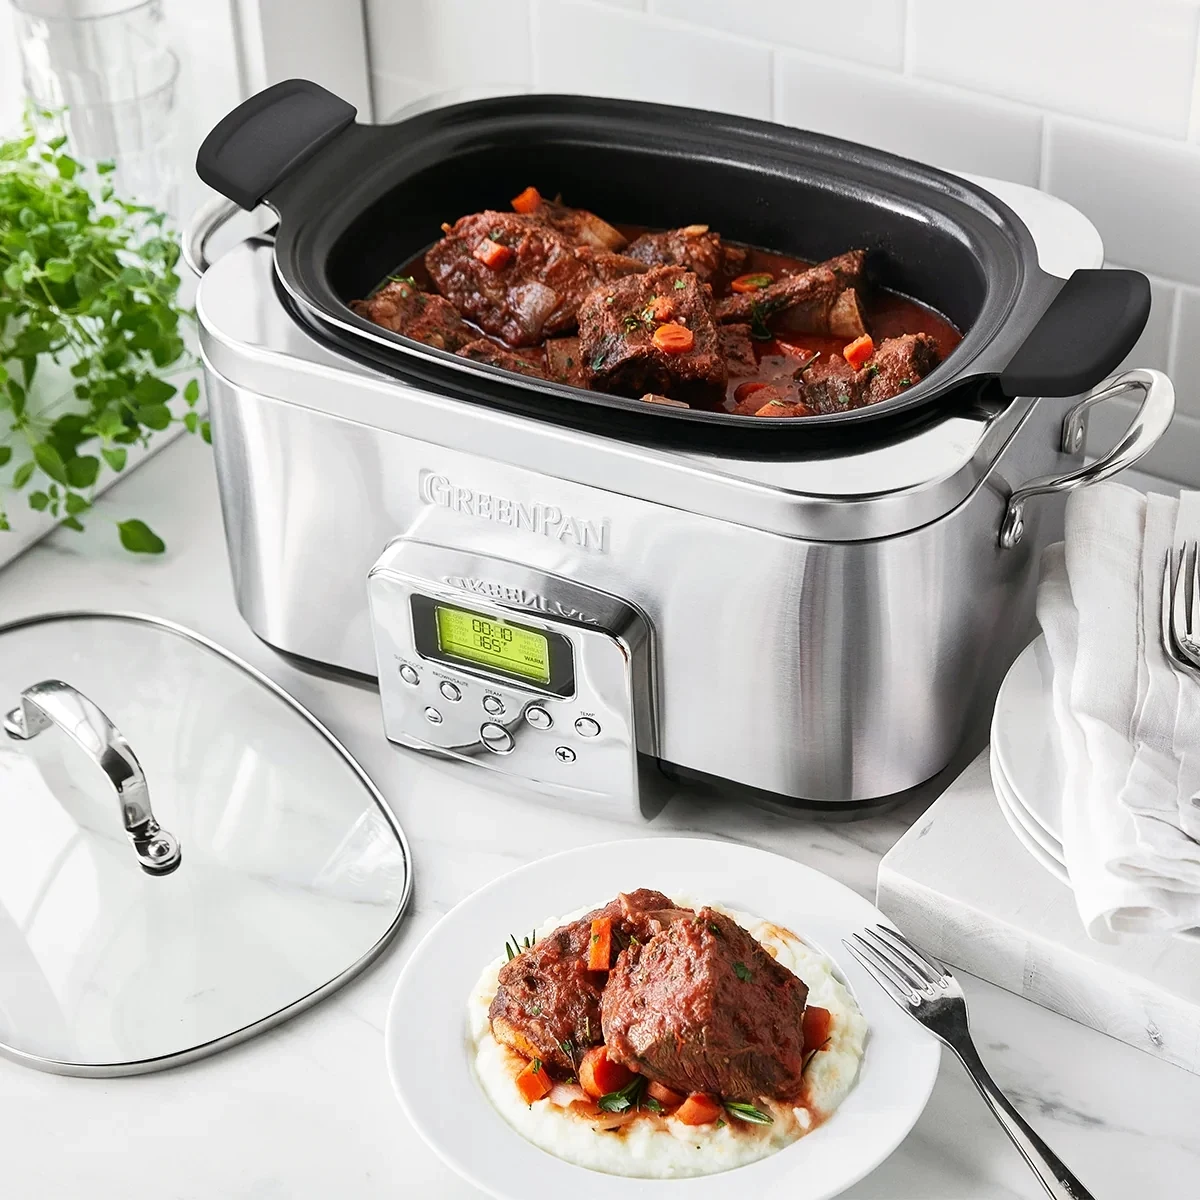
I still remember my first “serious” slow cooker. It wasn’t one of today’s fancy digital models, just a simple 6-quart oval with a ceramic pot and a basic dial: Off, Low, High, and Warm. In the professional kitchens where I worked, we had massive commercial slow cookers, but this one was just for me, for my home. I figured I knew everything there was to know about low-and-slow cooking. Oh, how wrong I was.
In this article
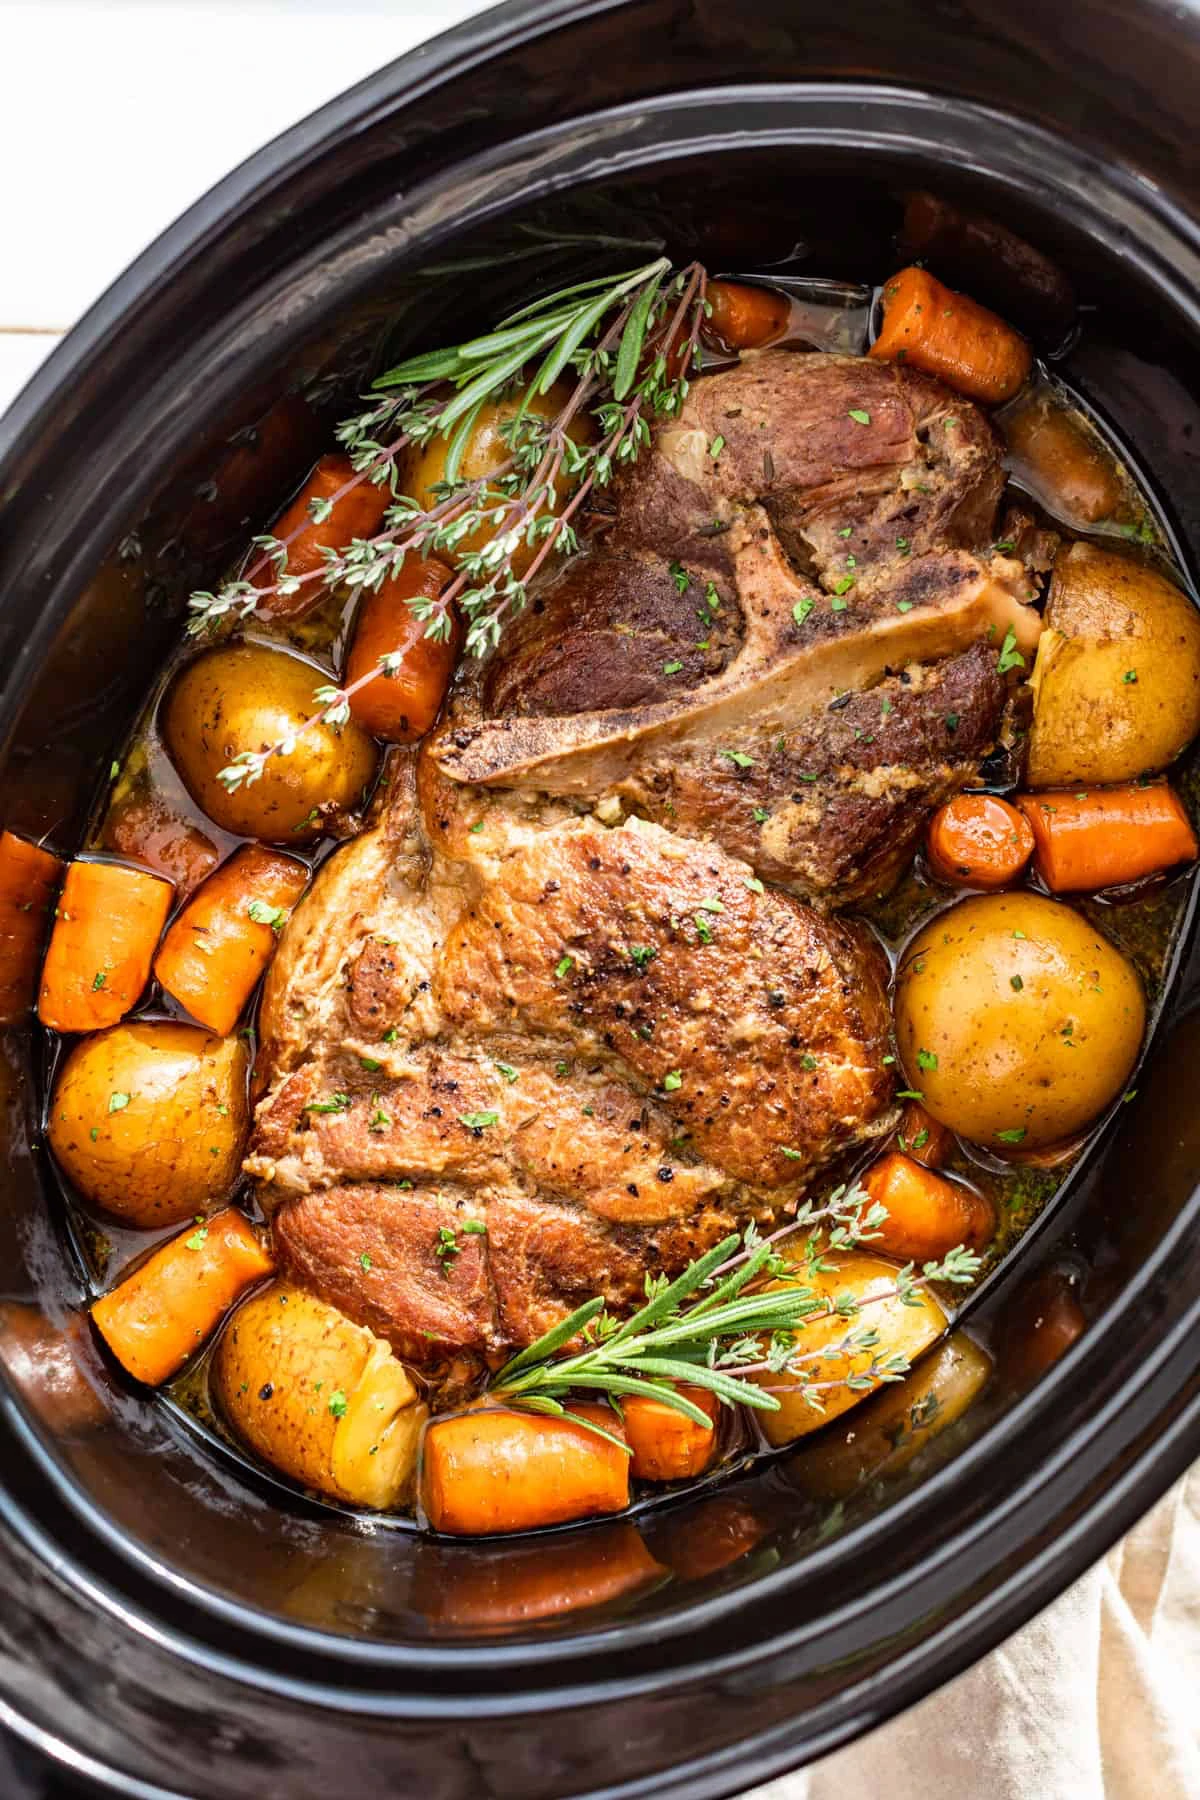
My first attempt at a pot roast was… a disaster. A watery, bland affair. Sure, the meat was tender, but the vegetables were absolute mush, and the “sauce” was more like a sad, flavorless broth. It was a humbling moment that taught me something crucial: a slow cooker is an amazing tool, but it’s not a magic pot. It won’t fix bad technique.
So what went wrong? And more importantly, how did I fix it? The next time, I treated the slow cooker not as a starting point, but as the finishing point. Instead of just dumping everything in, I took an extra 10 minutes to build flavor from the ground up. The result was a rich, deeply savory roast with a velvety sauce and perfectly cooked vegetables. It’s all about a few key techniques the pros use that most recipes leave out.
The 5-Minute Secret to Amazing Flavor
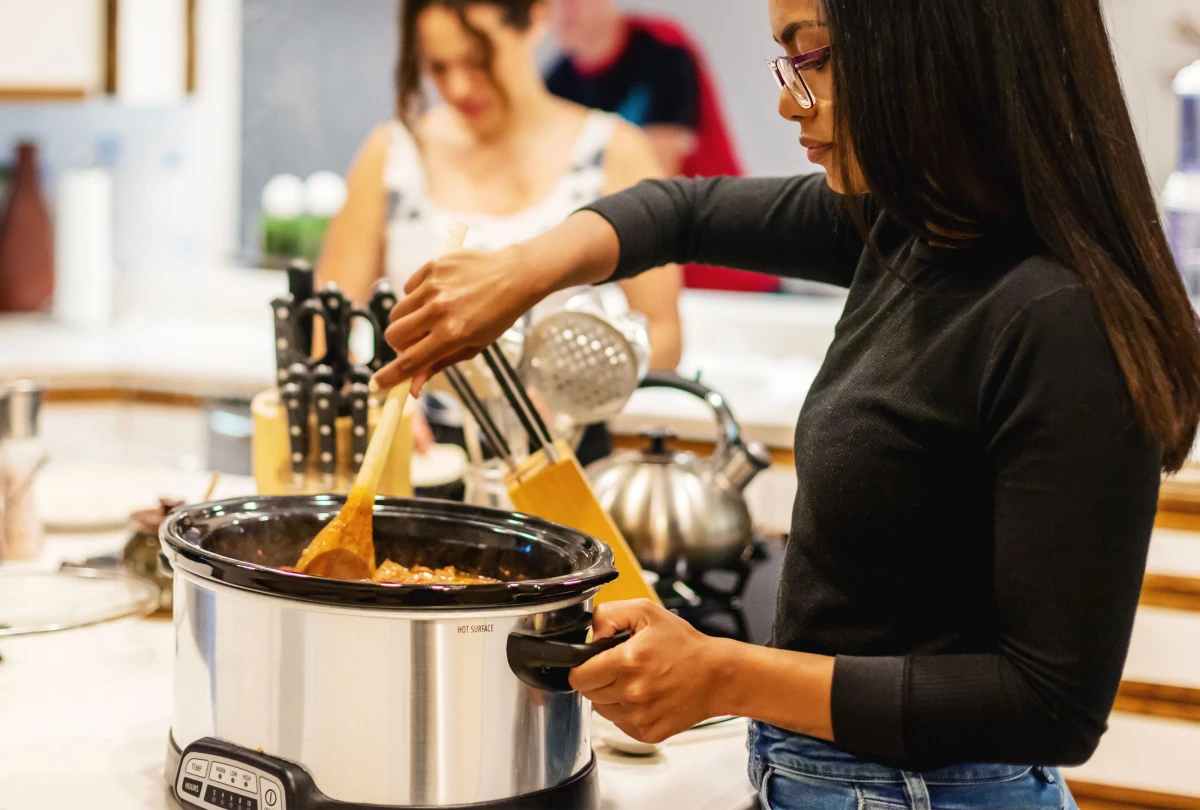
Honestly, this is the number one thing that separates a bland meal from a fantastic one. Don’t just throw your meat into the pot. Give it some love first. I call this my 5-minute flavor-building routine.
First, get a skillet screaming hot and sear your meat on all sides until it’s beautifully browned. This isn’t about cooking it through; it’s about creating a delicious crust through the Maillard reaction. Once the meat is seared, set it aside and toss it in the slow cooker.
Next, in that same skillet with all those tasty browned bits, sauté your aromatics—think onions, carrots, and garlic. Cook them for a few minutes until they soften. Then, deglaze the pan by pouring in a splash of liquid (a little wine, broth, or even water works) and scraping up all that concentrated flavor from the bottom. Pour that entire glorious mixture over the meat in the slow cooker. THAT is how you build flavor in layers.
Why Your Sauce is Always Watery (And How to Fix It)
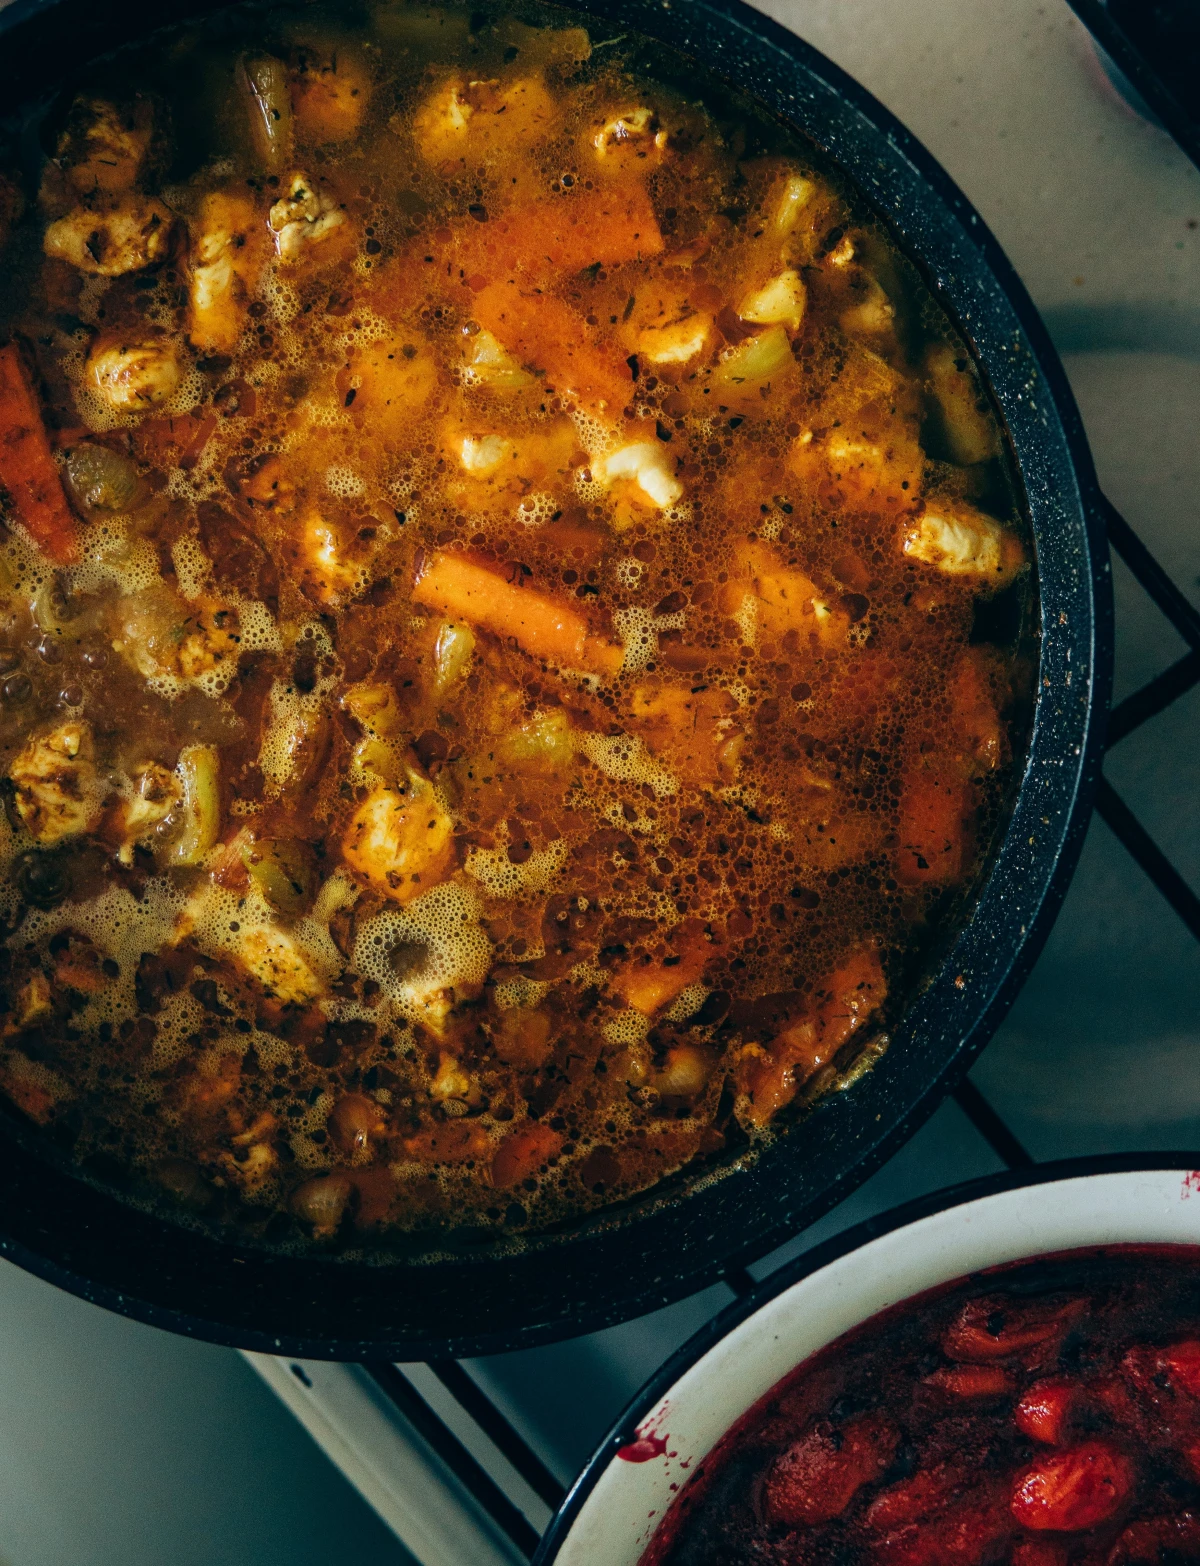
Ever wonder why everything you make comes out swimming in liquid? Let’s get into the science for a second. A slow cooker has a tight-fitting lid that traps every bit of steam. On the stovetop, steam evaporates, which thickens sauces and concentrates flavors. In a slow cooker, that moisture has nowhere to go. It just drips right back down into the pot.
Because of this, you need way less liquid than you think. For a typical 3-4 pound roast, you might only need a cup of broth. The meat and vegetables will release a ton of their own juices. A common mistake is adding enough liquid to cover everything, which is a guaranteed recipe for watery results.
Quick Tip: The Sauce Rescue. If you end up with a watery sauce anyway (it happens!), don’t panic. Once the cooking is done, carefully pour all that liquid into a small saucepan. Bring it to a simmer on the stovetop for 10-15 minutes. It will reduce and thicken into a beautiful, concentrated sauce you can pour over your meal. Problem solved.
Let’s Talk Settings: High vs. Low
What’s the real difference between the HIGH and LOW settings? It’s not just about time; it’s about the type of heat.
- LOW Setting: This is the true slow-and-low champ. It typically holds a simmering temperature around 200°F. This is the sweet spot for breaking down tough, collagen-rich cuts of meat over a long period, usually 8 to 10 hours. It gently transforms them into that fall-apart tender goodness.
- HIGH Setting: This setting cooks faster, usually hovering closer to 300°F. It’s better for dishes that don’t need that long collagen breakdown, like chicken breasts, soups, or even certain desserts. Think of it for things that need just 3 to 4 hours.
As a rule of thumb, one hour on HIGH is roughly equal to two hours on LOW. But for the best texture in roasts and stews, LOW is almost always the way to go.
Choosing Your Ingredients Wisely
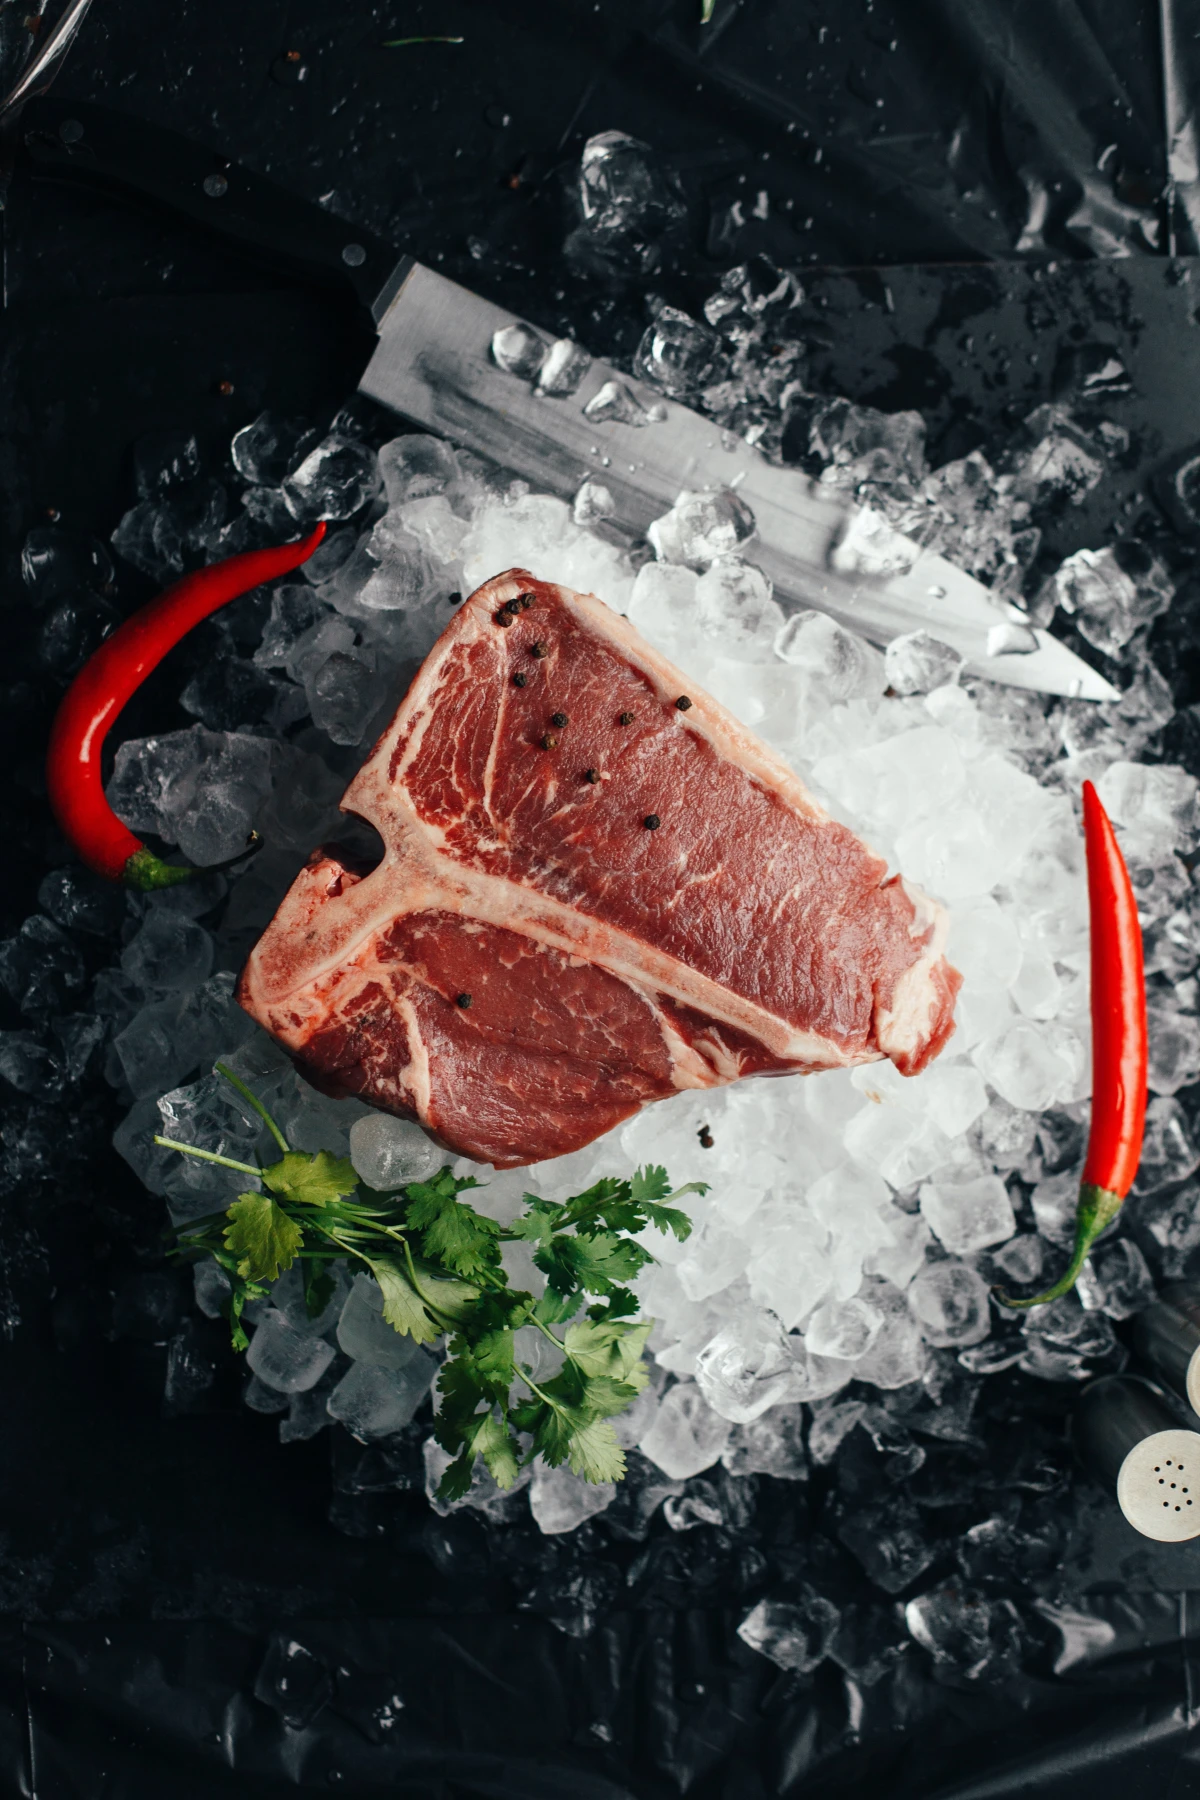
The slow cooker is brilliant for turning cheap, tough cuts of meat into five-star meals. We’re talking about cuts full of connective tissue that melt into rich gelatin over time. Look for these budget-friendly heroes at your grocery store:
- Beef Chuck Roast: The undisputed king of pot roast. A 3-pounder will usually run you between $15 and $25.
- Pork Shoulder (or Pork Butt): Perfect for pulled pork. It’s incredibly forgiving and often on sale.
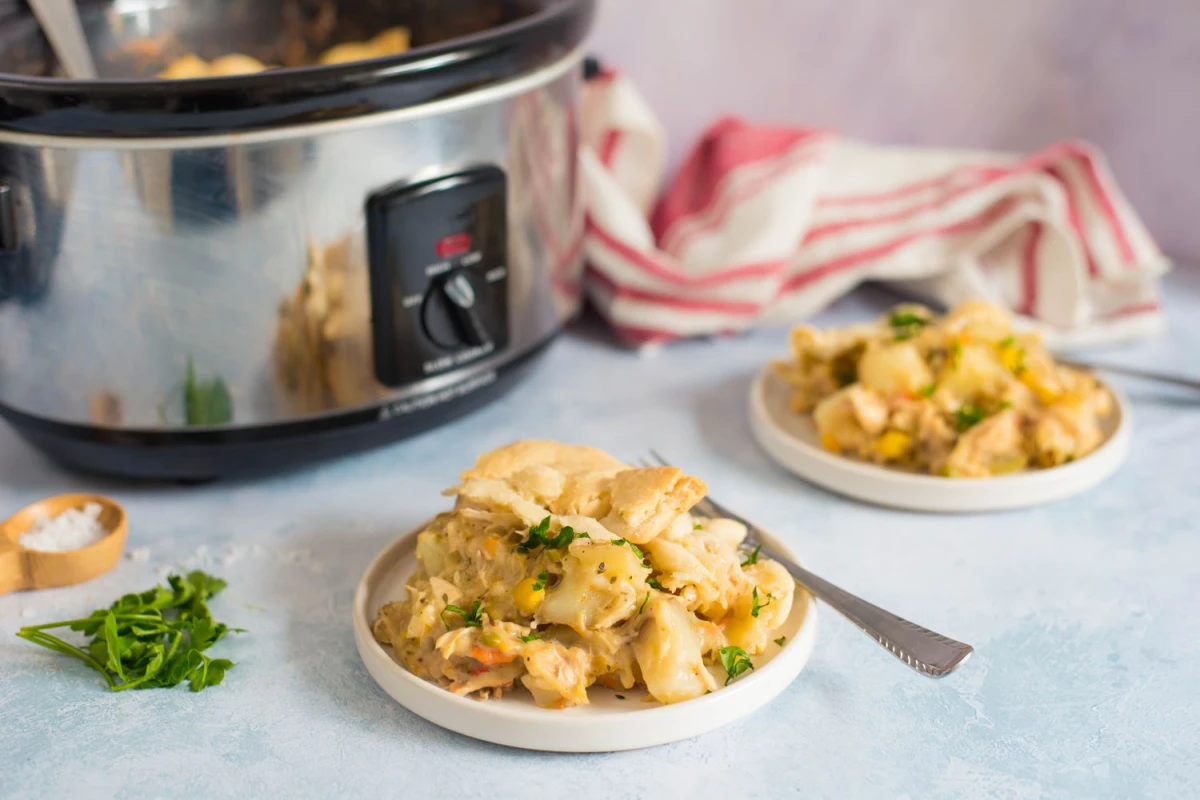
- Chicken Thighs: Unlike lean chicken breasts that can dry out, thighs stay juicy and tender for hours. Plus, they’re way cheaper.
And what about those vegetables? To avoid the mush I mentioned, you have to add them in stages. Hardy root vegetables like potatoes, carrots, and parsnips can go in at the very beginning with the meat. But more delicate veggies like peas, corn, bell peppers, or zucchini should be stirred in during the last 30-45 minutes of cooking. They’ll come out perfectly cooked and vibrant, not gray and mushy.
The Two Cardinal Sins of Slow Cooking
There are two rules I am absolutely strict about, both for quality and for safety.
First, respect the fill line. It’s so tempting to stuff the pot to the brim, but don’t do it. A slow cooker should never be more than two-thirds full. The heating elements are on the sides, and if it’s overfilled, the food in the middle won’t get hot enough, fast enough. This leads to uneven cooking and can be a serious food safety risk. Trust me, cleaning up a boiled-over slow cooker is a greasy nightmare you don’t want to experience.
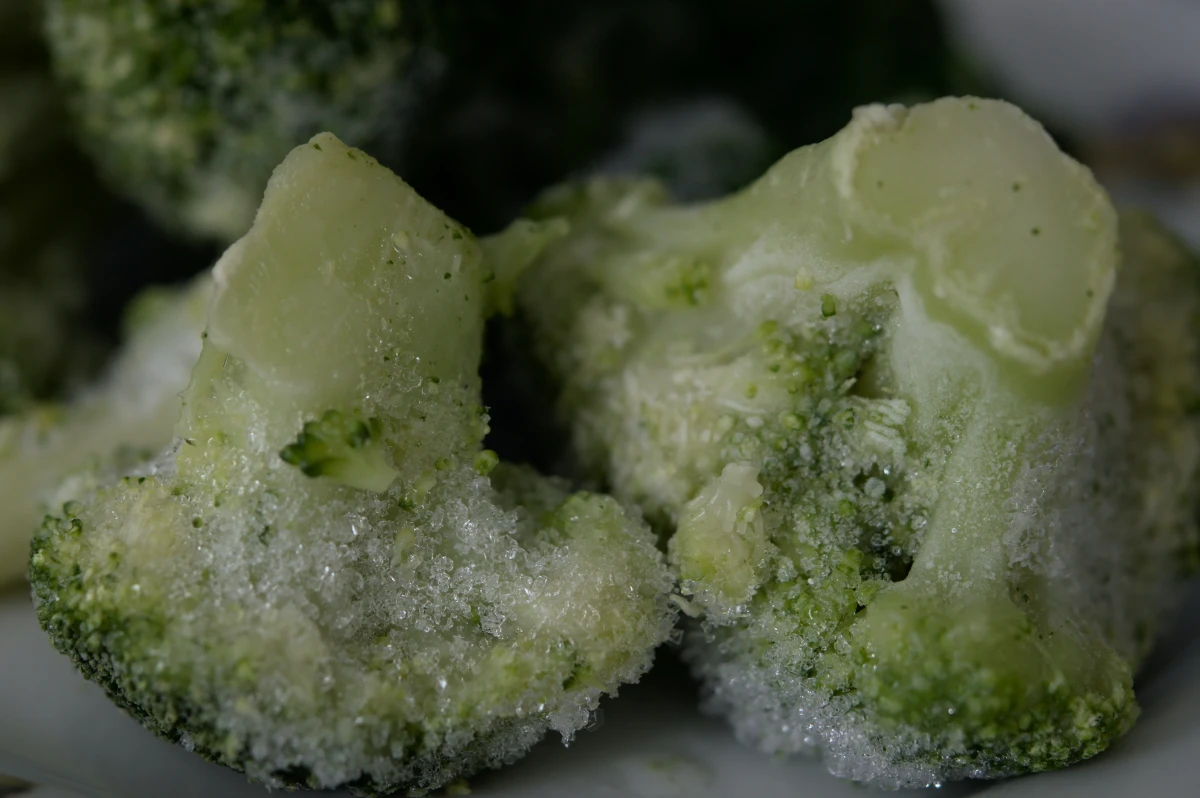
Second, and this is a big one: Never put frozen food directly into your slow cooker. I know it’s tempting for convenience, but it’s dangerous. A slow cooker heats up, well, slowly. A big frozen block of meat will spend far too long in the bacterial “danger zone” (between 40°F and 140°F) before it gets hot enough to be safe. This creates the perfect breeding ground for nasty bacteria. Always thaw your meat completely in the refrigerator before it goes in the pot.
By the way, here’s one last little trick I’ve picked up. After hours of rich, savory cooking, everything can taste a little… well, brown. To wake the whole dish up, finish it with a hit of something fresh and bright right before serving. A squeeze of lemon juice or a handful of fresh chopped parsley or cilantro can completely transform the final taste. It’s a simple step that makes a world of difference.
Galerie d’inspiration
Tempted to lift the lid for a quick peek?
Resist! Every time you lift the lid of your slow cooker, a significant amount of heat escapes, potentially adding 20-30 minutes to your cooking time. This disrupts the stable, low-temperature environment that is essential for breaking down tough connective tissues into tender, juicy results. Trust the process. If you arrange your ingredients correctly from the start, there’s no need to interfere. Place hard root vegetables like potatoes and carrots at the bottom where they get the most direct heat, followed by your seared meat, and finally pour your liquids over everything. Your patience will be rewarded with perfectly cooked food.
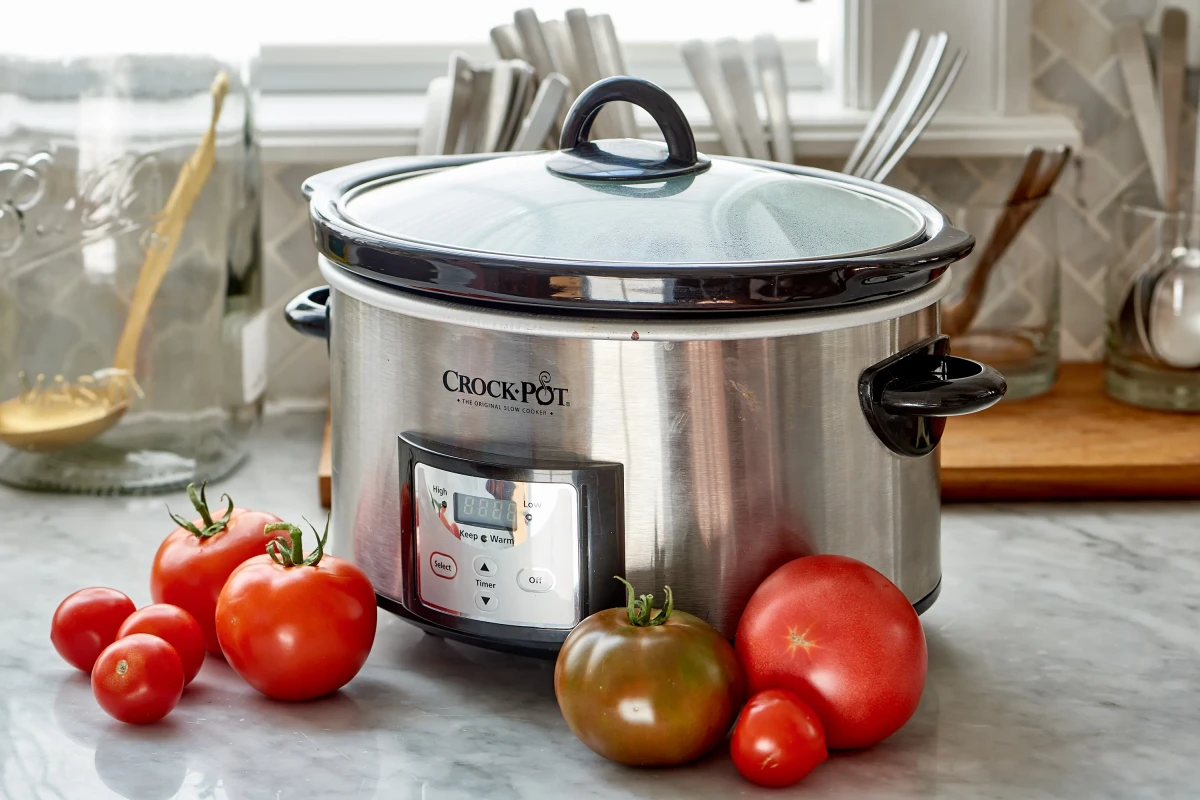
Did you know a slow cooker uses about the same amount of energy as a traditional light bulb?
This makes it a remarkably energy-efficient alternative to running a full-sized oven for hours. For a classic beef bourguignon, a Dutch oven from a brand like Le Creuset or Staub might offer superior browning, but it requires the oven to be on for 3-4 hours. A modern programmable slow cooker, like a 6-quart Crock-Pot, achieves a similar tender result for a fraction of the energy cost, making it not just a convenient choice, but an economical one too.


