Your Ultimate Guide to Perfect Homemade Sauerkraut (It’s Easier Than You Think!)
My first real lesson in fermentation didn’t come from a book or a class. It came from an older relative who had this huge ceramic crock in a cool, dark basement corner. Every fall, the kitchen would fill with the sharp, earthy smell of cabbage and salt. My job was simple: push the salted cabbage down into that crock. The golden rule was to always, always keep the cabbage submerged under the brine. That one lesson is the absolute foundation of making great sauerkraut.
In this article
Since then, I’ve probably made hundreds of batches. I’ve figured out what works, what doesn’t, and why. And let me tell you, it isn’t magic. It’s a reliable, natural process that anyone can learn. This guide is me sharing everything I’ve picked up along the way, so you can feel confident making your own or just picking out the good stuff at the store.
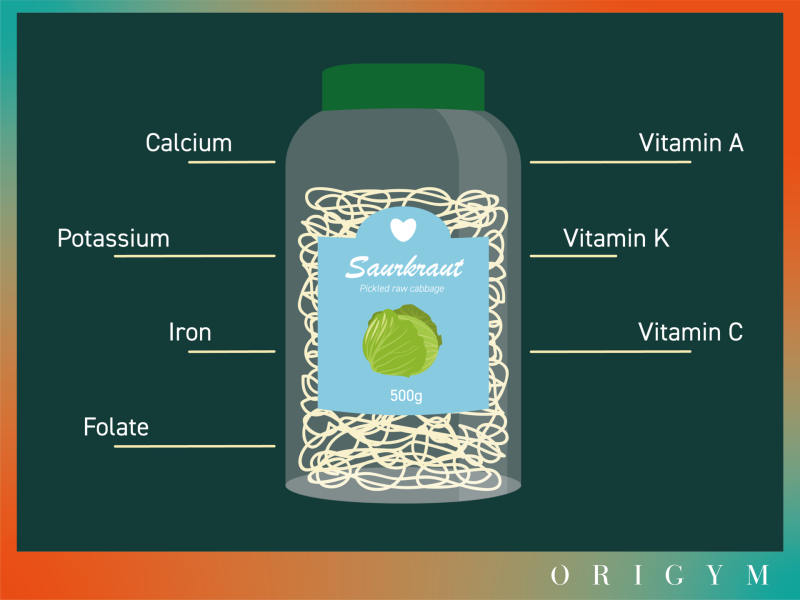
The “Magic” Behind the Scenes: How Cabbage Becomes a Superfood
It seems almost too simple, right? Just cabbage and salt. But inside that jar, a whole biological party is going on. Understanding it just a little bit helps you know when things are going right and how to fix them if they go wrong. The whole process is called lacto-fermentation.

Salt: The Unsung Hero
Salt is way more than just a seasoning here; it’s the bouncer at the door. First, it pulls water out of the cabbage through osmosis, creating the liquid brine that’s essential for success. Second, it creates a salty environment where the good, beneficial bacteria can party, but the bad, spoilage-causing microbes get kicked out. It gives our friendly bacteria the head start they need.
A quick but important heads up: the type of salt matters. You want to avoid standard iodized table salt because the iodine can sometimes interfere with the good bacteria. Anti-caking agents found in some salts are also not ideal. I stick to pure, unrefined sea salt or kosher salt. As for how much, the pros stick to a simple rule: use 2% salt by weight. So, for every 1000 grams (or 1 kg) of cabbage, you’ll need 20 grams of salt. This ratio is your ticket to a safe and delicious ferment every single time.
A Relay Race of Good Bacteria
Think of fermentation as a relay race with different bacteria handing off the baton.
First up, for the first few days, bacteria that are already on the raw cabbage and don’t mind salt get to work. They eat the sugars in the cabbage and produce carbon dioxide—that’s the fizzing and bubbling you’ll see! This stage starts making the environment acidic.
As the acidity builds, the first crew can’t hang anymore, and a new team of more acid-loving bacteria takes over. These are the real powerhouses. They produce a ton of lactic acid, which not only preserves the cabbage but also gives sauerkraut its signature tangy, complex flavor.
After a couple of weeks, most of the sugars are gone and the party slows down. The environment is now super acidic and free of oxygen, making it incredibly stable. Your sauerkraut is now preserved and packed with flavor, ready to be stored for months.
Let’s Make Some Kraut: The Foolproof Method
Making sauerkraut is one of those things that’s easy to learn but takes a little practice to truly master. This is the method I swear by for consistent results.
Your Beginner’s Shopping List (for Under $20!)
You really don’t need a bunch of fancy gear to get started. The main goal is just to keep the cabbage under the brine and away from oxygen.
- The Vessel: A one-gallon glass jar is perfect for beginners because you can see everything that’s happening. You can find these at Target or Walmart for about $10-$12.
- Cabbage: One medium head of green cabbage (around 2.5-3 lbs) is a great start. It should feel heavy and dense. Cost is usually around $4.
- Salt: A box of non-iodized kosher salt or a bag of sea salt will last you ages and costs about $5.
- A Fermentation Weight: You need something to hold the cabbage down. You can buy dedicated glass weights online for about $15-$20, but you can also just use a small glass jar that fits inside the big one. Quick Tip: To make a DIY weight heavier, just fill the small jar with water or even some clean marbles. Just never use metal, as it can react with the acid.
- A Lid: An airlock lid is a nice-to-have, but not essential. It lets gas out without letting air in. A standard lid left slightly loose works fine too.
Step-by-Step to Your First Batch
- Prep Your Cabbage: Peel off any sad-looking outer leaves, but save one or two of the clean, healthy ones. Give the cabbage a good rinse, cut it into quarters, and slice out the tough core.
- Shred It Up: Slice the cabbage thinly. A mandoline slicer is awesome for getting uniform shreds, but a sharp knife and some patience work just as well. Thinner shreds will give you a softer, faster ferment. A medium 2.5-pound head of cabbage will make about one quart of finished sauerkraut.
- Weigh and Salt: Place a big bowl on your kitchen scale, hit the tare/zero button, and add your cabbage. Note the weight. Now, multiply that weight by 0.02 to get your salt amount. (e.g., 1200g of cabbage x 0.02 = 24g of salt). Sprinkle the salt over the cabbage.
- No Scale? No Problem (Mostly): Okay, so what if you don’t have a scale? Look, a basic digital kitchen scale is a $15 investment that will make your life so much easier and your ferments more reliable. But if you’re determined to go without one for your first try, a rough guide is about 3/4 of a tablespoon of kosher salt per pound of cabbage. It’s less precise, but it can work in a pinch.
- Massage Time: This is where you get your hands dirty. Start squeezing, crushing, and massaging the salted cabbage. For the first few minutes, it’ll feel stiff and dry. But after 5-10 minutes of work, you’ll be amazed as it softens and releases a pool of its own brine. Keep going until it’s limp and wet.
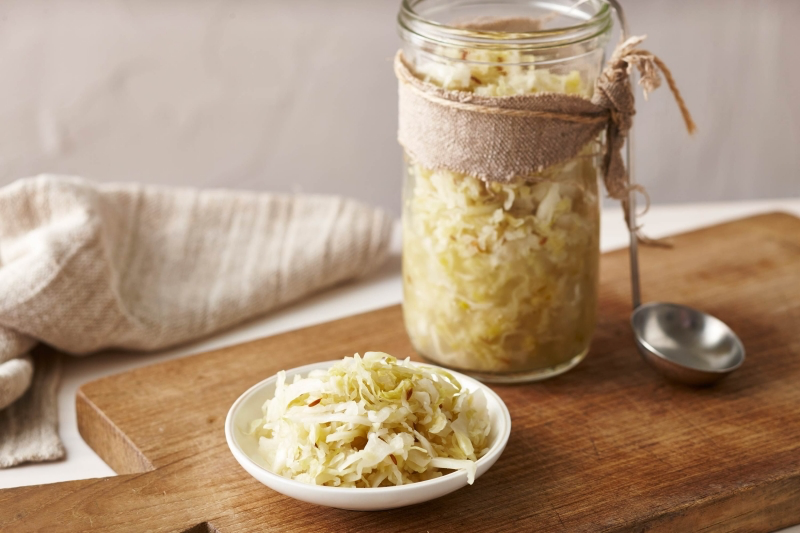
- Pack the Jar: Grab handfuls of the cabbage and pack it into your jar, pressing down firmly with your fist or a tamper after each addition. You want to force out all the air pockets. As you press, the brine should rise up.
- Keep It Submerged: Once all the cabbage is in, the brine should cover it completely. If you’re a little short (this can happen with older cabbage), just mix 1 teaspoon of non-iodized salt into 1 cup of filtered water and top it off. Take one of those outer leaves you saved, fold it to fit, and lay it on top of the shredded cabbage to keep little bits from floating up. Place your weight on top.
- Let It Ferment: Cover the jar. If using a standard lid, tighten it and then back it off by a quarter turn. You want gas to escape but don’t want the lid to be loosey-goosey. Place the jar on a plate to catch any overflow and leave it at room temperature (around 65-72°F is perfect) and out of direct sun.
What to Expect That First Week
For a beginner, a jar just sitting on the counter can be nerve-wracking. Here’s what’s likely happening in there:
- Days 1-2: Not much, honestly. It might look pretty quiet. Be patient!
- Days 3-5: Action! You should start seeing tiny bubbles rising to the top. This is the carbon dioxide being released and it’s a great sign that fermentation has begun. The color of the cabbage might start to dull a bit.
- Days 6-7: The bubbling will slow down noticeably. The smell will change from just salty cabbage to something pleasantly tangy and sour. You can start tasting it now!
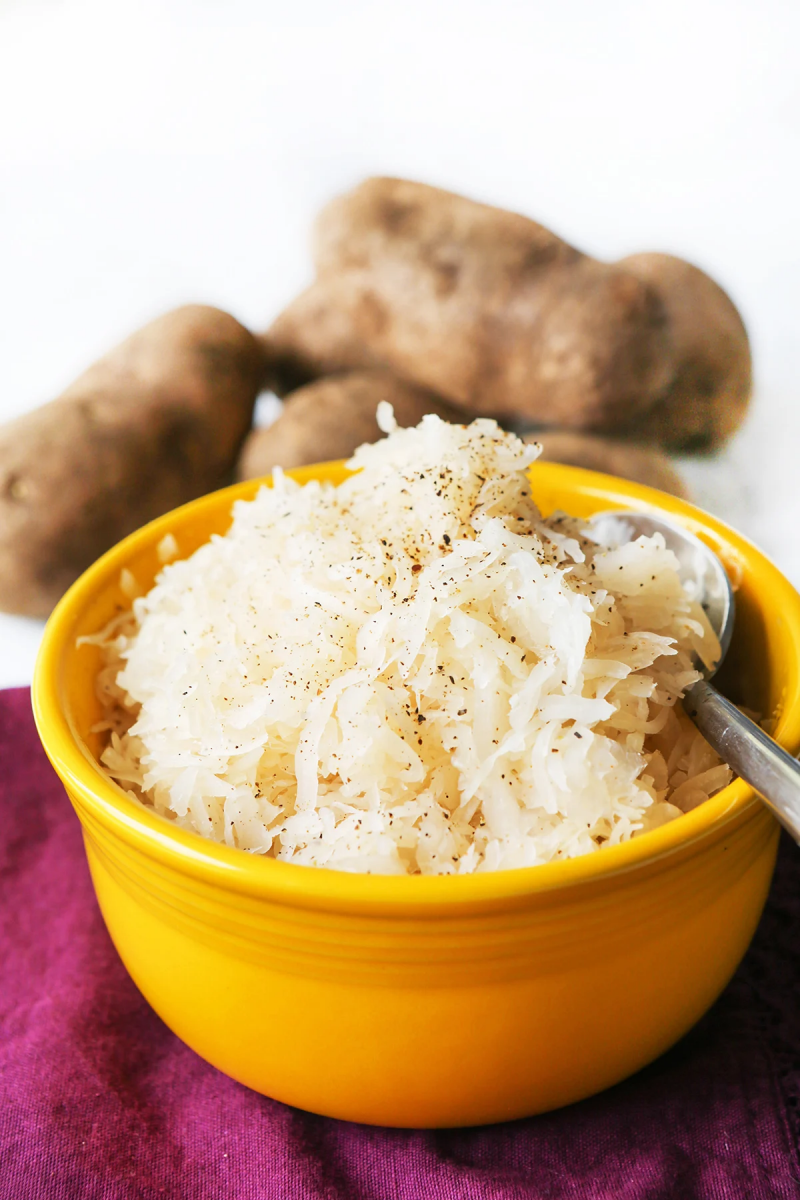
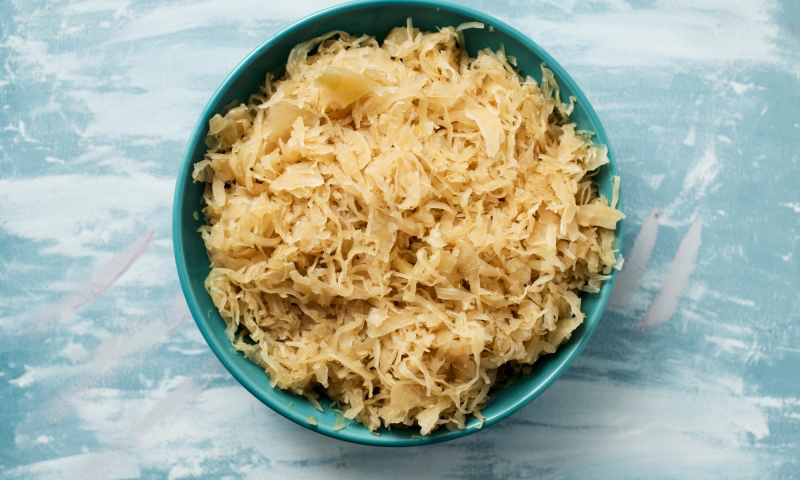
A young kraut at one week will be crisp and tangy. A 3-4 week ferment will be much softer with a deeper, more complex flavor. There’s no right answer—it’s all about what you like. Once it tastes good to you, take out the weight and leaf, tighten the lid, and stick it in the fridge. It’ll last for months!

Troubleshooting Like a Pro
Okay, let’s talk about what can go wrong. It’s rare, but it’s good to know what to look for.
Heads Up: Fuzzy Mold is a No-Go.
If you see anything fuzzy—black, green, white, or blue—it’s mold, a result of oxygen exposure. And I know it hurts to hear this, but you have to throw out the entire batch. Don’t just scrape it off. Mold can send invisible threads deep into the ferment. The best prevention is simply keeping everything under the brine.
What About That Flat White Film? (Kahm Yeast)
Now, if you see a flat, white, almost waxy-looking film on the surface, that’s likely kahm yeast. It’s a harmless aerobic yeast that also shows up with oxygen exposure. While it won’t hurt you, it can give the kraut an off-flavor. Just skim it off carefully with a clean spoon. The kraut underneath is perfectly fine to eat.
A slimy texture usually means the temperature was too warm or you didn’t use enough salt. Unfortunately, that batch is a loss. A pink or red color is also a sign of contamination and is not safe to eat. In both cases, it’s best to start over, making sure your salt and temperature are on point.
How to Buy Great Kraut (and Actually Use It)
Not ready to make your own? No problem! Buying good sauerkraut is a fantastic option, but you have to know what to look for.
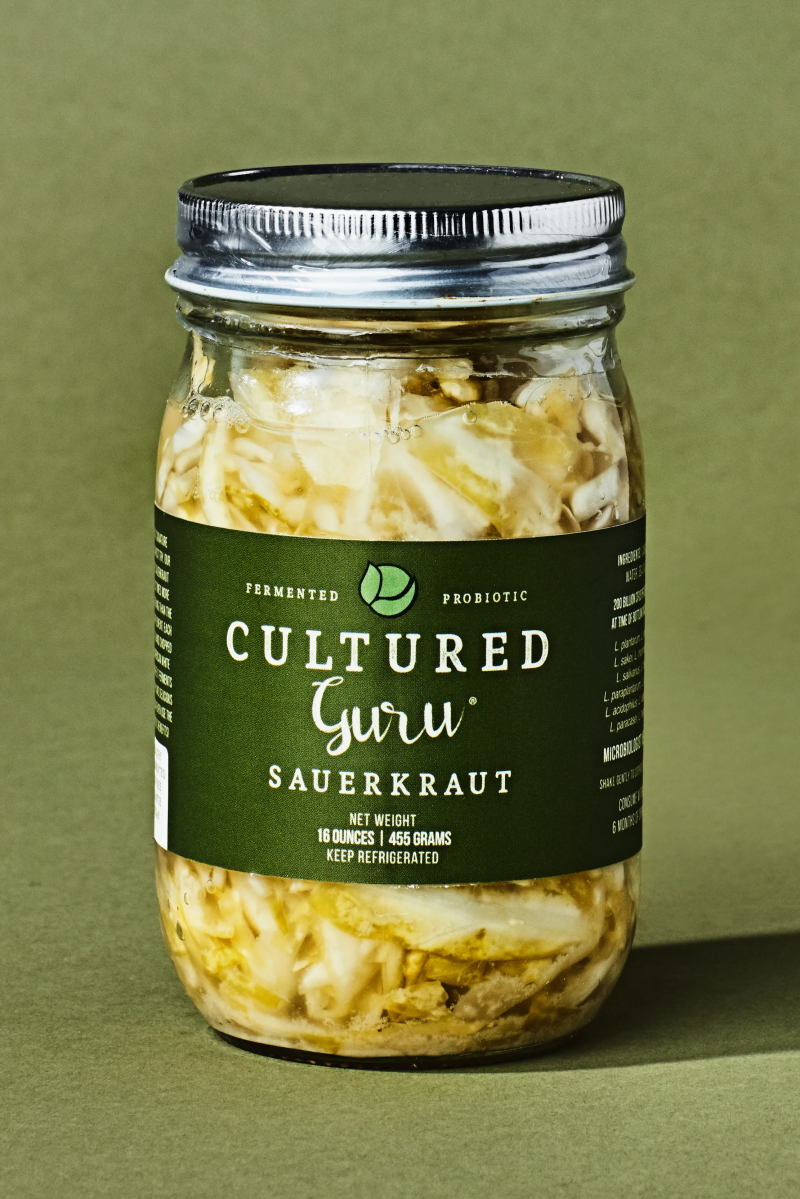
The number one rule is to buy raw, unpasteurized sauerkraut from the refrigerated section. Common, reliable brands you’ll see are Bubbies or Wildbrine. The stuff in cans or jars on the shelf has been heat-treated (pasteurized), which kills all the beneficial probiotics. Check the ingredients—it should just be cabbage and salt. If you see vinegar or other preservatives, it’s not the real, fermented deal.
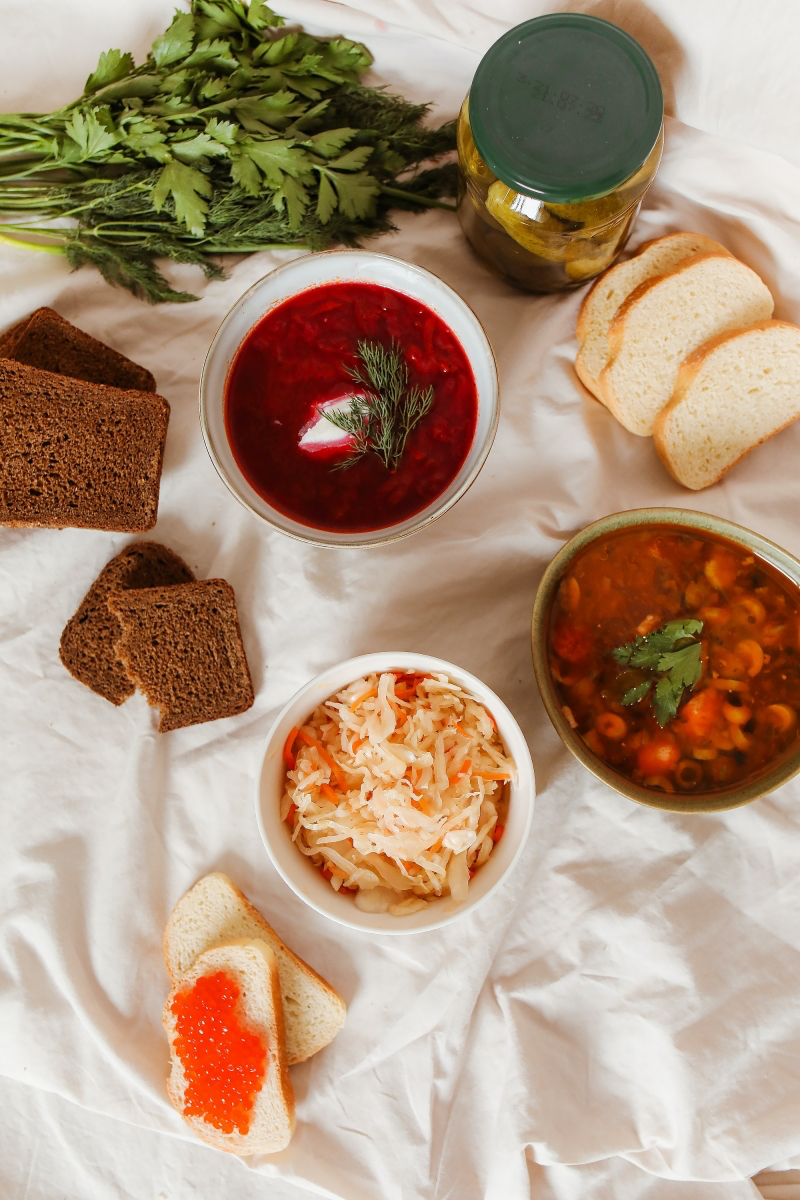
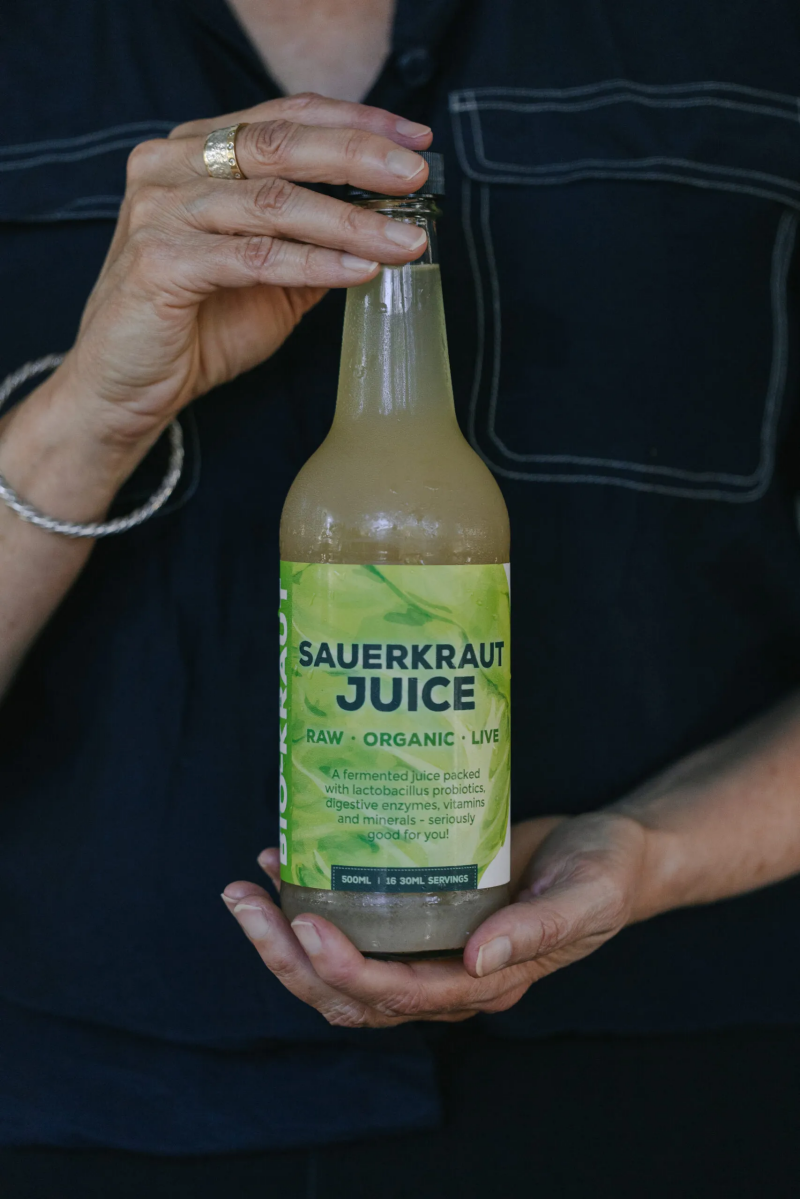
And if you’re new to eating fermented foods, start small! A tablespoon a day is a great way to introduce it to your system. Eat it cold or at room temp to get the full probiotic benefit. It’s amazing on hot dogs or sausages, mixed into salads, or piled onto sandwiches. And don’t throw out the brine! Use it in salad dressings or take a small swig as a
Inspiration:

What’s that white film on my sauerkraut? Is it ruined?
Don’t panic! If it’s a flat, slightly wrinkly, cream-colored film, you’re likely looking at Kahm yeast. It’s a harmless wild yeast that can form when exposed to air. While not dangerous, it can impart an ‘off’ flavor, so simply skim it off the surface as best you can. The real enemy is mold, which looks fuzzy and comes in shades of blue, green, or black. If you see fuzzy mold, the batch is compromised and should be discarded.
According to fermentation experts, the primary bacterial activity peaks in the first 3-5 days, but the souring stage continues for weeks.
This means your sauerkraut’s flavor isn’t static. Taste it after one week for a crisp, lightly tangy flavor. By week three or four, it will have developed a much deeper, more complex sourness. There’s no ‘right’ answer—the perfect fermentation time is simply when it tastes best to you.
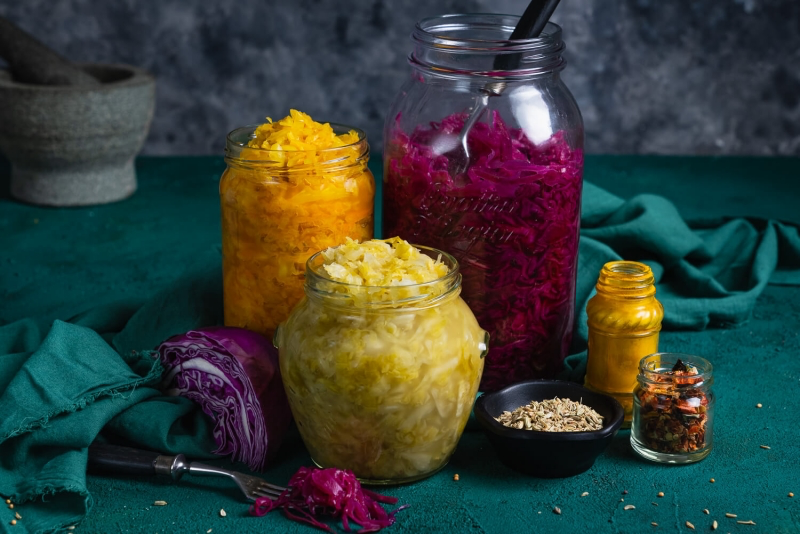
Once you’ve mastered the basic cabbage-and-salt recipe, the real fun begins. Cabbage is a wonderful canvas for other flavors. Try adding one of these to your next batch:
- Classic Bavarian: A tablespoon of caraway seeds and a few juniper berries.
- Zingy & Bright: One grated carrot and a thumb-sized piece of finely minced ginger.
- Subtly Sweet: A thinly sliced green apple, like a Granny Smith, mixed in with the cabbage.
Glass Jars: Perfect for beginners, wide-mouth mason jars from brands like Ball or Kilner let you watch the fermentation magic happen. Their transparency makes it easy to spot issues, and they’re ideal for small batches.
Ceramic Crocks: For the traditionalist, German-style crocks from Gärtopf or Ohio Stoneware are the gold standard. Their water-lock airlock system is brilliant, and their larger size is perfect for making enough to last all winter.
For most home cooks, a simple glass jar with a fermentation weight is an affordable and effective place to start.


