Coffee Maker on the Fritz? A Pro’s Guide to Fixing vs. Replacing It
For the better part of two decades, my hands have been inside just about every kind of coffee machine you can imagine. It started with keeping a cafe’s workhorse espresso machine alive and kicking and turned into a full-time gig. I’ve seen super expensive, shiny machines give up the ghost in a year, and I’ve seen cheap plastic brewers from a big-box store chug along for a decade. The secret? It almost always boils down to good maintenance and knowing what to look for before it completely dies.
In this article
See, a coffee maker isn’t some magical box. It’s a tool that battles intense heat, water pressure, and mineral deposits every single day. Those three things are in a constant conspiracy to wear it down. Most people just wait until they wake up to a cold, silent appliance and a looming caffeine headache. This guide is my attempt to help you spot the warning signs like a pro, so you can make a smart call on whether to fix your current machine or finally buy a new one. It’s not just about the money—it’s about getting a great cup of coffee without the morning drama.
So, What’s Actually Happening in There?
Understanding the basics makes troubleshooting way easier. Whether it’s a simple drip machine or a fancy espresso setup, the core job is the same: heat water and move it from point A to point B. A standard drip coffee maker is beautifully simple. Water from the reservoir flows into an aluminum tube right next to a heating element. When you flip the switch, that element gets screaming hot.
This does two things at once. First, it boils the water in the tube, creating steam bubbles that act like a pump, pushing hot water up a separate tube and over your coffee grounds. Second, that same element heats the warming plate to keep your pot from getting cold. Pretty clever, right? Espresso machines are a bit more complex, using a dedicated pump to force hot water through finely-ground coffee at very high pressure—around nine bars is the gold standard—to pull that perfect shot.
Why They Break: The Unholy Trinity of Heat, Pressure, and Gunk
Coffee experts agree that the sweet spot for brewing is between 195°F and 205°F. Too cold, and your coffee is sour and weak. Too hot, and it’s bitter and burnt. Your machine’s whole purpose in life is to hit and hold that temperature.
But the biggest enemy of this process is limescale. Your tap water is full of dissolved minerals like calcium and magnesium. When you heat the water, these minerals cling to surfaces, forming a hard, chalky layer. This scale is a fantastic insulator, which is terrible news for your coffee maker. It coats the heating element, forcing it to work way harder to get the water hot. Eventually, it just can’t keep up. To be frank, this is the #1 cause of bad coffee and slow brew times.
On top of that, the constant heating and cooling cycles are tough on the other parts. Plastic gets brittle, and rubber gaskets get hard and crack, which leads to leaks. In an espresso machine, the pump is a mechanical part with a finite lifespan; its seals will eventually fail, or the motor will just burn out.

The Top 4 Signs Your Machine is in Trouble
You don’t need to be a technician to spot these. Your machine will give you plenty of hints that something is wrong. Here’s what they are and what they actually mean.
Sign 1: The Coffee Just Tastes… Wrong
This is usually the first clue. Your taste buds are incredible diagnostic tools, but you have to know what you’re tasting.
- Weak & Sour: This screams under-extraction, meaning the water isn’t hot enough. Before you blame the machine, make sure your beans are good. If the coffee is still sour, the heating element is the prime suspect, likely caked in limescale. You can test this! Brew a cycle with just water and carefully check the temperature coming out of the shower head with a digital kitchen thermometer (you can grab one for $15-$20 online or at any department store). If it’s consistently below 190°F, you’ve got a heating issue.
- Bitter or Burnt: This suggests the water is too hot, which can happen if a thermostat fails. More often, though, it’s because the coffee has been stewing on a scalding-hot warming plate for too long.
- Metallic or Plastic Taste: This is a bad one. A metallic taste points to corrosion inside, while a plastic taste means internal components are literally breaking down from the heat. If you get this taste even after a deep clean, it’s time for a new machine. That’s not something you can or should fix.
By the way, there’s another culprit besides limescale: biofilm and rancid coffee oils. I once had a client who was furious that her coffee tasted awful even though she descaled her machine religiously. I opened it up, and while the heating element was clean, the brew basket and tubing were coated in a greasy, dark film. That’s old coffee oil, and it will ruin your brew. Descaling removes minerals; you need a dedicated coffee machine detergent to remove the oils. They are two different jobs!
Quick Win: Go grab your brew basket and carafe right now. See that brownish, oily film? That’s not a stain; it’s rancid coffee oil. Scrub it off with hot, soapy water instead of just rinsing it. I promise your coffee will taste better tomorrow.
Sign 2: Leaks and Puddles
Water belongs inside the machine. When it’s on your counter, you’ve got a problem.
Heads up! A critical safety warning: Before you even think about looking for a leak, UNPLUG THE MACHINE. Water and electricity are a fatal combination. I’ve seen machines short out and trip breakers. Don’t risk it.
- Underneath the Machine: A puddle on the counter points to an internal leak. It’s probably a cracked hose or a failed seal that has gotten brittle over time. On most drip machines under $100, getting to these parts is more work than it’s worth.
- Around the Brew Basket: If an espresso machine leaks around the handle (the portafilter), the group head gasket is shot. This is a cheap, easy fix you can do yourself. It’s a standard maintenance part, not a machine-killer. For a drip machine, a leak here usually just means it’s clogged with grounds.
- From a Seam in the Housing: If you see water dripping from the plastic body itself, that’s a serious red flag. It means water is spraying around inside where the electronics live. Unplug it and replace it immediately. That’s a fire hazard waiting to happen.
Sign 3: Brewing Time is All Over the Place
A healthy machine is a consistent machine. If your brew time suddenly changes, something’s up.
A standard 8-cup drip machine should take about 5 to 6 minutes. If it used to take 6 minutes and now it’s crawling along at 10 or 12, the cause is almost certainly a massive limescale blockage. The water passages are so clogged it can barely push water through. Sometimes a good descaling can fix this. If not, the blockage is probably permanent.
Oh yeah, you’re probably wondering how to actually descale it properly. It’s easy.
Your No-BS Guide to Descaling a Drip Machine:
- Get a good descaling solution (citric acid-based ones are best) or just mix a 50/50 solution of white vinegar and water in the reservoir.
- Run about half of the solution through the brew cycle, then stop the machine.
- Let it sit for an hour. This gives the acid time to dissolve all that chalky gunk. Seriously, don’t skip this step.
- Finish the brew cycle, and dump out the hot, gunky water.
- Run at least two or three full cycles with fresh, clean water to rinse everything out thoroughly. You don’t want your next pot of coffee tasting like vinegar.
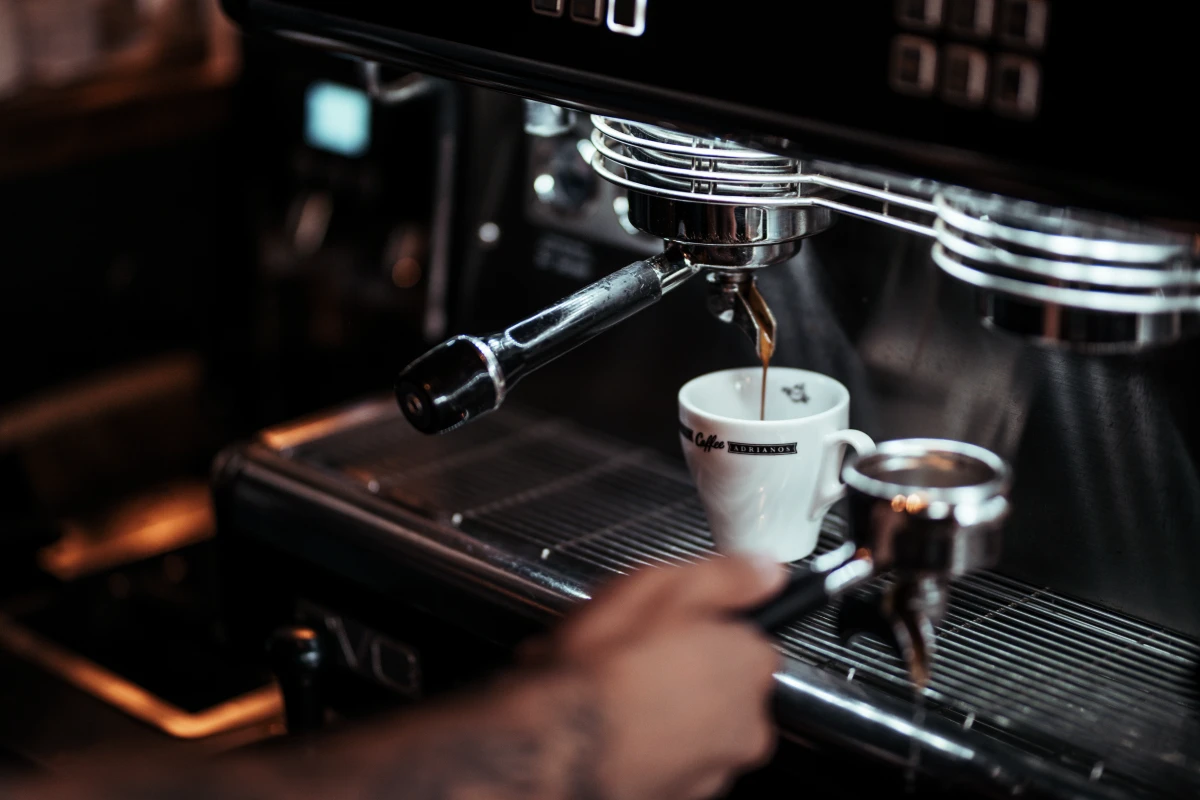
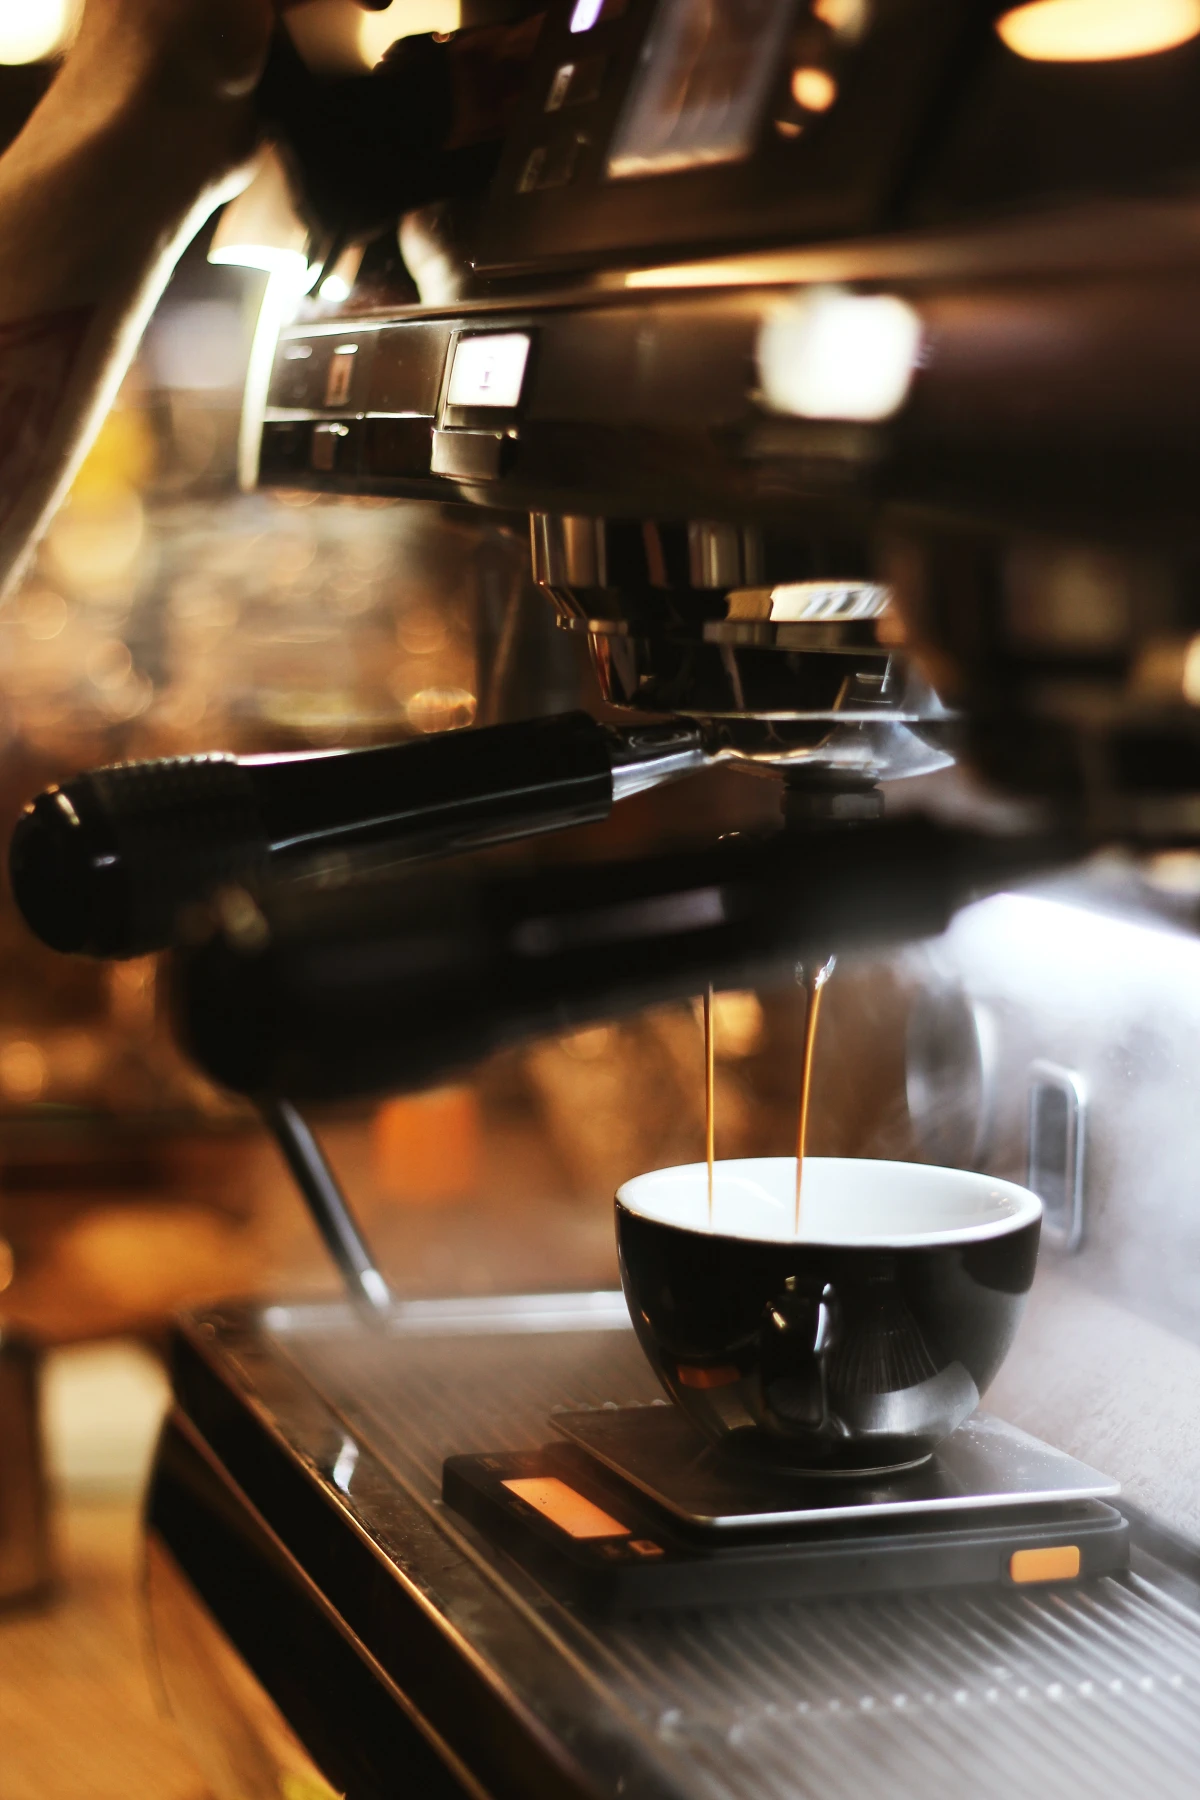
For an espresso machine, you’re looking at shot time. A good double shot should take 25-30 seconds. If it’s suddenly taking 45 seconds, your pump is likely dying. You can often hear it struggle. If the shot gushes out in 10 seconds, the pump isn’t building enough pressure.
Sign 4: Visible Damage and Weird Noises
Sometimes the machine just tells you it’s done. You just have to look and listen.
Keep an eye out for rust spots on the body, especially near the bottom. That’s a sure sign of a long-term internal leak. Also, look for cracked or browning plastic near the hot parts; that plastic is becoming brittle from heat and is a potential fire risk. And, of course, if the power cord is frayed or cracked, stop using it immediately. That’s a serious shock hazard.
Listen, too. A healthy drip brewer makes a gentle gurgling sound. If yours has started making loud hissing, popping, or banging noises, it means a severe blockage is causing steam pressure to build up and release violently. That’s putting a ton of stress on the whole system.
The Pro’s Decision: Repair or Replace?
Okay, so you’ve diagnosed the problem. Now what? I use a simple framework to help people decide.
First, there’s the 50% Rule. It’s a classic in the repair world. If the cost of a repair (including parts and labor—or the value of your own time) is more than half the cost of a new, comparable machine, it’s almost always better to replace it. A new machine comes with a fresh warranty and all new parts.
Here’s how it breaks down by price:
- Inexpensive Machines ($30 – $80): Honestly, just about any repair isn’t worth it. These are not designed to be serviced. If it breaks, recycle it and buy a new one.
- Mid-Range Machines ($100 – $300): This is where it gets interesting. If a $40 part can give your two-year-old machine another few years of life, go for it. But if that same machine is seven years old, you might be starting a game of whack-a-mole with failing parts.
- High-End Machines ($500+): These are investments designed to be repaired. For instance, a new pump for a popular $700 home espresso machine might be a $40 part you can order online. Paying a pro to install it could run you $150-$200 total. That’s still well under the 50% mark, making it a very smart repair.
Quick tip: To find parts, flip your machine over and look for a sticker with a model number. Google that brand and model number followed by “parts.” You’ll find dedicated online stores that carry exactly what you need.
How to Make Your Next Coffee Maker Last
The best repair is the one you never have to do. When you get that new machine, here’s how to protect your investment.
Let’s Talk About Water (It’s a HUGE Deal)
This is, without a doubt, the most important thing you can do. I once saw a beautiful $1,500 Italian espresso machine completely clogged with scale after just two years of use. The owner, who lived in an area with very hard tap water, was heartbroken. Don’t let that be you.
Here’s the water smackdown:
- Tap Water: It’s easy, but it’s a potential death sentence for your machine in hard water areas.
- Carbon Filter (like from a pitcher): Good! This is a great budget-friendly choice. It removes chlorine (which affects taste) and some of the minerals that cause scale.
- Reverse Osmosis / Distilled + Minerals: This is the God-tier option. It’s pure water that you then add a small packet of ideal coffee-brewing minerals to. It sounds extra, but it guarantees perfect-tasting coffee and zero scale, ever.
Clean and Descale on a Schedule
Don’t wait for the ‘clean’ light! That’s usually just a simple timer. If you have hard water, descale every month or so. If you have soft water, every 3-4 months is fine. And remember to use a coffee oil detergent every couple of months to keep things from getting greasy inside.
At the end of the day, your coffee maker works hard for you. Give it a little attention, and it will reward you with delicious coffee and frustration-free mornings for years to come.
Inspirational Gallery
Over 75% of small appliance failures are due to easily preventable issues like mineral buildup or lack of regular cleaning.
Before you blame the machine’s motor or pump, consider its daily enemy: hard water. The chalky lime and calcium deposits, known as scale, slowly clog the internal tubing. This forces the heating element and pump to work harder, leading to overheating and eventual failure. A simple monthly descaling routine using a solution of white vinegar and water, or a dedicated product like Urnex Dezcal, can dramatically extend the life of even a basic drip machine.
Is a more expensive coffee maker really worth the investment?
It often comes down to two things: temperature stability and build quality. A budget machine might heat water inconsistently, leading to sour (under-extracted) or bitter (over-extracted) coffee. Premium models, like those from Technivorm Moccamaster or Breville, use higher-quality copper heating elements and PID controllers to maintain the ideal brewing temperature (195-205°F) from the first drop to the last. You’re not just paying for a brand name; you’re paying for a consistently better cup.
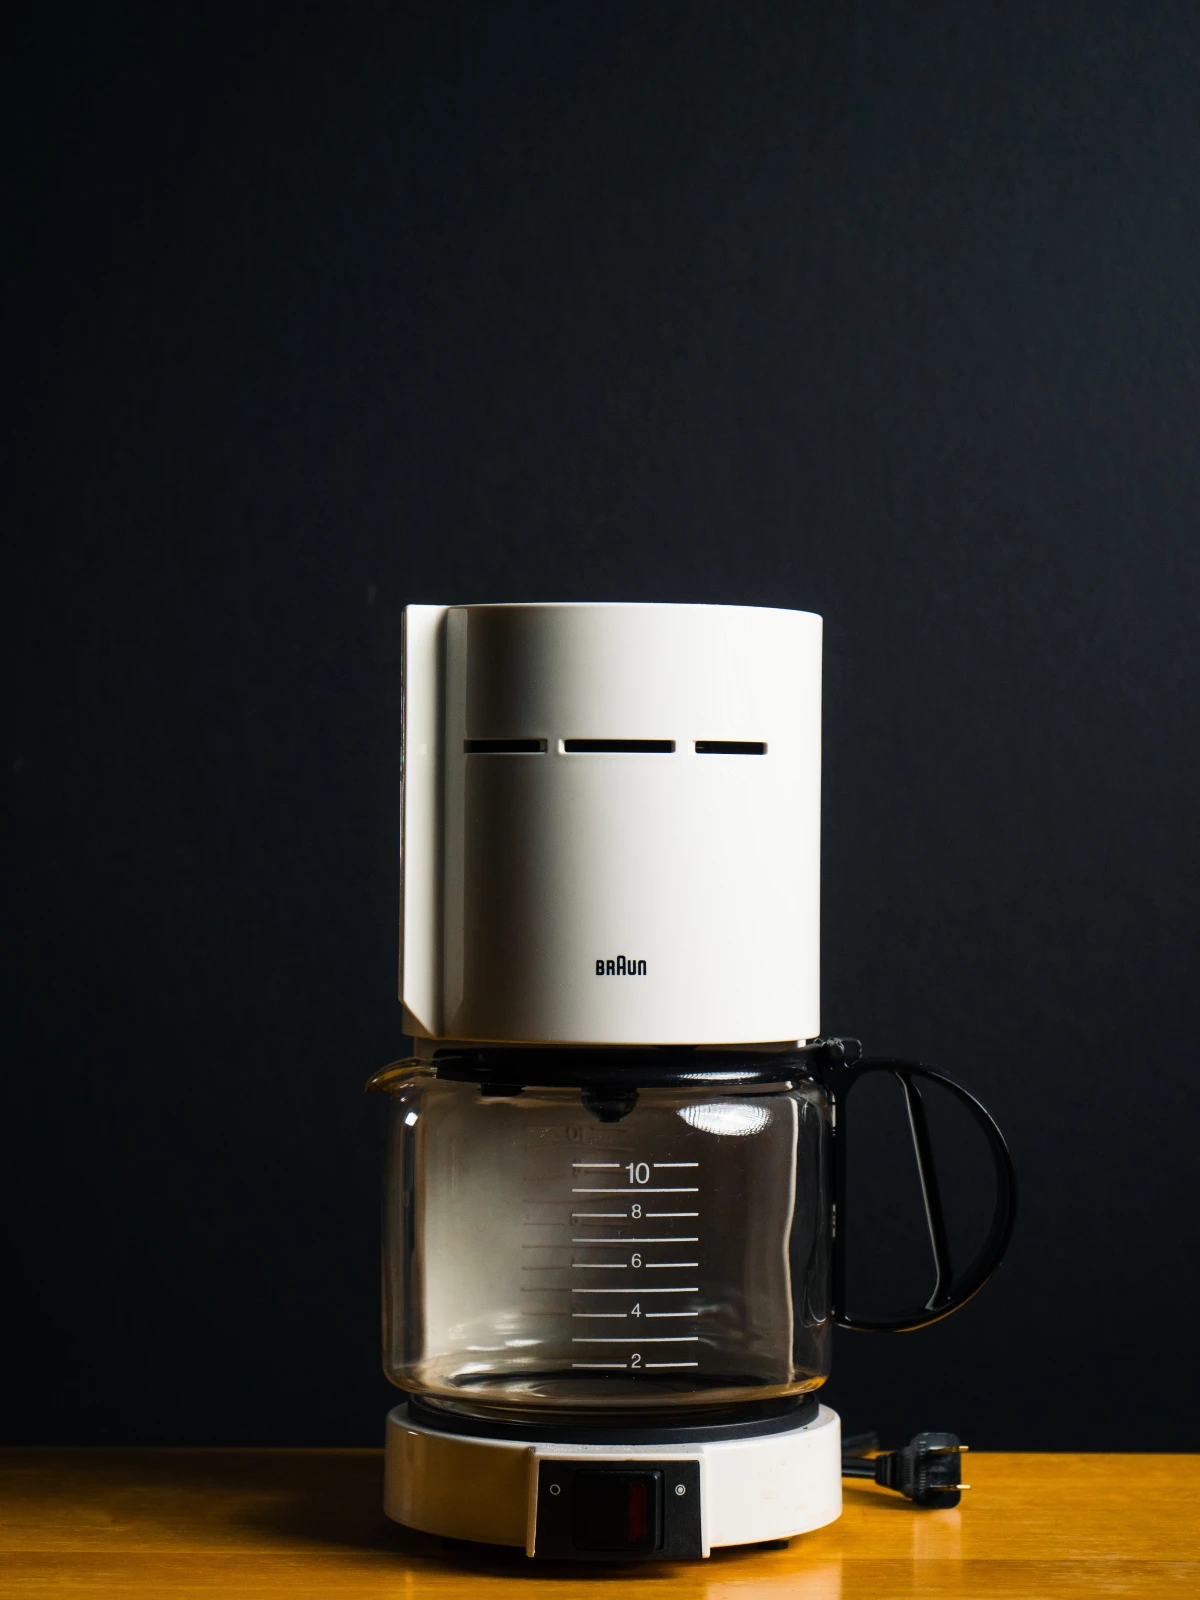
Glass Carafe: The classic choice. It’s easy to clean, lets you see how much coffee is left, and is typically cheaper to replace. However, the warming plate it sits on can continue to ‘cook’ the coffee, turning it bitter over time.
Thermal Carafe: Usually double-walled stainless steel. It insulates the coffee, keeping it hot for hours without a warming plate, which preserves the flavor. The downside? They can be harder to clean thoroughly and you can’t see how much is left inside.
For those who drink their coffee over a couple of hours, the thermal carafe is a flavor-saver.
- A rich, full-bodied brew without a hint of bitterness.
- The satisfying aroma of perfectly extracted coffee filling your kitchen.
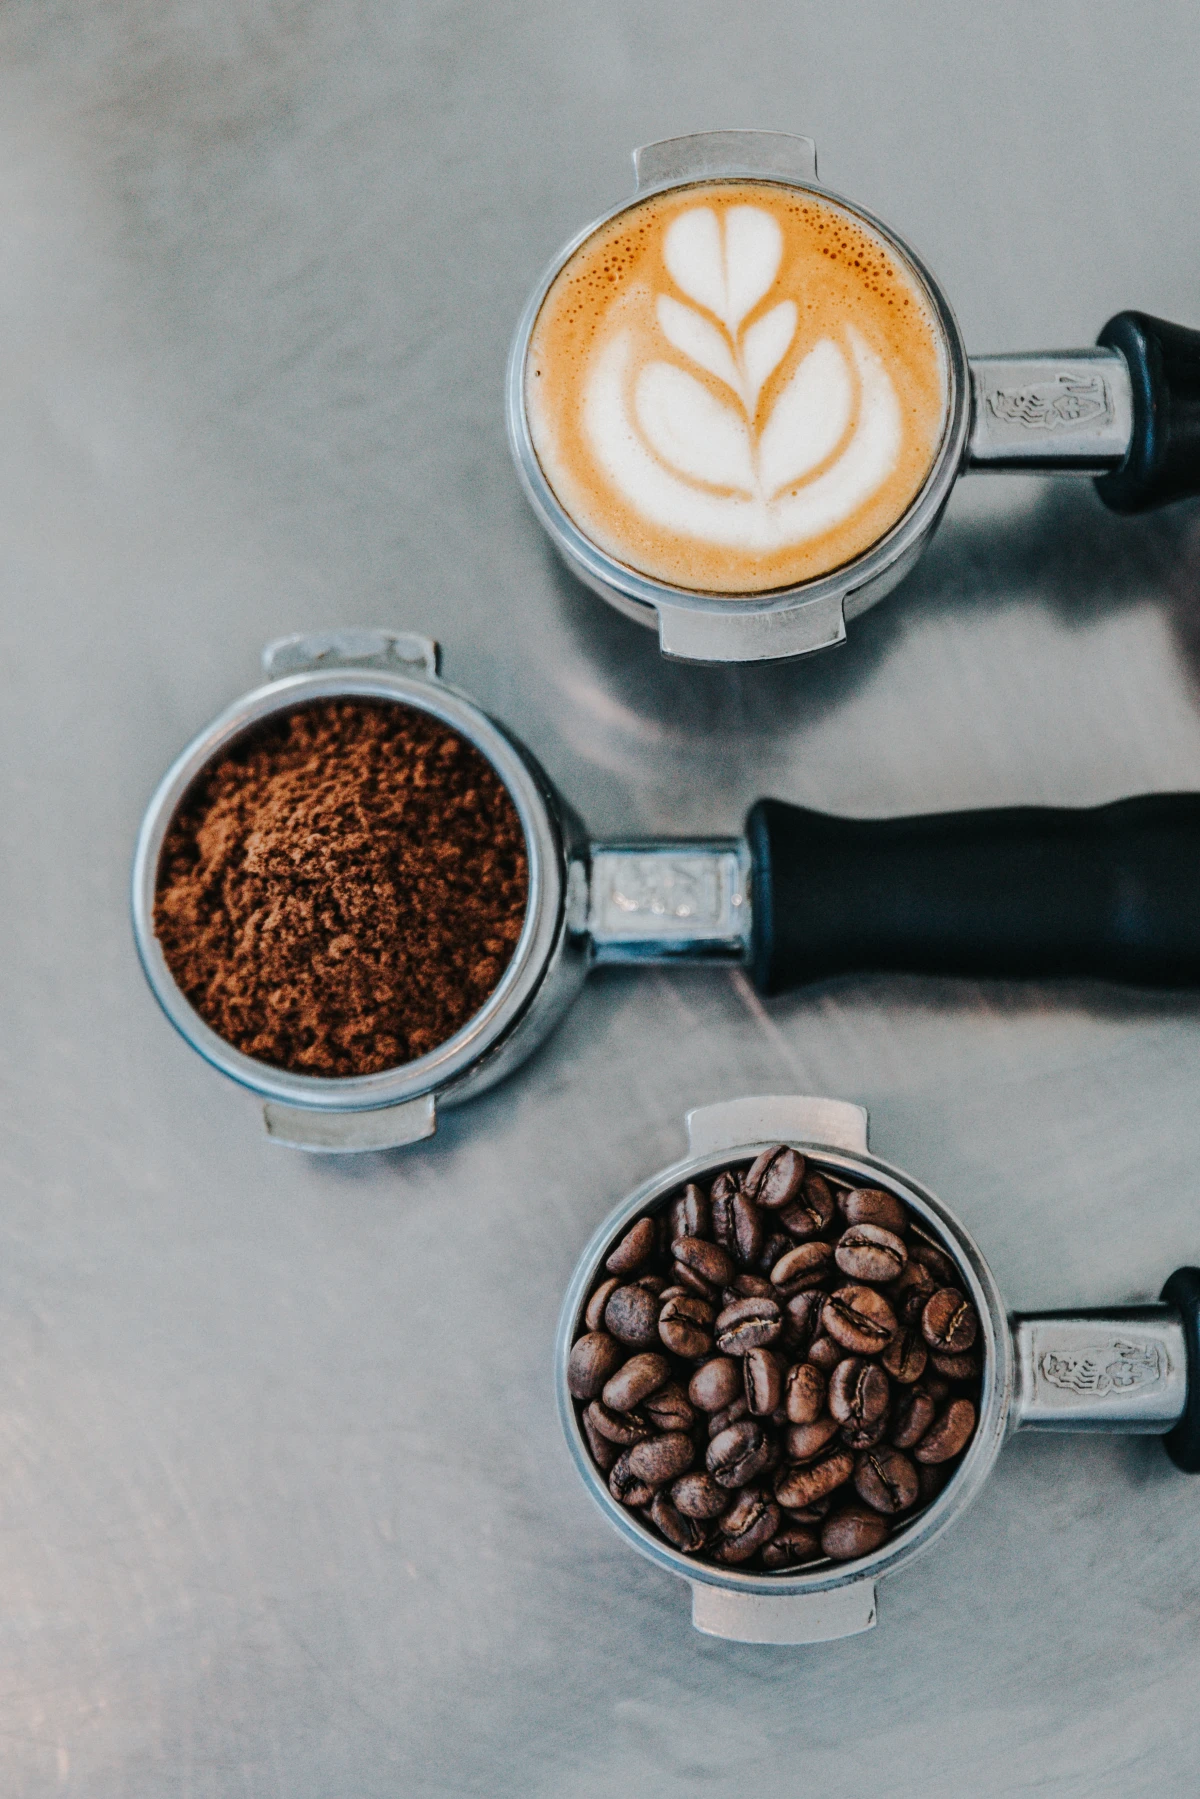
The secret? It might not be your machine, but your grinder. Pre-ground coffee goes stale quickly, and an inconsistent grind from a cheap blade grinder leads to uneven extraction. Investing in a quality burr grinder, like the popular Baratza Encore, provides a uniform grind size, which is the true foundation for a great cup of coffee, regardless of your brewer.
The Moka Pot, invented by Alfonso Bialetti in 1933, brought espresso-style coffee from the café into the Italian home.
This iconic stovetop brewer is the definition of durable. Made from simple, robust aluminum or stainless steel, it has no complex electronics or pumps to fail. Its longevity lies in its simplicity. The only part that typically needs replacing every few years is the rubber gasket, a cheap and easy fix. It’s a testament to timeless design and a fantastic, reliable backup if your main machine is out of commission.
Don’t overlook the water. Your coffee is over 98% water, so its quality directly impacts the taste and your machine’s health. Using heavily chlorinated or mineral-rich tap water can lead to off-flavors and accelerate scale buildup. For a noticeable improvement, try using a simple charcoal filter, like a Brita pitcher, or look for machines with built-in water filters, a common feature in higher-end Jura and De’Longhi espresso machines.
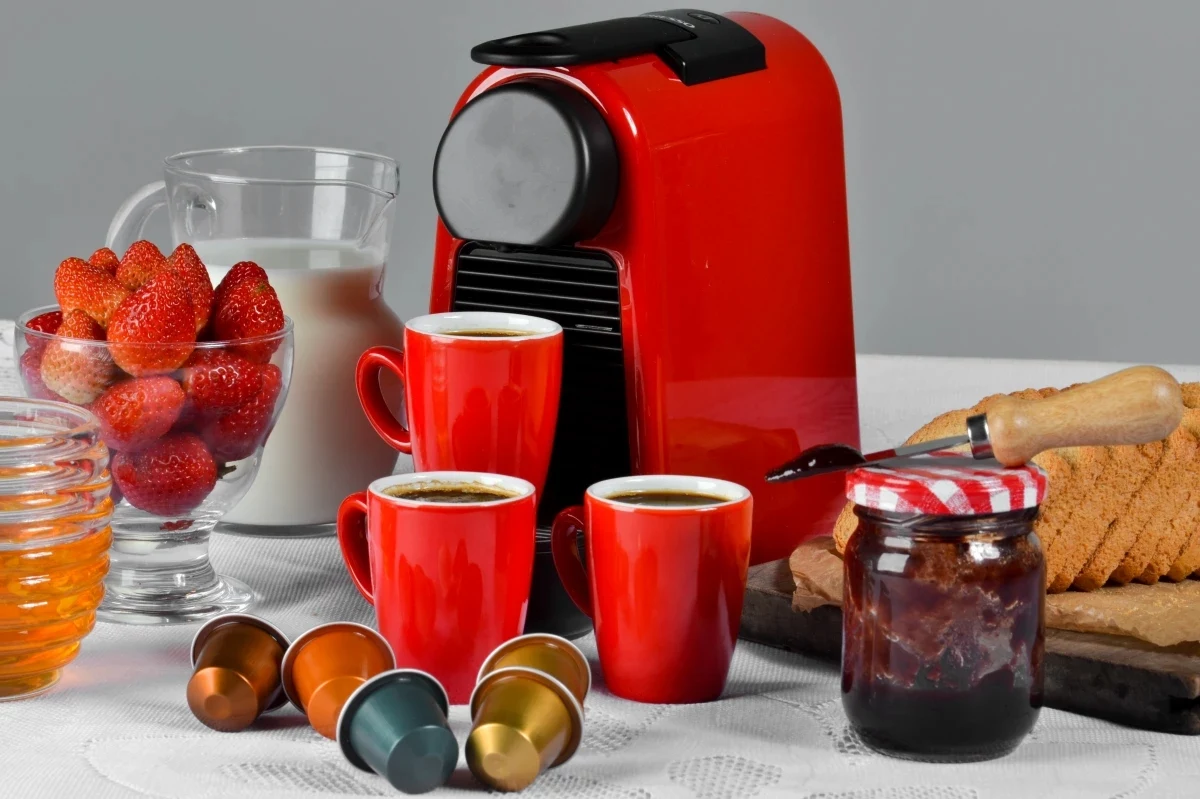
The coffee maker has evolved from a simple appliance to a kitchen design statement. No longer hidden away, machines now add a splash of personality. Brands like Smeg offer a retro 50s aesthetic with pastel colors, while Fellow’s Stagg EKG kettle and Ode grinder bring a sleek, minimalist matte black look to the coffee corner. Choosing a machine is now as much about how it fits your kitchen’s style as it is about the coffee it brews.
- Your machine gets unusually loud or starts making gurgling noises.
- It takes longer than usual to brew a full pot.
- Your coffee isn’t as hot as it used to be.
These are the classic warning signs of a machine gasping for a descaling cycle. That noise is often steam struggling to get past mineral blockages. Heed the warning; a simple cleaning can prevent a terminal breakdown.


