Forget the Fancy Gear: These Are the Real Skills You Need for the Trail
I see it all the time. People getting into hiking, trekking, or trail running immediately rush out to buy the most expensive gear. They get the flashy jacket from the magazine cover or the boots their buddy swore by. But honestly, the most important gear you will ever own is your body and the brain that runs it.
In this article
After years of guiding and teaching folks in the backcountry, I’ve learned one simple truth: whether you call it hiking or trekking, it’s all just walking in the woods. The main differences are just speed, distance, and how much stuff you’re carrying. The foundation is always the same. If you can master how your body works with the terrain, you can go almost anywhere with confidence.
This isn’t about being the fastest person on the mountain. It’s about being smart, comfortable, and prepared in places that don’t have sidewalks. Let’s break down the skills that separate a fantastic day out from a miserable slog.
How Your Body Actually Works on the Trail
Your body is an incredible machine. To get the most out of it, you don’t need a biology degree, just a basic understanding of what’s going on. Knowing this stuff directly translates to less fatigue and fewer injuries. Trust me.
Walking on Uneven Ground
On a flat street, your walk is pretty robotic and repetitive. But on a trail? Every single step is a new puzzle. Your ankles have to flex and rotate constantly, your knees bend to absorb shock, and your core muscles fire nonstop to keep you from face-planting on a slippery log. This is why a five-mile hike can feel way more tiring than a five-mile walk in the city—you’re using hundreds of tiny stabilizer muscles that are usually asleep.
To make it easier on yourself, think about your center of gravity. You want to keep it right over your feet. When you’re heading uphill, lean slightly into the hill. Going down? Stay more upright and sink your weight back into your heels. A common mistake I see is people leaning way too far forward on uphills, which just burns out their quads faster. Let your arms swing naturally for balance, and if things get tricky, just widen your stance a little for a more stable base.
Pacing Yourself for the Long Haul
Think of your energy like the gas in your car. For a long trip, you want to cruise efficiently, not redline the engine. For hiking, this means staying in your “aerobic zone”—a level of effort where your muscles get plenty of oxygen to burn fuel. The easiest way to check this? The talk test.
If you can hold a conversation and speak in full sentences without gasping for breath, you’ve found your all-day pace. Pushing harder into that breathless, anaerobic zone is fine for a quick scramble, but you can’t keep it up. You’ll burn through your energy stores and your muscles will start screaming. The real secret to covering big miles is finding that slow, steady rhythm you can maintain for hours.
The Layering System: Your Personal Thermostat
Staying warm and dry is all about managing heat and moisture. When you exercise, you sweat. If that sweat soaks your clothes, you’re in trouble. Water pulls heat away from your body about 25 times faster than air does, which is why being wet on a cool, windy day can be so dangerous. This is where layering becomes your best friend. It’s a simple system that works everywhere.
- Base Layer: This is what’s against your skin. Its only job is to pull sweat away from you. Merino wool and modern synthetics like polyester are fantastic. The one thing to avoid at all costs is cotton. There’s a reason experienced outdoors people have a grim saying: “cotton kills.” It soaks up sweat and holds it against your skin like a wet sponge.
- Mid Layer: This is your insulation. It’s what traps your body heat to keep you warm. Think fleece jackets, or puffy jackets filled with down or synthetic insulation.
- Shell Layer: This is your armor against the elements. It protects you from wind and rain. A good one is both waterproof and breathable, keeping rain out while letting sweat vapor escape.
Getting hot on a big climb? Stop and take off your mid-layer. Wind picking up at the summit? Throw that shell on. It’s an active, simple system that gives you total control.
Techniques the Pros Use (That You Can, Too)
Over the years, you pick up little tricks that make a huge difference. These are the kinds of things that guides and seasoned mountaineers do automatically to save energy and stay safe. They’re super easy to learn.
The Rest Step
This is probably the single most important technique for long, grueling uphills. With every single step you take, you briefly lock the knee of your back leg. For that split second, your skeleton is holding your weight, not your muscles. This gives your leg muscles a tiny micro-rest, step after step. It feels weirdly slow at first, but it allows you to climb for hours without your thighs feeling like they’re on fire.
Quick tip: Go find a flight of stairs right now. Seriously. Try walking up them using the rest step. Feel that momentary pause where your leg muscles can relax? That’s the ‘aha’ moment. Once you get the rhythm, it’s a game-changer.
Pressure Breathing
When you’re working hard or at higher altitudes, you need to get more oxygen into your system. This trick helps. Breathe in normally through your nose, then purse your lips and exhale forcefully, like you’re trying to blow out a stubborn birthday candle. This helps fully empty your lungs, making more room for fresh, oxygenated air on your next inhale. It’s a conscious way to control your breathing when your body is under stress.
Using Trekking Poles the Right Way
So many people get trekking poles and just kind of tap them on the ground. That’s not helping! Used correctly, they are powerful tools. First, get the length right: your elbow should be at a 90-degree angle when you’re holding the grip on flat ground. You’ll want to shorten them a bit for uphills and lengthen them for downhills.
- Going Uphill: Plant the poles behind you and actively push off with them. This gets your arms and shoulders into the action, taking a significant load off your legs.
- Going Downhill: Plant the poles out in front of you with each step. This acts like a braking system and absorbs a ton of impact, which saves your knees from a world of hurt. My knees are still in decent shape after all these years, and I give my trekking poles most of the credit.
Gearing Up Smartly (Without Going Broke)
Good gear makes you safer and more comfortable, but it absolutely does not have to be the most expensive stuff on the shelf. Here’s how I tell people to prioritize their money.
Tier 1: The Gear You Should NOT Compromise On
Footwear is everything. Bad shoes will ruin your day with blisters or, even worse, lead to a fall. This is your most important purchase. Go to a specialty outdoor store in the afternoon (when your feet are a little swollen) and get fitted by a pro. The best shoe is the one that fits your foot, not the one with the best online reviews. Expect to pay anywhere from $120 to over $250 for a quality pair of hiking boots or shoes, and it’s worth every penny.
And what type should you get? It depends on your needs:
- Trail Runners: These are lightweight and flexible. They’re amazing for moving fast on well-maintained trails but offer less support and protection.
- Hiking Shoes: A great middle ground. They’re beefier than trail runners, offering more protection and durability, but are still lighter than full-on boots. Perfect for most day hikes on moderately rough terrain.
- Hiking Boots: These offer the most ankle support and underfoot protection. They are the best choice if you’re carrying a heavy pack or hiking on very rough, rocky, or wet terrain.
Your other non-negotiable item is a high-quality waterproof shell jacket. When the weather turns nasty, this jacket is your primary defense against hypothermia. Think of it as a critical piece of safety equipment. Look for jackets with proven waterproof-breathable membranes (you’ll see brand names like Gore-Tex or a company’s own high-end version) and make sure it has a good, adjustable hood. A solid shell can run from $150 to $400 or more, but it’s a get-out-of-jail-free card when a storm rolls in.
Tier 2: Where Good Quality Makes a Big Difference
A backpack that fits you properly is a close second. A poorly fitting pack will dig into your shoulders and give you an aching back. Like shoes, packs need to be fitted to your torso length, not just your height. A good one transfers the load to your hips. For day hikes, a 20-30 liter pack is plenty. For overnight trips, you’ll be looking in the 50-70 liter range.
Tier 3: Where You Can Totally Save Some Cash
You can definitely find budget-friendly options here. A simple fleece jacket from a discount store provides great insulation. For hiking pants, you don’t need a fancy brand. Just find comfortable, quick-drying athletic pants or shorts. Check the tag—if it’s made of nylon, polyester, or a spandex blend, you’re good to go. If it says cotton or denim, put it back on the rack!
Safety First: A Little Humility Goes a Long Way
The wilderness doesn’t care about your ego or your schedule. Staying safe is all about being prepared and making smart choices. Small mistakes can easily turn into big problems out there.
The Ten Essentials (Don’t Argue, Just Pack Them)
This is the standard list of what you should have on every hike, even a short one. A simple twisted ankle can turn a two-hour walk into an unexpected overnight ordeal.
- Navigation: A map and compass (and know how to use them!), with your phone or a GPS as a backup.
- Headlamp: Plus extra batteries. The one on your phone doesn’t count.
- Sun Protection: Sunglasses, sunscreen, and a hat.
- First Aid Kit: A small kit with blister care (like Moleskin), bandages, and basic meds.
- Knife: Or a multi-tool. Incredibly useful.
- Fire: A lighter, waterproof matches, and a small fire starter.
- Emergency Shelter: At a minimum, an emergency space blanket or a bivy. A bivy, by the way, is just a lightweight, waterproof sleeping bag cover that can be a lifesaver.
- Extra Food: Pack more than you think you’ll need. For snacks, think slow-burn energy—nuts, jerky, and dense energy bars are great. I always save one high-sugar treat, like a Snickers bar, for a morale boost at the summit or when things get tough.
- Extra Water: Pack more than you plan to drink, or have a way to purify more. A good rule of thumb is to plan on half a liter of water per hour of hiking in moderate temperatures, then add an extra liter just in case.
- Extra Clothes: An extra insulating layer that you keep in your pack, even on a sunny day.
I once got caught in a sudden whiteout snowstorm during what was supposed to be a simple afternoon hike. The emergency blanket and the extra synthetic puffy jacket I had stuffed in my pack were the difference between a very cold, uncomfortable night and a potentially life-threatening situation. (Heads up: I chose a synthetic puffy, not down, because it continues to insulate even when it gets damp, which was a real possibility.)
The Hardest Skill: Knowing When to Turn Back
Honestly, the toughest skill to learn is checking your ego and knowing when to call it a day. The summit will still be there next week. Turn back if someone in your group is struggling, if the weather is turning sour, or if you’re running out of daylight. Pushing forward when all the signs are telling you to stop is how most preventable accidents happen.
Building these skills takes a little time and practice. Start small, get to know your gear, and pay attention to what the terrain and your body are telling you. The goal isn’t to conquer nature, but to move through it with quiet confidence and respect. Do that, and you’ve got a lifetime of adventure waiting for you.
Galerie d’inspiration

- Lessens impact on your knees, especially on descents.
- Improves your balance on tricky terrain like river crossings or slick logs.
- Helps you establish an efficient, rhythmic pace on long, steady climbs.
The secret? Using trekking poles correctly. Think of them not as crutches, but as a second pair of limbs that propel you forward and provide stability. Brands like Black Diamond and Leki have perfected lightweight, adjustable designs that become a natural extension of your body.

The traditional hiking boot: Think of a boot like the Lowa Renegade GTX. It offers maximum ankle support and protection, making it ideal for carrying a heavy pack or navigating sharp, rocky terrain. The trade-off is less ‘ground feel’ – your foot is more isolated from the trail.
The agile trail runner: A shoe like the Altra Lone Peak is lightweight, highly flexible, and lets you feel every nuance of the path. This promotes quicker, more athletic movement but requires stronger ankles and more careful foot placement.
The right choice depends not just on the trail, but on the skills and strength you’ve built in your own feet and ankles.
True trail mastery isn’t about crushing miles; it’s about mastering your internal systems. The art of layering is a perfect example. Forget one big, bulky jacket. Instead, think in three adaptable layers you can modify as your effort and the weather change.
- Base Layer: This is your second skin. Its only job is to wick sweat away. Merino wool from brands like Smartwool or Icebreaker is king here, as it stays warm even when damp and resists odor.
- Mid-Layer: Your insulation. A fleece (like a Patagonia R1) or a light synthetic puffy jacket provides warmth. It should be breathable to avoid trapping moisture from your base layer.
- Shell Layer: Your shield against wind and rain. A quality shell, like an Arc’teryx Beta, should be waterproof but breathable (thanks to materials like GORE-TEX), letting your body’s moisture vapor escape.
According to a 2015 Stanford University study, participants who went on a 90-minute walk through a natural environment reported lower levels of rumination (repetitive negative thoughts) compared to those who walked in an urban setting.
This is the science behind the feeling. Moving your body on the trail isn’t just a physical workout; it’s a mental reset. The focus required for each footstep and the sensory input from the natural world actively interrupt the brain’s cycle of stress and worry, offering a tangible sense of peace that lasts long after you’ve unlaced your boots.
How do I know if I’m drinking enough water?
Don’t wait until you’re thirsty—by then, you’re already dehydrated, and your performance and decision-making are compromised. The best skill is proactive sipping. Get in the habit of taking a few sips from your water bottle or hydration reservoir (like a CamelBak or HydraPak) every 15-20 minutes. A simple self-check: your urine should be a light straw color. If it’s dark, you’re falling behind schedule on your hydration.
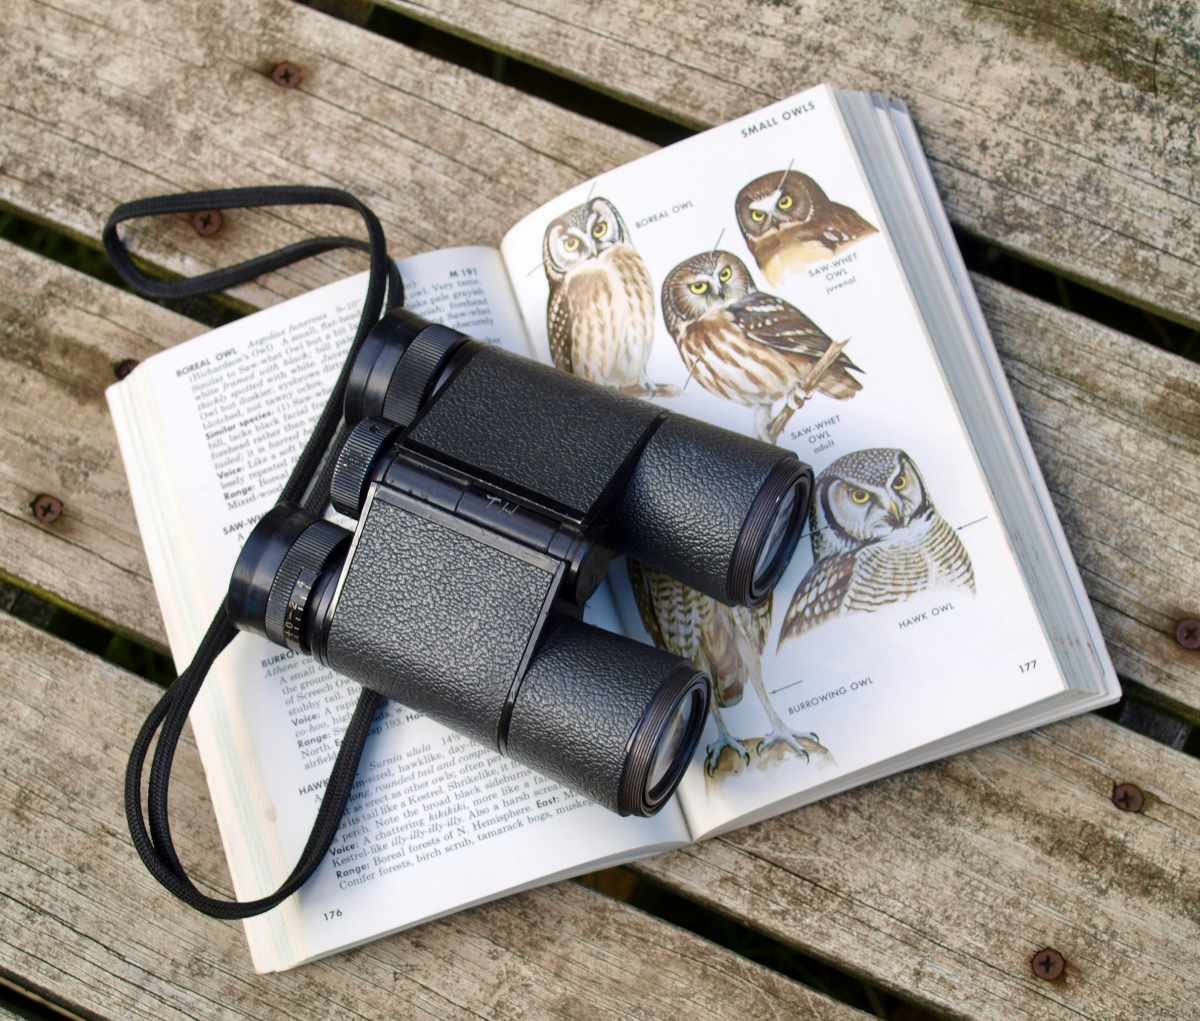
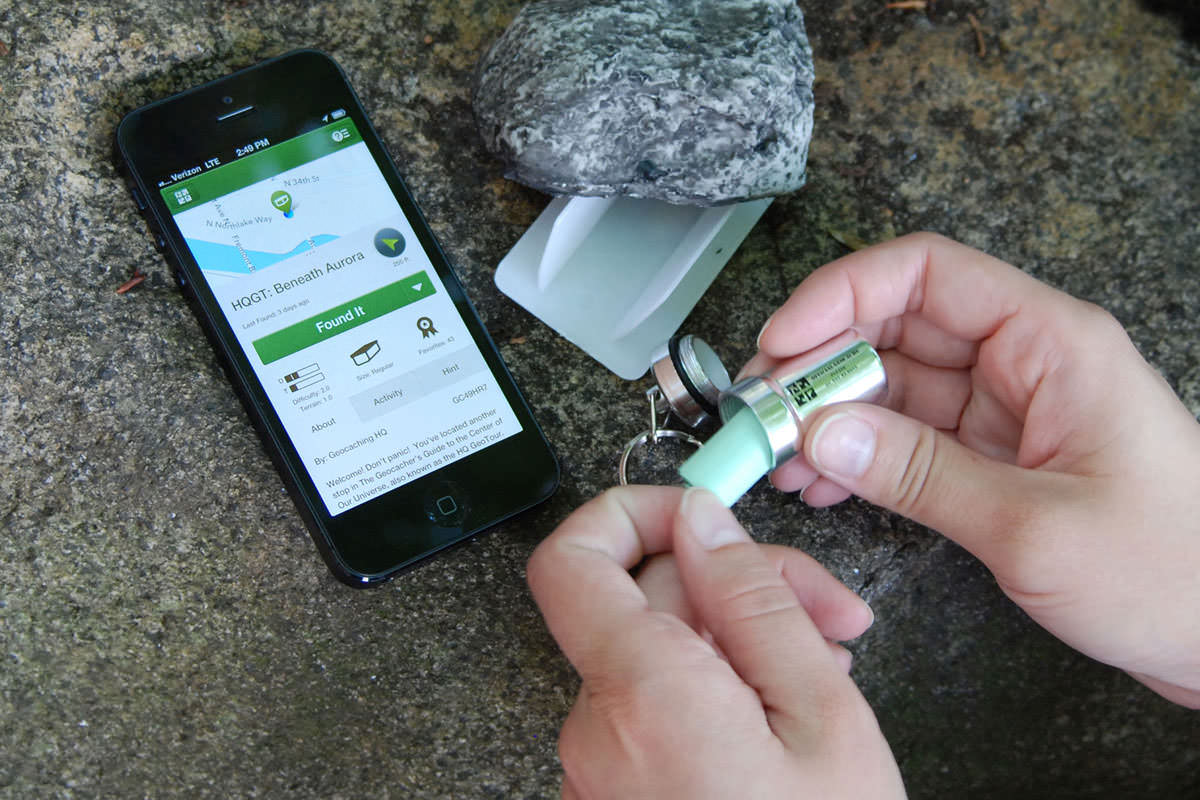
In many popular national parks, ‘getting lost’ is the number one reason for search and rescue calls, often because hikers over-relied on a single navigation tool: their phone.
While apps like AllTrails and Gaia GPS are fantastic, they’re not infallible. Batteries die, screens break, and satellites can fail in deep canyons. The fundamental skill is knowing how to use a paper map and a simple baseplate compass, like a Suunto A-10. Learning to read contour lines and orient a map to your surroundings is the ultimate backup plan that never runs out of power.
Pay attention to the trail’s soundtrack. The soft thud of your boots on packed earth is efficient and fast. The clatter of small, loose rocks (scree) signals unstable footing, demanding shorter, more deliberate steps. The hollow sound of a log or wooden bridge warns of potential slickness. Listening to the ground beneath you is a skill that fine-tunes your balance and prevents falls before they happen.

- Look 10-15 feet ahead, not down at your toes. This allows your brain to subconsciously map the next few steps.
- Dark, shiny patches on rocks or soil mean moisture and less friction. Treat them like ice.
- Notice where water would naturally flow downhill—this ‘fall line’ is often filled with loose debris and is the most unstable path. Traverse across it instead of heading straight down.
A crucial mistake: Racing the uphills. It’s a natural tendency to want to get the climb over with, but powering up a steep section redlines your heart rate and floods your legs with lactic acid. You’ll pay for that five minutes of intensity with an hour of sluggishness. The pro skill is finding a ‘forever pace’—a slow, steady, rhythmic cadence you could maintain for hours. You’ll get to the top feeling strong, not shattered.


