My Non-Negotiable Travel Gear: The Toolkit I Swear By
After years and years of living out of a suitcase for work, I can get my carry-on packed and ready to go in about twenty minutes flat. Honestly, that’s not a brag. It’s a skill I earned the hard way, through a ton of rookie mistakes—like freezing in a jacket that was all style and no substance, or paying $30 for a phone charger at an airport kiosk.
In this article
My philosophy on packing has completely changed. I used to be a ‘just in case’ packer, which meant I was hauling around a bunch of stuff that never even saw the light of day. Now? I’m all about a core set of reliable, multi-use items. This isn’t just about making travel easier; it’s about being more resilient and self-sufficient when you’re far from home.
So, this isn’t going to be another boring list of clothes to pack. You already know if you need a swimsuit or a winter coat. Instead, I want to pull back the curtain on the specific gear that has a permanent spot in my bag, no matter where I’m headed. We’ll get into the why behind each piece, because that’s what really matters. This is the toolkit that has saved me time, money, and more headaches than I can count.
The Power and Connectivity Kit
Let’s be real: your phone is your lifeline on the road. It’s your boarding pass, your map, your translator, and your connection to everyone. Keeping it juiced up isn’t just a luxury, it’s a critical part of modern travel.
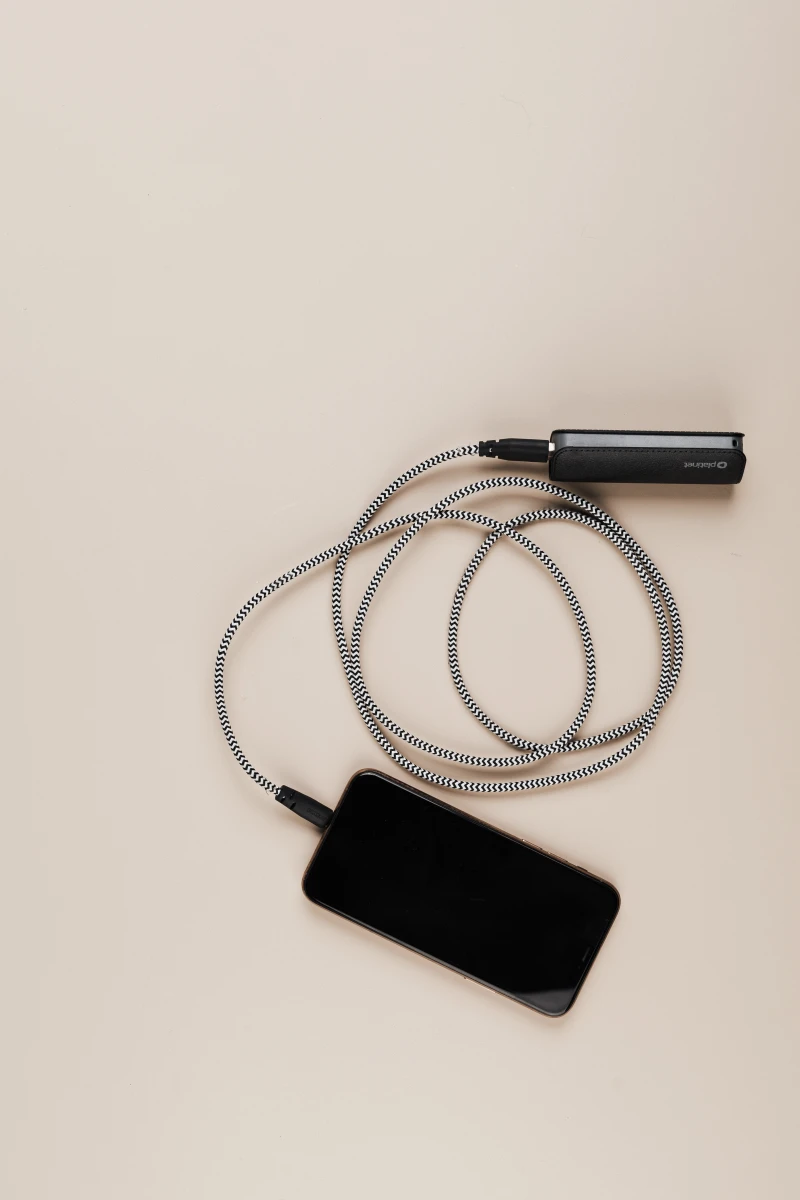
1. The Right Power Bank
Not all power banks are the same, not by a long shot. The number you need to care about is the capacity, measured in milliamp-hours (mAh). A modern smartphone battery is somewhere in the 4,000 to 5,000 mAh range, so for my money, a 10,000 mAh power bank is the absolute sweet spot. It gives you about two full phone charges, which is plenty of juice to survive a long travel day with unexpected delays. Plus, it’s small and light enough that you forget it’s even in your bag.
So why not get a massive 20,000 mAh one? While tempting, they’re heavier, and you start to tiptoe into tricky territory with airline rules. Aviation authorities have strict rules about lithium-ion batteries—they have to be in your carry-on, never checked, because of fire risk. The limit is typically 100 watt-hours (Wh) without needing special permission. Your trusty 10,000 mAh bank is well under that limit, but bigger ones can get flagged.
Quick tip: To find the Watt-hours (Wh) on your battery, look for the tiny print on the case. It’s usually listed right next to the mAh. If you can’t find it, that’s a huge red flag for a cheap, uncertified battery. I once saw a sketchy one start smoking in an airport lounge. It’s not worth risking a fire to save $15. Expect to pay between $30 and $60 for a reliable one from a good brand.
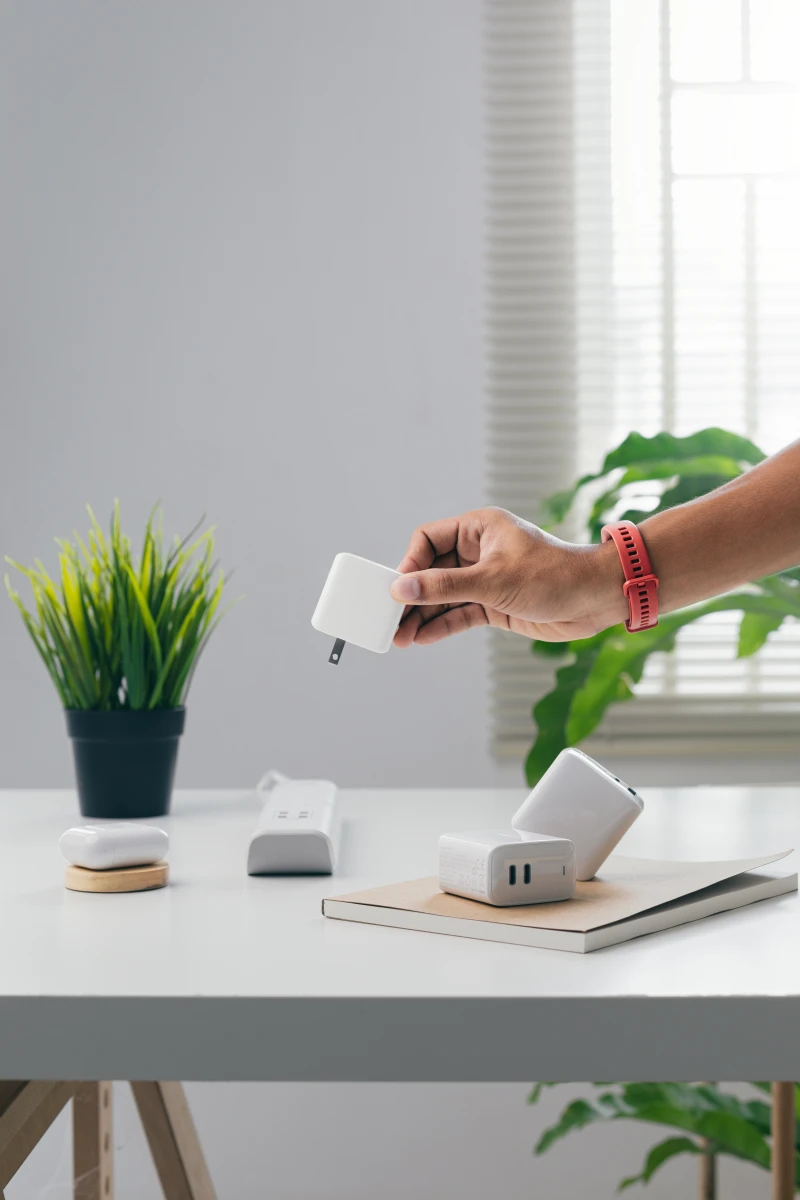
2. A Universal Travel Adapter
In my early days, I had this messy little pouch of different plug adapters. I’d always be fumbling around, trying to find the right one for that specific country. It was a pain. Now, I only carry a single, all-in-one universal adapter. Look for a model that covers at least 150 countries and uses sliders to push out the prongs. The ones with snap-on pieces are a nightmare—you’re guaranteed to lose one.
But here’s a critical piece of info: an adapter is NOT a converter. An adapter just changes the plug shape. North America runs on 110/120V power, while most of the world uses 220/240V. Your laptop and phone charger are almost certainly ‘dual-voltage’ (check the fine print on the brick for ‘INPUT: 100-240V’). For these, you just need the adapter. But if you have a single-voltage device like some hair dryers or older electric razors, plugging it into a 220V outlet will fry it instantly. I learned that lesson the hard way with a beard trimmer in a London hotel. Poof. Gone.
My current adapter, which cost about $25, also has a few USB ports built right in. It’s a game-changer for charging my phone, watch, and power bank all from a single, precious outlet in an old hotel room.
3. Quality Cables
Your power bank and adapter are useless without good cables. I pack three: a 3-foot one for my phone, one for my watch, and one to recharge the power bank itself. I also carry a super-short 6-inch cable. It’s perfect for connecting my phone to the power bank on a tiny cafe table without a mess of wires. It sounds minor, but it’s a small detail that makes life easier. Please, don’t cheap out here. A shoddy cable that frays mid-trip is a problem you just don’t need.
Health and Hydration on the Go
Feeling good is the foundation of a great trip. That means staying hydrated, clean, and ready for minor bumps in the road. Airplane cabins have incredibly dry air, and being prepared helps you hit the ground running.
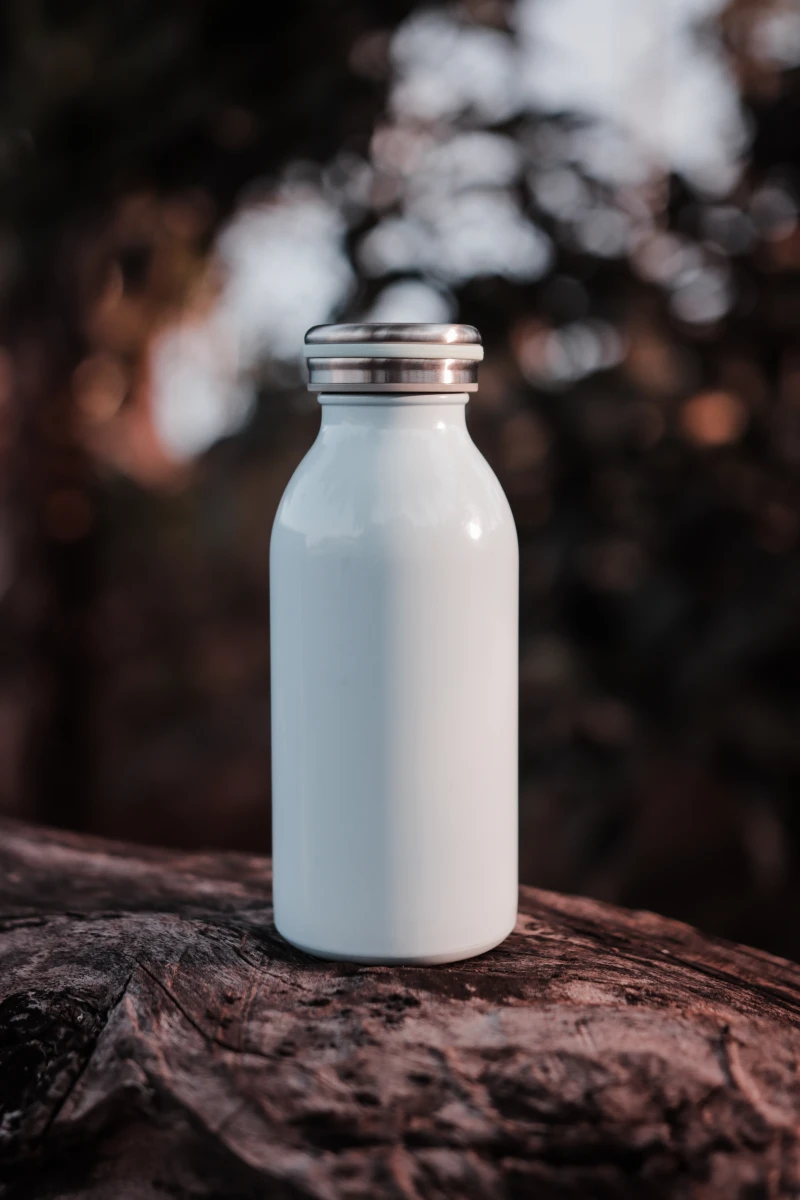
1. A Collapsible Water Bottle
I stopped buying overpriced plastic water bottles at the airport years ago. It’s a waste of money and plastic. For a while, I used a stainless steel bottle, but it was just too bulky when empty. The solution? A collapsible silicone bottle. When it’s empty, it rolls up to the size of my fist. I breeze through security with it empty and then fill it up at a fountain on the other side.
Now, if you’re traveling to places where the tap water isn’t safe, you need to level up. This is where you need a purifier bottle, not just a filter bottle. A basic filter (like the kind in a pitcher at home) makes water taste better, but it won’t remove viruses. A purifier, on the other hand, removes 99.99% of viruses, bacteria, and protozoa. You fill it from any tap or even a river, press the filter mechanism, and in about 15 seconds you have perfectly safe drinking water. It’s an incredible piece of gear that gives you total peace of mind.
Good to know: The purifier cartridges aren’t cheap—a replacement usually runs $25 to $40—but each one cleans hundreds of liters of water, which is far cheaper (and safer) than buying bottled water every day.
2. A Smart, Tiny First-Aid Kit
Forget those bulky, pre-made first-aid kits. They’re mostly filled with junk you’ll never use. I build my own in a small zip pouch. It’s been refined over years of travel to include only the essentials:
- Heavy-duty blister plasters: About 6-8 of them. These are way better than regular bandages. Trust me, after walking 15 miles a day exploring a new city, you’ll understand.
- Pain Relievers: A small sleeve of ibuprofen or paracetamol for headaches or sore muscles.
- Antiseptic Wipes: For cleaning up small cuts and scrapes on the fly.
- Antihistamines: You never know when you’ll have a surprise reaction to food or a bug bite.
- Stomach Meds: A few tablets for indigestion and a few for diarrhea. Part of travel is trying new foods, but sometimes your stomach doesn’t agree.
- Personal Prescriptions: Always in their original bottles with a copy of the prescription. Don’t mess around with this; some countries are incredibly strict.
This little kit has been a lifesaver, for me and for fellow travelers I’ve met along the way. It’s all about solving a small problem before it ruins your day.
Staying Organized and Protected
An organized bag is a happy bag. Knowing exactly where everything is just melts away stress. And protecting your stuff from weather and damage is just as important.
1. Packing Cubes and a Dry Sack
I was a packing cube skeptic for years. Then a friend finally convinced me to try them. They are a revelation. I use one large cube for shirts and pants, and a smaller one for socks and underwear. They not only keep you organized, they also compress your clothes, saving a surprising amount of space. When I get to a hotel, I just pull out the two cubes, and I’m basically unpacked in 30 seconds.
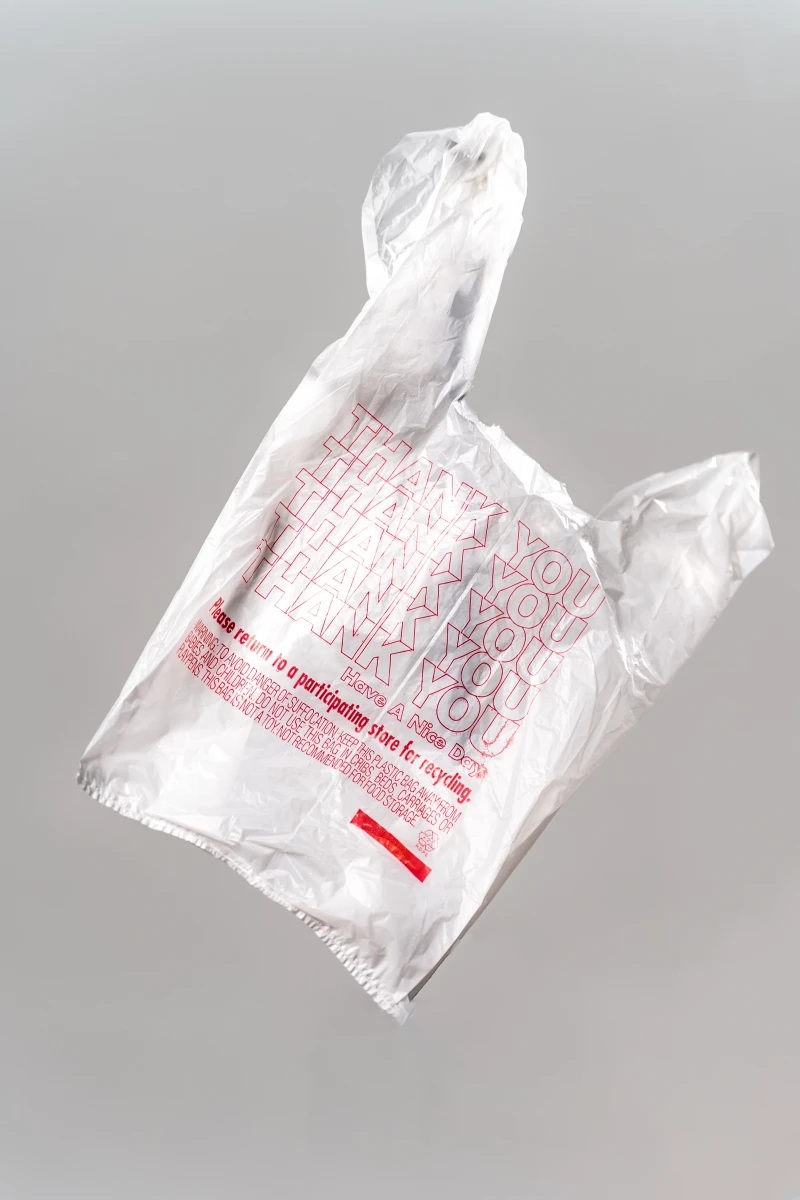
For dirty laundry or wet swimwear, I use a lightweight dry sack—the kind kayakers use. It’s completely waterproof and seals in moisture and, more importantly, smells. It’s way more reliable than a flimsy plastic bag.
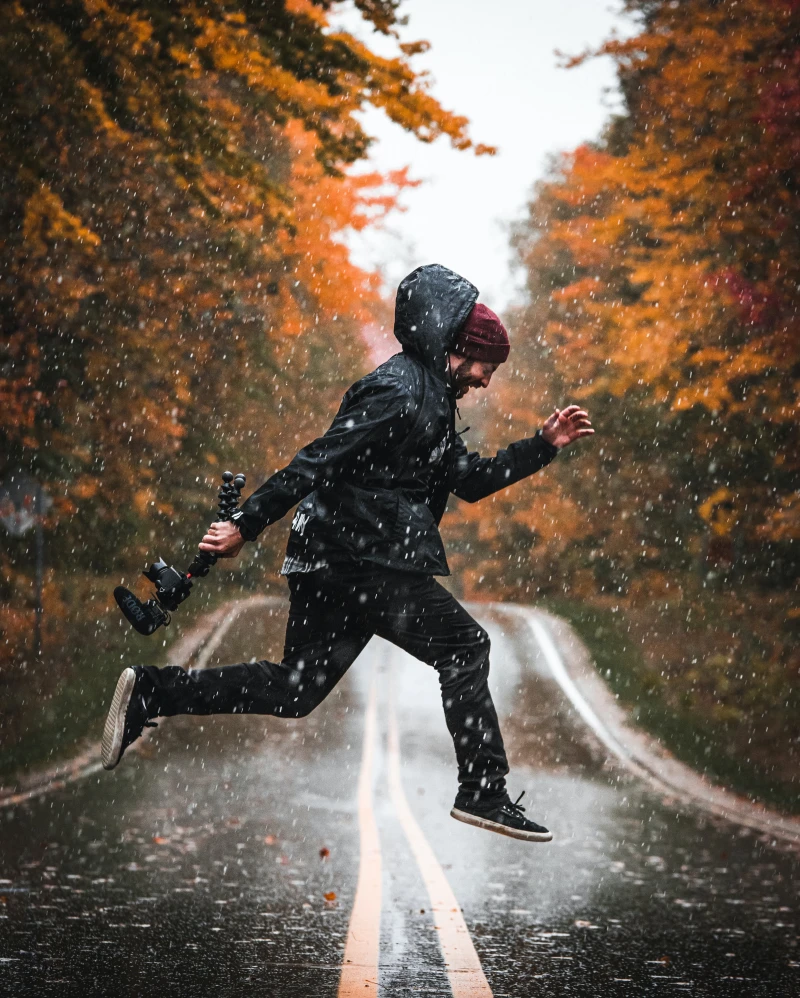
2. A Real, Packable Rain Jacket
Weather forecasts are suggestions, not guarantees. I’ve been caught in sudden downpours everywhere. A quality rain jacket is non-negotiable. And I’m not talking about a cheap plastic poncho that turns you into a walking sauna. I mean a proper technical shell.
The magic is in the fabric, which is both waterproof and breathable. It has microscopic pores that are too small for rain to get in, but big enough for your sweat vapor to get out. Look for jackets made with high-tech waterproof-breathable fabrics. They are incredibly lightweight and pack down into their own pocket, taking up less space than an apple. It also works as a fantastic windbreaker on a cool night. It’s an investment, for sure—expect to pay between $100 and $250—but a good one will last you a decade.
3. Total Sun Protection
The sun is no joke. My sun protection strategy is more than just a bottle of lotion.
- Solid Sunscreen Stick: This is one of my favorite travel hacks. It looks like a deodorant stick, so it doesn’t count toward your carry-on liquid limit and it can’t leak all over your clothes. Brilliant. A good one costs around $10-$15.
- A Packable Hat: A baseball cap is okay, but a hat with a full brim is better. It protects your ears and the back of your neck. I have one I can crush into my bag that pops right back into shape.
- Polarized Sunglasses: This is a must. Polarization is a filter that cuts reflected glare, which dramatically reduces eye strain, especially near water or on long drives. Your eyes will thank you at the end of the day.
The Advanced Toolkit: Gear for True Self-Reliance
This last bunch of stuff might seem a little extra, but these items have proven their worth time and time again. This is the gear that solves unexpected problems.
1. A Headlamp
A small LED headlamp is one of the most useful things you can pack. It’s so much better than your phone’s flashlight because it leaves your hands free. I’ve used mine to pack in a dark hostel dorm, navigate a street during a power outage, find something I dropped under an airplane seat, and even read a book in a dimly lit room. Get one with a red light mode; it saves your night vision and is less obnoxious to others.
2. A Scarf or Sarong
This is probably the most versatile item in my entire bag. It’s a simple piece of fabric with a dozen uses. I’ve used mine as:
- An extra blanket on a freezing airplane.
- A sunshade for my neck on a hot day.
- A makeshift towel after an impromptu swim.
- A privacy screen on a packed train.
- A modesty cover to enter temples that require covered shoulders.
- An emergency sling or bandage.
- A makeshift bag for carrying fruit from a market.
Seriously, pack a large, lightweight one. You’ll be surprised how often you reach for it.
3. Duct Tape and Zip Ties
Your homework for today: Go find a pen or an old gift card and tightly wrap about 5 feet of duct tape around it. Toss it in your bag. You’ve just added a powerful, multi-use repair tool that takes up zero space. I’ve used my little stash to patch a torn backpack, fix a broken sandal, and even tape a rattling window shutter in a noisy hotel. A few small zip ties are also great for fixing a broken zipper pull.

4. Digital and Physical Backups
This is your ultimate safety net. Before any trip, I take a color scan of my passport, driver’s license, and any visas. I save them to a secure cloud drive and also email a copy to myself and a trusted family member. If your passport ever gets lost or stolen, having that digital copy makes the nightmare of getting a replacement at an embassy so much easier. I also carry two extra physical passport photos, just in case.
Final Thoughts on Your Toolkit
This list is what works for me, refined over countless trips. Your perfect toolkit will, of course, depend on your own travel style. The key is to think critically about every item. Ask yourself: Can this serve more than one purpose? Is it reliable?
Start with a solid foundation like this, and then pay attention on your own journeys. What did you wish you had? What did you bring that you never used? Every trip is a chance to refine your system. Mastering the art of packing isn’t about owning the most expensive gear—it’s about having the right gear, and knowing exactly why it earned a place in your bag.