Let’s Actually Learn to Crochet (Without the Frustration)
I’ve been tangled up in yarn for what feels like a lifetime. But I still vividly remember the disaster that was my first project. It was meant to be a simple scarf, but honestly, it ended up looking like a wavy, crooked strip of knots. I was so close to giving up for good.
In this article
But I stuck with it, and over the years, I figured out the real secret that separates a great finished piece from a frustrating mess. It’s not about finding a trendy pattern online. It’s about really getting how the yarn and hook work together to create a solid fabric.
So many beginners get excited and jump right into a complex project they saw on social media, only to get lost in confusing instructions and uneven results. We’re not going to do that. My goal here is to teach you the way I teach my own apprentices: from the ground up. We’ll focus on the ‘why’ behind every technique, so you won’t just be following a pattern—you’ll understand the craft and be able to create beautiful, lasting things with your own two hands.
The Real Basics: Let’s Talk Tools and Materials
Before you even think about making a stitch, we need to chat about your gear. Seriously, choosing the right yarn and hook is the most critical decision you’ll make at the start. It has a bigger impact on your success than anything else and getting it right sidesteps a ton of common beginner headaches.
Getting to Know Your Yarn
Yarn isn’t just colored string; it’s a fiber with its own personality. Understanding its quirks helps you pick the right stuff for the job.
For beginners, you’ll mainly run into three types: cotton, acrylic, and wool. Cotton is a workhorse—it’s strong, doesn’t stretch much, and holds its shape, making it perfect for things like dishcloths or market bags. A typical skein of 100% cotton yarn, like the popular Lily Sugar’n Cream you can find at Michaels or JOANN, usually costs between $2 and $4. Acrylic is a synthetic fiber that’s super durable, comes in a million bright colors, and is wonderfully affordable. It’s fantastic for practice, blankets, and anything that needs to be washed a lot. A big skein can often be found for under $5. A quick heads up, though: acrylic is basically plastic, so it will melt near high heat. Don’t use it for potholders! Wool is your go-to for warmth and elasticity, making it ideal for cozy hats and scarves. Some people find it a bit itchy, and you have to wash it gently to avoid shrinking, but it’s a beautiful, natural fiber.

Yarn also has a “weight,” which just means how thick it is. There’s a standard system for this, and for your first projects, you’ll want a Category 4, or “worsted weight” yarn. It’s the Goldilocks of yarn—not too thin, not too thick. When you look at a yarn label, you’ll see a little icon of a yarn skein with a number in it. You’re looking for the one with a “4.”
My best advice? Start with a light-colored, smooth worsted weight cotton or acrylic. Dark colors make it nearly impossible to see your stitches, and you should steer clear of fuzzy or novelty yarns until you’ve got the hang of things.
Choosing Your Hook
Your crochet hook is your magic wand. A good one feels right in your hand and glides through the yarn. Most hooks you’ll see are aluminum, and they’re a fantastic choice for beginners. They’re smooth, lightweight, and cheap—a single hook from a standard brand will only set you back about $3. You’ll also see wood or bamboo hooks, which have a bit more grip, and lightweight plastic hooks.
Hook size is measured in millimeters (mm). The yarn label will suggest a hook size right next to the yarn weight symbol—for worsted weight yarn, it’s usually a 5.00mm (H/8) or 5.50mm (I/9). Using the wrong size hook can really mess up your project; too small and the fabric is stiff as a board, too large and it’s loose and full of holes.
By the way, there are two main ways to hold a hook: the knife grip (like you’re holding a dinner knife) and the pencil grip (like you’re about to write). Neither is right or wrong, just do what feels natural!
The Secret Sauce of Good Crochet: Tension
If there is one skill that matters more than any other, it’s tension. This is just how tightly you hold the yarn as you work. If your tension is consistent, your stitches will be even and beautiful. If it’s all over the place, you get lumpy, bumpy fabric. It’s the reason my first scarf was such a train wreck.

Every stitch you make should be the same size as the one before it. That size is controlled by your hook and the loop of yarn that’s on it (some people call this the “golden loop”). To get even stitches, you need to make sure this loop consistently fits the main shaft of your hook, not the skinny throat part.
So how do you control it? It’s all in how you hold the yarn in your non-hook hand. A popular method is to weave the yarn over your index finger, under your middle, and over your ring finger. This creates a simple tensioning system that lets the yarn glide smoothly. The key is to stay relaxed. A death grip on your yarn will give you tiny, tight stitches and a very sore hand.
What Happens When You Mess Up? (Because You Will!)
Let’s be real, you’re going to make a mistake. Probably in the first ten minutes. It’s totally okay! Learning how to fix mistakes is a core skill. In the crochet world, we call undoing your work “frogging” (because you “rip-it, rip-it”).
To frog your work, just gently pull your hook out of the active loop and start unraveling the stitches one by one. Go slow! When you get back to the stitch before the mistake, carefully insert your hook back into the loop that was freed up. Give the working yarn a little tug to tighten it, and you’re back in business.
A Quick But CRITICAL Note: US vs. UK Terms
Before we go any further, you need to know this: crochet terms are different in the US and the UK. A “double crochet” in a UK pattern is a totally different stitch than a US double crochet. This trips up so many people.
- US Single Crochet (sc) = UK Double Crochet (dc)
- US Double Crochet (dc) = UK Treble Crochet (tr)
Good patterns will always say which terms they’re using. For everything we talk about here, we’ll be using US terminology, which is the most common in North America.
Project 1: The Humble (and Super Useful) Dishcloth
We are not starting with a sweater. We’re starting with a simple square. A dishcloth is the perfect first project because it’s small (hello, instant gratification!), it’s flat, and it teaches you the most vital skills: making a chain, working in straight rows, and keeping your edges from going wonky. For a total beginner, plan on this taking about 2-3 hours. Don’t rush!
Your First Shopping List:
- Yarn: One skein of 100% worsted weight cotton yarn (about $2-$4).
- Hook: A 5.00 mm (H/8) crochet hook (about $3).
- Tools: A small pair of scissors and a tapestry needle. That needle isn’t optional; it’s the key to making your work look finished and professional. A small pack costs about $2.
See? You can get everything you need to start for under $10!
Let’s Make a Thing:
- The Slip Knot: This gets the yarn on your hook. Make a loop, leaving a 6-inch tail. Put the working yarn (the part connected to the ball) behind the loop, then use your hook to pull it through. Tighten the knot onto your hook.
- The Foundation Chain (ch): To make a chain stitch, just yarn over your hook and pull that new loop through the one already on your hook. That’s one chain. Do this 30 times. A common mistake is making this chain way too tight, so keep it relaxed.
- Row 1 – The Single Crochet (sc): Skip the first chain from your hook. Insert your hook into the second chain, yarn over, and pull up a loop (you’ll have two loops on your hook). Yarn over again, and pull through both of those loops. Congrats, that’s a single crochet! Do this in every chain across. When you get to the end, you should have 29 stitches. Count them. Get in the habit of counting every single row.
- Row 2 and Beyond: To start the next row, chain 1 and turn your work over. This is your “turning chain” and it just gives you a bit of height. Now, make one single crochet in the very first stitch of the row below, and in every stitch across. Count again. Should still be 29!
Common Beginner Pitfall: The Dreaded Trapezoid
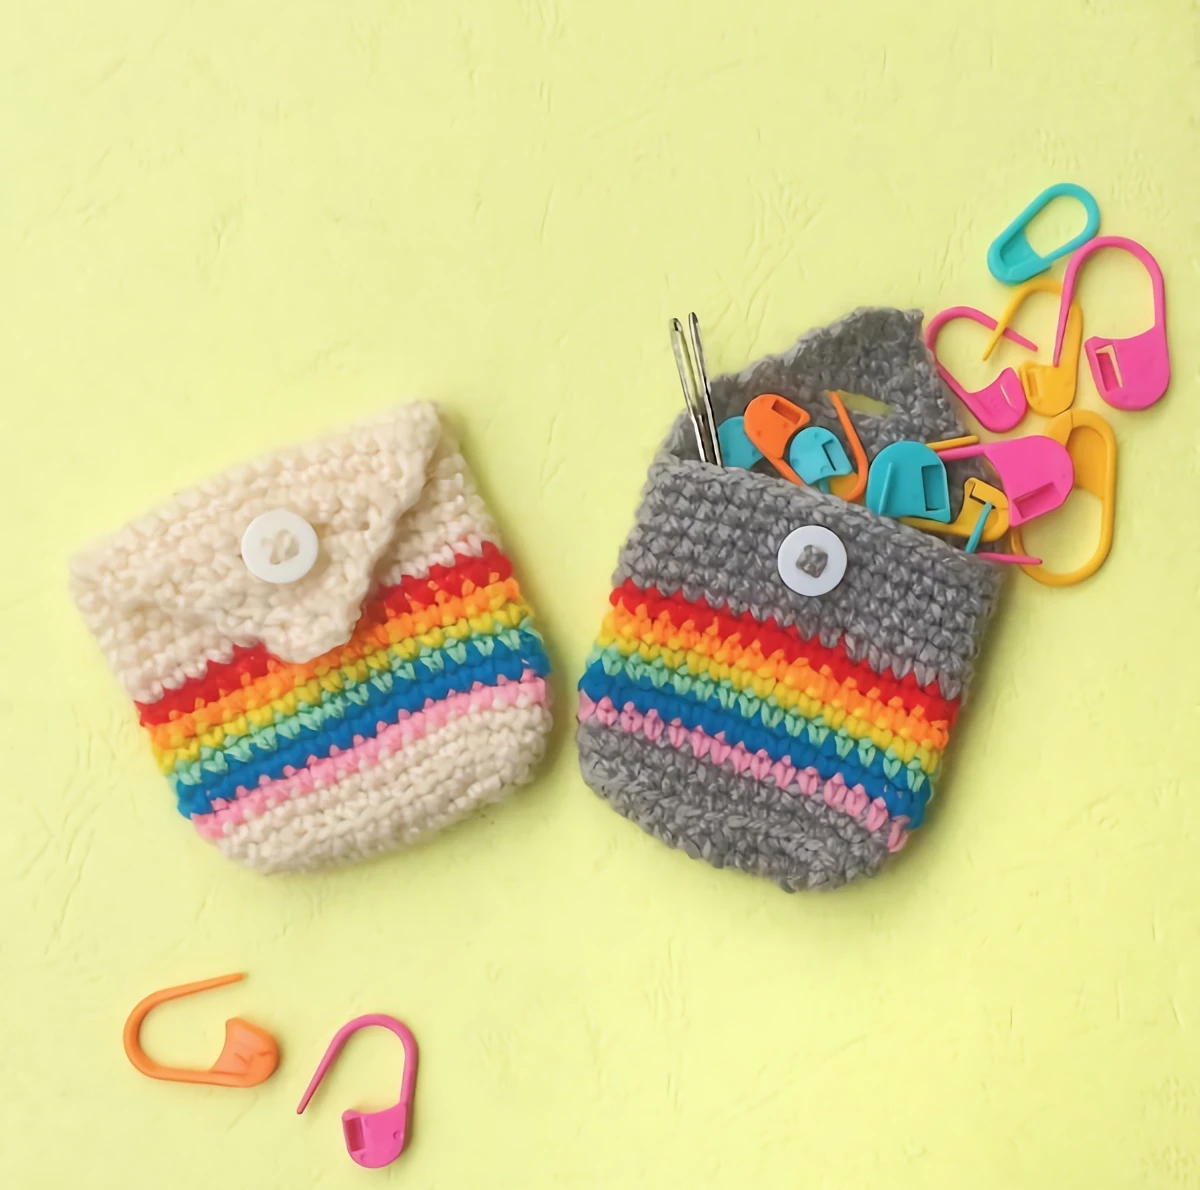
The number one problem for beginners is that their square starts to look like a trapezoid. This happens for one reason: you’re accidentally missing the first or last stitch of the row. That last stitch can be tricky to see. A quick tip: buy a small pack of plastic stitch markers (just a few dollars at any craft store). Clip one onto the very first stitch you make in a row and another in the very last stitch. This way, on the next row, you’ll know exactly where to start and stop. Problem solved!
Keep making rows until your piece is a square (probably 28-30 rows). To finish, cut the yarn, leaving a 6-inch tail. Yarn over and pull that tail all the way through the loop on your hook to make a knot.
Finishing Like a Pro: Weaving in Your Ends
Don’t just snip those yarn tails! Your project will unravel. This is where the tapestry needle comes in. Thread the tail onto your needle and weave it through the backs of the stitches for at least two inches. Go one way, then change direction and go back through a slightly different path. This locks it in place. This single step is the difference between an item that lasts and one that falls apart after one wash.
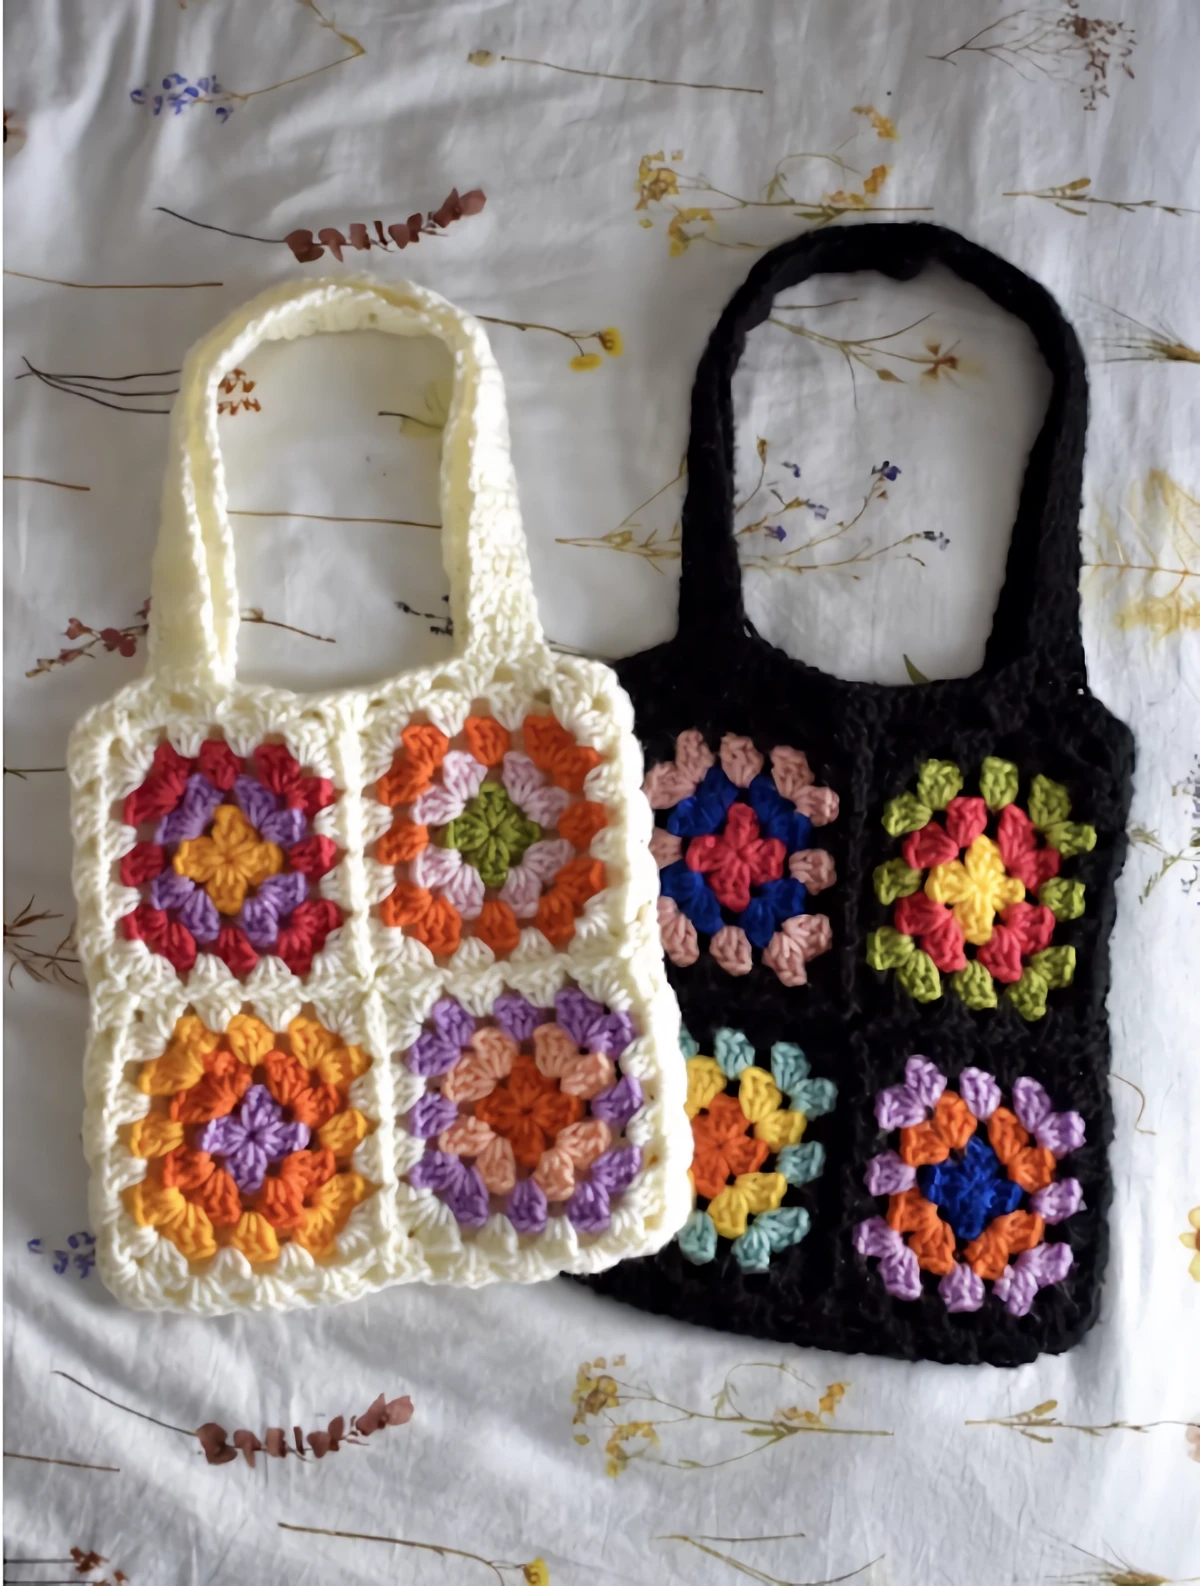
Project 2: The Classic Granny Square
Once you’re good with flat rows, you’re ready for the granny square. It’s a classic for a reason. It teaches you how to work in rounds from the center out, how to make stitch clusters, and how to change colors cleanly. It’s the foundation for everything from blankets to bags.
Techniques You’ll Learn:
- The Magic Ring: This is an adjustable loop for starting round projects that leaves no hole in the middle. It can be tricky, so don’t feel bad if you don’t get it right away. A quick search on YouTube for ‘crochet magic ring for beginners’ will give you tons of great visual guides. The alternative is to chain 4, then join the ends together to form a circle.
- The Double Crochet (dc): A taller stitch. To make one: yarn over, insert your hook, yarn over and pull up a loop (3 loops on hook). Yarn over, pull through the first two loops (2 loops left). Yarn over and pull through the last two loops.
- Joining with a Slip Stitch (sl st): When you finish a round, you’ll join it with a slip stitch. It’s super easy: just insert your hook into the target stitch, yarn over, and pull that new loop straight through both the stitch AND the loop that was already on your hook. It joins the round without adding any height.
Troubleshooting Your Granny Square
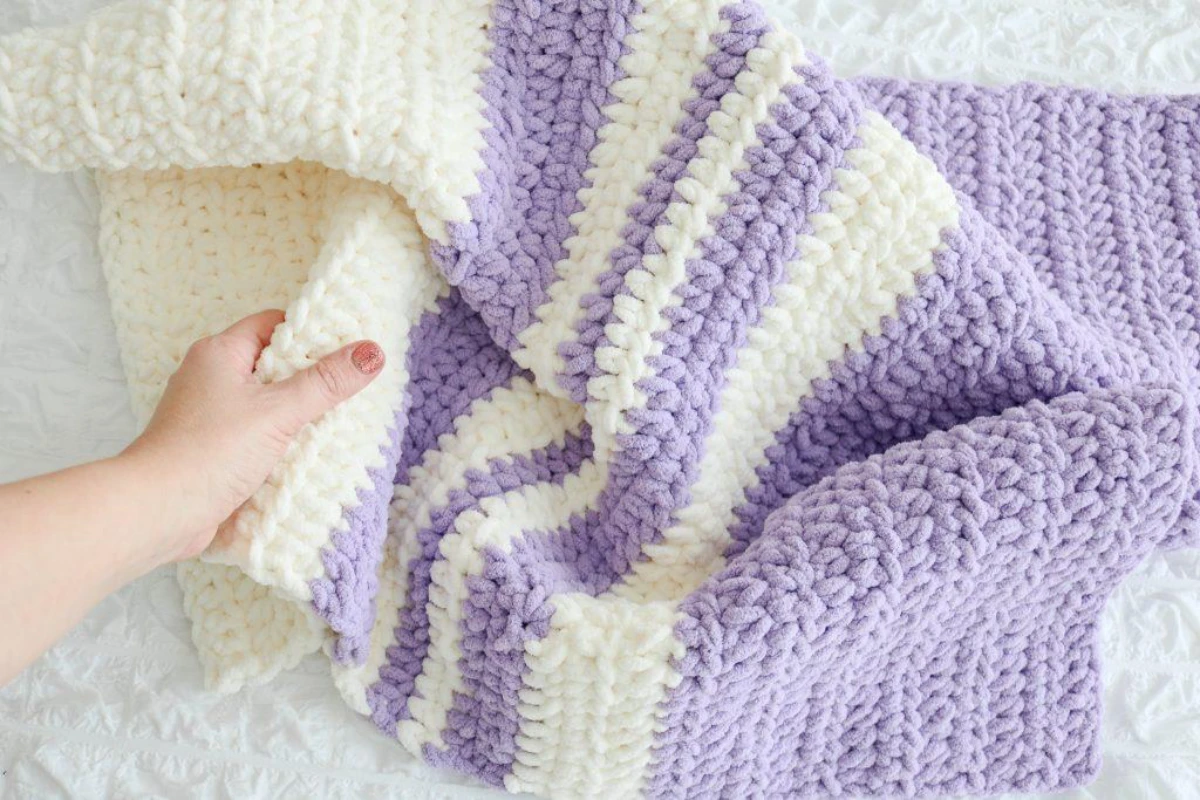
If your square is curling up like a bowl, your tension is probably too tight. If it’s getting wavy and ruffly, your tension is too loose. But what about when it looks a little… twisted? That’s actually normal! You can fix all these issues with a final step called blocking.
Before blocking, your square might look a bit wonky and uneven. To block it, you get it damp, gently pin it into a perfect square shape on a foam mat or towel, and let it dry completely. When you unpin it, it’s like magic. The stitches will have relaxed into a perfectly flat, crisp square. It’s the secret that takes your work from looking “homemade” to “handmade.”
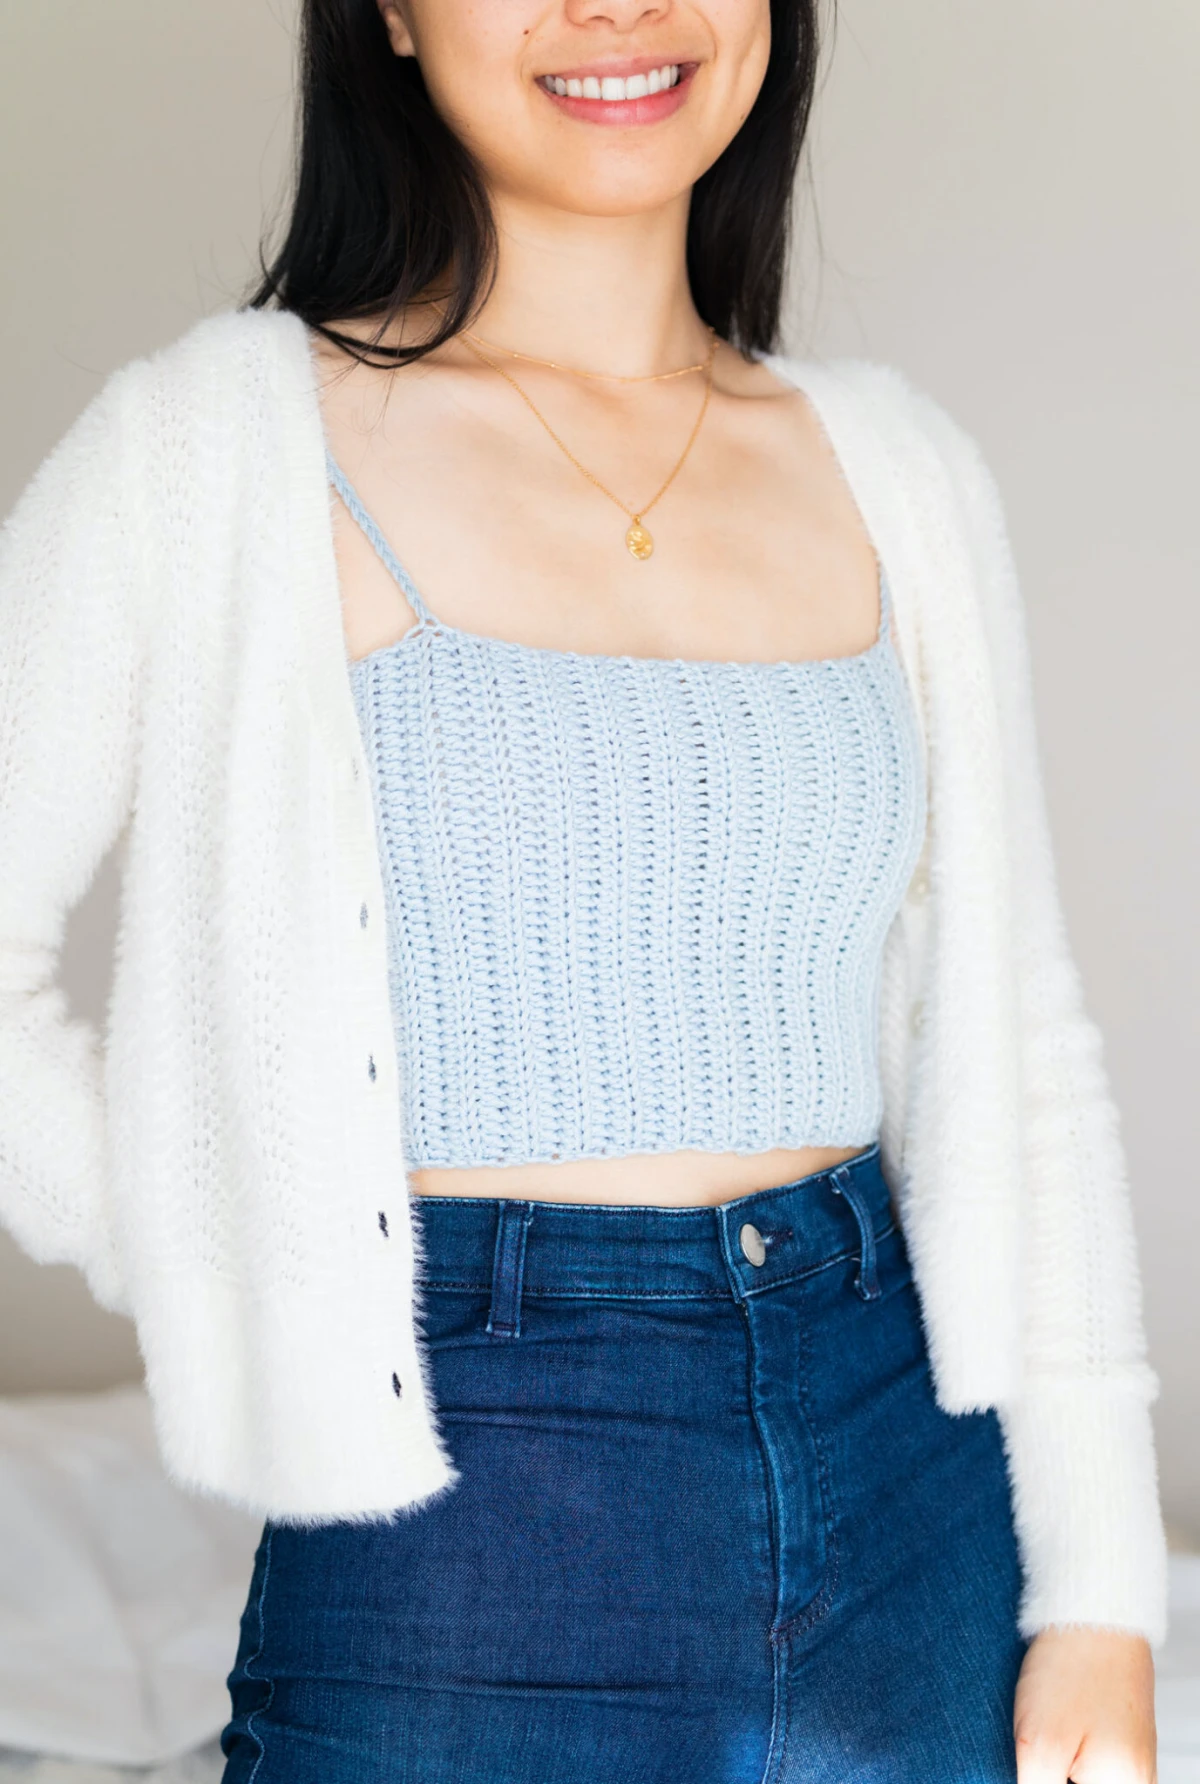
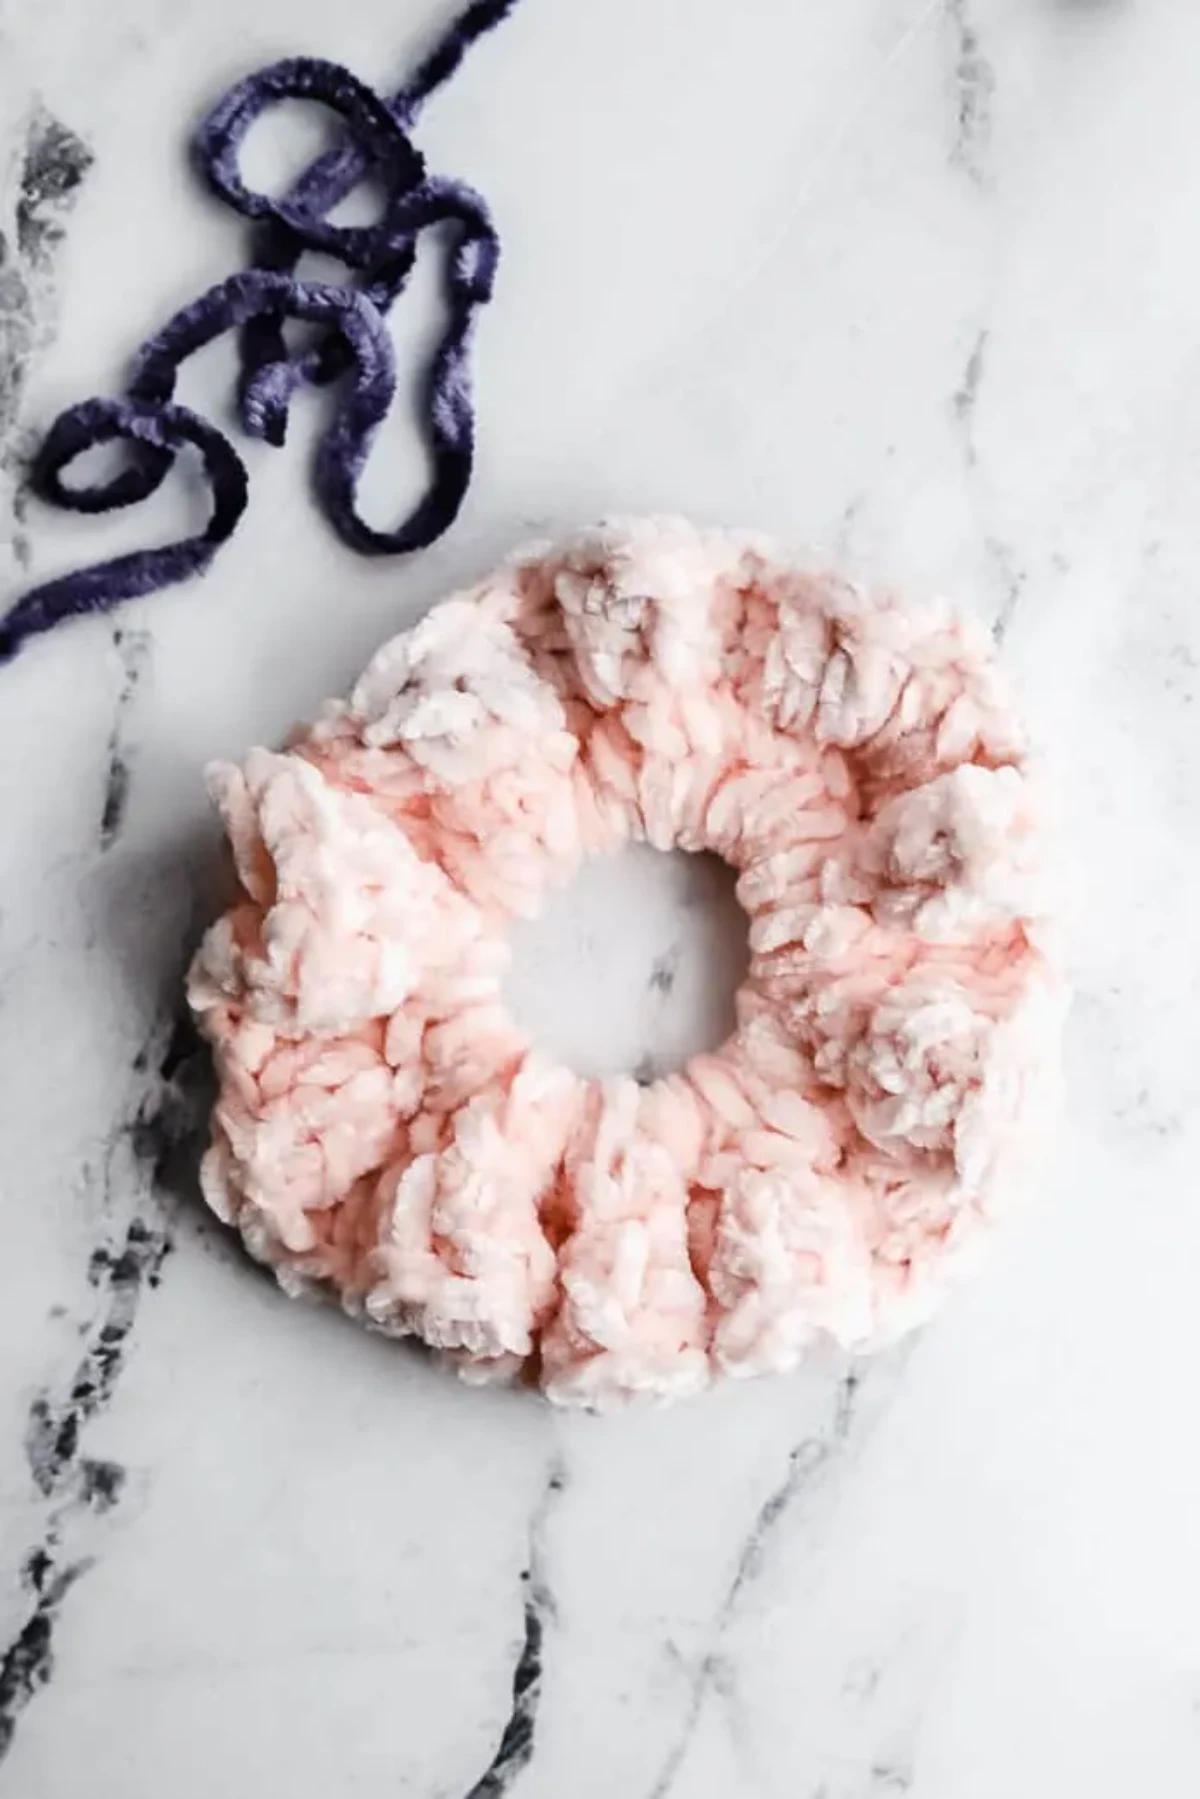
Project 3: The Simple Beanie
Making something you can actually wear is a huge milestone. A beanie is the perfect first garment. We’re going to make it as a flat rectangle and then sew it up, which is way easier for a beginner than trying to work in the round from the top down.
The Key: Getting the Right Fit
Okay, time for a tiny bit of easy math—don’t worry! For an average adult head, you’ll want your finished hat to be about 21-23 inches around. To make it fit snugly, you’ll actually make your rectangle a little shorter, about 20 inches long. First, you need to make a small test square (we call this a “gauge swatch”) in the stitch you’ll be using. Let’s say you get 4 stitches per inch. So, 20 inches x 4 stitches/inch = 80 stitches. That’s how many stitches long your rectangle needs to be. The starting chain will determine the height of the hat, and about 9 inches is a good standard.
The Stretchy Ribbed Technique
To get that classic, stretchy, ribbed look, we’ll use a stitch called Half Double Crochet in the Back Loop Only (hdc-blo). It sounds complicated, but it just means you make a normal half double crochet stitch, but you only insert your hook into the back loop of the stitch from the row below, instead of both loops.
Once your ribbed rectangle is the right size, you just fold it in half, sew the short ends together to make a tube, and then use your tapestry needle to weave a piece of yarn through the top edge and pull it tight like a drawstring to close the top. That’s it! You’ve made a hat!
Good Habits for a Lifetime of Happy Crafting
Crochet should be relaxing, not a source of physical pain. Trust me, I’ve seen too many people have to stop because of preventable injuries.
- Check Your Posture: Don’t hunch. Sit in a comfy chair with good light.
- Take Breaks: This is non-negotiable. Set a timer for 30 minutes. When it goes off, get up, stretch your back, and flex your hands and wrists. I once ignored a tingling in my wrist while rushing a project and ended up with tendonitis that kept me from crocheting for a whole month. It was awful. Don’t be me.
- Be Mindful with Materials: Keep your scissors and needles away from kids and pets. And if you’re making something for a baby, always use soft, washable fibers that don’t shed.
Learning to crochet is a journey. Your first pieces won’t be perfect, and that’s more than okay—it’s part of the process. Each mistake is a lesson. So be patient, focus on getting the fundamentals down, and soon enough, you’ll be able to bring anything you can imagine to life with just a hook and some yarn.
Inspirational Gallery with Photos
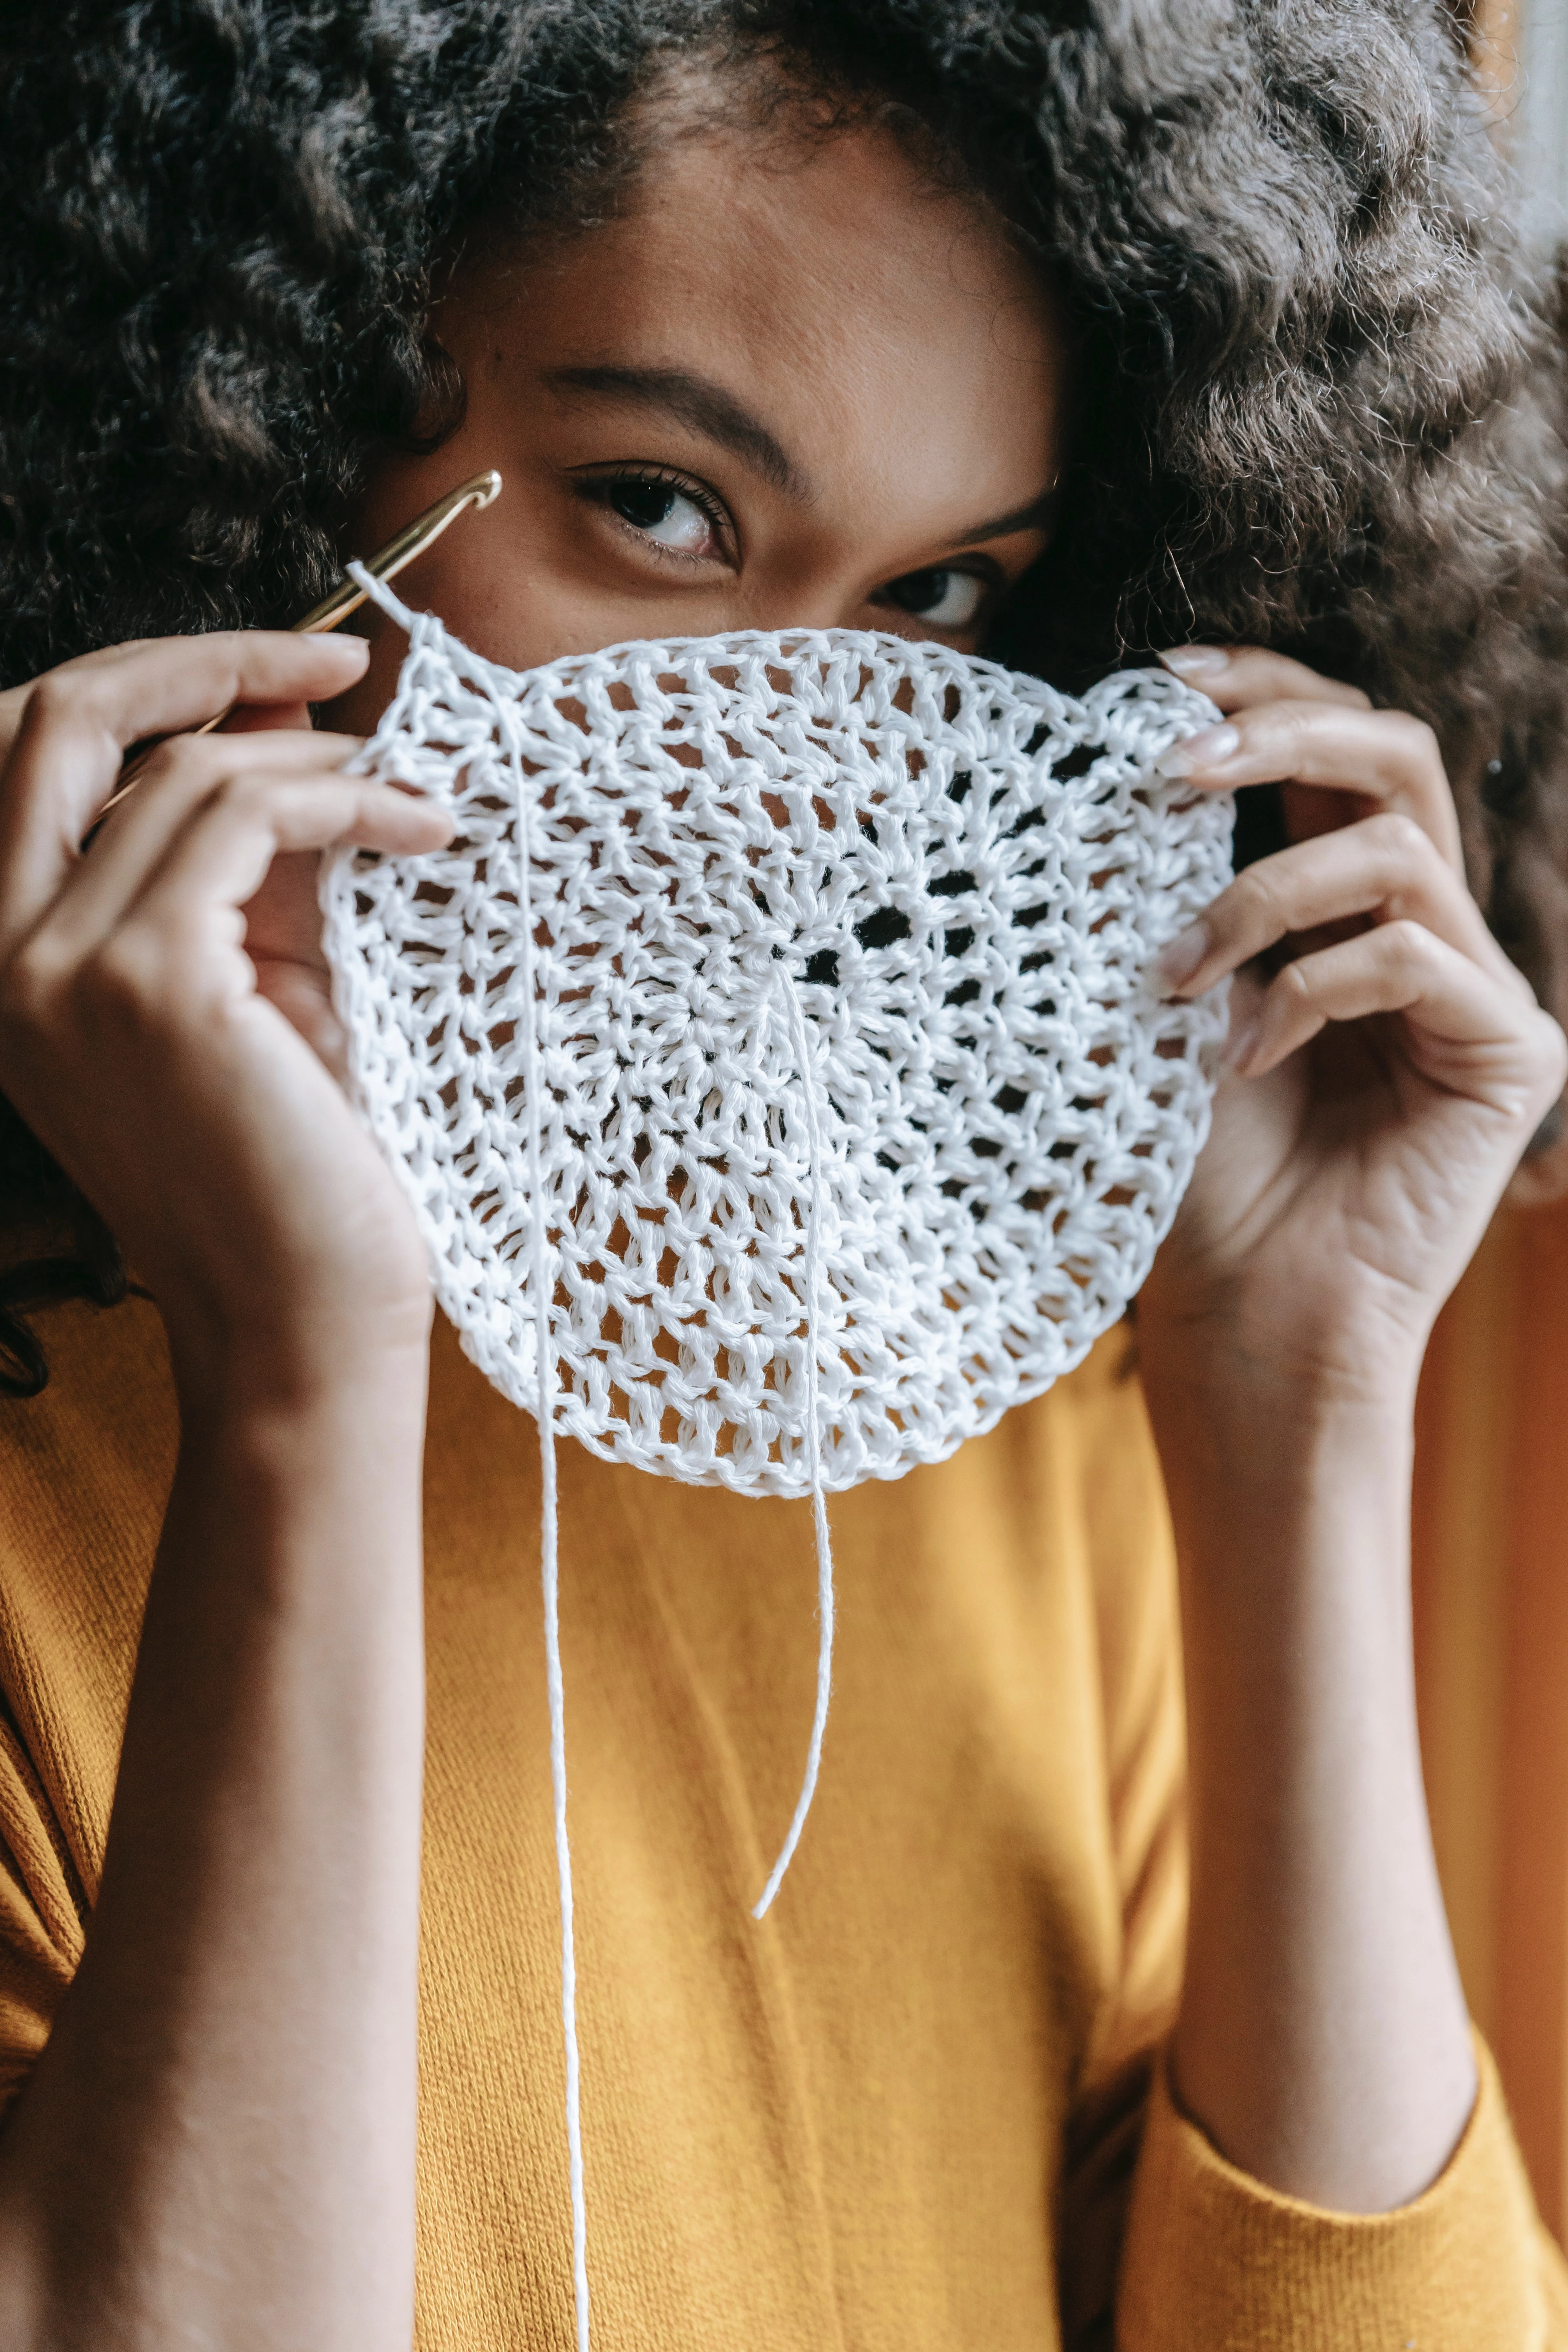
The secret to even stitches? It’s all in your grip. Many beginners hold their yarn so tightly it can’t glide. Try looping the yarn over your index finger and lightly pinching it with your middle finger and thumb. This creates a simple tensioning system, allowing the yarn to feed smoothly to your hook without being too loose or too tight. It feels awkward at first, but it’s the key to a relaxed, consistent fabric.
The word “crochet” comes from the Middle French word “croc” or “croche,” meaning hook.
This simple tool has a surprisingly complex anatomy. The two main styles are “inline” (like the Susan Bates brand), where the head is the same width as the shaft, and “tapered” (like Boye), where the throat narrows behind the hook. Many crocheters find inline hooks help create more uniform stitches, but it’s purely a matter of personal preference!
What does “yarn weight” on a label actually mean?
It has nothing to do with how heavy the skein is, but rather the thickness of the yarn strand itself. The Craft Yarn Council has a standard system from 0 (Lace) to 7 (Jumbo). For your first projects, a #4 weight, often called “Worsted” or “Aran,” is your best friend. It’s thick enough to see your stitches clearly but not so chunky that it’s difficult to handle. Yarns like Red Heart Super Saver or Lion Brand Vanna’s Choice are classic examples.
- Create versatile building blocks for blankets, bags, and cardigans.
- Practice working in the round and changing colors.
- Offer a quick, satisfying result in a single sitting.
The secret? The humble granny square. It’s the perfect “next step” after mastering a basic chain and single crochet, teaching you fundamental skills in a small, manageable package.
Aluminum Hooks: Sleek, smooth, and affordable. The yarn glides effortlessly, making them great for speed and for “grippy” fibers like 100% cotton. They can feel cold to the touch.
Bamboo Hooks: Warm, lightweight, and have a slight texture. This subtle grip is perfect for preventing slippery yarns (like silk or acrylic blends) from splitting or sliding off the hook too easily.
Many crocheters own both, switching between them depending on the project’s fiber.
Don’t be afraid to create a “stitch dictionary” in a dedicated notebook. As you learn a new stitch—the half-double, the bobble, the shell stitch—make a small 4×4 inch swatch of it and tape or staple it into your book. Note the hook size and yarn you used. This tactile library is far more useful than a photo, helping you remember how stitches feel and look in real life, and it becomes a fantastic source of inspiration for future projects.
A 2018 study with over 8,000 crocheters revealed that the vast majority (around 90%) reported that crochet makes them feel calmer, and over 80% said it made them feel happier.
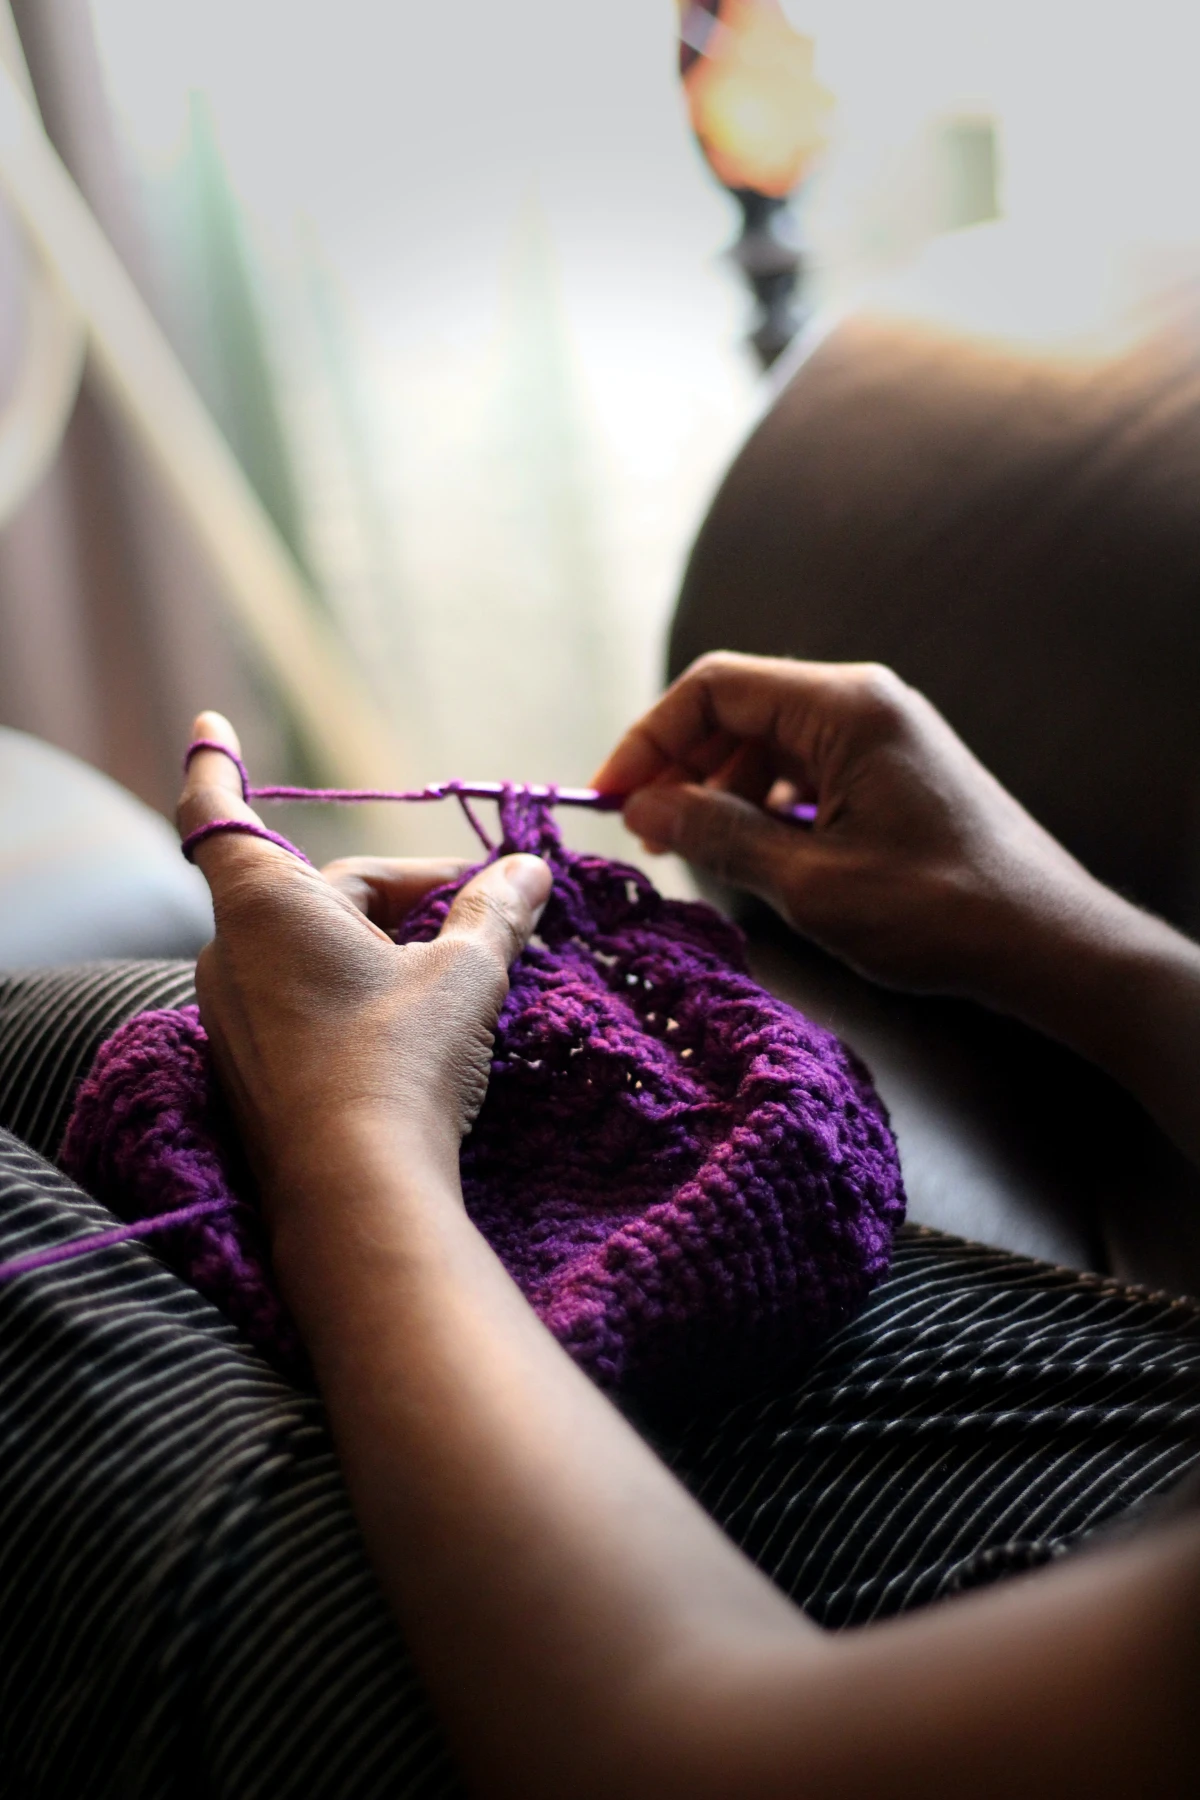
The repetitive motion of forming stitches can induce a state similar to meditation, reducing stress and anxiety. So, when you’re practicing your chains, remember you’re not just making knots—you’re engaging in a powerful form of mindfulness.
Ready to level up your comfort? Ergonomic hooks are a game-changer, especially for long crochet sessions. Hooks like the popular Clover Amour series feature a soft, wider handle that reduces hand strain and cramping. While they cost more than a simple aluminum hook (around $8-$10 each), investing in just one in your most-used size (like a 5mm H-8) can make the craft significantly more enjoyable and sustainable for your joints.
Once you’ve made something beautiful with natural wool, proper care is crucial to make it last. Here’s how to wash it without fear:
- Always use cold water to prevent shrinking and felting.
- Opt for a gentle, no-rinse wool wash like Eucalan or Soak. A small capful is all you need.
- Let it soak for 15-20 minutes. Do not agitate or wring it out!
- Gently squeeze out excess water, then roll the item in a clean towel and press firmly to absorb more moisture.
- Lay it flat on a dry towel or blocking mat, reshaping it to its original dimensions, and let it air dry completely.
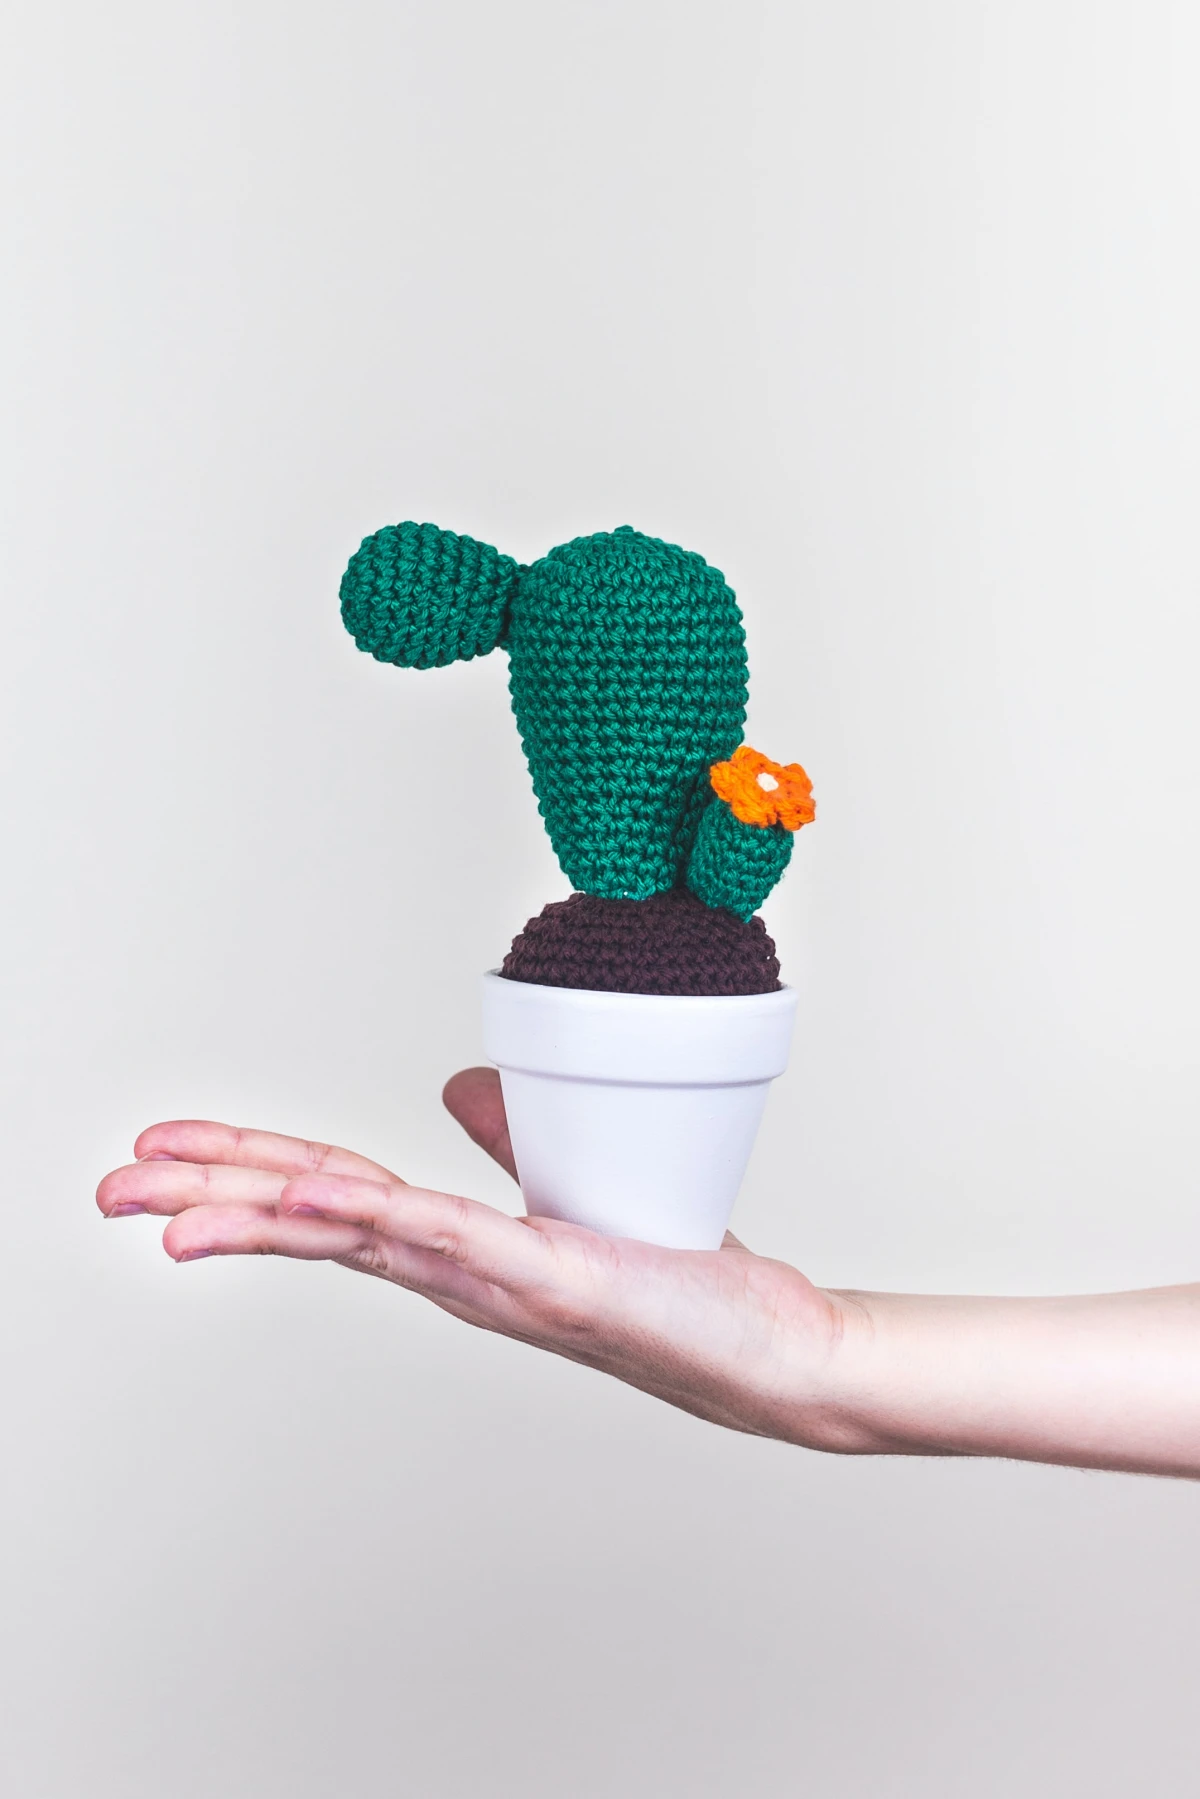
The explosion of Amigurumi—the Japanese art of crocheting small, stuffed creatures—is a testament to the charm of the single crochet stitch. These projects are typically worked in a continuous spiral, which is a fantastic way to practice keeping your tension even without the hassle of joining rounds. A kit from a brand like The Woobles can be a fun, guided entry into this adorable world.


