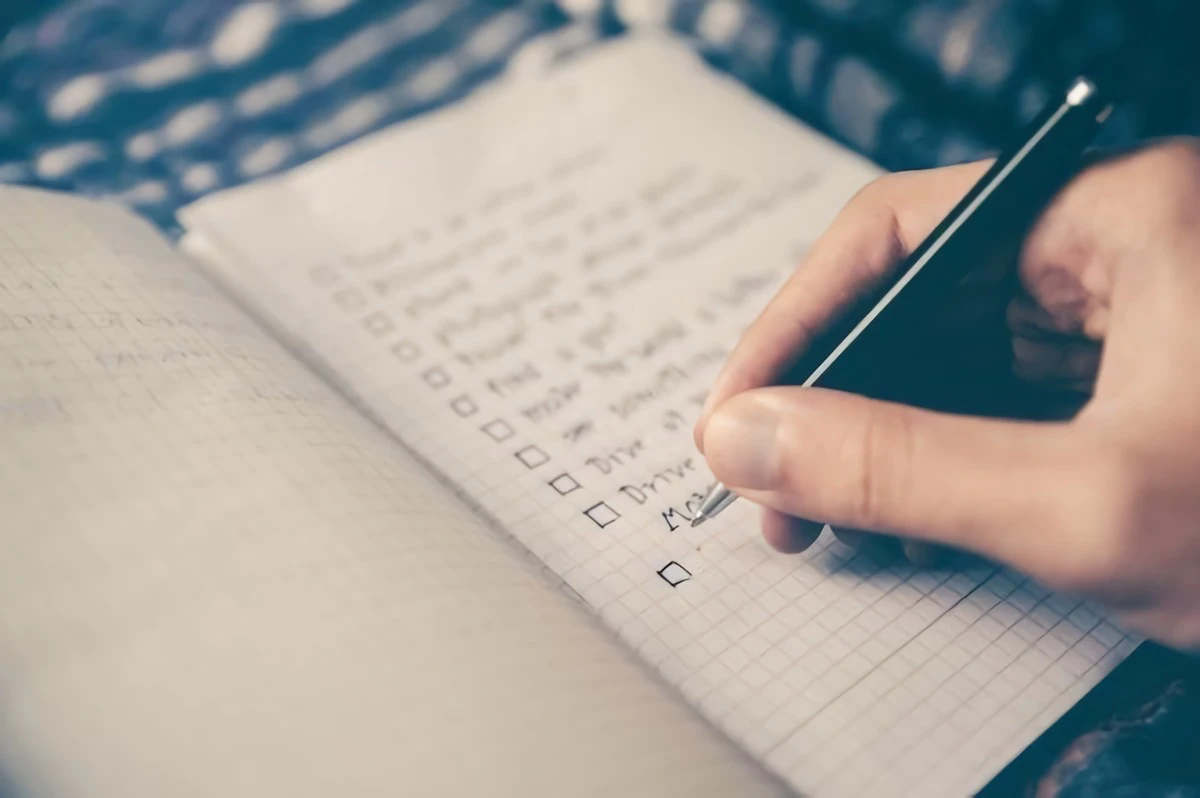
Don’t Unpack Yet: A Contractor’s Survival Guide to Your First 48 Hours in a New House
So the moving truck has pulled away, the last box is finally inside, and an almost eery quiet settles over the house. It’s a fantastic feeling, isn’t it? As someone who’s spent a lifetime in general contracting and home inspection, I’ve seen that look on a new homeowner’s face countless times. It’s a wild mix of pure excitement and bone-deep exhaustion.
In this article
Let’s be real, your first instinct is probably to find the box labeled “bedding,” order a pizza, and completely crash. I get it. But I also know that what you do in these first 48 hours is absolutely crucial. This isn’t about decorating; it’s about setting yourself up for safety, security, and feeling truly in control of your new investment.
Think of this as your professional orientation to the building you now own. We’re going to skip the fun stuff for a bit and focus on the core systems that keep your home standing and your family safe.

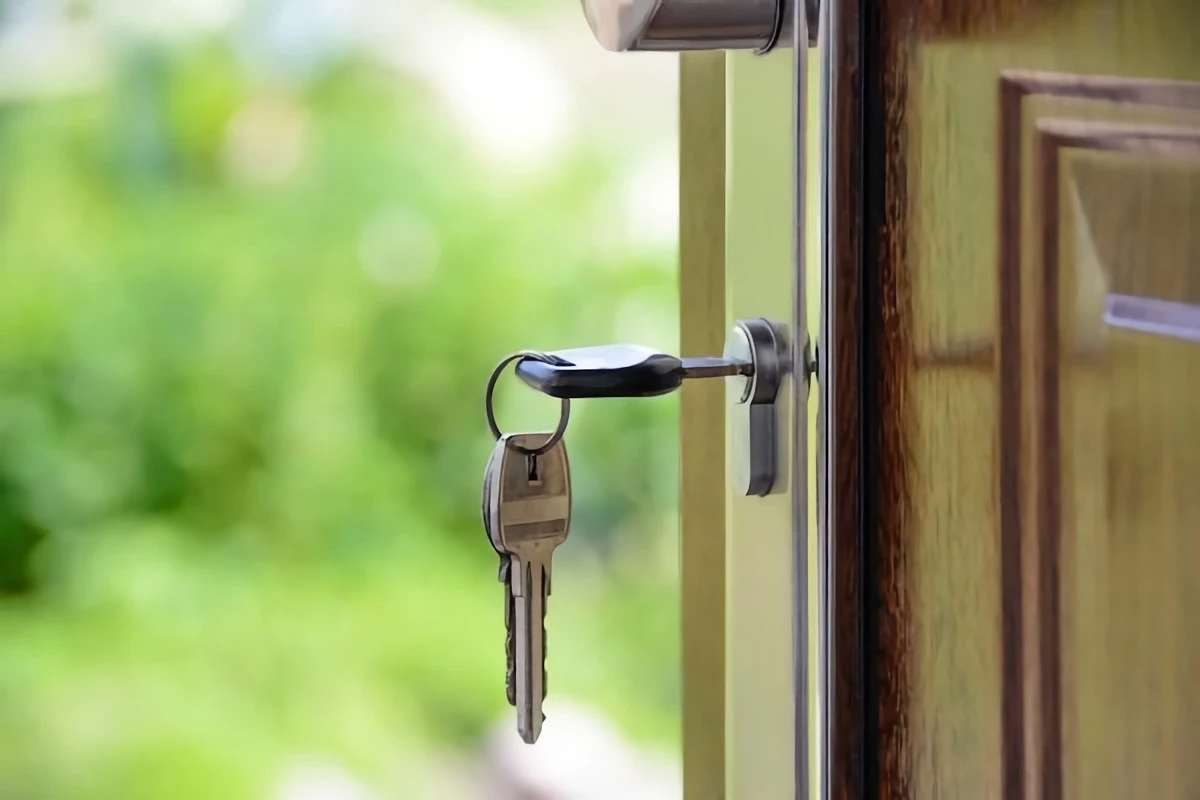
1. First Things First: Secure Your Home
Before you even think about where the couch should go, your number one job is to control who can get into your home. You have no idea who the previous owners gave a key to—contractors, neighbors, dog walkers, you name it. This is non-negotiable and it’s your first task.
Deal With the Locks Immediately
Your main entry doors are the top priority. You’ve got a couple of options here, and it really depends on the quality of the hardware you inherited.
One path is rekeying. A locksmith comes out and changes the pins inside your existing locks so the old keys are useless. This is a great, budget-friendly choice if the locks are high-quality and in good shape. The process itself usually runs about $20 to $40 per lock. Heads up, though: you’ll also have a service call fee, which is typically anywhere from $75 to $150, just for the visit.
Your other option is a full replacement. If the locks look old, cheap, or just feel flimsy, it’s time to swap them out entirely. I always tell people to invest in new deadbolts with at least an ANSI Grade 2 rating. Grade 1 is commercial-level overkill, but Grade 2 is perfect for residential security. You can find a solid deadbolt from a reputable brand for between $30 and $60 at any big-box hardware store.
Quick Pro Tip: A great lock is only as strong as its installation. The weakest point is almost always the strike plate on the door frame. Check the screws holding it in. If they’re the dinky half-inch ones that came in the package, they’re barely grabbing the thin door jamb. Go buy a pack of 3-inch screws for a few bucks. Swapping them out takes five minutes and lets the screw bite deep into the solid wood stud framing the door. It makes the door vastly more difficult to kick in. Best five dollars you’ll ever spend on security.

Check All Other Ways In
Security is more than just the front door. Spend 30 minutes on these other potential weak spots:
- Garage Doors: Dig out the manual (or find it online) and erase all existing codes for the remotes and the keypad. It’s usually as simple as holding down a “learn” button for a few seconds. Then, program your own private code.
- Sliding Glass Doors: These can be a real vulnerability. At the very least, grab a heavy-duty security bar to wedge in the track. Honestly, even a wooden dowel cut to the right length is better than nothing. For a more permanent fix, a locksmith can install a secondary bolt that pins the door directly to the frame.
- Windows: Walk through the entire house and check the lock on every single window. Do they all work? Are any frames loose or cracked? Make a quick list on your phone of any that need attention later.
- Smart Home Devices: By the way, if your home came with a smart thermostat, video doorbell, or smart locks, you need to perform a factory reset on every single one. This wipes the previous owner’s account and access. You don’t want someone else controlling your heat or watching your front porch. Treat digital keys just like physical ones!
2. Map Your Home’s Life-Support Systems
When an emergency hits, you don’t want to be scrambling in the dark looking for a shut-off valve. Knowing where the heart and brains of your house are can turn a catastrophe into a minor inconvenience. Plan to spend about an hour on this mapping project.
Find the Main Water Shut-Off
This is easily the most important valve in your home. A burst pipe can dump gallons of water per minute, causing unbelievable damage. You need to know how to stop it, fast. The main shut-off is usually located where the water line enters the house—check the basement, a crawlspace, or a utility closet. In warmer climates, it might be in an underground box near the street curb.
Test it carefully. Turn the valve slowly to the closed position. If it’s a round, spigot-style handle (a gate valve), it might be stiff. If it’s a lever (a ball valve), it just needs a quarter turn. If it feels completely seized, DON’T force it. A brittle, old valve can break right off in your hand, creating the very flood you’re trying to prevent. If it’s stuck, put “Call a Plumber” at the top of your to-do list. After closing it, turn on a faucet to make sure the water stops. Then, open it back up slowly.
Get to Know Your Electrical Panel
Your breaker box is the nerve center of the house, usually a gray metal box in the garage, basement, or a closet. Open it up and take a look.
The labels on the circuits are almost always a mess. This is where you need a partner. One person takes a small lamp or a phone charger and plugs it into outlets around a room. The other person at the panel flips breakers one by one until the light goes out. Label each breaker with a fine-tip permanent marker: “Kitchen Outlets,” “Master Bath Lights,” “Furnace,” etc. This will take an hour or two, but it will save you so much frustration down the road.
Safety first: Never, ever touch the large, thick wires coming into the top of the panel. They are always live. If you see rust, hear buzzing, or smell anything like burning plastic, close the door gently and call a licensed electrician immediately. Wondering how to find a good one? Ask for their license number and verify it online with your state’s licensing board. And always try to get at least three different quotes before hiring someone for a big job.

3. The All-Important Water and Drainage Check
Water is the number one enemy of any home. It causes rot, ruins foundations, and invites mold. This 30-minute inspection is critical.
Inside the House
- Faucets & Drains: Turn on every single faucet and look underneath the sink with a flashlight. Check for even the tiniest drips from the supply lines or the U-shaped P-trap pipe. A slow drip can go unnoticed for months, rotting out the whole cabinet.
- Toilets: Flush every toilet and listen. Does it stop running completely once the tank is full? A leaky flapper can waste hundreds of gallons of water a month. Also, give the toilet a gentle nudge to make sure it’s firmly secured to the floor.
- Water Heater: Find the water heater and check the temperature setting. For both safety and energy efficiency, it should be set to around 120°F (49°C). Look for any signs of rust or moisture on the floor around it. I once saw a nearly new water heater flood a basement because of a tiny, slow leak from a pressure valve that the owner never noticed. A five-second look could have saved them thousands.
Outside the House
Now, step outside. Look at your gutters. Are they clogged with leaves? Clogged gutters send water cascading down your siding and pooling against your foundation.
But here’s the real quick win. Look where your downspouts empty. Do they dump water right next to the house? If so, I want you to pause reading, go to a hardware store’s website, and order a few downspout extenders. They’re about $15 each and will channel water 5 to 10 feet away from your foundation. It’s the best $30 you’ll spend on your house all year, I promise.
4. A Quick Health and Safety Audit
These devices are your first line of defense. Do not assume they are working.
- Smoke & CO Detectors: Don’t just push the test button. That only checks the battery. Take each detector down and look for a date on the back. Smoke detectors expire after 10 years, and carbon monoxide (CO) detectors last about 7-10 years. If any are out of date, or if there aren’t enough, go buy new ones today. I recommend dual-sensor units and placing a CO detector on each level, especially near sleeping areas. A couple of good detectors will run you about $50-$80 total.
- Fire Extinguishers: Does the house have one? Check the gauge to make sure it’s in the green. If not, buy at least one ABC-rated extinguisher for the kitchen. Keep it under the sink. And please, learn how to use it: Pull the pin. Aim the nozzle at the base of the fire. Squeeze the handle. Sweep side to side. Oh yeah, and NEVER use water on a grease fire. That just spreads the flaming oil everywhere.
5. Create Your Homeowner’s Manual
Get a simple three-ring binder. Trust me on this. This will become the official brain for your house.
Start by making sections. The first should be for your key documents, like the home inspection report. Then, create a Maintenance Log. When you change the furnace filter, write down the date and the exact filter size (e.g., 16x25x1). When you get the gutters cleaned, log it. This history is invaluable.
Next, make an Appliance Info sheet. Walk around and write down the brand, model number, and serial number for your furnace, A/C unit, water heater, dishwasher, fridge, etc. Having this info in one place makes ordering parts or scheduling repairs a breeze.
A homeowner who can hand me a binder like this instantly earns my respect. It tells me they’re on top of things and helps me solve their problems twice as fast.
You’ve done the hard work. You’ve inspected, tested, and secured your new property. You’ve transformed yourself from a buyer into a true, in-control homeowner.
Now go order that pizza. You’ve definitely earned it.


