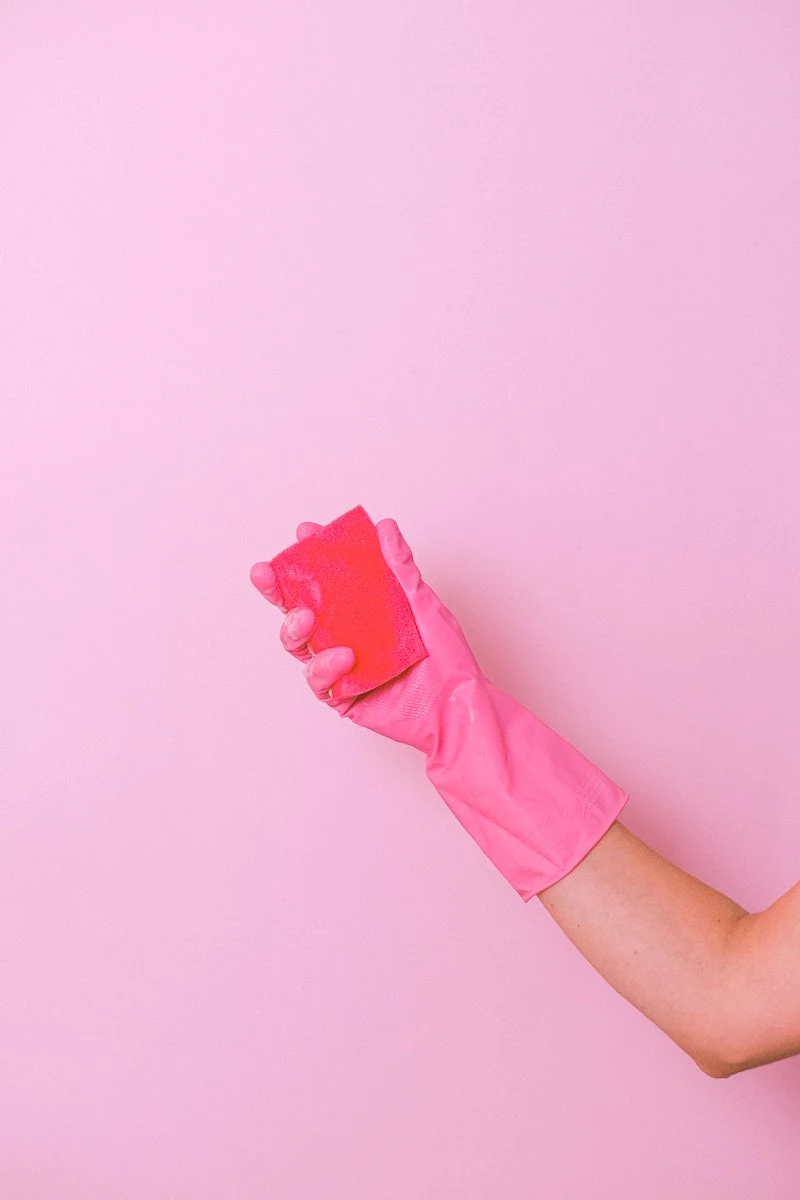
Stop Over-Cleaning! A Pro’s Guide to Doing Less (and Getting Better Results)
After years in the home care and maintenance game, I’ve seen one big mistake trip people up more than any other. It’s this idea that the more you scrub, polish, and clean, the longer your stuff will last. People go to town with harsh chemicals and abrasive sponges, thinking they’re protecting their investment. But honestly? They’re often just wearing things out faster.
In this article
I learned this lesson the hard way on a project once. We were working on a beautiful old property where the gorgeous wood floors had been stripped of all their character by decades of aggressive, wet mopping. It was a real shame.
Smart cleaning isn’t about how often you do it; it’s about timing, technique, and using the right tool for the job. It’s knowing that everything in your home has a lifespan, and your job is to preserve it, not scrub it into oblivion. This guide is all about that—a more sustainable approach that saves you time and protects your home from well-intentioned damage.
The Three Enemies of Your Stuff
Before we jump into specific items, you need to understand the three forces you’re unleashing every time you clean: chemistry, moisture, and abrasion. Getting a pro-level clean is all about getting the balance right.
- Chemistry (The Cleaner): Cleaning products are designed to break down grime, but that chemical reaction doesn’t magically stop there. Harsh, acidic, or super-alkaline cleaners can mess with the surface itself—etching stone, discoloring wood finishes, or corroding metal. The real goal is to use the mildest cleaner that actually works.
- Moisture (The Water): Water is great, but it can also be incredibly destructive. When it seeps into porous materials like wood, unsealed grout, or certain types of stone, it can lead to swelling, warping, and even mold. Good to know: controlling moisture is probably one of the most important professional techniques out there.
- Abrasion (The Scrubbing): Every single time you scrub something, you’re removing a microscopic layer of the surface. A soft cloth might not do much, but a scouring pad or a stiff brush creates tiny scratches that add up over time. These scratches dull the finish and, ironically, make the surface get dirty even faster.
A pro doesn’t just clean; they perform maintenance. Let’s break down how to apply this way of thinking to common things you’re probably cleaning way too often.
1. Wooden Furniture and Cabinetry
Oh, wooden furniture… it’s often the most expensive stuff in a house and, unfortunately, the most easily damaged by bad cleaning habits. Here’s a crucial point: you are not cleaning the wood. You are cleaning the thin, protective finish on top of the wood.
The Pro Technique
For your weekly dusting, forget the feather duster—it just pushes dust into the air. The best tool is a slightly damp microfiber cloth. And I mean slightly. Wring it out until it feels almost dry to the touch. This minimal moisture is enough to grab the dust without leaving any water behind to damage the finish.
When you need a deeper clean, maybe once a quarter, you can mix up a super-gentle solution: just one or two drops of a pH-neutral dish soap in a quart of warm water. Use a soft cloth, dip it in, and then wring it out completely. This is a three-step dance: gently wipe with the soapy cloth, immediately follow up with another cloth dampened with plain water to “rinse,” and finish by wiping everything bone-dry with a third, clean cloth. This process ensures no sticky soap residue gets left behind.
A Word on Polishes and Waxes
I see people spraying aerosol furniture polish every week, and it makes me cringe. It’s a huge mistake. Most of those products contain silicones and oils that don’t “feed” the wood at all. Instead, they create a cloudy, sticky film right on top of the original finish. This greasy layer is a magnet for more dust and is a nightmare to remove without damaging the wood underneath. I once spent two full days carefully stripping years of this gunk off a client’s dining set. Underneath was a beautiful satin finish they hadn’t seen in years.
Real polishing should only happen once or twice a year, if ever. If you want to add a layer of protection, use a high-quality carnauba paste wax. This is a project, not a quick chore—plan on it taking a couple of hours for a large table. You apply a super-thin layer, let it dry to a haze, and then buff it off. This is about protection, not cleaning.
Heads up! Always test any new cleaner or polish in a hidden spot first, like the back of a table leg. And if you have a true antique with a delicate shellac finish, just stick to dusting and call a furniture restorer for advice.
2. Hardwood, Laminate, and Tile Floors
Floors take a beating, so it’s tempting to want to wet-mop them into submission. But for many floor types, this is the worst thing you can do. The pro mantra for floors is simple: keep them dry.
For Wood Floors…
According to all the industry standards, you should never, ever wet-mop a hardwood floor. Water is wood’s number one enemy. It seeps between the boards and can cause them to swell, warp, and cup at the edges. That kind of damage is permanent and costs a fortune to fix.
Your main cleaning tool should be a vacuum with a soft brush head or a microfiber dust mop to pick up grit. For a deeper clean (maybe once a month, tops), use a spray bottle filled with a pH-neutral hardwood floor cleaner. Look for brands like Bona or Zep, which you can find at places like Home Depot for around $10-$15. Avoid the all-in-one “mop and shine” products. Lightly mist a small section of the floor and immediately wipe it up with a microfiber mop. The floor should be dry in seconds. If you see any standing liquid, you’re using way too much.
For Laminate and Vinyl Plank…
While these are more water-resistant than wood, they are not waterproof. Laminate is basically a picture of wood on a fiberboard core. If water gets into the seams, that core swells and bubbles up, and you can’t fix it. Treat it just like hardwood: dry mopping and very minimal moisture.
For Tile and Grout…
The tile itself can handle water, but the grout between the tiles is a different story. Grout is basically porous cement. Mopping with dirty water or harsh chemicals will stain it and wear it away. I’ve seen grout turn black not from dirt, but from dirty mop water just soaking in over and over.
Quick tip: Not sure if your grout is sealed? Drip a few drops of water on it. If the water beads up nicely, you’re sealed. If it soaks in and darkens the grout, it’s unsealed. Be extra careful with unsealed grout—a steam mop used sparingly can be great, but a sealer (which you can apply yourself) is your best friend. A good grout sealer makes future cleaning a thousand times easier.
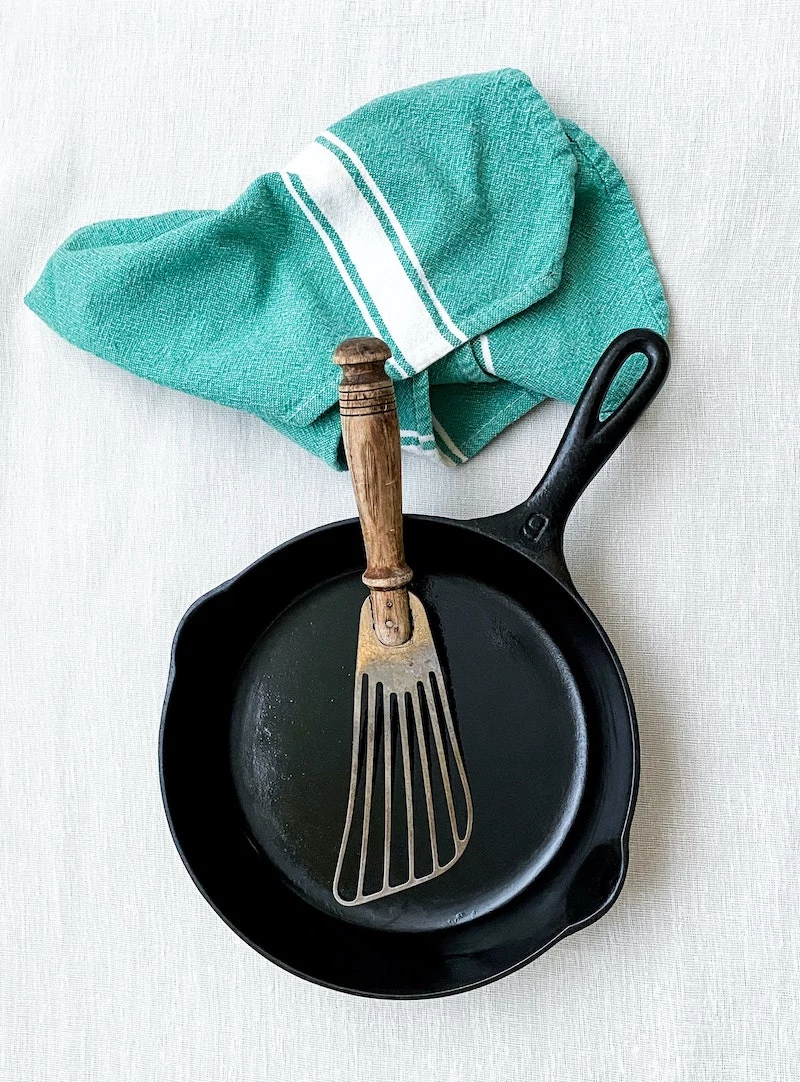
3. Cast Iron Cookware
Cleaning a cast iron pan isn’t really about getting it sterile; it’s about protecting its non-stick surface. That beautiful black surface is called seasoning, and it’s a layer of polymerized oil that you build up over time. Soap is designed to break down oil, so you can see where the conflict is.
The Right Way to Clean It
The best time to clean cast iron is right after you cook, while it’s still warm. 1. Scrape out any big bits of food with a wood or plastic scraper. 2. Run the pan under hot water and scrub with a stiff, non-metal brush. The heat and water do most of the work. 3. For really stubborn food, pour in a tablespoon of coarse salt and a tiny bit of water to make a paste. Scrub with a paper towel. The salt is a gentle abrasive that won’t wreck your seasoning. 4. This is the most important step: DRY THE PAN IMMEDIATELY. I put mine back on the stove over low heat for a minute to make sure every drop of moisture is gone. This prevents rust. 5. While it’s still warm, wipe a very thin layer of cooking oil (like grapeseed or canola) all over the inside. Then, use a clean paper towel to wipe it all back off. It’ll leave a microscopic protective layer. The pan should look satiny, not greasy.
By the way, to make life easier, you can put together a little ‘Cast Iron Care Kit’ for under $30. All you need is a chainmail scrubber (about $15 online), a set of pan scrapers ($5), a box of coarse salt ($2), and a bottle of a good, neutral oil ($8).
And what if you mess up and get rust? Don’t panic! It happens to everyone. Just scrub the rust off with some steel wool, wash the pan with soap and water just this once, dry it completely on the stove, and then do a quick round of seasoning to patch it up. It’ll be good as new.
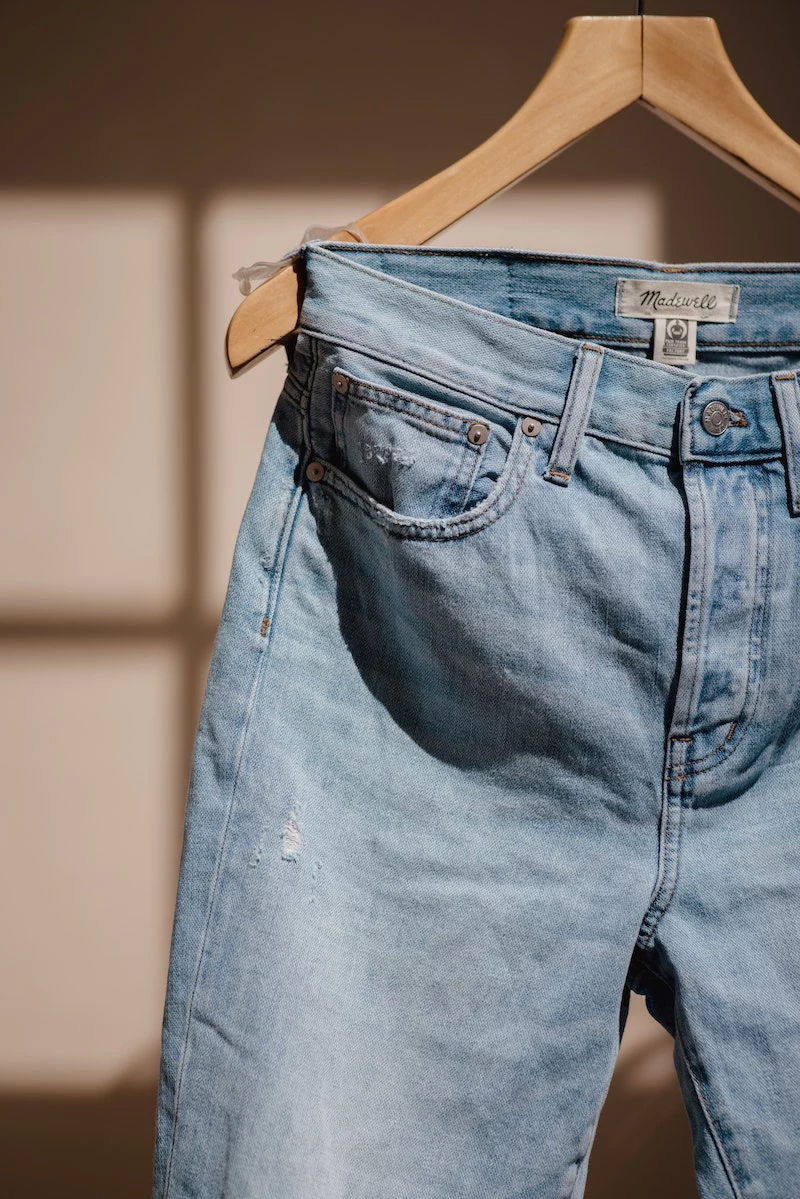
4. Denim Jeans
That advice you’ve heard to rarely wash your jeans? It’s legit. It comes straight from the folks who make high-quality denim. It isn’t about being gross; it’s about preserving the color and fabric.
Denim is tough cotton, but the washing machine is tougher. The tumbling action breaks down the fibers, while the detergent strips out the indigo dye, causing fading. For most of us who just want our jeans to last and fit well, frequent washing is the enemy.

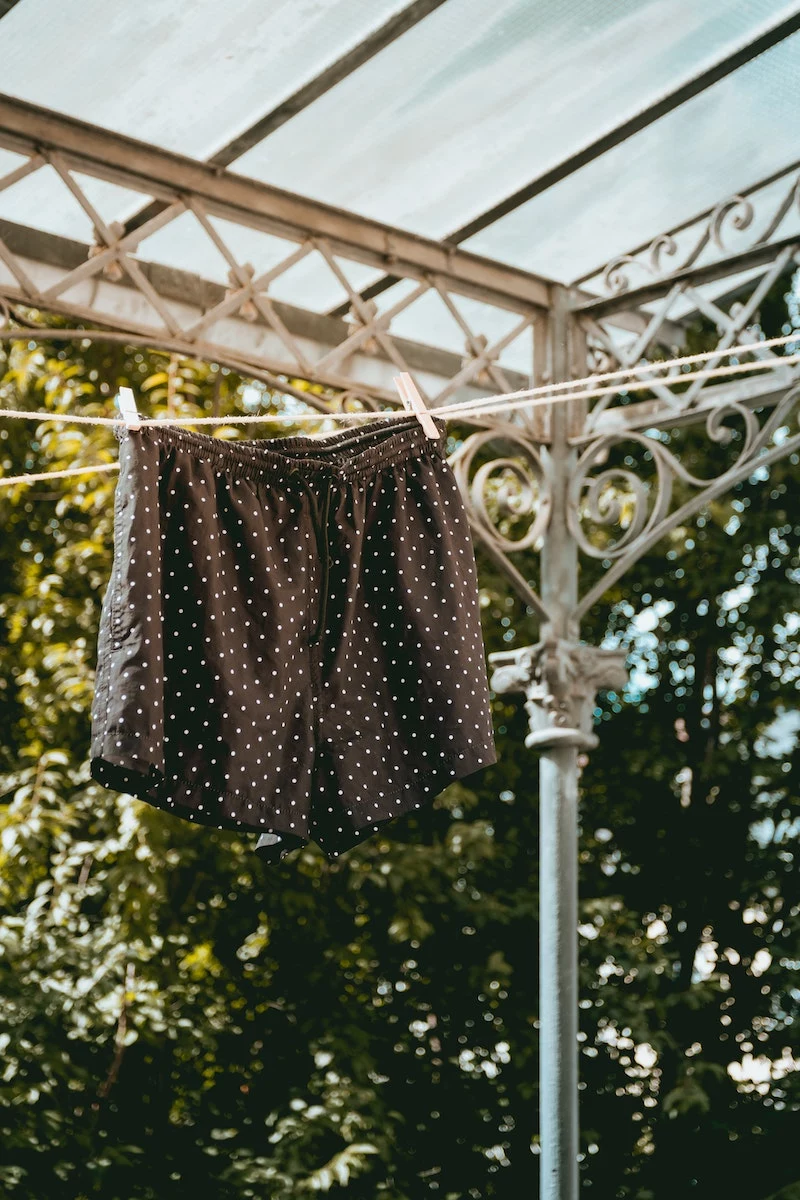
So, wash them only when they are visibly dirty or actually smell. In between, you have options: Spot Clean: Use a damp cloth and a dot of mild soap to treat small spills. Air Them Out: Hanging jeans outside for a few hours works wonders. Fresh air and a little UV light are great deodorizers. Steam Them: Don’t have a yard? Just hang them in the bathroom while you take a hot shower. The steam will release wrinkles and freshen them up.
When you absolutely have to wash them, turn them inside out, use cold water on a gentle cycle, and please, please, HANG THEM TO DRY. A hot dryer is the fastest way to shrink your jeans and destroy any stretch fibers.
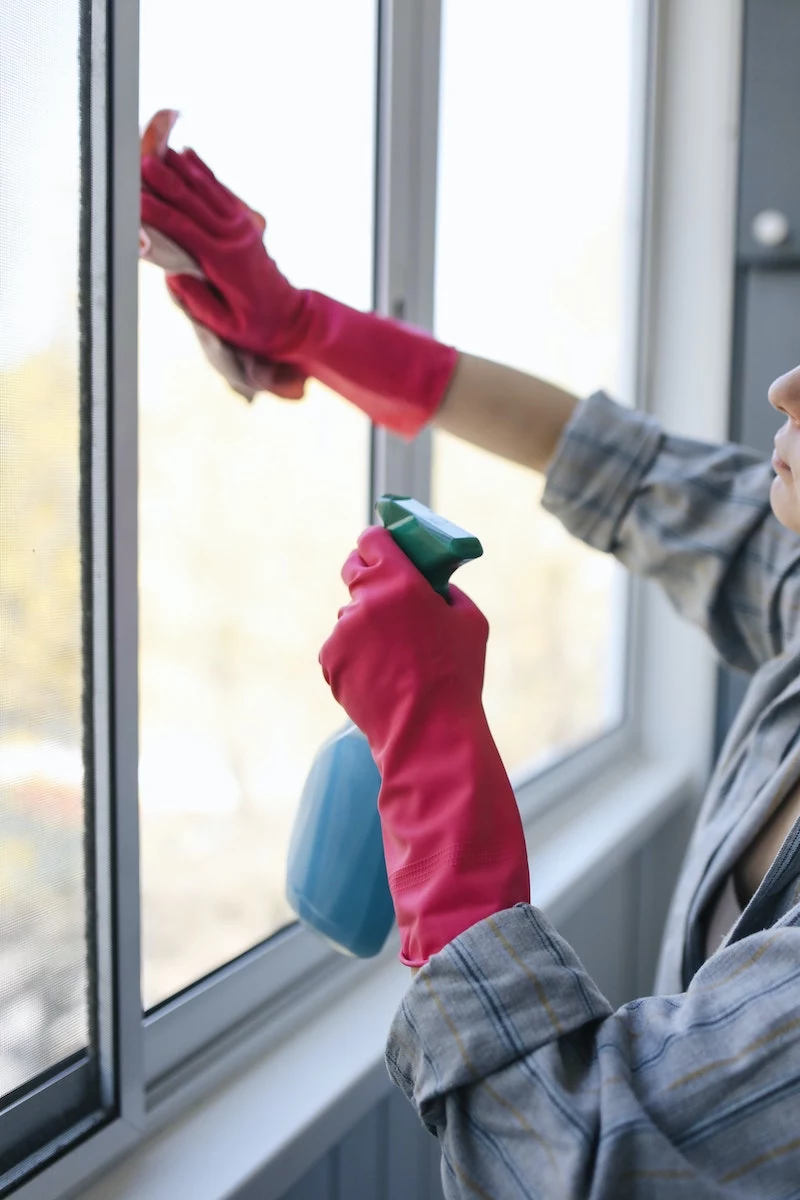
5. Windows and Glass
I often see people dutifully cleaning their windows every month, but they just end up with a streaky mess. Here’s the secret: most of the grime is on the outside. For most homes, a really good cleaning once or twice a year is more than enough.
The Pro Squeegee Method
First, get the right tools. Forget the paper towels and blue spray. You need a bucket, a few drops of dish soap, a strip applicator, and a high-quality squeegee. A pro-grade squeegee from a brand like Ettore will cost you maybe $15-$20 at a hardware store, and it’s the single best investment for this job. 1. Work on an overcast day. Sunlight dries the soap solution too fast, which is a guaranteed recipe for streaks. 2. Use the strip applicator to get the window nice and soapy, scrubbing off all the dirt. 3. Take your squeegee, angle it at about 30 degrees, and pull it down in one smooth, continuous stroke. Overlap each stroke by about an inch. 4. Here’s the game-changing tip: Wipe the rubber blade of the squeegee with a clean cloth after EVERY SINGLE STROKE. This is what prevents those ugly little drag lines.
Still getting streaks? It’s usually one of three things: you’re working in the sun, your squeegee blade is old and nicked, or you forgot to wipe the blade between passes.
And I can’t say this enough: if the window requires a ladder, hire a professional. Seriously. I’ve heard too many horror stories. A couple hundred bucks for a pro is way cheaper than a trip to the emergency room. It’s just not worth the risk.
6. Your Bed Pillows
Washing your pillows too often is a surefire way to make them lumpy, flat, and useless. The goal should be to protect the pillow itself, not constantly soak the filling.
Down, feather, and synthetic pillows can usually be machine washed (no more than twice a year!), but you have to be careful. Use a front-loading machine if you can, wash two at a time to keep the machine balanced, and use very little detergent. The real challenge is drying. It can take hours on low heat, and you should throw in a few wool dryer balls to help fluff them back up. But what if they still come out lumpy? Just keep drying. More time on low heat with the dryer balls almost always solves it.
Memory foam and latex pillows? NEVER put them in a machine; they will literally tear apart. Those can only be spot-cleaned by hand.
The Best Solution? Protection.
The single best thing you can do for any pillow is to use a zippered pillow protector under your pillowcase. It’s a barrier against sweat, dust mites, and oils. You wash your pillowcase weekly and the protector monthly. Do this, and you might only need to wash the actual pillow once a year, if that. It will dramatically extend its life.
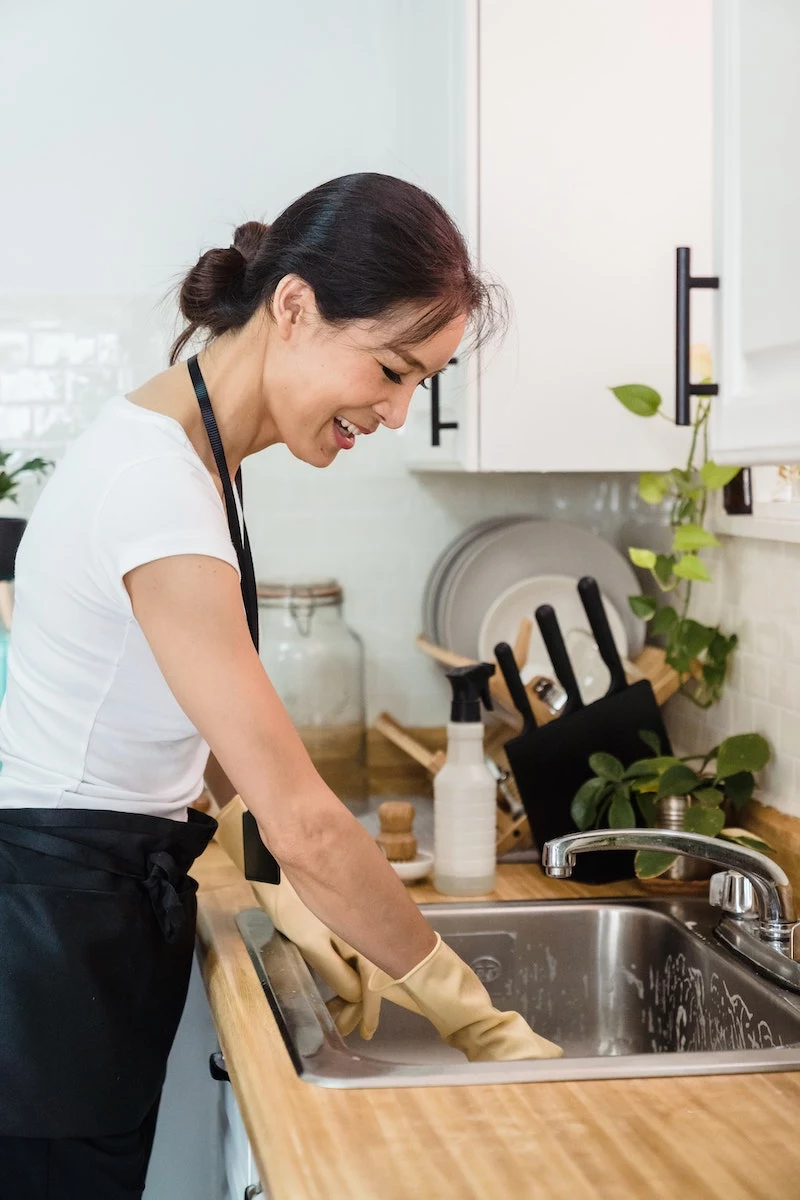
7. That Pre-Rinse Dishwasher Habit
This is a habit that needs to die. It comes from a time when dishwashers weren’t very good. Modern dishwashers and detergents are designed to work on dirty dishes. In fact, they work better* that way.
Modern detergents are full of enzymes that are built to attack food particles. When you rinse your dishes until they’re sparkling clean, the detergent has nothing to do. This can be less effective and can even cause a fine, cloudy etching on your glassware over time as the detergent basically scours the bare glass.
The Right Way
Just scrape the big stuff—bones, leftover chunks—into the trash. Leave the sauces, smears, and crumbs. Trust the machine. It knows what to do.
This only works, however, if your dishwasher is maintained. You have to clean the filter. Most people don’t even know it’s there, but it’s a 30-second job that makes all the difference. Just find the cylindrical filter at the bottom of the tub, twist to unlock it, pull it out, and rinse it under hot water. Pop it back in. Do that once a month, and your machine will work like new.
A Smarter Cleaning Schedule
Instead of just cleaning randomly when things look dirty, think like a pro and put yourself on a schedule. It turns an overwhelming chore into a manageable system.
- Daily (15 mins): Wipe down kitchen counters after cooking. Do a quick sweep of the entryway/kitchen. Scrape and load dishes into the dishwasher.
- Weekly: Vacuum all the floors. Really clean the bathrooms. Change bed sheets and pillowcases. Dust the furniture.
- Monthly: Damp mop the hard floors. Clean the dishwasher filter. Wash the pillow protectors.
- Seasonally/Annually: Do a deep clean of the windows. Wash the actual pillows. Wax any wooden furniture that needs it.
Adopting this mindset isn’t about being lazy. It’s about being strategic. It’s the craft of maintenance, not just the endless labor of cleaning. You end up with a home that’s not only cleaner but also better cared for in the long run.


