My Workshop’s Secret Weapon? A $30 Hair Dryer
I’ve spent a long, long time fixing and restoring things, and if there’s one thing I’ve learned, it’s that the most impressive tools aren’t always the ones that solve the problem. In my workshop, we’ve got all the heavy-duty gear: calibrated heat guns, specialized presses, you name it. And yet, I probably grab a plain old household hair dryer more often than you’d think.
In this article
Honestly, it has saved a project more than once. Not because it’s the best tool, but because it’s often the right tool when you need a gentle touch instead of raw power.
At its heart, a hair dryer is just a source of warm, directed air. That’s the magic. A professional heat gun can scorch paint and melt plastic in seconds, which is great when you need it, but terrifying when you don’t. A hair dryer, on the other hand, works in a much more forgiving temperature range. Understanding this simple difference is the key to unlocking its potential way beyond the bathroom.

This isn’t about random ‘life hacks.’ I’m going to walk you through the practical, tested ways I actually use a hair dryer in my work. We’ll cover why these methods work, how to do them right, and—most importantly—how to keep your project (and yourself) safe.
First, Let’s Talk Tools: The Right Gear for the Job
Before we dive in, let’s get our toolkit ready. The right gear is simple and cheap, but it makes all the difference.
Your Workshop Hair Dryer Toolkit:
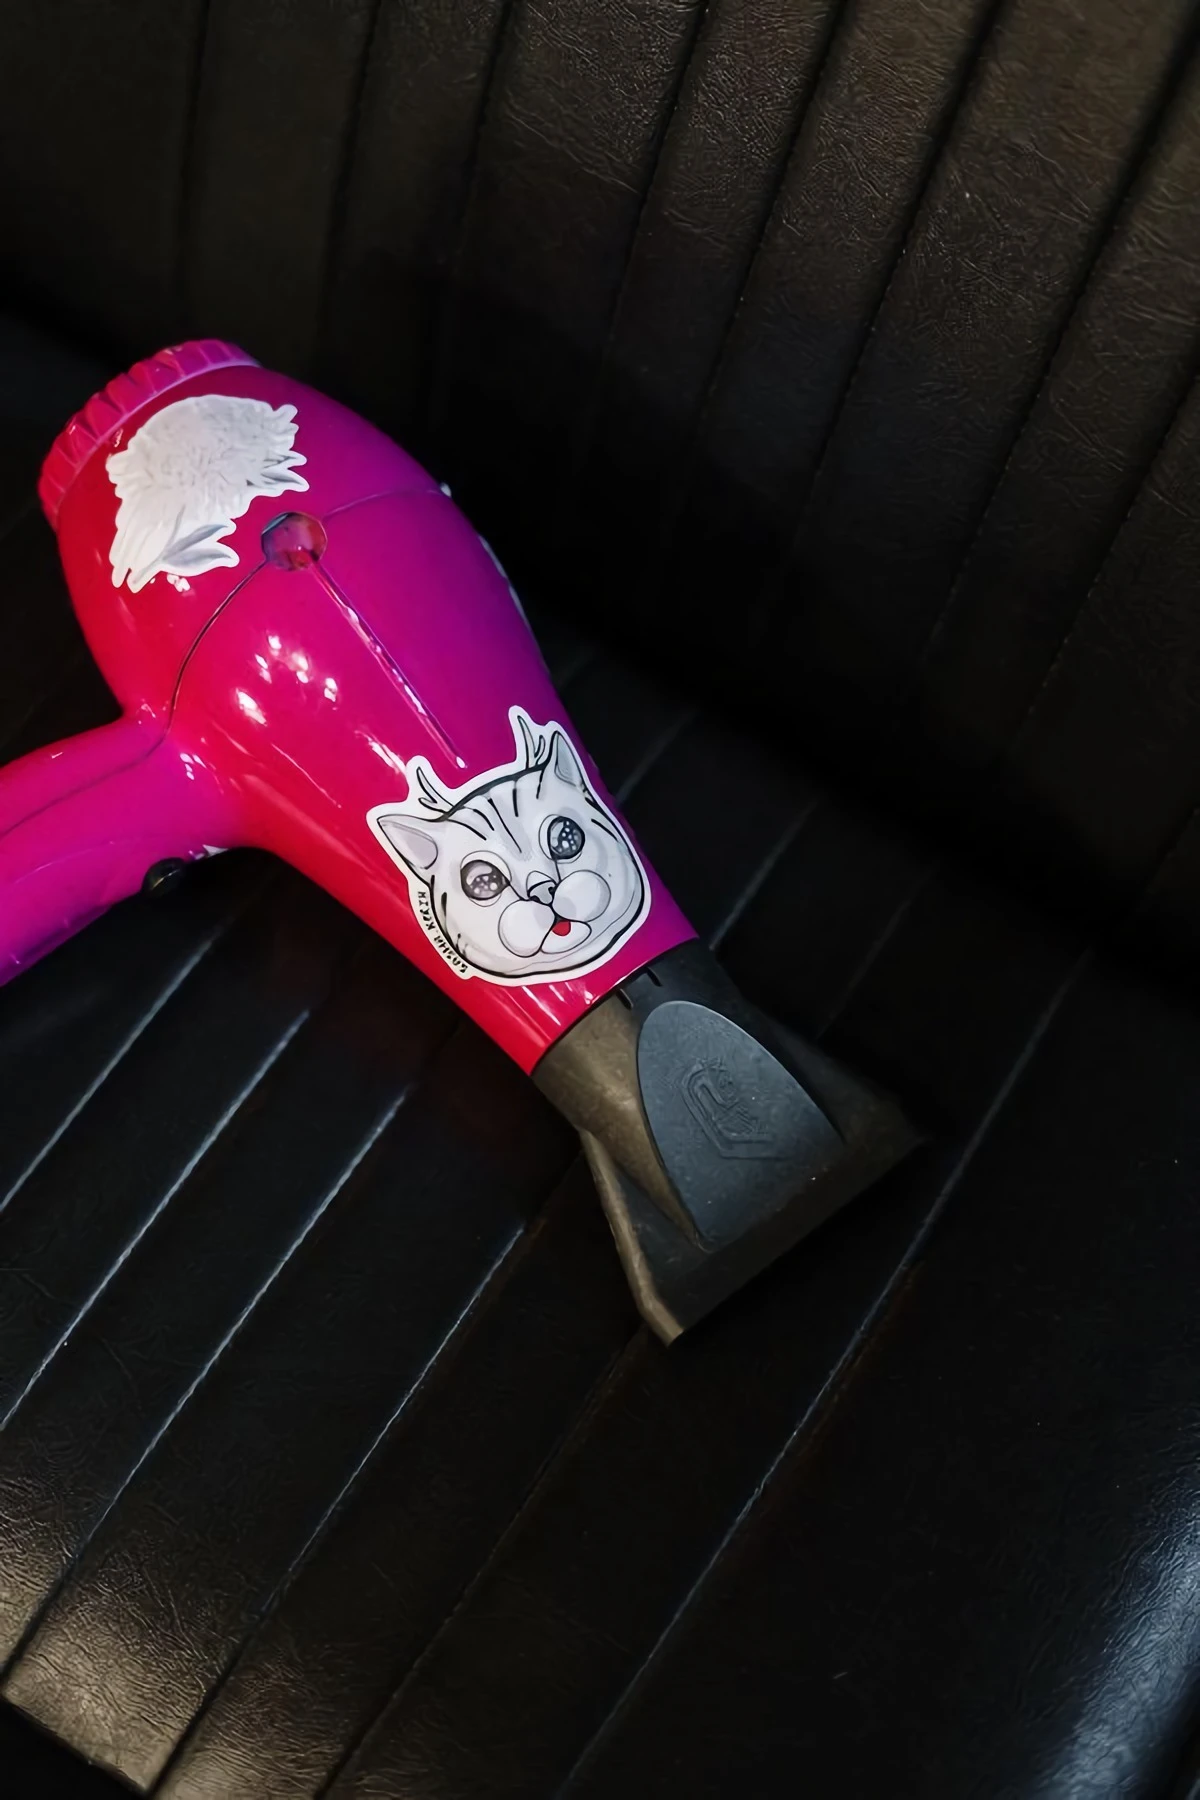
- A Good Hair Dryer: We’ll cover what to look for below, but plan on spending about $25 to $50.
- Plastic Scraper or Spudger: A set of plastic pry tools is invaluable for scraping without scratching. You can find a good set online for around $5. An old credit card also works in a pinch!
- Isopropyl Alcohol: Get a bottle of 90% or higher. It’s the best for cleaning up sticky residue and costs about $3 at any pharmacy.
- Leather Conditioner: If you plan on trying the shoe-stretching trick, a quality cream or paste conditioner is a must. It’ll run you about $10 to $15 a tin, and it’s essential for preventing damage.
Hair Dryer vs. Heat Gun: What’s the Difference?
So, why not just use a heat gun on a low setting? It’s a common question, but they are fundamentally different tools. A heat gun is a beast, designed to strip paint and shrink tubing. Even on its lowest setting, it can easily pump out air at 500°F or more. They typically cost anywhere from $30 for a basic model to over $100 for a professional one.
A hair dryer, by comparison, is a gentle giant. Its top temperature usually hovers between 130°F and 150°F. This is the sweet spot for softening adhesives, gently warming plastics, and manipulating waxes without causing instant destruction. It’s all about control, not brute force.
What to Look For in a Workshop Hair Dryer
When you’re shopping for one, don’t get distracted by fancy ionic or ceramic technologies. We don’t need silky smooth hair, we need reliable heat. Here’s what to look for:
- Independent Controls: This is the most important feature. You want a dryer that lets you have high fan speed with low heat, or low fan with high heat. That versatility is crucial.
- A ‘Cool Shot’ Button: This button bypasses the heating element entirely, giving you room-temperature air. It’s perfect for setting materials after heating or for just blowing away dust without applying any heat.
- Decent Power: Look for something with at least 1800 watts. This ensures it can produce consistent heat without struggling. A cheap, $15 travel dryer probably won’t cut it.
Working with a Gentle Touch: Adhesives & Waxes
One of the most common jobs for a hair dryer is dealing with anything sticky or waxy. The trick is to be precise and avoid making an even bigger mess.
Technique 1: Removing Stubborn Labels and Price Tags
You know the feeling. You buy something new, and the price tag shreds into a dozen fuzzy, sticky pieces. A little heat is the perfect fix.
How it works: Most stickers use a pressure-sensitive adhesive that gets less… well, adhesive… when it’s warm. By gently heating it, you’re basically turning the glue from a sticky solid into a gooey liquid, letting the label slide right off.
The Pro Technique:
- Start Low and Slow: Set the dryer to its lowest heat and fan setting. You can always add more heat, but you can’t undo a warped piece of plastic or a faded book cover.
- Apply Even Heat: Hold the nozzle about two to three inches from the label and move it in slow circles for about 20-30 seconds. You’re looking for the edges to get a little shiny or ‘wet’ looking. That’s the glue softening.
- Peel with Care: Use a fingernail or a plastic spudger to lift a corner. Please, never use a metal razor blade—it will almost certainly scratch the surface. The label should come off in one clean piece. If it resists, give it another 10 seconds of heat.
- Clean Up: If any gummy residue is left, a quick wipe with a soft cloth and a bit of that isopropyl alcohol will take care of it. Just be sure to test the alcohol on a hidden spot first, especially on plastics or painted surfaces.
Heads up! This method is fantastic for glass, metal, and ceramic. But be super careful with soft plastics, which can warp, or paper book covers, where the glossy finish can bubble. I once tried this on an old record sleeve for a customer and the heat made the printed ink layer separate from the cardboard. Always start low and go slow.
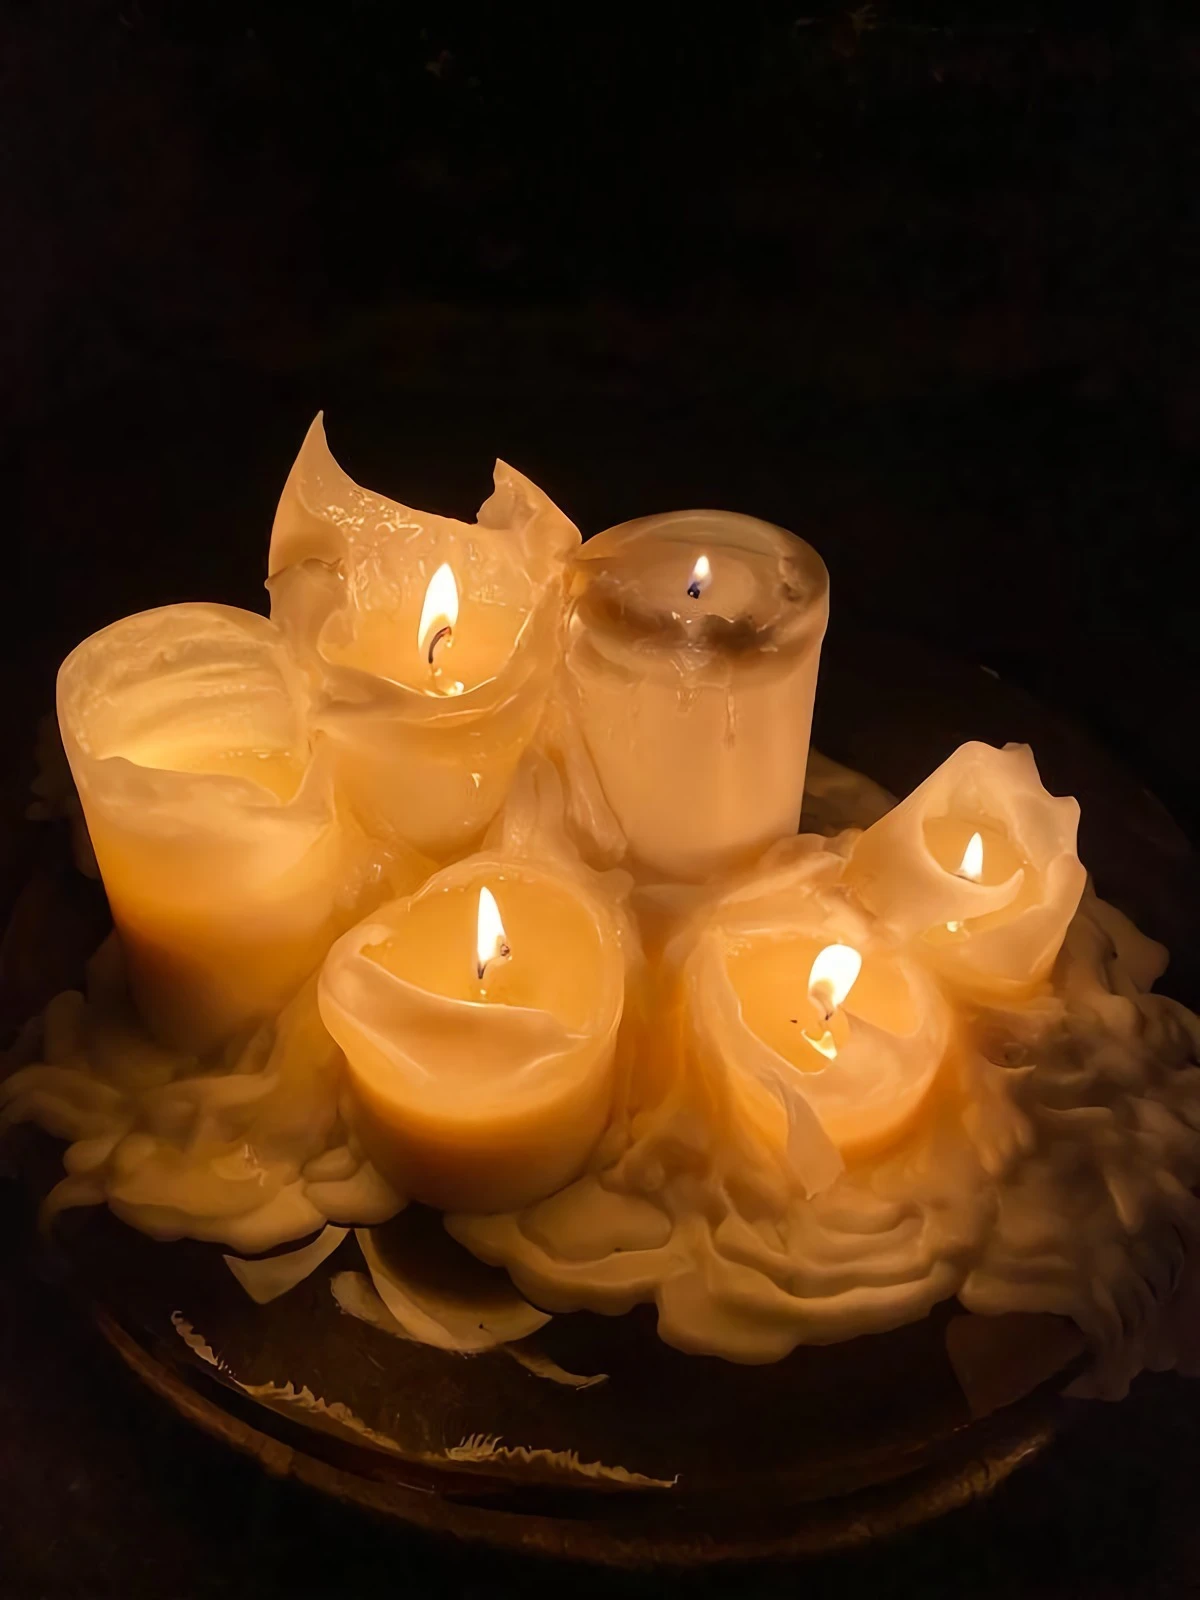
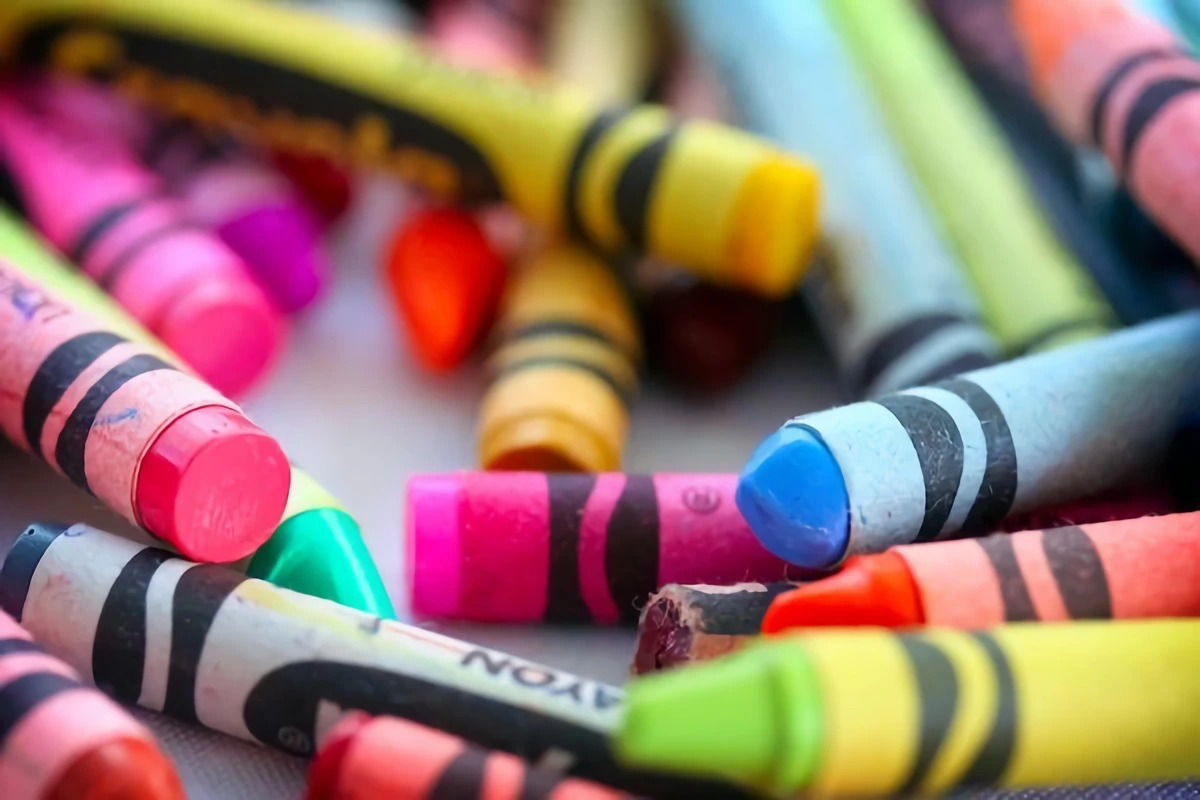
Technique 2: Cleaning Up Spilled Candle or Crayon Wax
Whether it’s a toddler’s masterpiece on your wall or a tipped-over candle on the floor, wax is a pain. Chipping at it usually just scratches the surface underneath.
The idea here is simple: wax melts at a low temperature, well within the range of a hair dryer on medium heat. For a hard surface like a wood floor or tile, gently melt the wax and immediately wipe the liquid up with a paper towel. Work from the outside of the spill inward to keep it from spreading.
For soft surfaces like carpet or upholstery, the approach is a little different. After gently scraping off any big chunks, lay a clean paper towel (or even a piece of a brown paper bag) over the stain. Then, heat the area through the paper. The paper acts like a blotter, absorbing the wax as it melts. You’ll probably have to replace the paper with a fresh piece a few times until no more wax comes up.
A quick safety note: while it’s highly unlikely, wax vapor can be flammable at very high temperatures, so don’t leave it unattended. Also, be aware that on some synthetic carpets, the heat can damage the fibers. And if the wax was colored, it might leave a dye stain behind even after the wax is gone.
Reshaping and Treating Fabrics
A hair dryer can also be a surprisingly good stand-in for a garment steamer or a leather stretcher, as long as you have a delicate touch.
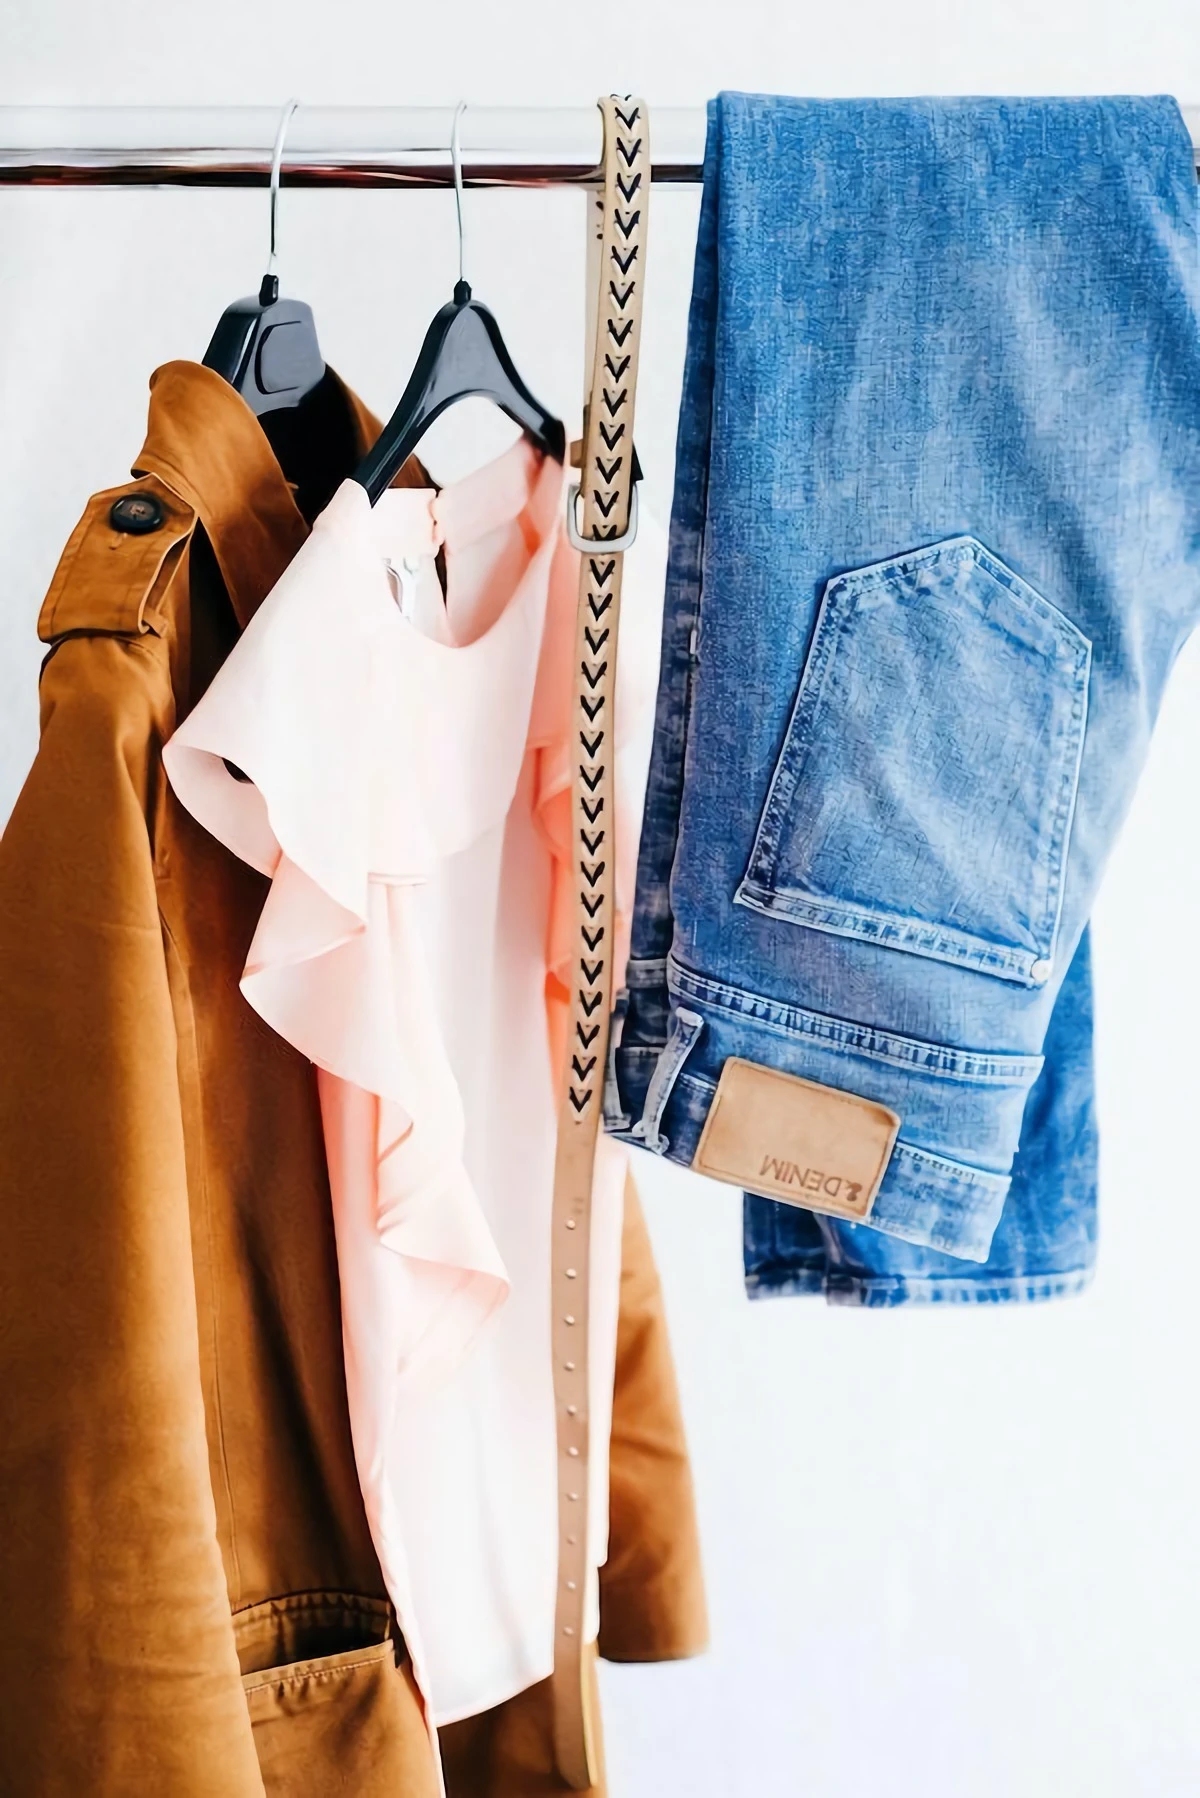
Technique 3: Erasing Wrinkles from Clothes
Ever been at an event or on a job site and realized your shirt or the tablecloth is a creased mess? An iron isn’t always handy, but a hair dryer often is.
The simple science: Wrinkles are just bonds in the fabric fibers that have set in a crumpled position. A little moisture and heat relaxes those bonds, and the airflow from the dryer helps them re-set into a smooth, flat state.

Just hang the garment, lightly mist the wrinkles with water from a spray bottle (damp, not soaking!), and then apply heat from about 6 inches away while gently pulling the fabric taut. You’ll see the wrinkles vanish as it dries. This works great on cotton and linen, but be very careful with synthetics like polyester or nylon, which can melt. I once saw someone ruin a beautiful silk tie this way; the direct heat left a permanent shiny spot.
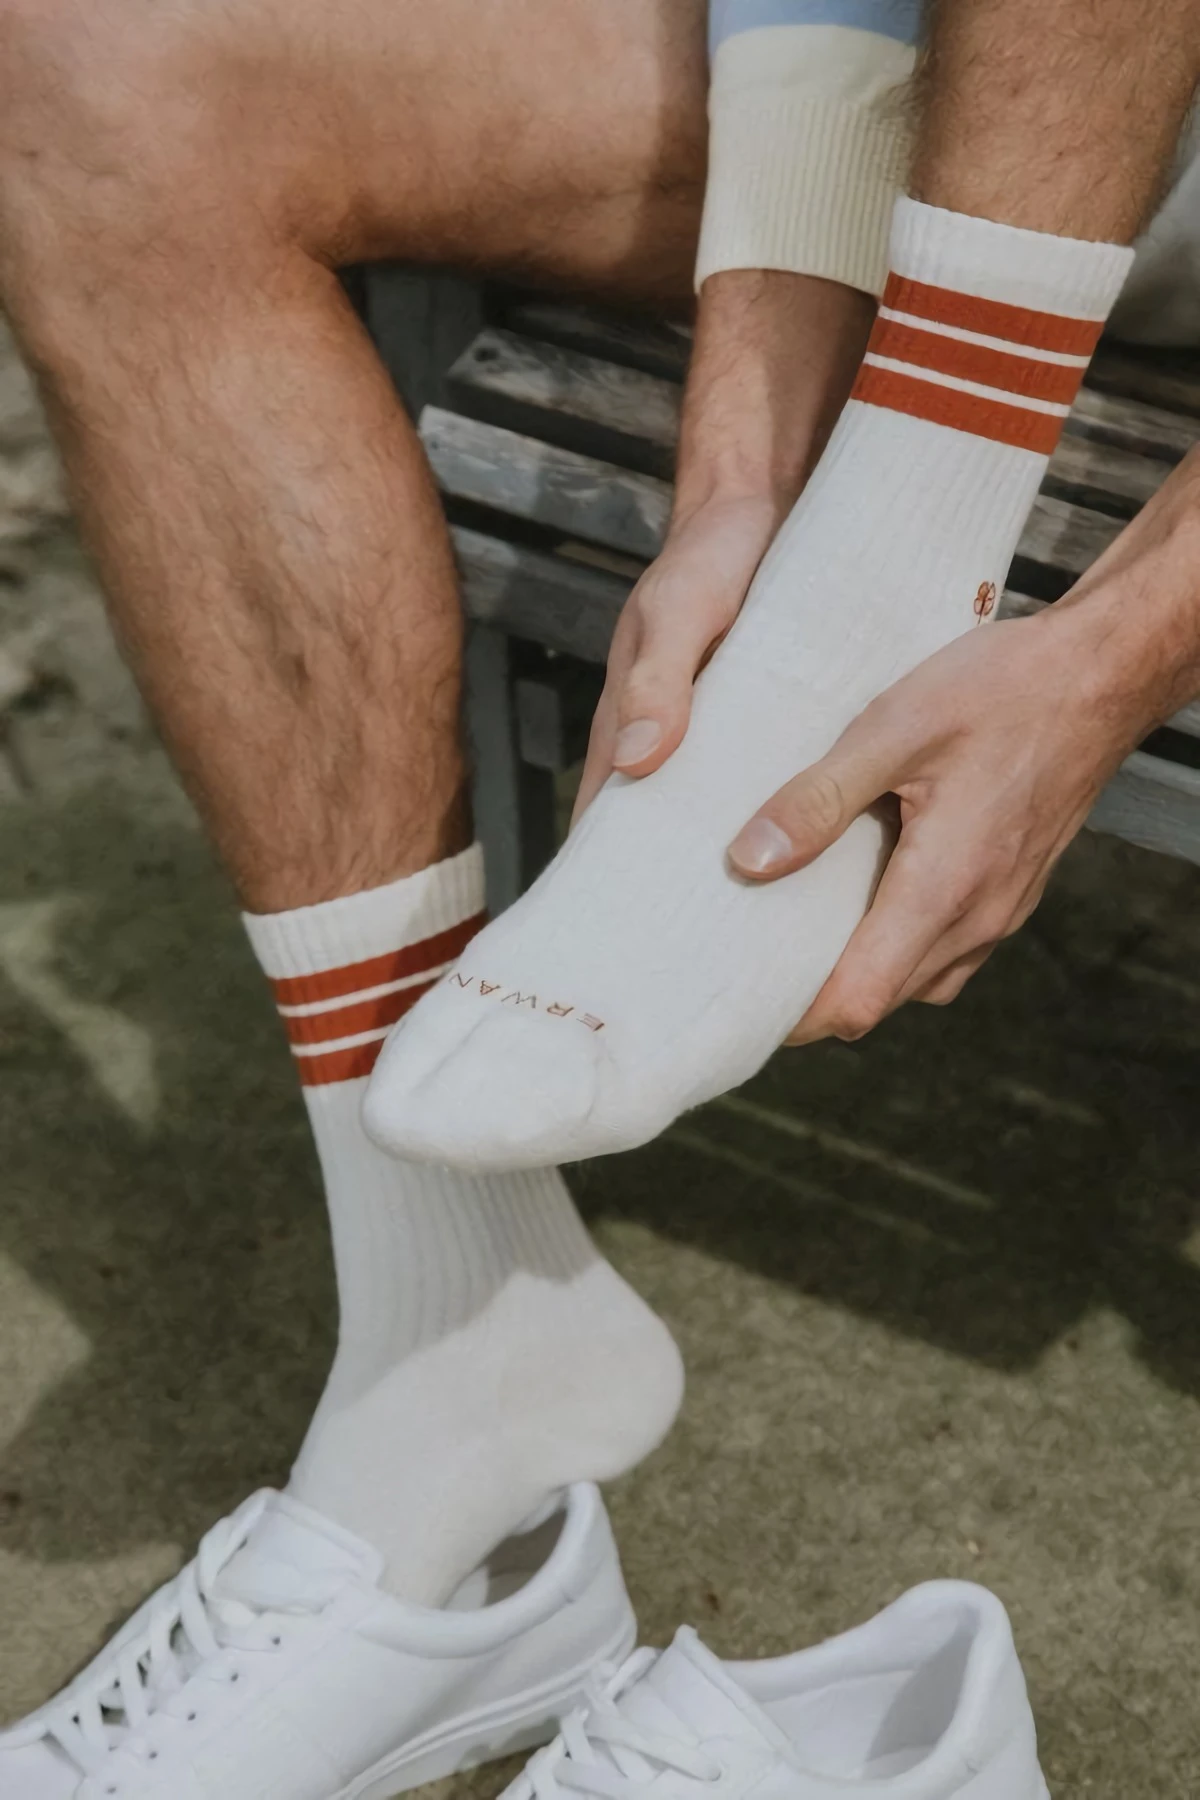
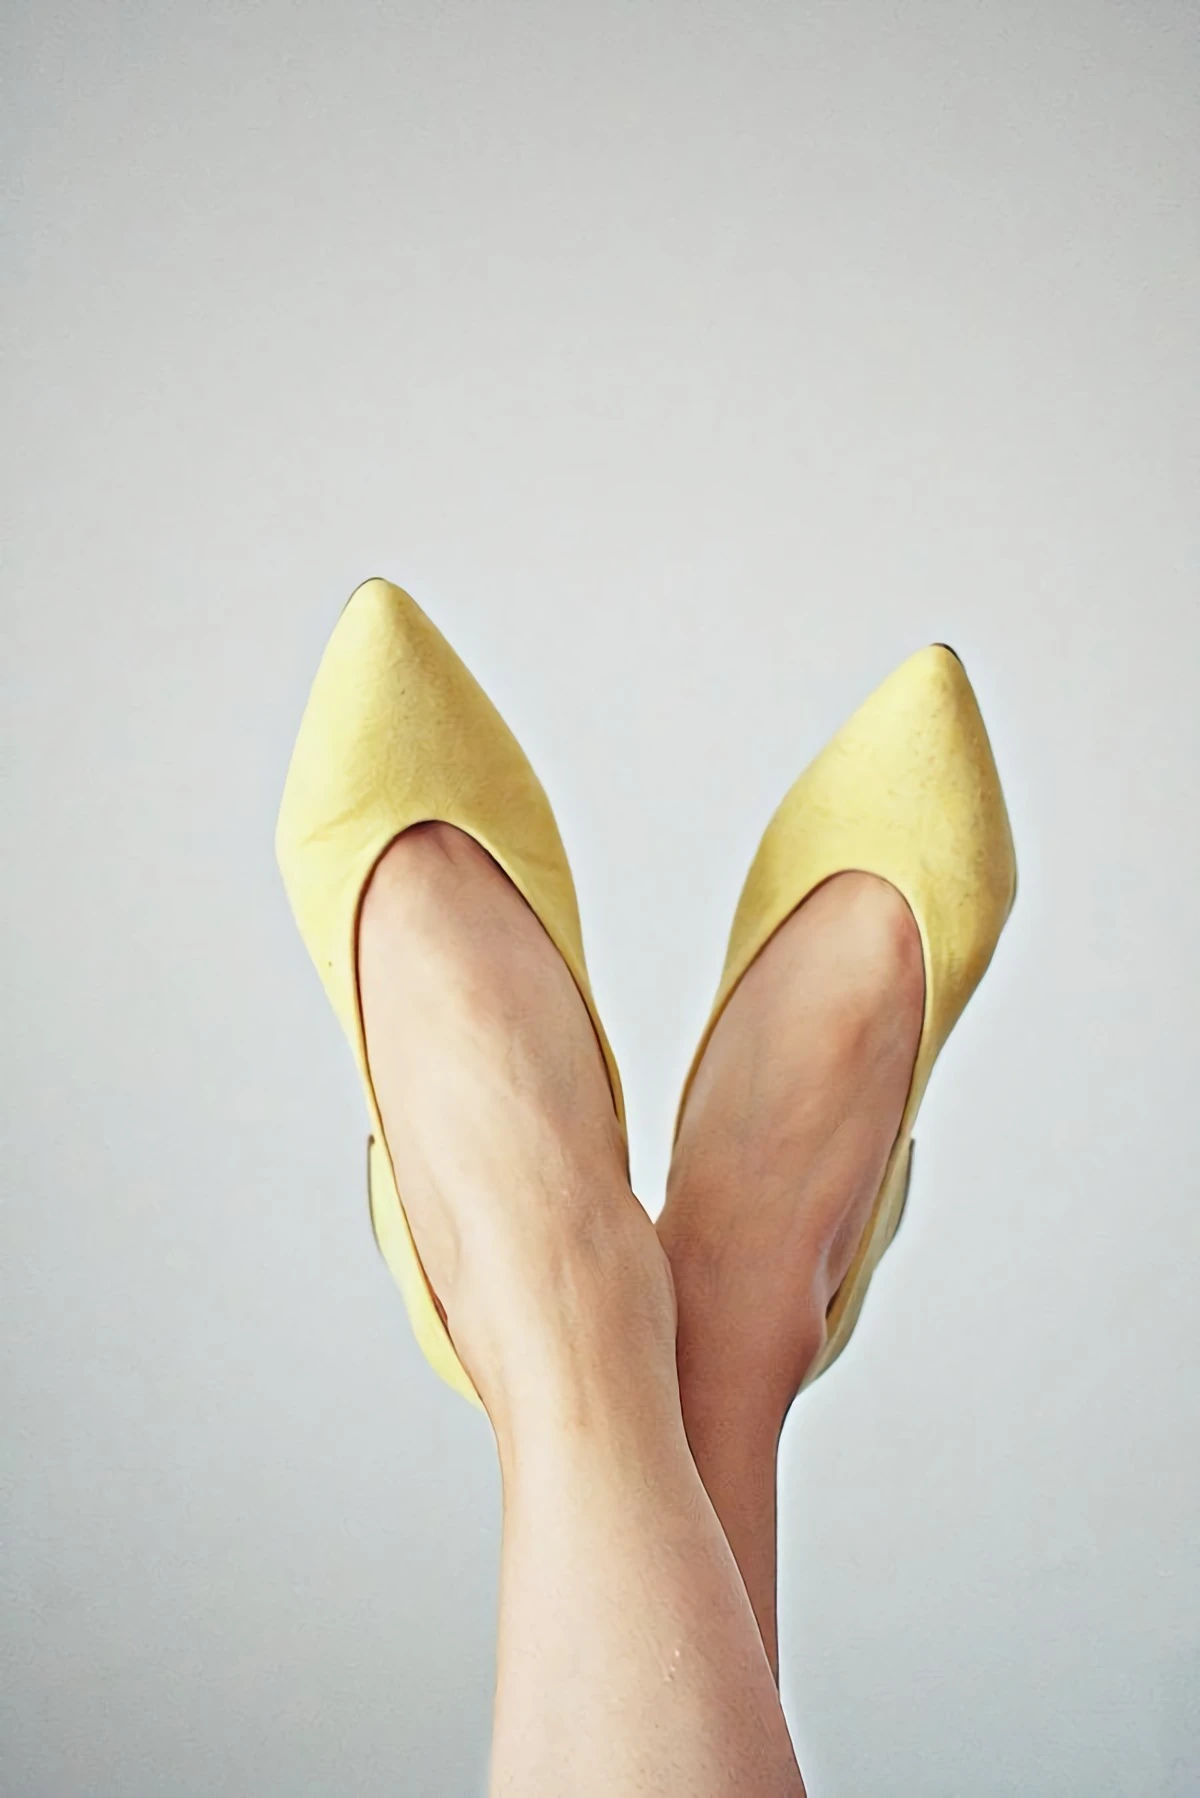
Technique 4: Stretching Tight Leather Shoes
This is a classic trick, but it comes with a serious warning label. I only recommend this for sturdy, real leather shoes, and it’s your last resort before visiting a cobbler.
Here’s the deal: Heat makes the collagen fibers in leather pliable. By heating and stretching it, you’re physically re-aligning those fibers. When it cools, they set in the new, roomier position.
The Technique:
- Put on your thickest pair of socks (or two!) and cram your feet into the shoes.
- Set the dryer on medium heat and warm up the tight spots—like the toe box or sides—for about 20-30 seconds from 6 inches away. Keep the dryer moving!
- While the leather is warm, walk around and flex your feet to stretch the material.
- This is the most important part: Keep the shoes on until they are completely cool. This takes at least 15-20 minutes. If you take them off while warm, the leather will just shrink back.
- Afterward, you absolutely MUST apply a good leather conditioner. You just baked all the moisture out, and conditioner puts it back in to prevent cracking. Look for a quality paste or cream conditioner, which will cost you about $10-$15.
Seriously, be careful. Too much heat can scorch the leather or melt the glue holding the sole. This will NOT work on patent leather or most ‘vegan’ leathers, which are basically plastic. If your shoes are expensive, just take them to a pro.
More Advanced (and Risky) Uses
With a steady hand, a hair dryer can tackle some really delicate restoration jobs.
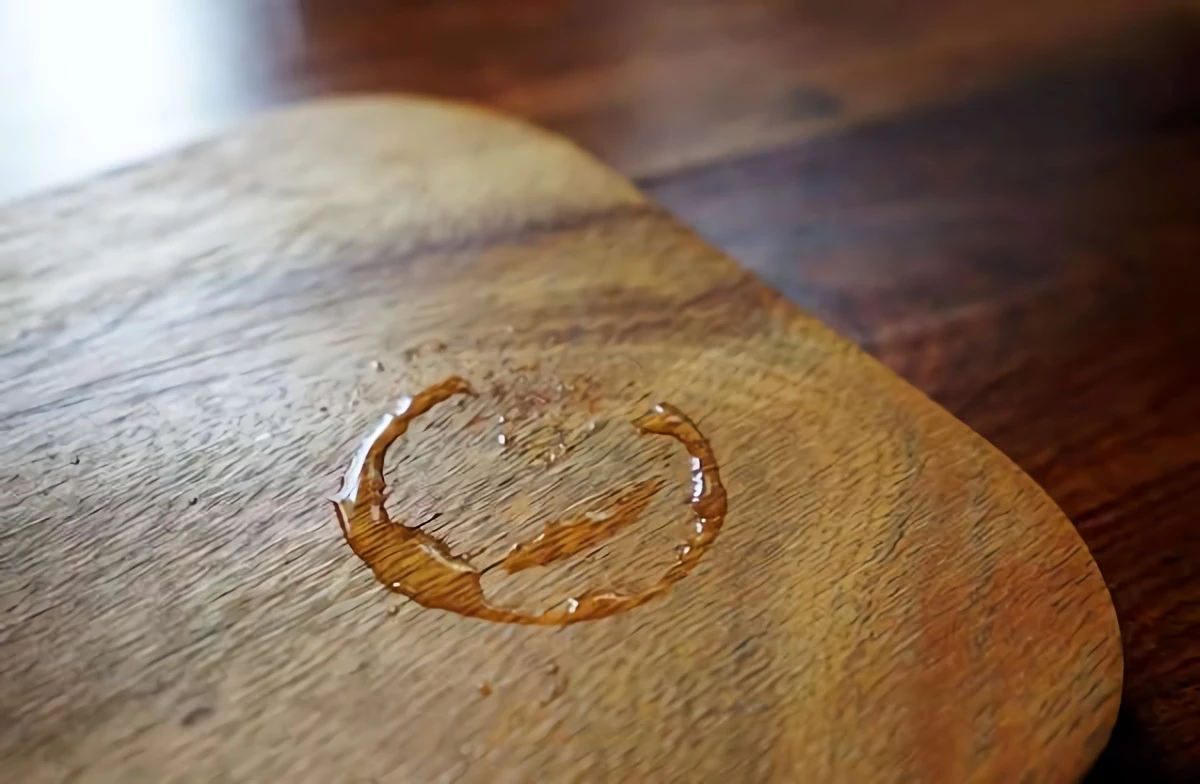
Technique 5: Fixing White Water Rings on Wood Furniture
This is probably the most impressive trick, but also the most dangerous. A white ring on a wood table is often just moisture trapped in the finish, not the wood itself. This technique gently heats the finish to let that moisture escape.
Here’s how to do it, VERY carefully:
- Set the dryer to its absolute LOWEST heat and lowest fan setting. This is non-negotiable. High heat will instantly blister the finish and cause permanent damage.
- Hold the dryer at least 8 to 12 inches away and keep it moving constantly. Never, ever let it rest on one spot.
- Be patient. The ring won’t vanish in a flash. It may take 5 to 15 minutes of continuous, gentle heating for it to slowly fade from the edges inward.
Quick tip for beginners: Before you even think about trying this on an important piece of furniture, go to a thrift store and buy a cheap, small wooden end table for $5. Put a wet glass on it, let it make a ring, and practice on that first. A $5 test run can prevent a $500 mistake.
Crucial warning: This only works for WHITE rings. If the ring is dark or black, it means water has gotten through the finish and stained the wood. A hair dryer can’t fix that and might make it worse. I learned that lesson the hard way on an oak table years ago, making the job much harder for the pro I had to call in later.
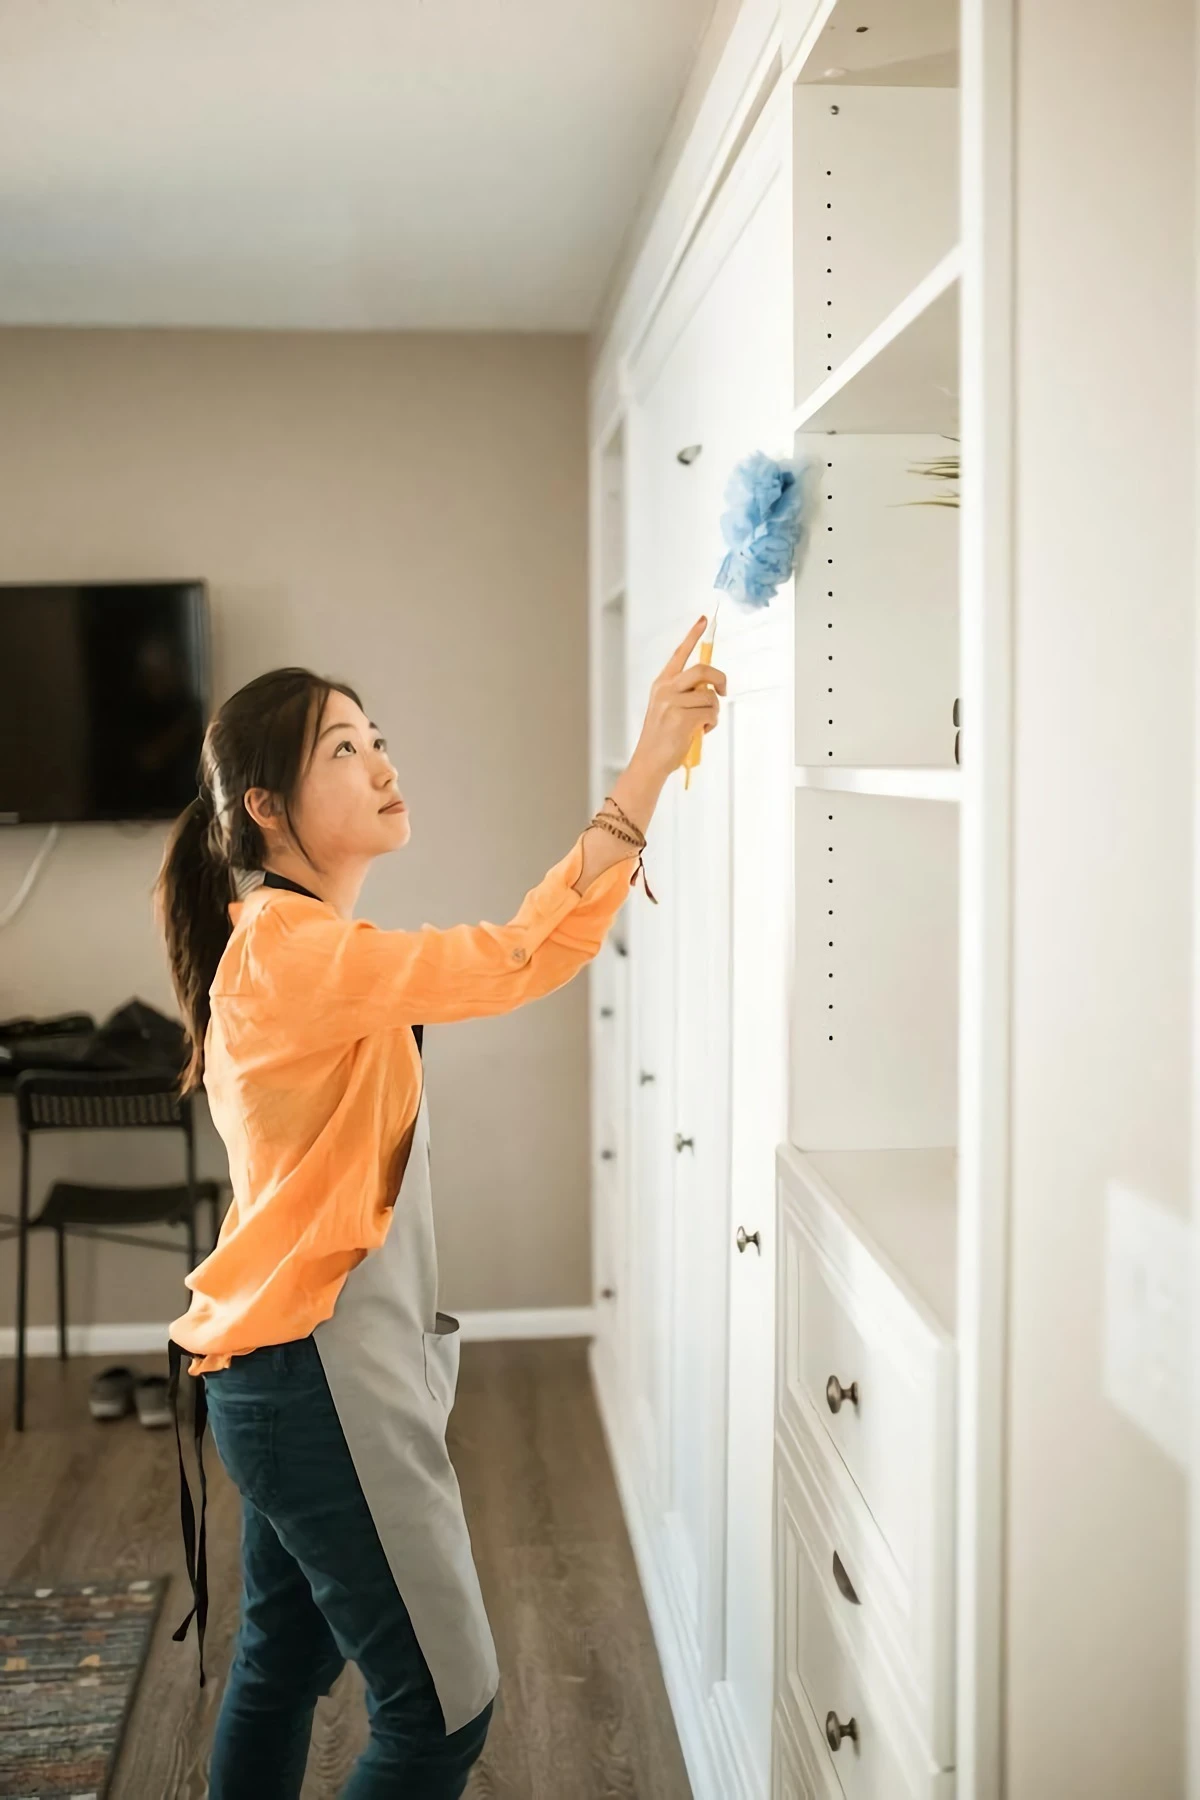
Technique 6: Dusting Delicate and Hard-to-Reach Spots
Sometimes, the best duster is just a stream of air.
For this job, you only want the COOL SHOT setting. Heat can damage electronics or warp fragile plastics. Unplug any electronics first! Then, use the cool air to blow dust out of computer keyboards, intricate wood carvings, LEGO models, and even computer fan vents. It pushes the dust out into the open where you can easily vacuum it up.
Pro-Tip: When dusting a computer fan, use a finger or a pen to gently hold the fan blades still while you blow the air. Letting the fan spin freely from the forced air can actually wear out or damage its motor.
A Final Word of Encouragement
A hair dryer is a fantastic tool when you respect its limits. The common theme here is patience and control. Always start with less heat, from further away, than you think you need. You can always add more, but you can’t undo damage.
Remember, for most of these jobs, a specialized tool exists that will do it better. But for the occasional fix or when you’re in a pinch, it’s amazing what you can accomplish with a little ingenuity and a tool you already have at home. Just be smart, be safe, and start slow.
Inspiration:
Most pressure-sensitive adhesives, like those found on price tags or vinyl decals, begin to soften around 150-180°F (65-82°C).
This is the sweet spot where a hair dryer excels. A standard model on its high setting typically operates within this exact range, making it powerful enough to release the glue’s grip without endangering the surface beneath. A heat gun, conversely, can easily blast past 500°F (260°C), which will not only melt the decal but can also warp plastic, blister paint, or scorch wood finishes in an instant. It’s a perfect example of finesse trumping force.
Can a hair dryer really get rid of those cloudy white rings on my wooden coffee table?
Yes, often it can! Those white marks are typically moisture trapped in the top layer of the furniture’s finish (lacquer or varnish). By applying gentle, even heat from a hair dryer held several inches away, you can cause that trapped moisture to evaporate. Move the dryer continuously in a circular motion for a minute or two. You should see the ring start to fade. Once it’s gone, let the area cool completely, then buff it with a soft cloth and a bit of furniture polish, like Pledge or Howard Feed-N-Wax, to restore the shine.
- Gently stretch new leather shoes for a perfect fit.
- Speed up the drying time for small paint or wood stain touch-ups.
- Thaw frozen pipes carefully in an emergency.
The secret to all these tasks? Using a hair dryer with a ‘cool shot’ button. This feature allows you to apply heat to make a material pliable (like leather or glue) and then instantly hit it with cool air to ‘set’ it in its new state, preventing it from reverting as it cools slowly.


