Don’t Toss Those Pumpkin Guts! A No-Nonsense Guide to Using Every Bit
Every autumn, it’s the same familiar ritual: newspapers spread across the kitchen counter, the unique, earthy smell of raw pumpkin in the air. It’s a tradition that, for me, is about so much more than just carving a spooky face. The real work—and the real opportunity—begins right after you slice off that lid.
In this article
- First Things First: Separating Seeds from Pulp (The Easy Way)
- The Secret to Perfectly Roasted, Crispy Pumpkin Seeds
- Turn That Stringy Pulp into Liquid Gold (aka Pumpkin Broth)
- Don’t Forget the Garden: Composting the Guts (and the Shell!)
- A Final Word: Final Thoughts from the Kitchen
- Galerie d’inspiration
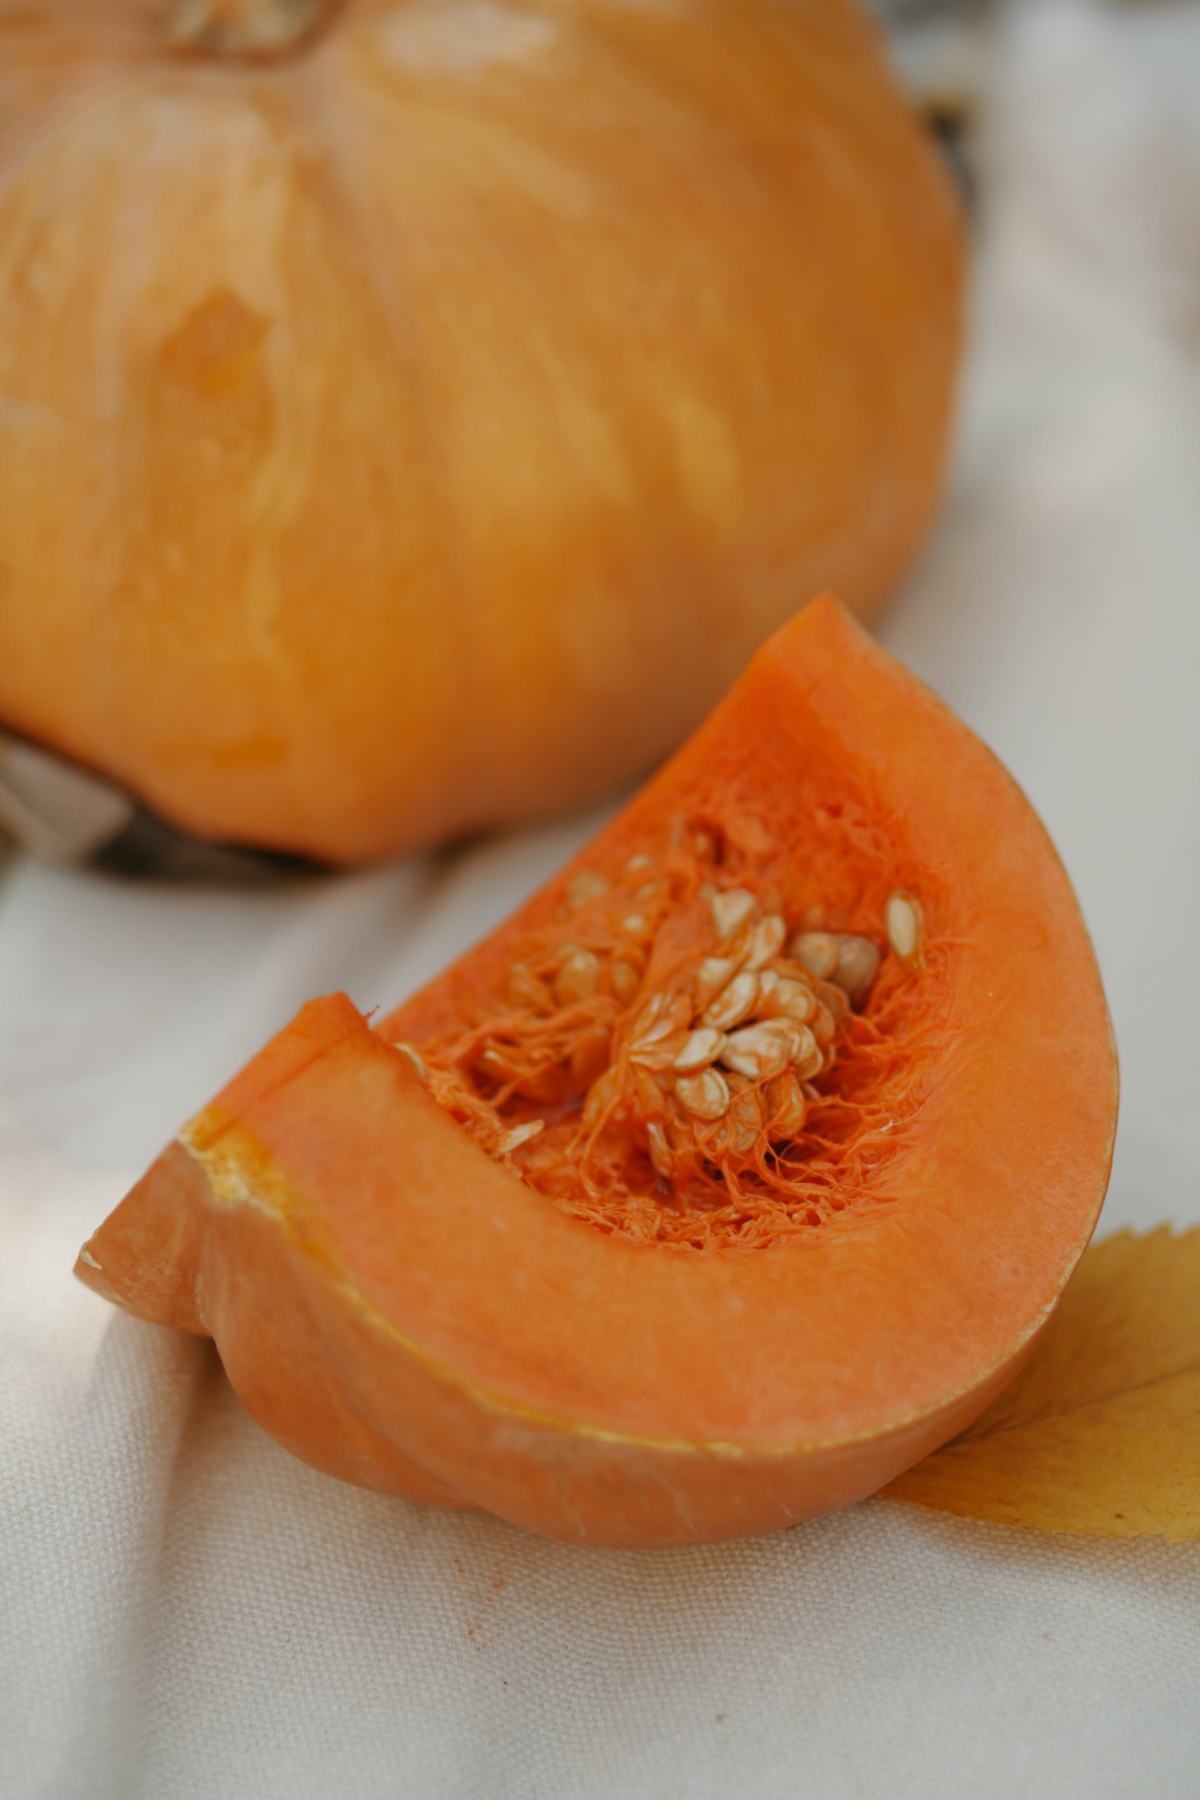
That messy pile of stringy, seed-filled guts is where most people stop. They scoop it, scrape it, and toss it straight into the trash can. Honestly, it pains me every time I see it. After years of running a small homestead and teaching folks how to preserve food, I’ve learned that the inside of a standard carving pumpkin is packed with potential. You just have to know what to do with it.
Heads up: this stuff is different from a sweet sugar pumpkin destined for a pie. The flesh is more watery, the pulp is stringier, and the flavor is more subtle. But with the right approach, you can turn that entire pumpkin into something amazing. This isn’t about chasing some ‘zero-waste’ trend; it’s just smart, practical, and respectful to the food. So let’s walk through how to process every part of your pumpkin’s insides.
First Things First: Separating Seeds from Pulp (The Easy Way)
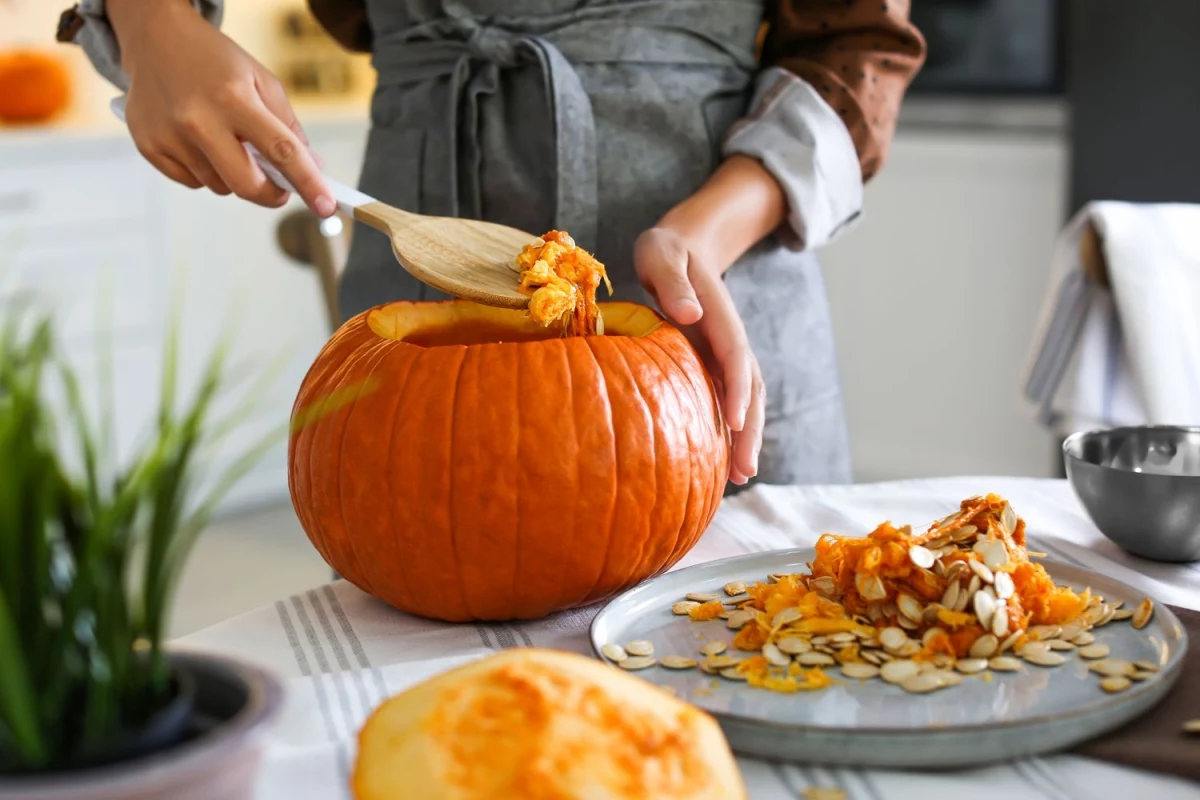
Before you can do anything else, you’ve got to separate the seeds from that fibrous, stringy pulp. A lot of people find this part tedious, but there’s a trick that makes it surprisingly fast. Please, don’t just dump the guts in a dry bowl and start picking. You’ll be there all day with slippery seeds clinging to everything.
Here’s the game-changing method: The Water Bowl.
Grab a large bowl and fill it about halfway with cool water. Scrape all the pumpkin guts directly into it. Now, get your hands in there and start squishing the pulp around. As you work the mixture, you’ll feel the seeds release almost magically. It’s a simple matter of density—the heavy seeds sink right to the bottom, while the lighter, stringy pulp floats to the top. It works every time.
Skim the floating gunk off the top with your hands or a slotted spoon. You can set this aside for later (we’ll get to that). Once you’ve got most of the pulp out, pour the water and seeds through a colander and give them a final rinse. Boom. Clean seeds, ready to go, in a fraction of the time.
Good to know: A typical 10-pound carving pumpkin will usually yield about 1 to 2 cups of seeds and a big bowl of stringy pulp.
Oh, and what if you carve your pumpkin but don’t have time to process the guts right away? No problem. Just pop the separated seeds and pulp into separate airtight containers. They’ll keep in the fridge for 2-3 days, giving you plenty of time to tackle the project on the weekend.
The Secret to Perfectly Roasted, Crispy Pumpkin Seeds
Properly roasted pumpkin seeds are a world away from the burnt, chewy ones many of us have sadly experienced. The goal is a seed that’s crisp all the way through, with a shell that cracks perfectly. This requires a couple of key steps that often get left out of basic recipes.
Step 1: The Pre-Boil. Seriously, Don’t Skip This.
An old-timer farmer shared this trick with me, and it’s gold. You boil the clean seeds in salted water before roasting. This does two brilliant things: first, it seasons the actual kernel inside the shell, not just the outside. Second, it par-cooks the seed, helping it dry out more evenly in the oven for a shatteringly crisp finish.
Just bring a pot of water to a boil. For every two cups of seeds, add about a tablespoon of salt. Drop the seeds in and boil for 10 minutes. Any longer and the shells can get a little tough. After 10 minutes, drain them completely.
Step 2: Dry, Dry, Dry!
This is where most people go wrong. Roasting wet seeds is a recipe for disaster—they just steam in the oven and turn out tough and chewy. I’ll never forget the first time I skipped the drying step and ended up with a pan of leathery, steamed seeds. A total failure! That’s why I’m a stickler for this now.
Spread the boiled seeds in a single layer on a kitchen towel or a baking sheet lined with paper towels. Let them air-dry for at least an hour, or even longer if you have the time. You’ll know they’re ready when they no longer feel slick or wet.
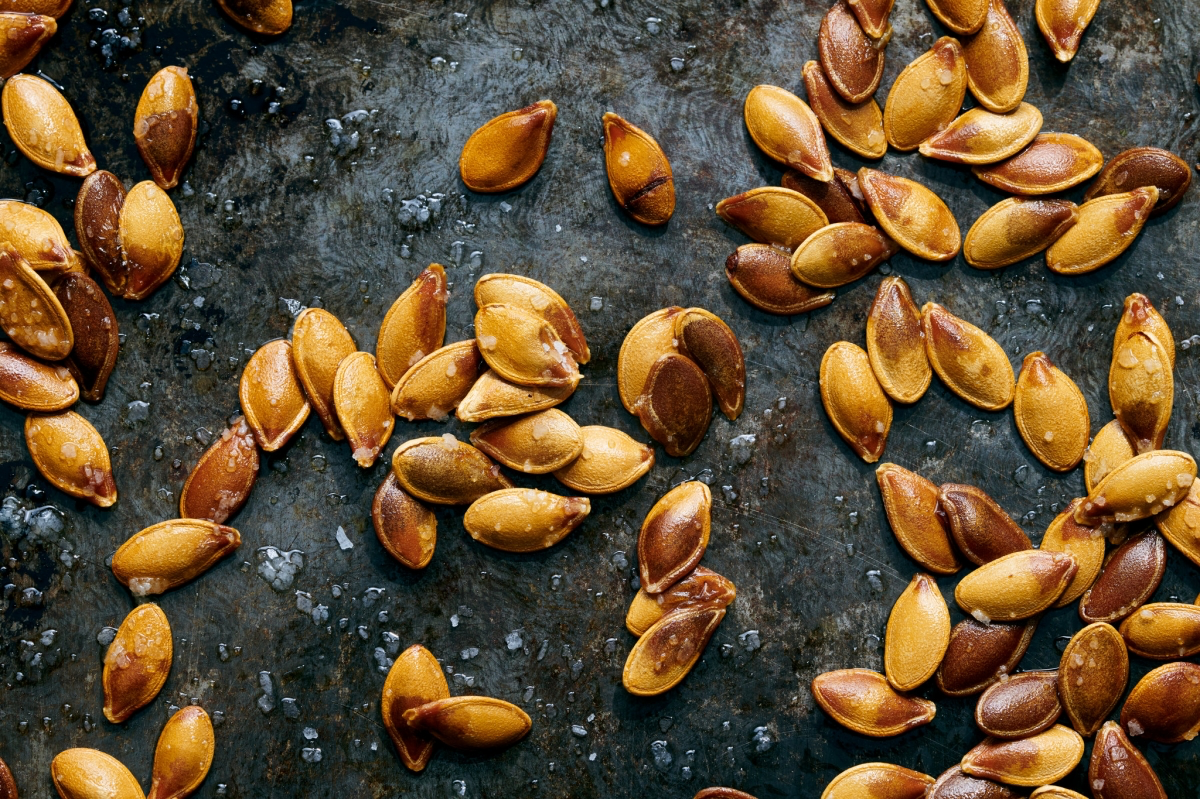
Step 3: Roasting and Seasoning
Preheat your oven to a relatively low 325°F (160°C). High heat just burns the shells before the inside gets a chance to toast properly.
In a bowl, toss your dry seeds with a high-smoke-point oil like avocado or grapeseed oil. A bottle of avocado oil might run you $8 to $12, but it’s great for high-heat cooking and a little goes a long way. You only need about one or two teaspoons per cup of seeds. Then, it’s time for seasoning. Here are a few can’t-miss options:
- Classic Savory: For each cup of seeds, toss with ½ tsp garlic powder, ½ tsp smoked paprika, and ¼ tsp fine sea salt. This is my go-to.
- Spicy Kick: For a little heat, try a mix of ½ tsp chili powder, ¼ tsp cumin, and a pinch of cayenne pepper. Adjust the cayenne to your liking!
- Cinnamon Sugar: For a sweeter treat, mix 1 tbsp of granulated sugar with ½ tsp of cinnamon. Toss the oiled seeds in this mixture. (Quick tip: Sugar burns fast, so keep a close eye on these in the oven.)
Spread the seasoned seeds in a single layer on a baking sheet and roast for 15-25 minutes, stirring them halfway through. They’re done when they’re a light golden brown. Let them cool completely on the pan; they’ll get even crispier as they cool. Store them in an airtight container for up to a week.

Turn That Stringy Pulp into Liquid Gold (aka Pumpkin Broth)
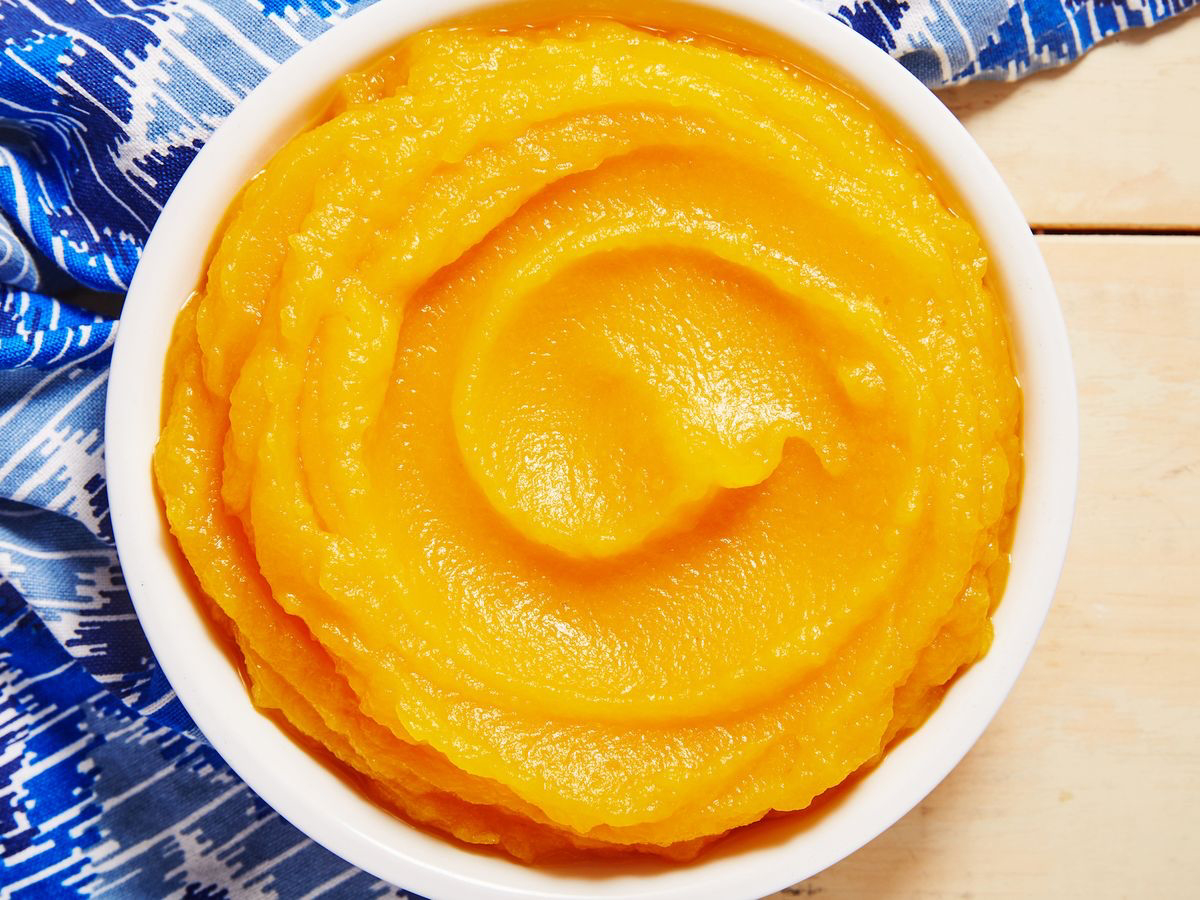
Let’s be very clear about something. The stringy pulp and flesh from a standard carving pumpkin are not good for making pumpkin pie. These pumpkins were bred for size and sturdiness, not for sweet, dense flesh. Trying to make a purée from them will likely result in a watery, bland mess.
But that doesn’t mean it’s useless! Instead, use it to make a beautiful, flavorful pumpkin broth.
Just take all the stringy pulp you skimmed off your water bowl and put it in a stockpot. Cover it with cold water and add some basic aromatics. You don’t need a formal recipe, just toss in what you have. My favorites are:
- An onion, halved (leave the skin on for a nice golden color)
- A couple of carrots, roughly chopped
- A few celery stalks
- A bay leaf
- A few whole peppercorns
Bring the pot to a simmer—don’t boil it rapidly, or the broth will get cloudy. Let it gently simmer for at least 60 to 90 minutes. The liquid will turn a gorgeous color and develop a subtle, earthy flavor that’s amazing as a base for a hearty lentil soup or a creamy butternut squash risotto.
Strain the broth through a fine-mesh sieve (lined with cheesecloth if you want it extra clear; you can grab some at most grocery stores for a few bucks). Compost the boiled solids, let the broth cool, and store it in the fridge for a week or in the freezer for months.
Troubleshooting Tip: If your finished broth tastes a little weak, don’t worry. Just let it simmer a bit longer with the lid off. This allows some water to evaporate and concentrates the flavor.
Don’t Forget the Garden: Composting the Guts (and the Shell!)
If you don’t feel like cooking, the garden is the next best place for your pumpkin guts. In composting lingo, the guts are a ‘green’ material (rich in nitrogen). To avoid a slimy, smelly mess, you need to balance them with ‘brown’ materials (rich in carbon).
Think of it this way: for every ice cream pail full of pumpkin guts, you need to add two or three pails of dry, crunchy leaves, shredded cardboard, or sawdust. Chopping up the pumpkin bits first will also help them break down way faster.
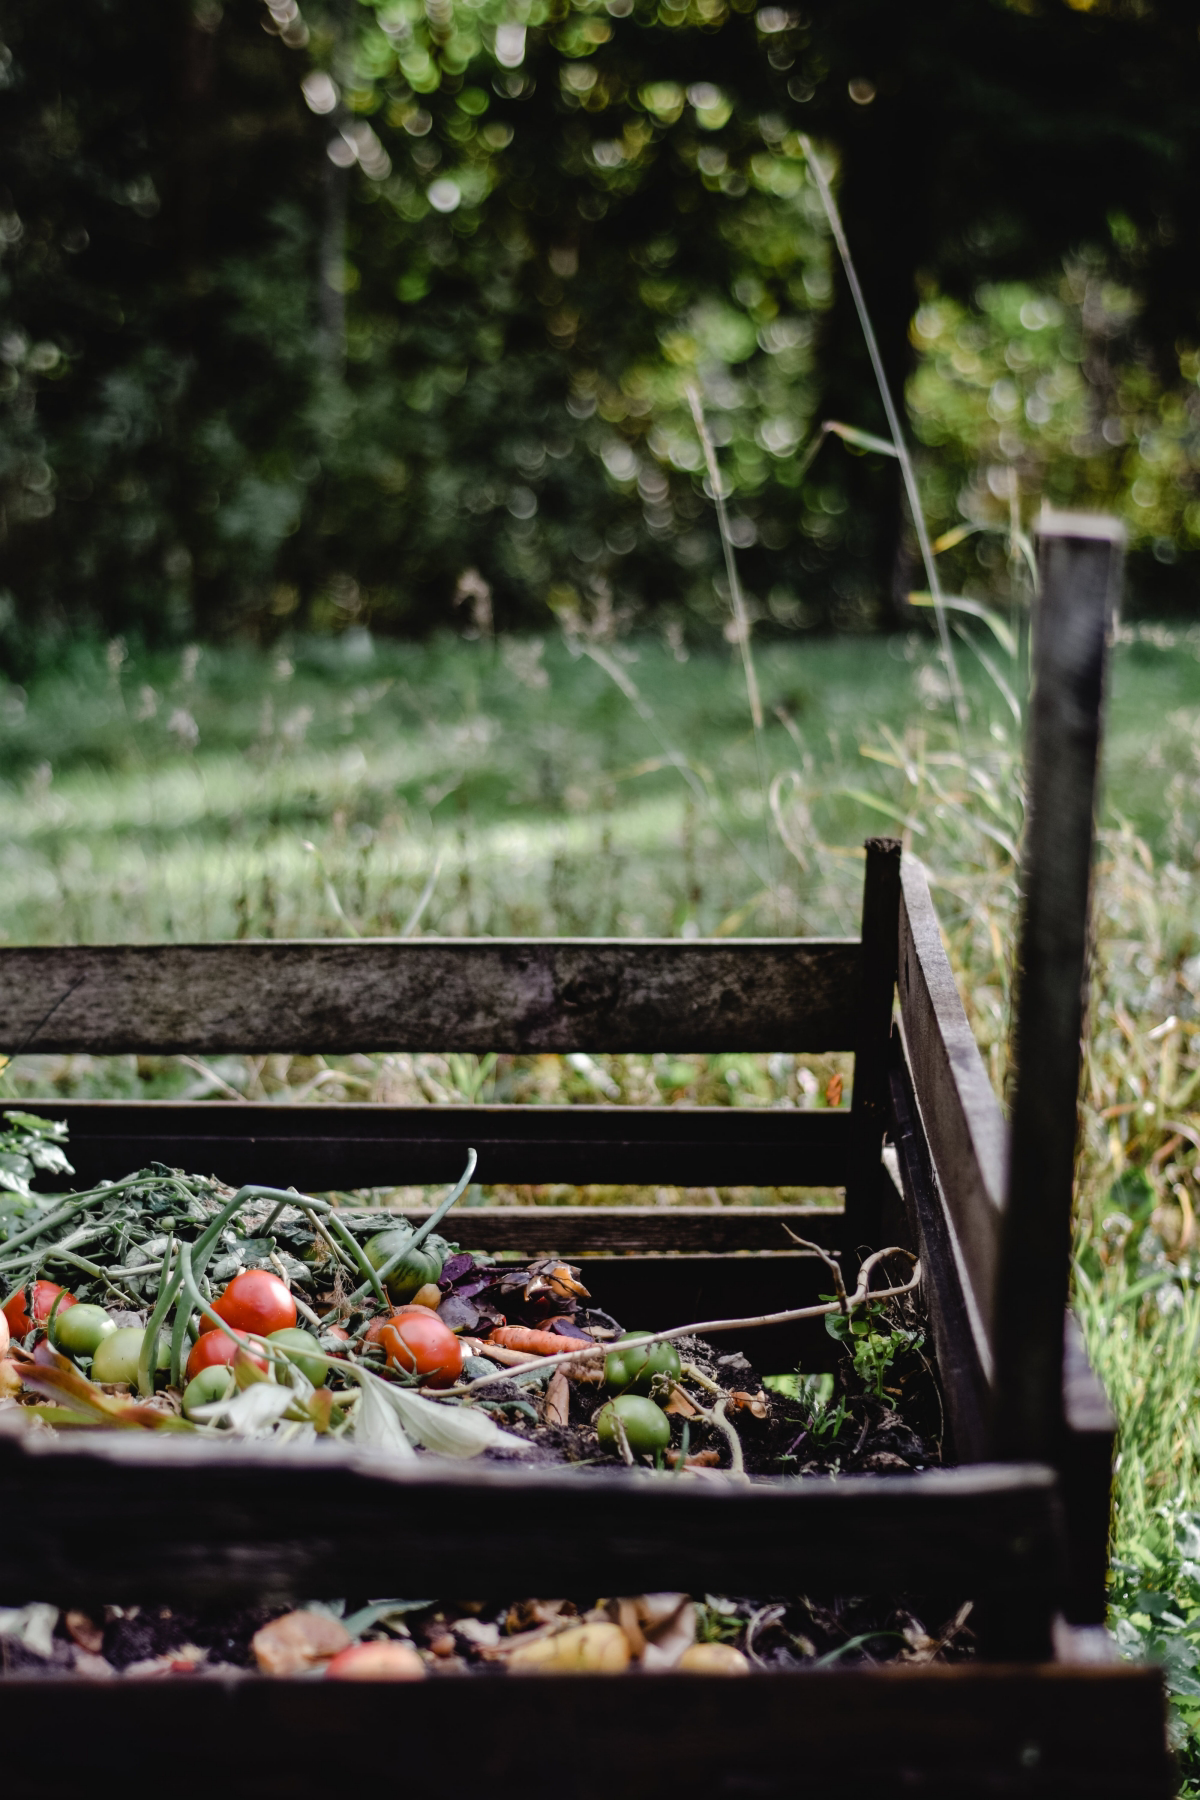
Another great option is to just bury the guts directly in your garden beds. Dig a trench about a foot deep, dump the guts in, and cover them firmly with soil. This method, sometimes called trench composting, keeps pests away and enriches the soil right where you’ll be planting next year.
And hey, once the holiday is over, don’t just throw the carved pumpkin in the trash! As long as it’s not moldy or decorated with paint or glitter, you can chop up the shell and add it to your compost pile too. It’s a fantastic source of organic matter.
A Final Word: Final Thoughts from the Kitchen
That carving pumpkin is more than just a decoration. It’s a massive vegetable that took a whole season to grow. Using as much of it as possible just feels right. It takes a little extra effort, sure, but the process connects you more deeply to your food and saves you a bit of money, too.
From a delicious snack to a rich garden amendment, those pumpkin guts are a valuable resource waiting to be used. The goal isn’t perfection; it’s about being resourceful and letting nothing good go to waste.
Galerie d’inspiration
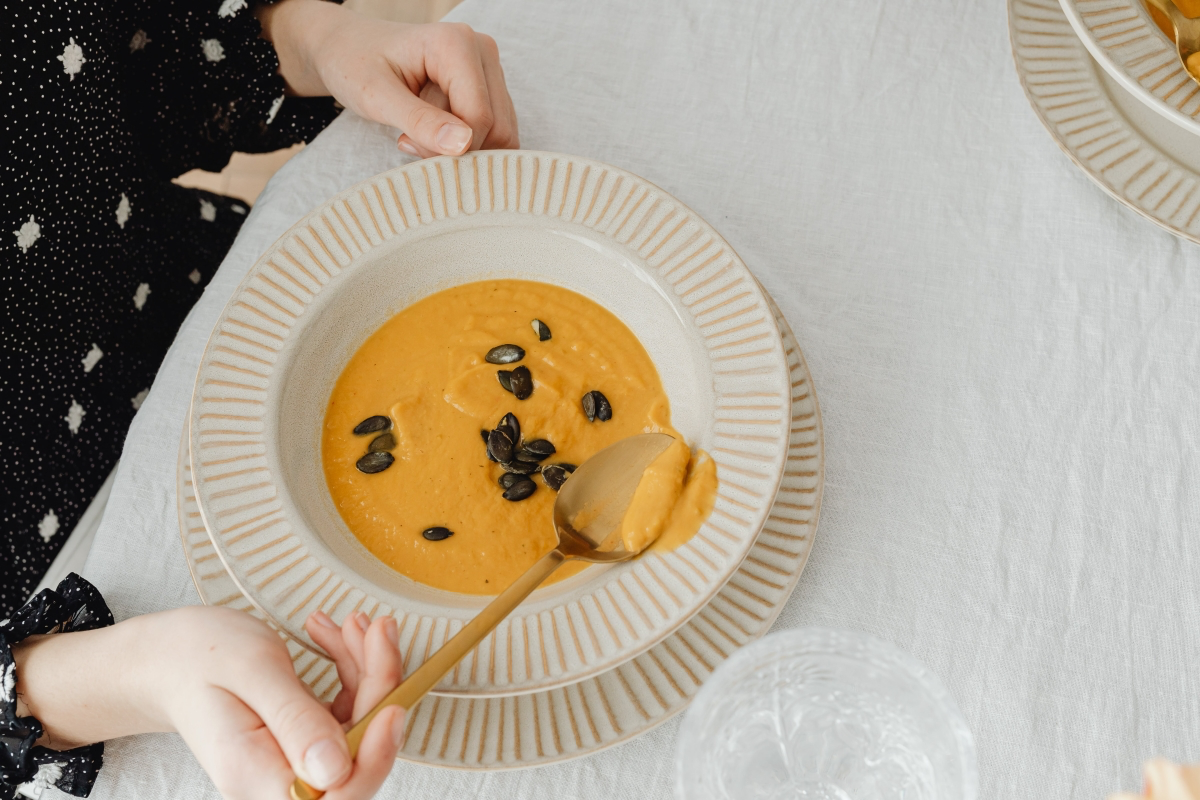
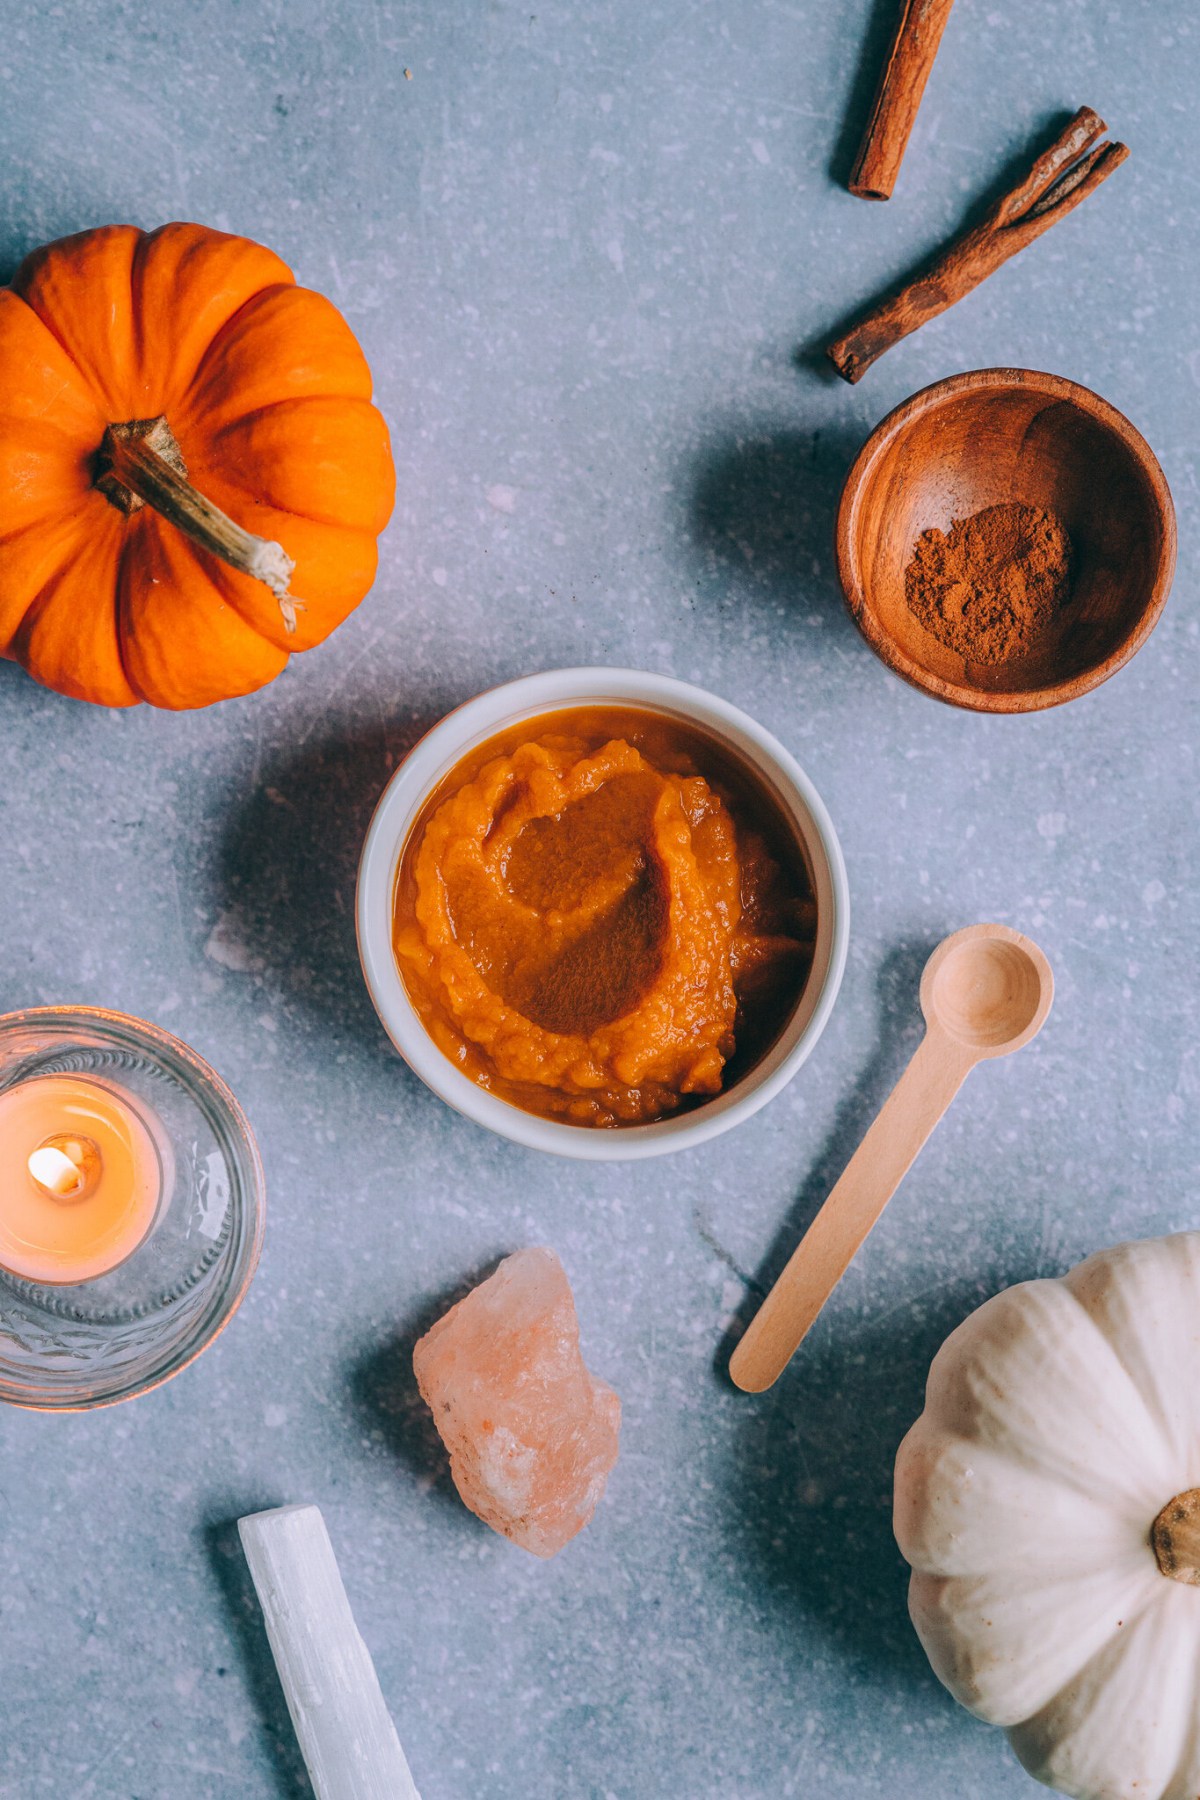
Don’t discard that stringy pulp! It’s the secret to a surprisingly flavorful and light vegetable broth, perfect as a base for autumn soups or risottos. It captures the subtle, earthy essence of the pumpkin.
- In a stockpot, combine the pumpkin pulp with a quartered onion, a couple of carrots, a celery stalk, and a bay leaf.
- Cover with cold water, bring to a simmer, and let it cook gently for at least 45 minutes.
- Strain everything through a fine-mesh sieve, pressing on the solids to extract all the liquid. Season and enjoy.

An ounce of shelled pumpkin seeds (about 1/4 cup) contains roughly 7 grams of protein and is an excellent source of magnesium and zinc.
This transforms what many consider waste into a nutritional powerhouse. That handful of seeds you rescue supports everything from immune function to muscle health. Roasting them with a light touch of salt isn’t just about creating a snack; it’s about reclaiming valuable nutrients that would otherwise be lost.
Can my four-legged friend get in on the pumpkin feast?
Yes, with a few caveats. Plain, cooked pumpkin purée (made from the flesh) is famously good for a dog’s digestion. The seeds are also a healthy treat, but they must be unsalted and, for smaller dogs, ground up to prevent a choking hazard. Never give them raw pulp or seeds, and always avoid any seasonings like garlic or onion powder, which are toxic to dogs.
For a savory, classic crunch: Toss completely dry seeds with a quality olive oil, smoked paprika, and a pinch of cumin. The robust flavor stands up well to the earthy seed.
For a sweeter, fragrant note: Use melted coconut oil, a dash of cinnamon from a brand like Simply Organic, and a drizzle of maple syrup before roasting.
The universal rule? Your seeds must be bone-dry before you add any oil. This is the non-negotiable step for achieving that perfect, satisfying crispiness.


